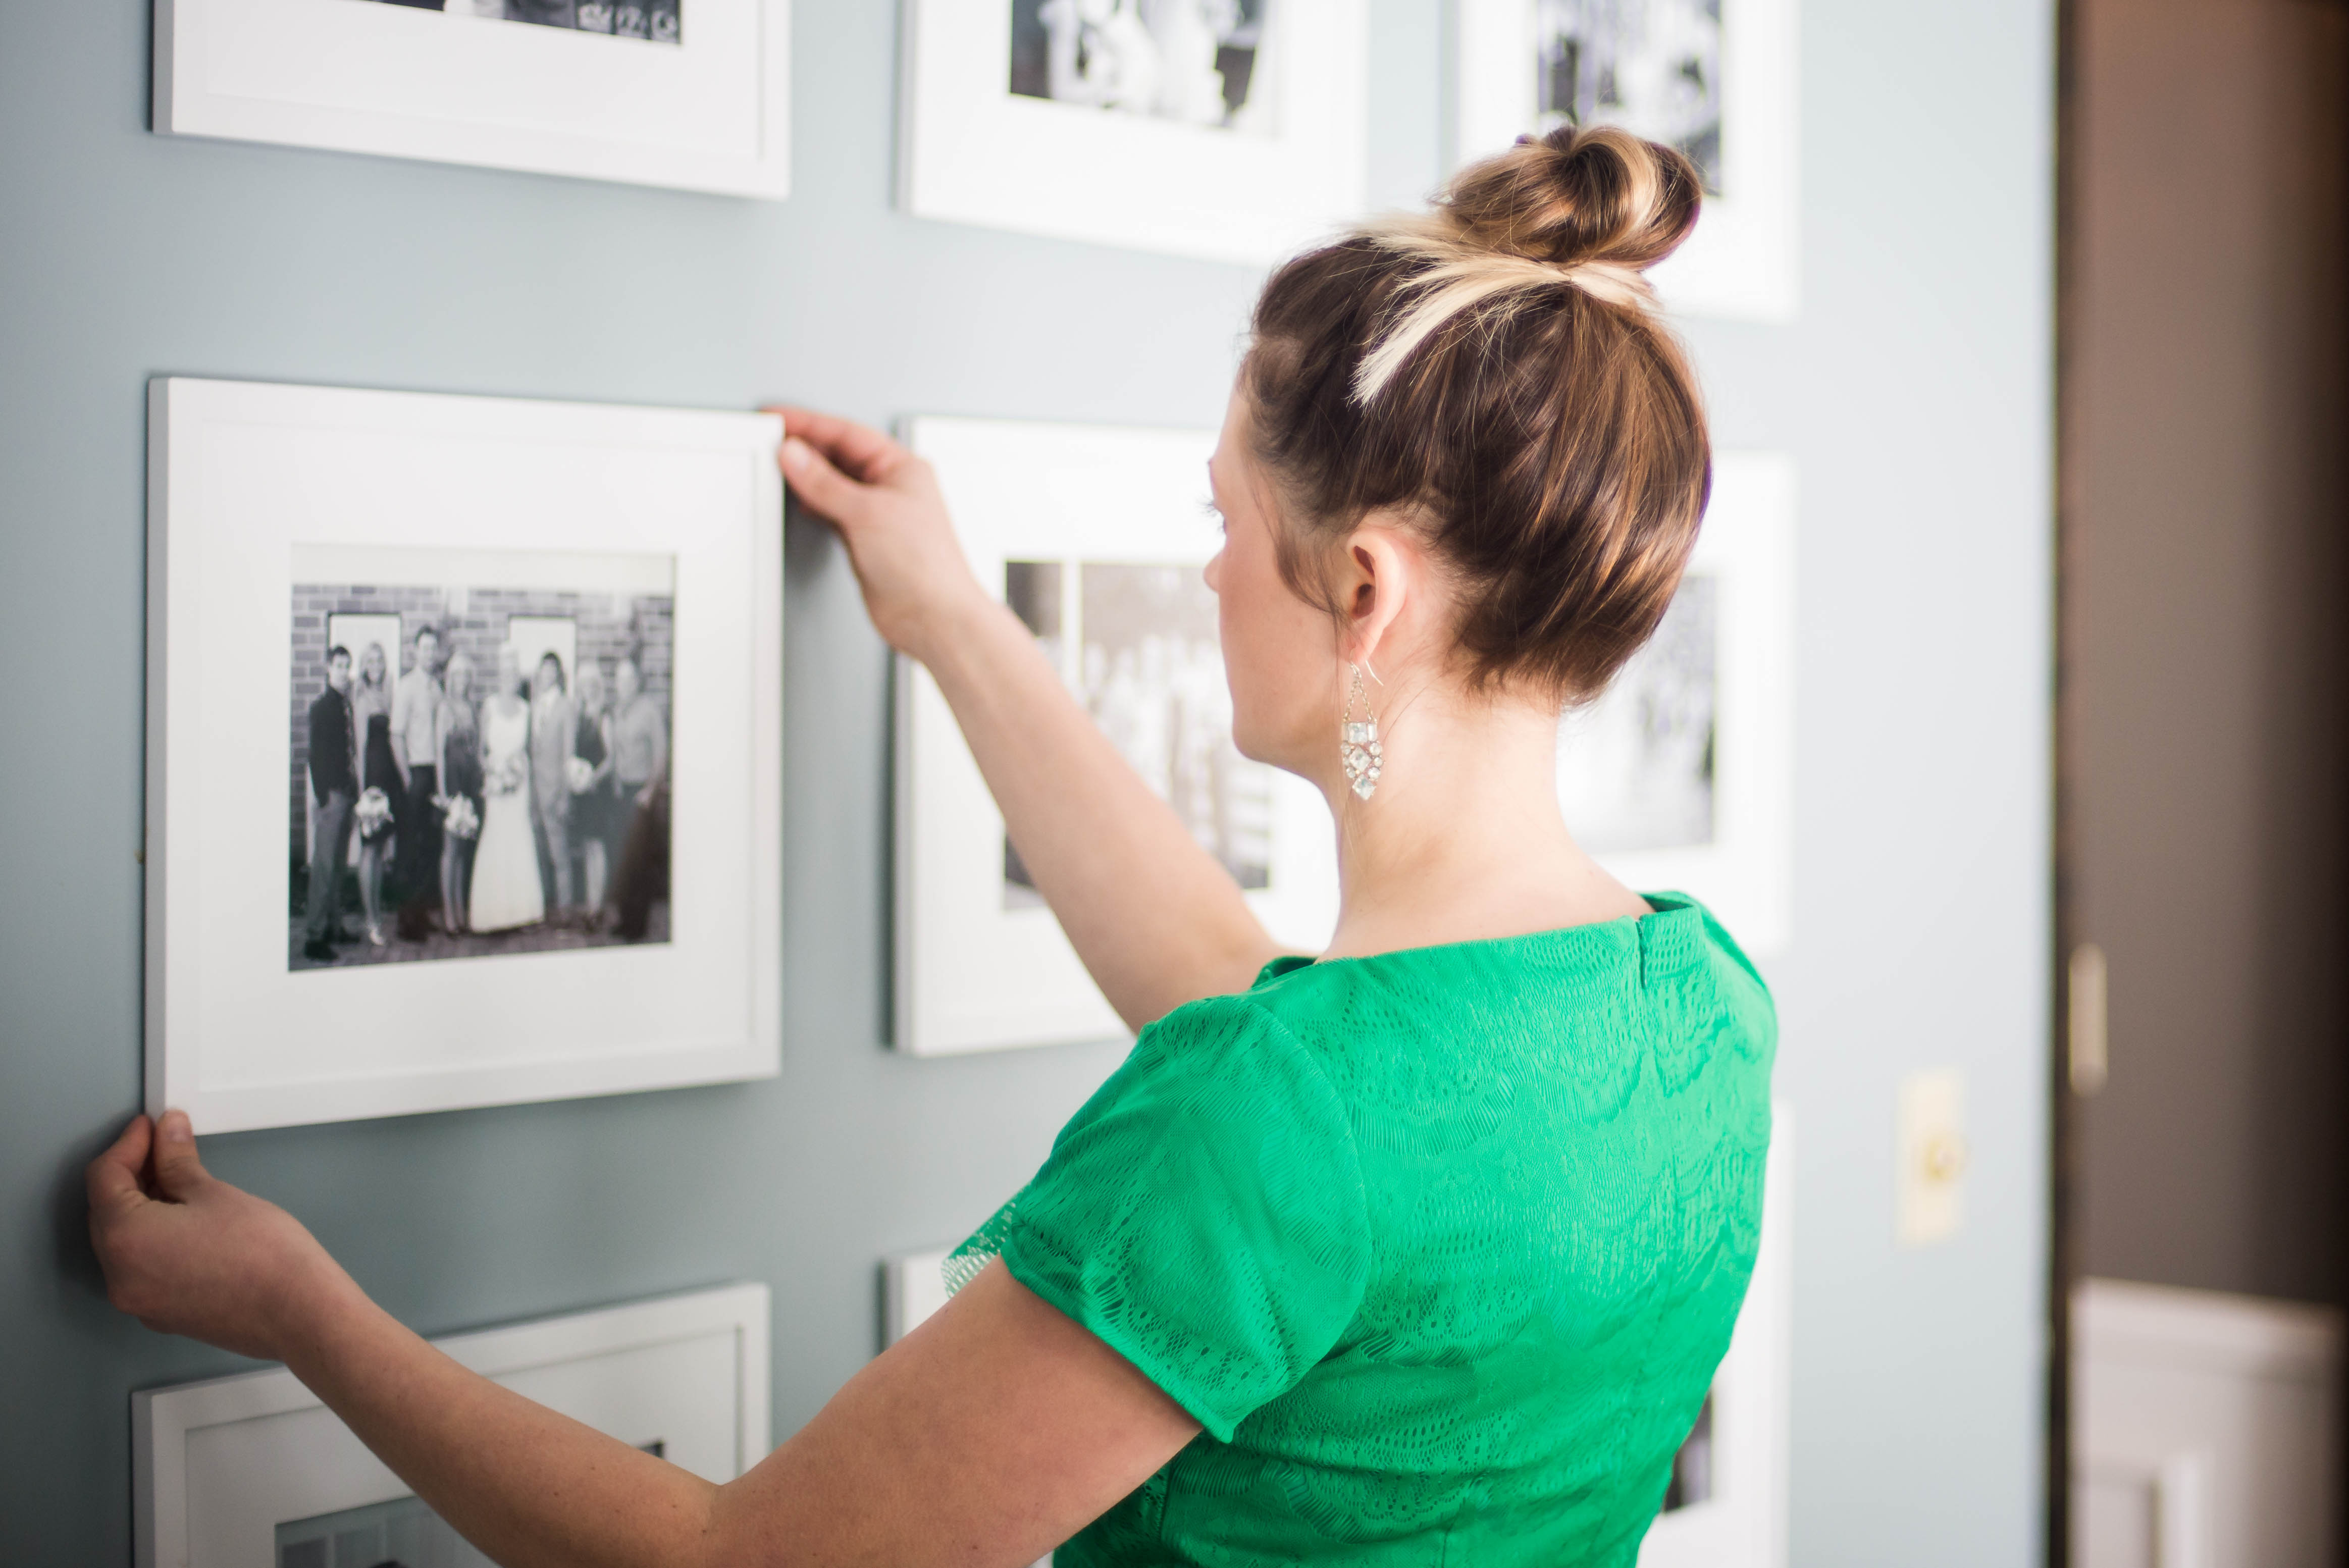
Thank you to Shabby Apple for sponsoring today’s post.

How to choose your design & layout
Gallery walls are the perfect way to make a statement in your home. Between an eclectic mix of photographs, paintings, wall art, or printable nothing shows your personality more of you and your style. Gallery walls tell a story. And there’s nothing that I love more for home decor than personal photographs.
Think about the room where you are placing your gallery wall. Do you have a big open canvas? Is wall along a staircase, square, or extremely long? Do you have any furniture that will be placed in the room on one side of the wall or the other? Best rule of thumb is to leave at least 8 inches between the top of the furniture and the bottom of the frames.
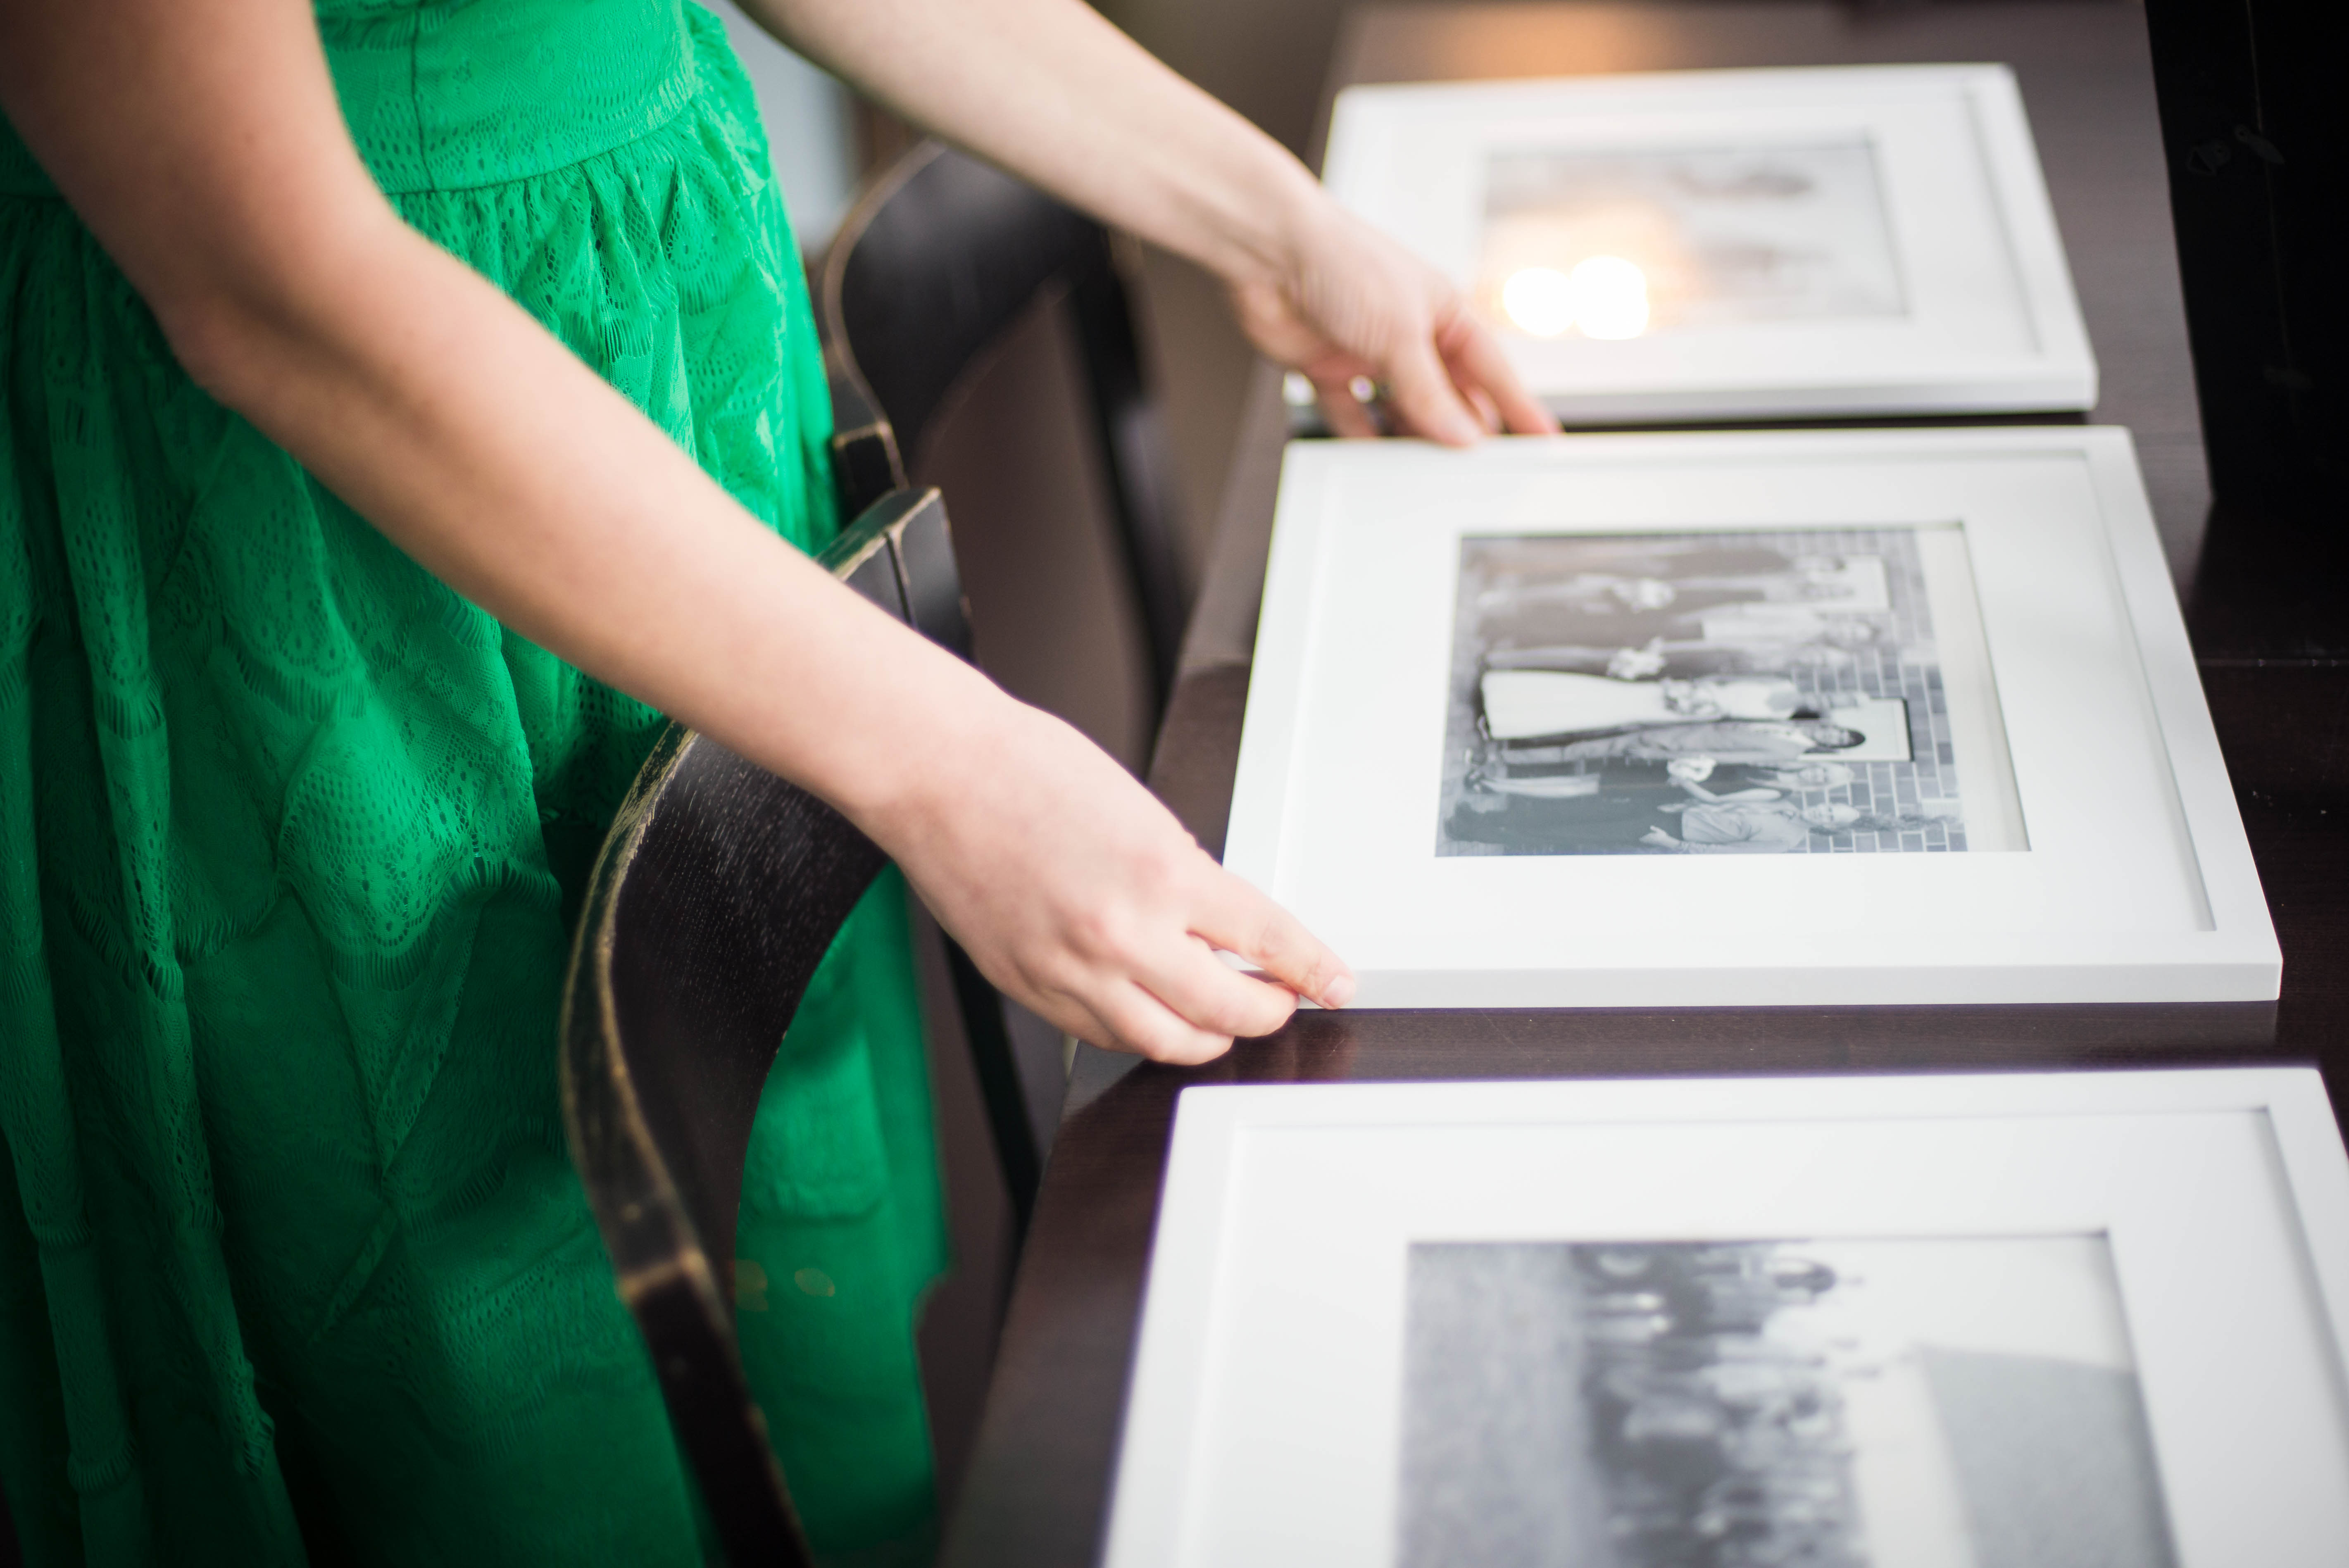
Have fun with your layout. When designing my gallery walls I always first create the layout on my floor and rearrange as necessary. Don’t overthink your layout. Just spread your frames out and move around as they fit together. I always snap a picture on my phone before I rearrange just in case I like one layout better from the one before.
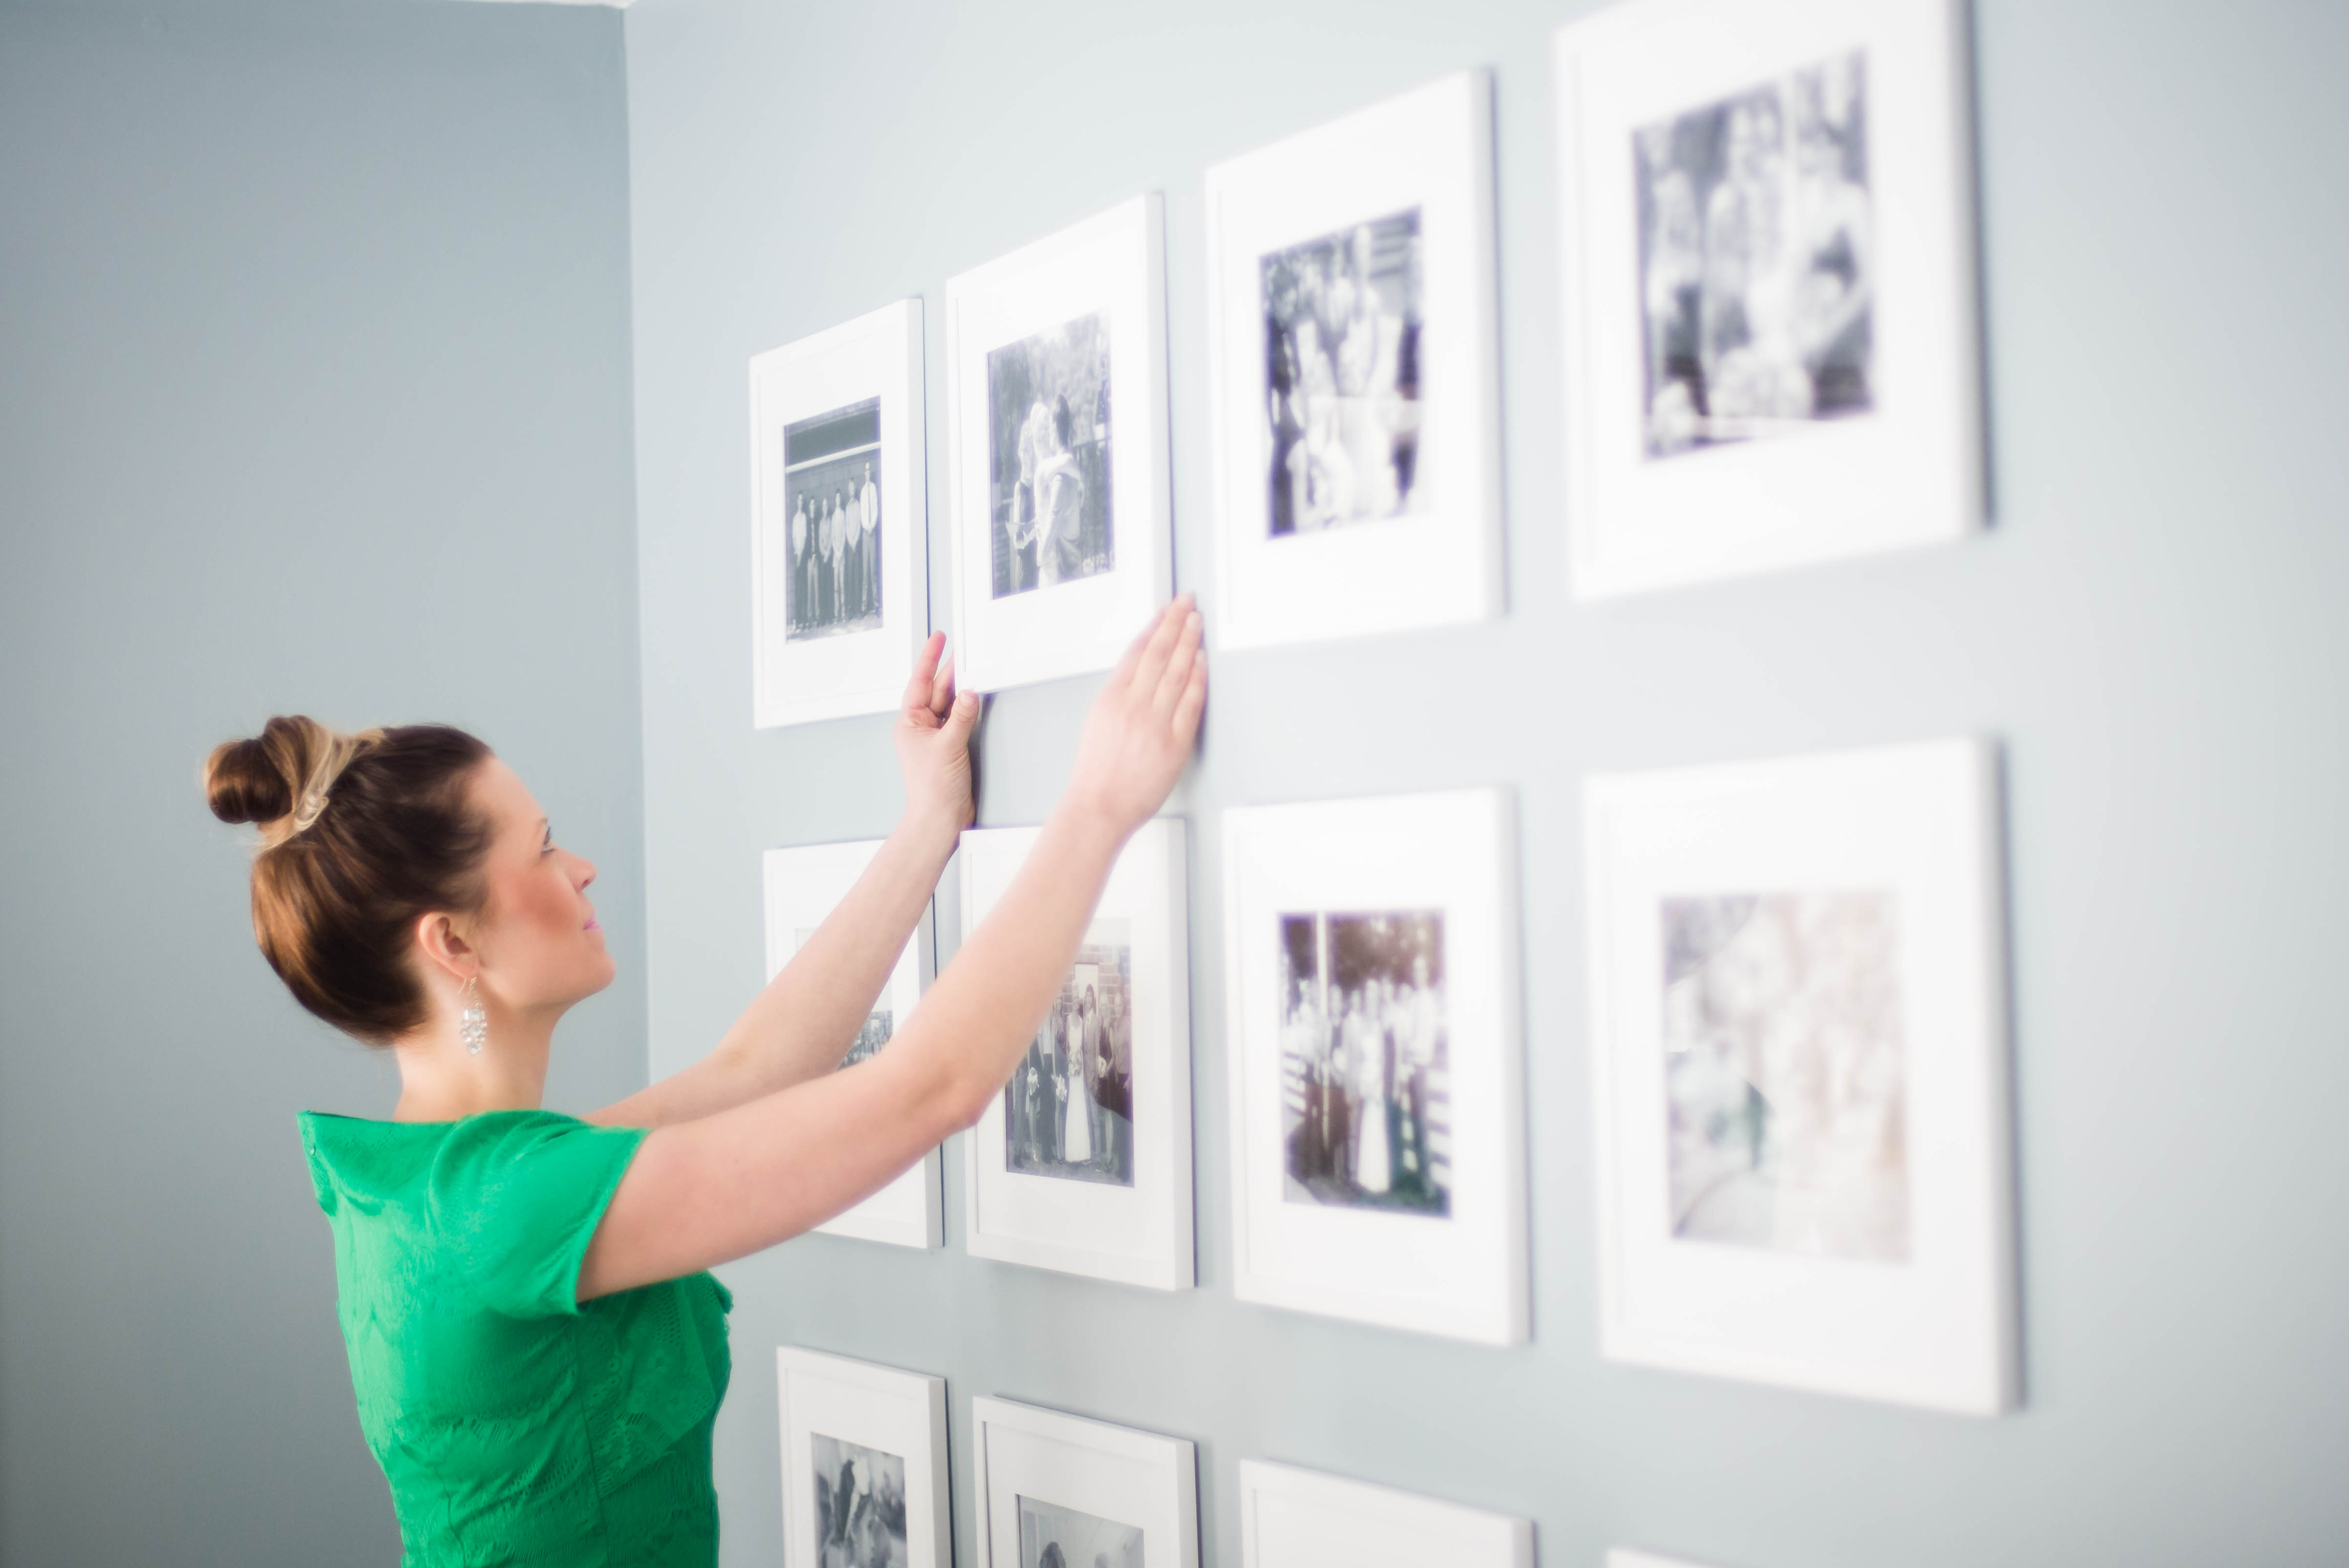
Choose your image theme
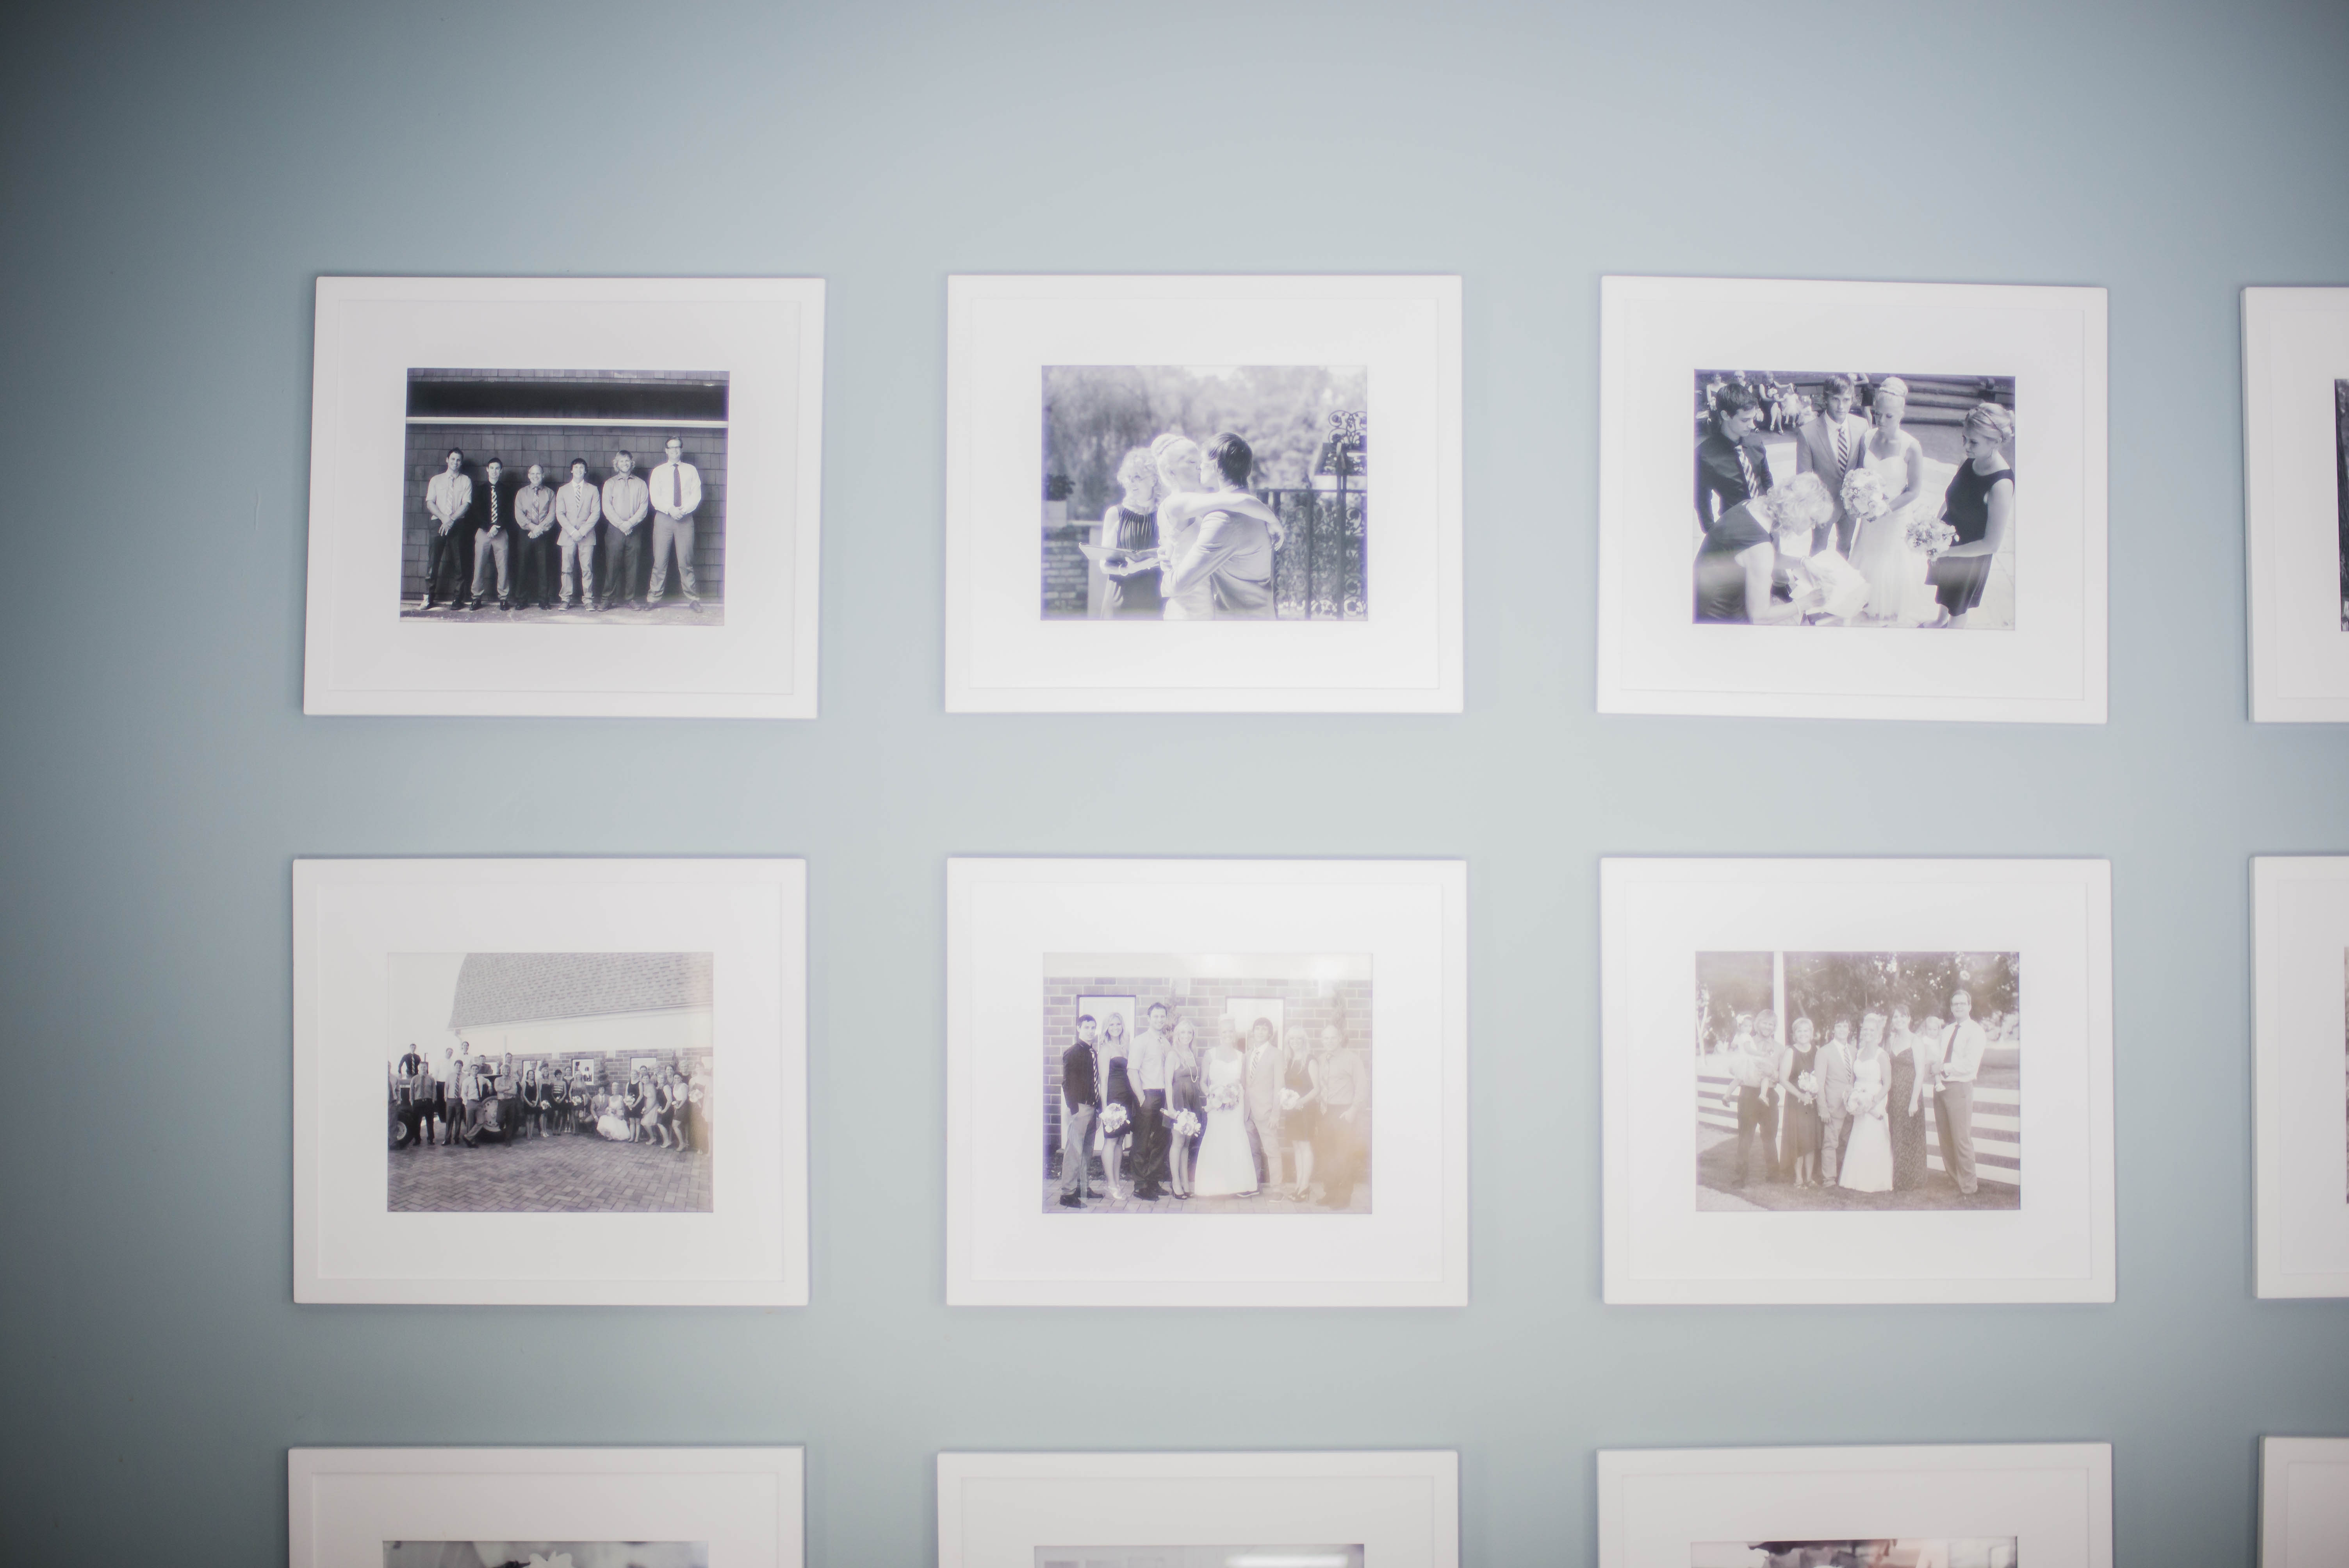
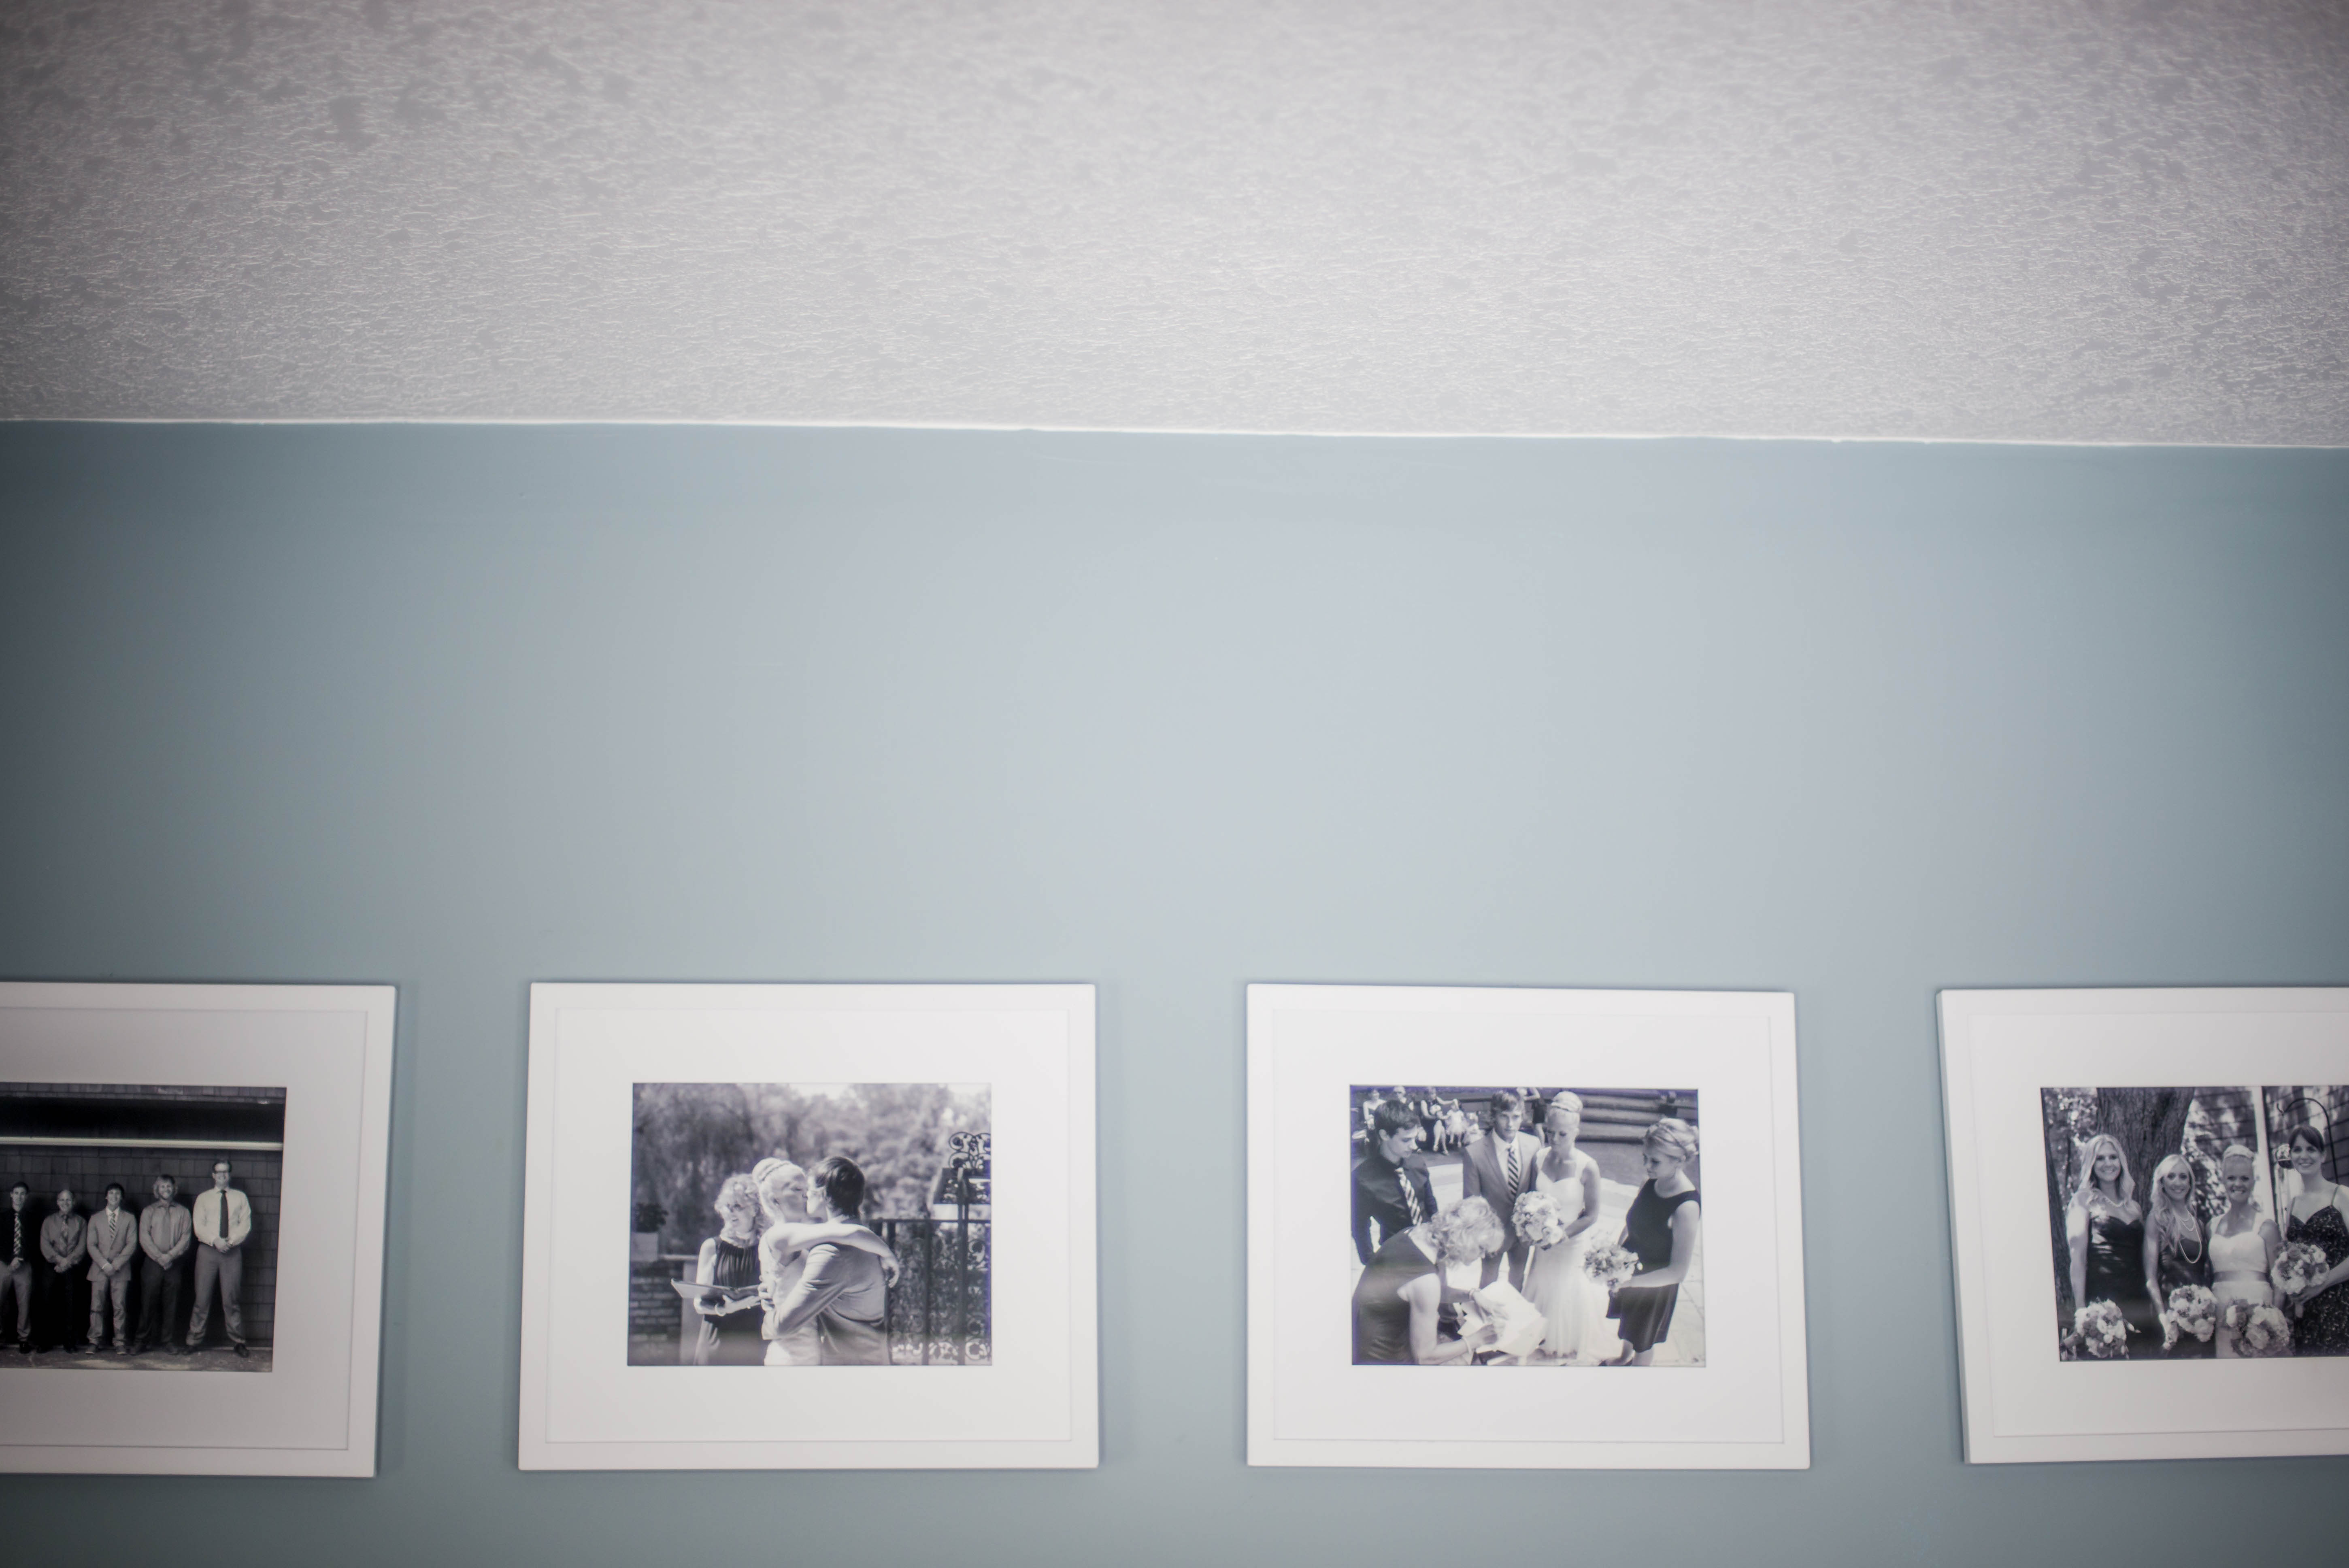
I always like to create a story within my gallery walls that have a special meaning. I am big into family photography. So within each gallery wall, I like to stick with a family theme for our home. Within this gallery in our dinning room, I printed all black and white photos from our wedding. I heavily contemplated leaving them in color, being it was such a beautiful summer day with bright vibrant colors. However, being I had painted the walls in our home in a grey scheme I wanted to keep the images more classic and neutral to go with the blue grey wall color. And I also wanted to keep these images framed for years to come and knowing me I would get easily tired with the color pallet in the images.
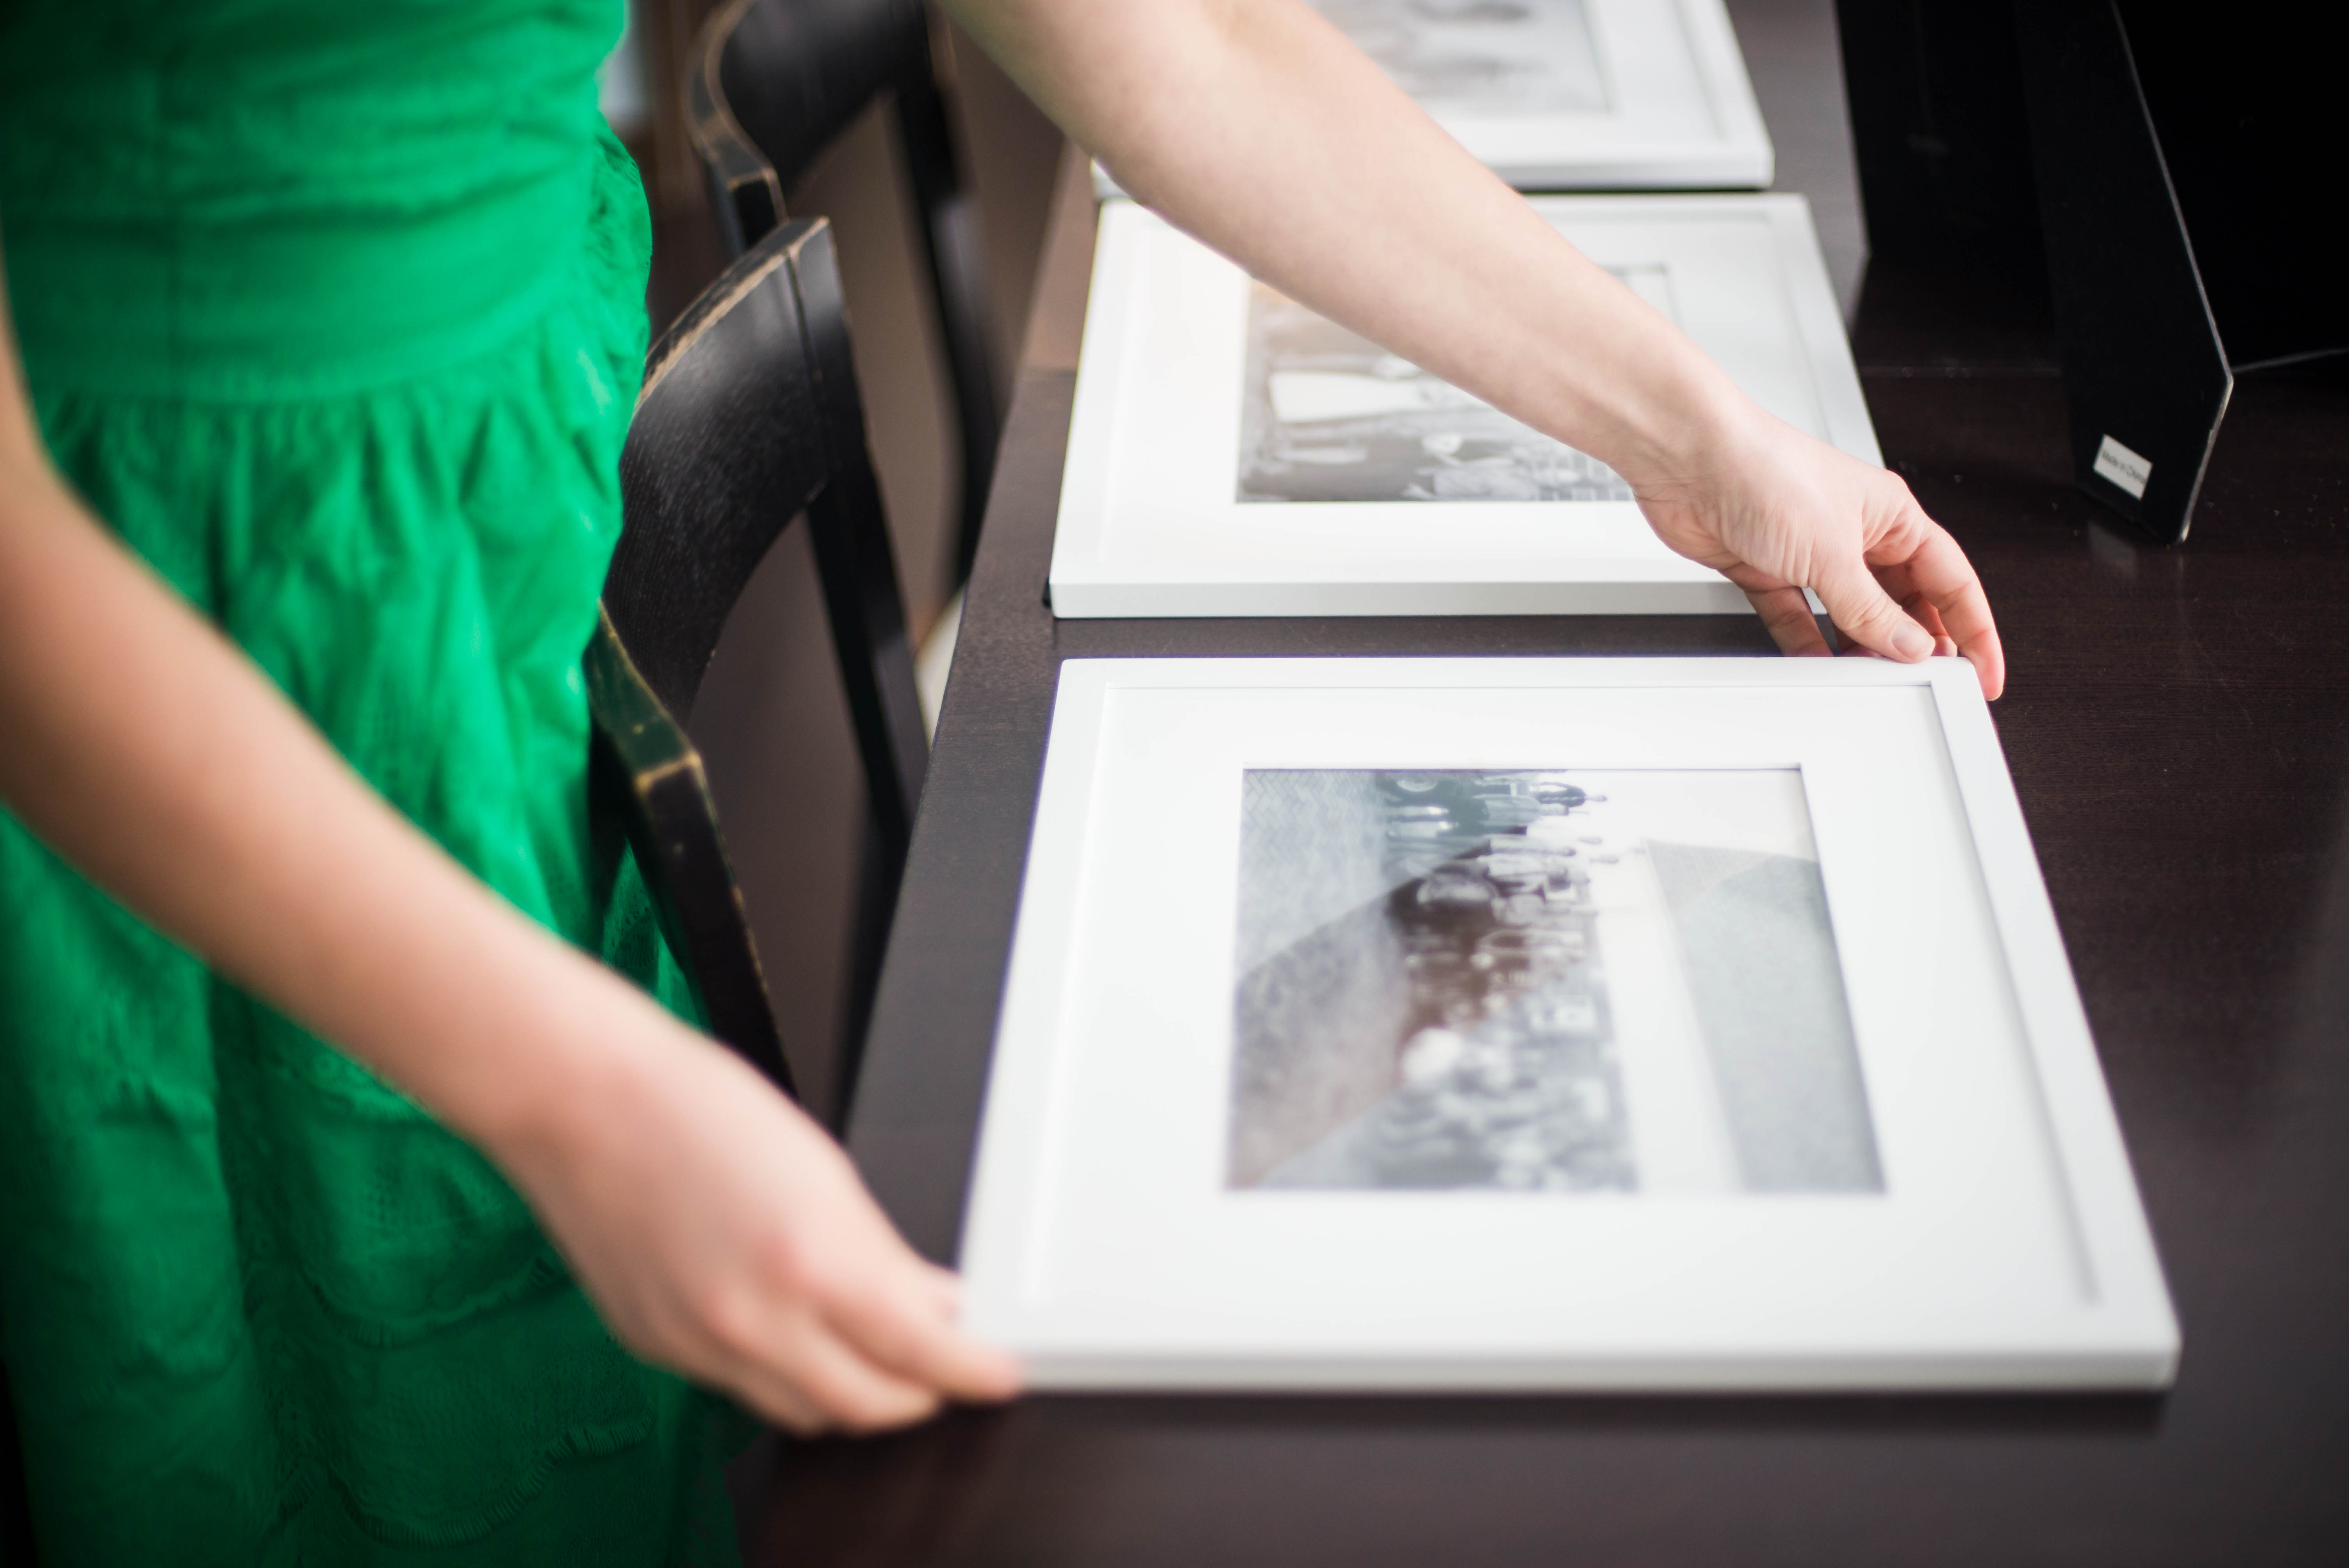
Remember that your gallery wall isn’t just about the images in the frames, but the frames that compliment the images. I typically like to mix and match my frames using gold, silver, colors, textures, and metals. However, being the dinning room opened up from the kitchen…and I like white kitchens…I wanted to keep these frames simple and clean. These frames are Better Homes & Garden and I purchased them for $9.99 each.
How to hang perfectly
Once I have created my perfect layout on the floor, I measure, level and hang. Depending on the gallery wall style you are hanging will depend on how to hang perfectly. If I go with an eclectic assortment, I’m not going to lie, I just go for it! I am not the kinda girl that likes to use templates. But if your doing a clean and even look like I did with our dining room, having 4 frames across and 3 down, we need to make sure they are perfectly even.
Keep at lease 3 inches in between each frame.
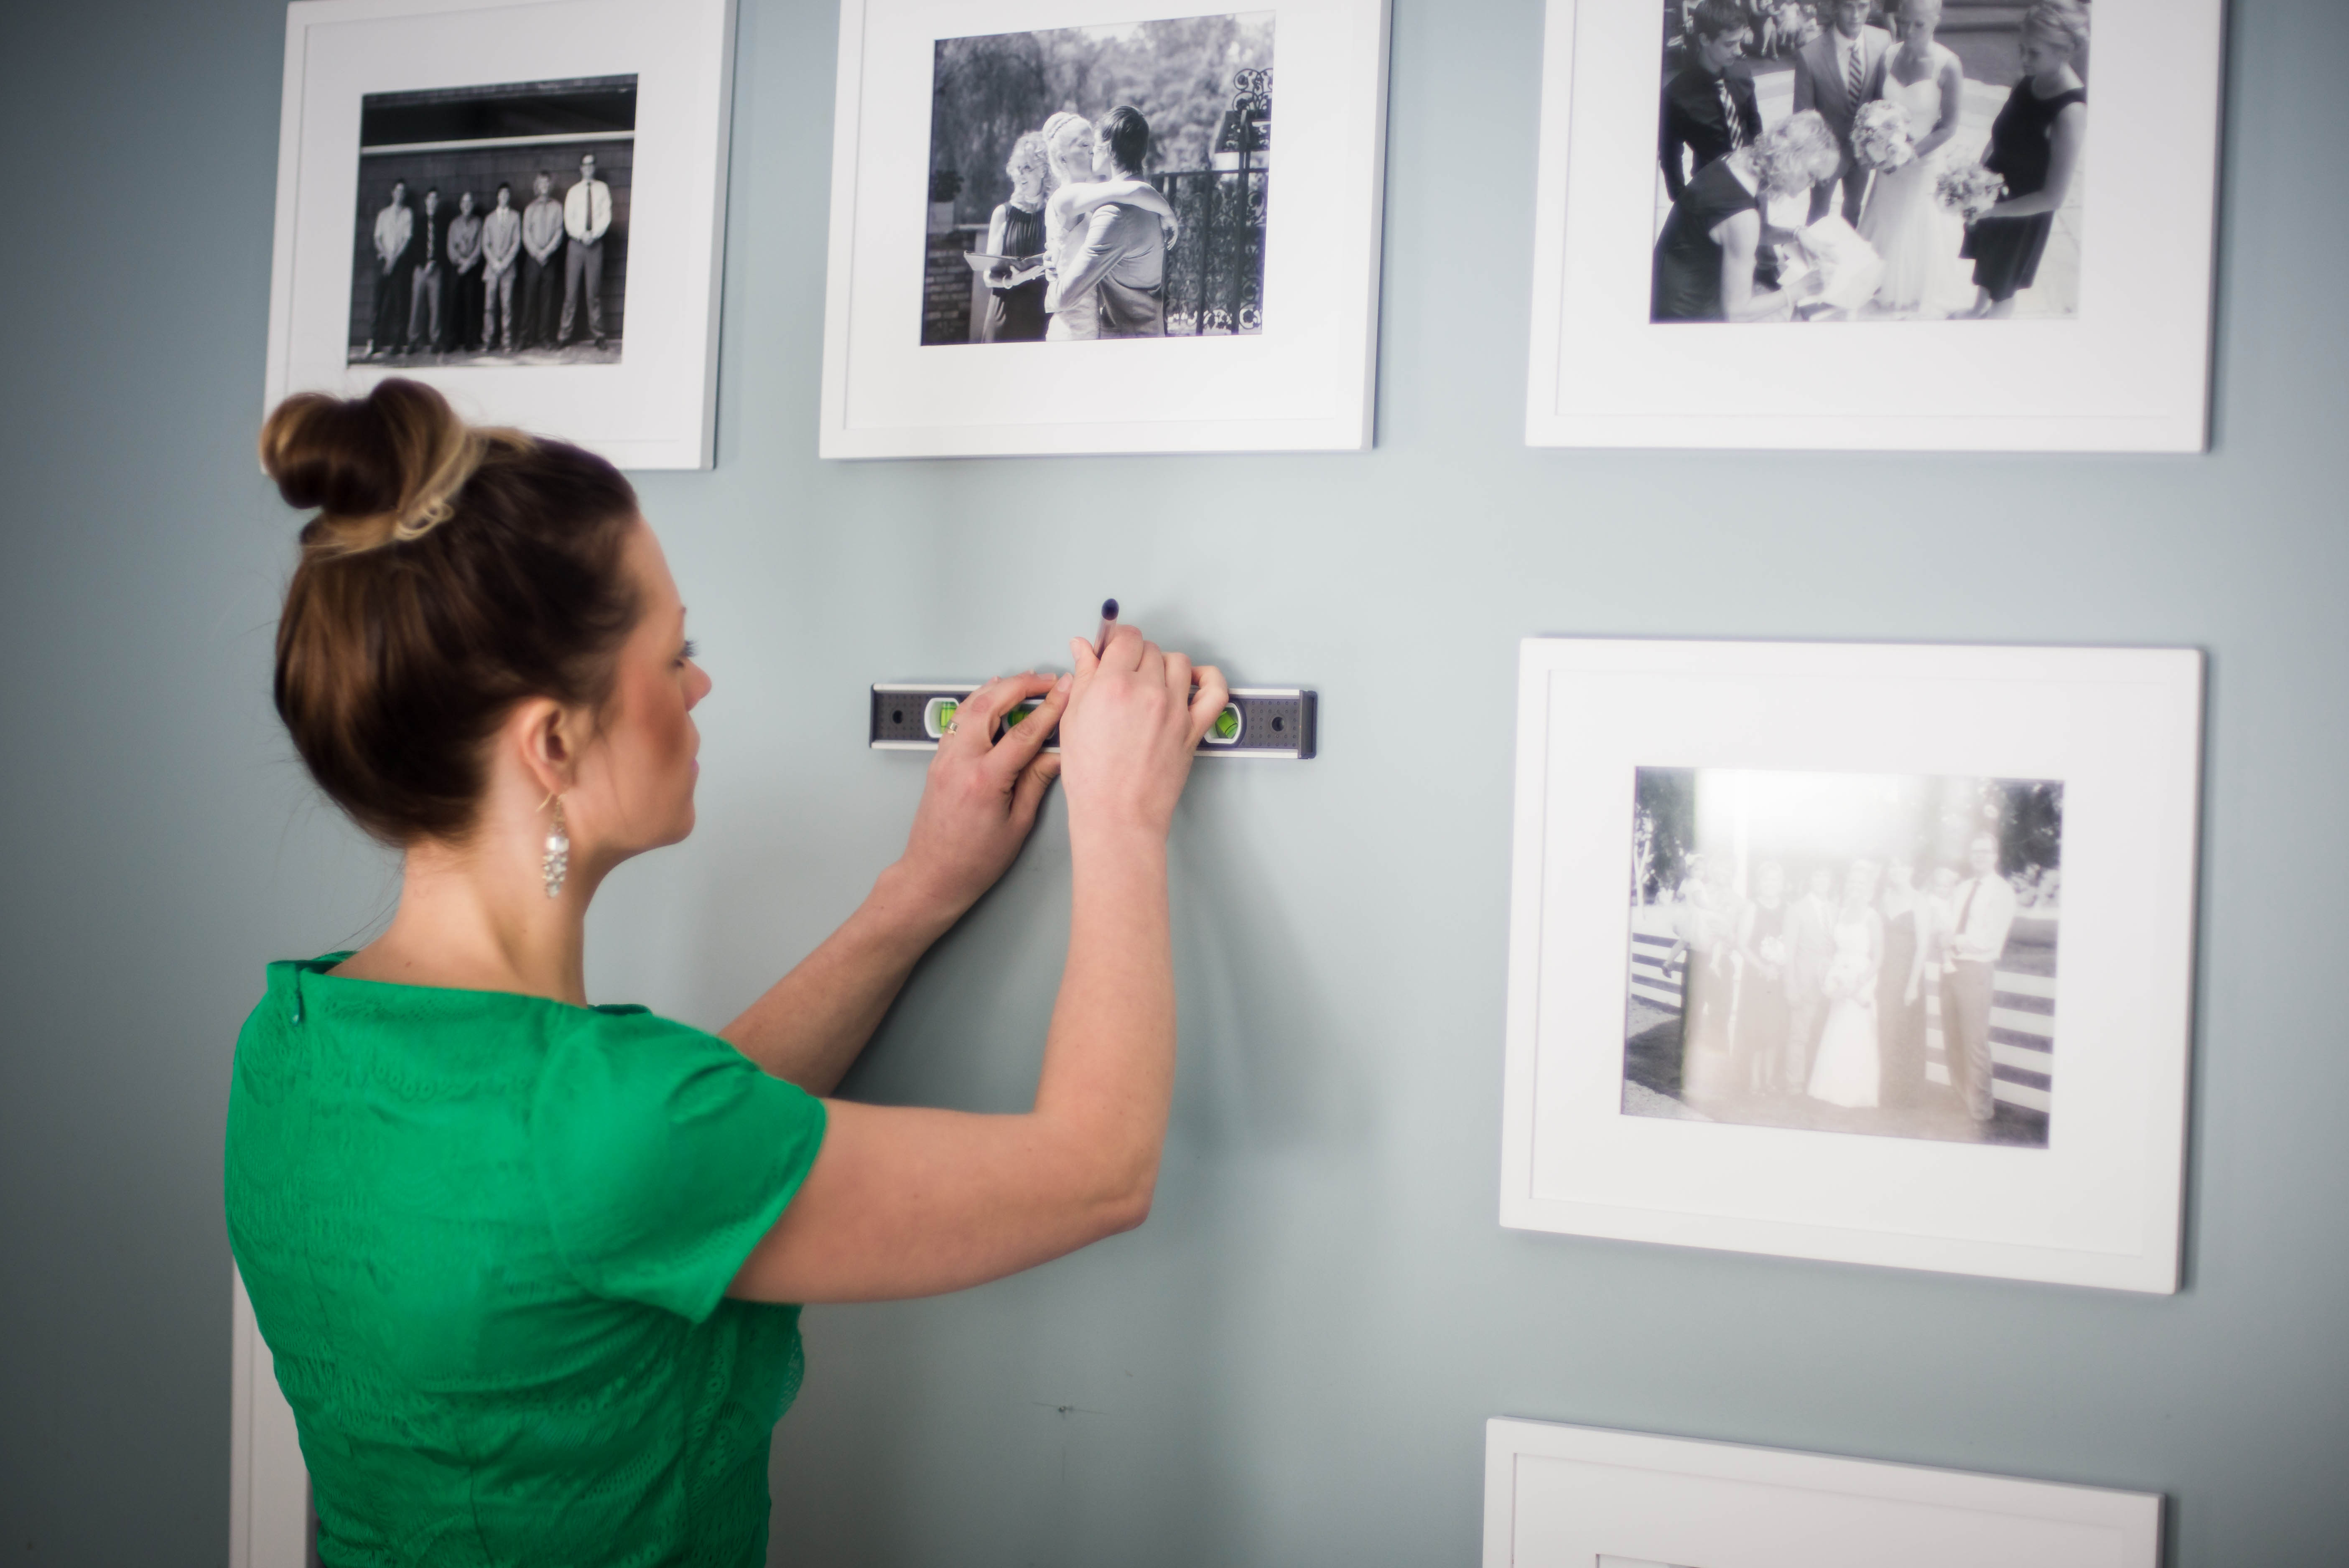
I always keep at least 3 inches in-between all of the frames. Depending on the furniture in the room will depend on where you hang your frames. For this room, knew I wanted the frames centered on the wall. Being we have our dining room table in front of the gallery wall, I wanted to be sure the frames were just high enough over the table so that you were able to see the images.
Leave 8 inches between the top of the furniture and the bottom of the frames.
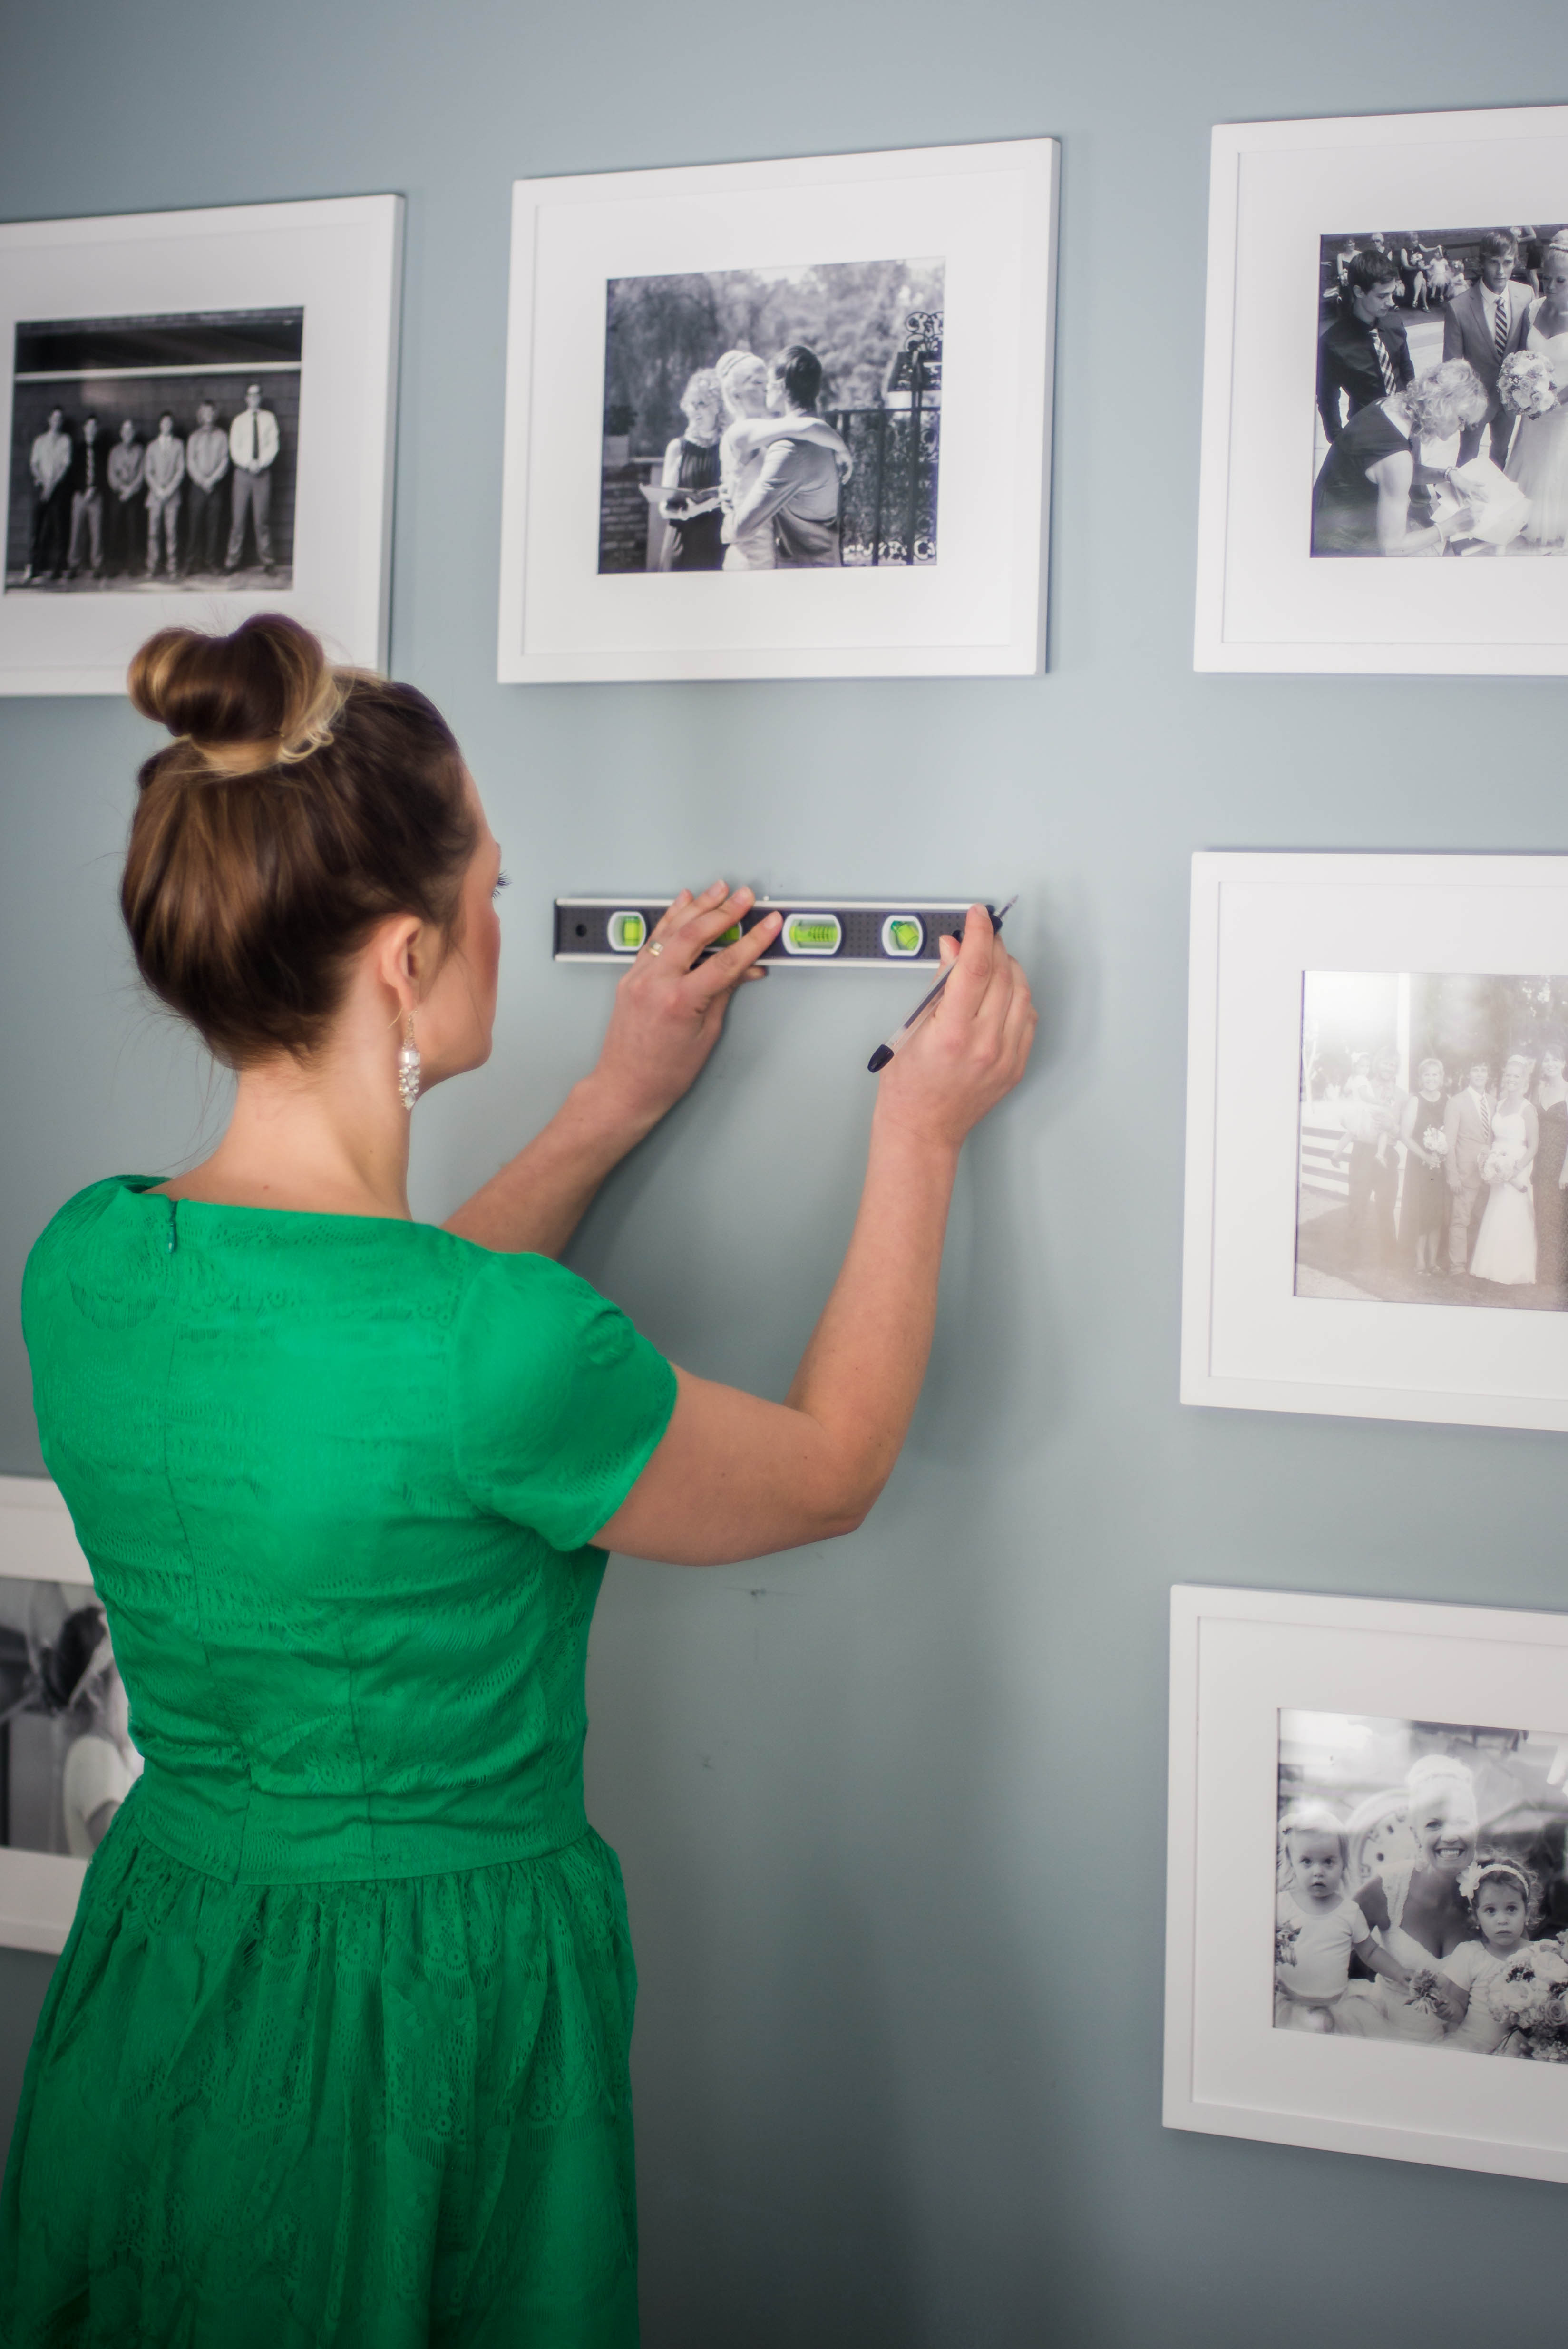
I first measured the length of the room. I found exactly where the middle of the wall was, putting a small dot on the wall with a pencil. Once I determined where the middle of the room was, I measured 1.5″ over from the dot to the right and 1.5″ from the dot to the left, making small marks. That was my placement for where I needed to have the edges of each frame. Using a level, I ensured my dots for each frame were at the same height, making 4 small dots across. Using a level, I then measure down and up from each dot, ensuring I had 3 marks vertically. Once I had my dots for where the nails needed to go, I got my hammer out and went to town, hanging each frame.
If you have a large collection of prints you are going to be scattering throughout your wall at different heights, I always start by hanging the largest piece that will get the most attention and be my bold, statement piece. You then can hang the additional frames around your statement piece. Go with horizontal and vertical, all different shapes and sizes. Smaller pieces are always nice to fill in as well to keep your eyes bouncing around your gallery. It’s always fun to use a few different styled frames as well. But always make sure to be consistent within your color pallet.
Remember to ensure your focal images are eye level.

Utilize as much of your wall space as possible.
Don’t be afraid to utilize as much of your wall space as possible. But always know when to stop. You also don’t want to overdue it. Think of your gallery wall as one piece of art. Always remember that not only the pieces should be cohesive but they should also be a reflection of your space, wall color, and furniture.
And there you have it! Our wedding gallery wall within our dinning room. A huge thank you to Shabby Apple for my adorable green dress.
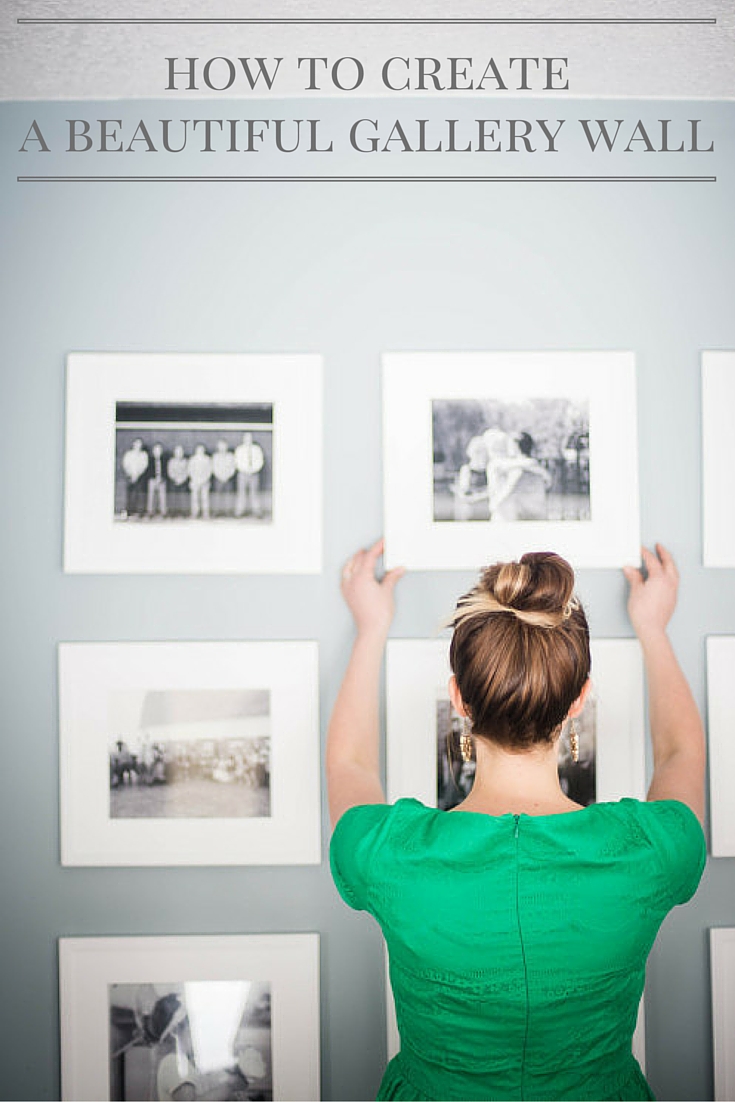
Ya!! Love that!! & a good gallery wall. Thanks for reading and supporting our small blog! Glad it gave you some inspiration. XO
I like how you said to look for open canvas space on your walls. My husband and I thinking of putting up some pictures. Looking for a big open wall will allow us to group several photos together.
Haha, I love it! They’re dresses are so adorable! I love them all!
Thank you so much!
I love your gallery wall by the way…love the black and white.
I was scrolling down the page and that green just popped….what a gorgeous color. I was just about to ask where you got it from and you have a giveaway for one at the very end. How exciting.
I love gallery walls the only problem I come across is that I don’t have enough wall space lol I love all the pictures and would love to display so many more but don’t want it to look too cluttered.