Queensland Mudroom Refresh
We recently just finished up a project in Maple Grove, MN, and we, as well as the clients, were blown away by the mudroom transformation.
One thing we loved about this project is that they didn’t skimp. Not that they bought all the most expensive things, but they wanted to transform their space and that meant their entire space.
The main focal point for the project was the kitchen, which I’m sure you will all see 300 photos of on Instagram, but the mudroom was one of my favorite spots that we did.
Mudrooms can be tough.
A lot of people don’t want to spend the money on a space that doesn’t really have any value other than storing and putting on shoes/coats. However, it is often the first thing that you or others see when coming into your house.
Mudrooms have become increasingly trendy over the past few years so we’ve gotten more and more requests to do them. For this particular project, we used a lot of white, gold, black, and wood colors throughout the rest of the project.
So for the mudroom, we stuck with that same scheme.
The new flooring that we had installed extended into the mudroom so already it looked updated. Before there was a simple bench and a single shelf.
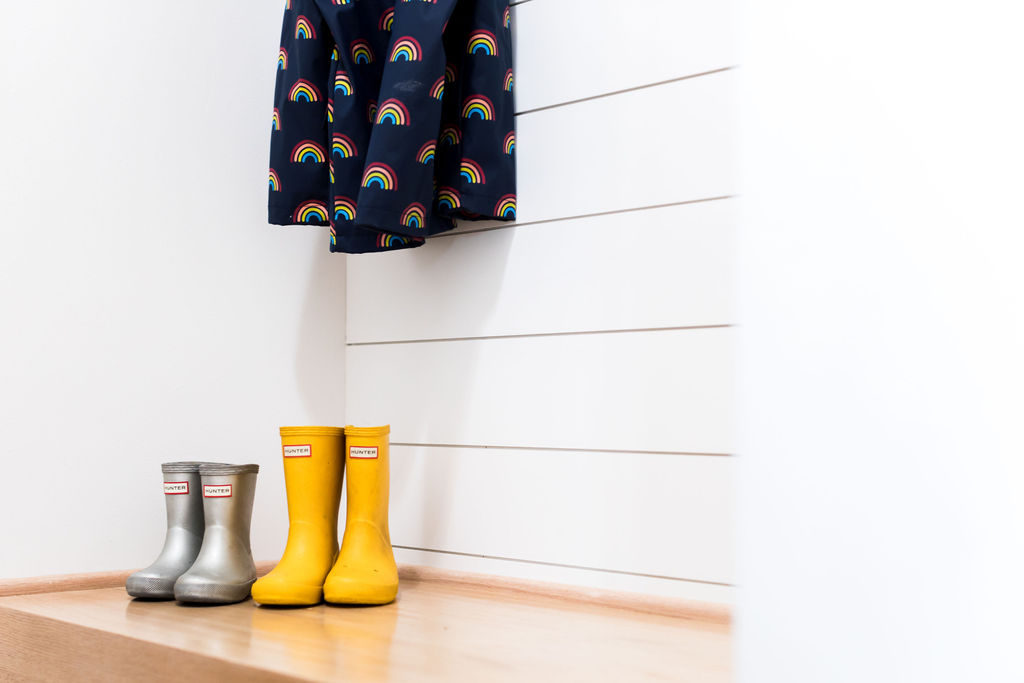
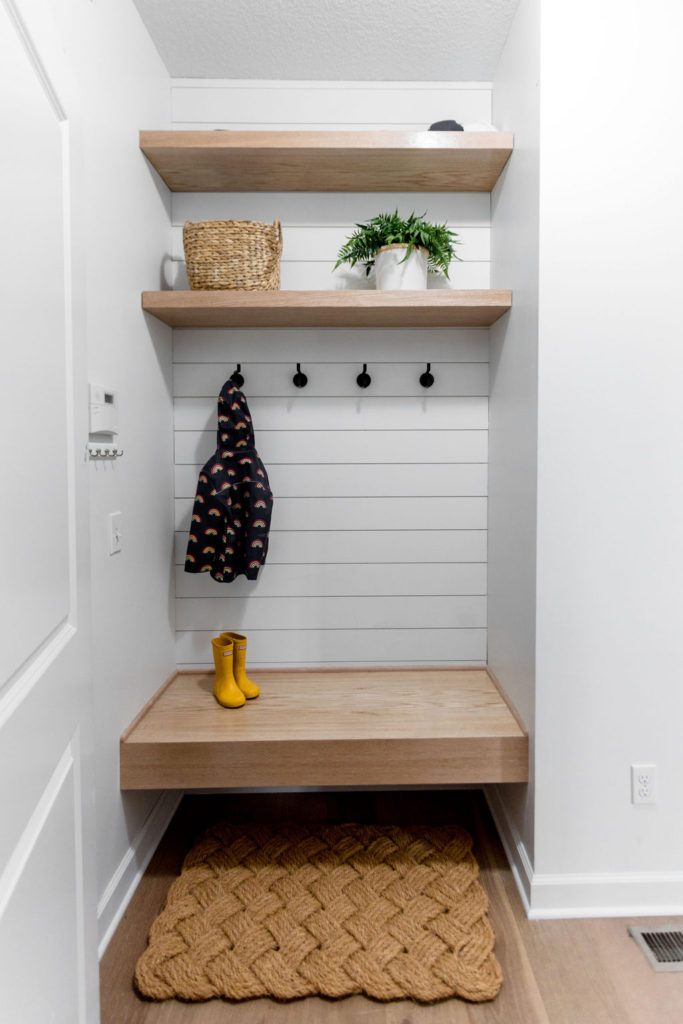
The homeowners liked that simplicity but wanted to make it look more up-to-date. After taking the old bench and shelf down we added shiplap to the wall.
Luckily with this small of space, we were able to get the shiplap in there relatively tight to both sides of the wall.
If you’ve ever done shiplap you know that when the walls are wavy as Jamie and I like to call them, it can be difficult to get a good clean result. Once the shiplap was run all the way from floor to ceiling, we covered the bottom gap with a piece of 1/4 round and we were ready for the bench and shelving.
Jamie is the master of all things floating. Just kidding, he really is a master, but we dread doing them, especially when they are in enclosed spaces.
What I mean by that is sometimes floating shelves, often in bathrooms or a kitchen, are freely hanging and not enclosed by any walls. You are able to mount your bracket and just slide the shelf on.
But for enclosed spaces where the shelf has to fit tight to the left wall, the right wall, and the back wall it can be extremely tricky to get it to lay flush with the wall. Walls for the most part are seldom perfectly square.
Most of the issue comes from the taping and mudding. There’s a lot of fanning out, and certain spots have more mud build-up than others.
This makes hanging these floating shelves very difficult. For this mudroom, we had to cut both the bench and the 2 shelves to the contour of the wall.
For the bench, we just needed to get close given we were doing a 1/4 round on the border. But for the shelves, we wanted to get as exact as we could since we had nothing to cover our gaps.
To do this, we scribe a line on the shelf itself that follows the exact contour of the wall and then cut the shelf by hand.
The shelves are made out of 3/4 oak plywood. All the corners are mitered to give it that continuous look. Overall we were very pleased with this project as a whole.
The mudroom is a great addition to this space, and we know that when the family comes in the door, this will be the first thing they see.
To learn more about this project, be sure to check out upcoming posts, follow along on IG, or read up on tutorials to learn how to build one of the floating shelves yourself.
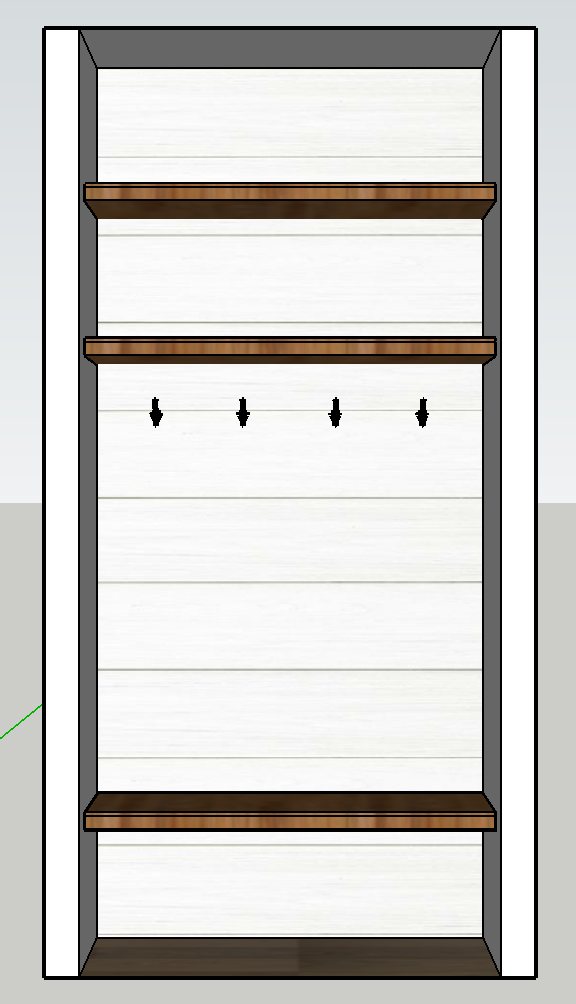
Download the Mudroom Bench Plans
To build your own bench and shelving for your mudroom, click the link below and download the plan with dimensions:
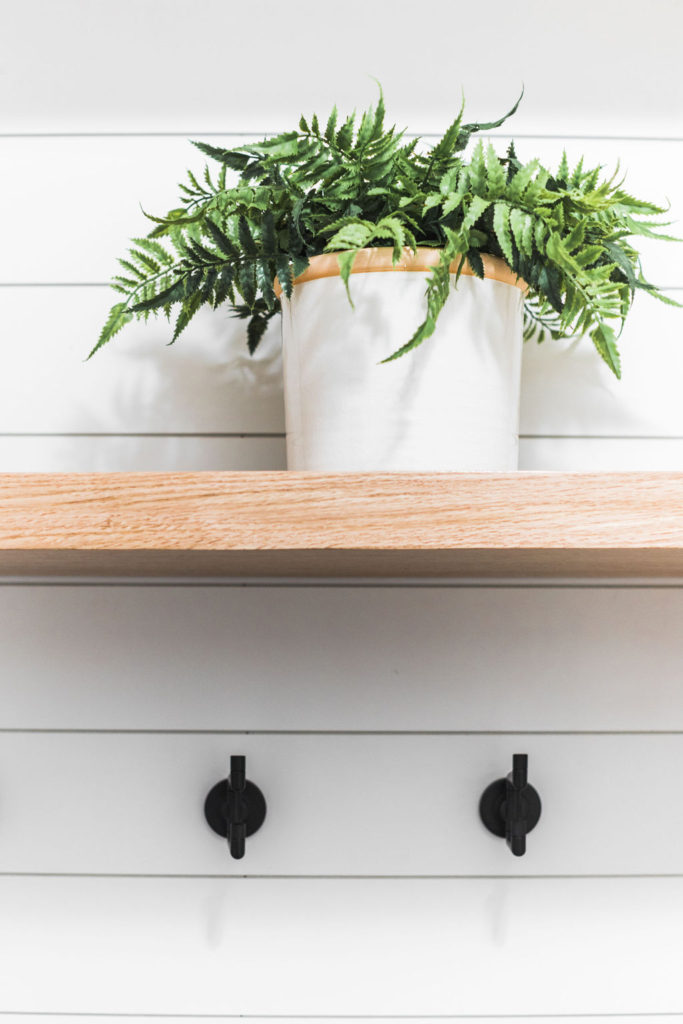
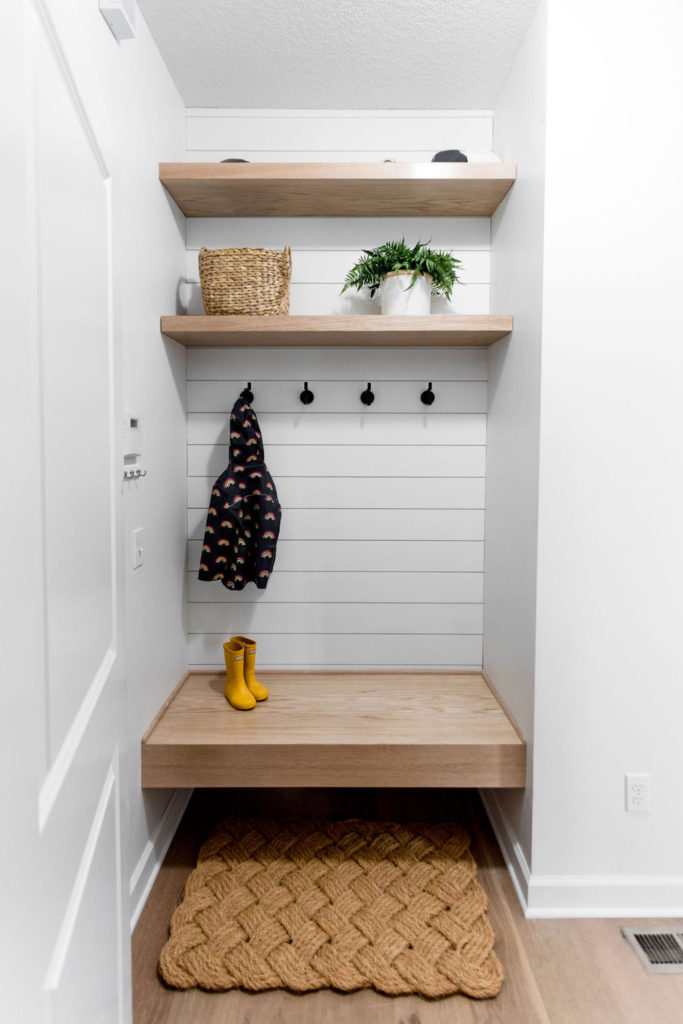
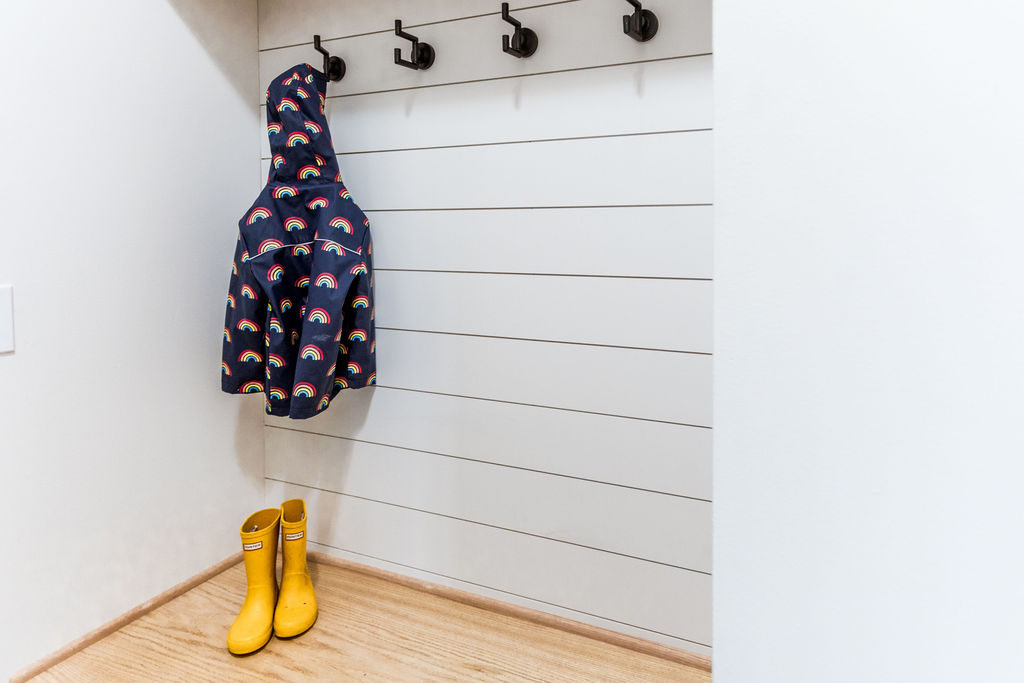
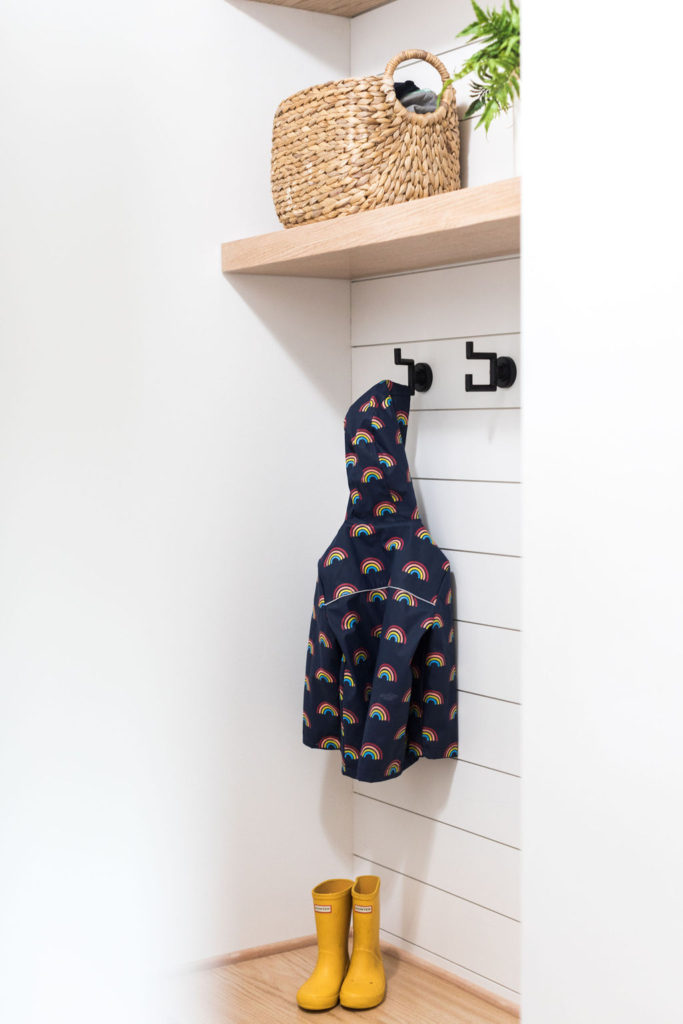
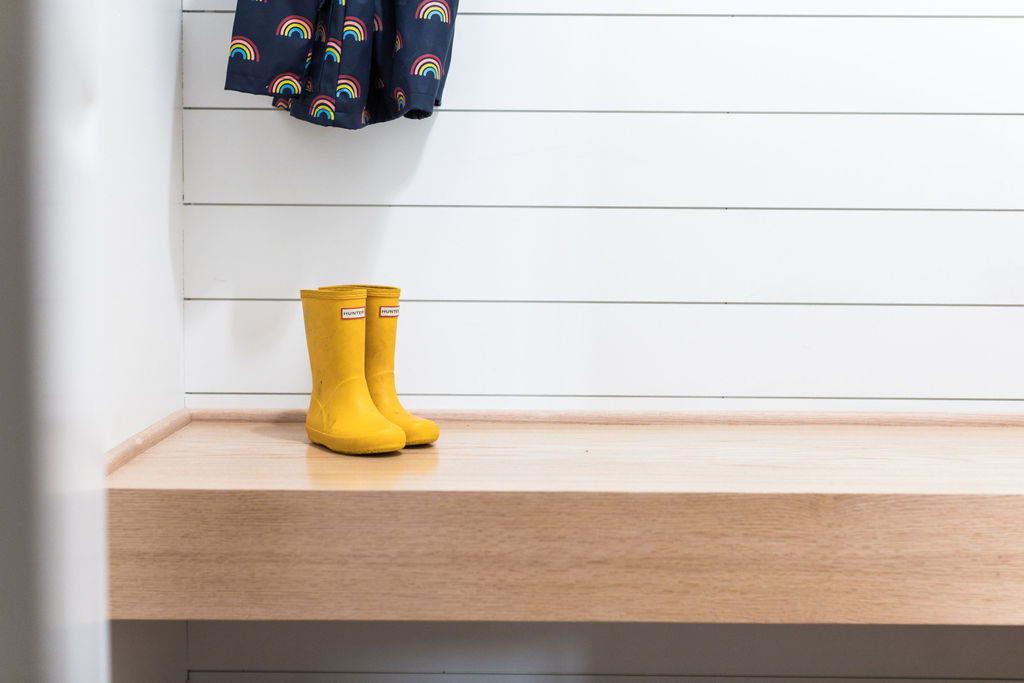
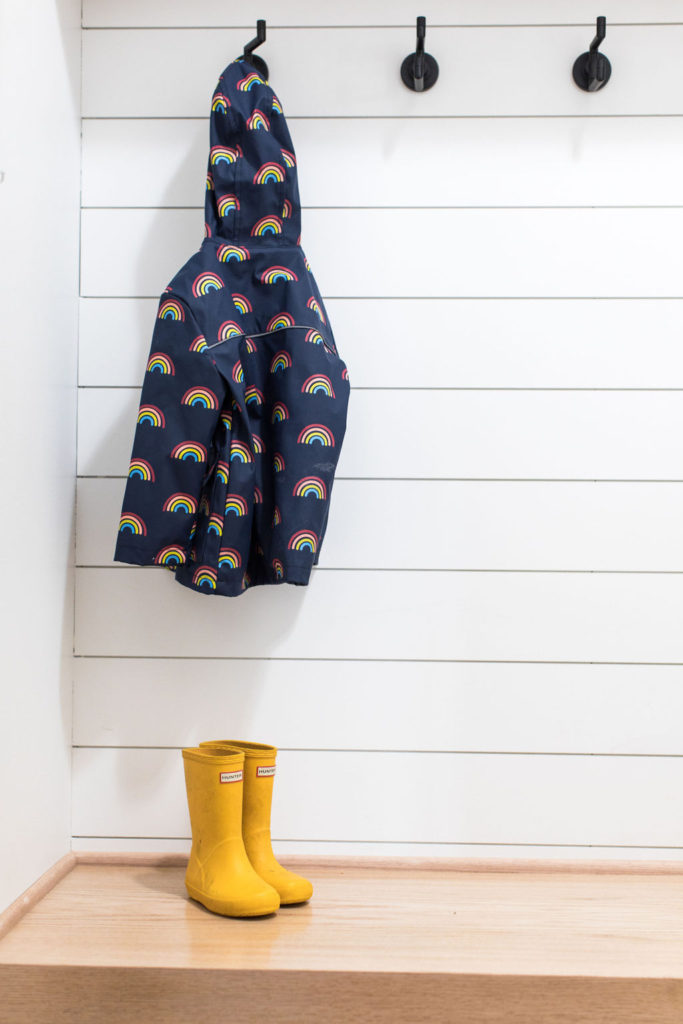
We use Minwax, wood finish, and the stain color is called “natural”
What was the all natural finish? I love the color so much.
We just did an all natural finish. And used white oak for the material.
Hi! What kind of stain did you use in this oak bench? Thanks!
Hi! What kind of stain is in this oak bench? Thanks!
haha! YES, please! We miss you Lakely!!! XOXO
really just needed to keep finding things to keep you guys around!