For the past couple of weeks, we’ve been updating our first home! The week after we closed was mostly prep and getting our house ready for projects. Then last week, we got all of the cabinets primed, ceilings scraped, and our bedroom painted.
This week is where we really started to see a ton of progress and got a ton done. We started on Wednesday with revealing the color for our kitchen cabinets!
Painting Cabinetry
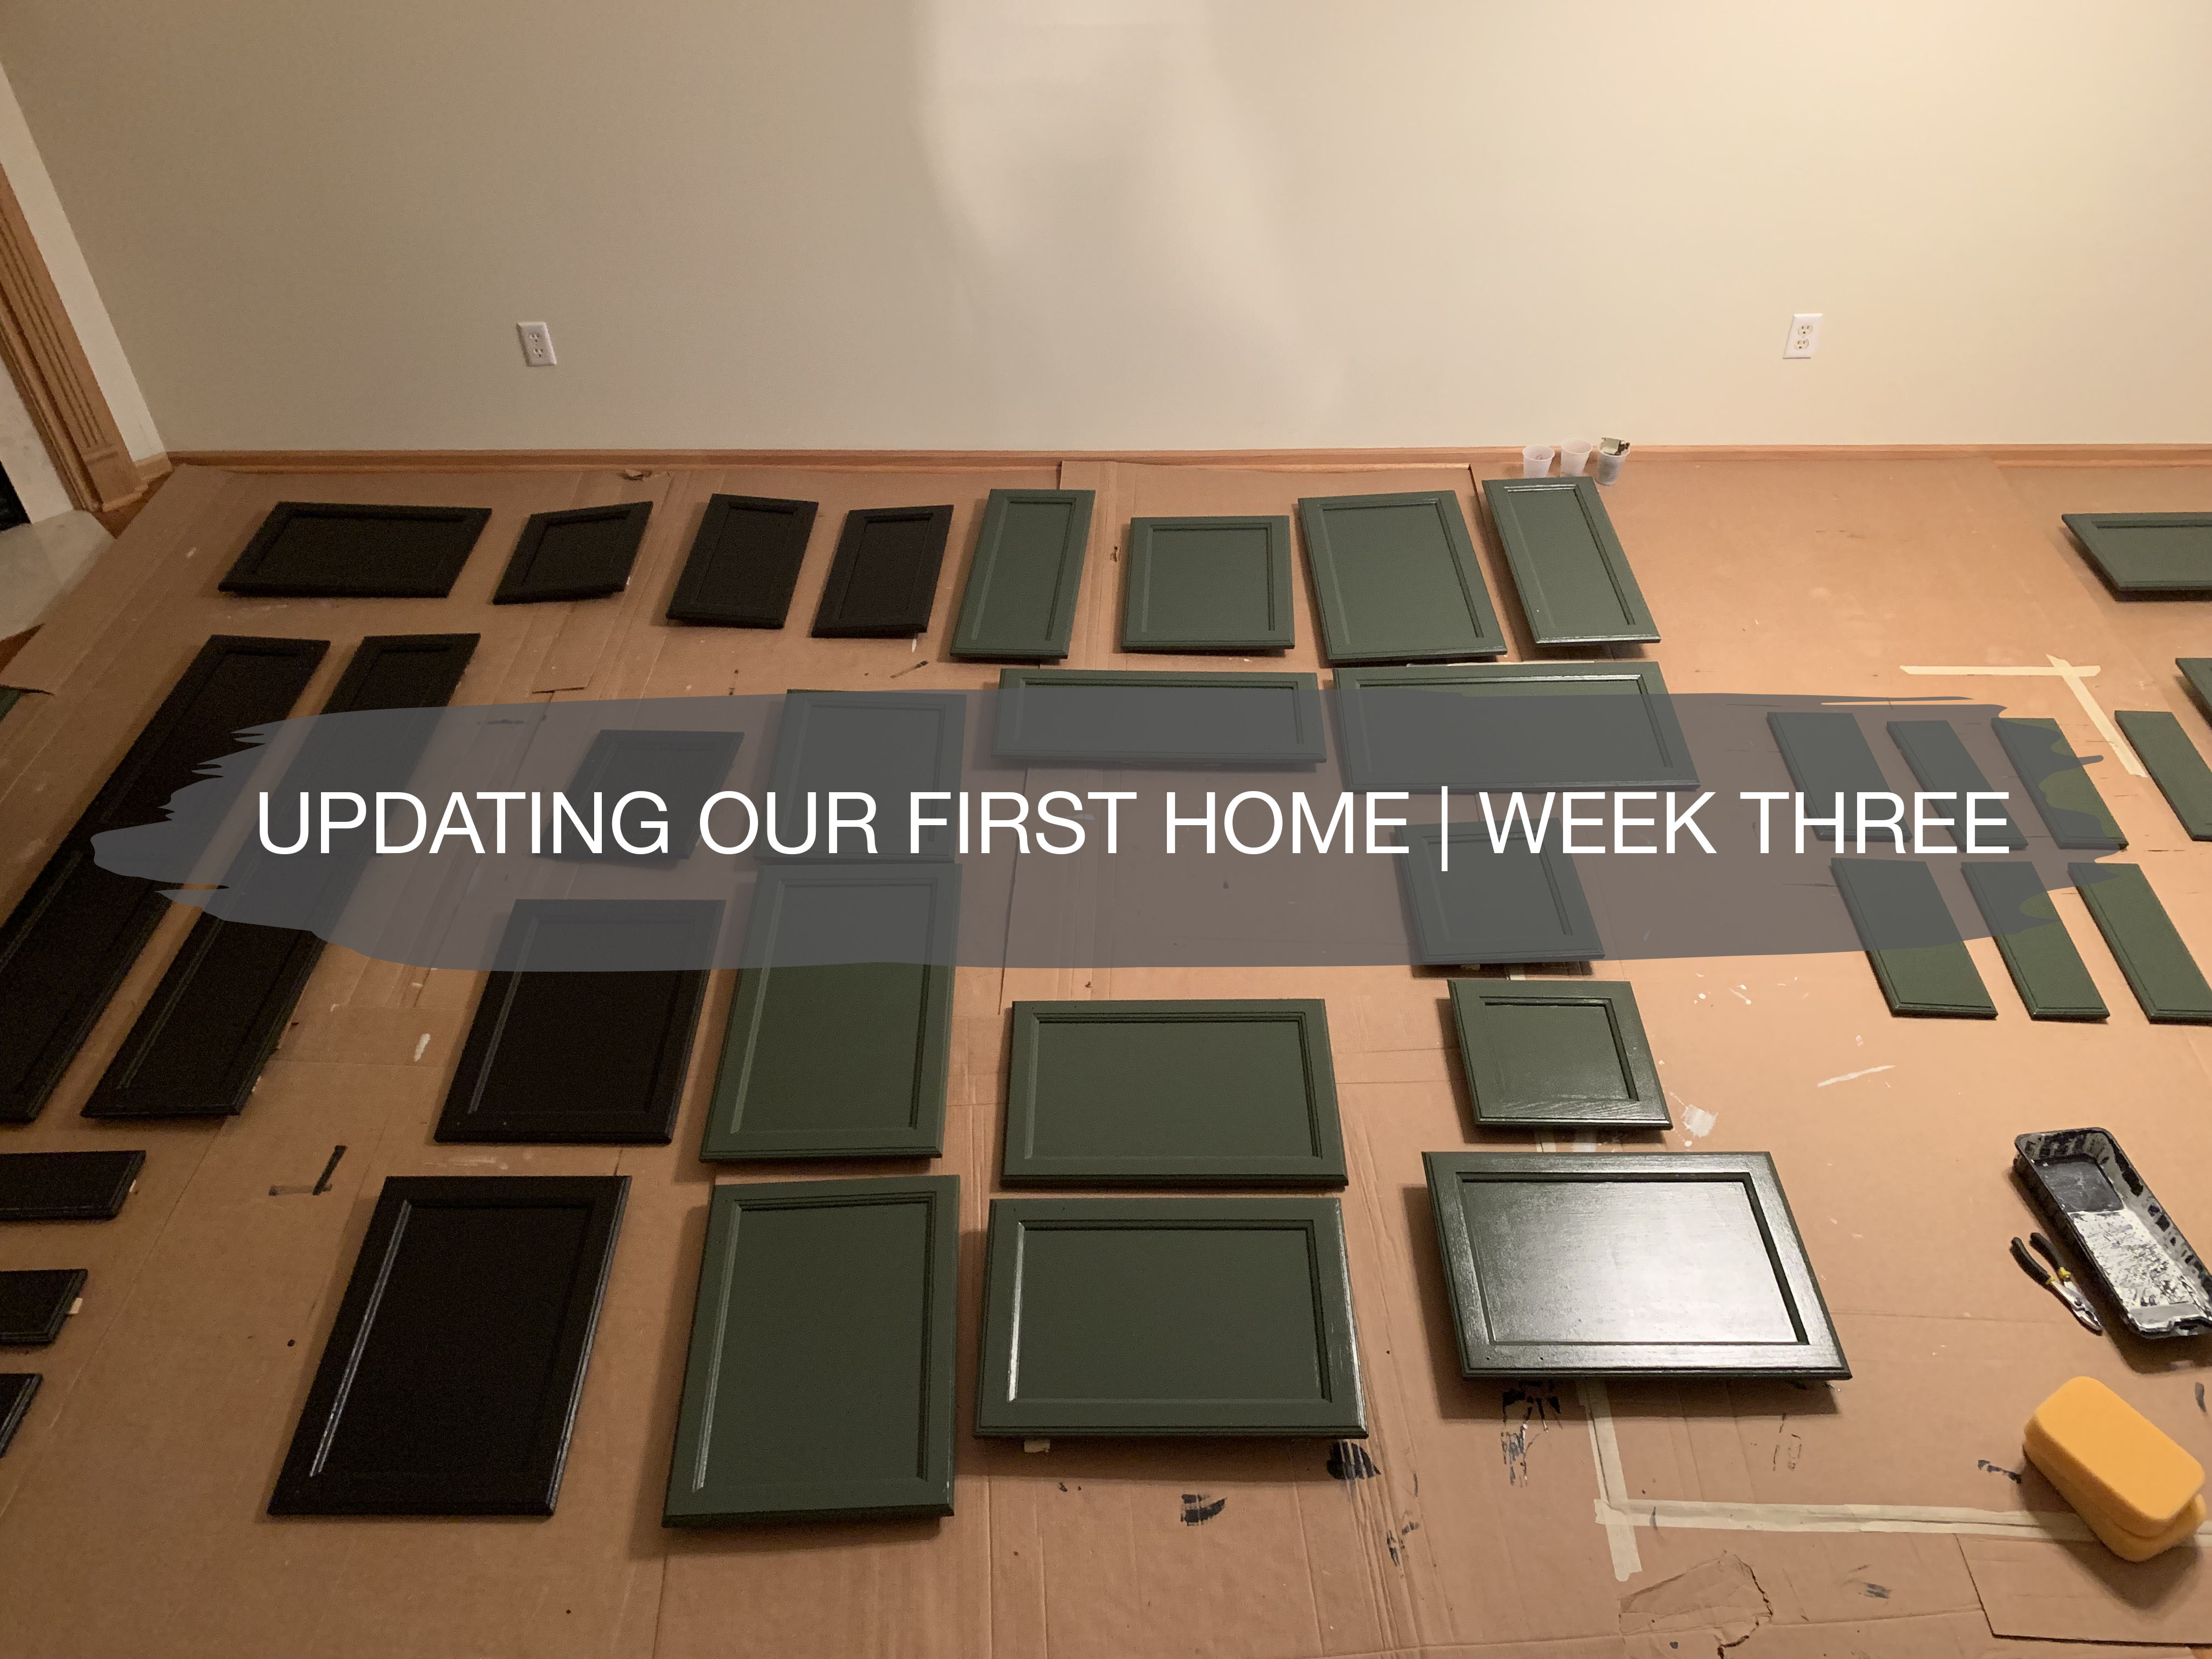
After debating between black lowers and white uppers or green, we went with North Woods by Behr. The deep green color works so well with our white appliances, cream countertops, and walls.
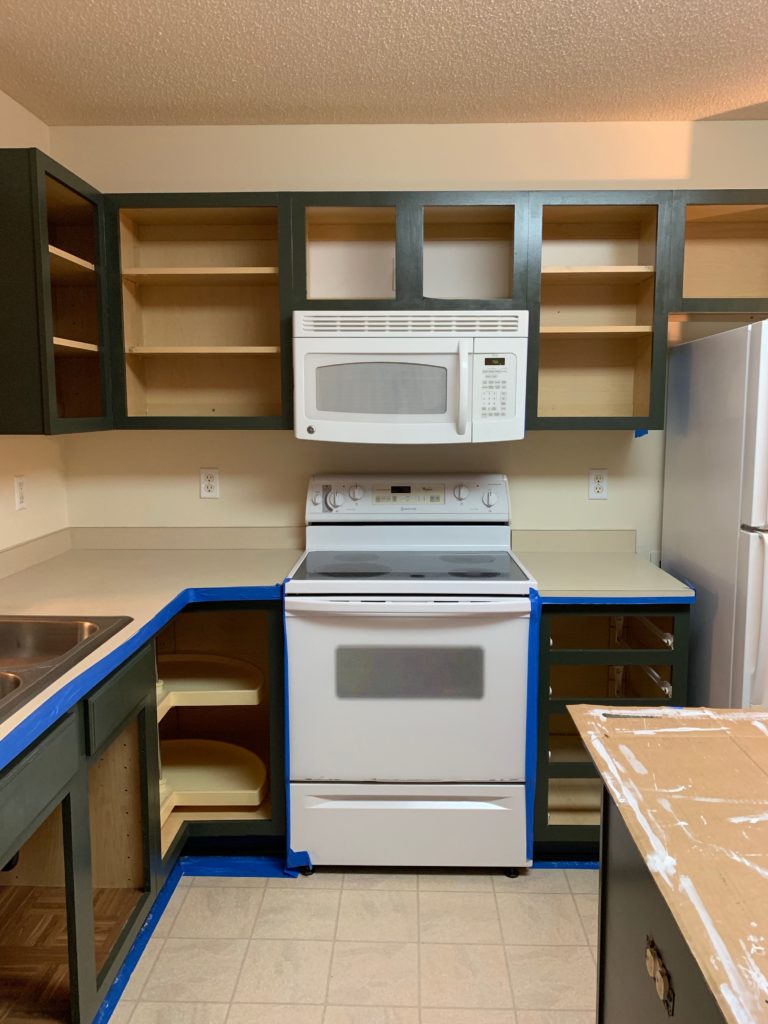
For the cabinets, this North Woods Urethane Alkyd Semi-Gloss Enamel Interior/Exterior Paint in a semi-gloss finish covers really well and turned out beautifully. Before painting the cabinets, they were primed and then we used two coats of the green to get an even finish.
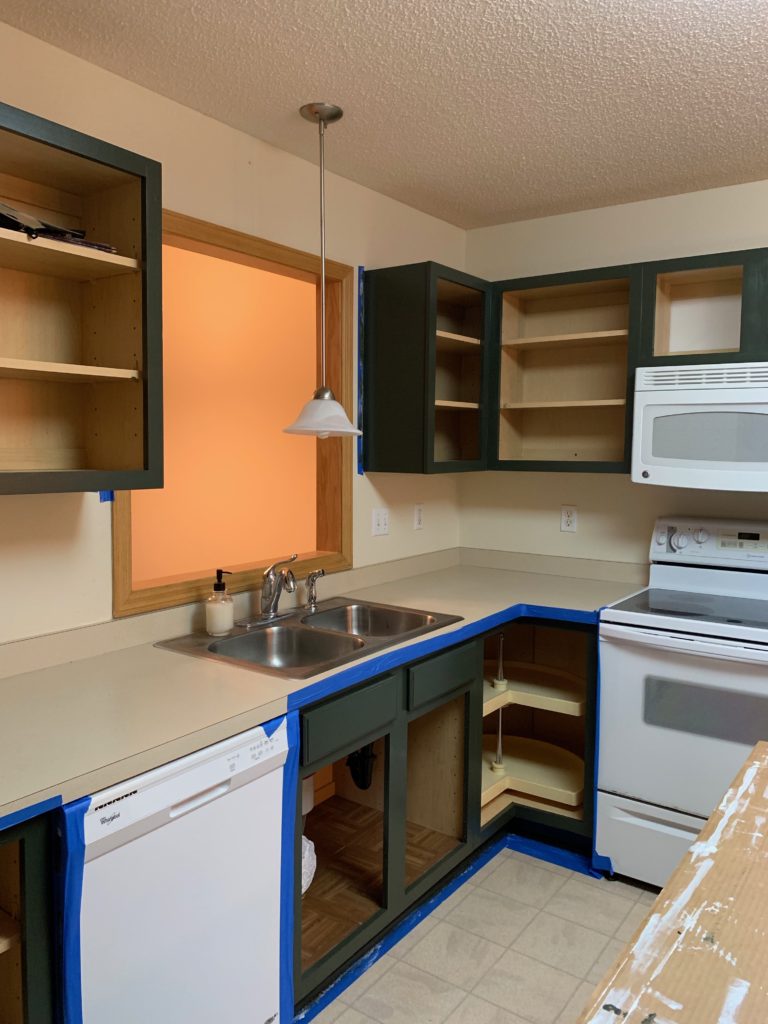
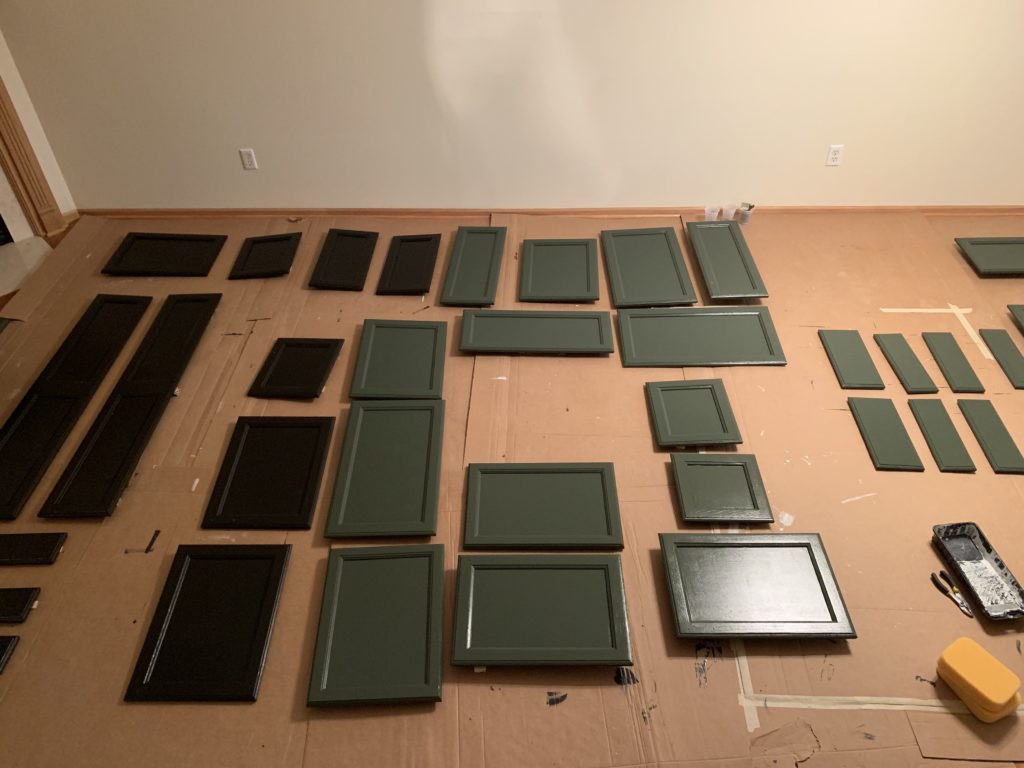
Now, all of the cabinet doors and drawers, including the black vanity cabinets, have two coats and are ready to be installed later next week. Although painting cabinetry takes quite a bit of prep work with removing the doors, sanding, priming, and painting, it was definitely worth it!
Removing All the Popcorn
The popcorn ceilings are GONE! After scraping the basement ceilings last week, we had the system down, which made the rest of them go much faster. I would fill the sprayer with water, spray the ceilings and let them soak for 10 minutes, and then Matt would follow by scraping with a putty knife.
Earlier this week, Matt and his brother got the tall vaulted ceilings in the living room scraped, which was a huge accomplishment. By the kitchen, which was our last room to scrape, we were moving fast!
Knockdown Texture
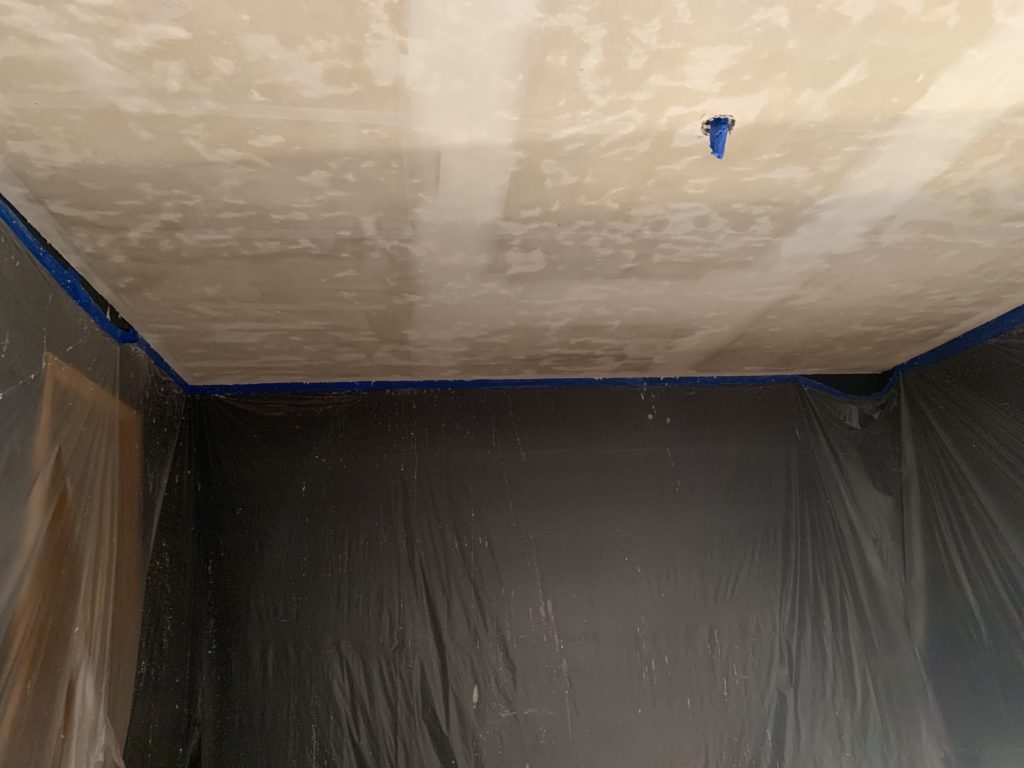
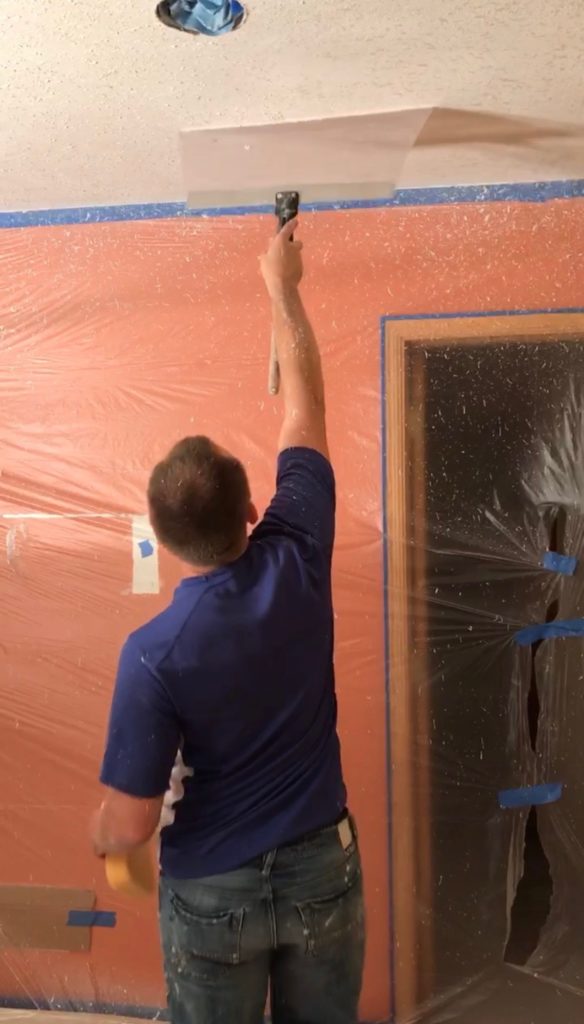
On Saturday, Matt and my dad tackled spraying knockdown. They started in the smaller room in the basement as their test room. By using an air compressor and hopper, they sprayed the ceilings with the texture and then used the knockdown knife to knock it down. They look so so good!
The basement, guest room, and sunroom ceilings all got knockdown and are ready for priming and painting next week. Again, scraping and reapplying knockdown texture is a lot of work, but we definitely think it’s worth it.
Choosing Our Lighting
Finally, this week we got all of our new lighting figured out! The current lights in our home are silver, gold, and white – very 90s – so we knew they had to go. New lighting makes SUCH a difference when you’re updating a space. And since we already had to take down all of the lights to scrape the ceilings, it’s the perfect time to replace them.
The plan for lighting is a mix of gold and black, which will also tie into the black pulls in kitchen and gold pulls in the bathrooms. Since lighting can add up, we are keeping a budget in mind with the lights.
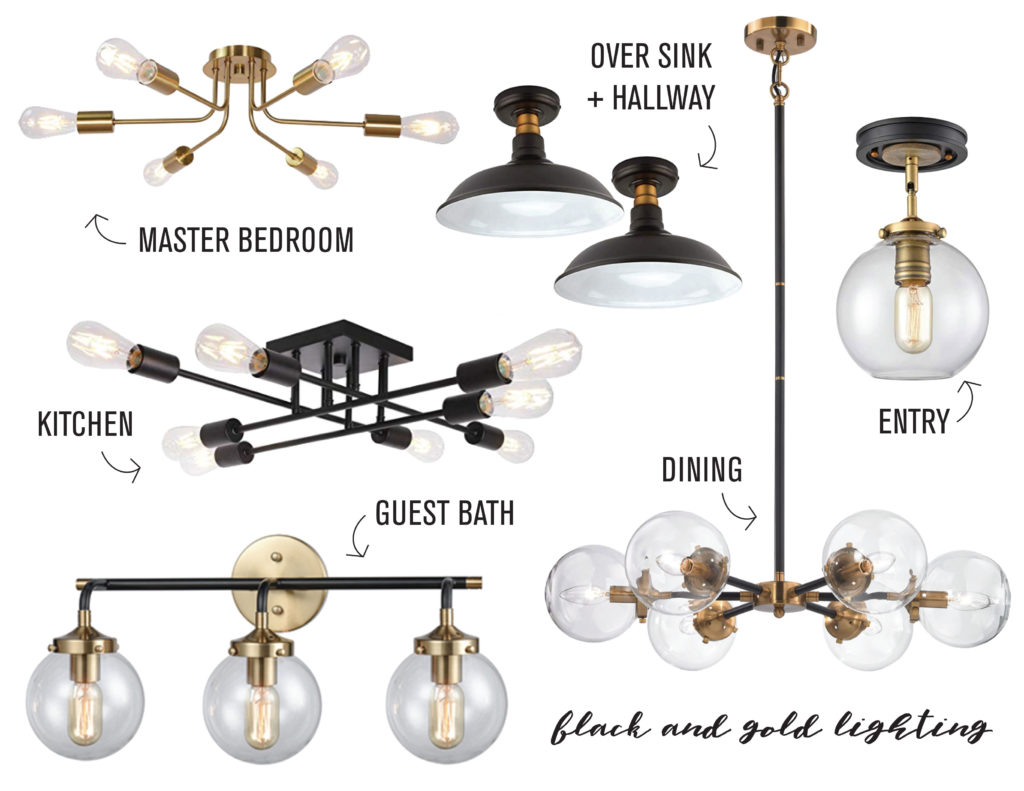
The flush mounts are only $33 on Amazon! They will be perfect for over the sink and in the hallways. For our master bedroom, the gold light will be beautiful with the dark navy walls. Our entry light can be adjusted to a vaulted ceiling and the kitchen light is replacing a large florescent light over the island. For the dining room light, we scored this beautiful chandelier from Morgan’s garage sale. In the guest bathroom, this three light sconce from Bellacor is going to make such a difference in the space.
Shop Our Lighting
Master Bedroom Semi Flush Mount | Over Sink + Hallway Flush Mount | Entry Semi Flush Mount | Kitchen Island Semi Flush Mount | Dining Chandelier | Guest Bath Sconce
