all things
Home
Welcome to our digital home! We are a licensed and insured team of contractors, designers, and content creators, offering comprehensive design, build, and media services. Our expertise spans a range of areas, from guiding you through our personal home projects and client works to offering online courses and in person business and marketing workshops.
We also share glimpses into our family and team lifestyle, ensuring transparency and authenticity in all our endeavors. Since 2012, we've been dedicated to keeping it real, providing an open book experience for our valued clients and readers. Explore our world, where creativity meets craftsmanship and authenticity reigns supreme.
Check out our services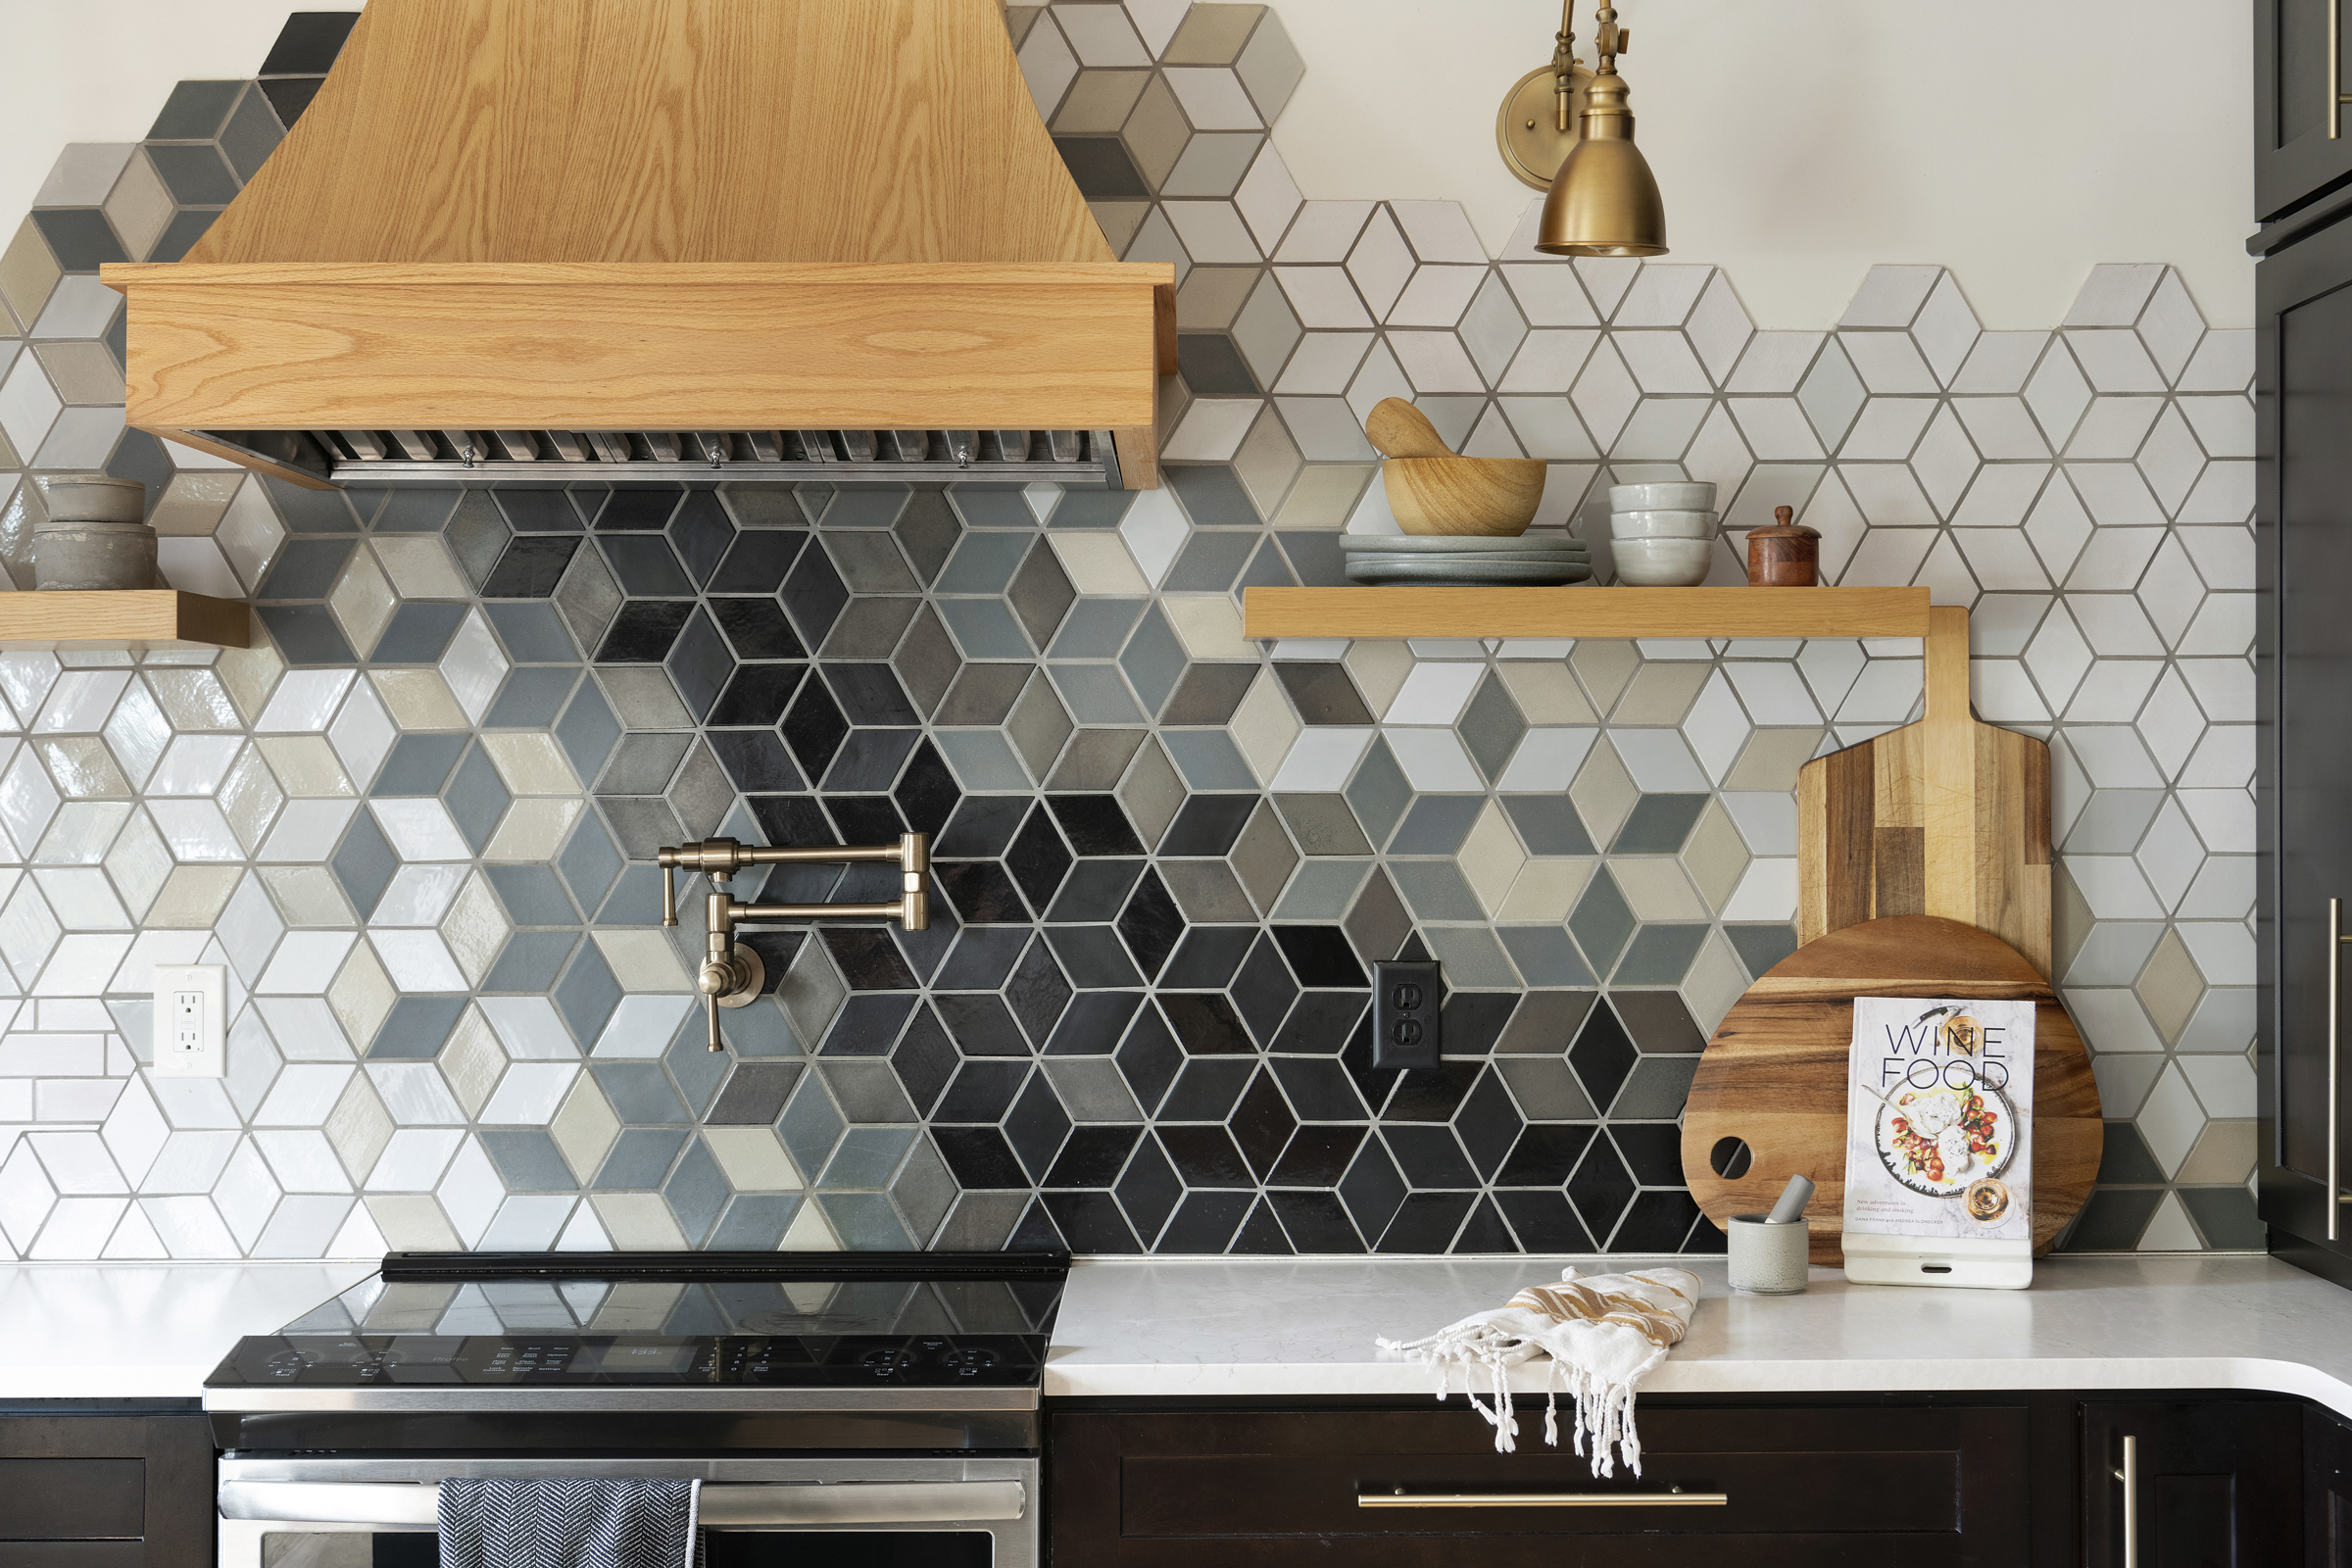

family lifestyle
Minnesota-based & nationwide, construction2style is not just a construction company—it's a family lifestyle brand. Originating as a husband-and-wife remodeling duo, we have grown into a dynamic and skilled crew.
Our journey has been one of evolution, and we take immense pride in our talented team. We're here, eager and ready to collaborate with you—provided you bring kindness to the table. Let's create something incredible together!
Meet our team
Shop our Products
Welcome to our cozy little corner of treasures! Our shop might be small, but it's always evolving, offering a delightful array of products. Dive into a world of home decor wonders, discover fashionable apparel that speaks to your style, and explore our collection of downloadable digital marketing templates. Here, you'll find a little bit of everything to add a touch of charm and creativity to your life and business.
Our ShopBlog

7 Best Wallpaper Design Ideas
Having originated in China, slowing making its way to Middle East and the rest of the world, wallpaper has been bringing joy to so many spaces for generations. Wallpaper effortlessly…
Read More
Mental Health, Boundaries, and Self Care | Curious Builder Podcast
I recently had the honor of being a guest on episode 48 of The Curious Builder with Mark Williams. Throughout this conversation, we had a transparent discussion about my turbulent…
Read More
What are Google Web Stories, How to Create Them + Best Practices
Google Web Stories have emerged as an innovative way to engage users with bite-sized, visually rich content. For entrepreneurs, contractors, and business owners rooted in marketing, leveraging Google Web Stories…
Read More
PF Chang’s Chicken Lettuce Wrap Recipe
Okay, brace yourself for a bold claim – dare I say, this chicken lettuce wrap recipe may just be better than the original PF Chang’s recipe itself? If I do…
Read More
Edge Bar & Boutique Reveal
Welcome to the Edge Bar & Boutique Reveal! Have you been yet? If not, its a must to go to, although we’re a bit biased, as it’s nestled in the…
Read More
Paint Color Guide: Within our Personal Home
Welcome to the colors of our home! Within these walls, we’ve embraced the power of hues, understanding how they can transform emotional landscapes, and provide comfort and inspiration. But let’s…
Read More
Streamline Your Projects with Buildertrend Software
We recently chatting about our top tools for construction management, business, marketing, communication and more in our previous articles at construction2style. So, today we want to focus specifically on, one…
Read More
Books: Entrepreneurship, Sobriety, and Mind-Body Wellness
If you’ve been reading, you know I’ve been on a journey of personal growth – and one of which ways has been transforming my mornings. A commitment to an earlier…
Read More
The Best Construction Business Management & Marketing Tools
Welcome to the ultimate guide to conquering the art of construction business management and marketing! In the fast-paced world of construction, success hinges not only on the quality of your…
Read More