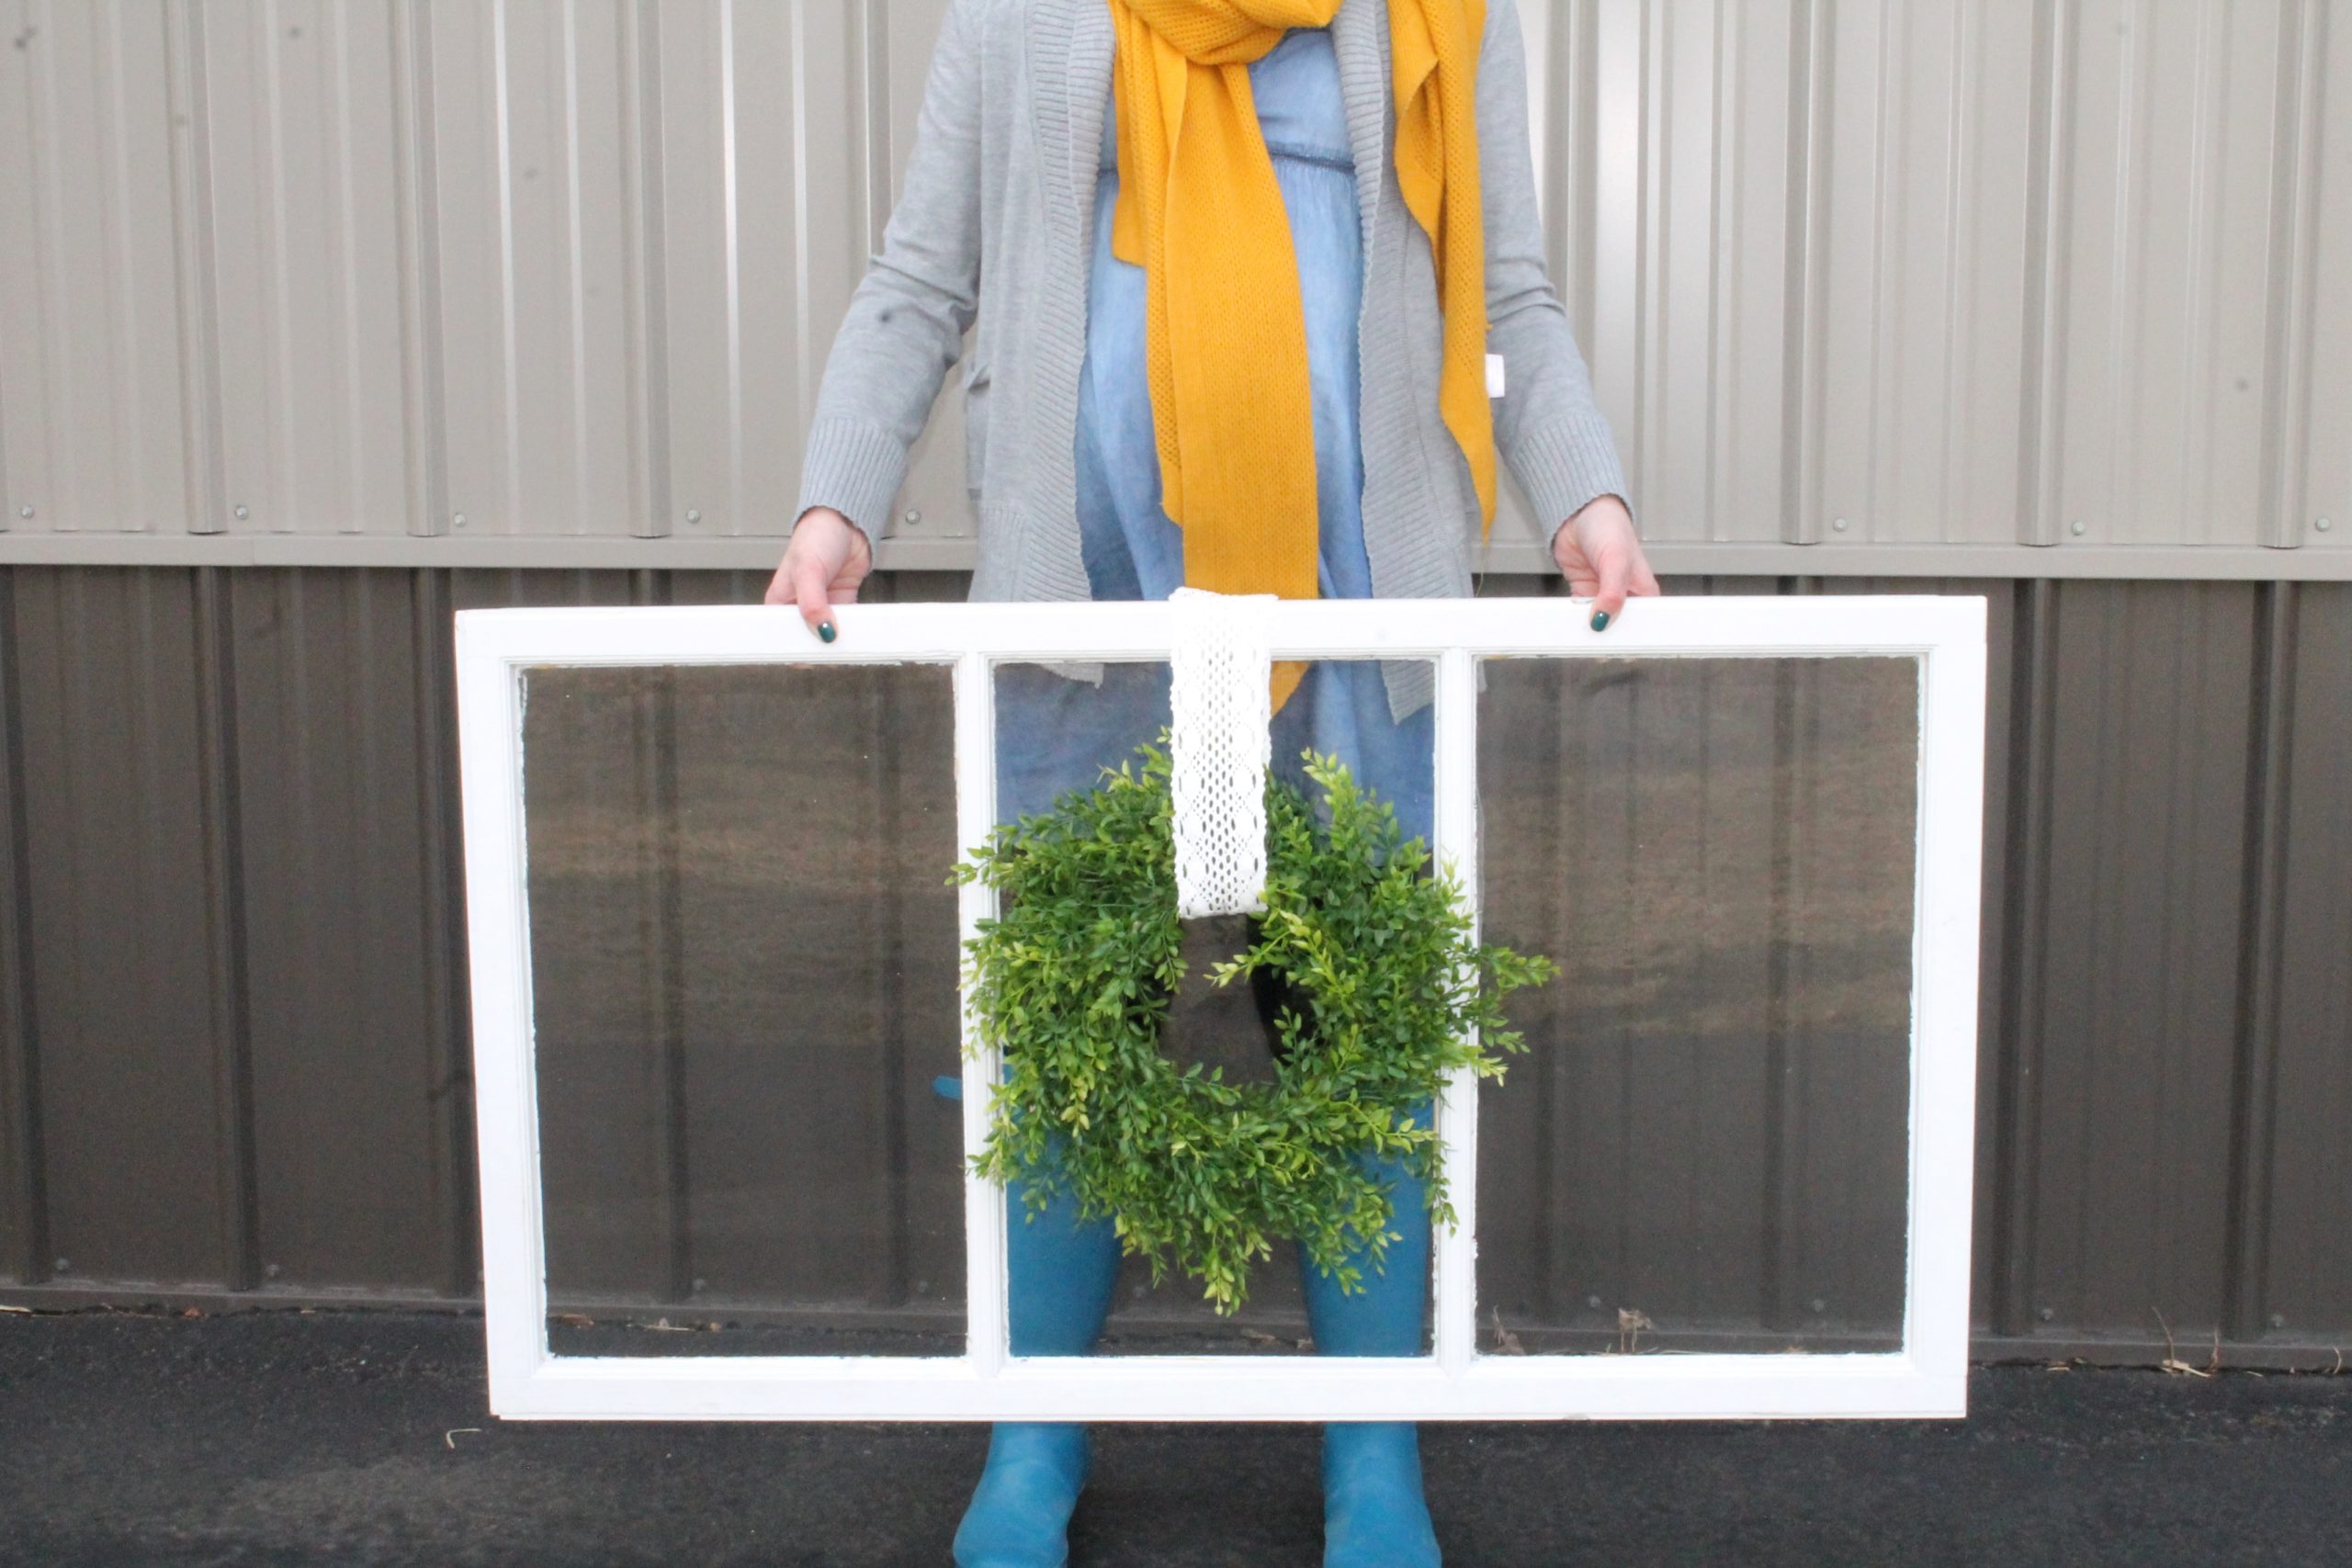
I like simple, and I love greenery when it comes to home decor. So even though spring so often means lots of colors to go along with that sunshine, I like to keep my colors simple so I don’t get sick of it, and it can last longer throughout the seasons.
I can’t stress how simple and inexpensive these are to make. And fun! Isn’t it fun when people come over and compliment something in your house, and you get to answer by saying “I made it?!” So let’s get to it! Only three steps to making this wreath.
Step One- Buy Materials
- Grape Vine Wreath | $2.99
- Greenery, Dried Flowers | $1.99
- Floral Wire | $2.99
- Wire Cutters
- Burlap
- Scissors
Step Two- Wrap Greenery
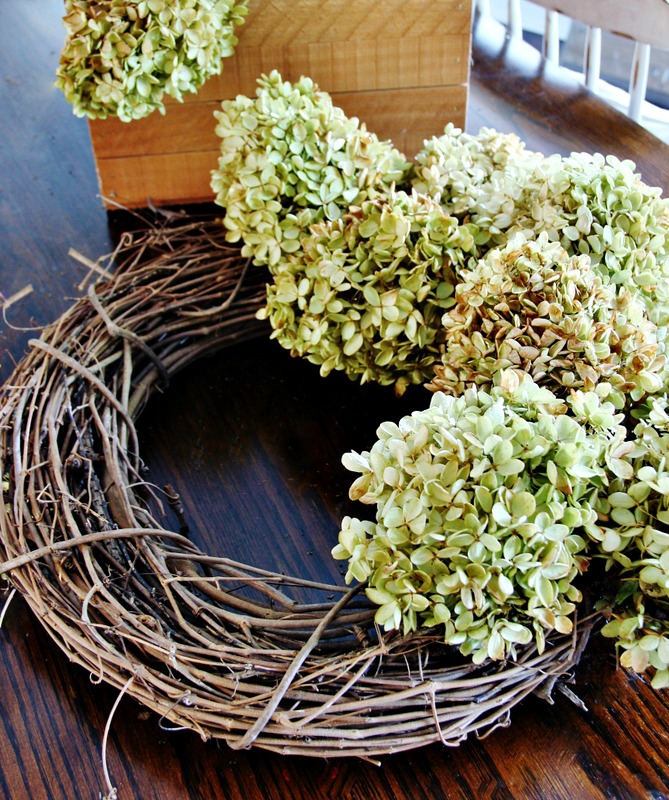
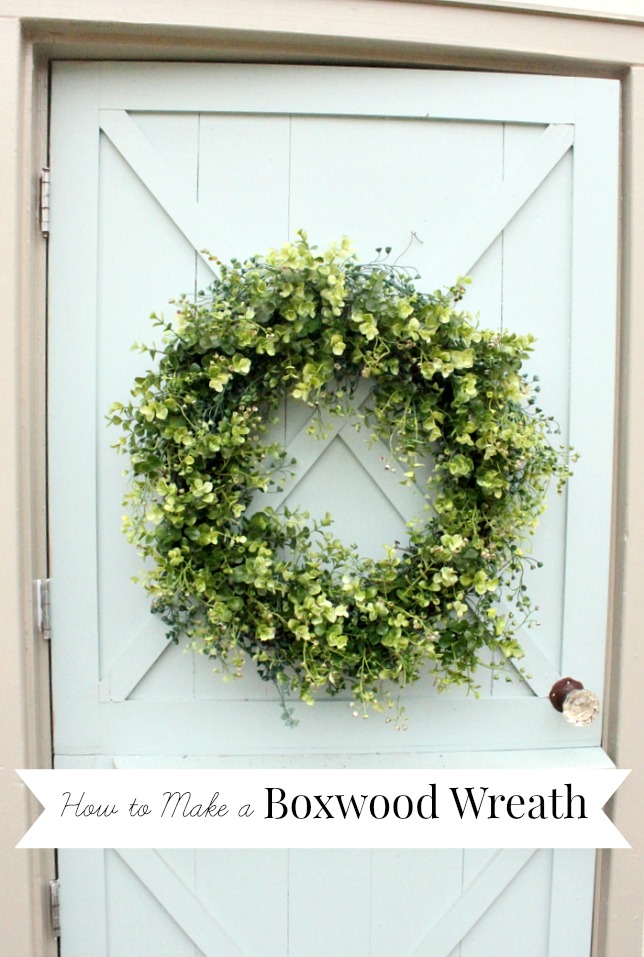
Once you’ve gotten the few supplies listed above, clip the greenery off of the stems. Then take the greens and start wrapping them around into the wreath. I always do a little dry run-through and then start wedging all of the pieces into the wreath first and then taking the wire to secure any loose ends. Continue around the wreath until completely covered with greens.
Step Three- Add Some Pops of Color
Lastly, add some fun pops of color or just a simple burlap bow. Sometimes I’ll take pieces of soft yellows or pinks and add in a few stems throughout the wreath. And there you have it! Your super simple Spring Wreath. It’s that easy!
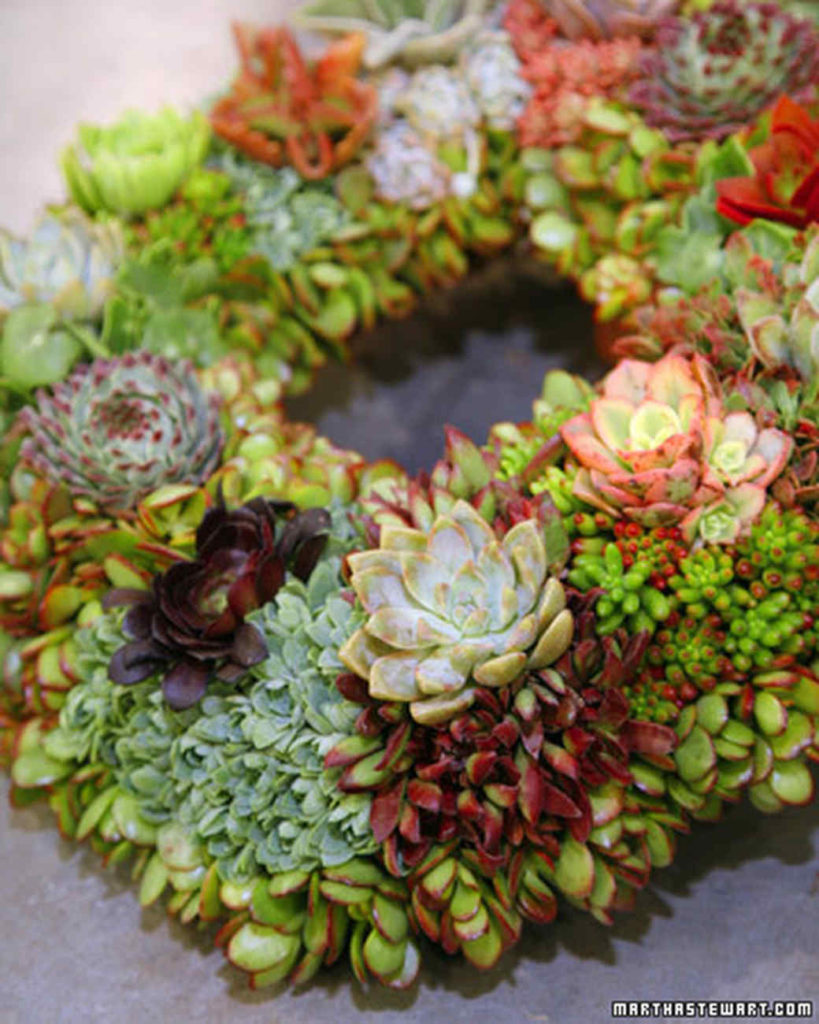
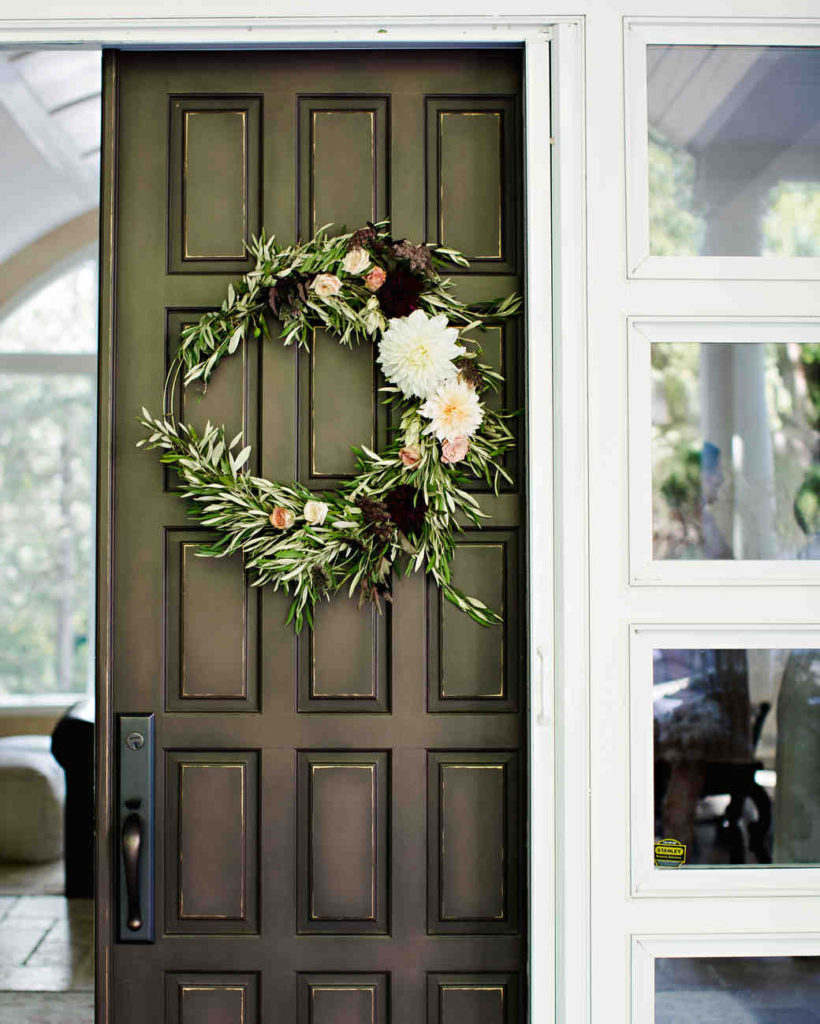
Here are a few more spring wreaths that have inspired us.
When it comes to a lot of home, crafty, and DIY ideas, I always turn to Martha Stewart. I grew up with a very crafty mom and one that loved Martha for her design ideas, so she has always been such an inspiration to me.
Looking for more spring DIY ideas for your home decor check out some fun and easy DIY planted succulent projects.






One thought on “How to Make a Spring Wreath”
Comments are closed.