Recessed lighting placement is a question a lot of us needed an answer for. Recessed lighting is a popular choice for homeowners, design enthusiasts, DIYers, and contractors seeking efficient and stylish solutions for illuminating spaces.
Achieving perfect lighting, however, depends on the strategic placement of these fixtures in your walls and ceiling. In this blog post, we’ll explore the fundamentals of recessed lighting placement, covering general, task, and accent lighting, while highlighting common pitfalls to avoid. Let’s create that perfect glow together!
What is Recessed Lighting?
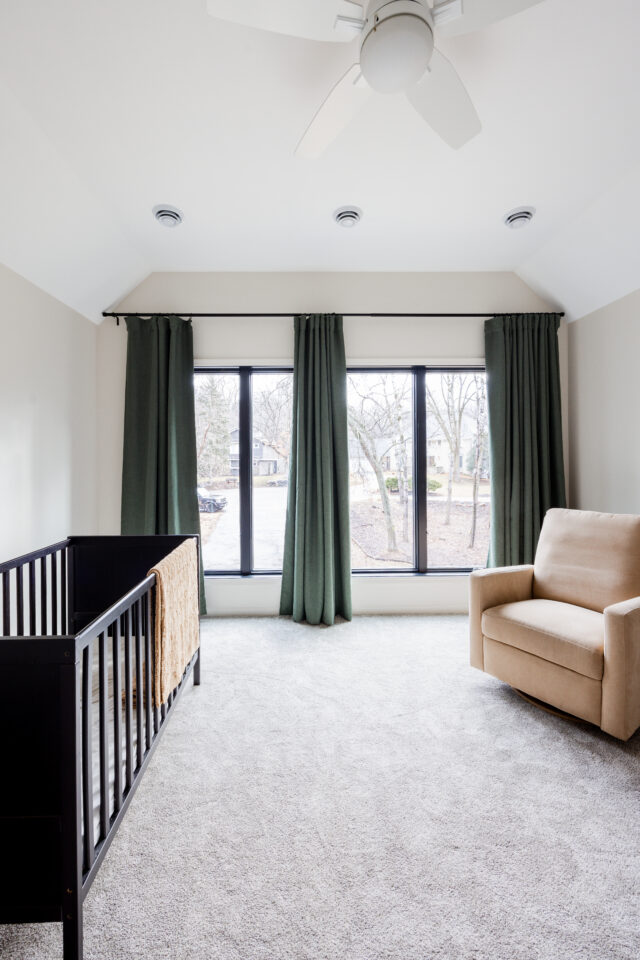
Recessed lighting, as we like to call them – “BOOB LIGHTING.” But also known as can lighting, is a type of lighting fixture installed directly into the ceiling, which offers a room a clean, streamlined look.
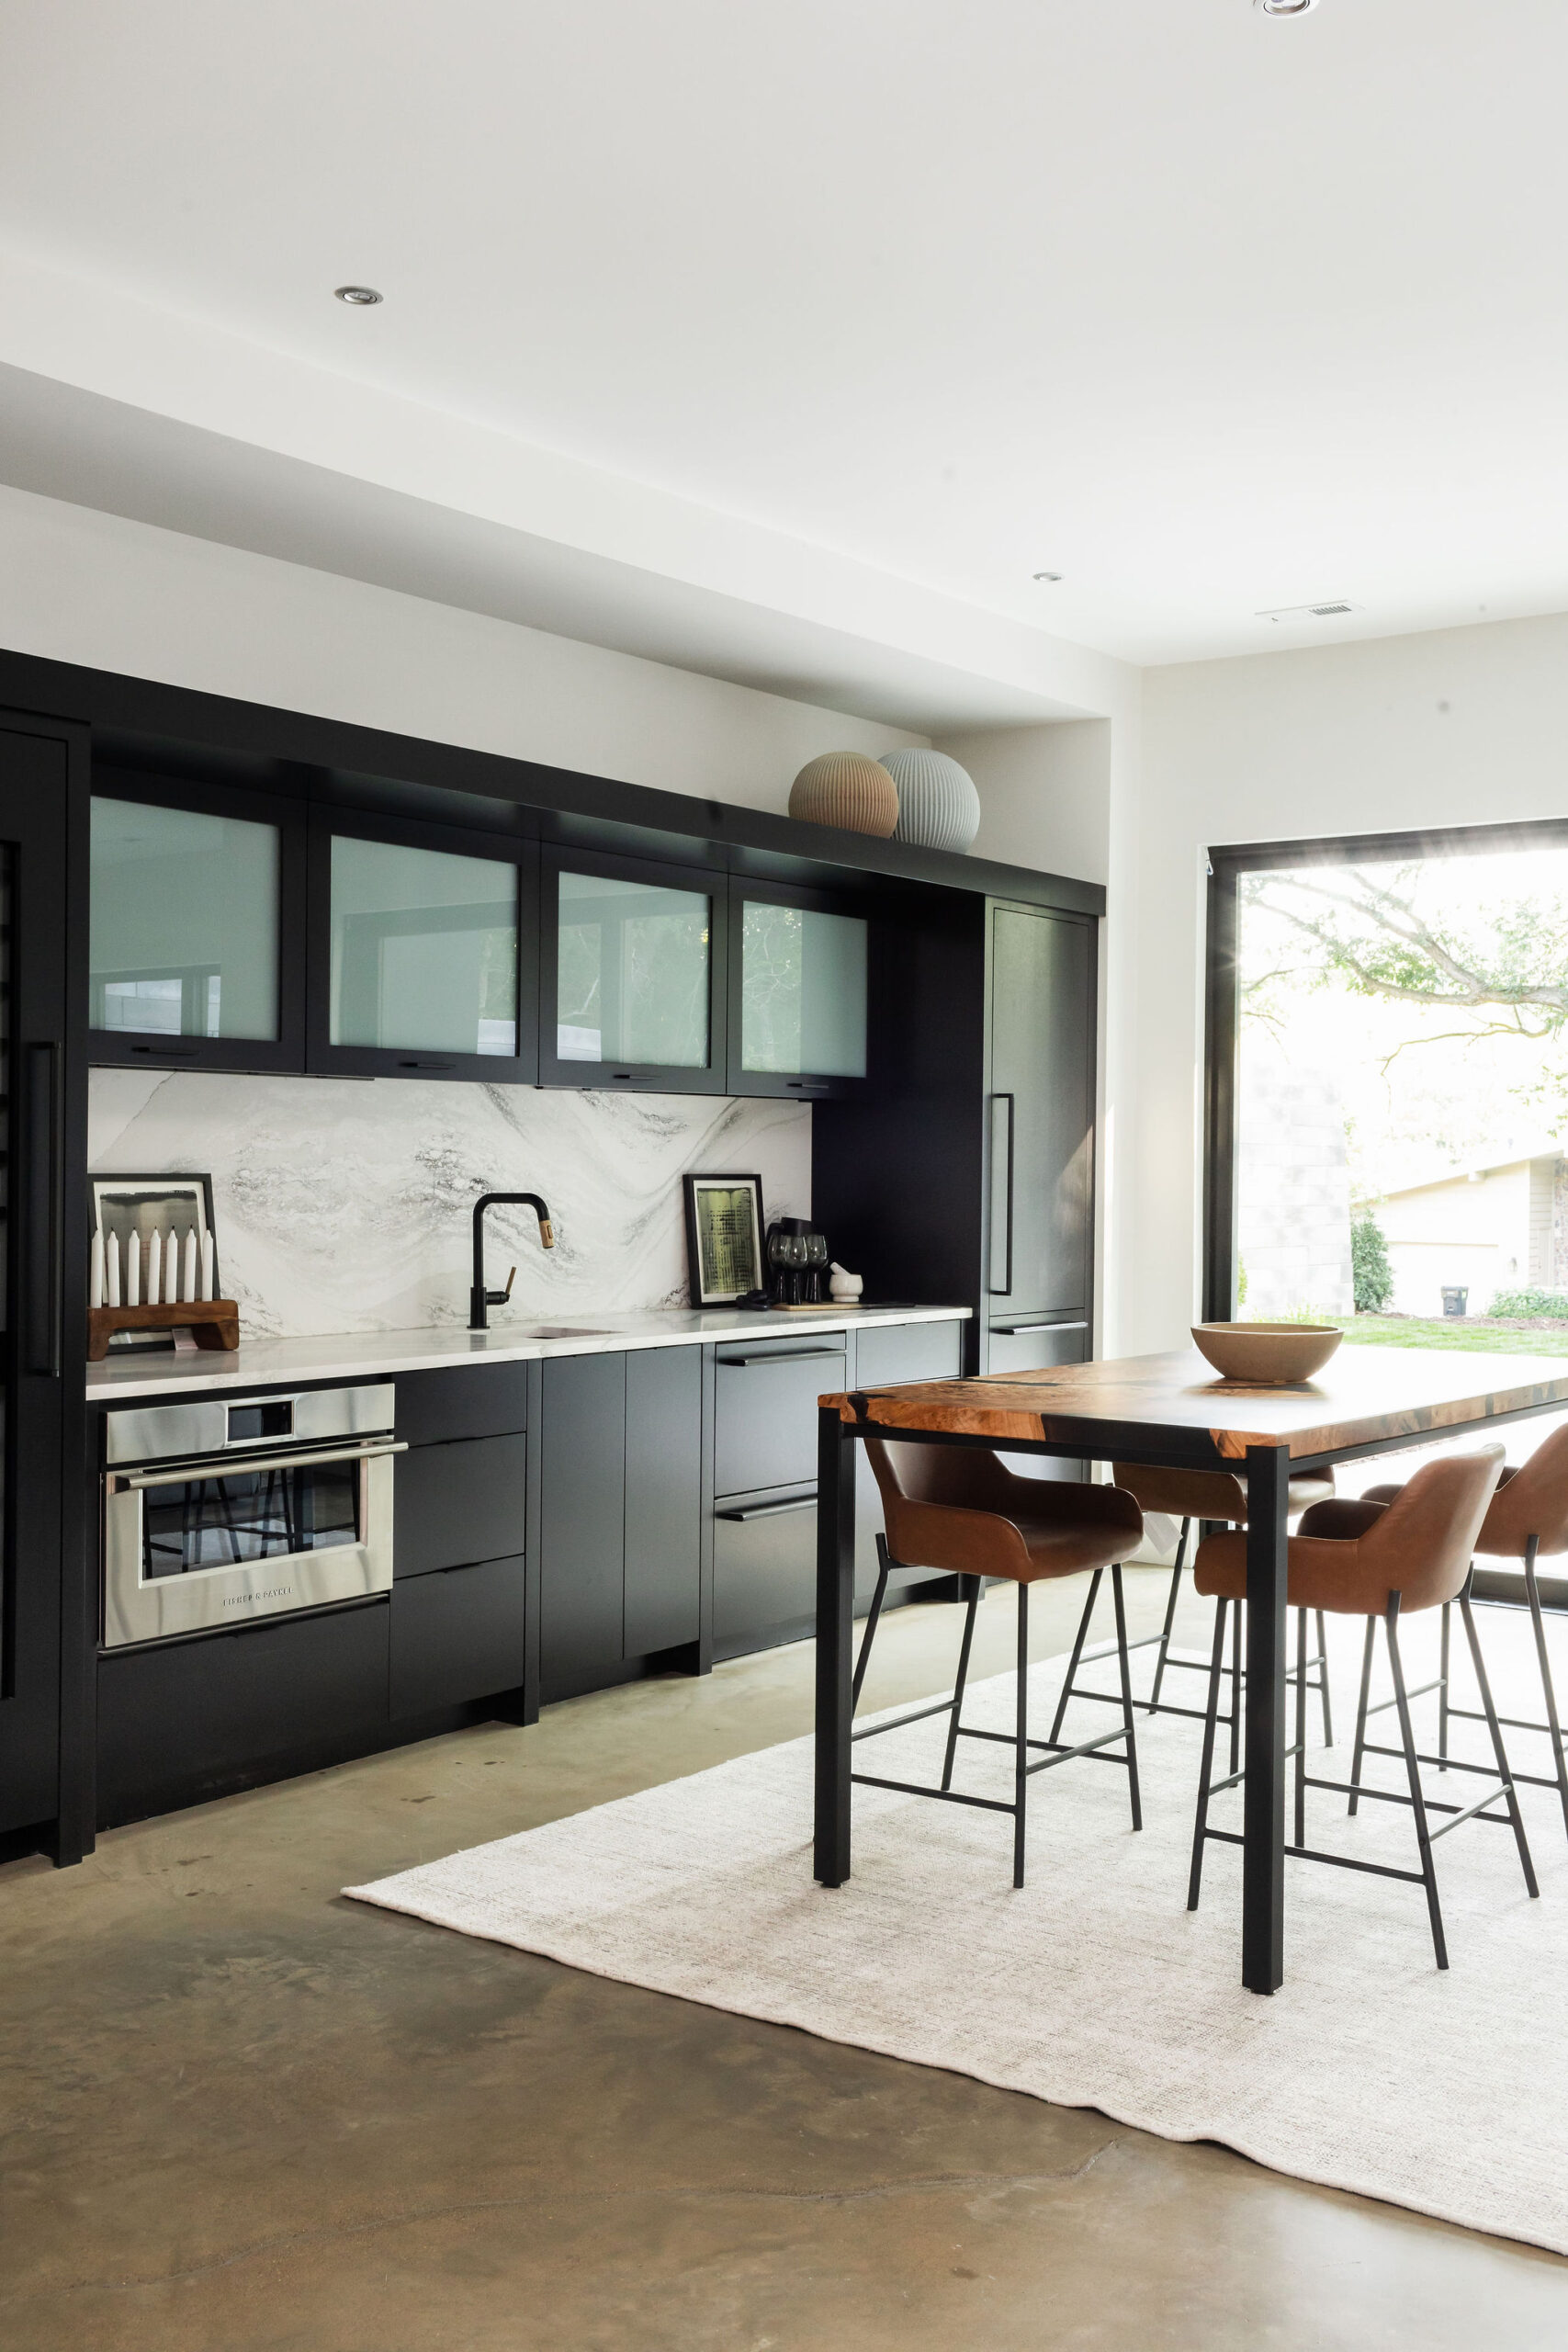
This style of lighting is particularly advantageous because it doesn’t take up any additional space, making it a great choice for rooms with low ceilings or where a minimalist aesthetic is desired. It’s ideal for all types of lighting needs—general, task, and accent—and can be used to create a specific ambiance.
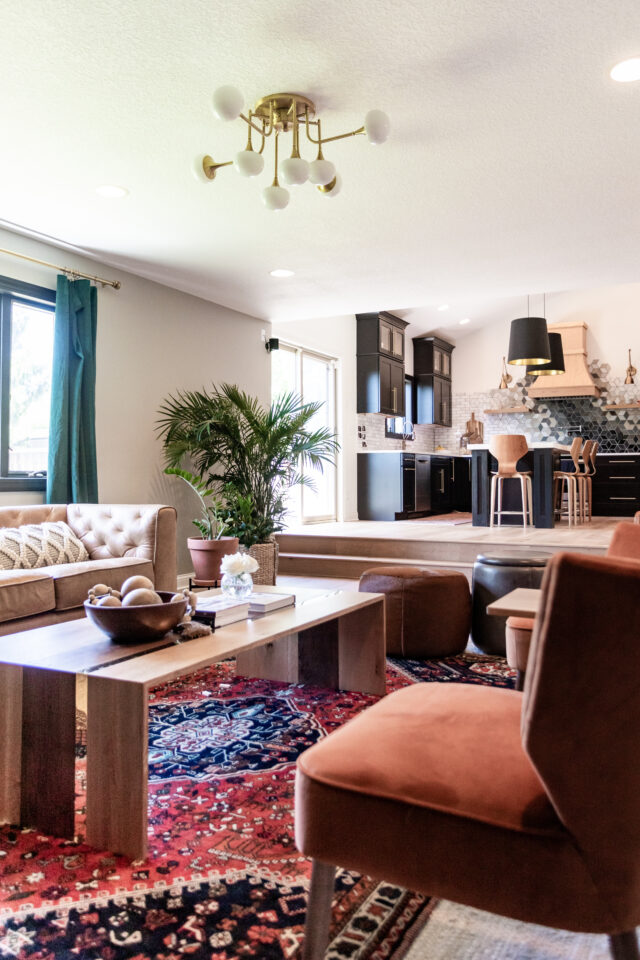
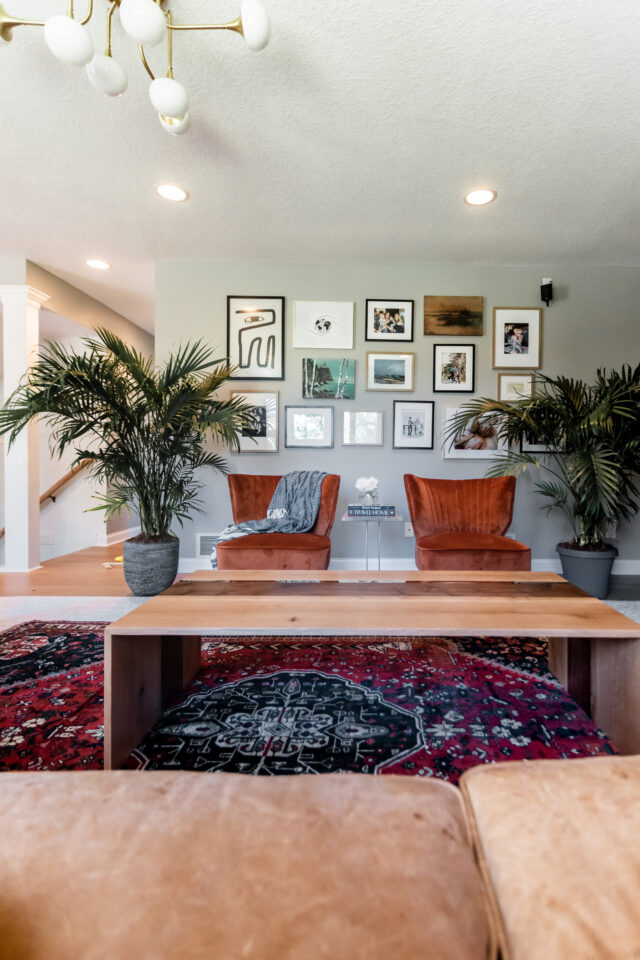
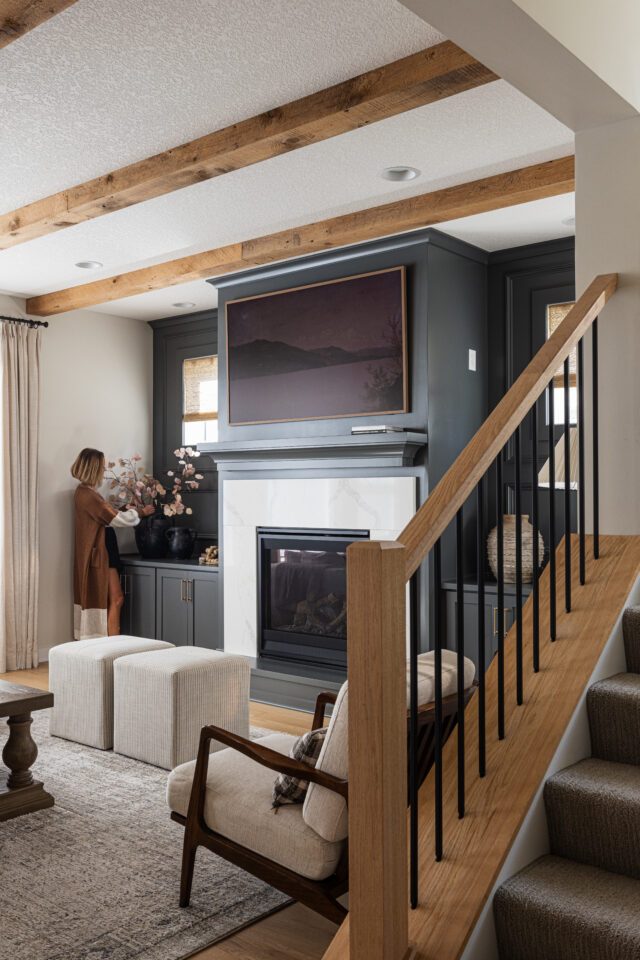
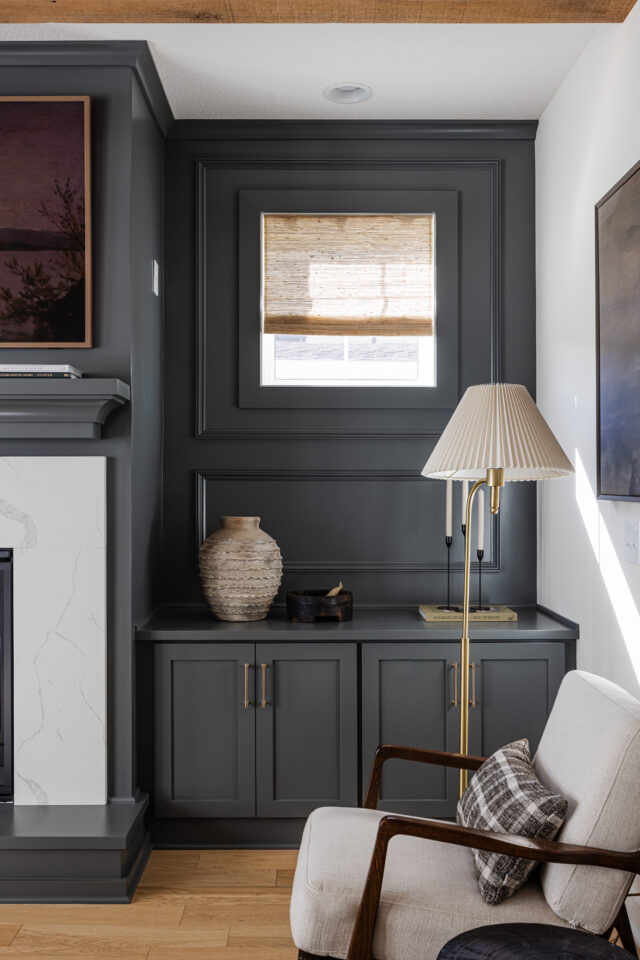
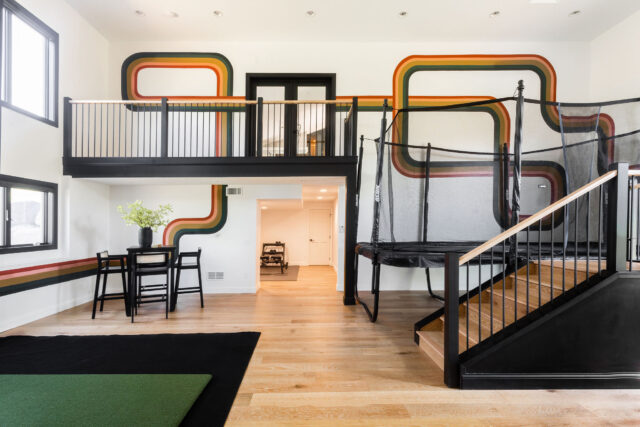
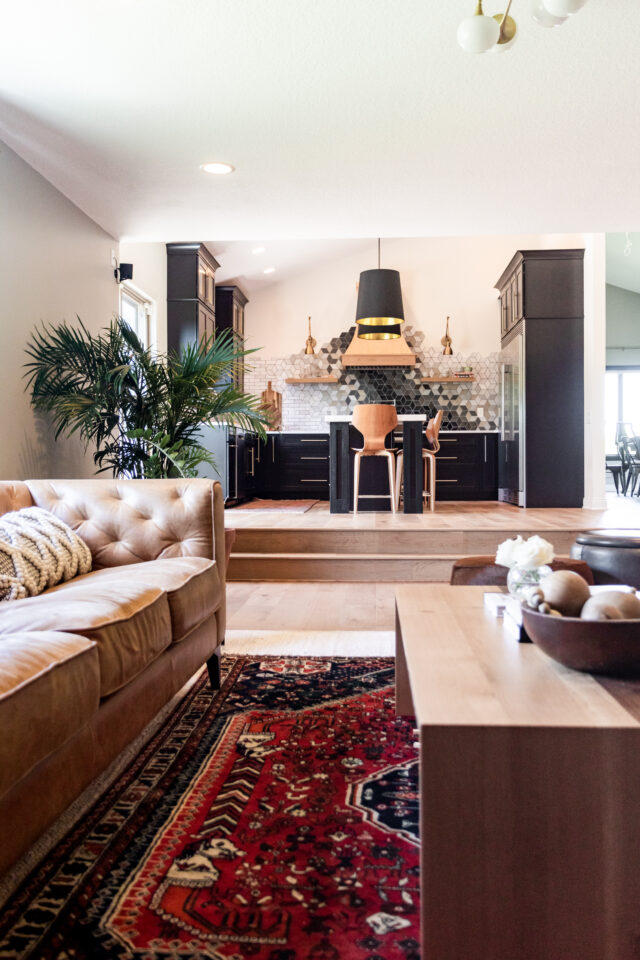
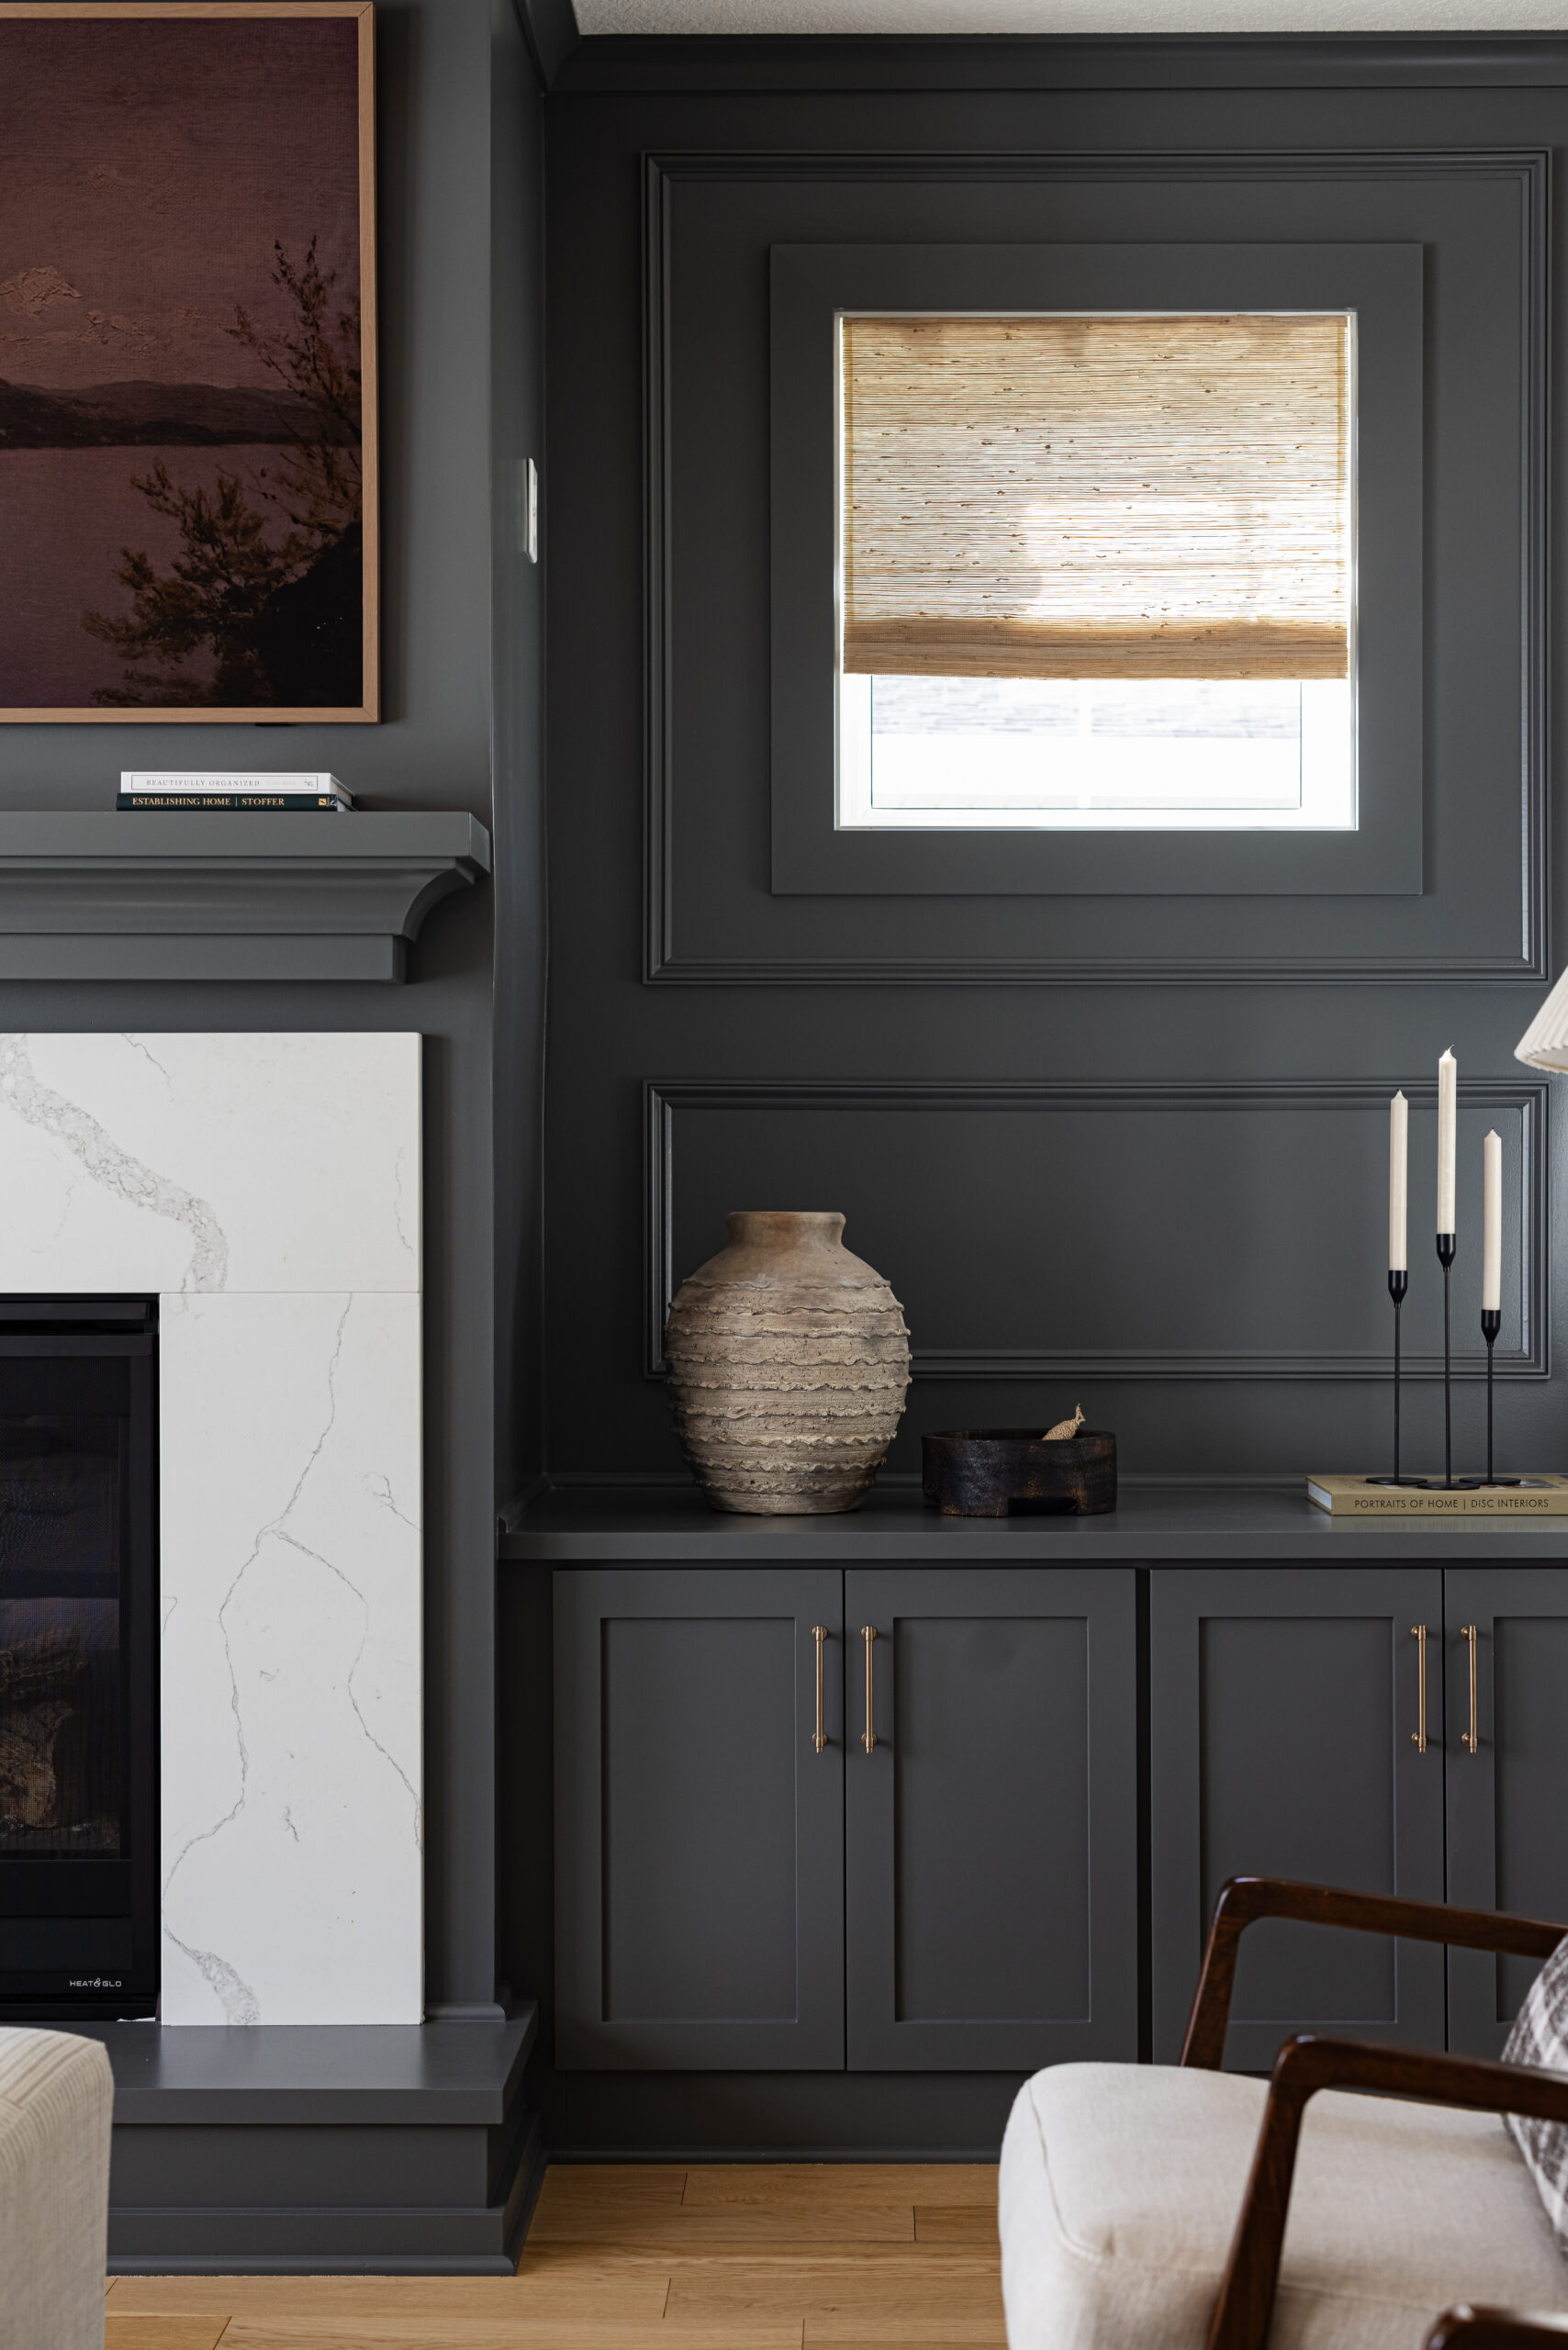
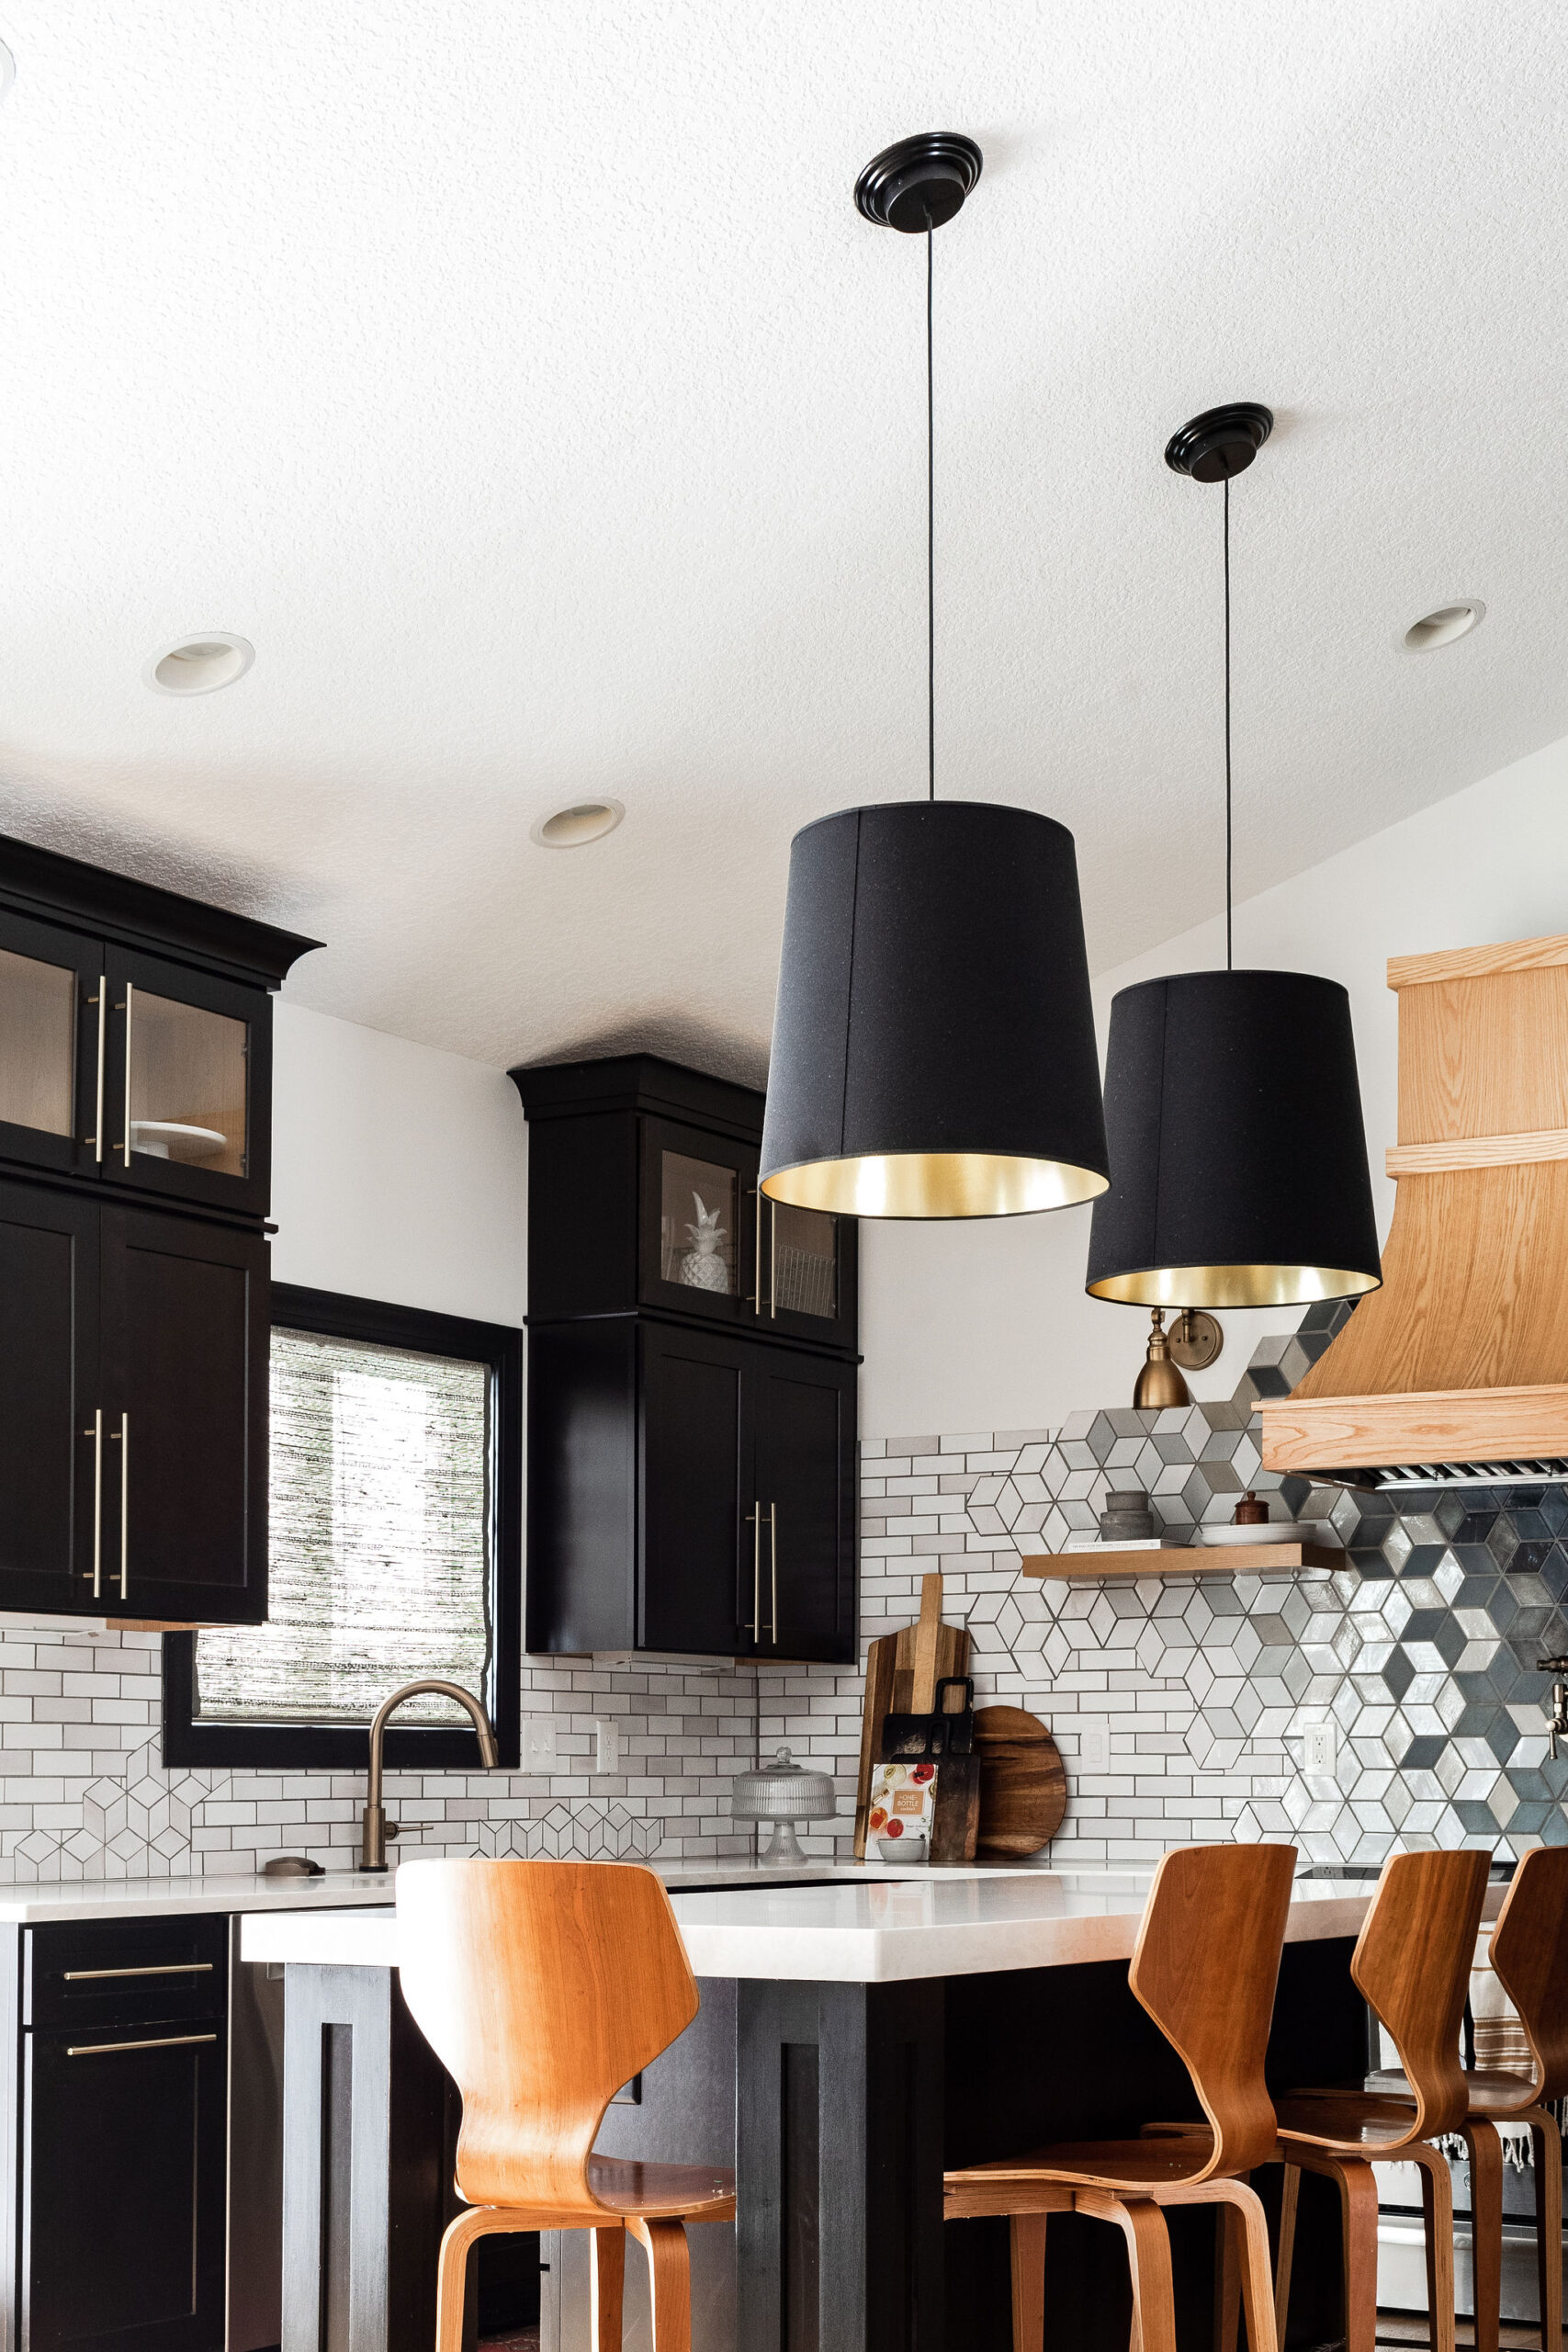
Recessed lighting often comes alongside your pendants, chandeliers and other central fixtures and creates beautiful light layering highlighting particular features in a room, such as artwork, staircases, architectural details, or focal points like grand fireplaces.
Additionally, recessed lighting can be configured in various ways to accommodate different lighting preferences, using dimmers or smart home technology to further enhance the versatility and convenience of this lighting solution.
Why Recessed Lighting Placement Matters
Proper recessed lighting placement ensures even light distribution, eliminates dark corners, and highlights focal points effectively, transforming any space into a well-lit environment. By strategically positioning the lights, you can create a welcoming ambiance and draw attention to specific areas.
Poor placement, on the other hand, can lead to unwanted shadows, glare, and an unbalanced lighting scheme, making the space feel awkward or uncomfortable. Attention to spacing, angles, and room dimensions is crucial in planning an effective lighting layout.
Calculating Recessed Lighting Placement for General and Task Lighting
Step-by-Step Guide
- Determine the Area: Begin by identifying the specific area you want to illuminate. This could be the entire room, a particular section, or a dedicated workspace. Understanding the area helps in planning the light placement effectively.
- Measure the Length: Use a measuring tape to accurately measure the length of the identified area. Make sure to record this measurement, as it will be crucial for calculating lighting positions.
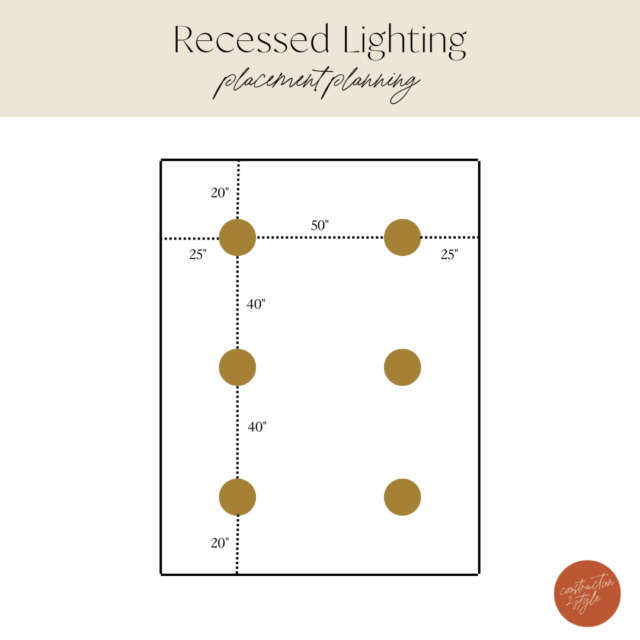
- Calculate the Distance from the Wall (Length): Take the length measurement and divide it by twice the number of lights you plan to install in that row. This calculation helps you determine the precise distance from the wall to your first light fixture.
- Calculate the Distance Between Lights (Length): Take the result from the previous step and double it. This gives you the distance to maintain between each subsequent light along that row to ensure even lighting distribution.
- Measure the Width: Similarly, measure the width of the area using a measuring tape. Recording this dimension is important for the next set of calculations.
- Calculate the Distance from the Wall (Width): Divide the width measurement by twice the number of lights intended for that row. This calculation assists in determining the distance from the wall to place the first light in the width direction.
- Calculate the Distance Between Lights (Width): Again, double the result obtained in the previous step. This will give you the distance to keep between each light across the row for uniform lighting coverage.
These detailed steps will help ensure that your indoor or outdoor recessed lighting is positioned effectively, providing optimal illumination throughout the desired area.
Example Calculation
For a room with 6 recessed lights:
- Length of the area = 20 feet
- Width of the area = 10 feet
- Number of lights = 6
Length:
- Distance from the wall to the first light is 20′ so = 20′ / (2×6) – 1.67′
- Distance between lights = 1.67′ x 2 = 3.34′
Width:
- Distance from wall to first light is 10′ = 10/ (2×6) = .83′
- Distance between lights = .83 x 2 = 1.67′
Calculating Recessed Lighting Placement for Accent Lighting
Accent lighting focuses on highlighting specific objects or areas, such as artwork or architectural features of your iconic staircase. Here’s how to calculate the placement:
Optimal Angle for Accent Lighting
The ideal angle is a 30-degree angle from the ceiling to minimize glare. Suppose there are obstructions; place the light as close as possible to this ideal spot.
Using Trigonometry for Placement
I know, I don’t like math either. In a 30-60-90 triangle, use the formula:
- Side a = (Side b * √3) / 3
Where:
- Side a = distance from the wall to the light
- Side b = distance from the center of the object to the ceiling
Common Mistakes to Avoid
1. Overcrowded or Sparse Placement: Installing too many recessed lights in a space can create an environment that feels overly bright, harsh, and clinical, reducing the room’s coziness. On the other hand, having too few lights can result in uneven illumination, leaving some areas with unwanted dark spots that hinder both functionality and ambiance.
2. Misaligned Fixtures: It’s important to ensure that recessed lights are evenly spaced and correctly aligned. Proper alignment not only contributes to a balanced and aesthetically pleasing appearance, but also ensures consistent lighting coverage throughout the room.
Costs
When installing recessed lighting in a home, several costs should be considered. Hiring a professional electrician is often necessary, with fees varying based on location, expertise, and project complexity.
In Minnesota, electrician fees typically range from $50 to $200 per hour. Additionally, local regulations may require a permit for electrical work, depending on the municipality.
Materials, including the lights and any necessary wiring or installation materials, can add to the expenses, with basic fixtures starting easily at $100 and upwards to $1,000. If required, inspection fees may be charged to ensure the work meets local building codes, usually easily up to $150/hour.
Potential upgrades to existing electrical systems to support the new lighting might also increase the cost. Considering these factors is crucial for estimating total expenses.
When deciding between hiring a professional or opting for a DIY approach, there are pros and cons to consider. Hiring a professional ensures safety and adherence to building codes, potentially saving time and avoiding costly mistakes.
However, it is more expensive. Conversely, DIY installation can be less costly and provide a sense of accomplishment but requires a significant time investment and a certain level of expertise to ensure safety and compliance with local regulations.
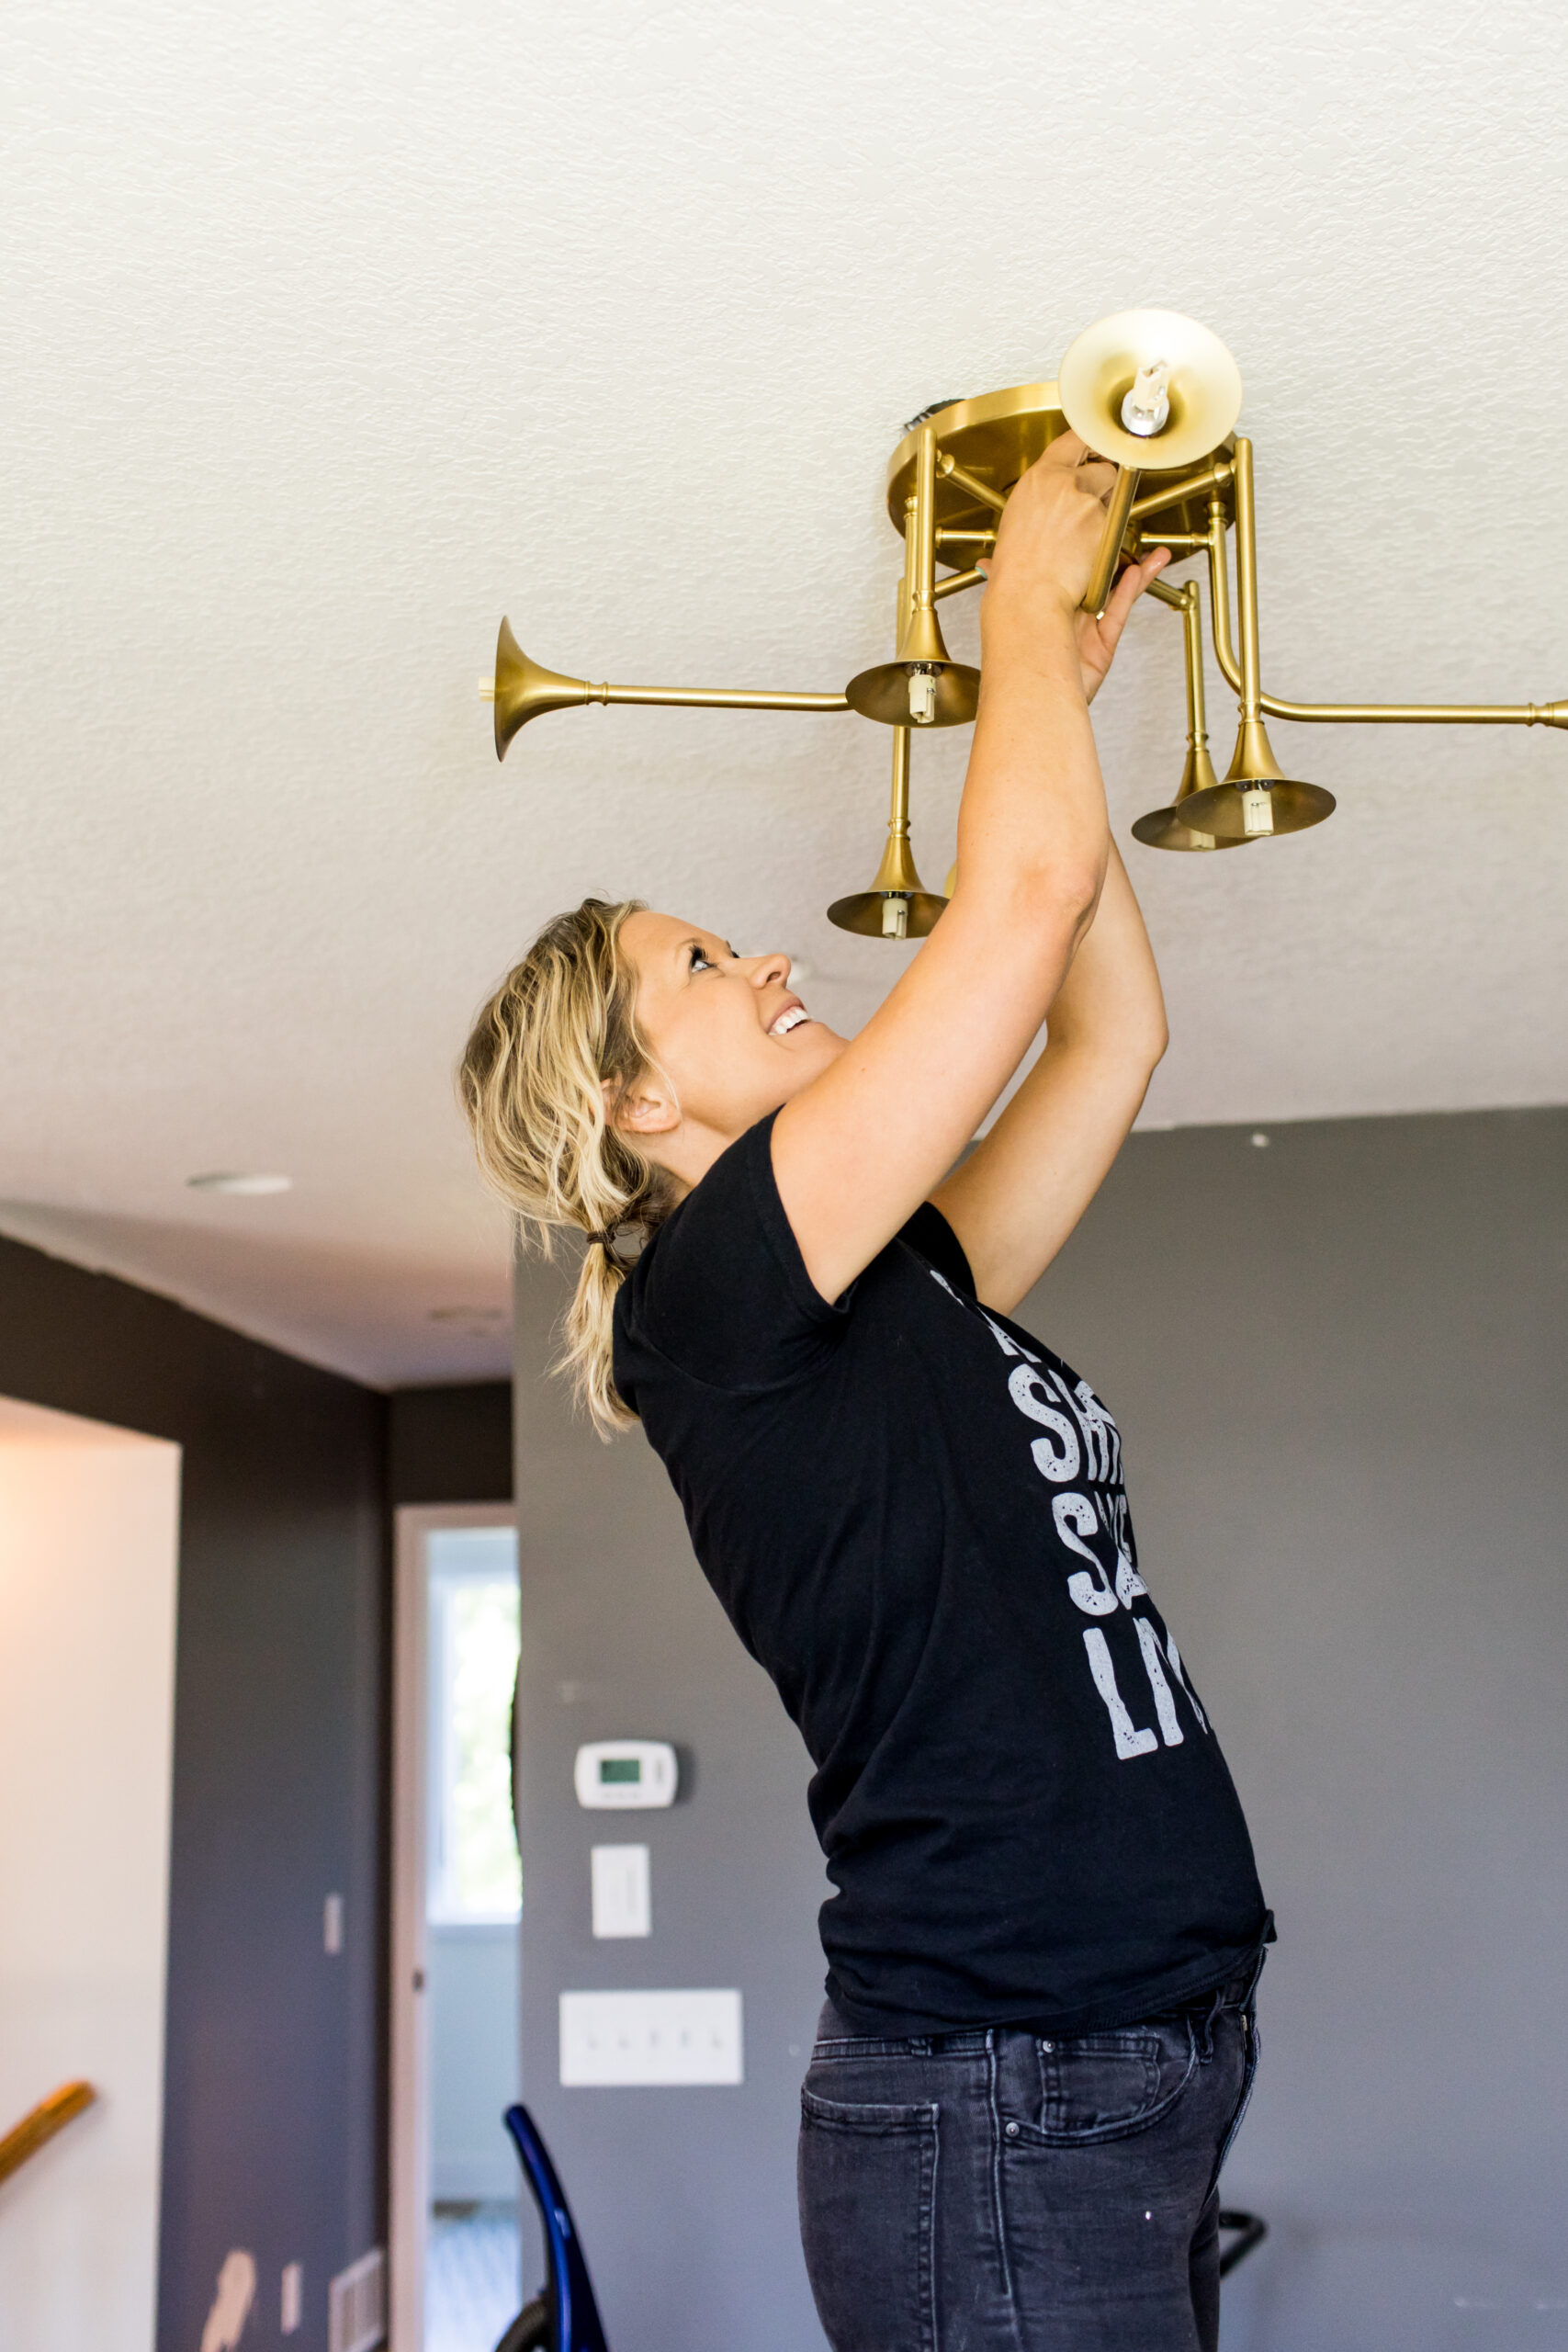
Let’s just say – even for licensed and professional contractors like us here at c2s, electrical work is something we don’t mess with – and always leave to the pros.
By following the steps outlined above, such as selecting the right fixtures and positioning them effectively, you can ensure that your lighting is both functional and aesthetically pleasing, contributing to the overall design and comfort of the space.
You also want to consider the type of bulbs you use, as different bulbs can offer varying color temperatures and energy efficiencies, which can further enhance the environment. If you need further assistance or a customized lighting plan tailored to your specific needs and preferences, don’t hesitate to reach out to our expert team.
Our c2s team is ready to provide guidance and solutions to achieve your perfect recessed lighting placement goals. Happy lighting!
