Disclosure: This post is sponsored by Lowe’s. While we were compensated to share this project, all opinions, content, and product selections are 100% our own – we only recommend brands we trust, use, and love in our own home.
Let’s talk basement bar glow-up, shall we?
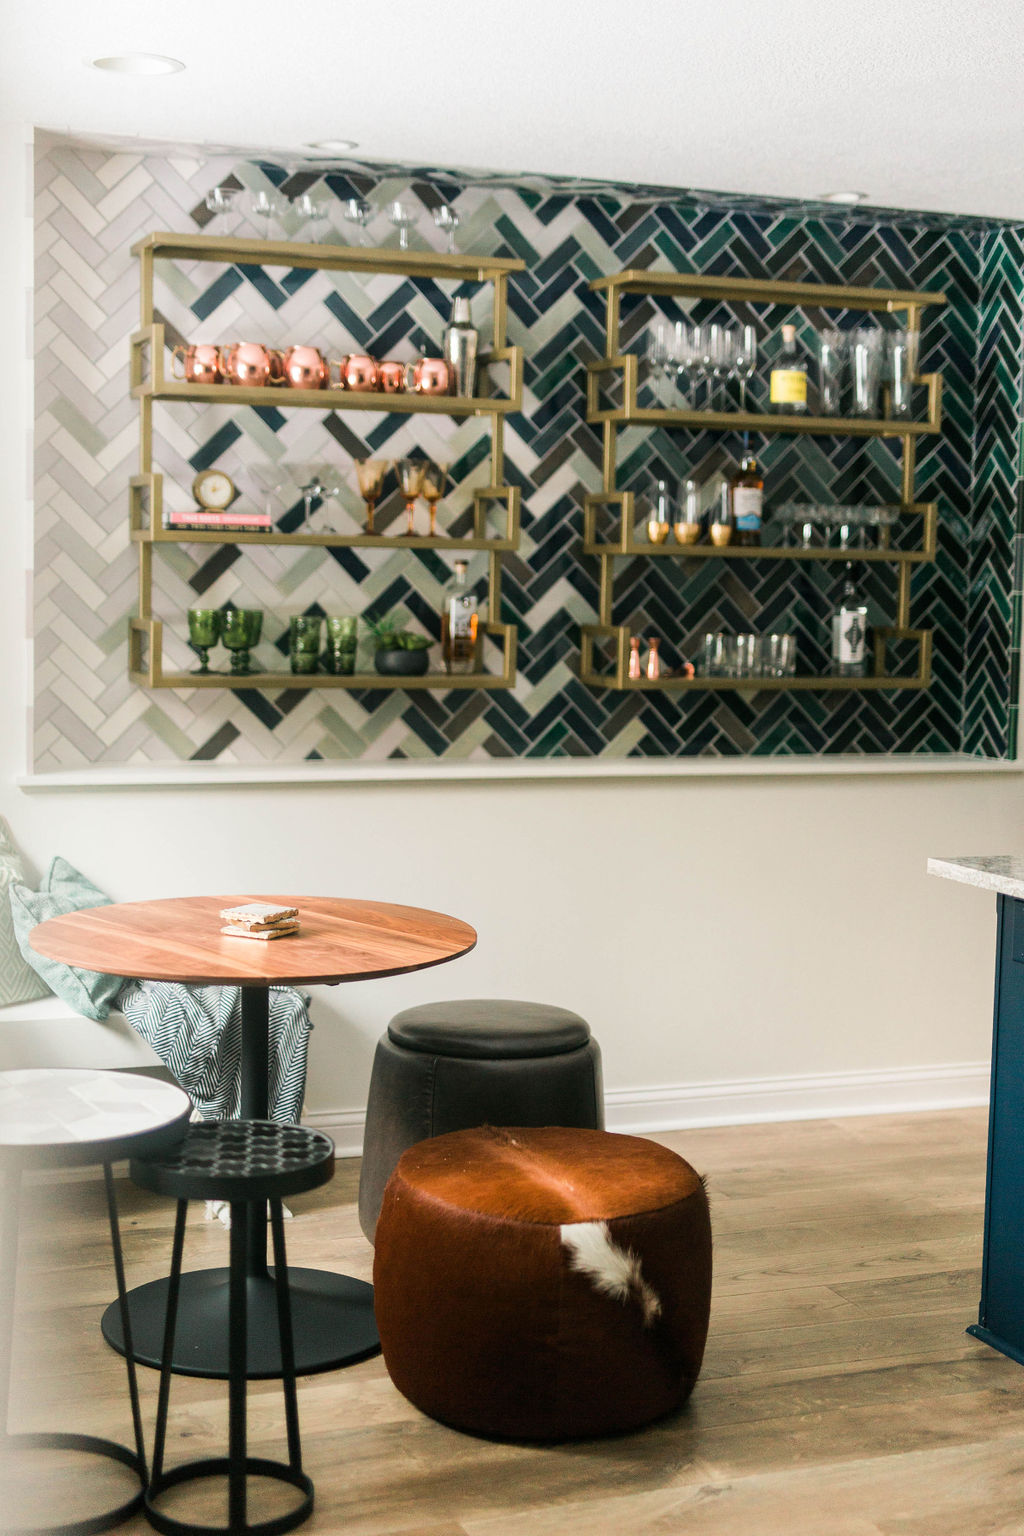
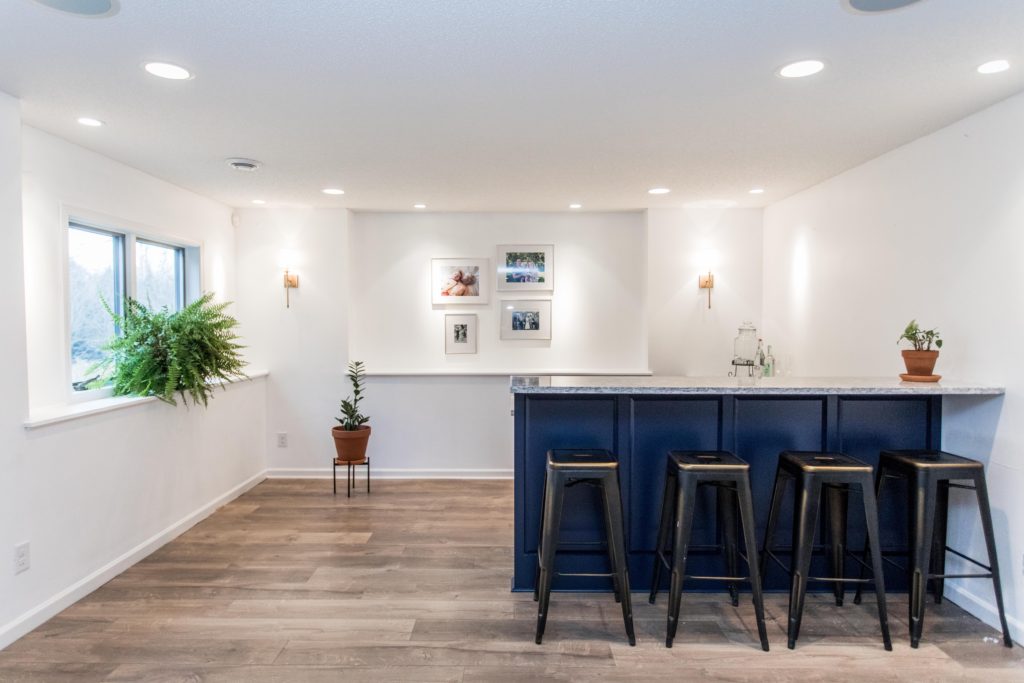
We’ve been busy behind the scenes transforming a corner of our basement into the ultimate hangout space, and we’re this close to calling it complete! After getting our basement bar cabinets painted, the next big milestone? New flooring.
We knew we wanted something that was stylish, durable, low-maintenance, and budget-friendly, because this is a space made for spills, late-night hangs, and family gatherings. So we landed on Pergo Wheaton Oak Laminate Flooring from Lowe’s and couldn’t be happier with how it turned out.
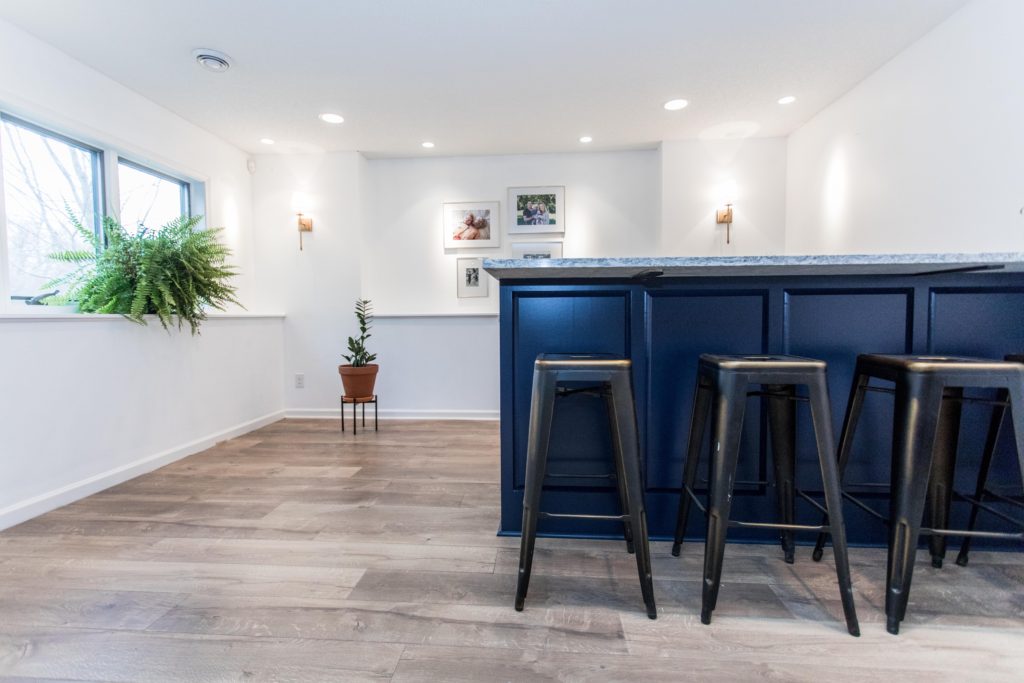
It completely transformed the space and instantly made it feel warmer, cozier, and more finished. Think modern rustic meets easy cleanup – perfect for a basement bar setup that works hard but still looks elevated.
What We Chose and Why
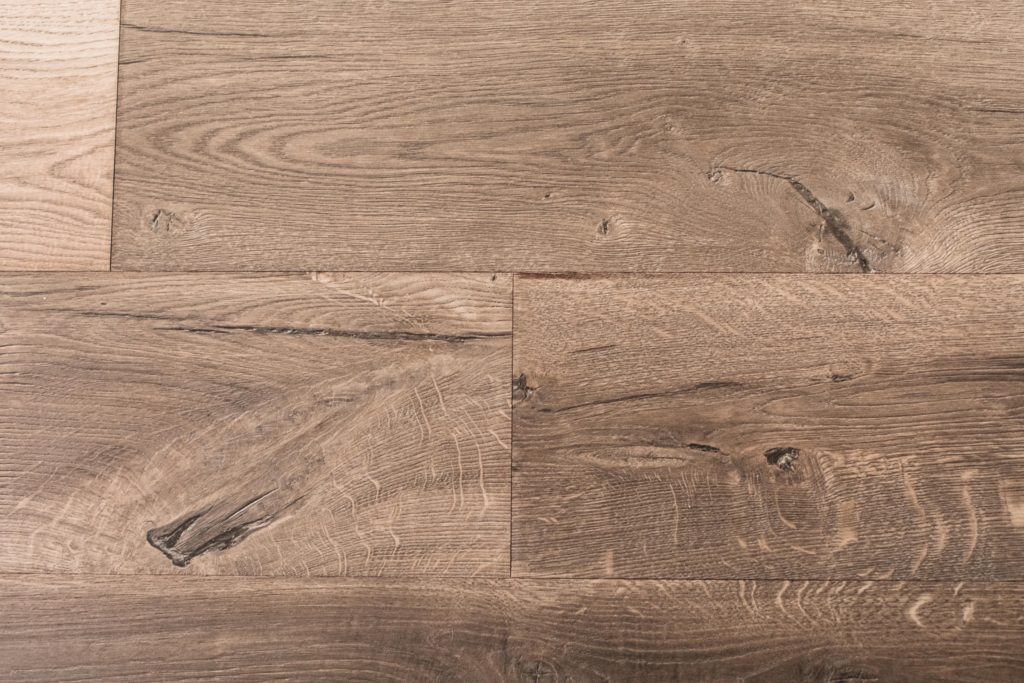
For this basement bar project, we landed on Pergo® TimberCraft™ + WetProtect™ Waterproof Laminate Flooring from Lowe’s Home Improvement, in the Wheaton Oak finish. It comes in wide 7.48″ x 4.52′ planks that give that high-end, modern look without the high-end hassle (or price tag).
When we walked into Lowe’s, we didn’t have a specific brand or product in mind — we just knew one thing: we wanted light flooring. We went with dark floors in our previous home, and while they looked great at first, they were a total pain to keep clean. Never again.
As soon as we saw Wheaton Oak, we were sold. It had everything we wanted:
- A light tone that brightens up the basement
- Warm undertones that make the space feel cozy
- Subtle knots and character that hide dirt (and kid chaos)
- And bonus: it’s just $2.99 per square foot.
Even better? It’s built with Pergo’s WetProtect™ technology, which means we don’t have to stress about spills, splashes, or bar messes — it’s fully waterproof and designed to hold up to real life.
We’ve tested just about every color, brand, and style of laminate over the years — and this one’s officially on our favorites list.
Installing the Wheaton Oak Laminate Flooring
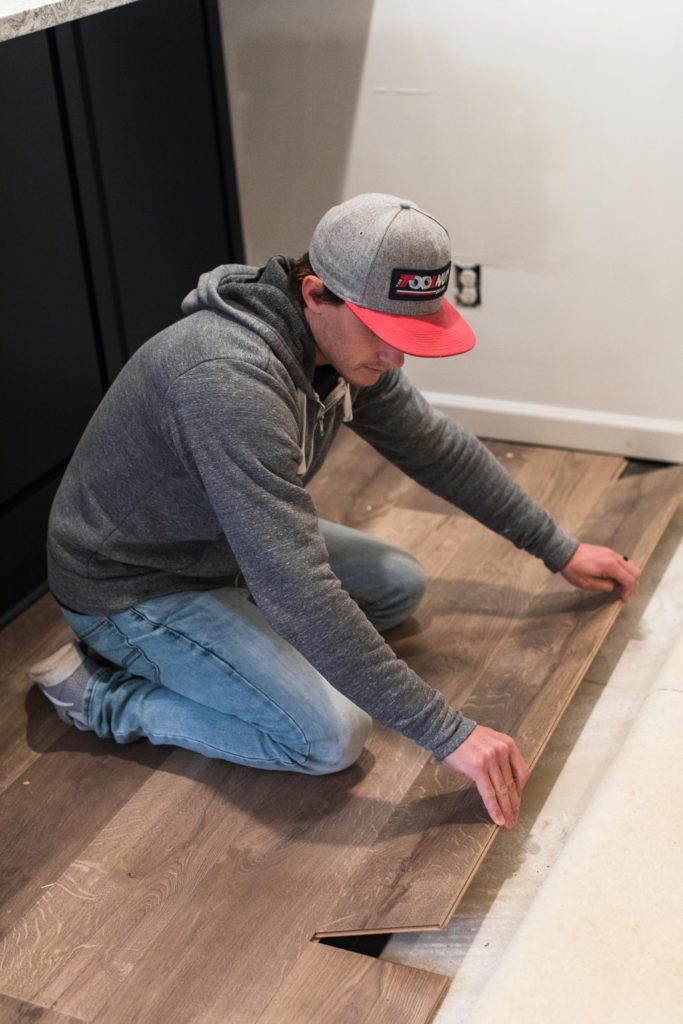
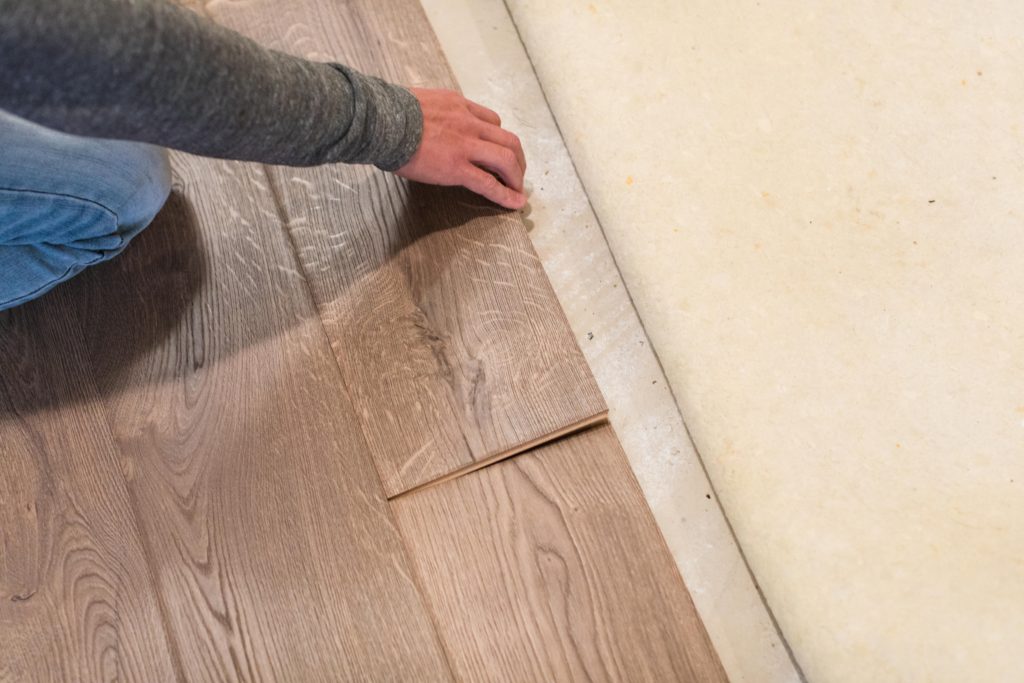
One of the reasons we chose Pergo Wheaton Oak Laminate Flooring (besides the look) was how simple the installation process was. Jamie handled the install and said it was honestly one of the easiest flooring projects he’s tackled. The planks just click and lock right into place — no glue, no nails, no staples, no mess.
This is a floating floor, which means it sits right on top of your subfloor or underlayment without being permanently attached. That made it perfect for our basement bar, where ease of install and future flexibility really mattered.
Before we laid down the laminate, we added underlayment for extra sound and moisture protection — and highly recommend Pergo Gold™ Underlayment. It adds a thermal barrier, dampens noise (huge for a basement), and helps protect against any moisture issues, especially in lower-level spaces.
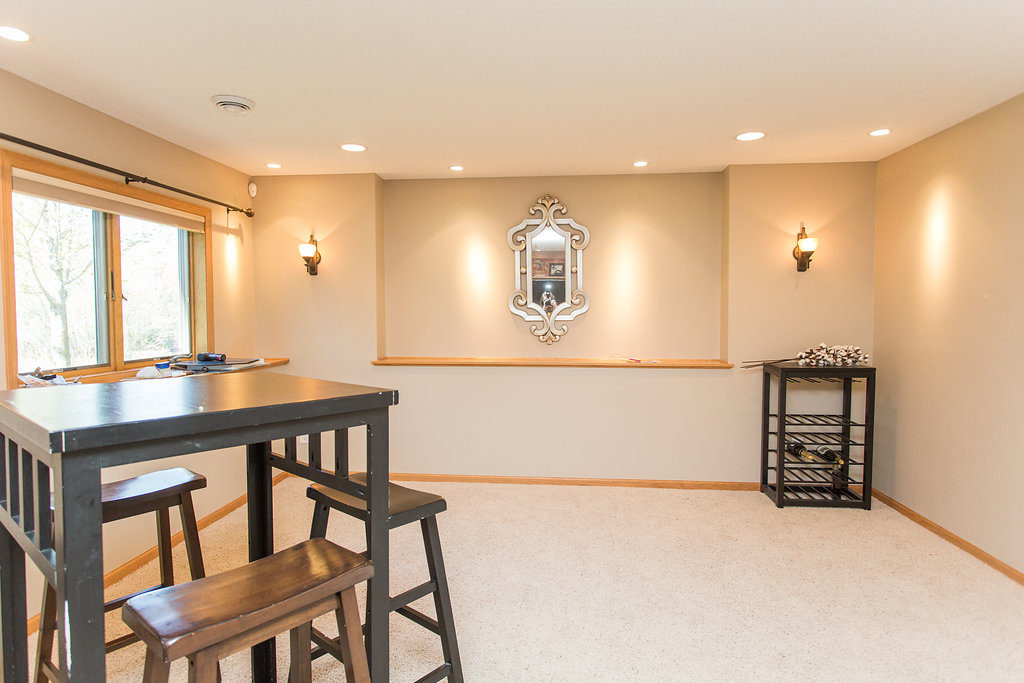
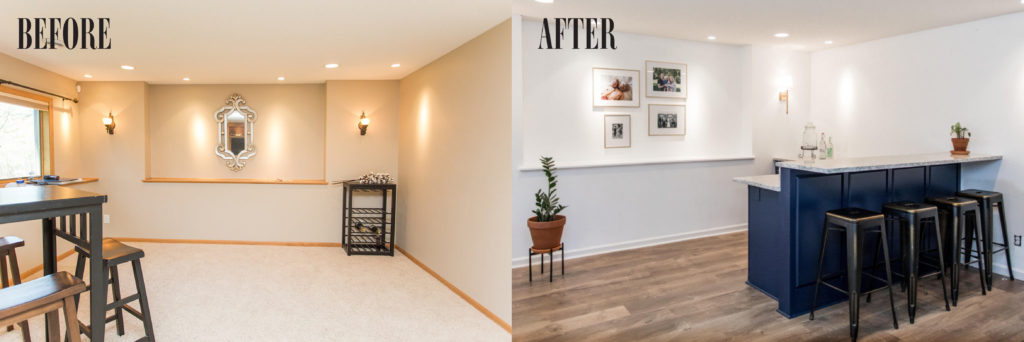
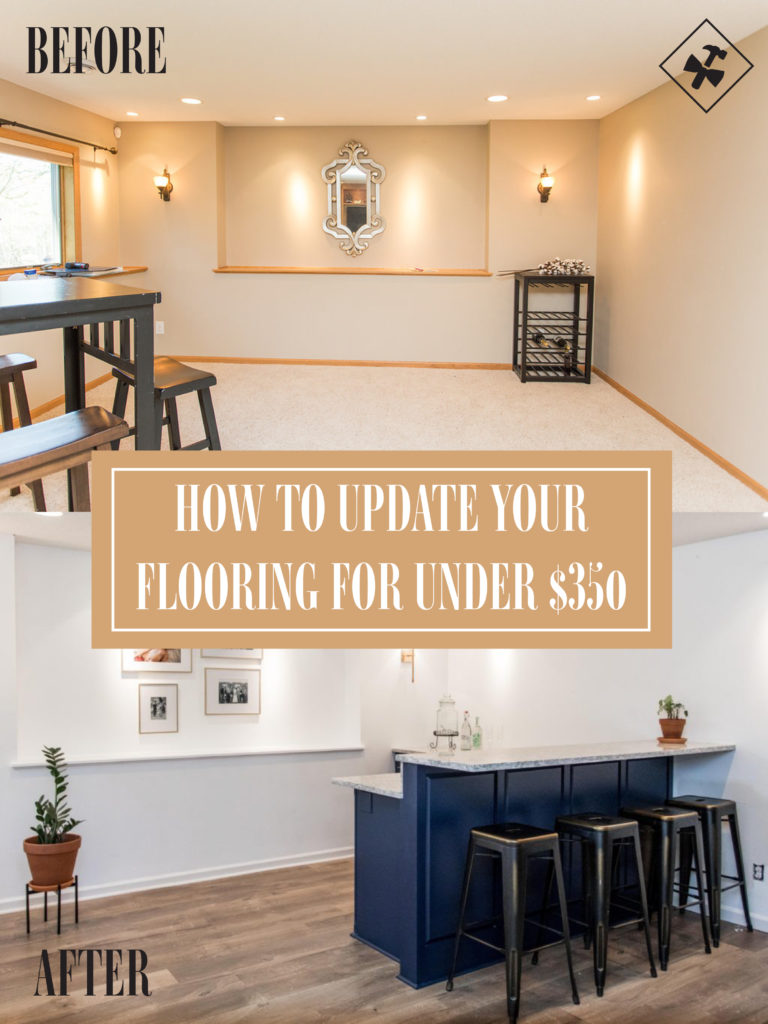
Want to see where this space started?
Once the flooring was in, the entire basement bar space instantly felt warmer, more polished, and way more like us. The soft, natural tones of the Wheaton Oak laminate bring that cozy-meets-clean vibe we were going for — and it’s tough enough to handle everything from spilled cocktails to dance parties.
Now that it’s all installed, we want to walk you through the exact tools we used, how we tackled the project, and a few pro tips for installing laminate flooring in your own home. Whether you’re remodeling a basement, sprucing up a rental, or adding charm to your main level, this floating floor might be your new favorite find.
Let’s break it down…
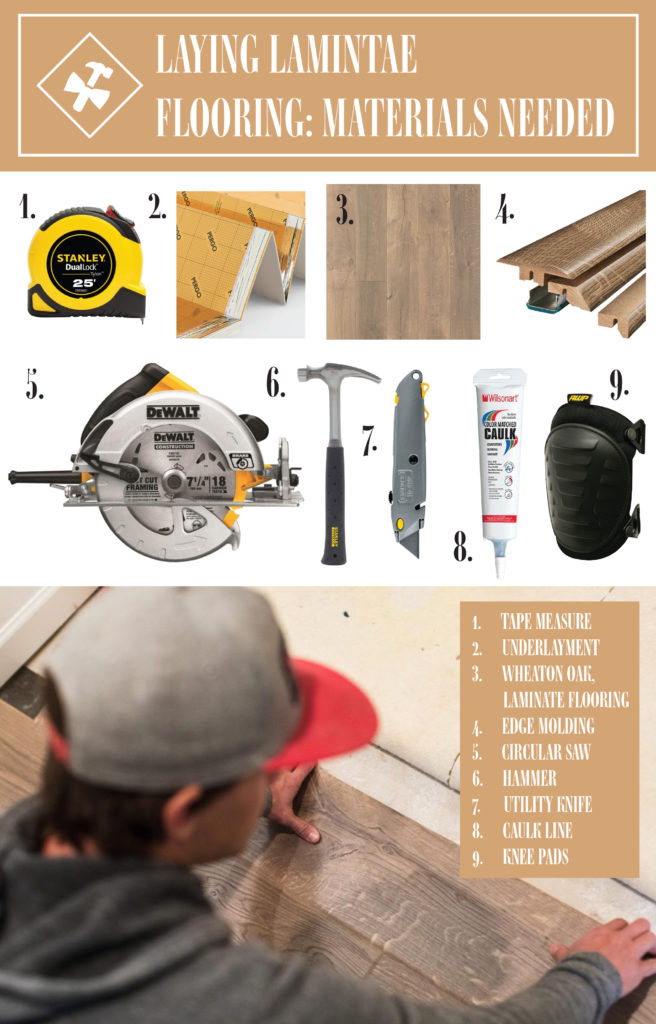
Tools Needed for Installing Laminate Flooring
- Tape Measure
- Underlayment
- Wheaton Oak, Laminate Flooring
- Edge Molding
- Circular Saw
- Hammer
- Utility Knife
- Caulk line
- Knee Pads (recommended)
Pro Install Tips:
- Bring flooring into the space to acclimate to temperature 24-48 hours prior to starting the project.
- Remove existing flooring such as carpet, padding, and tacks.
- Make sure your floor is level and clean.
- Use a proper moisture barrier for your particular install area.
- Inspect each plank before installation.
- When laying your first row insert tongue away from the wall.
- Make sure no ends align within each row. Allow either to be at least a foot longer or shorter from the row above or below.
- When assembling, lock into place and then push down.
- Allow 3/8″ gap along both walls. This allows for expansion and for us we used quarter-round to cover up.
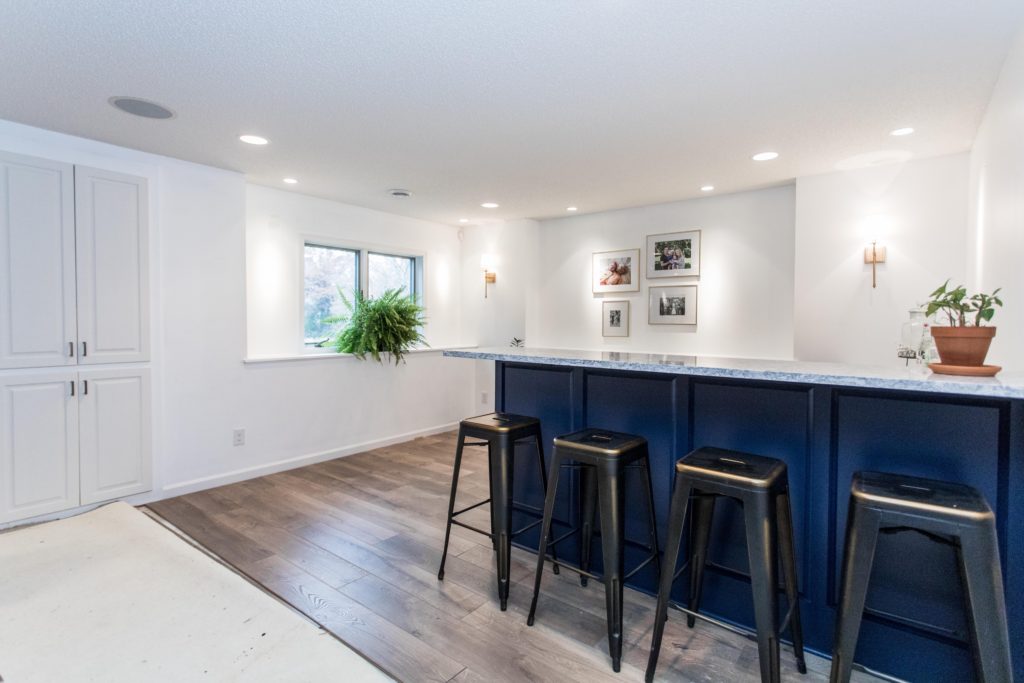
After Jamie got the floors laid, all that was left was a quarter-round and a simple carpet tuck.
We couldn’t be happier with how it all turned out. The crazy thing is that these look just like a lot of hardwood floors we’ve installed but for a fraction of the cost. Makes for the perfect flooring for a basement too to get that same hardwood look.
And there you have it, our tips on installing laminate flooring!
We love a good before and after and we’re so excited to finally have an area to entertain instead of that big giant blank space we weren’t entirely sure what to do with.
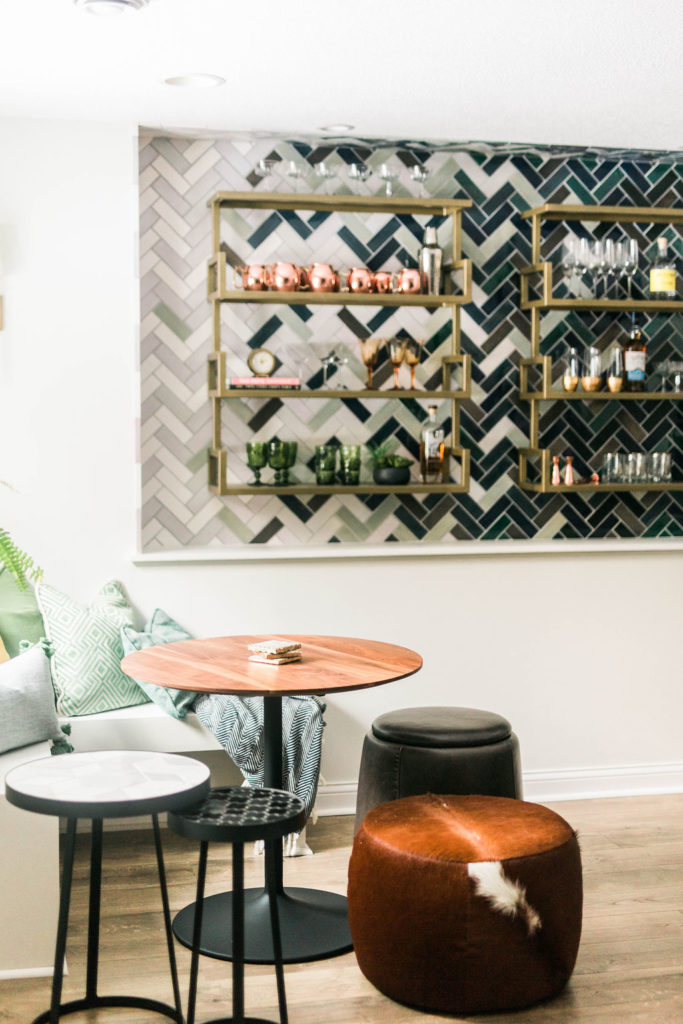
Next phase for our basement, we plan to put in a cool tile backsplash in that nook where the pictures are now and add in some suspended shelving. We can hardly wait to finish but we already love how it turned out.
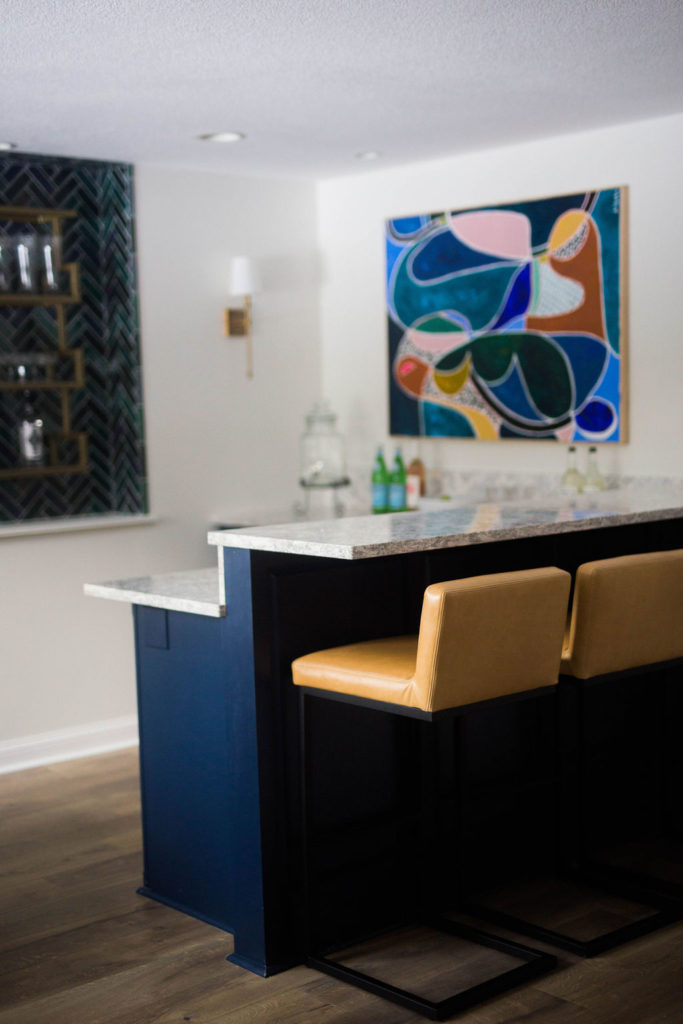
And lucky for us we were able to salvage our former kitchen cabinets to create the bar space, so updating this space (despite the countertop) we were able to transform it for under $350.
We’ll be back diving into the details behind this project and the custom backsplash design we have in the works coming up next.

Thank you so much! I believe I just replied to the same person via email but wanted to follow up just in case anyone else was wondering. 🙂 For the wall color we used White Dove by Benjamin Moore… one of our favorites and that we use all the time. If you’re looking for more of a color I’d recommend Revere Pewter by Benjamin Moore… another goodie we use! Good Luck!
Looks awesome! We are installing this flooring next week. What is your wall color? Thanks!
Hey Mary! Yes, we bought caulk to caulk around the quarter-round and trim. We did skip the backer rod material. It’s to help water not get down underneath the flooring. We put in a dry bar- no running water, so we weren’t worried about water getting under. If you are nervous about that and the warranty- we’d definitely recommend doing it. We should have noted that in our post. Thanks for asking! Good luck on your project! We absoloutely love our flooring!!
We’re installing the same flooring now. It looks like you bought caulk to go around the edges, but I’m curious why you skipped adding the backer rod material in the expansion gap? The install instructions require it for the “wet protect” or it voids the warranty.