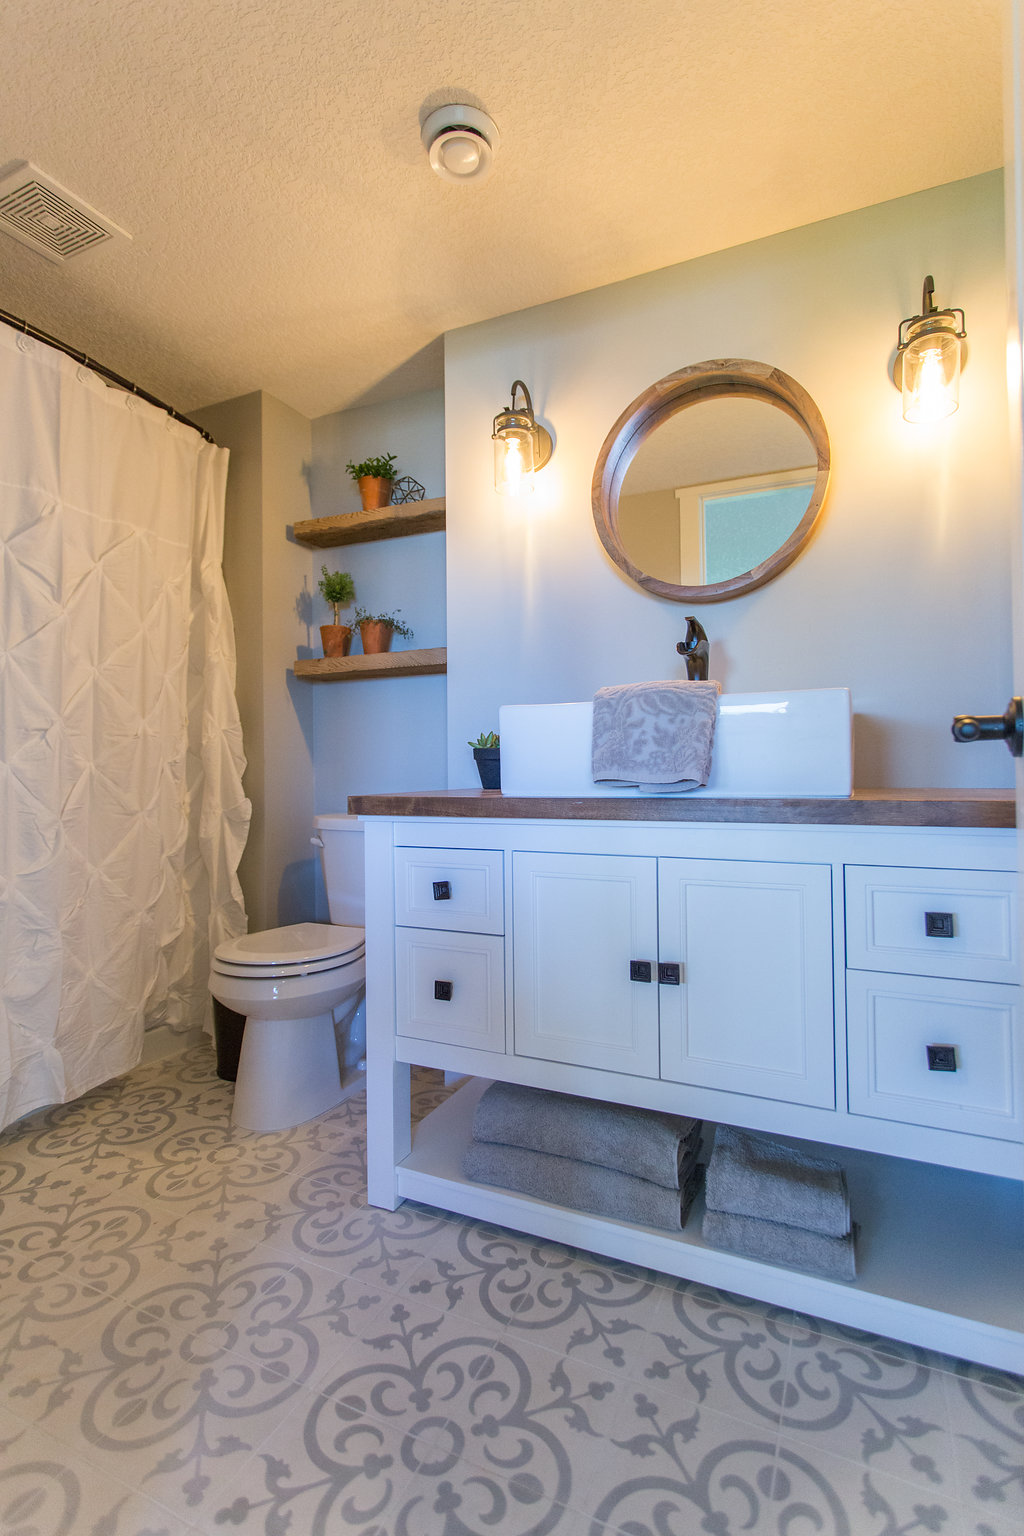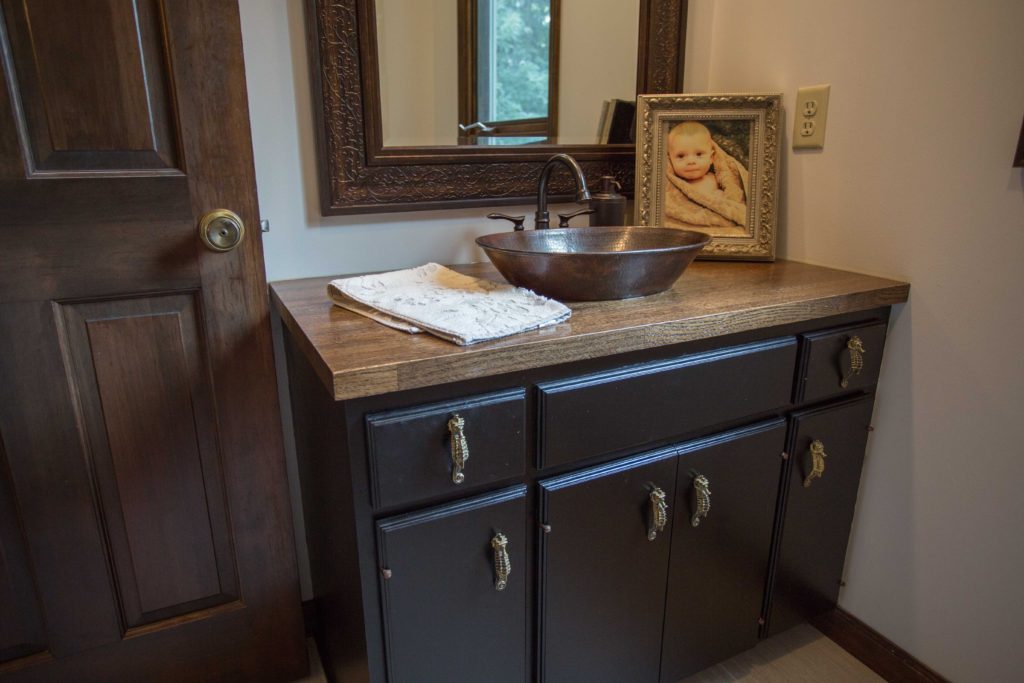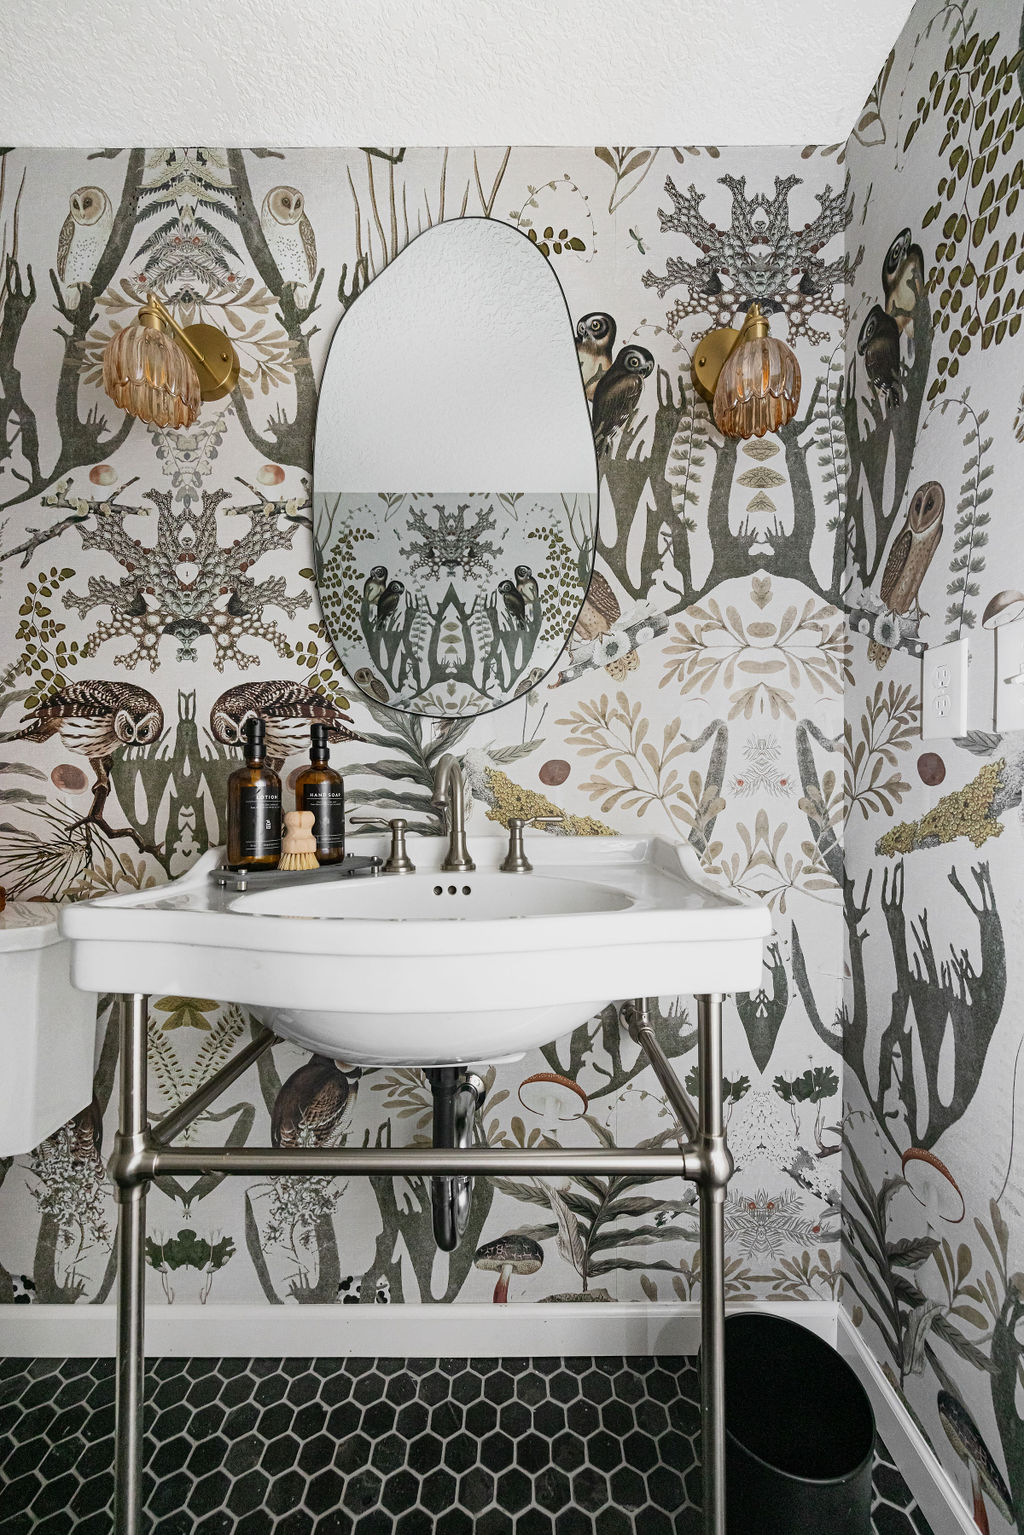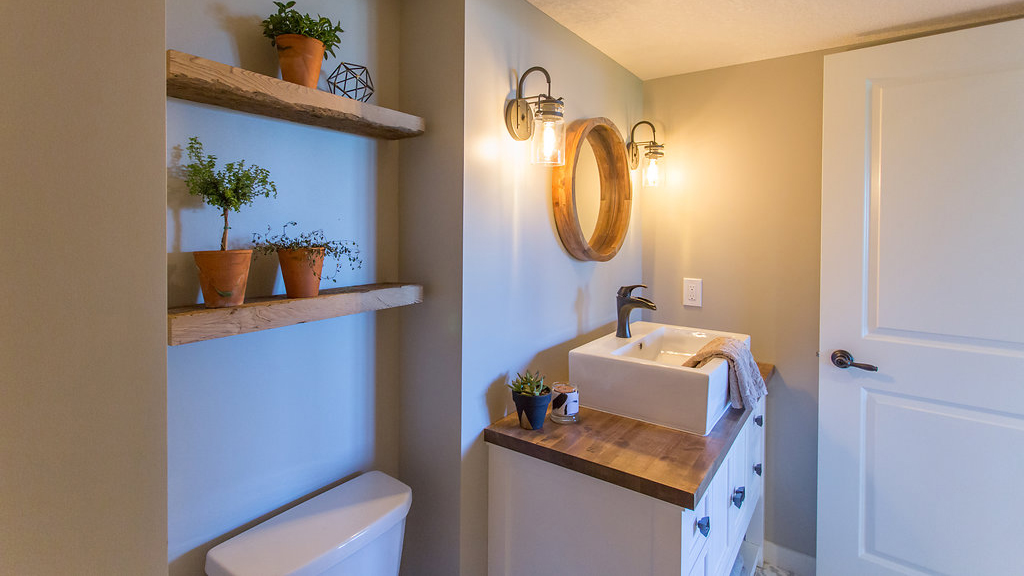
Butcher block is a popular countertop material for DIYers. Price varies depending on wood species, but ranges anywhere from $30- $150 per sq ft. We love the look of a butcher block bathroom vanity mixed with other surfaces, such as just using for the island or simply in a fun powder bath. Some of the benefits to butcher block is that it is heat resistant and if properly sealed, just fine to food prep on. Keep reading to learn how you can build a butcher block vanity for your bathroom. But first, lets cover the basics.
What is a Butcher Block Bathroom Vanity?
A butcher block bathroom vanity is a countertop made by gluing thin strips of wood together to create a unique, often multi colored, looking slab of wood. Bamboo has been used more and more for material but other wood such as oak, walnut, cherry & others are also used.
1. Plumbing
Disconnect the plumbing and remove the countertop by using a pry bar to get in between the countertop and the vanity base. You will most likely need a utility knife to cut the caulk joint from countertop to vanity base.
2. Prime & Paint
If you want to paint your existing vanity, prime it first and then use an oil-based paint which will cover better and keeps the original stained wood from bleeding through. After priming, paint the final coat. Doing this before the countertop goes in will make it less work to have to cut around the top after it is in.
3. Staining
Stain the butcher block using a stain that goes with your vanity and overall design of your bathroom. If you get a stain that seals while it’s applied, it will save you time. Apply 2-3 coats of polyurethane in semi gloss. Stain and seal outside of your house. It gets fairly potent so we would advise wearing a mask.
4. Cut a Hole
Cut a sink hole in the butcher block with a jig saw by centering the sink on the butcher block and make a pilot hole large enough to get the jig saw blade in. Follow the outline of the sink that you have marked out. If you use a vessel sink and want it to sit normal then you can skip this part and drill a hole for the drain to go through the top. The manufacturer of the sink should have instructions including hole size for the drain. Don’t worry about the hole not looking pretty or your cut marks being jagged. Most of the time your sink will have a large enough lip to cover all of these blemishes.
5. Install Countertop
Depending on your setup you can either glue or screw your sink in. We would recommend gluing it. Glue the border of your vanity before setting the top on, then run a bead under of the countertop to the vanity making a tight seal from the outside. This will ensure that your countertop is both glued from the bottom to the top of the vanity as well as making a caulk joint from the side of the countertop to the vanity.
6. Install Sink and Hook Up Plumbing
With a silicone/bathroom grade caulking, make a ring around your sink once it is in. Then carefully wipe a clean line around the sink sealing the caulking in. Once this is in hook up your water lines. We recommend that you let your countertop sit for at least 24 hours before hooking up any plumbing.
For other examples of DIY bathroom vanities, check out this post!
