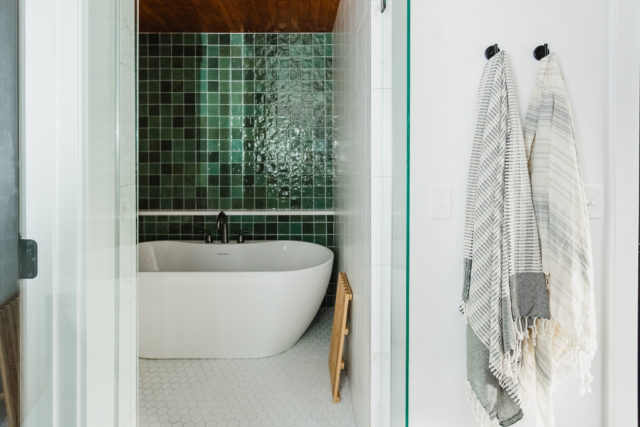
Happy weekend, friends! I hope you’re all having a relaxing weekend and have carved out some personal time. Let’s chat – homemade bath bombs, my kids favorite. Something they ask for in every bath, especially Ellie. They just love the fizz and colors! However, buying them frequently can add up, so we decided to get creative and make our own DIY bath bombs at home. It’s been a fun project for us to do together, and the kids enjoy picking out their favorite scents and colors for the bath bombs.
Not only are these homemade bath bombs a more budget-friendly option, but they can also be customized to suit your skin’s needs. Some bath bombs are infused with skin-loving ingredients that leave your skin feeling soft and moisturized. Plus, the aroma that fills the bathroom when the bath bomb dissolves creates such a relaxing and soothing atmosphere – perfect for unwinding after a long day.
Whether you’re already a bath bomb fanatic or you’re curious to try making them for the first time, I’m excited to share some simple instructions for creating your very own homemade bath bombs. It’s a fun activity that can bring a bit of spa-like luxury right to your own bathroom!
The Benefits of Homemade Bath Bombs
Before we dive into the DIY recipe, let’s talk about why you might want to make your own bath bombs at home. Here are a few compelling reasons:
- Customization: Choose your favorite scents, colors, and ingredients to suit your mood and skin type.
- Cost-effective: Store-bought bath bombs can be pricey. Making your own allows you to enjoy luxurious baths without breaking the bank.
- Natural Ingredients: Control what goes into your bath bombs, avoiding synthetic additives and preservatives often found in commercial products.
- Creativity: Making bath bombs can be a fun and rewarding DIY project, perfect for a relaxing weekend activity.
DIY Bath Bombs Recipe
Ingredients
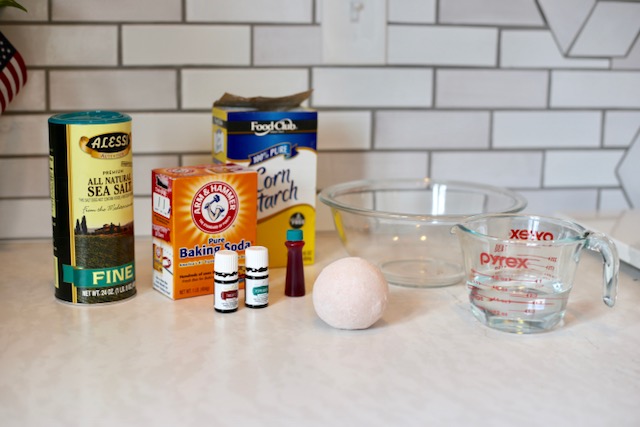
- 1/2 cup Baking Soda
- 1/4 cup Lemon Juice
- 1/4 cup Cornstarch
- 1/4 cup Sea Salt
- 3 tsp Castor Oil
- 1 tsp doTerra Essential Oil, Lavender or Peppermint
- Food Coloring (optional)
- 1 tbsp Water
- Mold (soap mold, plastic Easter egg, etc)
- Mixing Bowl
Instructions
- Mix Dry Ingredients:
In a mixing bowl, combine the baking soda, citric acid, cornstarch, and sea salt. Stir well to ensure all the ingredients are evenly distributed.
- Add Oils and Color:
Add the castor oil, essential oil, and a few drops of food coloring to the dry mixture. Mix thoroughly until the color is evenly distributed. The mixture may start to clump slightly.
- Add Water:
Add the water slowly, one drop at a time, while continuously mixing. The mixture should begin to hold together like damp sand. Be careful not to add too much water, as it can cause the mixture to fizz prematurely.
- Mold the Mixture:
Firmly press the mixture into your chosen molds. Make sure to pack it tightly to avoid any air pockets. If using a two-part mold (like a plastic Easter egg), slightly overfill each half before pressing them together.
- Dry and Set:
Allow the bath bombs to dry in the molds for at least 24 hours. Once they are fully set, gently remove them from the molds.
- Store and Enjoy:
Store your bath bombs in an airtight container to keep them fresh. Drop one into your next bath, relax, and enjoy the personalized aromatherapy experience.
Tips for Personalizing Your Bath Bombs
- Scents: Experiment with different essential oils to create unique scent combinations that suit your mood. Lavender is great for relaxation, while peppermint can be invigorating.
- Colors: Mix and match food coloring to create fun and visually appealing bath bombs. You can even try layering different colors for a tie-dye effect.
- Add-Ins: Consider adding dried flowers, glitter, or oatmeal for added texture and benefits.
With just a handful of simple ingredients, you can make your spa-like experience right within your home sanctuary. It’s a fantastic opportunity to unleash your creativity and tailor your bath time to match your unique preferences, even with or for your kids.
Now go fill up that bath, and indulge. Happy bath-bombing!
