Family traditions were a major reason I chose to return to Minnesota after living in California. The pull of my roots and the nostalgia for cherished customs reminded me of the joyful moments I was missing. These deep connections made it clear that Minnesota was where I belonged.
One tradition that stands out during the holiday season is making lefse, a beloved Norwegian flatbread. This thin, potato-based dough is rolled out, cooked to golden perfection on a griddle, and often served with butter, sugar, or savory fillings. Lefse is more than just a treat; it’s a family activity that brings us together each year. The process of making lefse—filled with laughter, stories, and a shared sense of heritage—embodies the warmth and togetherness of the holidays.
This delicious tradition has been passed down through generations, and for me, it’s a reminder of the importance of preserving these moments. Returning to Minnesota allowed me to reconnect with this rich family legacy and ensure it continues for years to come.
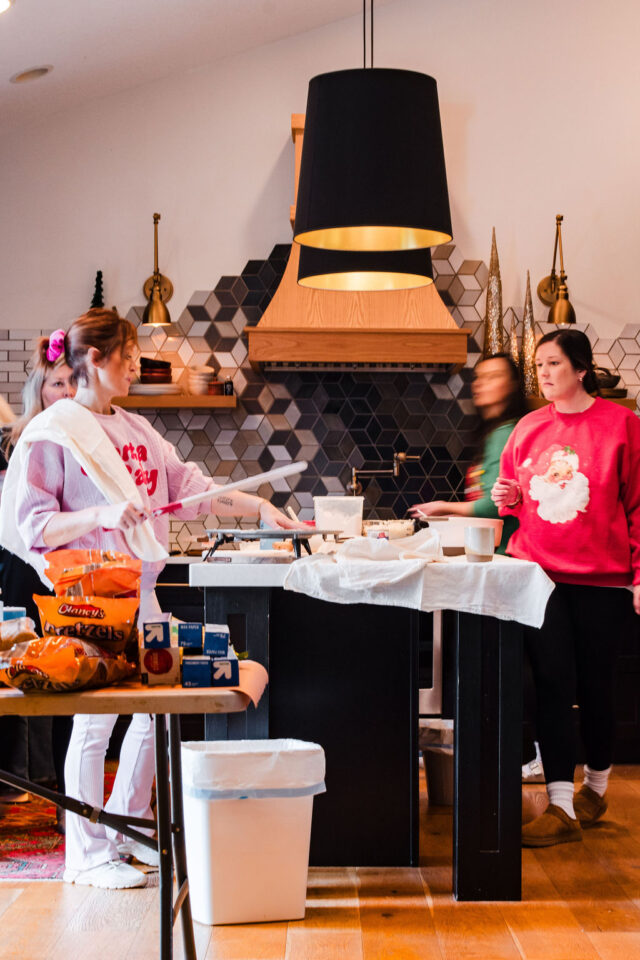
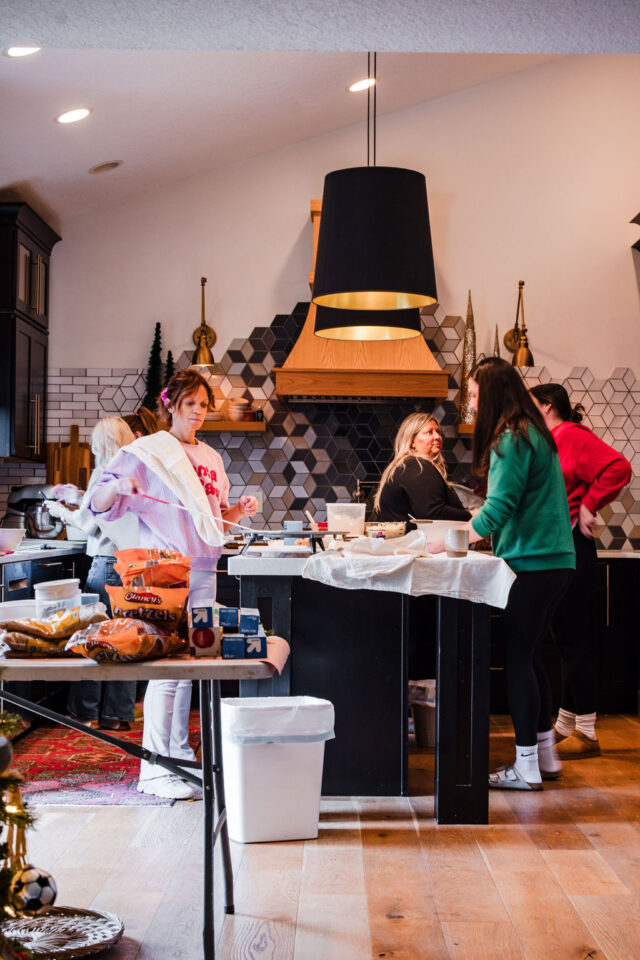
Gathering with these amazing ladies for our annual events was always a highlight of the season! My Aunt Anne took the lead, orchestrating every detail to perfection—even scheduling our lunch breaks. Each of us had a designated station, ensuring the process ran smoothly. On Lefse day, our team of 8 was in full swing: 2 expert griddle flippers, 3 skilled rollers, 1 efficient packager, and a couple of floaters who stepped in wherever needed. It was teamwork at its finest, transforming what could have been a chore into a fun, efficient, and truly memorable tradition that I now carry on with friends.
Every year, without fail, we prepare my Grandma Bergland’s cherished Lefse recipe, and it never fails to delight everyone. This traditional recipe holds a special place in our hearts, connecting us to cherished memories and the joy of the holiday season.
Grandma Helen’s Simple Lefse Recipe:
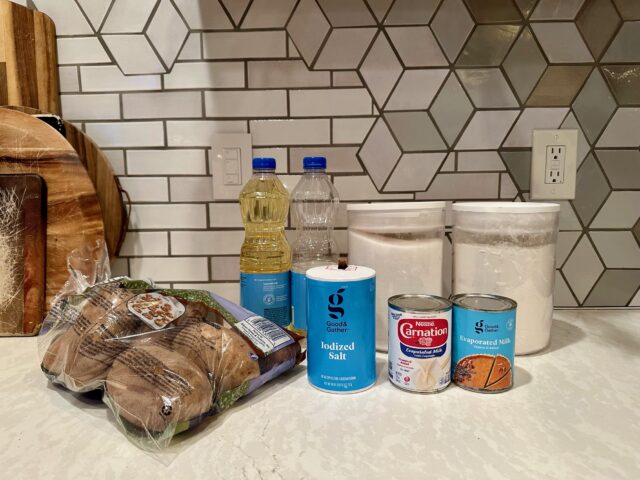
Ingredients Needed:
- Russet Potatoes, one five pound bag
- 2/3 c. oil
- 1/2 c. evaporated milk’2 tsp. salt
- 1/2 c. sugar
Tools Needed:
To make lefse, you’ll need several essential tools. These tools are key for a successful and enjoyable lefse-making experience!
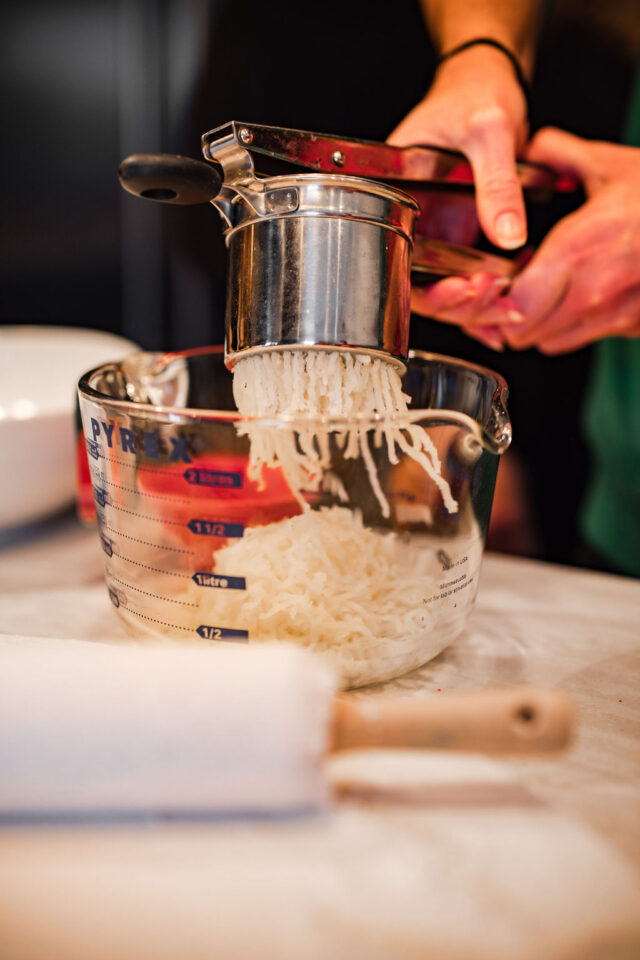
- Potato Ricer: Essential for ricing the cooked potatoes, creating a smooth texture.
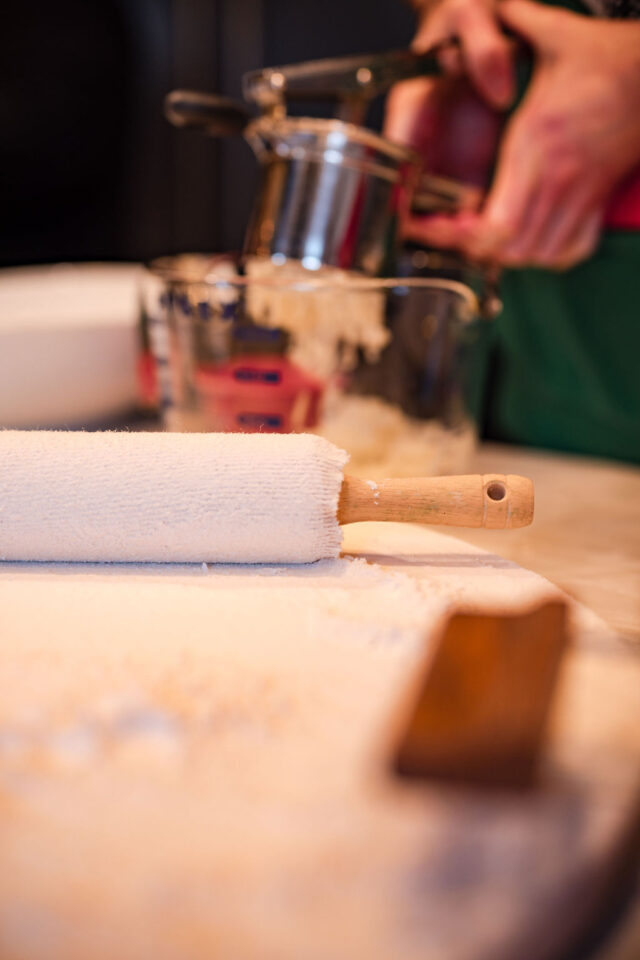
- Rolling Pin: Used to roll out the lefse dough to the desired thickness.
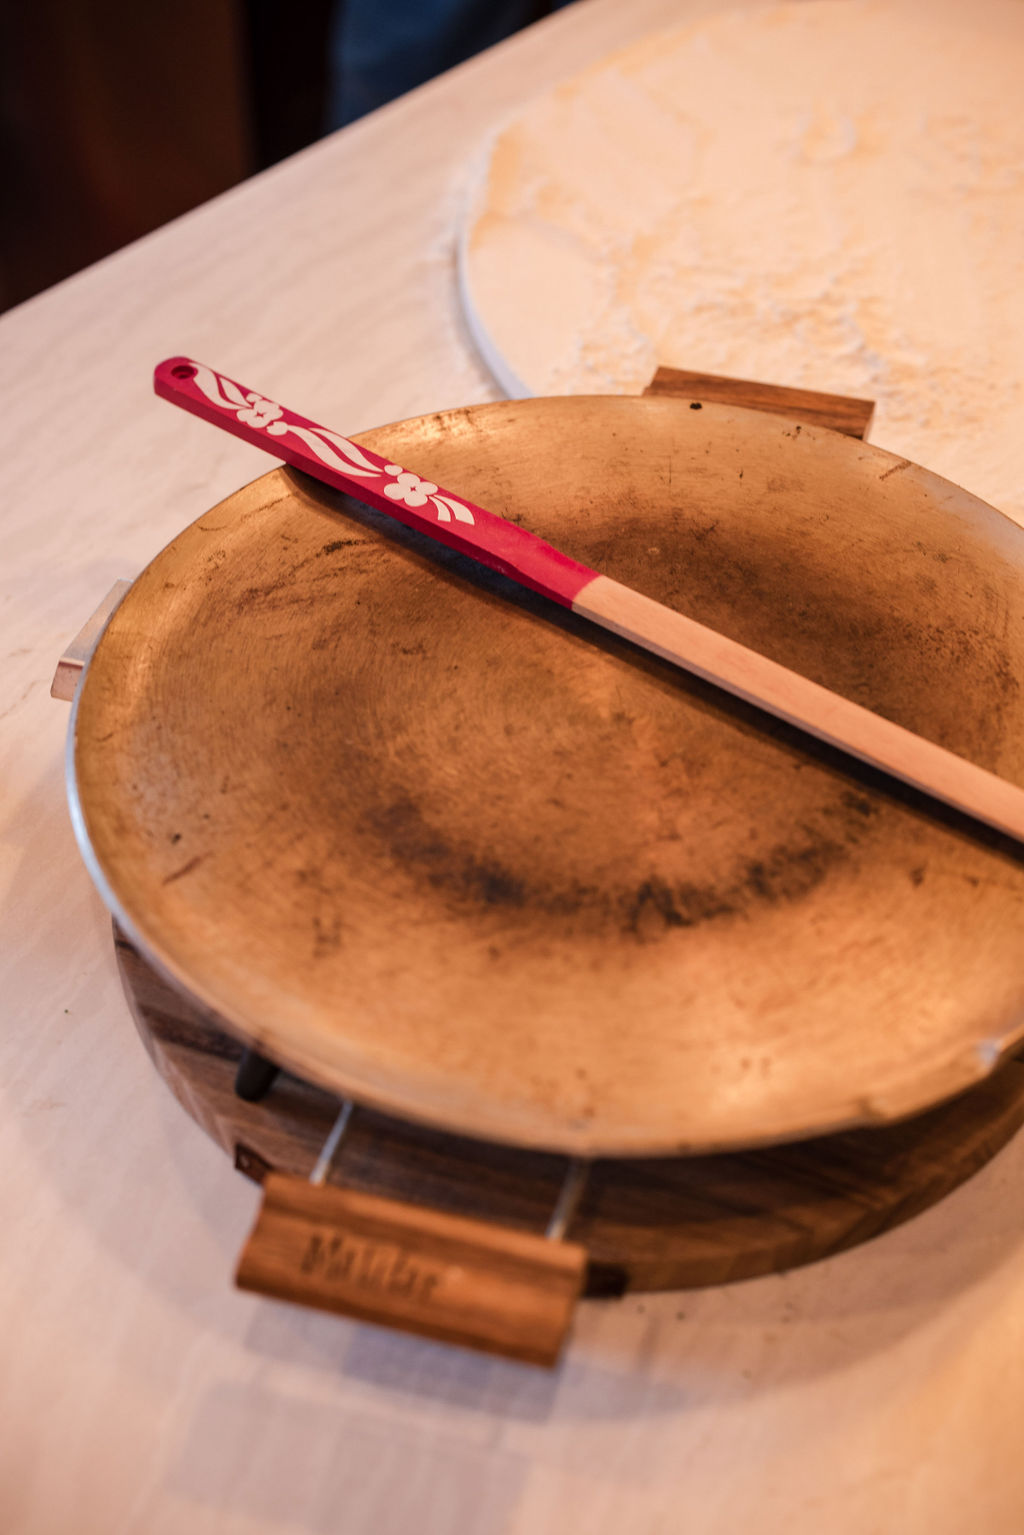
- Griddle or Lefse Grill: An ideal surface for cooking the lefse; it provides even heat and allows for easy flipping.
- Lefse Rolling Board with Cover: Provides a spacious, flat surface for rolling out lefse dough and includes a cover to maintain dough moisture and facilitate easy transfer, streamlining the lefse-making process.
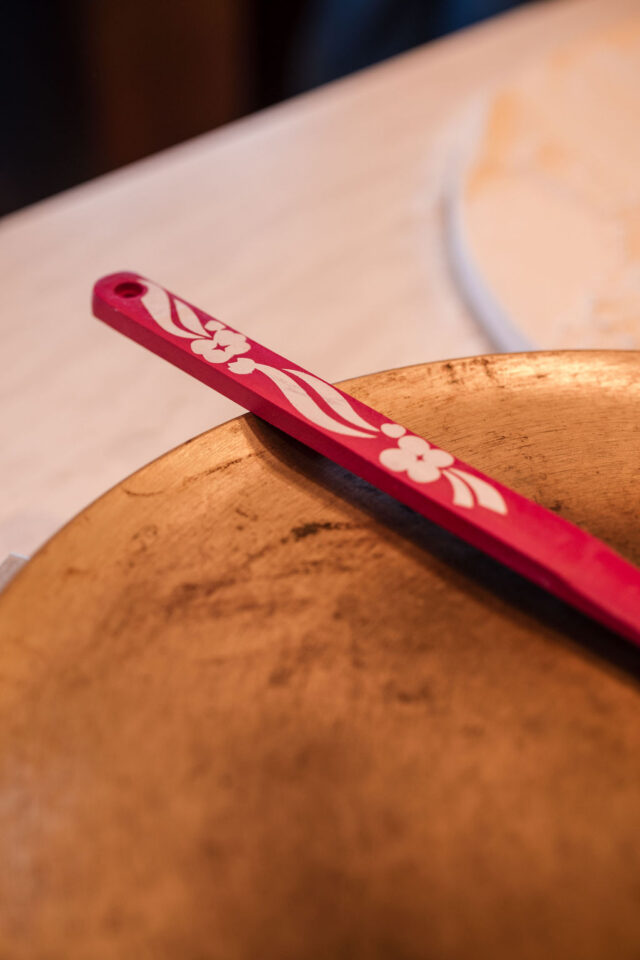
- Lefse Stick or Spatula: Helps in flipping the lefse while cooking to ensure both sides cook evenly.
- Lefse Cloth or Towels: Thin, cotton cloths or towels are used to cover the dough while it’s resting and cooling.
- Lefse Turning Stick: Optionally used for transferring the rolled-out dough from the rolling surface to the griddle.
- Potato Peeler (optional): If you choose to peel the potatoes before cooking rather than using the peeling technique after they’re cooked.
Step by Step Instructions
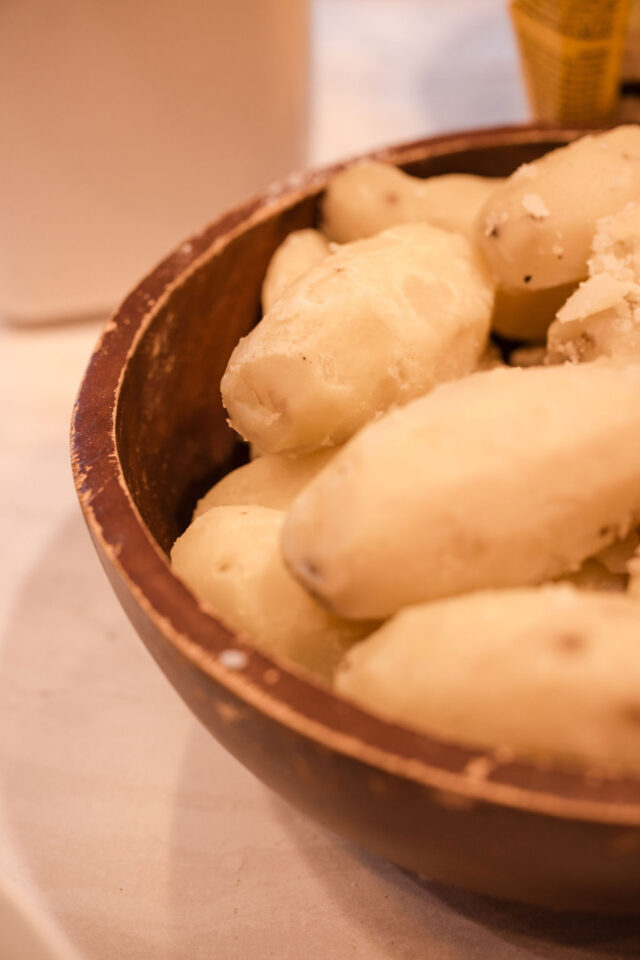
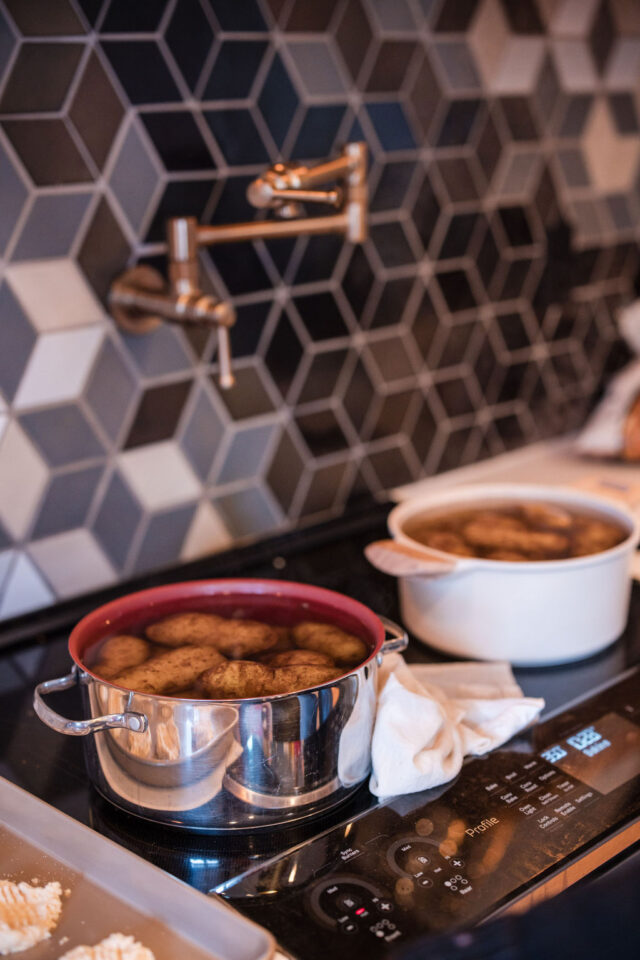
Cooking Potatoes: Start by cooking the potatoes until they’re tender.
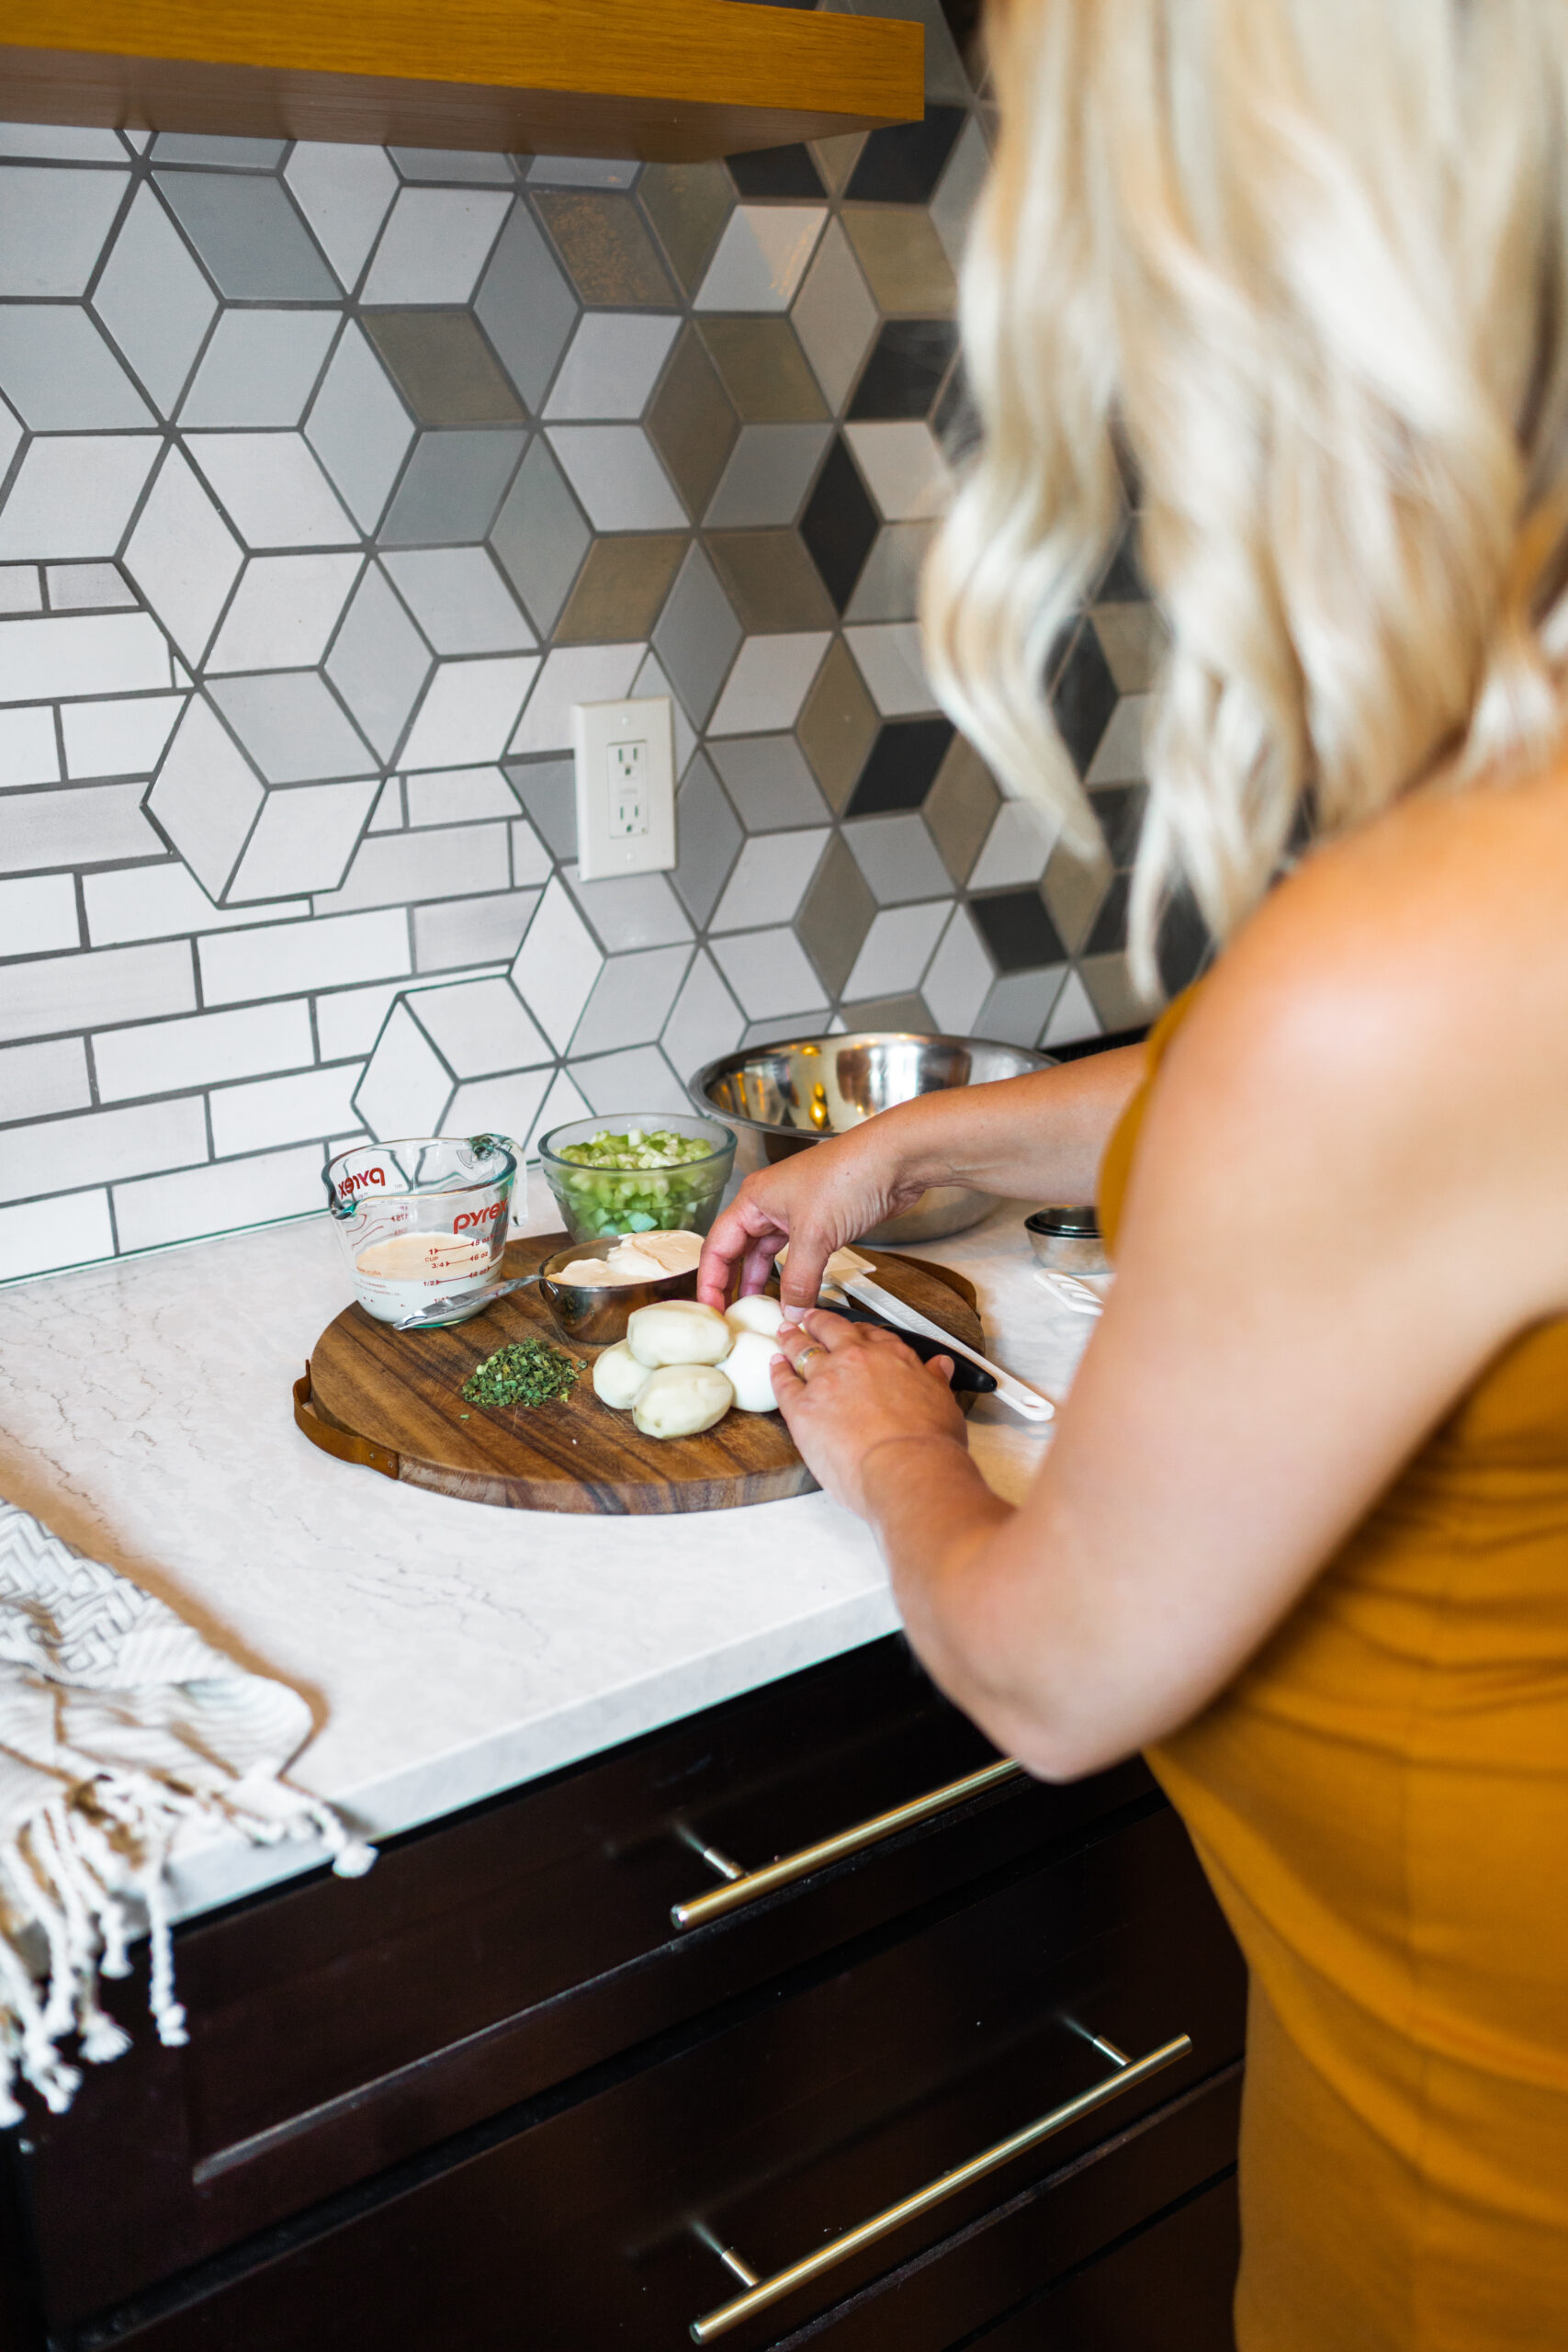
An interesting trick I learned this year was an alternative way to peel the cooked potatoes. Rather than peeling them before cooking, my girlfriend shared a time-saving method—allowing the potatoes to cool and then simply pulling off the skin by hand after cooking. This method drastically cut down the peeling time from over 20 minutes to just about 30 seconds! Once the potatoes were done cooking, I placed them in cold water for around 5 minutes. Then, with a firm grip, I easily removed the potato skins. It was truly a game-changer!
Ricing the Potatoes: Once peeled, it’s time to rice the potatoes. Using a potato ricer, press the potatoes to create a fine and smooth texture. This step is essential for ensuring the right consistency in the lefse dough.
Add Ingredients: Once the potatoes are riced, incorporate 2/3 cup oil, 1/2 cup evaporated milk, 2 tsp salt, and 1/2 cup sugar into the mixture and blend thoroughly.
Afterward, allow the mixture to cool in the fridge. I prefer to prepare the mixture a day in advance to give it time to settle. If you’re doing it the day prior, put it into the fridge and wait until the next morning.
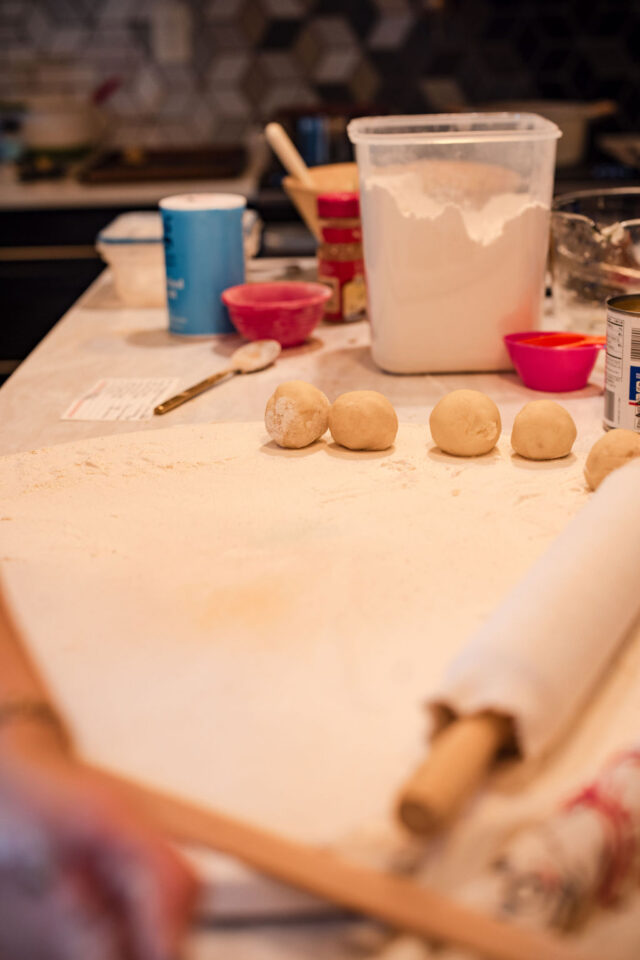
When you’re prepared to roll out the lefse, introduce 3 cups of flour to the mixture. You do not to overmix at this stage, so start with less. Begin by adding 1 1/2 cups of flour initially, gradually incorporating more as needed. I find that using your hands works best for this step—once thoroughly mixed, portion the dough into individual balls for easier handling and rolling.
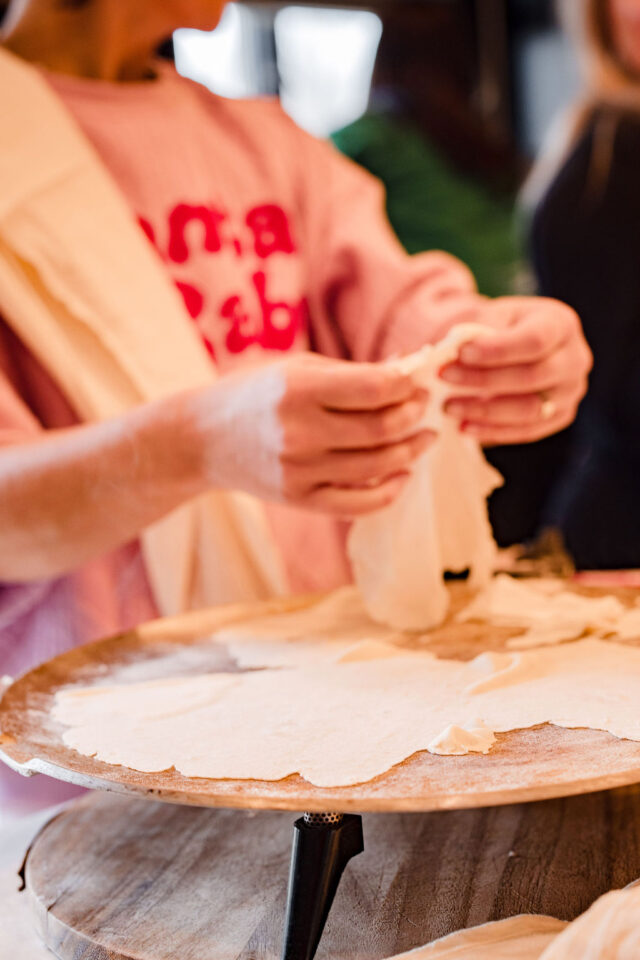
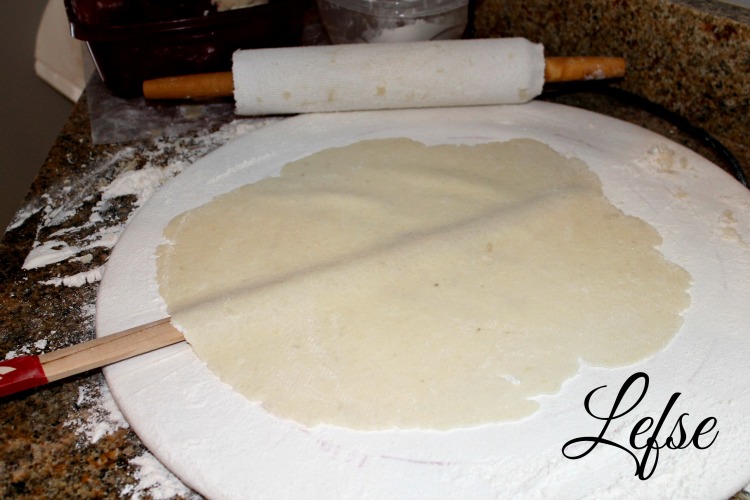
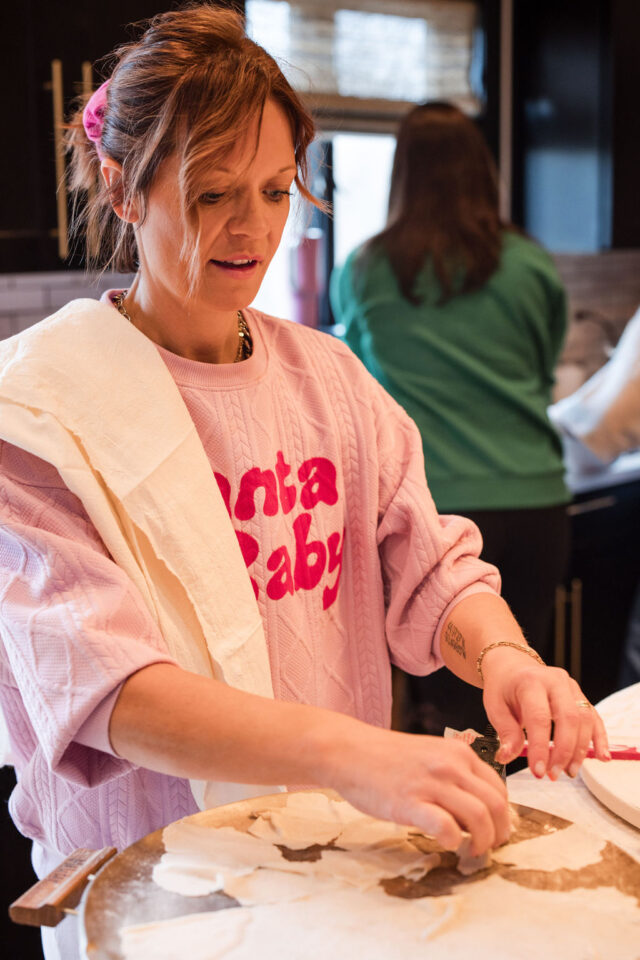
Roll the Dough! Now it’s time to roll out the dough! Use a rolling pin to flatten the dough to create the best circle shape possible. Once rolled out, carefully flip the dough onto the griddle or cooking surface for further cooking. This step sets the stage for the next stage of the lefse-making process.
Steam, Flip, Flip: In line with Grandma Bergland’s time-tested technique, the rule for cooking lefse is “steam, flip, flip.” As soon as the lefse starts steaming (typically within seconds of placing it on the griddle), perform the first flip.
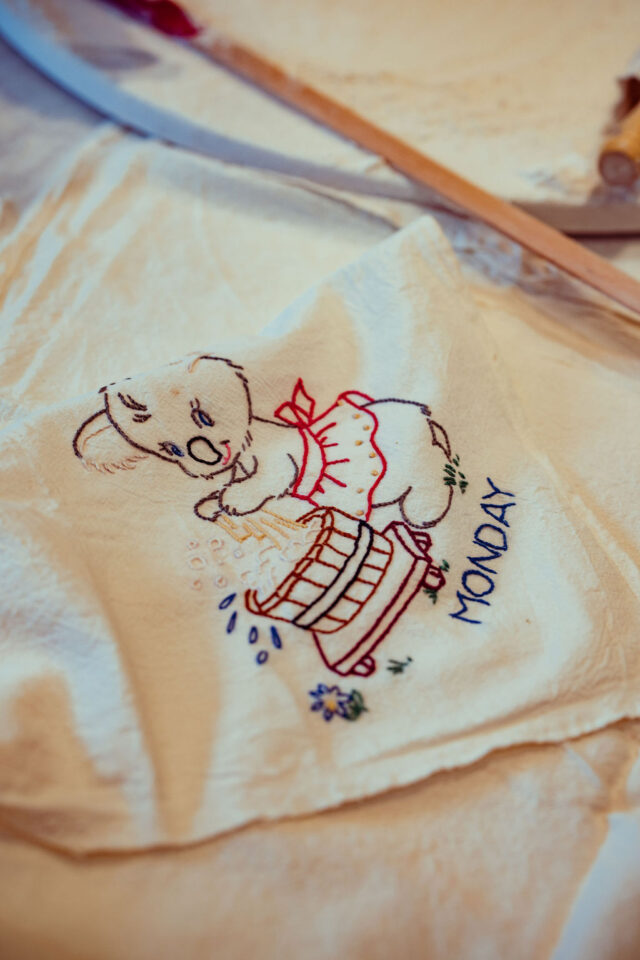
Then, when it begins to form small bubbles, execute the second flip. Once both sides are cooked to a desirable golden hue, the lefse is done. To cool them, we traditionally place sheets on our tables, providing an ideal surface for the lefse to cool down.




Thanks Tehren! Mine too! It’s the best! YES- it was SO simple I couldn’t believe it. It will change your potato peeling life 🙂
YUMM! One of my favourite treats around this time of the year. great tip about the potatoes I would have never thought to try that.
MMMMMmm! Mine is already gone and I want more 🙂
Of course!! Or we could even start our own Friends Lefse/Christmas cooking day!! 🙂
Year*
Can I be a floater next yea? My job can be tasting and making sure the Lefse is being made to perfection 🙂
Yum yum. I lik mine with butter and a cinnamon and sugar mixture