Your living room and family room are one of the most highly used spaces around any home out there. This is really true if you have kids as the area becomes a widely used room that sees much traffic during any day of the week. There will be scrapes, scuffs and spills and you will need to mask or deal with them by repainting every so often. The following guide will explain a few things before you begin working on the task:
Choosing the color palette
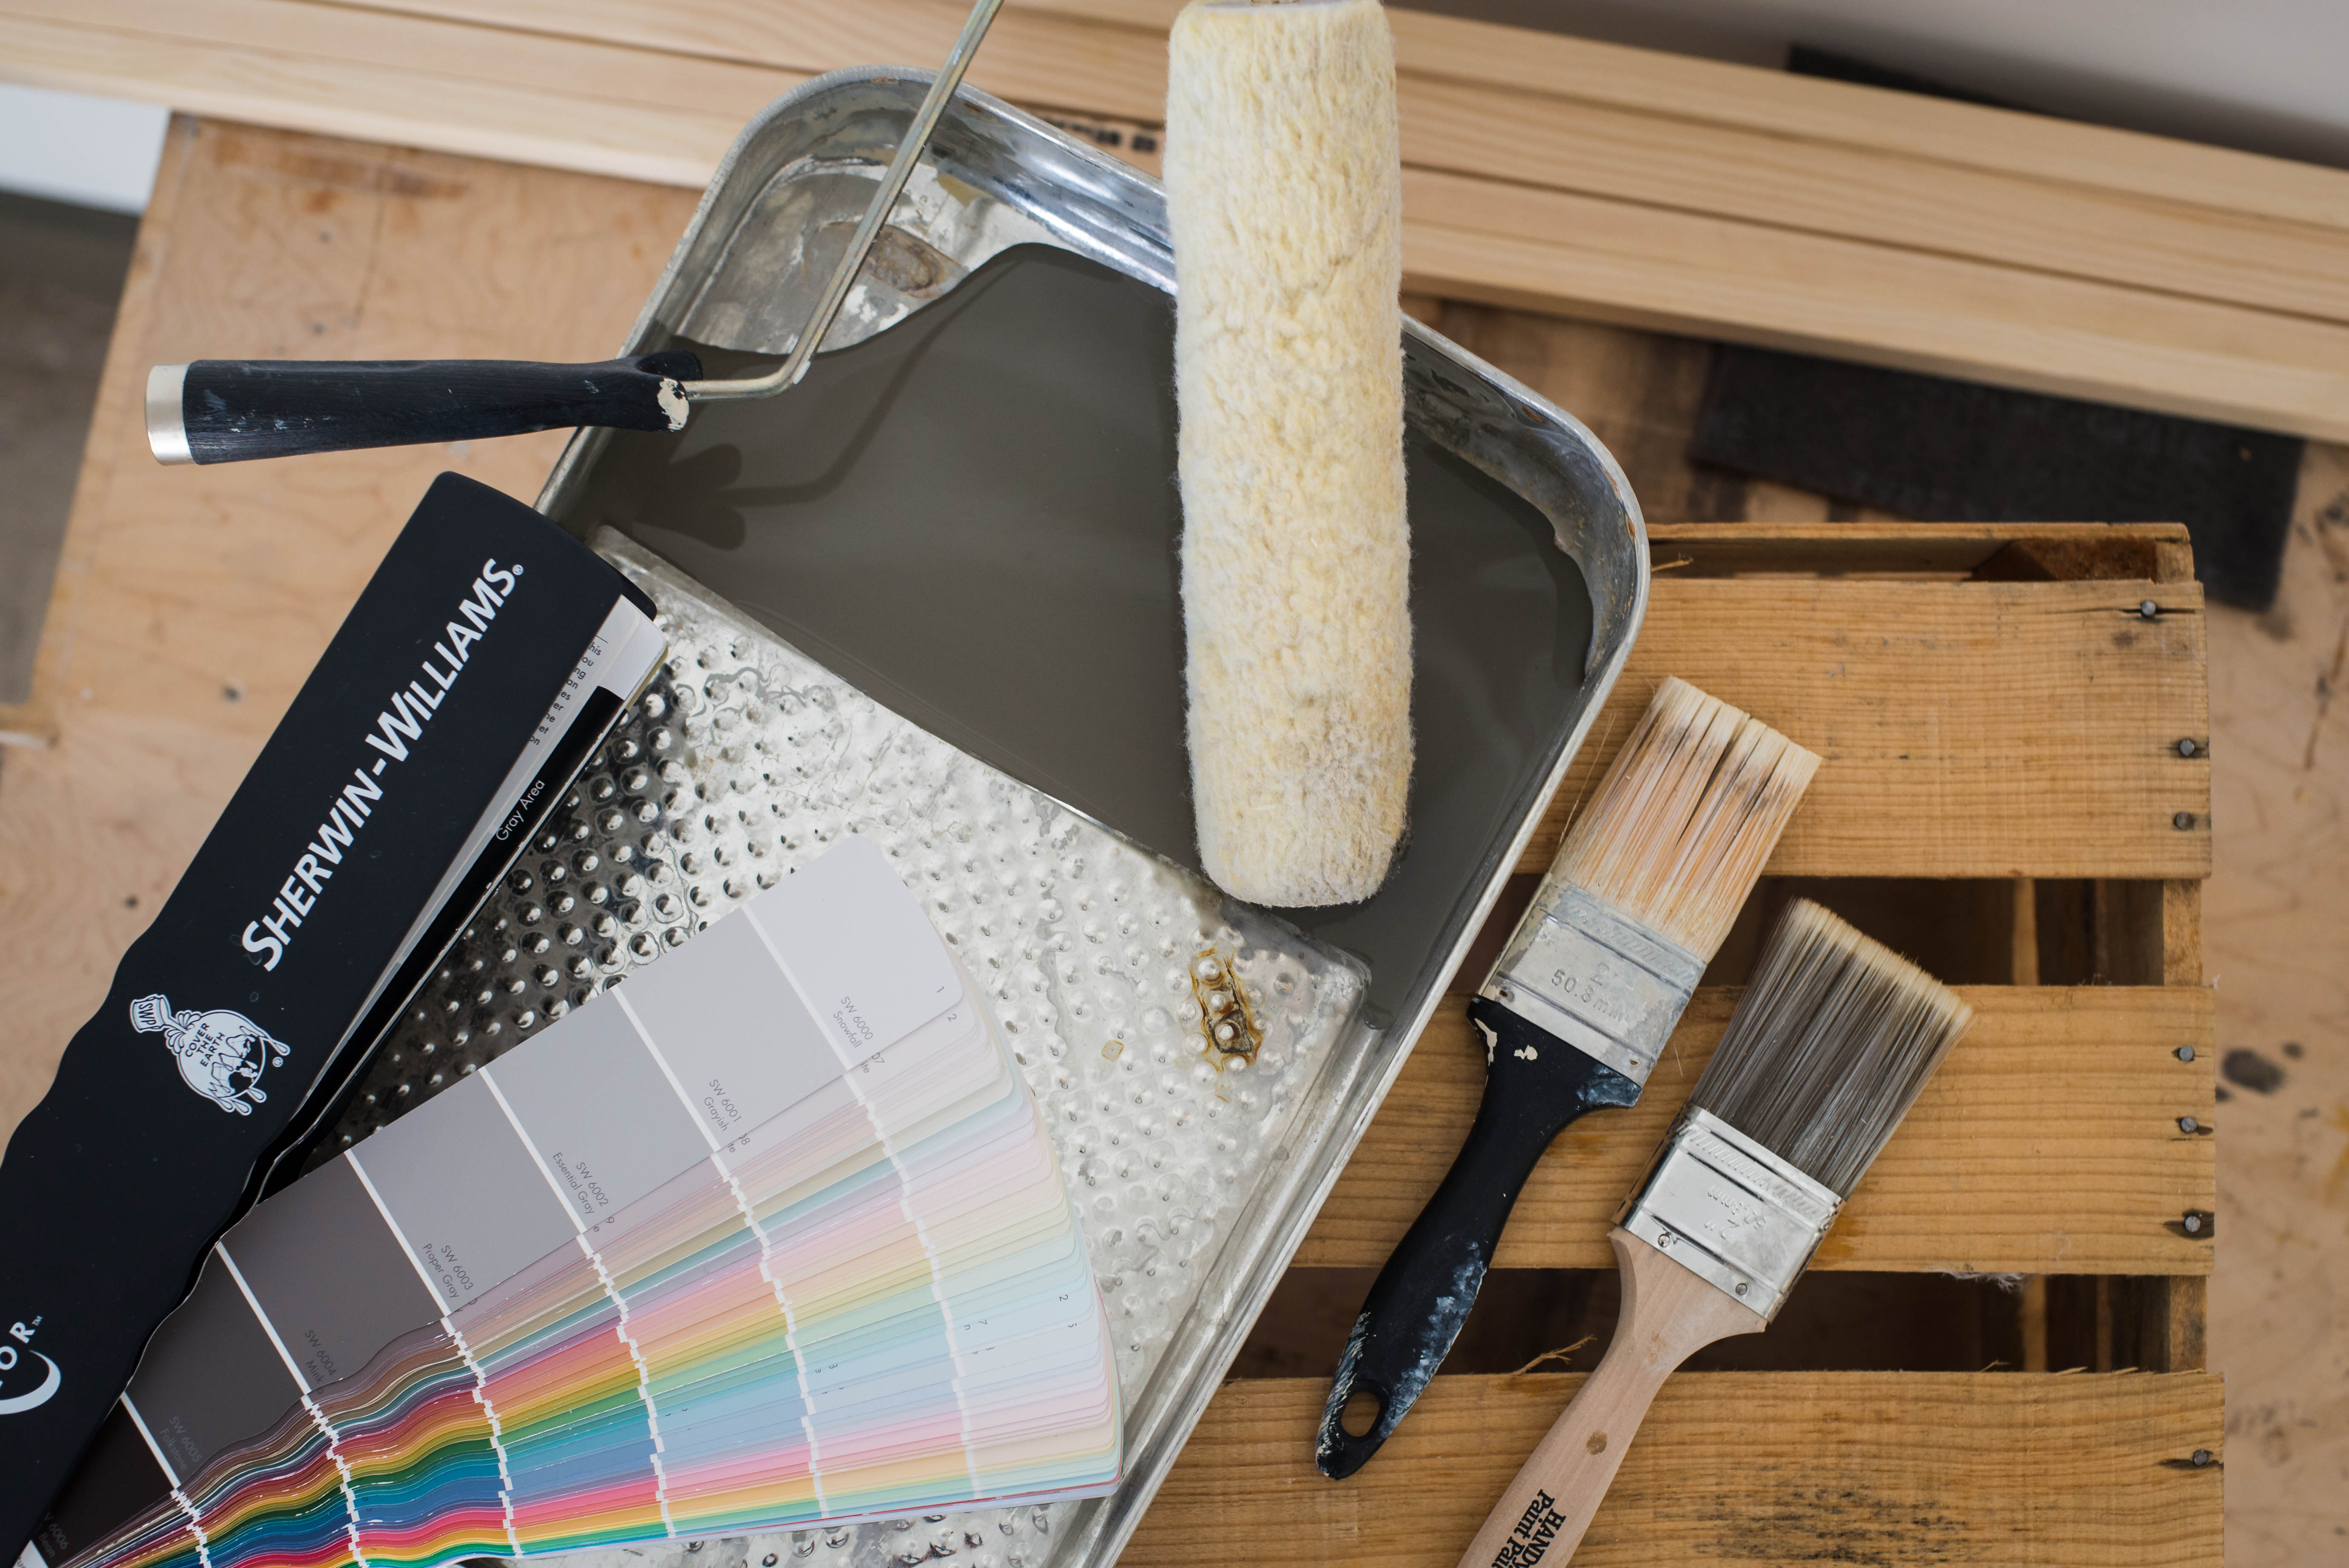
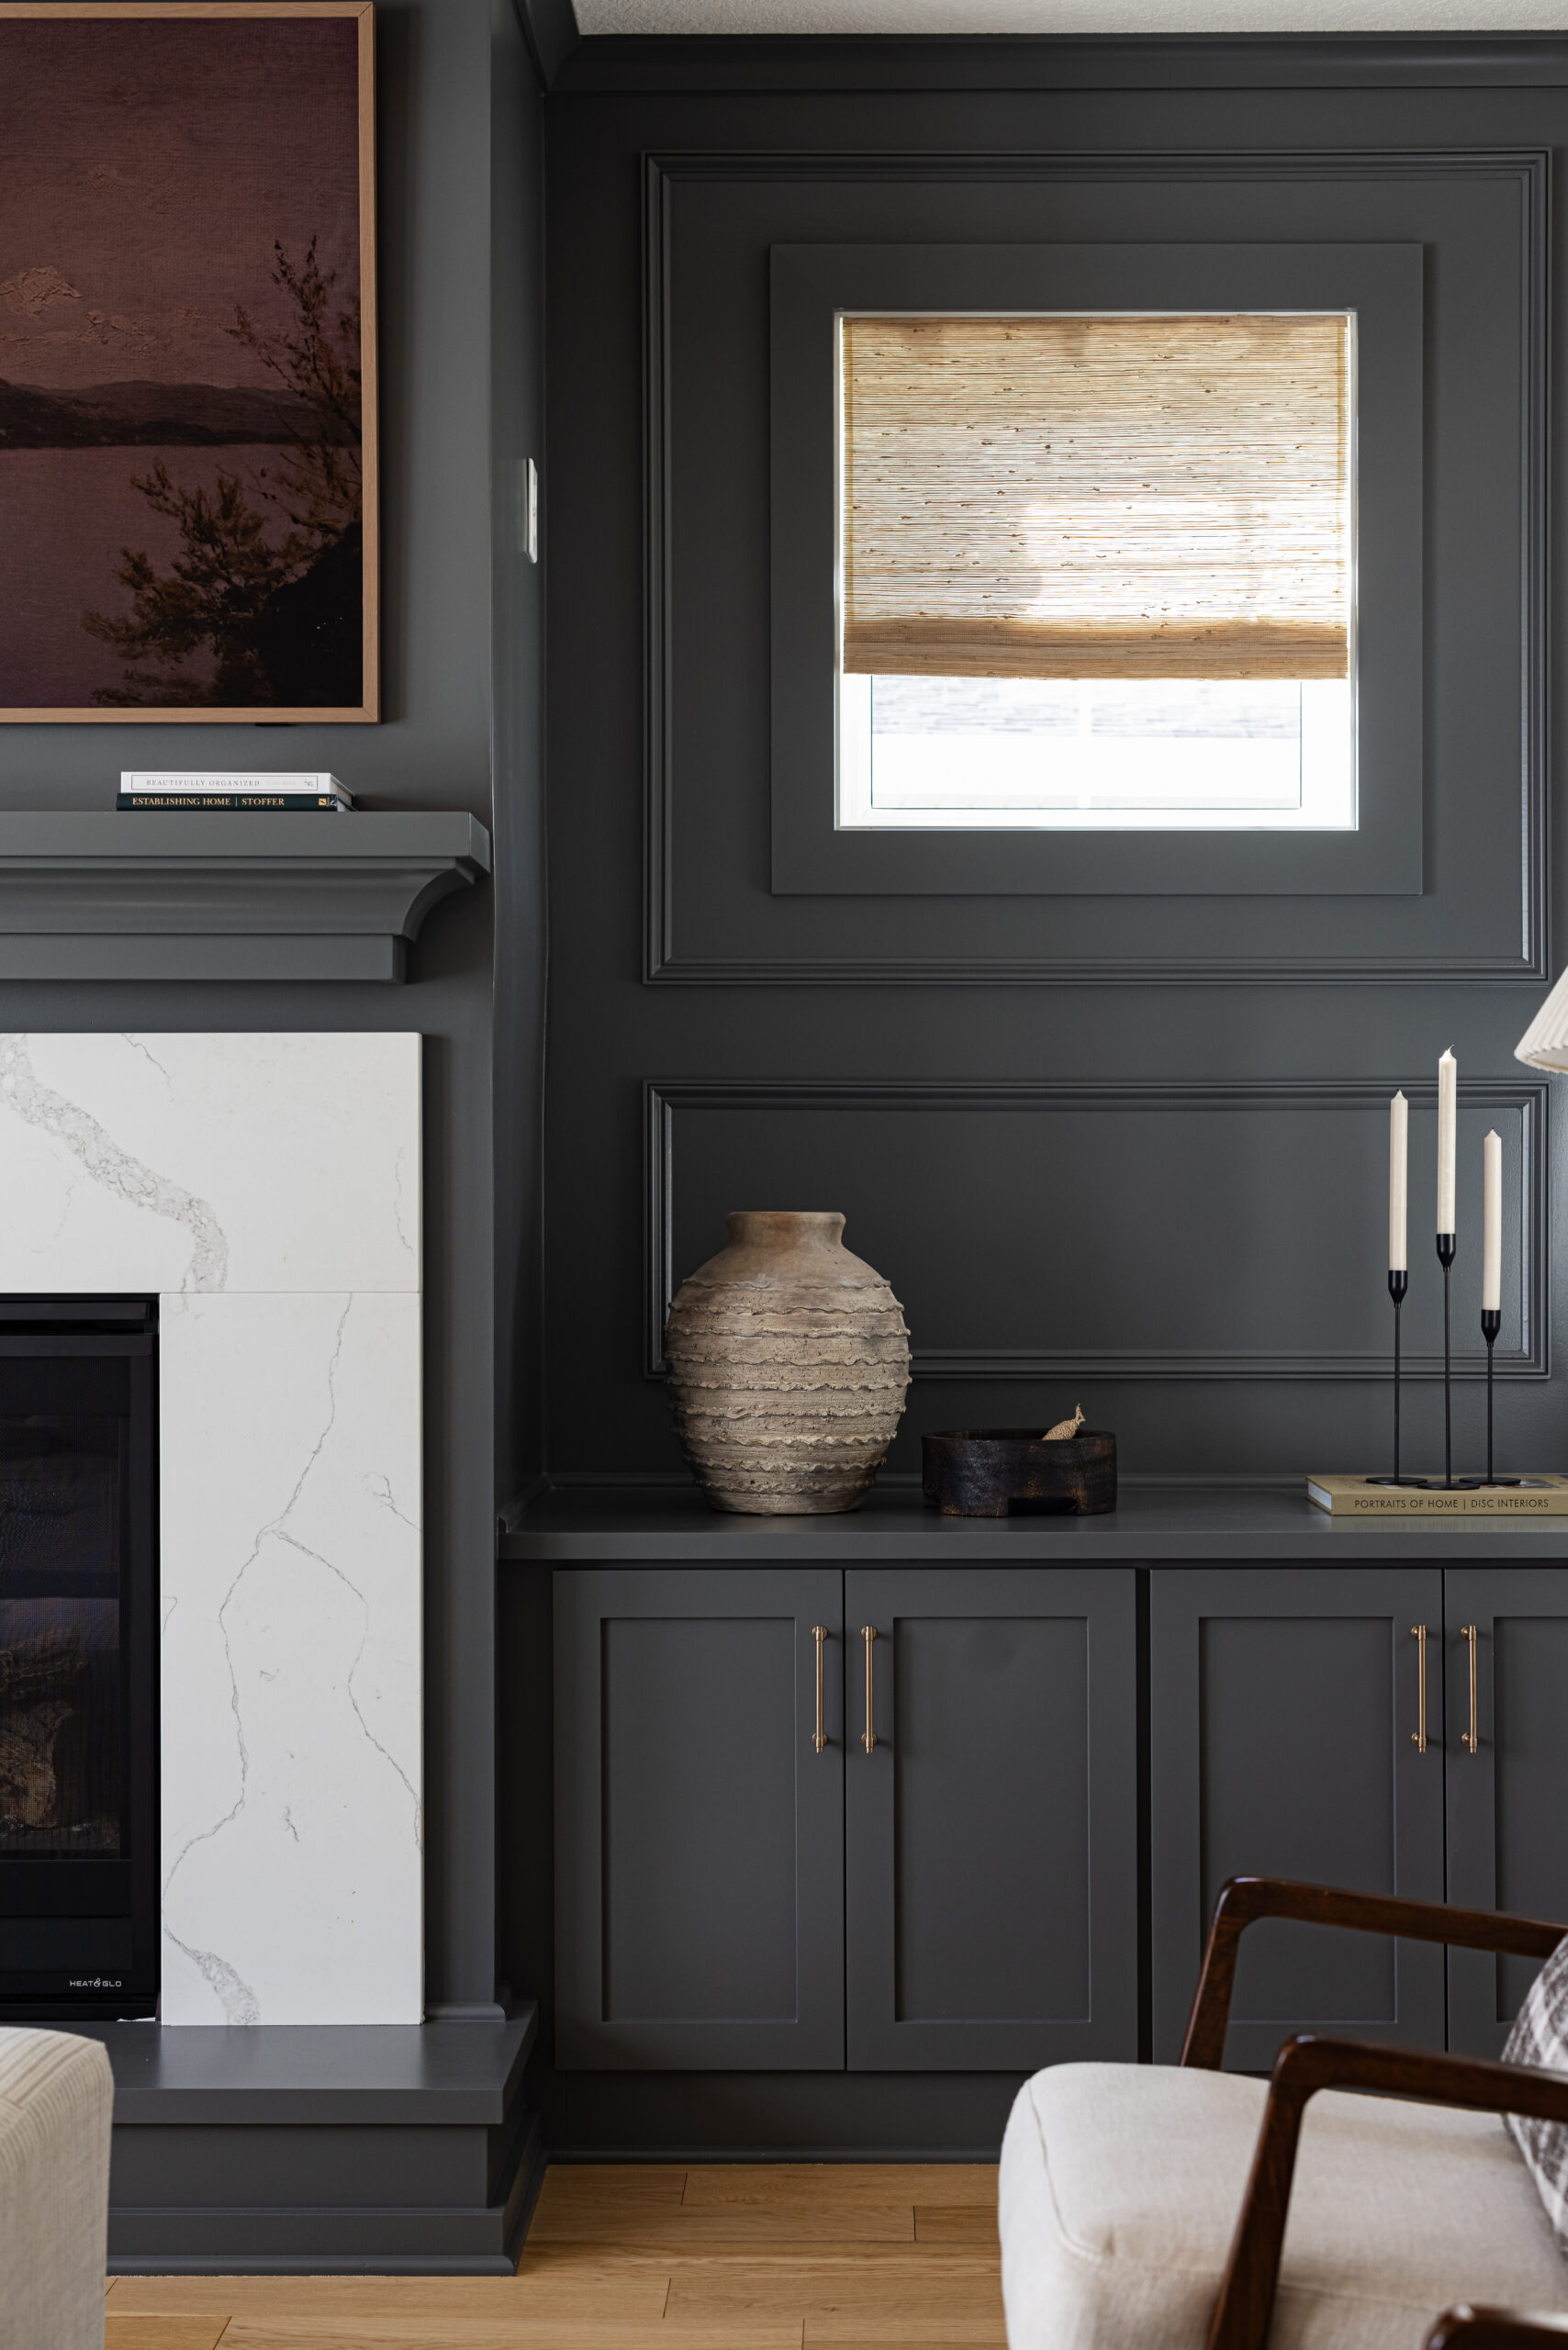
What kind of style are you looking at? Do you want something traditional, something warm and rustic or something contemporary? Ceilings will give you an opportunity to introduce another color or a dimension to the room itself. Try working with a darker tone on a tall ceiling or vice versa if the walls are darker. Rooms and their light sources will vary, so this will also impact the color as well. Light sources will vary from one room to another so the color will look different each time. Try sample paint on the wall and see about viewing the color throughout each day. Highlight any unique and good architectural elements with rich and dark colors. In a more architecturally significant home that has historic value, and then this will help highlight the heritage and what that means.
Choosing a good paint finish
If the living room or family room is there as a formal space, then you can work on choosing a more elegant approach such as matte or eggshell finish. Perhaps you can explore a textured finish instead. If your home happens to be on the older side, with some visible wall imperfections then you will need to solve the issue by using a low sheen satin or even eggshell finish for an added layer of durability.
Planning the job
Are you willing to paint a large room or perhaps two of them? You may want to look for a spread of the project over about two days, preferably a weekend. Prepare the rooms one day and work on saving the actual painting on the next one. If you think you can work on all of this in one single day, then you should probably pace yourself to avoid cutting corners during the stage of the preparation.
Clearing and cleaning the room
Begin by moving the furniture. You will also want to remove any decorative shelving and wall displays that get in the way. Take off electrical outlet covers and keeping all screws and fasteners together in a zipped plastic bag when you need to make some easy replacements. Tape all the electrical fixtures with painter’s tape and remember to tape a small plastic bag around the doorknobs. One other thing you need to do in all cases is to take care of the floors during painting, such as using plastic sheets, as you would otherwise have to deal with carpet cleaning and floor cleaning of dripping paint. The last thing you want is to have to deal with is this, as it will make house cleaning a lot harder than it needs to be. Paint cleaning can require a lot of work so get to it as soon as you can.
Good Luck! Make sure to share your projects with us online and tag us so we can see your awesome work.
