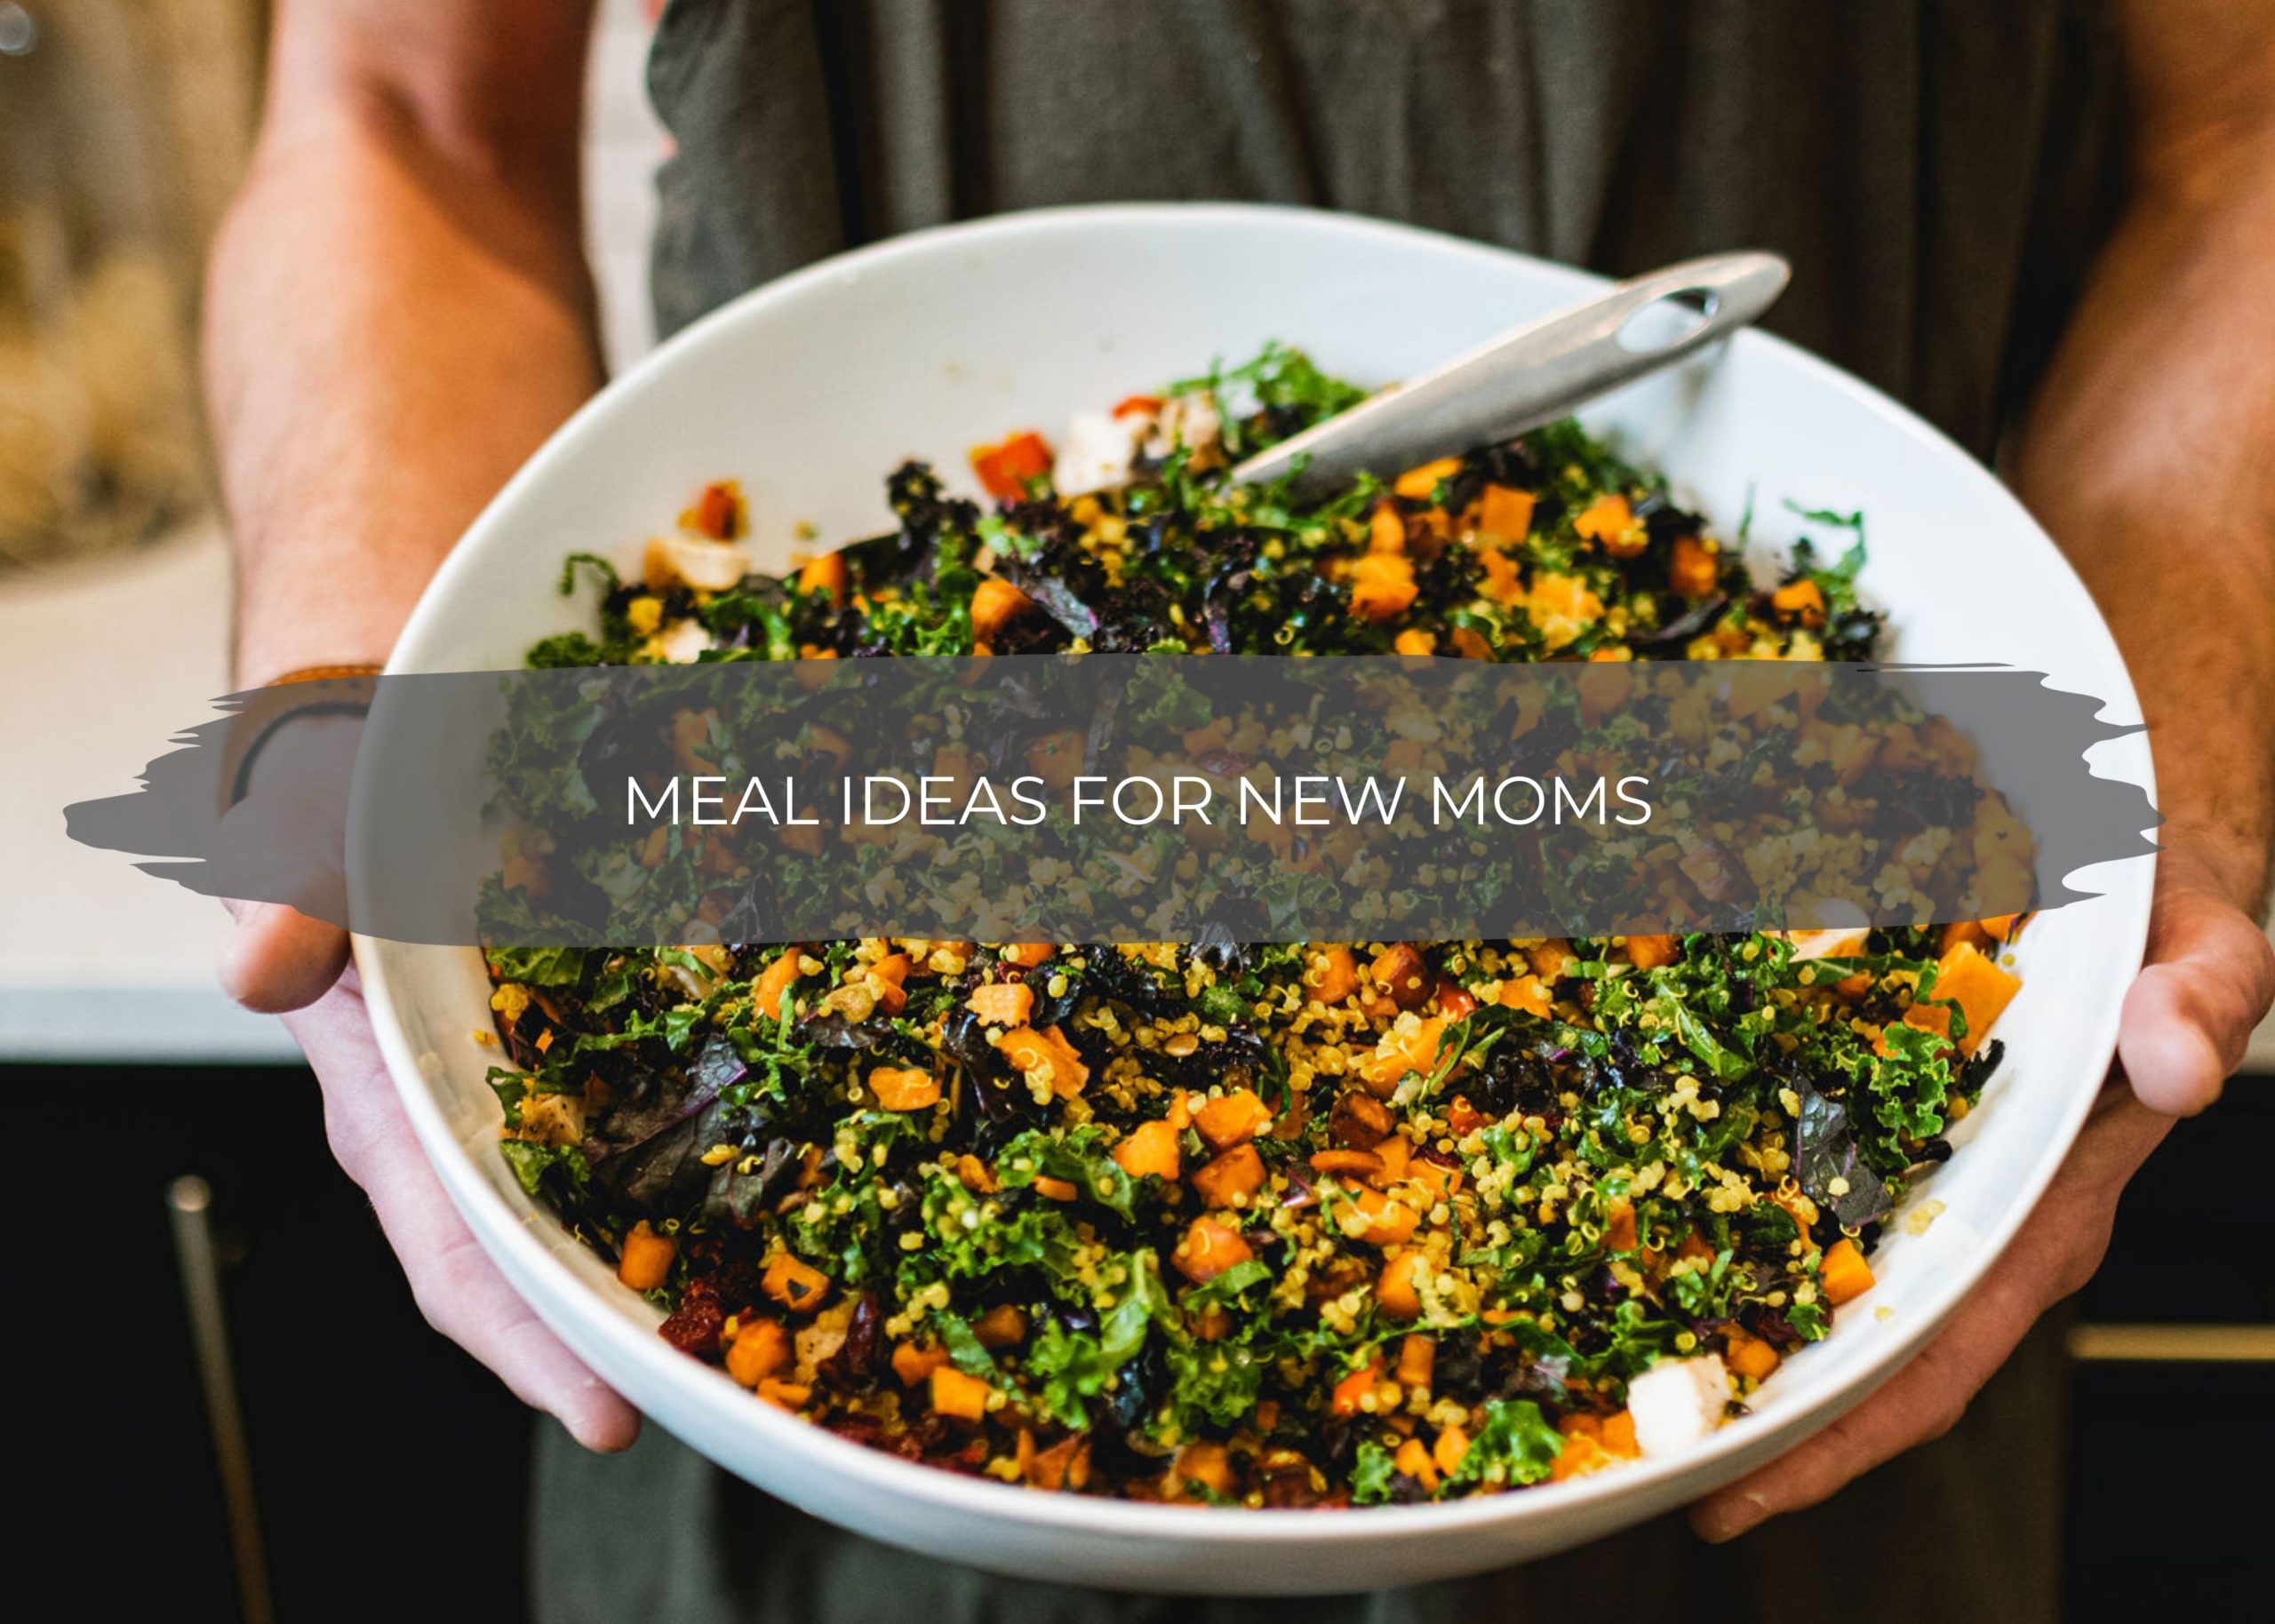
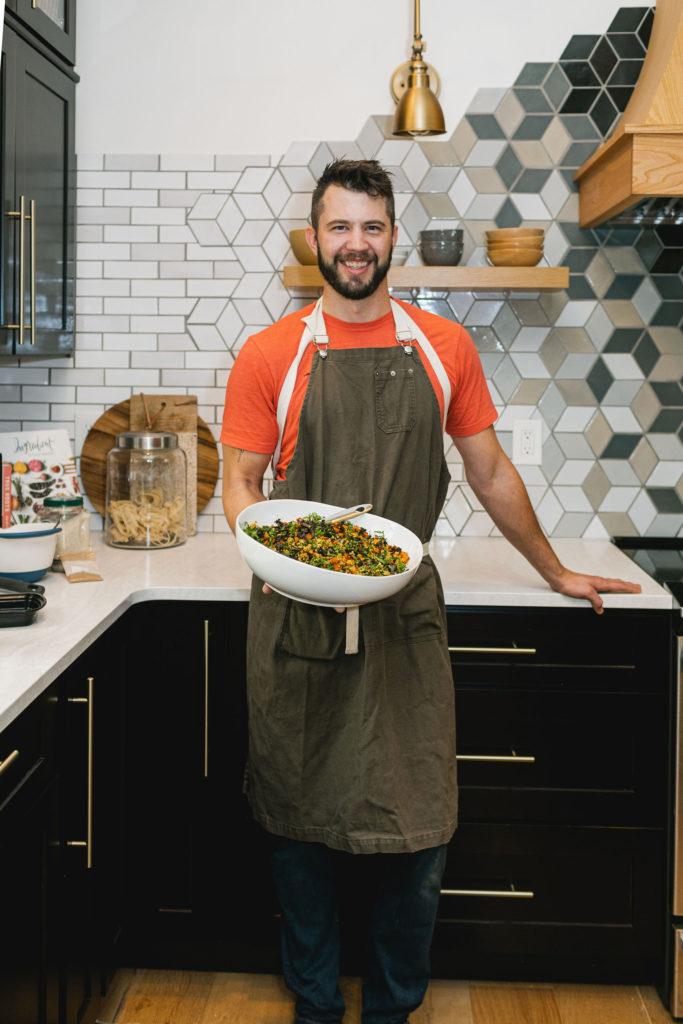
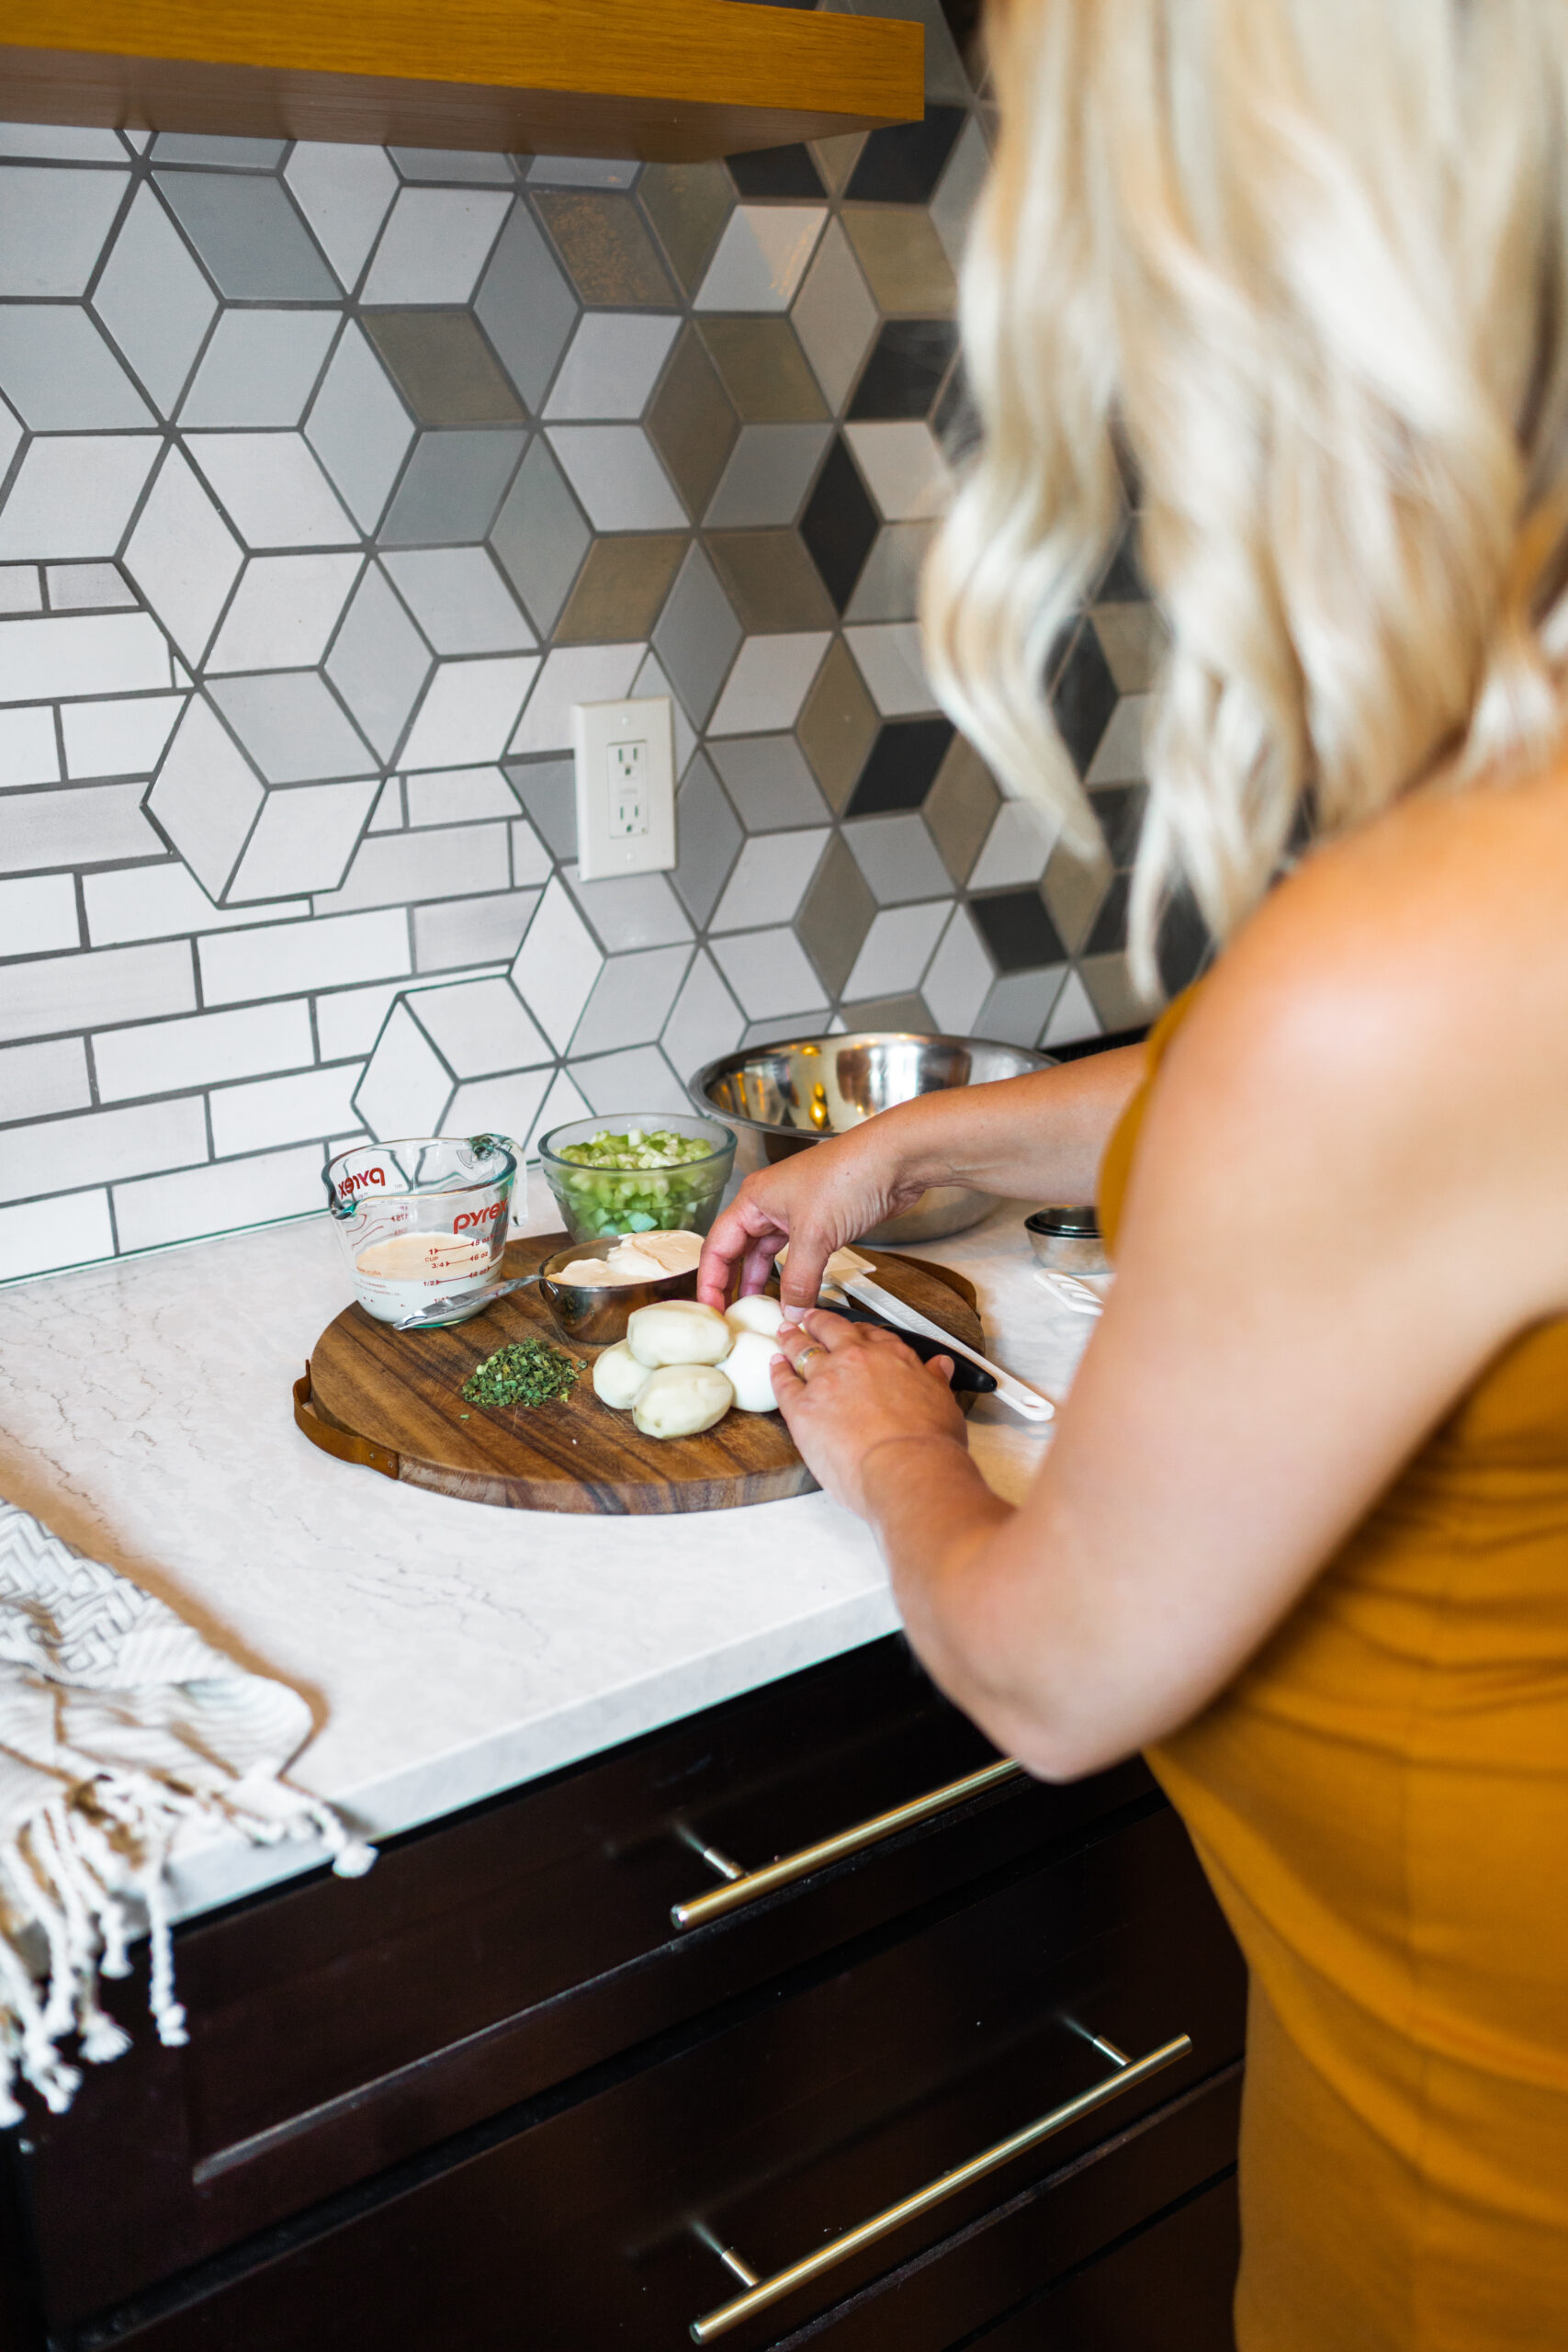
Get excited, friends! Kyle is cooking things up in our kitchen today!
If you read about our newest project manager, you know he has spent years cooking things up in some of Minneapolis’s most famous fine dining places such as Spoon & Stable and Haute Dish and even went to school at Le Cordon Bleu. We have big plans for him to start cooking some things up in our client’s kitchens too…stay tuned for that.
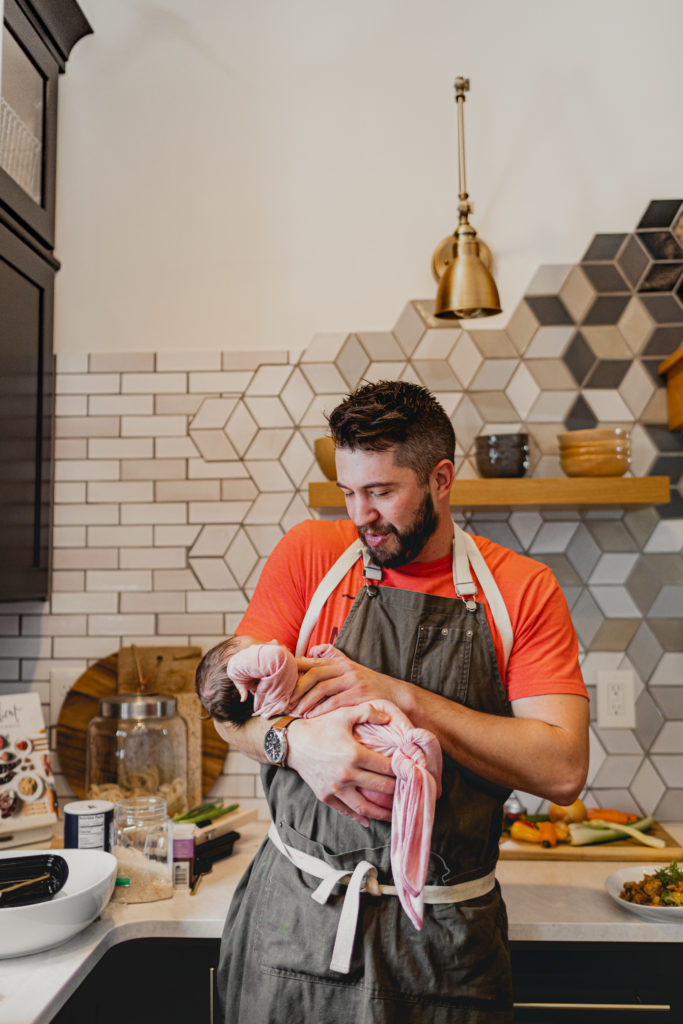
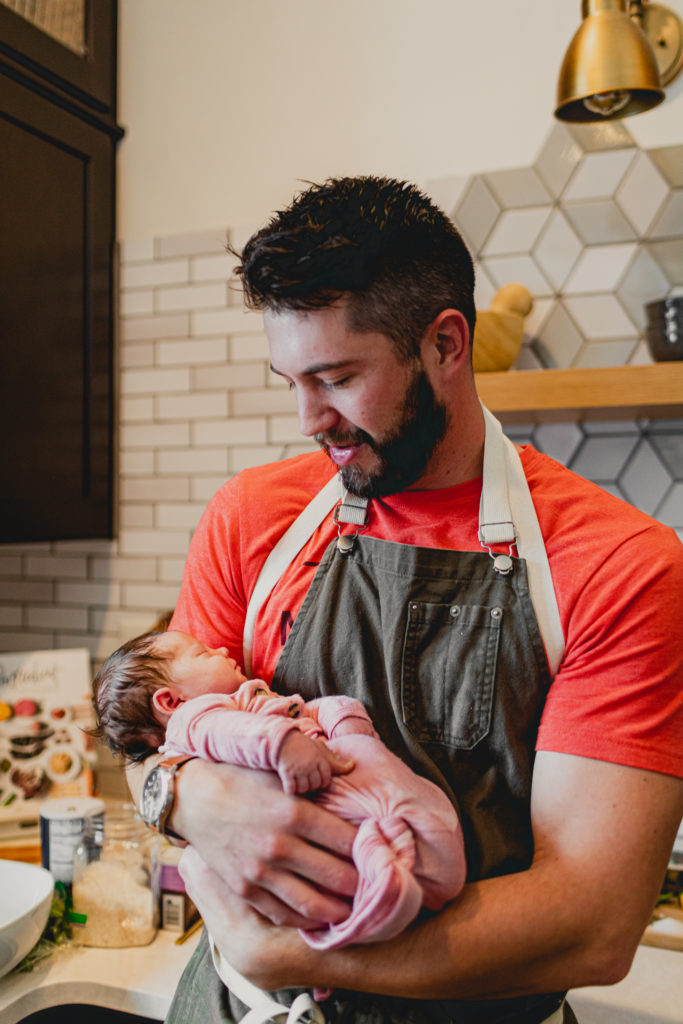
Today on c2s, Kyle is sharing some of the things he so graciously cooked up for the family and me postpartum.
A couple of months before Ellie joined us, Kyle offered to make some meals for me to take some things off of my plate. I quickly remembered how that was hands down one of the best gifts anyone gave me after Greyson and Beckam were born. Not only did it make mealtime easy, but it was way more fun and delicious eating other people’s meals.
And now with baby number three, two other toddlers, and a husband to feed…while also having just gone through and recovering from major surgery…again, this was THE BEST GIFT you can ever give to a new mom.
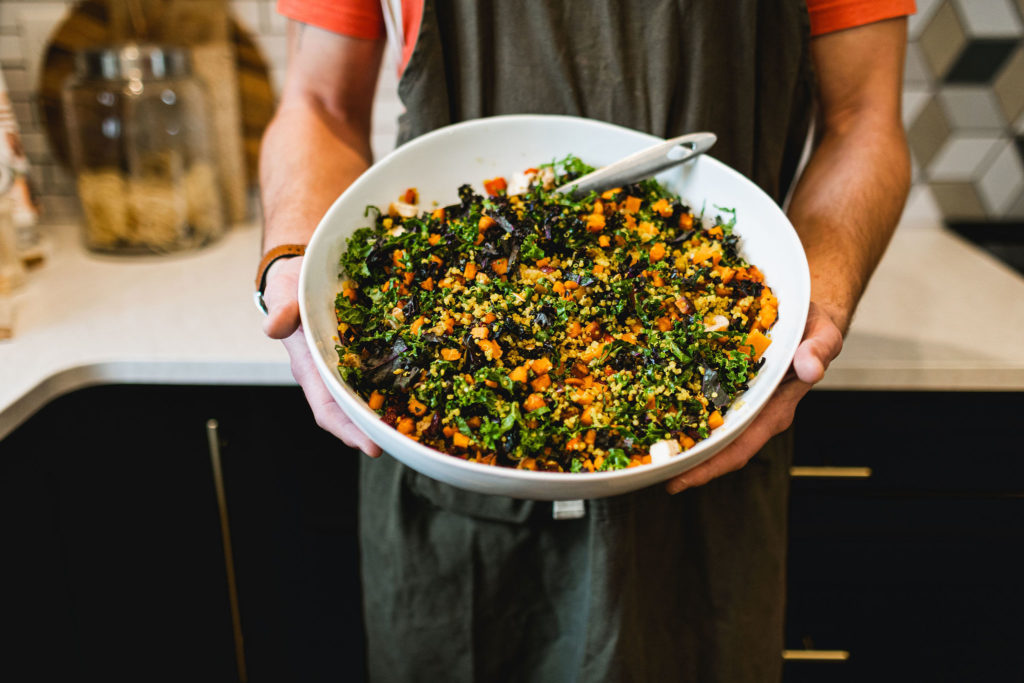
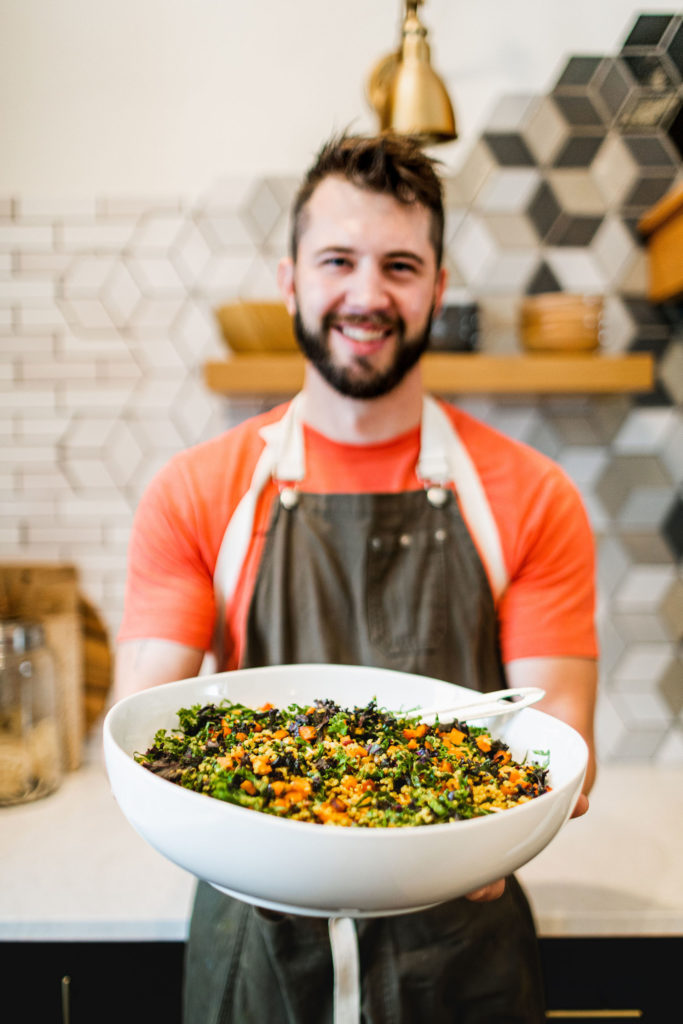
And you guys…you will want to make this stuff on the daily. Even Jamie has been asking for the chicken kale quinoa salad time and time again, and he doesn’t even like kale, sweet potatoes, and quinoa, but somehow he loves this!
One of the cool things (that I didn’t even realize) Kyle educated me on was the nutrients our bodies need after having a baby! After giving birth, your body has gone through a lot! Recovery is key.
Think about how athletes treat their bodies during training or after a hard workout. They give their body the proper nutrients to help their body recover as quickly as possible.
Childbirth is much harder on the body than any workout, so it’s important to eat like it. Your body needs lots of protein and carbohydrates to help in the recovery process.
Kyle shared some great resources to get the basics of the benefits of protein and carbs. Kyle also tried to use turmeric to help with inflammation and ginger and Ceylon (real cinnamon) to help with digestion. Both are very common issues after childbirth. It’s also important to remember that not all bodies are the same. Everyone’s path to recovery is different, so please do your homework to decide what nutrients are best for you and your road to recovery.
He also highly recommends checking out Dr. Rhonda Patrick at foundmyfitness.com. She has tons and tons of science-based information and research on all things childbirth.
I was blown away and, even more so, found it incredibly thoughtful that he made these meals for us and cooked with purpose. So you will really wow your loved one when you bring them meals that aren’t only delicious but beneficial to their recovery.
So let’s get cooking…first up, my favorite, the chicken quinoa kale salad recipe! Take it away Kyle…
Chicken Quinoa Kale Salad
Ingredients:
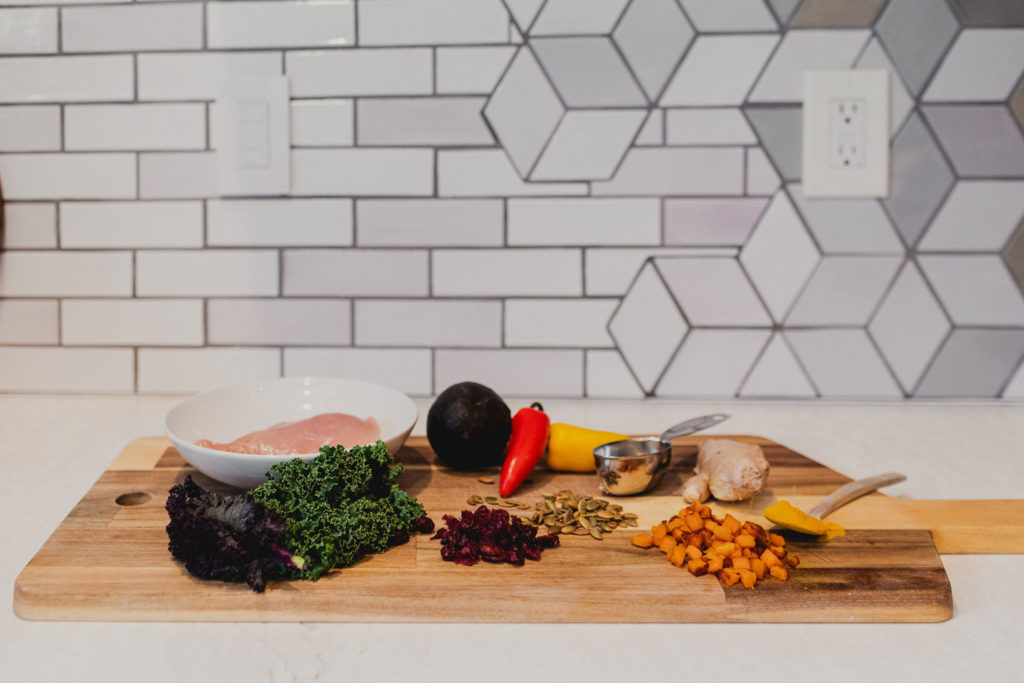
- 2 chicken breast
- 1 bunch kale
- 1 cup quinoa
- 1 sweet potato
- 1 cup red pepper
- 1 cup pepitas
- 1/2 cup apple cider vinegar
- ginger
- 1 cup dried cranberries
Instructions:
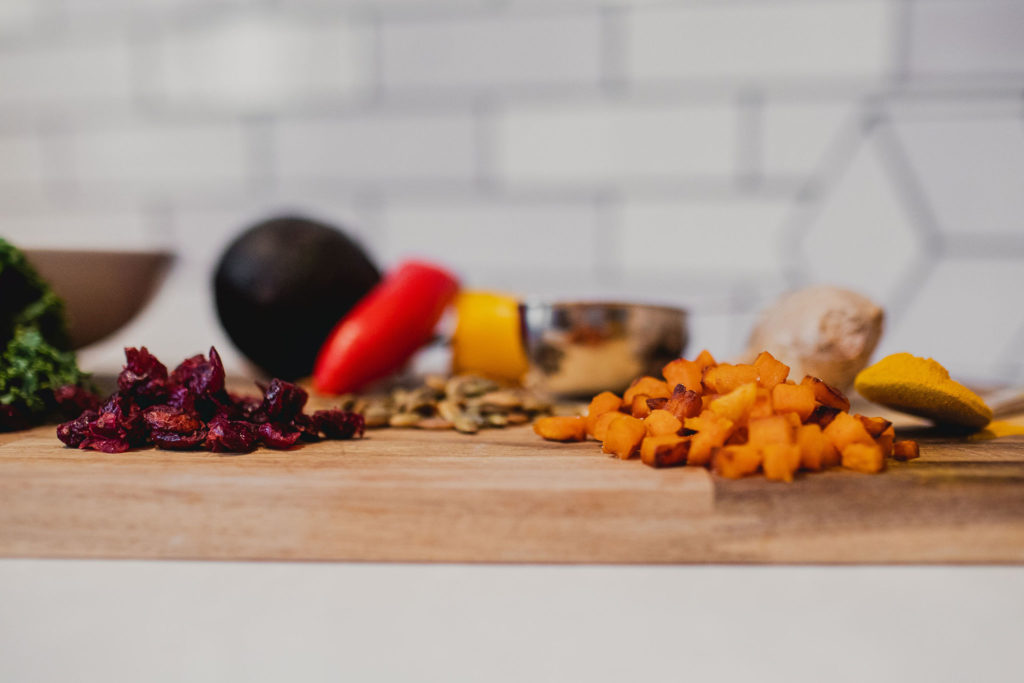
Start by washing your kale and pulling the leaves from the stem. Once the kale is pulled and cleaned, lay the leaves flat on a cutting board and cut them thinly. After they are cut, put them in a large mixing bowl, add your vinegar, and give it a toss.
Next, start your quinoa. Quinoa comes in many varieties so it’s up to you which one you choose to use.
Measure out 1 cup quinoa, rinse it under cold water, and strain through a fine-mesh strainer. There are many methods of cooking quinoa but we like to use the Instapot. Add about 1 tbsp of olive oil to your Instapot, add 1 cup quinoa, 1 1/2 cup, a pinch of salt, and finally 1 tbsp ginger and turmeric (powdered or fresh minced both work).
Now start cooking your chicken. Again, it’s up to you if you prefer chicken breast or thighs (both have different health benefits so use which one suits you best). Also, the cooking method is up to you and what you are most comfortable with. I prefer to pan sear with olive oil and butter. For this method, start by getting your pan hot but turning your stovetop to medium-high and add about 2 tbsp olive oil to your pan.
Coat your chicken thoroughly on all sides with salt and pepper by sprinkling the season with your hands (not from the container EVER) from about 12 inches away to ensure it is covered evenly. Once the pan is hot add the chicken, skin side down to an area that is covered with oil. Be sure to press down firmly on the chicken to make sure the surface of the chicken is in contact with the pan, then let this cook for about 2 1/2 minutes.
Remember to watch your chic. Not every piece of chicken is the same size or shape, and some stovetops are hotter than others, so it’s up to you to make sure you don’t burn the chicken. When you can see the sides are turning white and the cooked side is golden brown, flip the chicken and reduce your heat to medium.
Now add 1/2 tbsp of butter to the pan and let cook for about 2 minutes. Once you feel the chicken is fully cooked (it should be golden brown and firm to the touch) take the pan off the heat and cover the chicken with a lid or tin foil to let it rest (always let your meat rest).
While your chicken is resting, peel your sweet potato and cut it into a large dice. Always be sure to use a sharp knife. Sweet potatoes are very firm, so if you are not comfortable with ur knife skills, and can buy precut sweet potatoes at nearly all grocery stores. In a large saute pan or skillet, add 2 heaping tbsp of oil.
Again use your preference of oil; I prefer coconut oil. Once the oil is hot add the sweet potatoes evenly in the pan. You may need to do 2 batches if your pan is not big enough. Salt the potatoes from 12 inches away and make sure you are constantly tossing and moving the potatoes in the pan to make sure they are cooking evenly.
Be careful when tossing in the pan, there is hot oil in there so if you don’t feel safe you can use a spoon or spatula. Once the potatoes and evenly cooked on all sides, they will have a dark brown tint to them (they will look more burnt than they really are (you may want to practice on a few pieces). Pour the potatoes onto a plate with a paper towel to remove the excess oil, then pour the potatoes directly on top of the kale you have set aside.
Cut your red peppers into medium dice. Bring a large saute pan to high heat and add oil; you can reuse the same pan from the sweet potatoes. Using the same method with sweet potatoes, cook the red pepper. This will take much less time to cook, only about 30 seconds. Again, drain the excess oil and add the peppers to the kale.
You can now cut your rested chicken into bite-sized pieces and add them to your kale. You can also add your pepitas and cranberries (craisins also work) and give it all a stir and get ready to enjoy.
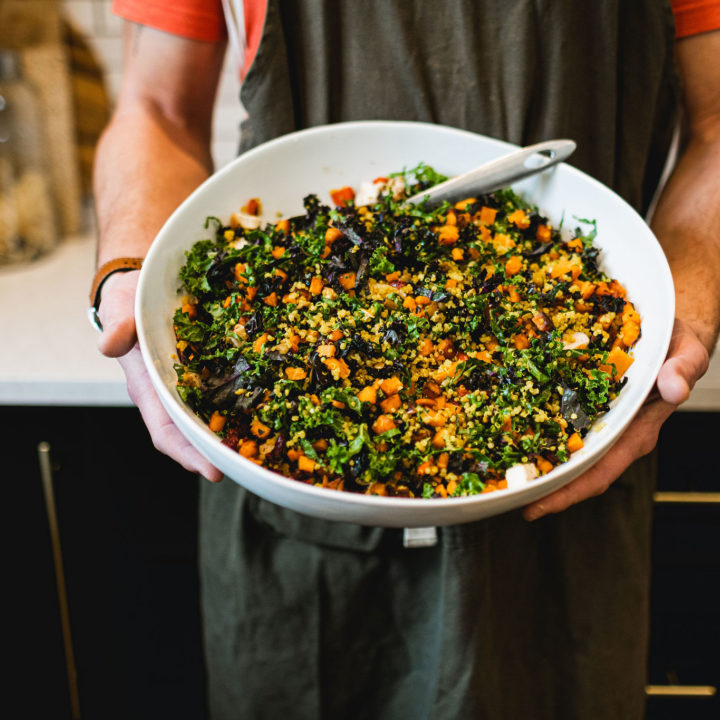
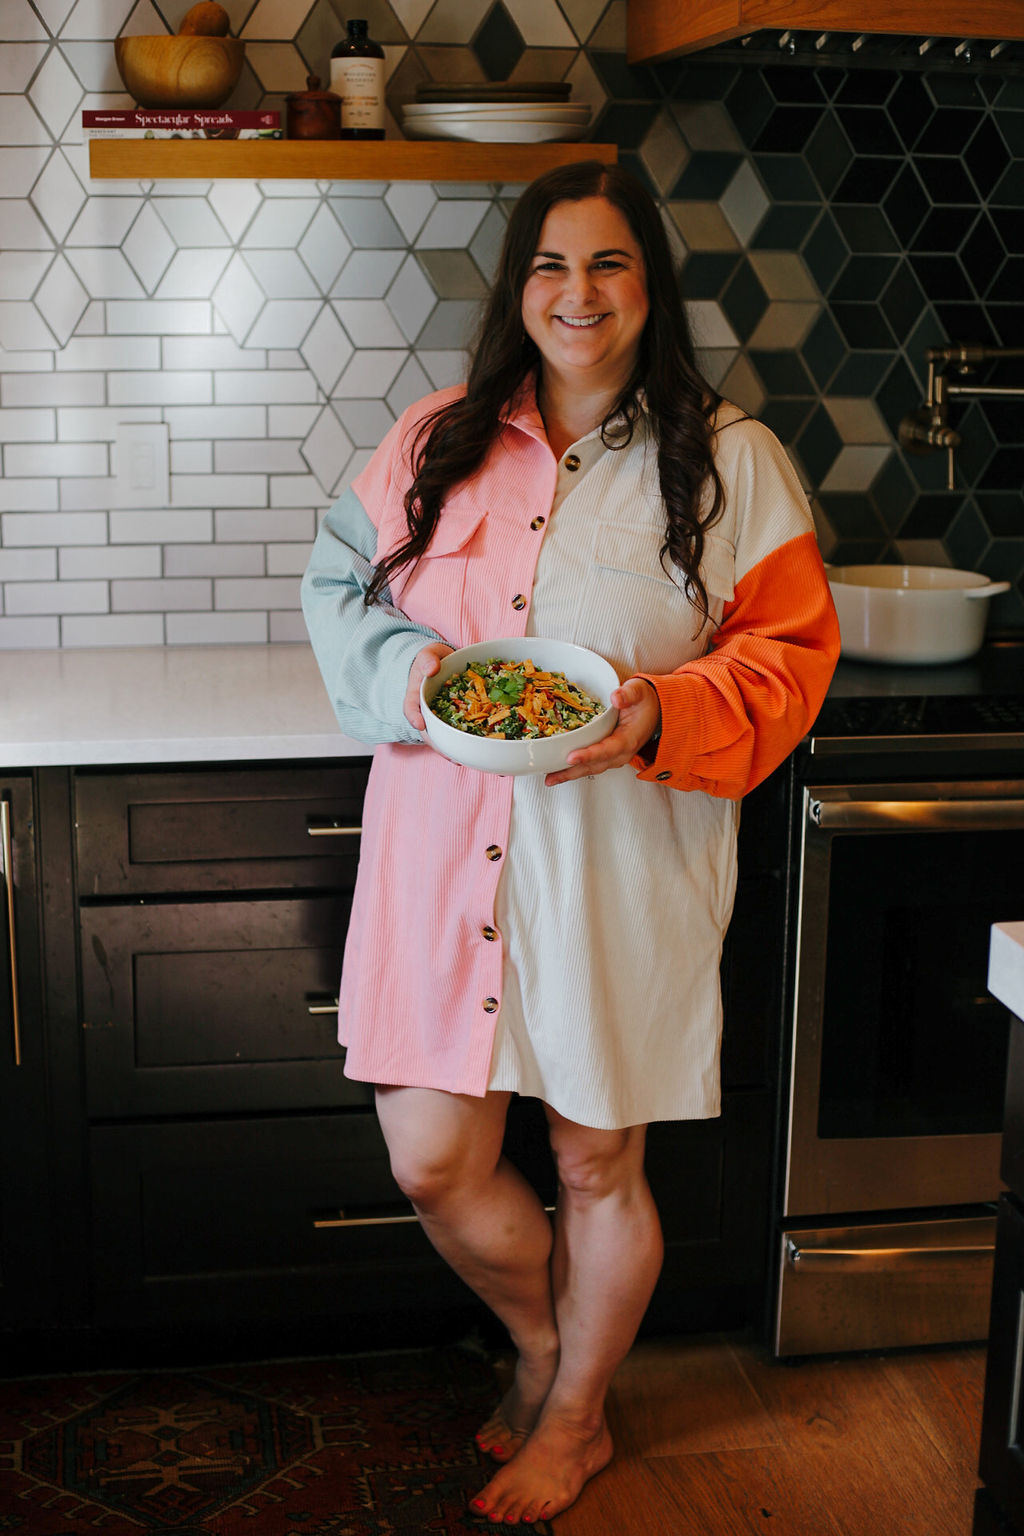
Chicken Kale Quinoa Salad
It doesn't get much more healthy than this! This is the ultimate salad to get your protein, complex carbohydrates, and anti-inflammatory agents!
Ingredients
- 2 chicken breasts
- 1 bunch kale
- 1 cup quinoa
- 1 sweet potato
- 1/2 red pepper
- 1 cup pepitas
- 1/2 cup apple cider vinegar
- 2 TBS minced ginger
- 1 cup dried cranberries
- 1 avocado
Instructions
1.Wash and pick your kale. Slice the kale, place in a mixing bowl, and add your apple cider vinegar.
2.Cook your quinoa. Once it's finished, add it to the bowl with the kale and vinegar.
3.Cook your chicken and set aside to rest.
4.Saute your sweet potatoes and red pepper separately and add them to the mixing bowl.
5.Once the chicken has rested and cooled cut it into bite-sized pieces and add them to the mixing bowl.
6.Finally, add your cranberry and pepitas and mix all your ingredients thoroughly and enjoy.
Post Partum Recovery Stir Fry
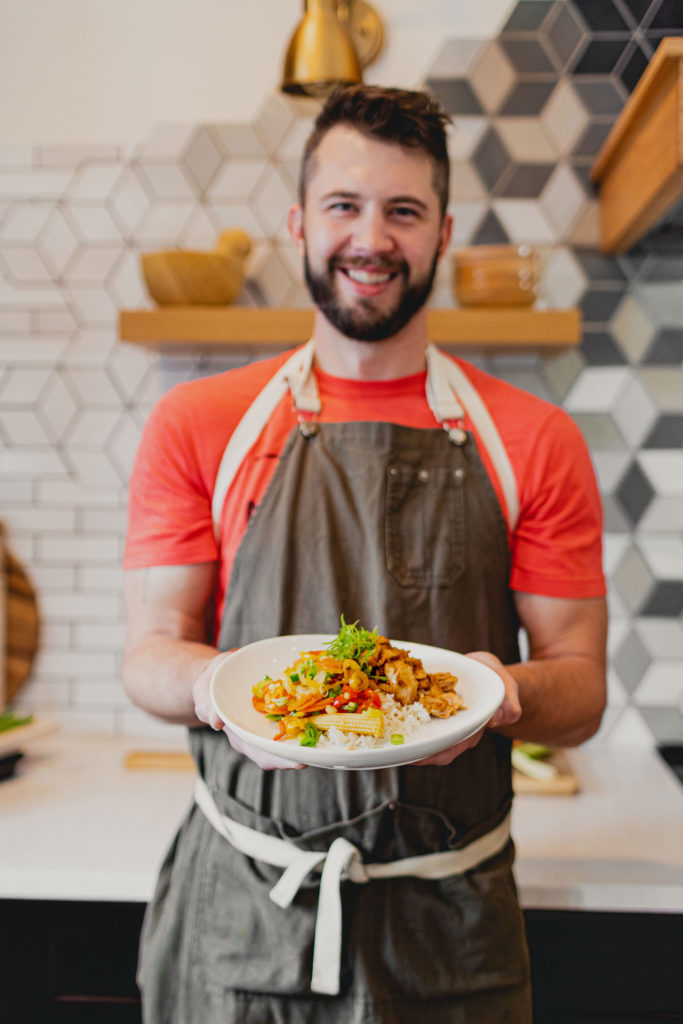
Next up… another favorite of mine is stir fry! Kyle asked me what my favorite food to eat was, and I quickly replied stir fry. So he cooked up one of his favorite recipes, and again, it did not disappoint.
- 3 Carrots
- 3 Celery
- 1 Onion
- 2 cups Rice
- 2 tbsp Ginger
- 2 pack Chicken Breast
- 1 Cup Snap Peas (Optional)
- 1/2 bag Mini combo peppers or 2 peppers of your choice
- 1 can baby corn
Instructions:
Start by cooking your rice. It’s entirely up to you on what kind of rice you use, but we used white jasmine rice. Your cooking method is also entirely up to you! If bagged microwave rice works for you, great, you can probably make this your last step. We used the Instapot. This was very easy; 2 cups rice to 2 cups water, a pinch of salt (Pink Himalayan Salt is you have it), turn it on, and let it cook.
Now get your veggies ready. Again, if you want to use frozen veggies, that works as well. Peel your carrots and cut them into coin-shaped cuts. These don’t need to be perfect but try to make them the same size. Do the same thing with the onions, peppers, and celery; put them all into one container, and save them for later. Now peel your ginger. You can use a spoon or a paring knife to remove the root’s skin and cut the ginger into small dice or mince.
Let’s start cooking the chicken. Again, it’s up to you if you prefer chicken breast or thighs (both have different health benefits, so use which one suits you best). Also cooking method is up to you and what you are most comfortable with. I prefer to pan sear with olive oil and butter. For this method, start by getting your pan hot but turning your stovetop to medium-high and add about 2 tbsp olive oil to your pan.
Coat your chicken thoroughly on all sides with salt and pepper by sprinkling the season with your hands (not from the container EVER) from about 12 inches away to ensure it is covered evenly. Once the pan is hot, add the chicken, skin side down, to an area that is covered with oil. Be sure to press down firmly on the chicken to make sure the chicken’s surface is in contact with the pan, then let this cook for about 2 1/2 minutes.
Remember to watch your chicken; not every piece of chicken is the same size or shape, and some stovetops are hotter than others, so it’s up to you to make sure you don’t burn the chicken. When you can see the sides of the chicken are turning white and the cooked side is golden brown, flip the chicken and reduce your heat to medium.
Now add 1/2 tbsp of butter to the pan and let cook for about 2 minutes. Once you feel the chicken is fully cooked (it should be golden brown and firm to the touch), remove the chicken from the pan and cover it with tin foil to let it rest (always let your meat rest).
While your pan is still hot, add your veggies. If the pan is dry, you can add a tbsp of oil. Continuously stir the veggies around with a wooden or plastic spoon for about a minute, then add your ginger and continue to cook for another 30-45 seconds. This is now where you can add your baby corn, water chestnuts, peas next and turn off your heat. I wouldn’t recommend adding broccoli to this meal because it can make you gassy, which is not ideal after giving birth.
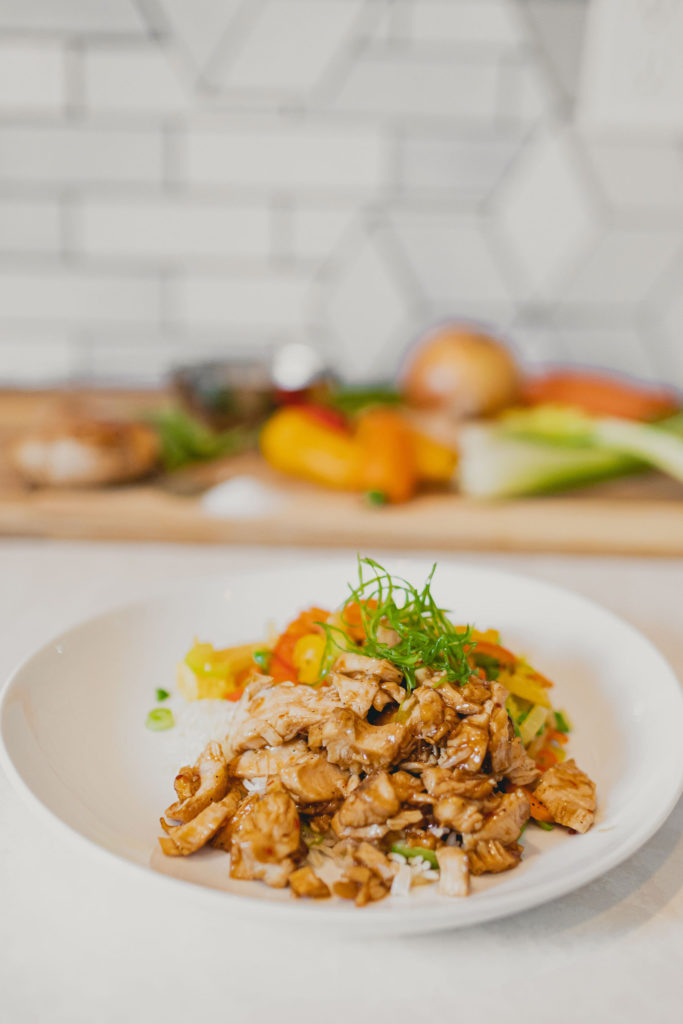
Next, make your sauce. I like to use half hoisin and half sweet chili, but you can use your favorite store brand sauce. Now cut your chicken into bite-sized pieces, add it to a large non-stick pan on medium-high heat, and then cover the chicken with the sauce. Stir constantly until the chicken is completely covered and the sauce has begun to caramelize.
Finally, all that’s left to do is serve your chicken and veggies on a bed of hot rice and enjoy.
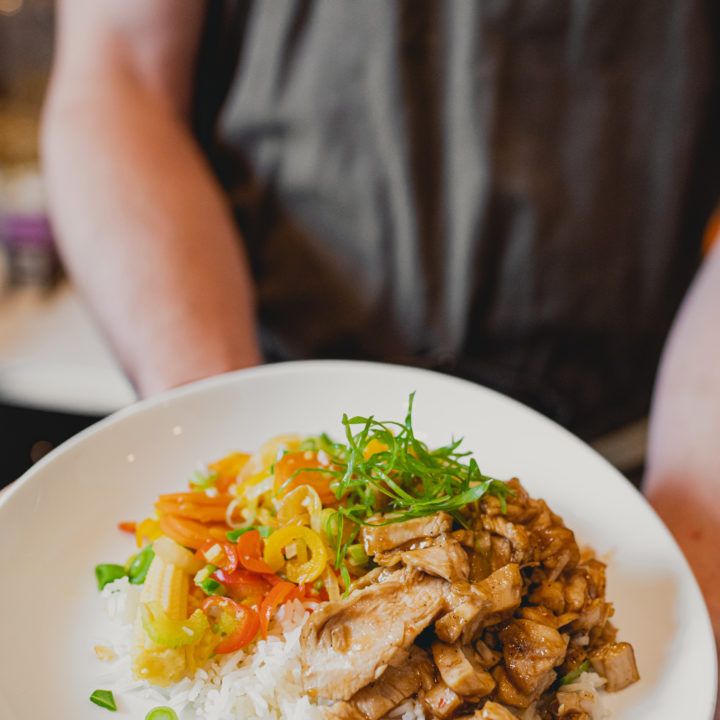
Post Partum Recovery Stir Fry
A mid-west take on the classic Asian dish designed to help with digestion and recovery.
Ingredients
- 3 Carrots
- 3 Celery
- 1 Onion
- 2 cups Rice
- 2 TBS Ginger
- 2 pack Chicken Breast
- 1 Cup Snap Peas (Optional)
- 1/2 bag Mini combo peppers or 2 peppers of your choice
- 1 can baby corn
- 1/2 Cup Hoisin Sauce
- 1/2 Cup Sweet Chilli Sauce
Instructions
1. Start by cooking your rice.
2. Cut your carrots, celery, onions, and peppers and set aside. Cut your ginger and set aside with your peas.
3. Cook your chicken in a large pan on medium-high heat
4. Remove your chicken once it's thoroughly cooked then add your cut veggies while the pan is still hot.
5. Cook your veggies for about 1 minute then add your ginger, peas, and corn. Make sure to stir constantly.
6. Remove your veggies from the pan then cut your chicken into bite-sized pieces.
7. Heat a large pan to medium-high heat, add your chicken and sauce and cook until the chicken is completely covered. about 30-45 seconds.
8. Serve chicken and veggies on a hot bed of rice.
Kyle’s Rice Medley
And lastly, another goodie! Kyle’s Rice Medley…
Ingredients:
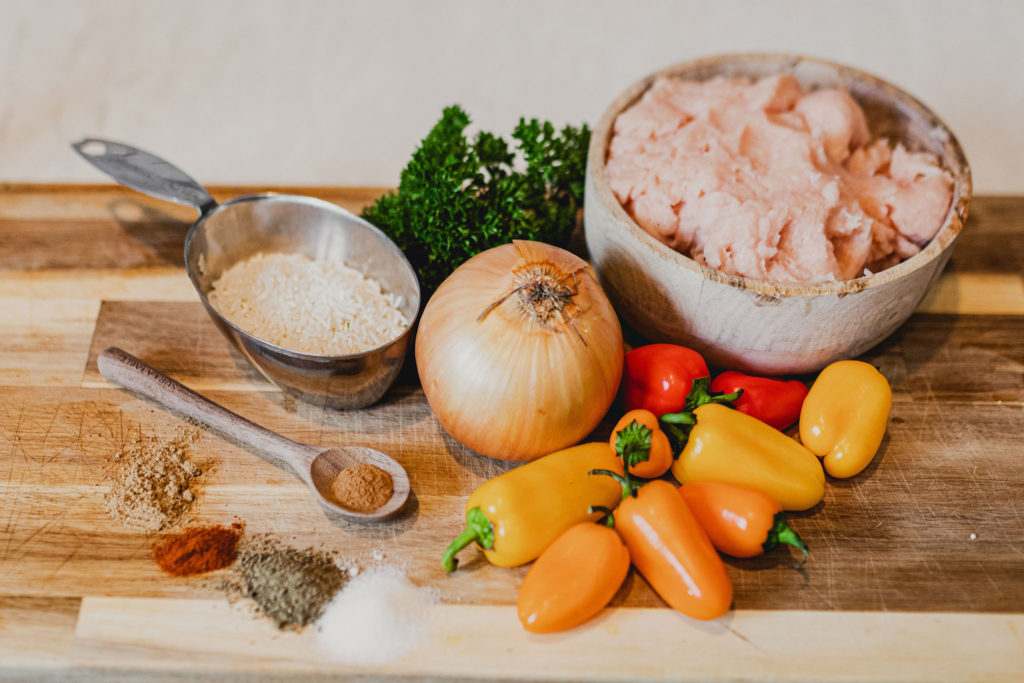
- 1 tbsp Cinnamon
- 2 cups Rice
- 1/2 pound mixed pepper or 2 peppers of your choice
- 1 large Onion
- 2 tbsp Parsley
- 1 tbsp Corridor
- 1 tbsp Paprika
- 1 pound Ground Turkey or Beef
Instructions:
This recipe was designed as a vehicle to pack as many nutrients and flavor as possible. Feel free to make this one your own. Like I said before, do your homework and find out what works for you.
Once again, start by getting your rice started. I recommend adding cinnamon to your rice, but if you find something else you would like to try, this is the time.
Cut your onions and peppers into a julienne cut. If you have one, cook the peppers and onions with salt and olive oil on medium-high heat in a large iron skillet for about 30-45 seconds. If not, a regular sauté pan will work.
Using a cast iron skillet may have some health benefits. Here’s another opportunity to try adding a flavor of your own. Maybe try adding a little oregano here; it may have some health benefits.
Now it’s time to cook your meat. We used turkey for this recipe, but once again, it’s up to you! I’ve used beef and bison for this recipe as well. While the pan is still hot, add your meat with the peppers.
Evenly break up the meat and add your seasonings. Cook your meat evenly and thoroughly until it is completely cooked, and no pink remains.
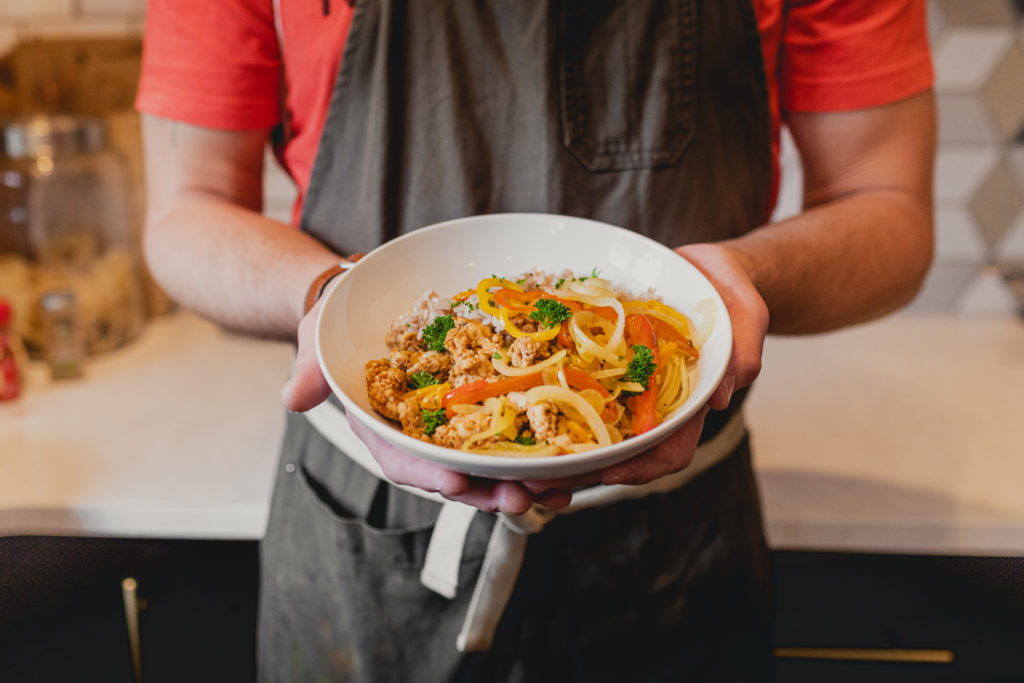
If you can make it fit, add your rice to your skillet and mix it around to soak up all the flavors and seasonings from the pan. If not, just mix it all together in a bowl. I like to finish this dish by topping with some parsley to add a little more flavor and possible health benefits.
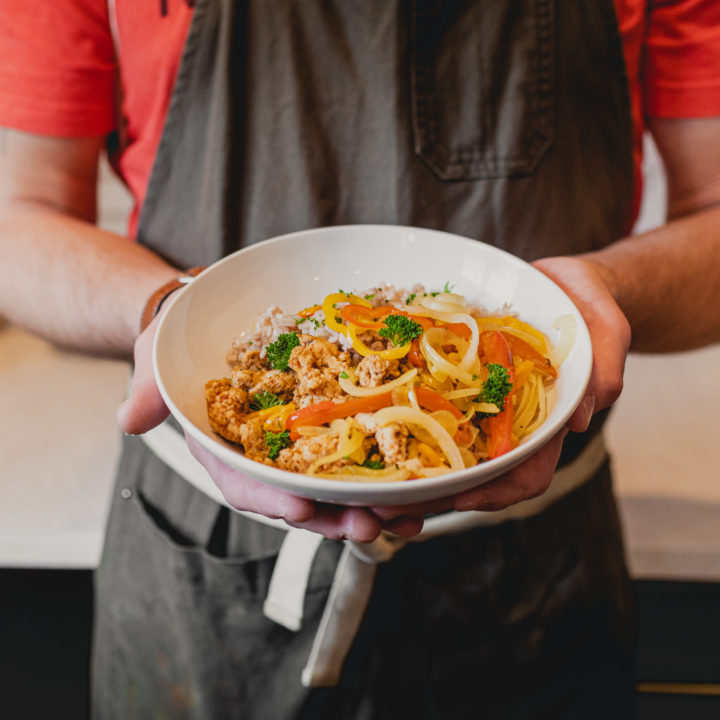
Kyle's Rice Medley
Hardy classic skillet meal jam-packed with carbs, protein, and micronutrients!
Ingredients
- 1 TBS Cinnamon
- 2 Cups Rice
- 1/2 pound mixed pepper or 2 peppers of your choice
- 1 large Onion
- 2 TBS Parsley
- 1 TBS Corridor
- 1 TBS Paprika
- 1 pound Ground Turkey or Beef
Instructions
1.Start cooking your rice with cinnamon and salt
2. Cut your peppers and onions into long thing pieces
3. In a large skillet (or pan if you don't have a skillet) cook your peppers on medium-high heat with salt and oil until they start to get soft and start to release moisture. About 30-45 seconds.
3. Add your ground turkey or beef to the pan with the onions and peppers and add your seasonings. Stir and break up your meat to make sure it cooks evenly. About 5-6 minutes or until it is no longer pink.
4. Add your cooked rice to your skillet if it will fit or mix all of your ingredients in a large bowl.
5. Serve hot and top with chopped parsley.
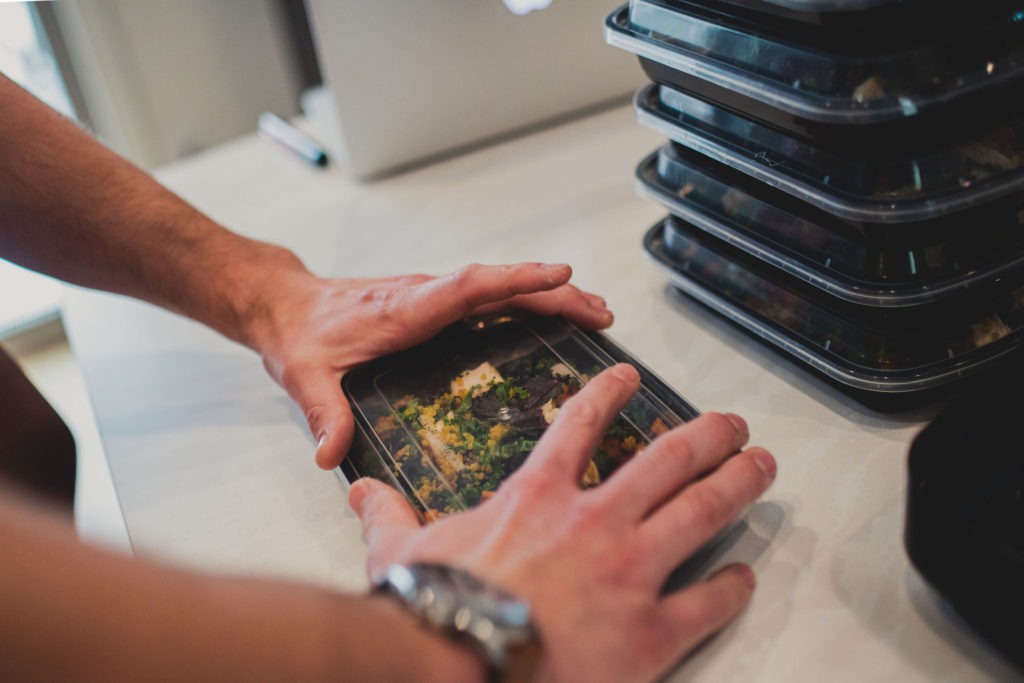
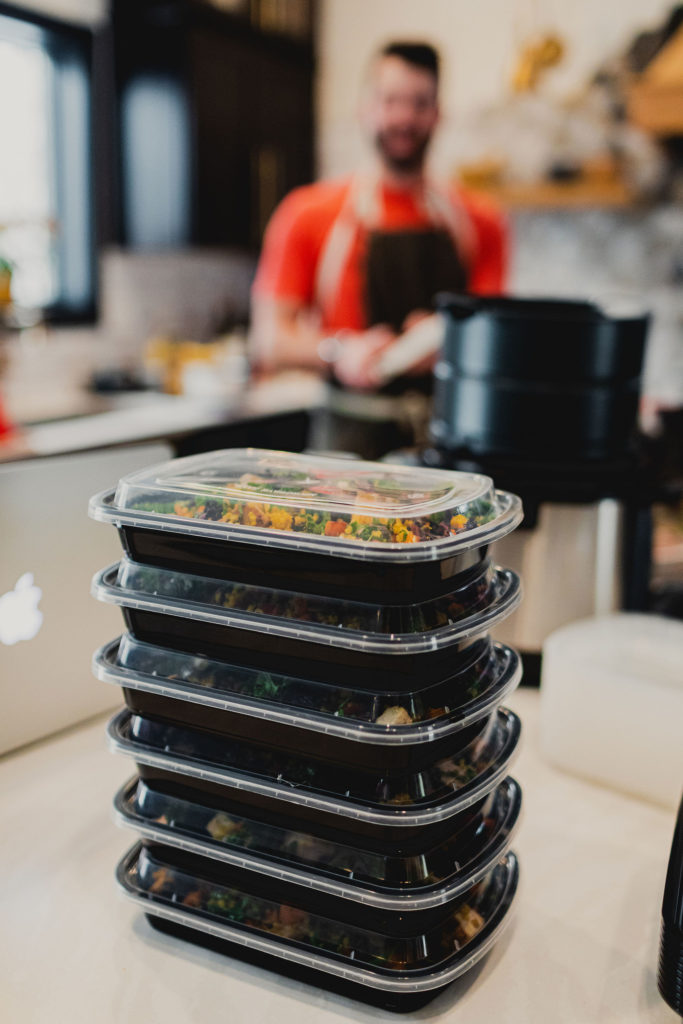
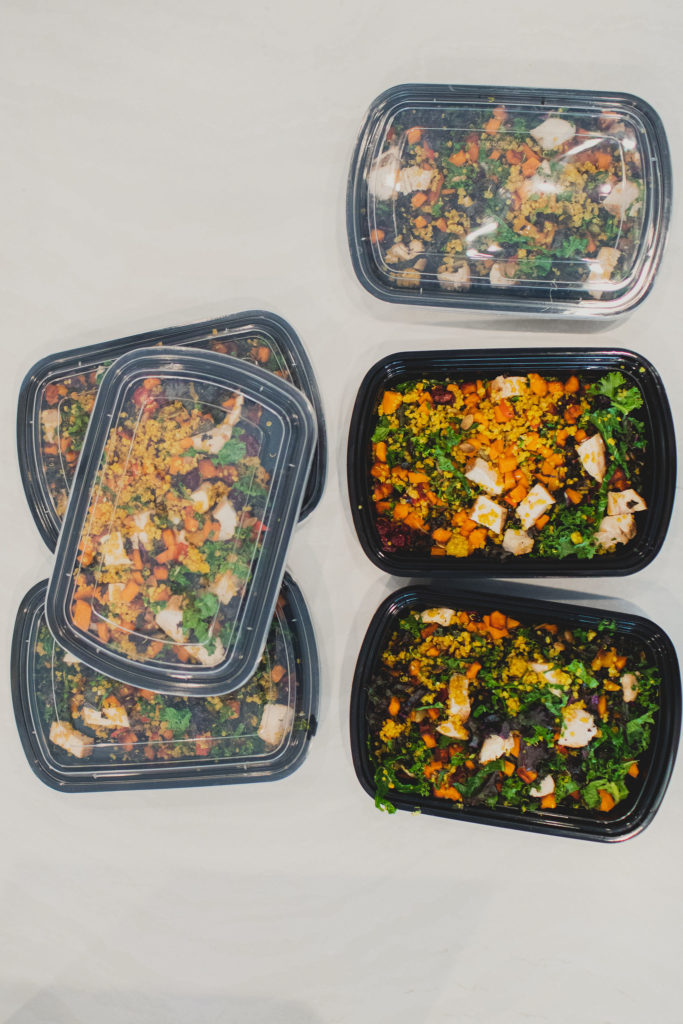
And lastly, a very smart way to package these is by using these meal prep containers. Love using these, and they have replaced traditional food containers in my home. They are so convenient to use.
They are all the same size and are stackable, which makes it really easy to keep your cupboard and refrigerator organized. They come in many different shapes and sizes so look around and find the ones that best fit you. On top of that, they are microwave safe. Just pull it out, heat it up, and you’re good to go!
So there you have it, three meals that will change your post-partum life! And let’s be honest, these are just simply three great meals for anyone to try. But I know I’ll be making these up for any of my new mom friends as well. Enjoy!

3 thoughts on “Three Nutritious Meals for Postpartum Moms”
Comments are closed.