
Disclosure: This post was sponsored by HANDy Paint Products. Although we were compensated to write this post, all opinions and content are our own, and we stand behind and use all brands and products we endorse on our site.
Painting cabinets can be an easy way to refresh any space without breaking the bank and doing a full gut and remodel, but this comes with the opportunity to make many painting mistakes. There are a lot of pros and cons of painting vs. buying new cabinetry. We often get clients that ask us to paint their cabinetry, and if they are handy, we always advise them to DIY. There is a lot of prep work and labor time that goes into painting cabinetry, so if you hire out painting cabinets, sometimes it’s just as cost effective to buy brand new. But if you do DIY and take on the task, you will save thousands and thousands of dollars.
We’ve painted a ton of cabinets in our various homes throughout the years and have learned a thing or two. Today we wanted to share with you our top eight painting mistakes, some we’ve made and others we’ve seen, to help you avoid making them when painting your cabinets.
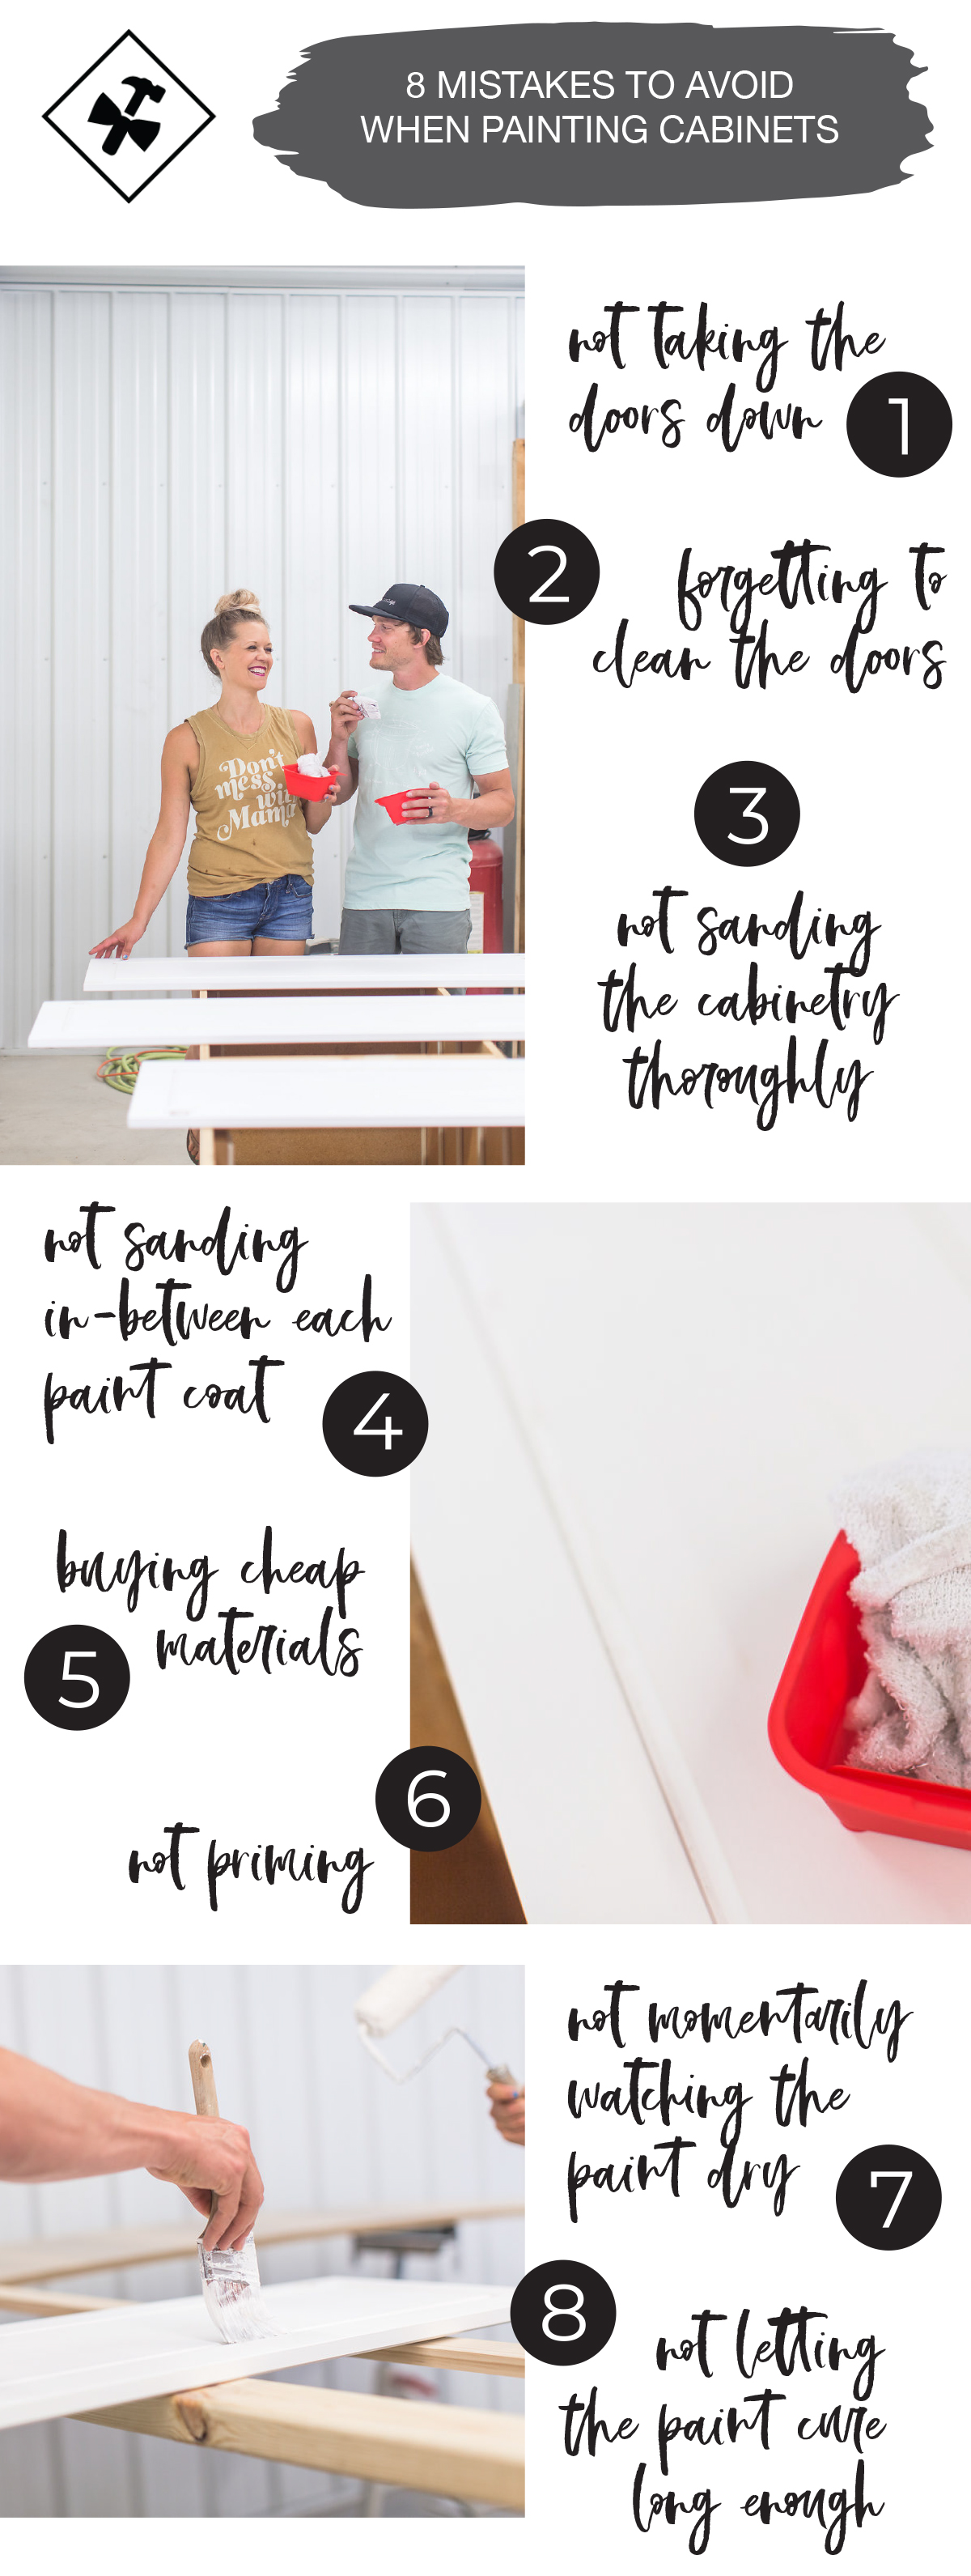
1. Not taking the doors down
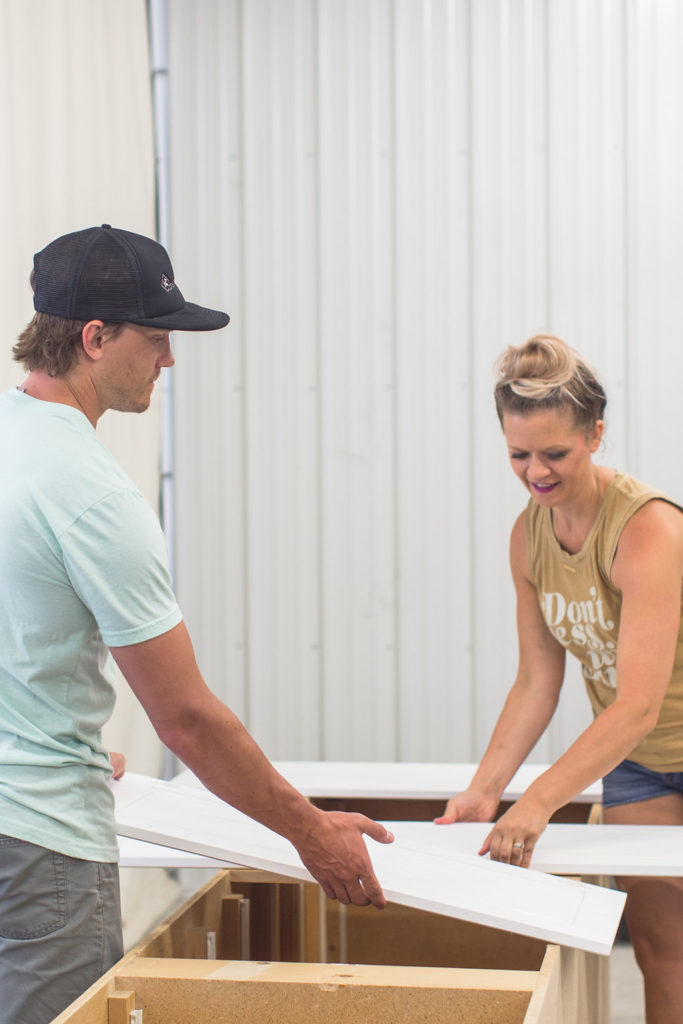
This step can be easy to skip over and it’s the first step you want to do. It’s obviously much easier to leave the doors up and not go through the hassle of taking them down, but it’s a must. Not only is it easier to paint on a flat surface with less chance of paint running, but you also don’t have the hassle of painting around the hinges and hardware.
2. Forgetting to clean the doors
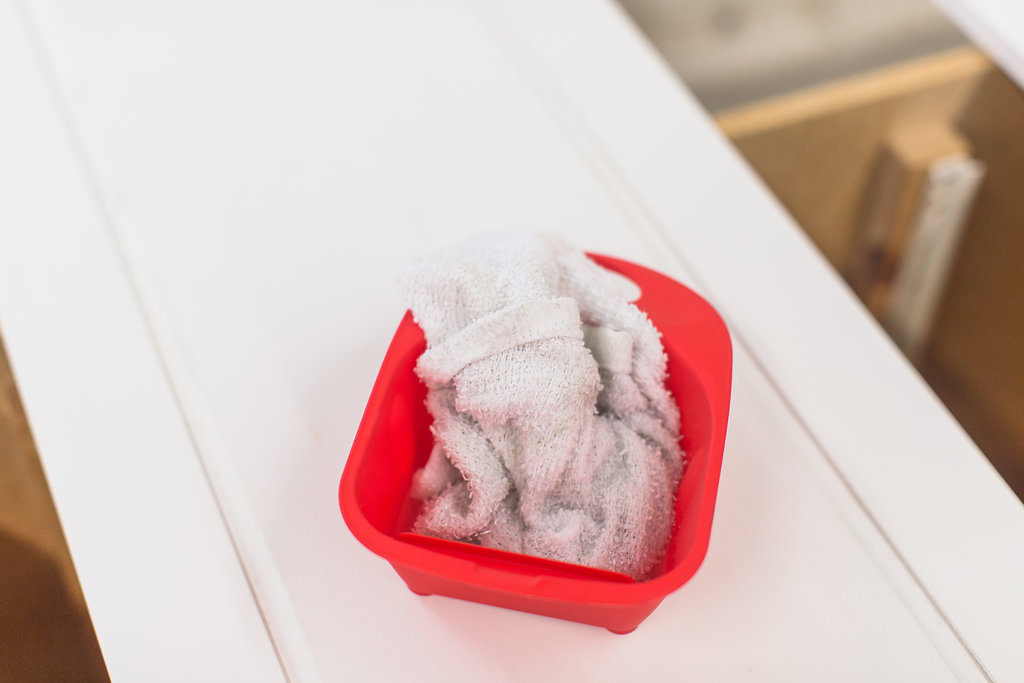
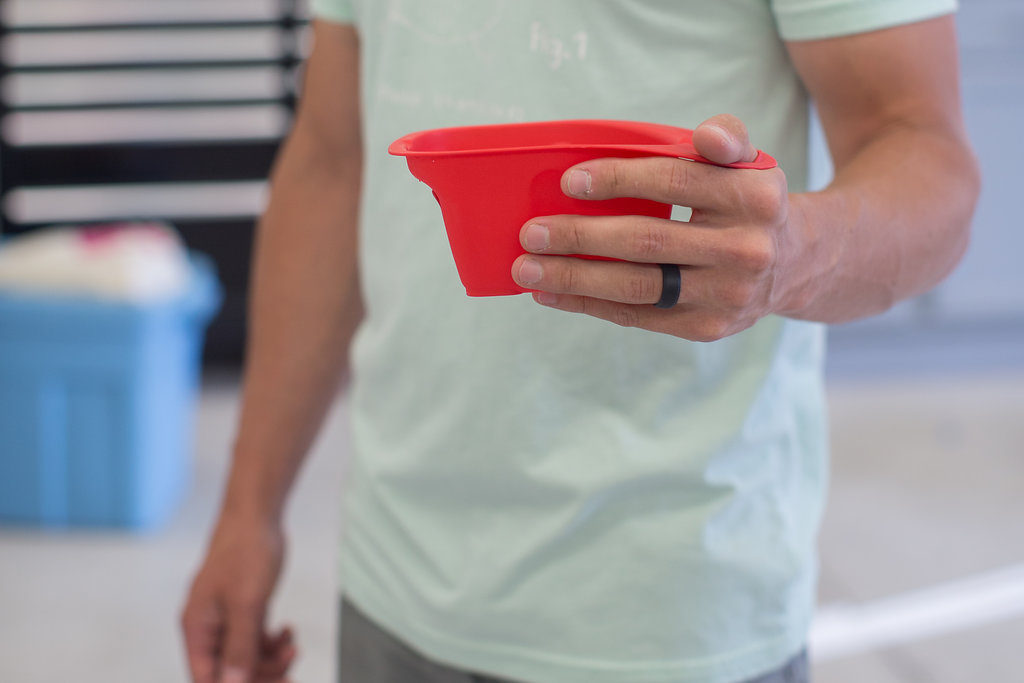
This is one of the easiest cabinet painting mistakes to make. Once you get the doors down, they most often are not in painting condition. Often people will go straight to painting without sanding or cleaning, but we recommend cleaning, sanding, and cleaning again. Cleaning the doors before you paint them is crucial in getting the finished look you want. We use a rag and a little water to wipe them down. The new HANDy Craft Cup from HANDy Paint Products is not only a great tool for paining cabinets, but it also works perfectly for a cleaning bucket too!
Often cabinet doors are covered not only in dust, but also grease and dried up dinners like spaghetti sauce. You’ll be surprised how you hadn’t noticed how much old food is stuck to your cabinetry until you take them off and start washing them down. If you do have some cabinets with a lot of grease buildup, we’d recommend getting some degreaser to get all the grease off. Paint will take differently to a cabinet that has grease on it and you don’t want your paint job to be uneven.
3. Not sanding the cabinetry thoroughly
Whether the cabinets were previously painted or varnished, sanding is a must. This step is key in getting a smooth and uniform look on your finished cabinets. Not thoroughly sanding them can create an uneven look with some parts being smooth and others rough or with the old finish showing through.
You’ll want to use both an electric sander and sandpaper. Use grit sandpaper for corners and grooves and the electric sander for all flat surfaces. Just be careful not to sand too hard with the electric sander or you’ll put a dent in your cabinets. You’ll also only want to use the electric sander first go around, so you don’t sand the paint off. Make sure to follow the grain of the wood when sanding.
Sanding also helps the paint stick and decreases the likelihood of chipping. There are a couple of phases in the sanding process, before you prime and again before you paint. Let the primer dry thoroughly for 24 hours and sand again with fine sandpaper.
4. Not sanding in-between each paint coat
This may be the most common of the painting mistakes because it can be the most confusing, but after your first coat of paint is on your cabinet, sand again.
Once you’re done sanding, clean off the dust before painting. Everyone knows that once you sand, it will create dust and you cannot paint over the dust.
You are not sanding off all of the paint you just put on, but more skimming the surface. Look for any areas that may still be rough or have paint build up, so use a fine sandpaper.
5. Buying cheap materials
Going cheap on cabinetry paint and you’ll regret it within one day of putting them up. Painting your cabinets is a lot of hard work, so the last mistake you want to make is not investing in quality cabinetry paint.
The paint you select will make or break your cabinets, so once you have a color and finish picked out, you may be surprised with the price of paint and want to go with the cheapest option. Paint is a worthy and important investment. Some might think all paints are equal and cover the same but this could not be further from the truth. Picking a high-quality paint is key to finishing your cabinets.
We also use the Sherwin Williams Emerald paint in a semi-gloss. We always recommend doing semi-gloss on cabinetry as it’s an easy to clean finish.
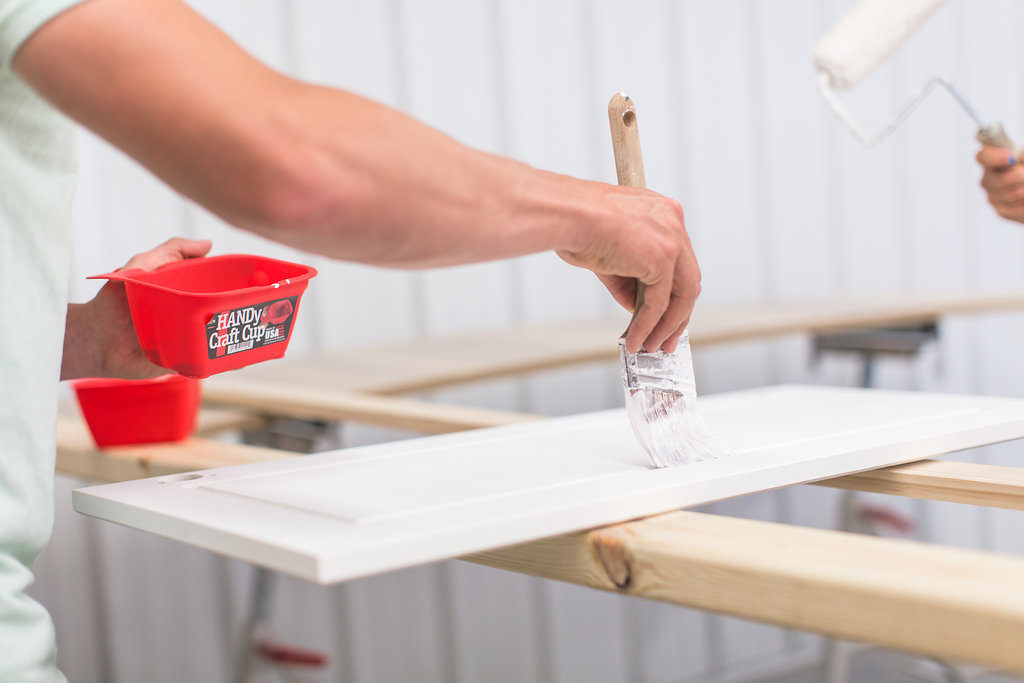
Investing in a good roller pad and brush will save you a lot of headaches and valuable time. Use a 1″ angled brush and a mini roller. Make sure the brush is angled. You’ll only want to use the brush in the corners and edges and roll the flat surfaces. You don’t want any brush strokes on flat surfaces as they will dry that way and not give a smooth and even surface.
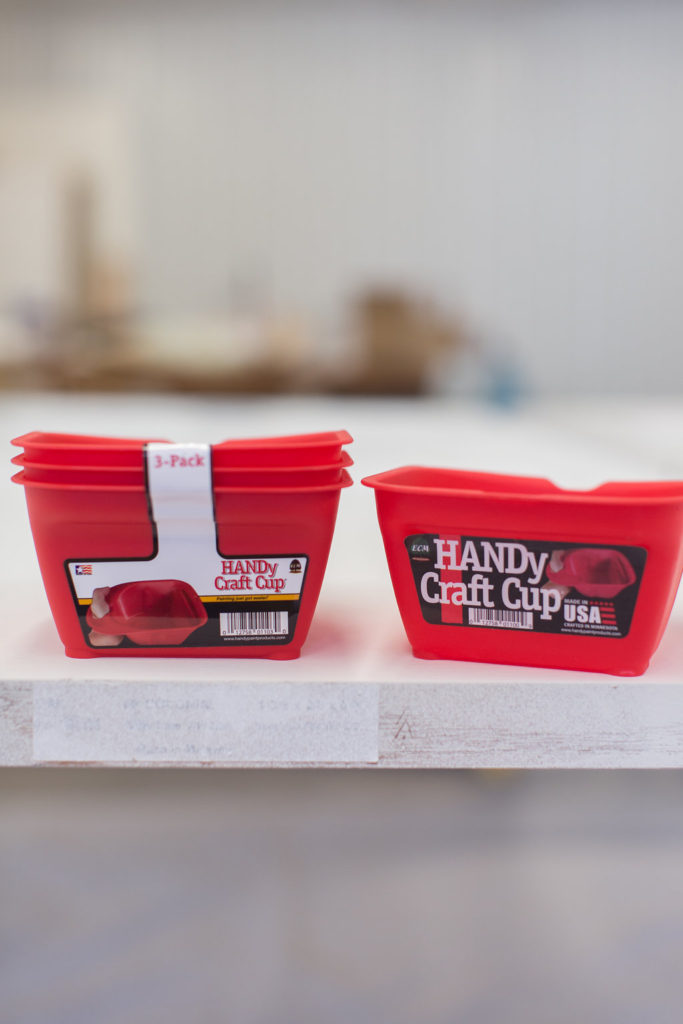
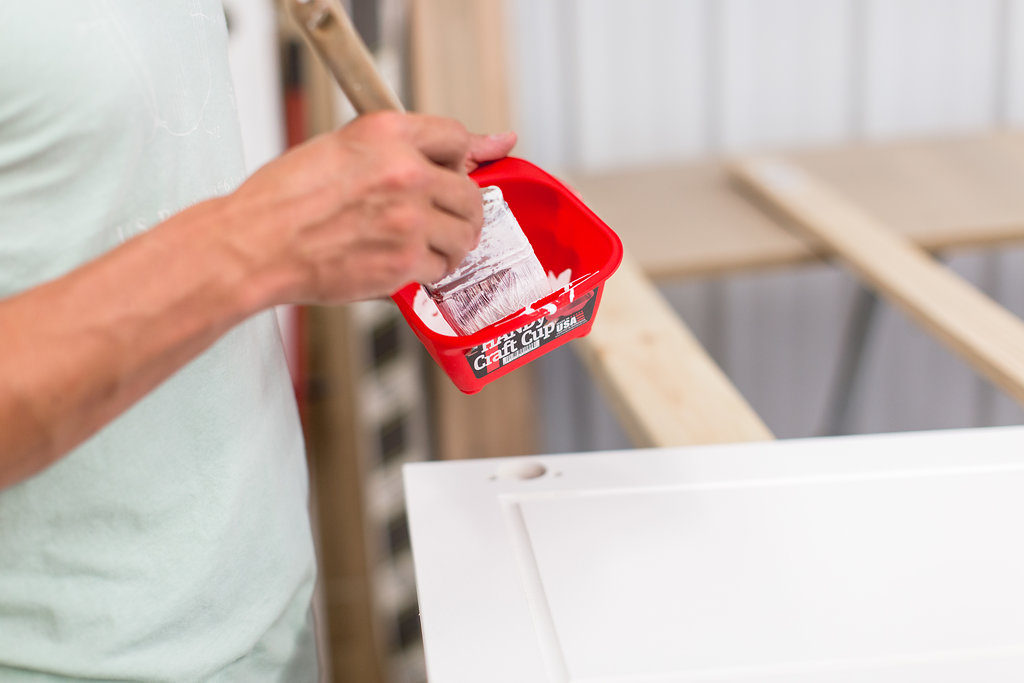
Buckets, cups, and trays will also save you a lot of time. We use our HANDy Paint products for every paint project we do. Instead of running up and down the ladder to dip your paint or take the chance of balancing it on your ladder and spilling, with the HANDy Craft Cup you can have it right in your hand.
You don’t use a ton of paint when brushing, so the HANDy Craft Cup is ideal for the job. It holds 1/2 pint of paint and has a thumb-thru handle. The built-in brush scraper helps to eliminate drips and spills, which makes it the perfect tool for painting cabinetry, and helps you to avoid painting mistakes.
6. Not priming
Most often you will prime your cabinets when they are a bare wood finish, but you could also go this route with painted cabinets. Skipping this step is a no-no, it is one of the most serious painting mistakes. Some might say, “well if I’m painting my cabinets white, I can just use the paint as the primer,”… don’t. Primer acts as a cover coating for the paint and will prevent chipping and give you a much better surface for applying your paint.
7. Not momentarily watching the paint dry
Unlike painting your walls, the paint on a cabinet can be tricky to apply evenly with all the corners and grooves. Painting drywall and painting wood are very different in the sense that drywall takes on paint more evenly, so when you paint your cabinets, you must change your mindset about how you paint. Often the paint will build up in corners of cabinets or will roll off the edges creating build up on the back of the cabinet. Make sure to watch the paint momentarily dry, making sure there is even and clean application. This is one of the painting mistakes you do not want to make.
8. Not letting the paint cure long enough
Nothing is more boring than watching paint dry. Although you do not need to watch it completely cure, you do need to make sure it is cured before giving it a second or third coat. There is no magical formula for drying time, but we would recommend at least 2-3 hours between coats. We’re working on a project now, and due to the humidity, it’s taken the cabinets two days to dry and not be sticky. If you start painting the second or third coat and the paint starts peeling or is tacky, that is a good indication the paint is not cured quite yet, and you should give it some more time.
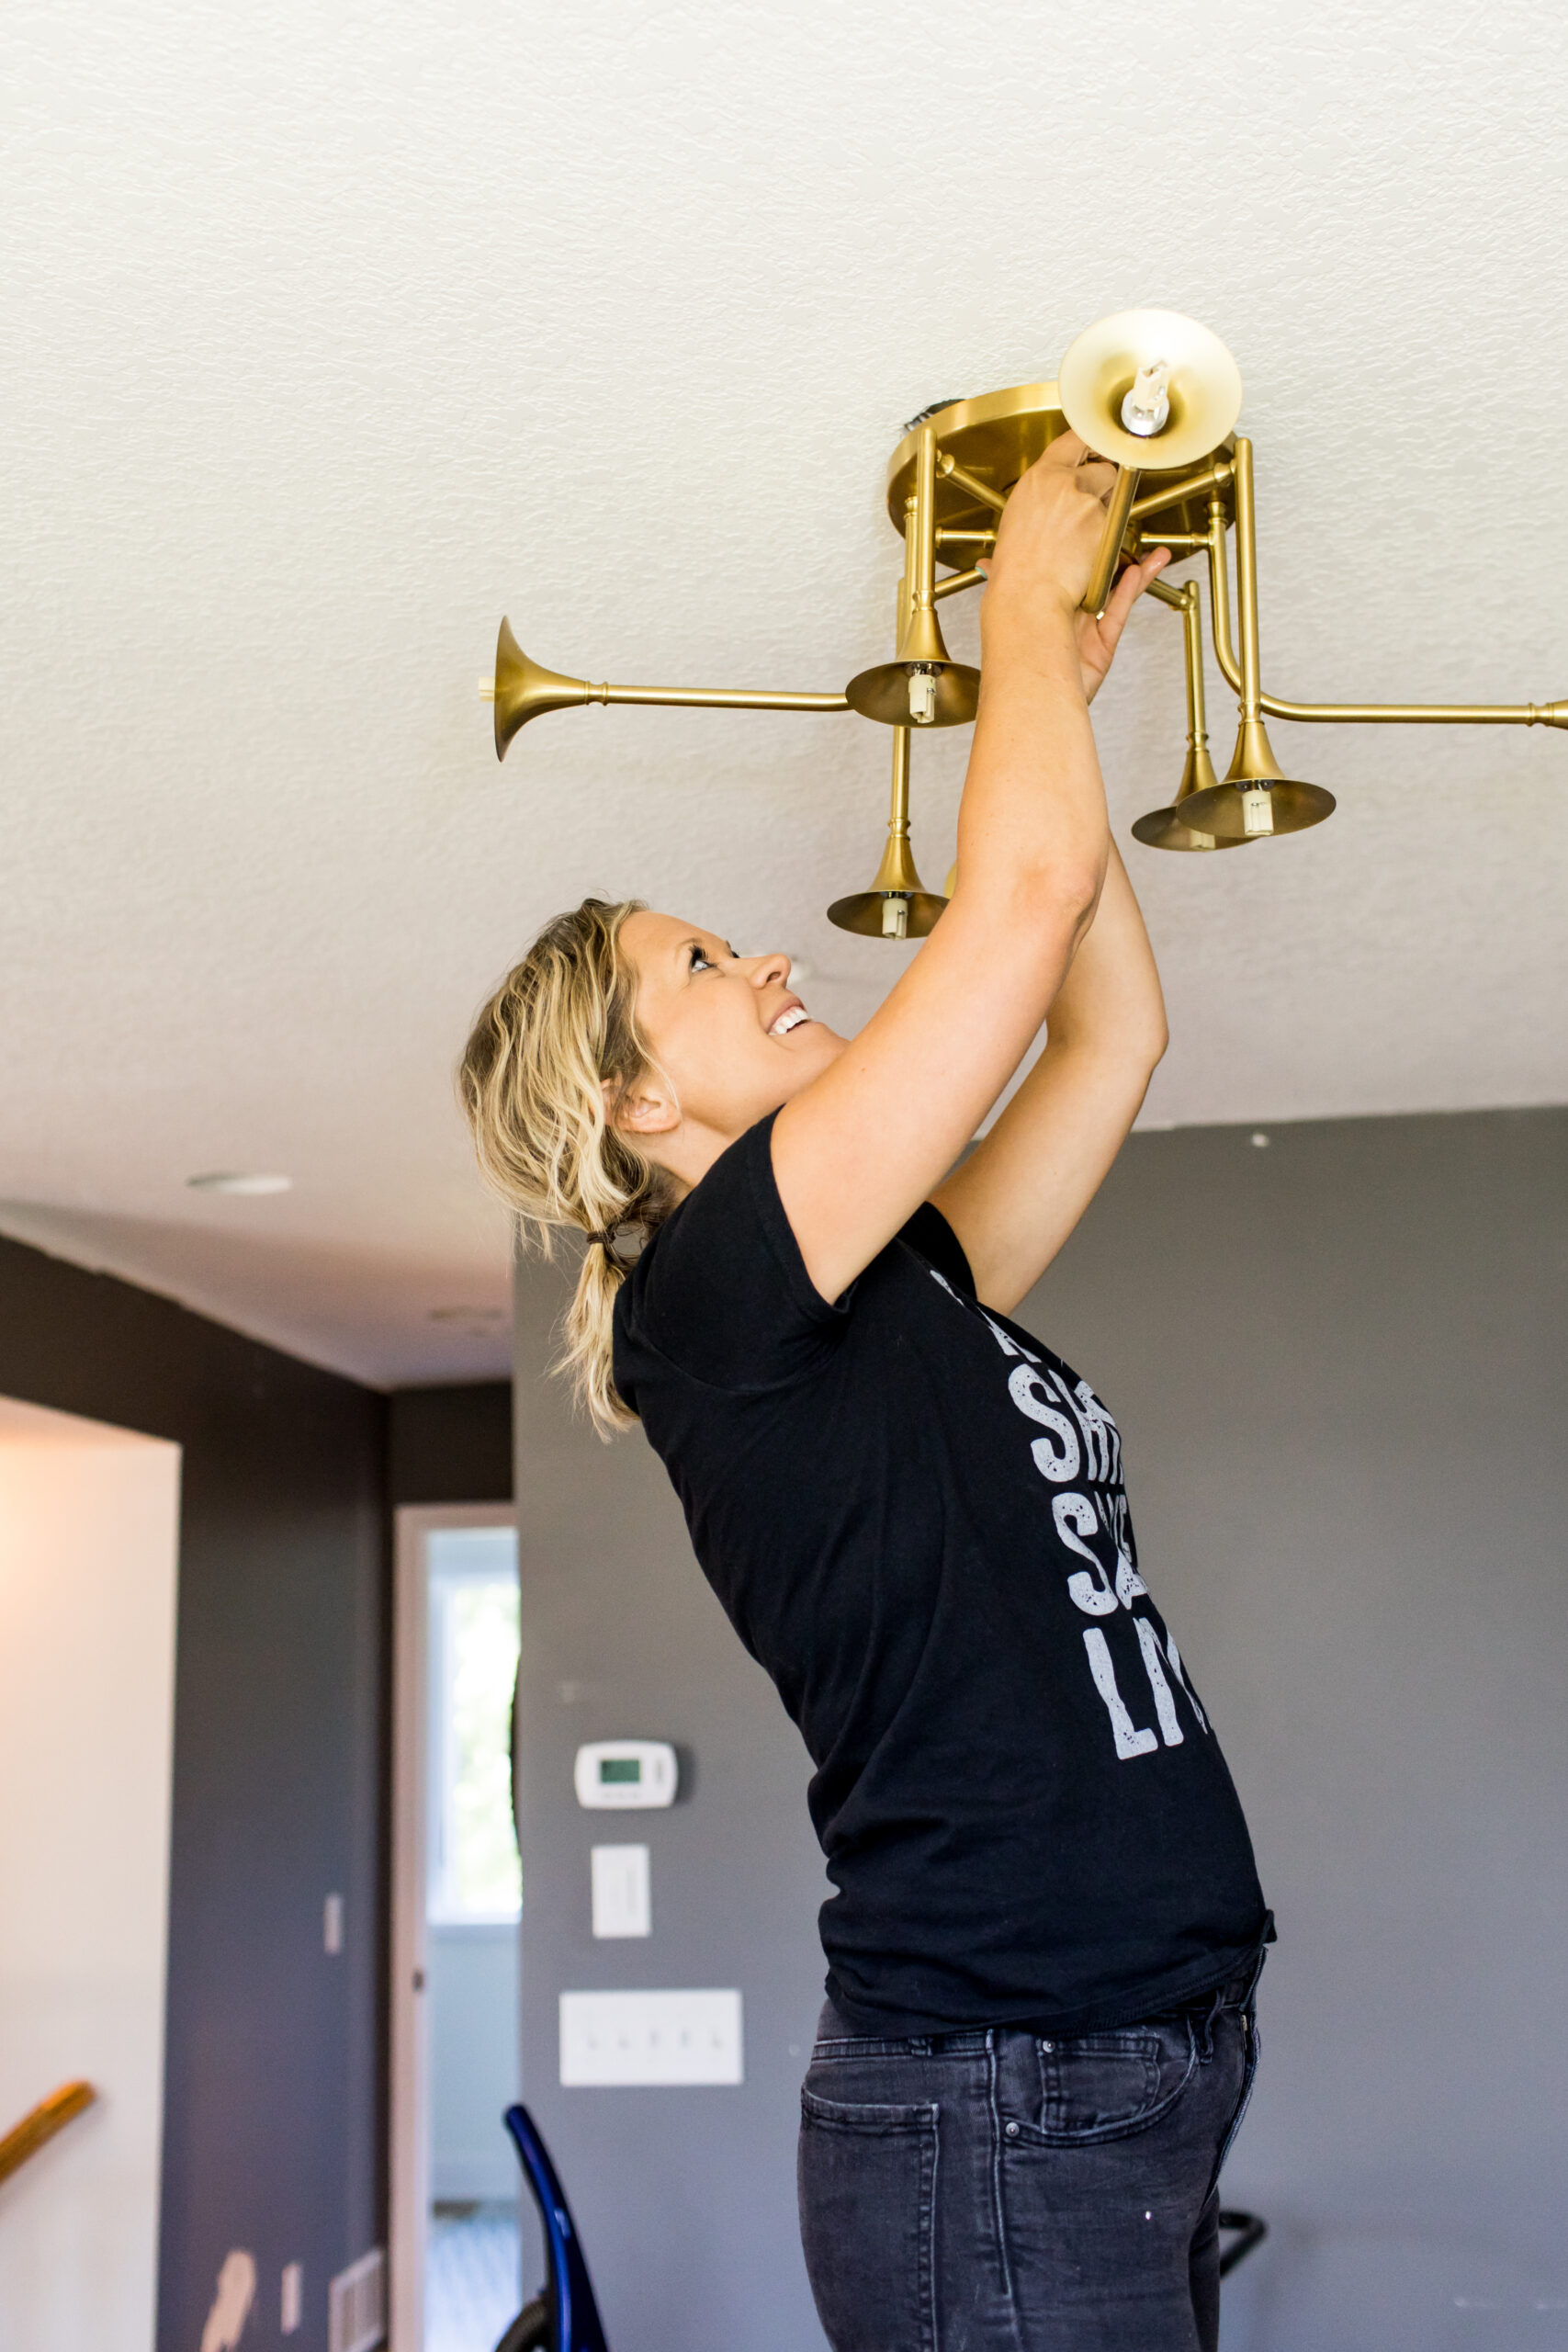
Because this will be the face you’re making when you realize you have a dried drip… haha!
And there you have it, our eight painting mistakes we’ve learned to help you avoid when painting your cabinets! Do you guys have any lessons you’ve learned? We’d love to hear them!
We also have a tutorial on how to paint your kitchen cabinets, some of our favorite paint colors, and painting hacks for your project too.




I love how you mentioned that paint is a worthy investment when it comes to your cabinets. The color on the cabinets in my kitchen has been fading for a couple of months now, so I am thinking that it would be a good time for them to get a facelift. Getting them refinishing seems like the best thing to do, so I am going to hire a professional so that I can ensure the highest quality of products will be used.