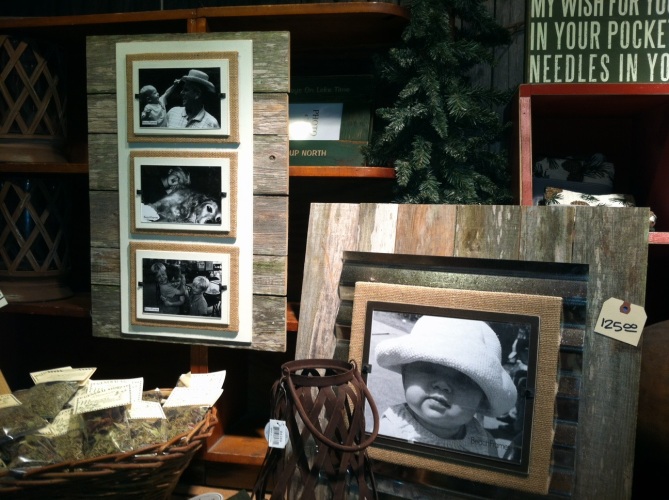
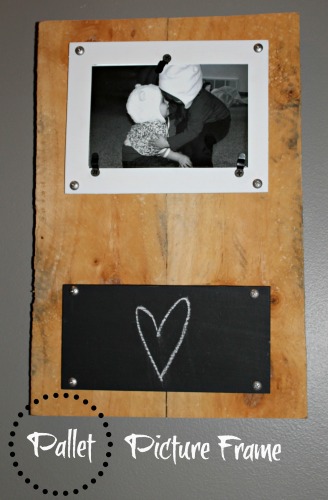
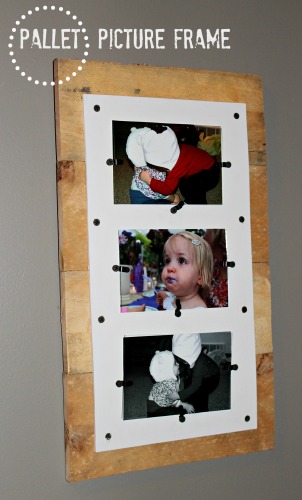
My sister-in-law, Britta, came across these awesome picture frames at a store in Minnetonka that retailed for $125+ and knew that it would be a perfect project for Jamie and I. Love, Loved them!! So, we attempted to make a few…
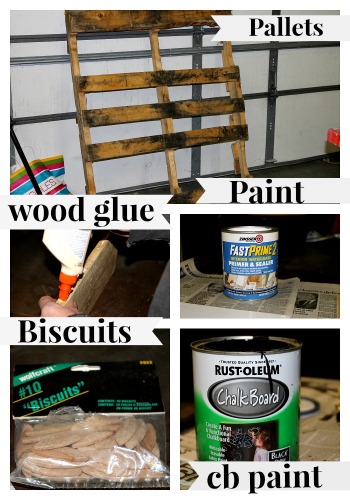
Materials needed:
1. Pallets (it’s pretty easy to find these for free)
2. Black chalkboard paint (if you choose to incorporate chalkboard paint)
3. A small piece of ply-wood
4. Wood glue
5. Screwdriver and Screws
6. Biscuit Jointer and Biscuits (or you can nail the boards together)
7. White paint (or any other color paint/stain you might want to use)
8. Glass or Plexiglas (we bought $1 picture frames and took the glass out and used the clasps on the back)
9. A Saw
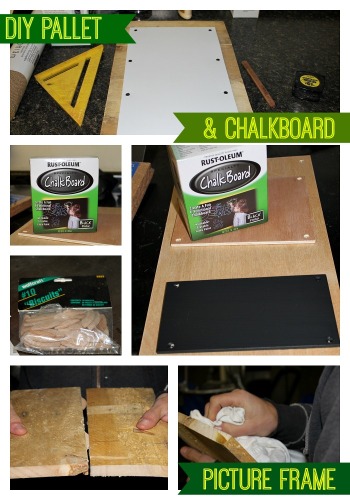
First, remove the pallet from the wood with a saw. Cut the pieces to your desired size, depending on how big you want your frames. Jamie washed the pallet boards in the sink with a brush. You can also paint or stain the pallets if you want a different look.
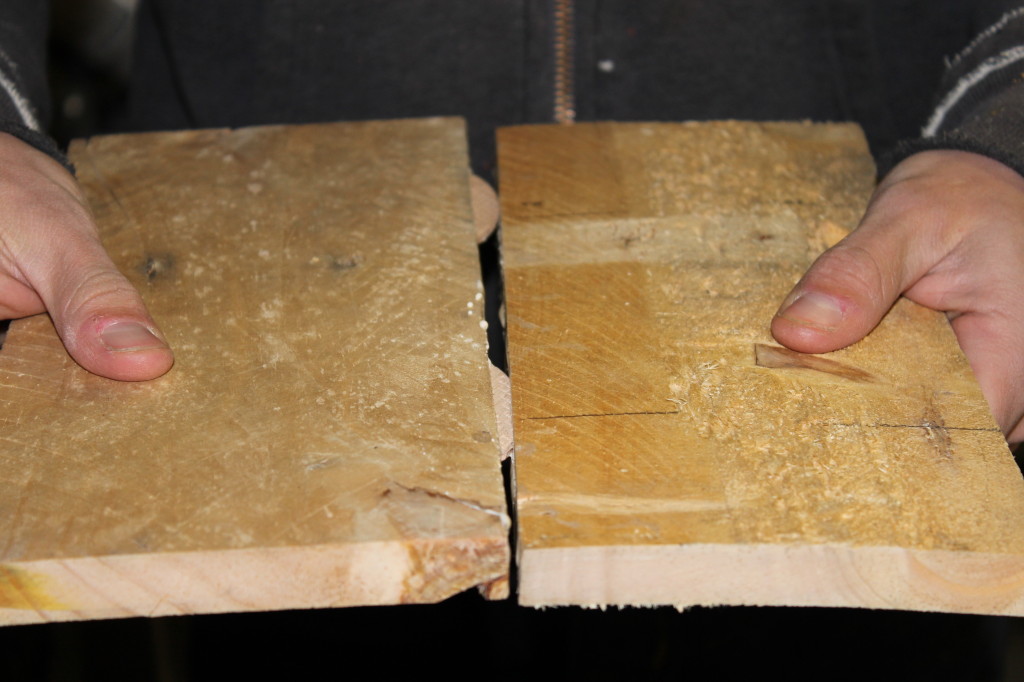
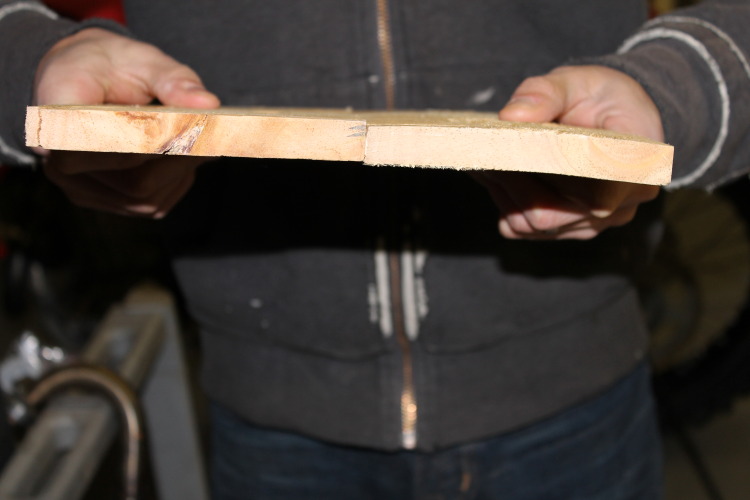
Use a biscuit jointer to create holes in the sides of the boards, make sure that these holes coincide with the holes on the other pallet boards (if you are not familiar with a biscuit jointer, I would suggest nailing the boards together). Put wood glue into these wholes, place the biscuits in holes, and align boards together.
Push the boards together and hold them tight for a minute. Wipe off any excess glue that comes over onto the surface of the boards with an old rag.
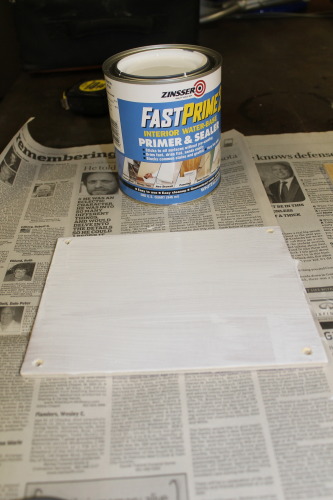
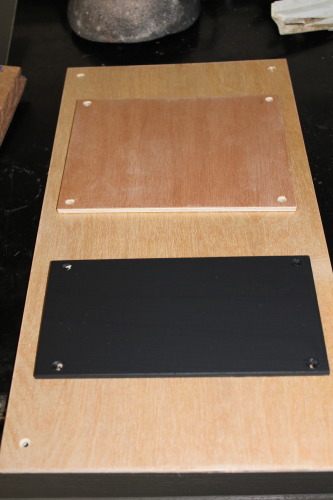
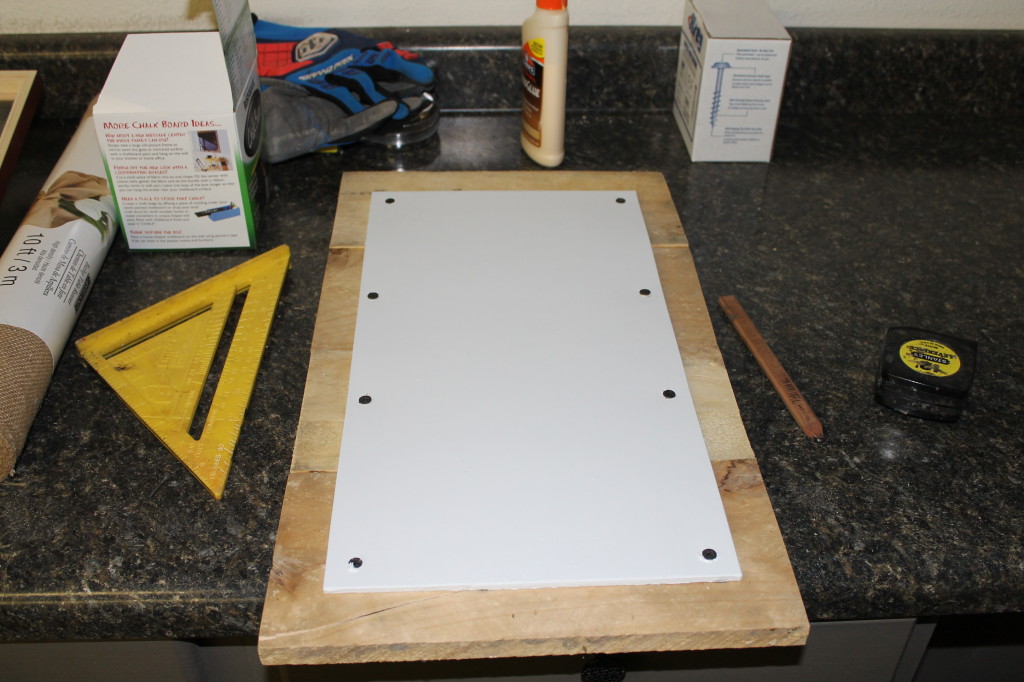
Cut a small piece of plywood to place on top of the pallets for under where the photo will be placed. For the one frame we made we used one piece of white plywood on top, and painted a piece of plywood with black chalkboard paint for the bottom. For the other frame we painted 3 pieces of plywood. Paint the wood the color of your choice (we used white). I have seen people use foam board instead of ply-wood too.
Screw the wood onto the pallet. Place the glass on top of the painted ply-wood and using the clasps from the frame screw into desire locations.
TaDA! You could also cover another piece of plywood with burlap and place under the photo like the pictured example shows as well. We will have to do that with our next one.
Thank you Emily! We only made a few for our 1st time attempt. Next round we will probably add some burlap and possibly darker wood. 🙂
Thank you Nicole!! That REALLY means a lot to us!! We appreciate it!
HAHA, Thanks Mom!!
Love the picture frames! How many are you making
I absolutely love your website!! Love to follow your projects:)
Those are so creative…hint, hint Christmas is right around the corner.