Disclosure: HANDy Paint Products sponsored this post. Although we were compensated to write this post, all opinions and content are our own, and we stand behind and use all brands and products we endorse on our site.
Shiplap! It’s been in for a while, and there are no plans for it to go out of style! Anyone who is obsessed with Chip and Joanna Gaines or of the Farmhouse style drink that shiplap Kool-Aid.
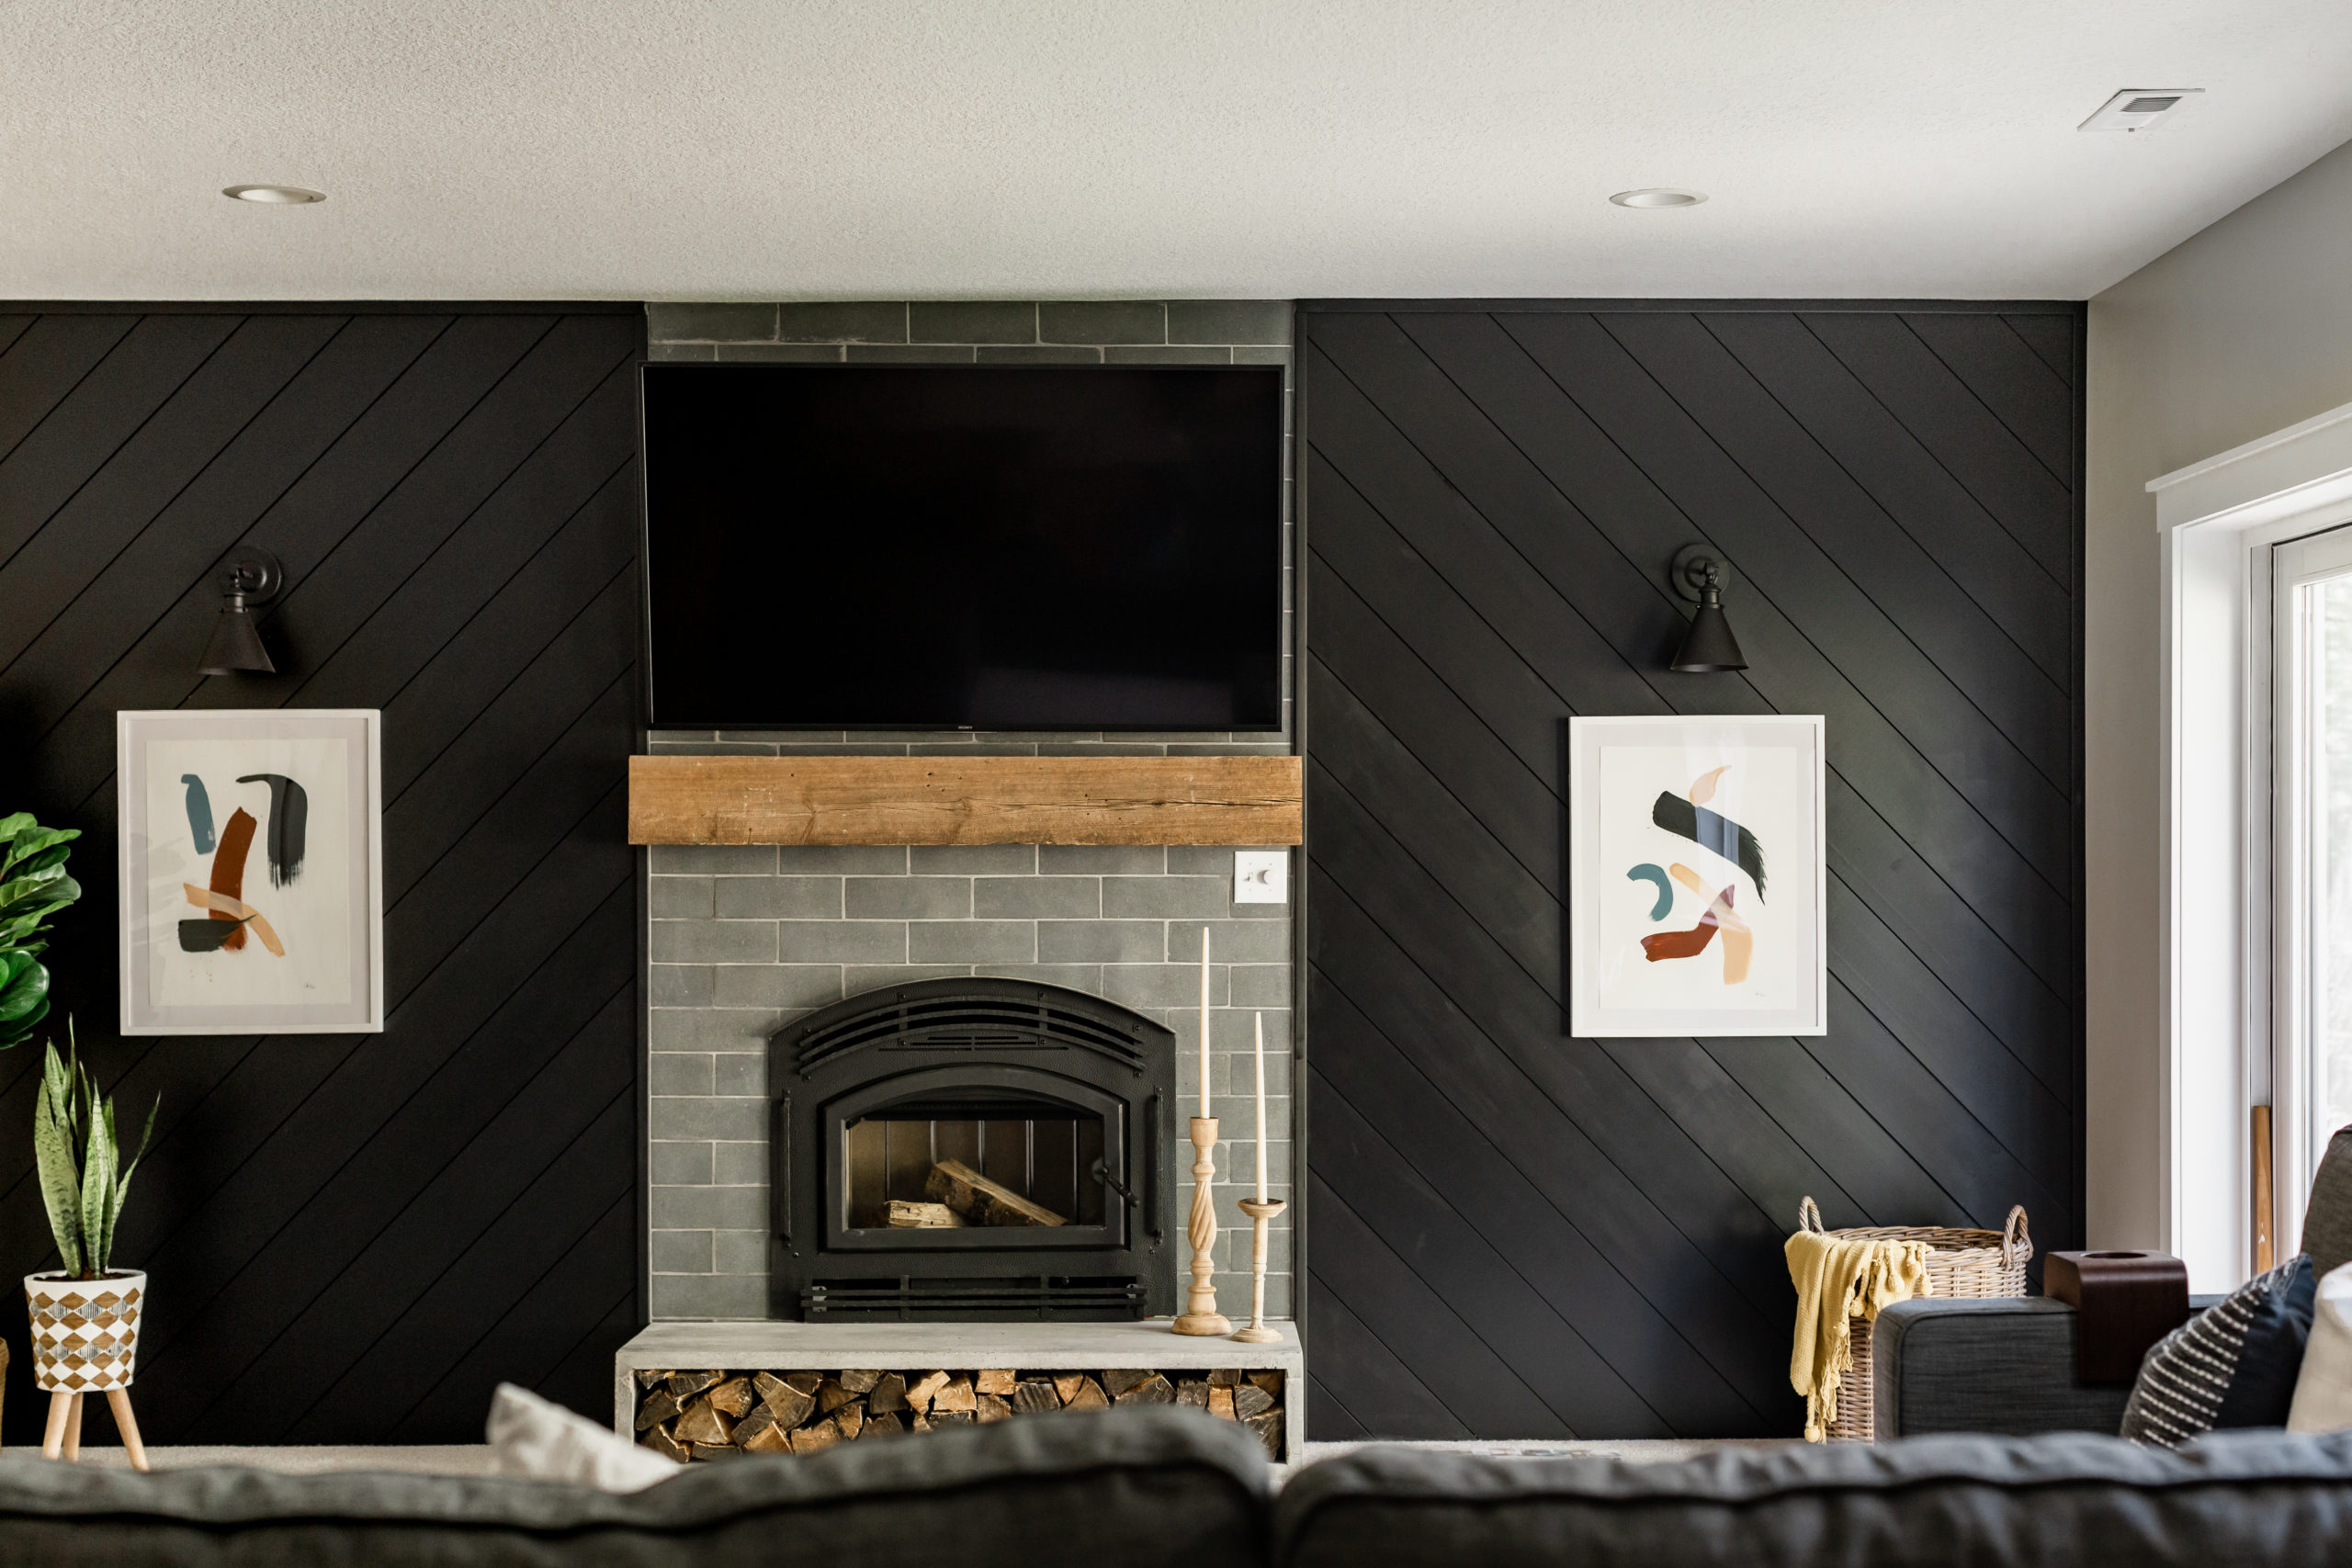
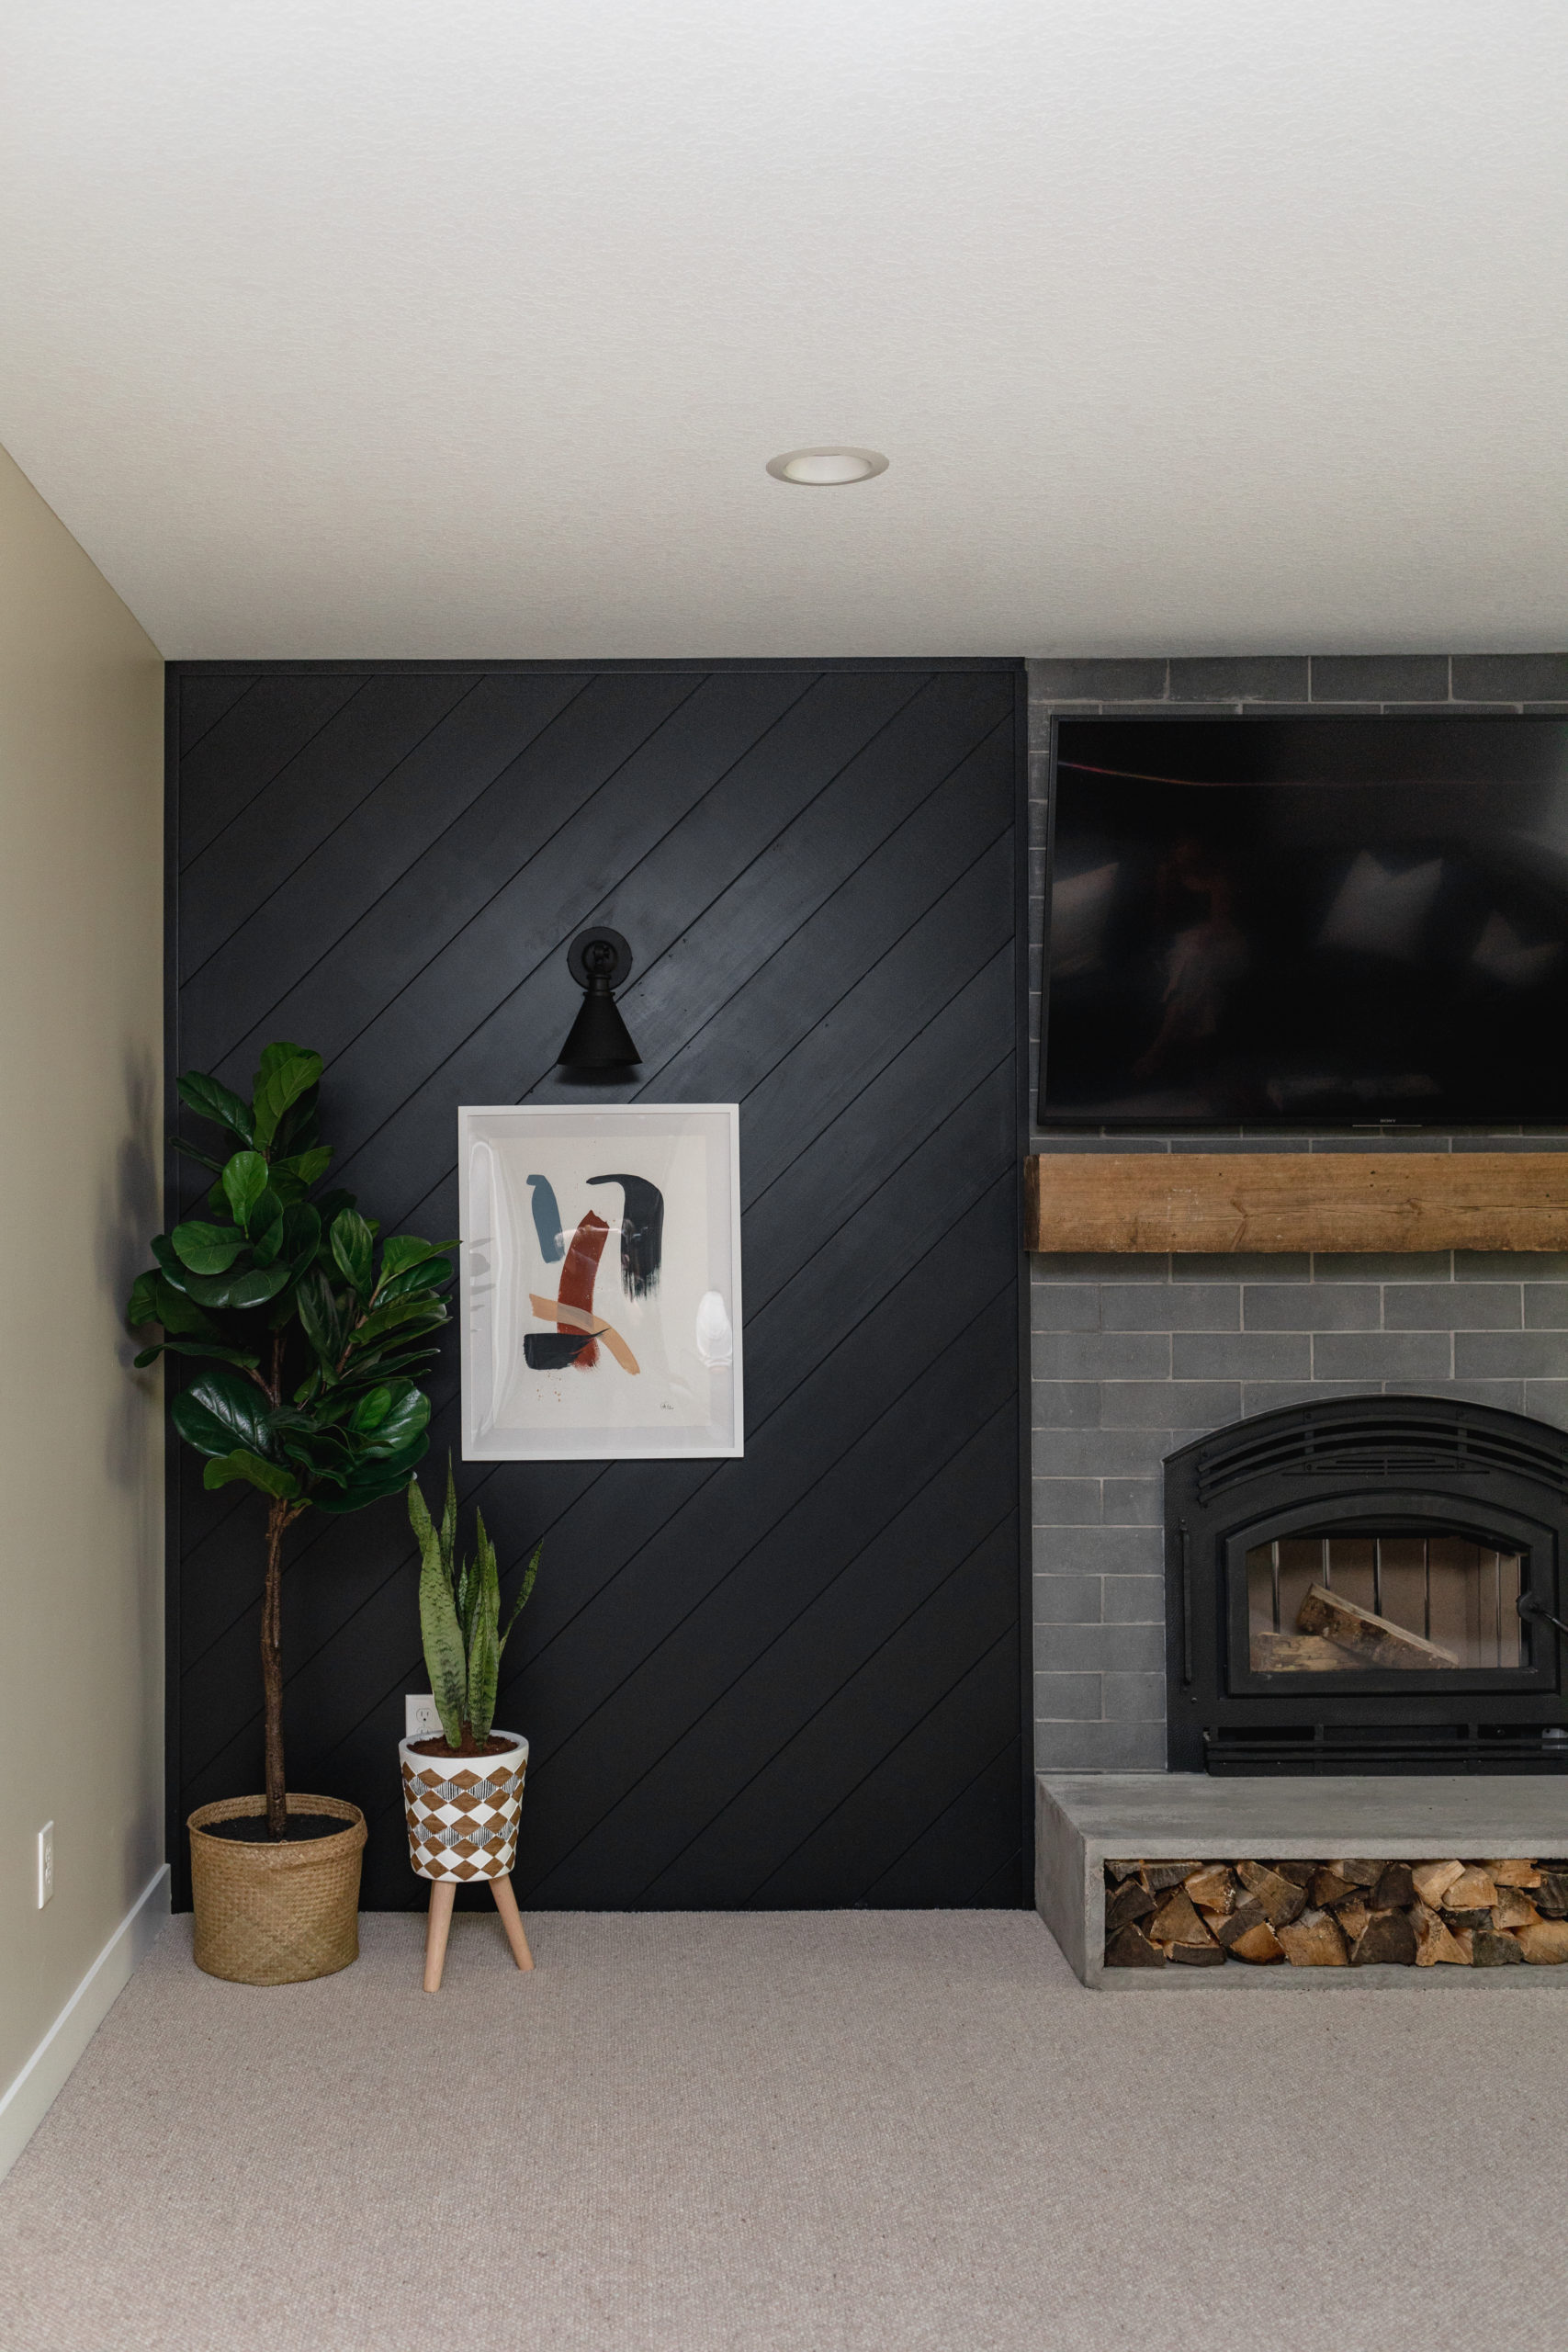
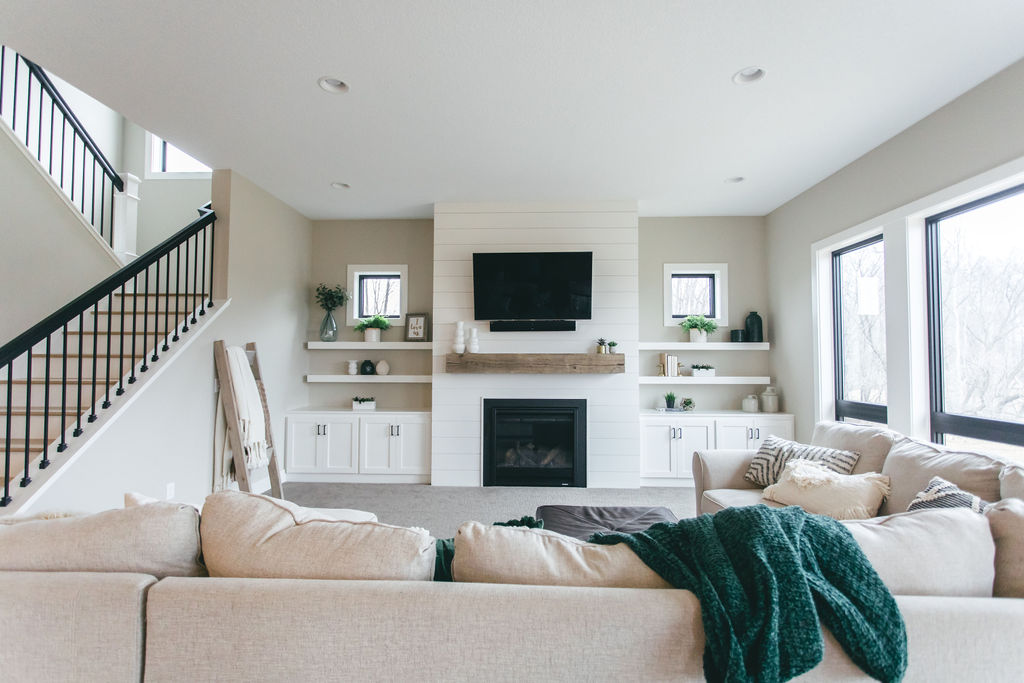
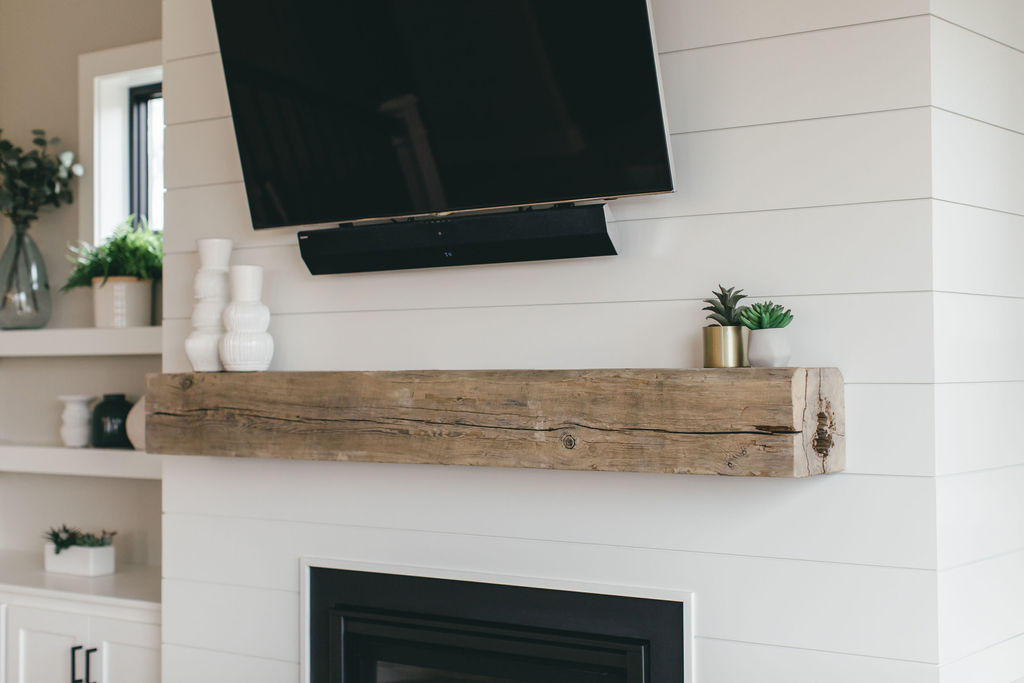
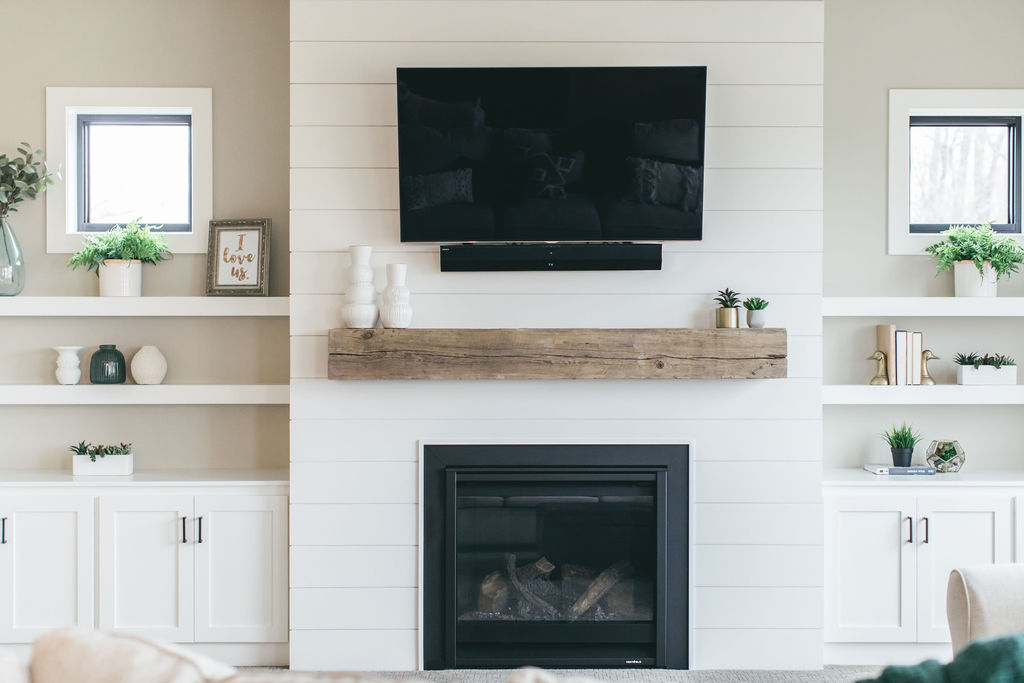
It’s no secret that we love our shiplap and incorporating it into our client’s homes. If you saw our modern farmhouse basement finish, you saw how we put up a shiplap wall above the fireplace mantle. We just recently finished up a master bathroom remodel that we incorporated shiplap into and want to show you guys how to DIY.
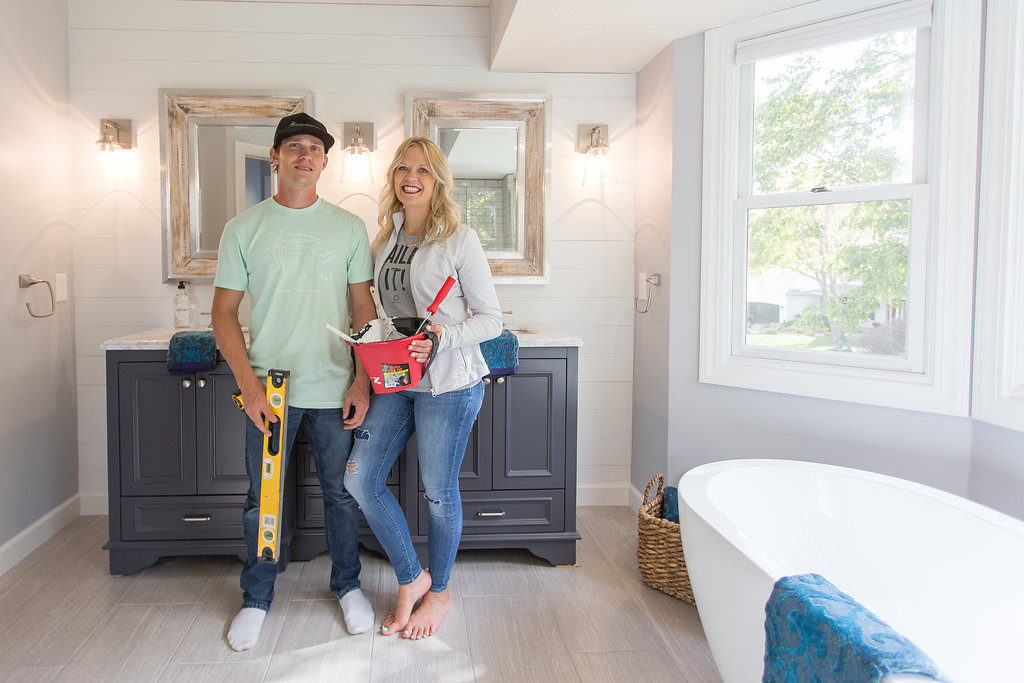
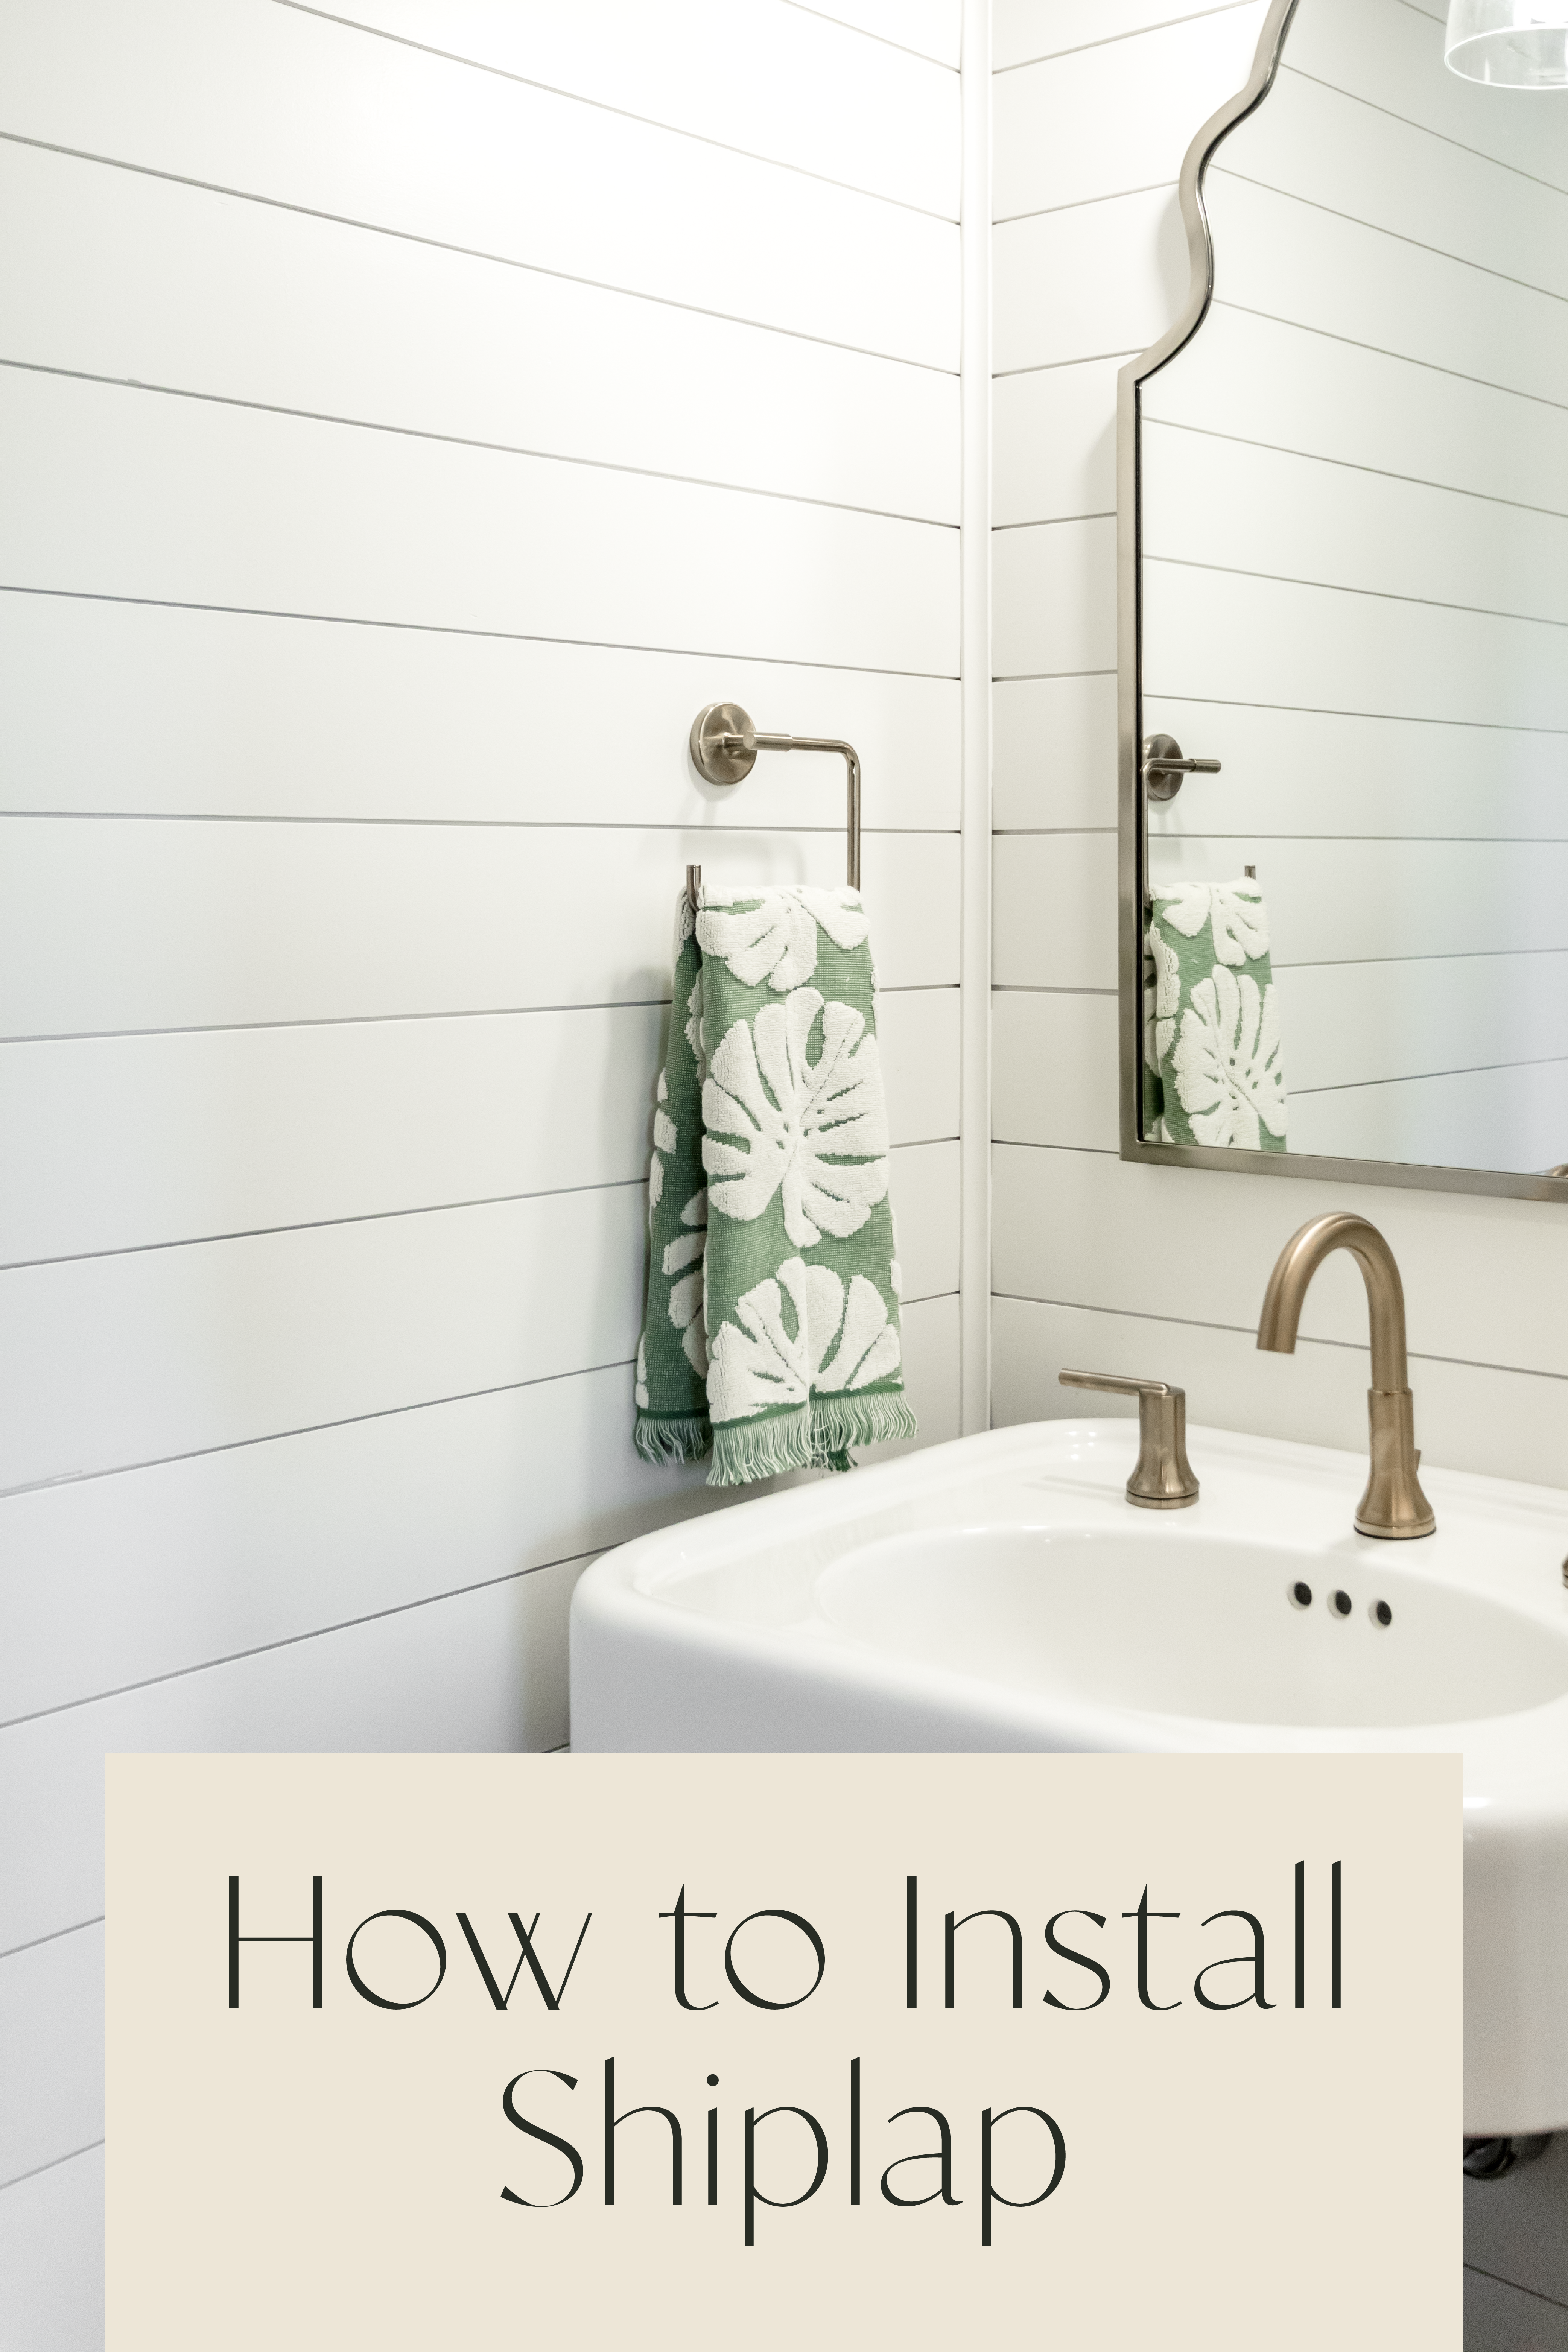
For this master bathroom, our client wanted a fancy farmhouse style but didn’t want to overdo it on the farmhouse or the fancy since their home didn’t have a lot of those styles in general. We recommended doing a little accent shiplap wall behind the vanity to tone down the fancy and bring in the farmhouse. We also put in a free-standing tub, enlarged the shower, and added in beautiful light and bright tiles with a glass door. And we gotta say, it ended up looking just as we had hoped!
Today we wanted to give you guys a tutorial on how we created this shiplap wall and bring you in for a little tour of this master bathroom so you can DIY it in your homes. That is if shiplap is your thing.
1. Tools and Materials
The first step to any home project is getting all of your tools and materials in order and space prepped. Here is a list of the tools and materials we used for this project:
- Table saw
- Jigsaw
- Nail gun
- Nails
- MDF
- Level
- Measuring tape
- Sandpaper
- HANDy Pro Pail
- Mini paint roller
- 3″ paintbrush
- Primer
- Paint
- Caulk
2. Find & Mark Studs
Next, you’ll want to determine where the studs are. Lucky for us, this was all fresh drywall since we had just remodeled the entire space, so we knew exactly where to find the studs. But if you’re not sure, use a stud finder and mark off with a pencil where the studs are so you know exactly where to nail into the shiplap boards.
3. Measure & Cut
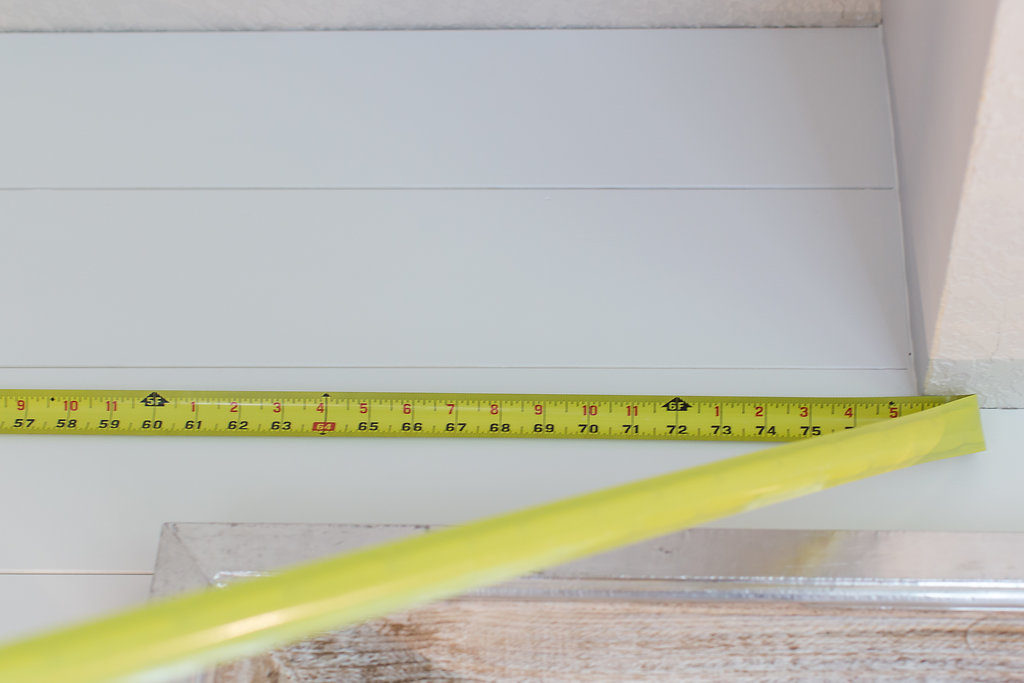
Once you have the studs marked off, it’s time to get those babies hung! We used 1×6 MDF boards for our wall, but you can use any board dimension and type you want to match the look you’re going for. Figure out where your starting point is and measure from wall to wall to determine the length to cut your boards. We also like to measure the boards as we’re hanging them up on the wall, doing a couple of boards at a time just in case the walls aren’t perfectly plumb.
4. Level
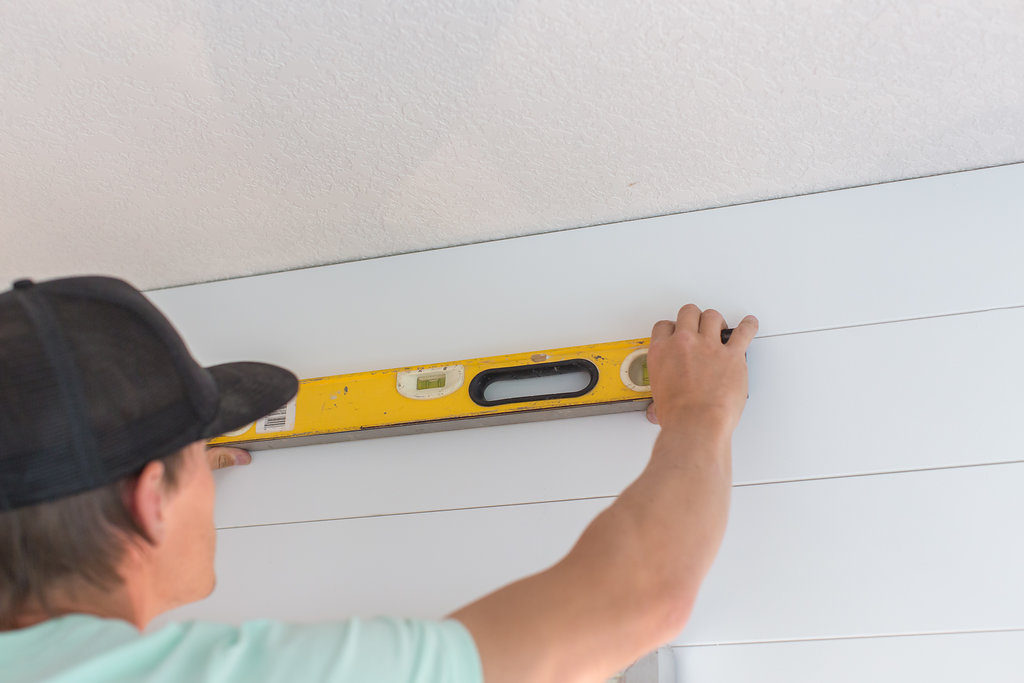
We started from the ceiling and worked our way down for this project because we wanted a full board at the top rather than a ripped down-the-top board. To start, you’ll want to make sure to hang your first board perfectly level.
After nailing up the first board and making sure it’s perfectly level, you can take the next board and stack it tight to the one above it. This will keep things level all the way to the bottom. Depending on where you start, continue your design by adding one plank at a time and one row at a time and working your way down.
5. Hang & Nail Boards
One by one, nail your boards up, ensuring you are hitting your marked-off areas on the studs with a nail gun.
People have been known to put quarters in between their boards to give a little spacing to your shiplap look, but we just butted and nailed them right up against one another. We’ve also heard paint stir sticks work great if you like the space, and those sound a little easier to put in between your boards when hanging and nailing. However, Jamie likes a very clean look to his projects, so he prefers butting them up against one another to avoid any wavy un-level lines.
If you run into any electrical switches, the jigsaw comes in handy to cut around those boxes in the boards.
6. Paint Boards
Our favorite part, painting time! Whenever the paint goes up, it just feels so refreshing, doesn’t it?
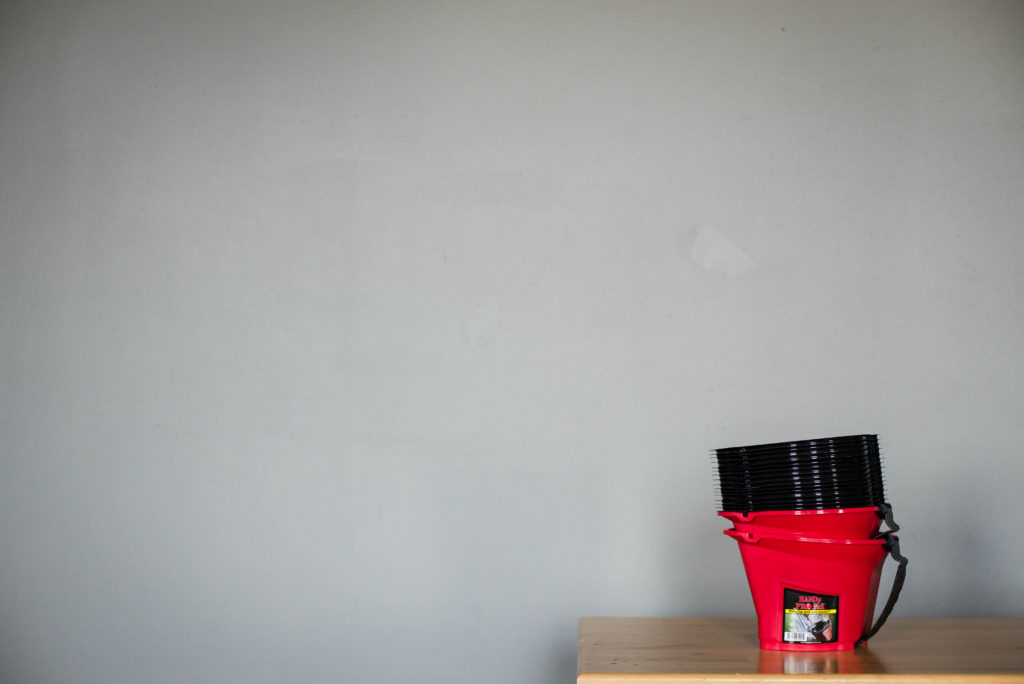
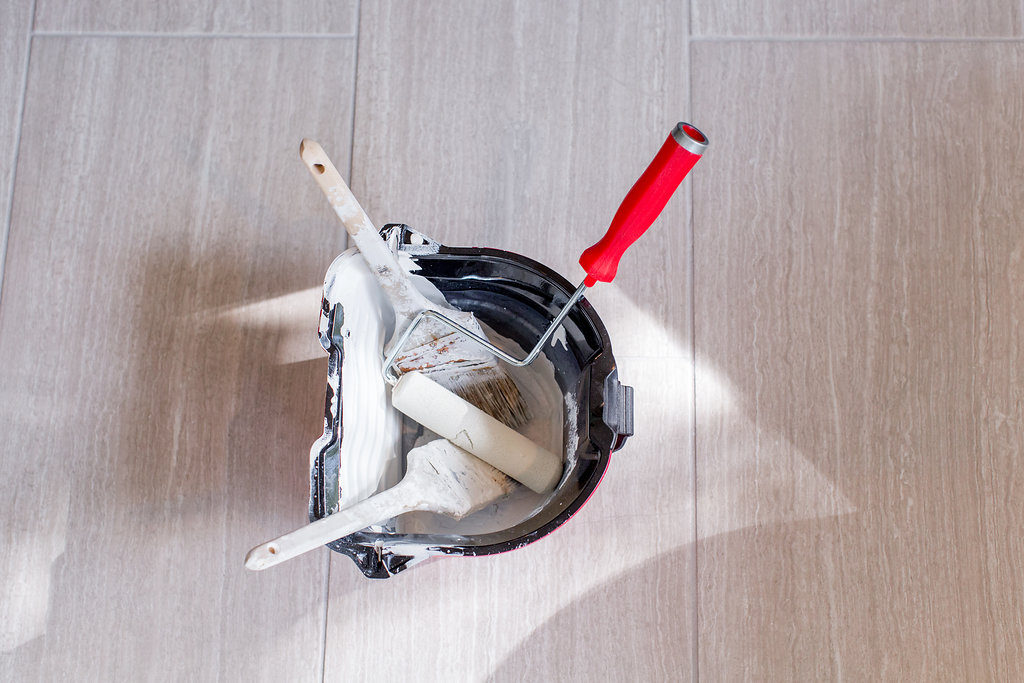
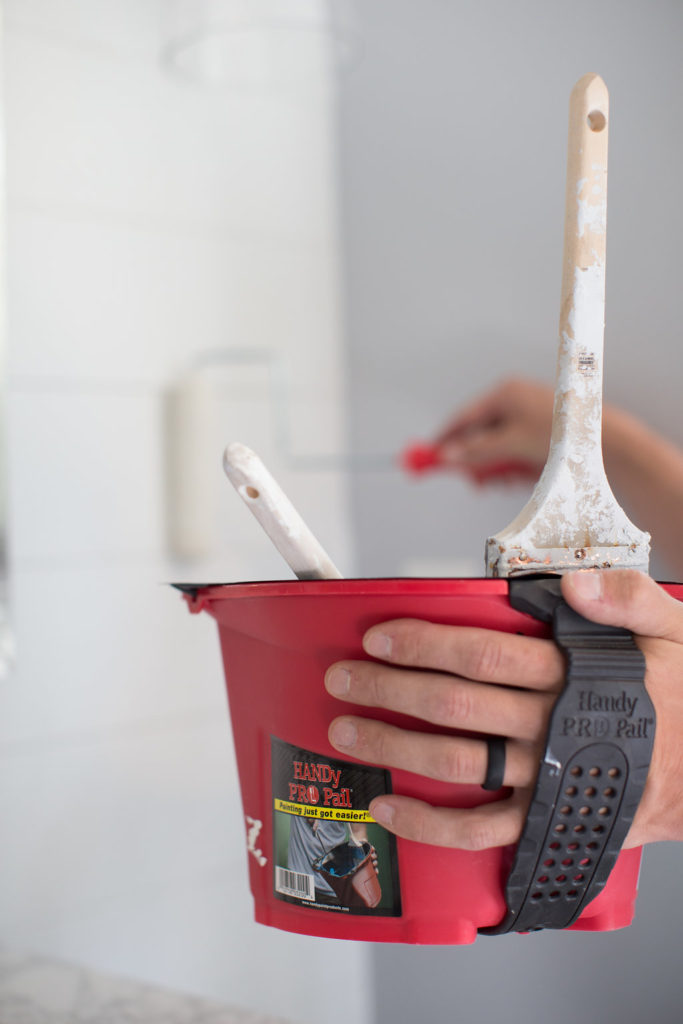
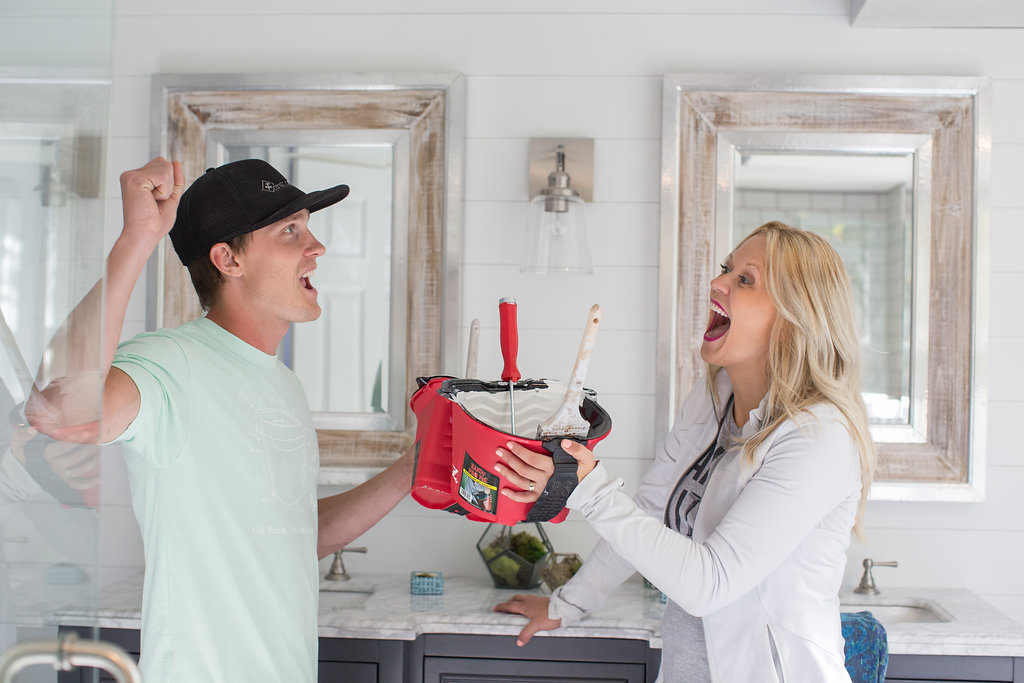
When painting, we love to use our HANDy Pro Pail because you will want a mini roller and a brush, and the pro pail fits both. It has a magnetic strip on one side for the brush to hang on, and it’s large enough for a roller to sit inside.
Since the shiplap will probably be a statement piece that will draw the eye, you’ll want to make sure it has a nice finish: no drips or air bubbles. We prefer to use a mini roller because we like to roll one board at a time. We don’t like to roll over two boards at once because you want to ensure the boards look like separate boards.
We prefer to paint our boards after we hang them. We’ve painted beforehand a few times, but we always end up having to go back and touch up spots from moving and hanging once they’re up, so now we leave it until we hang.
The only thing you need to be careful with if you wait to paint the boards until they are up is that the paint tends to stick together in between the boards. You want to make sure it looks like two separate boards. If this happens, let the paint dry a little bit, take a putty knife, and drag the flat edge between the creases to give it that gap. Otherwise, we’ve also used something as simple as a piece of paper.
7. Style
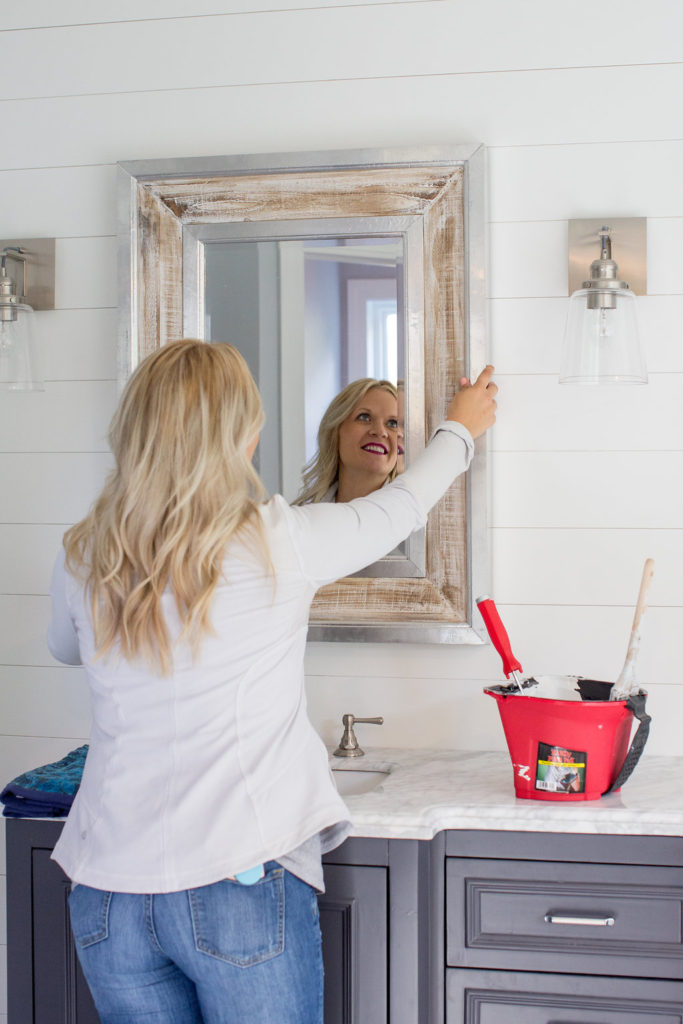
Lastly, it’s time to style those babies! Since we were going for the modern farmhouse style, we added some weathered wood mirrors complemented by a clean-lined modern vanity and wall sconce lighting for each side of the mirrors. Keeping it all fresh and clean!
CHEERS!
You guys totally just created your own DIY shiplap wall in just a few steps! We can’t wait to see what you dream up in your homes. We’ll be doing a black shiplap wall in our office soon, and we can’t wait to share it with you guys. Don’t be afraid to add some color to those shiplap walls either, even though, as you can see; we are drawn to the simplicity of the white shiplap walls. You can’t ever go wrong with colored shiplap! Sometimes our thoughts behind the white are to stick with that at first because then you can spice it up with some paint color if you get sick of it.
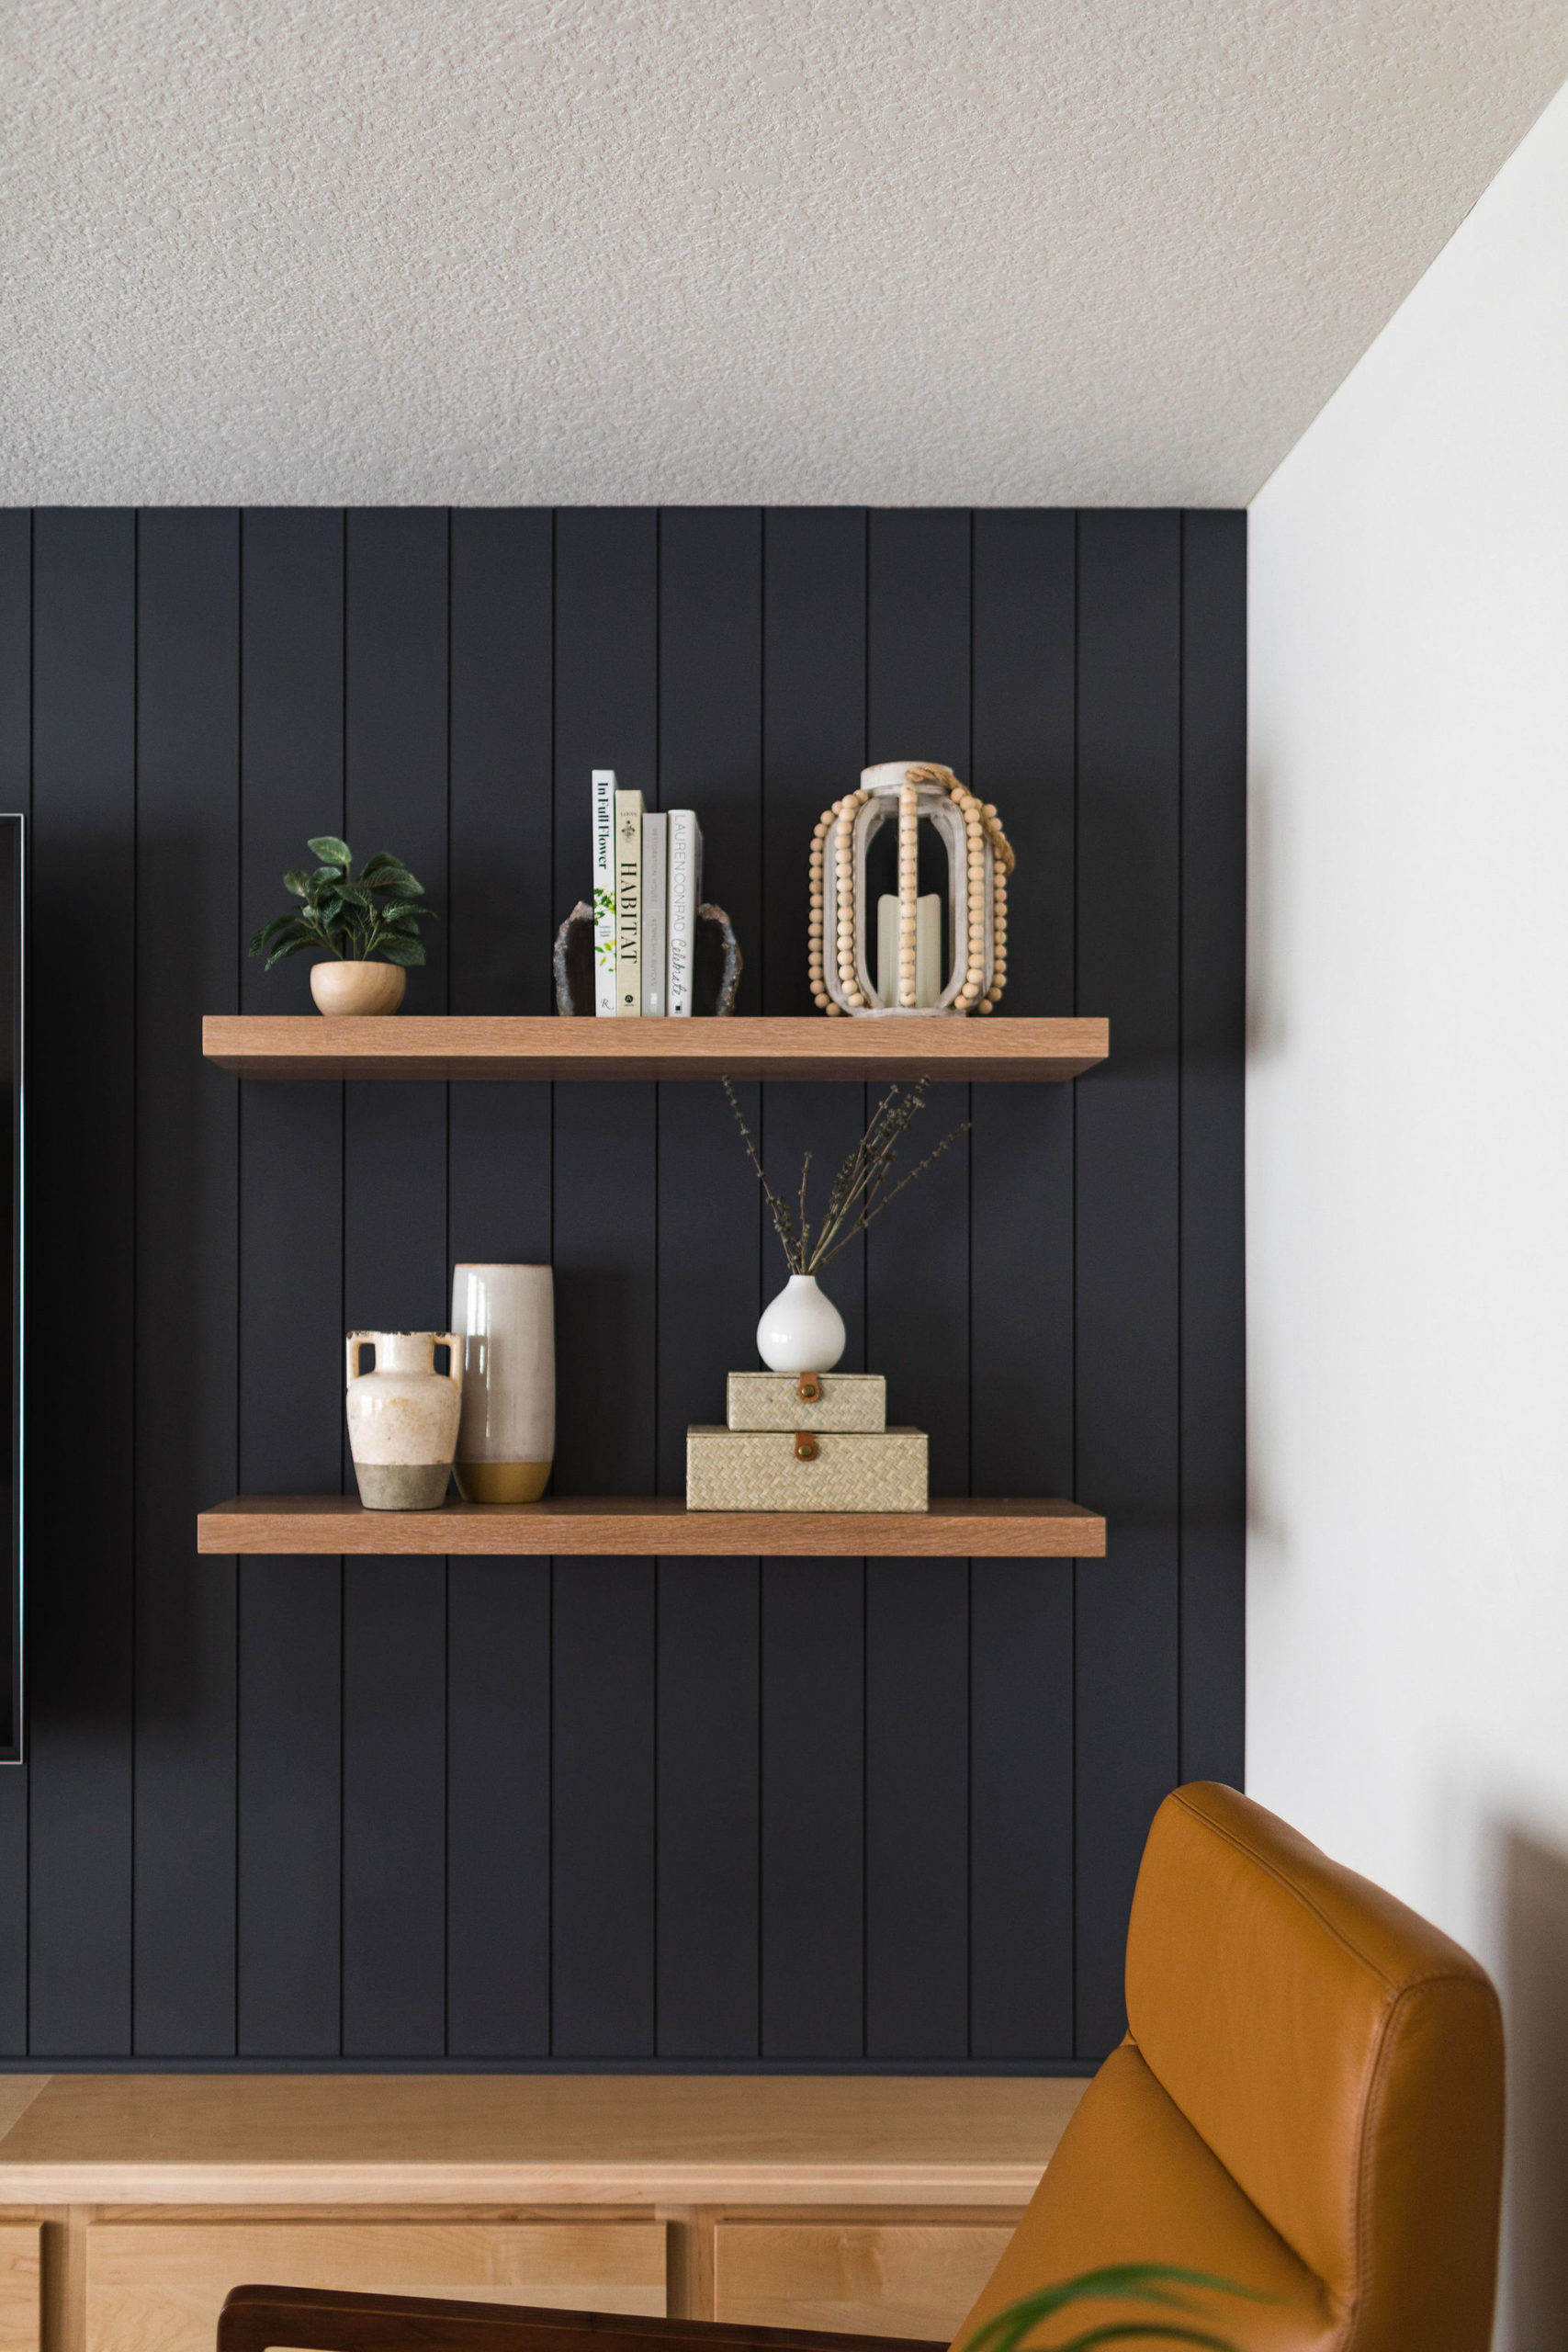
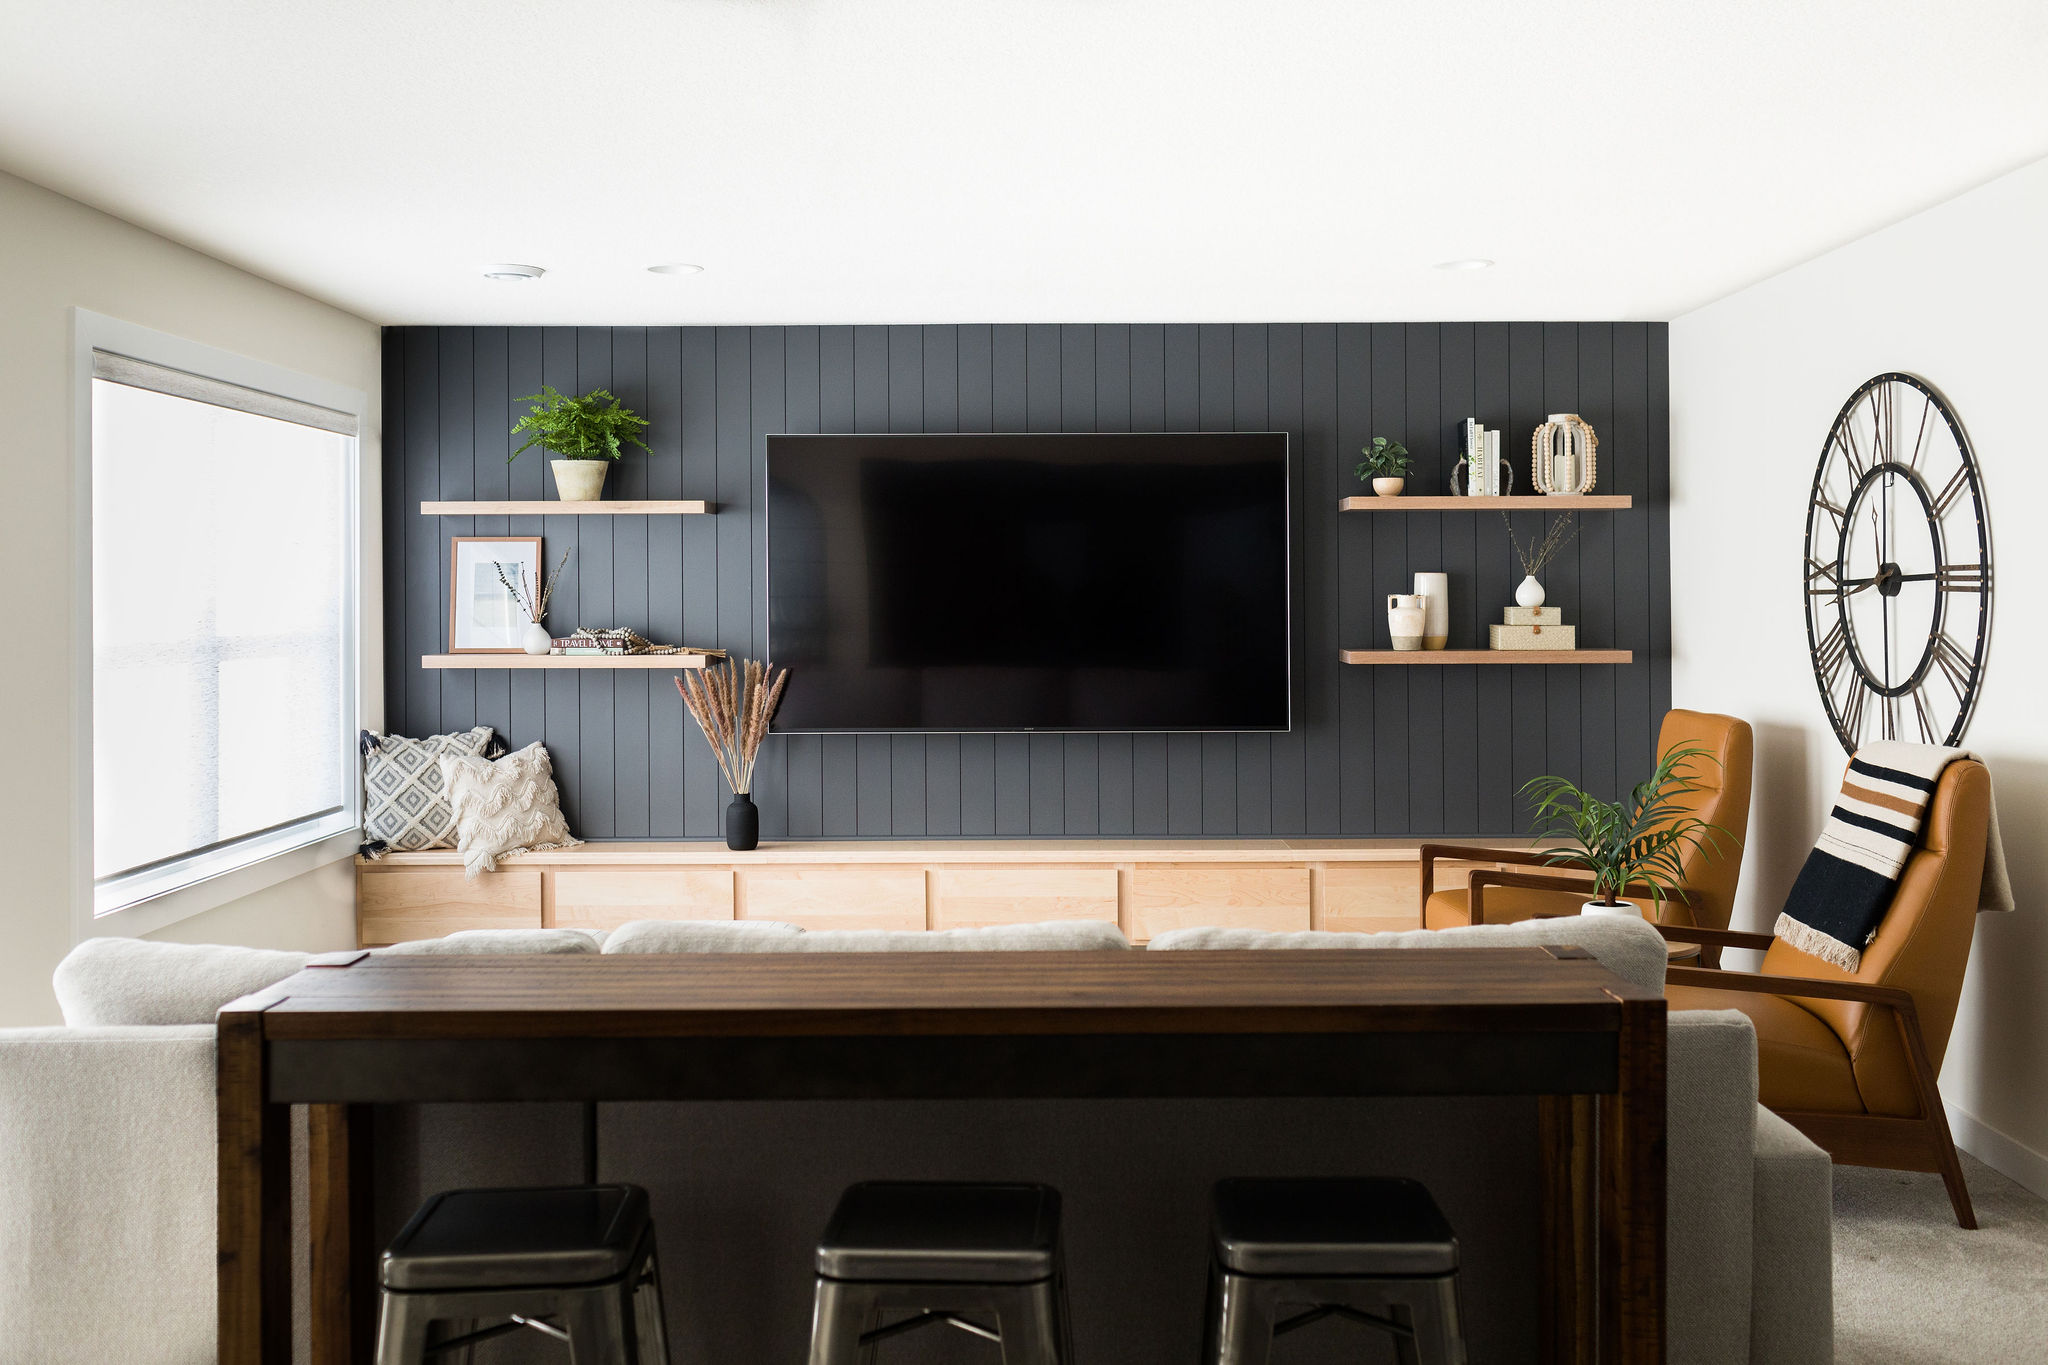
For more design inspiration, check out the projects below!


Thank you so much Amber! Really appreciate that. This was a fun project! 🙂
You have amazing tutorials! Great job you two!! And this is such a Beautiful bathroom!!!