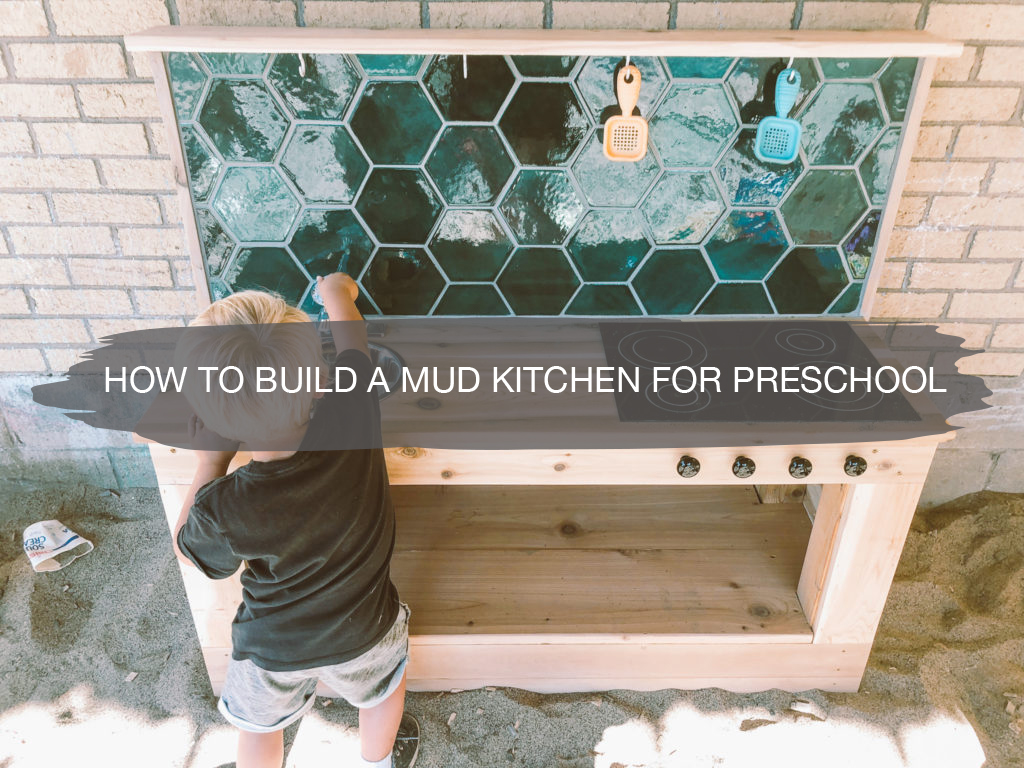
The boys’ school asked all the parents for volunteers to build a couple of mud kitchens for their outdoor playground.
I had no idea what a mud kitchen was until the request went out. Once I Googled what a mud kitchen was, I knew we had to build one.
How fun are these ideas that we pulled for inspiration?!
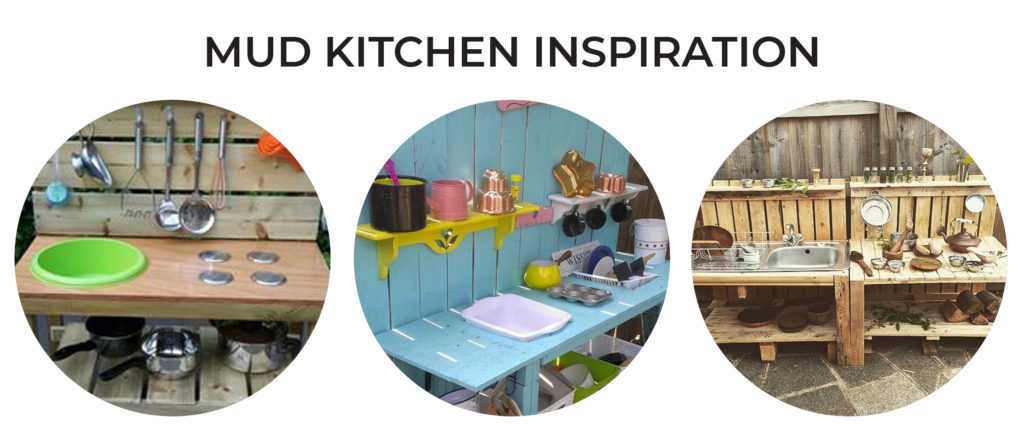
There were so many creative ideas out there on how to build a mud kitchen. You can build them out of anything!
Mud kitchens are to be built outdoors to let kids play in and make some good food well, out of the mud. Ha! It’s building a kitchen for the outside to let kids explore making food with grass, dirt, and leaves.
Step One: Design the Main Structure
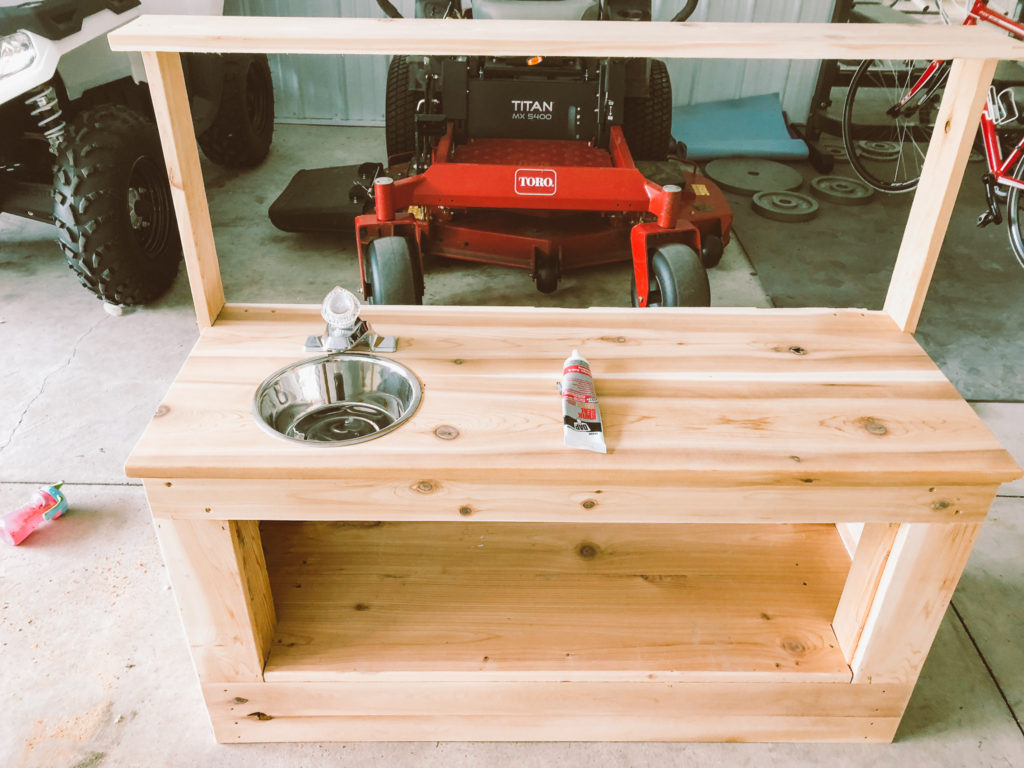
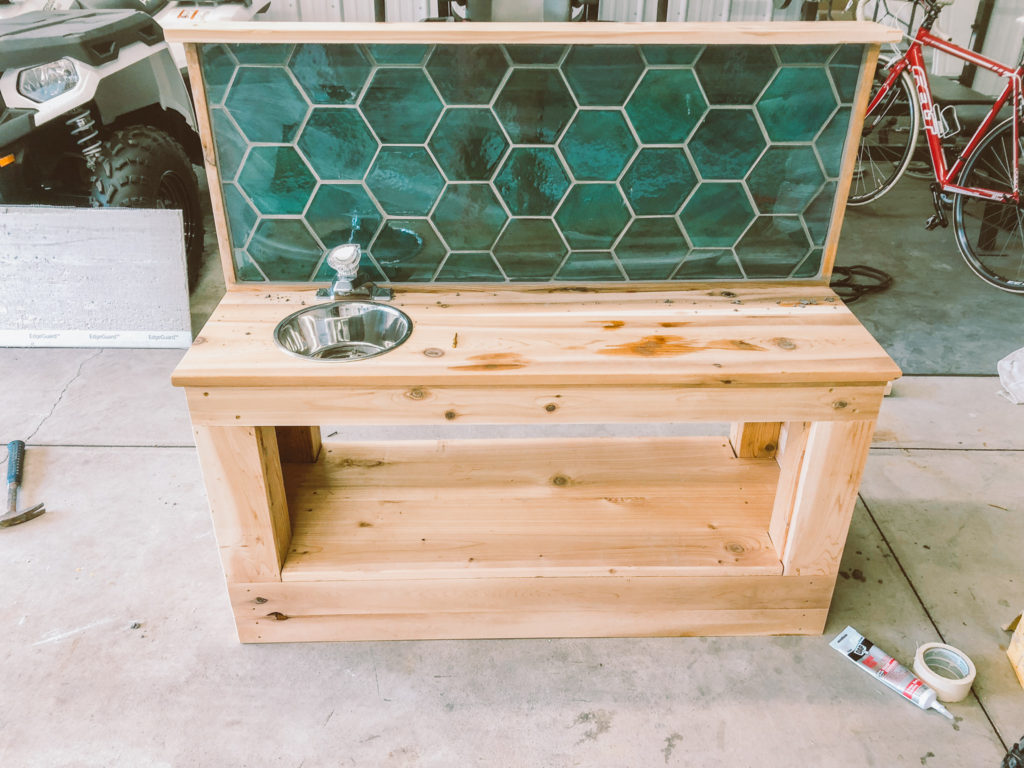
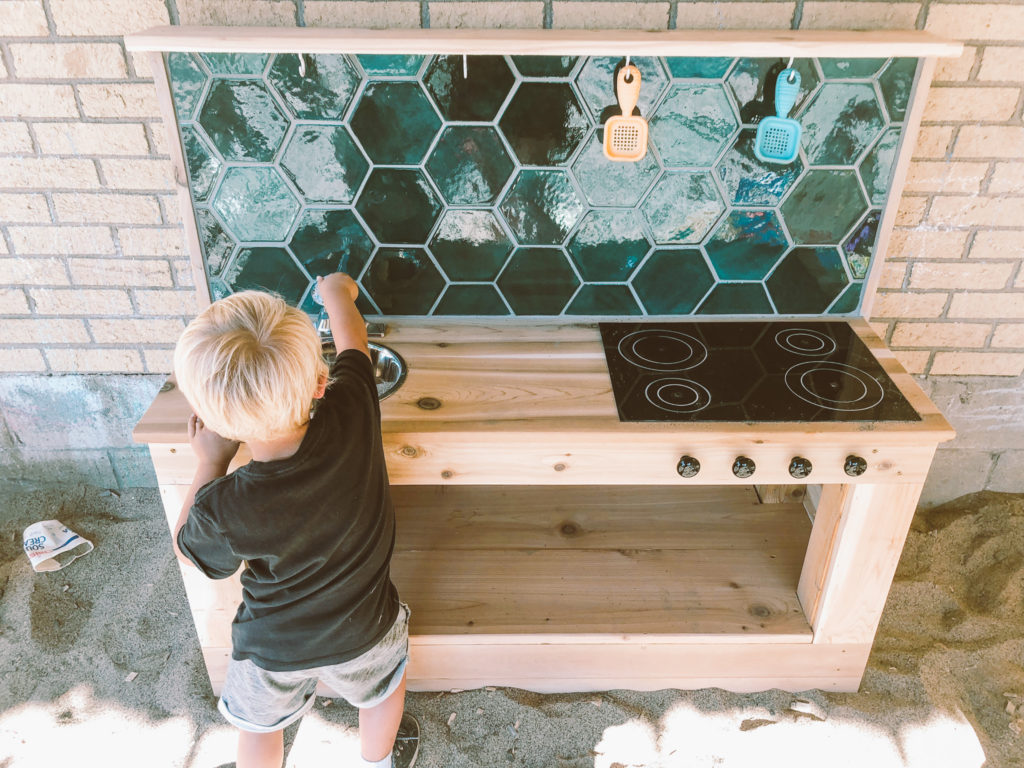
Initially, we were going to build our mud kitchen out of pallets, but then we quickly realized we probably didn’t have enough pallets to create it, so Jamie opted to use some 2x4s. We also went back and forth on if we wanted doors on the bottom area or to even enclose it as we did.
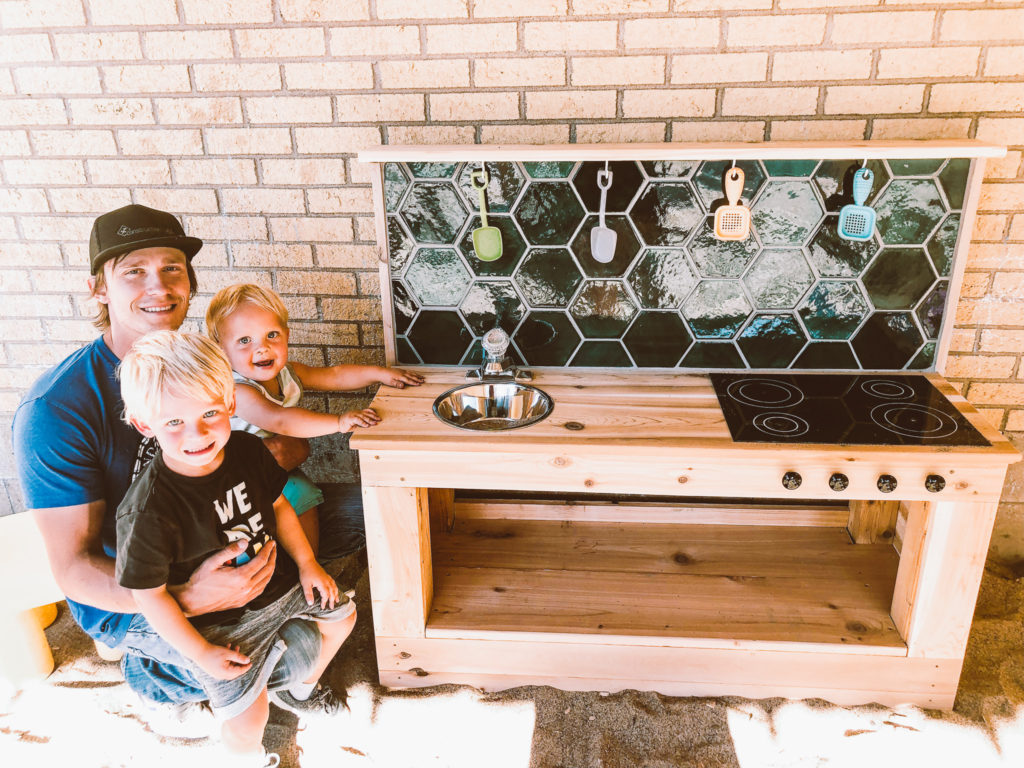
Four legs would have probably worked just fine but Jamie also wanted the base to have a lot of weight to it so that it wouldn’t easily tip over onto any kids, so we enclosed it and opted to add in the “open shelving” concept.
Step Two: Add in Backsplash
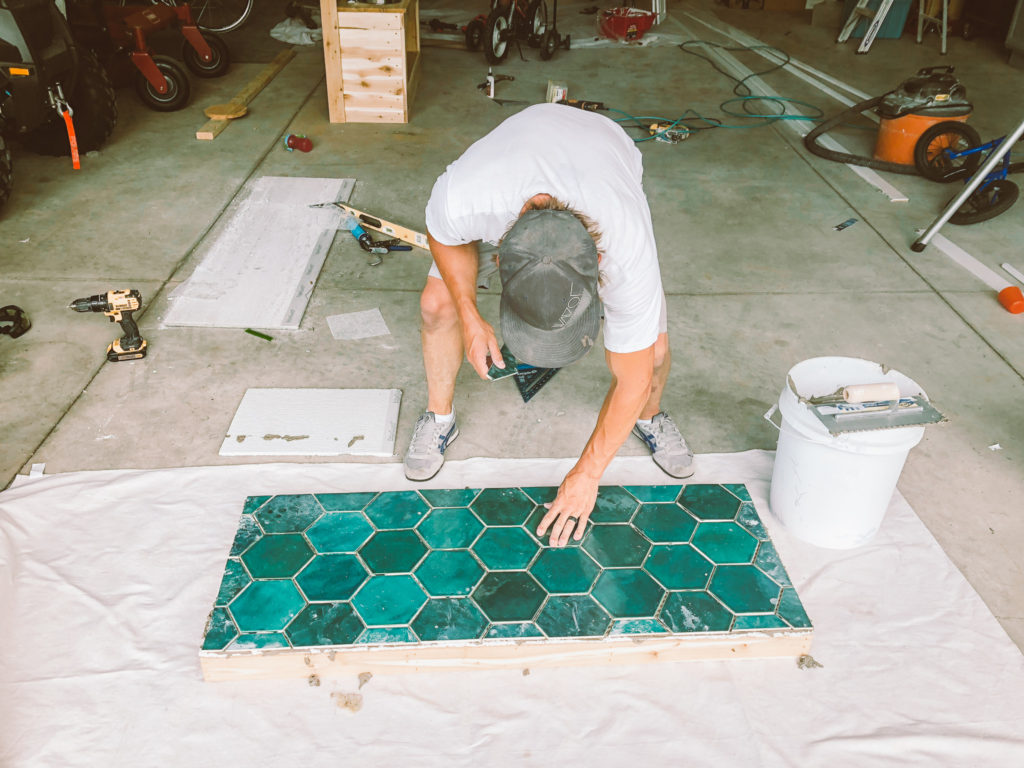
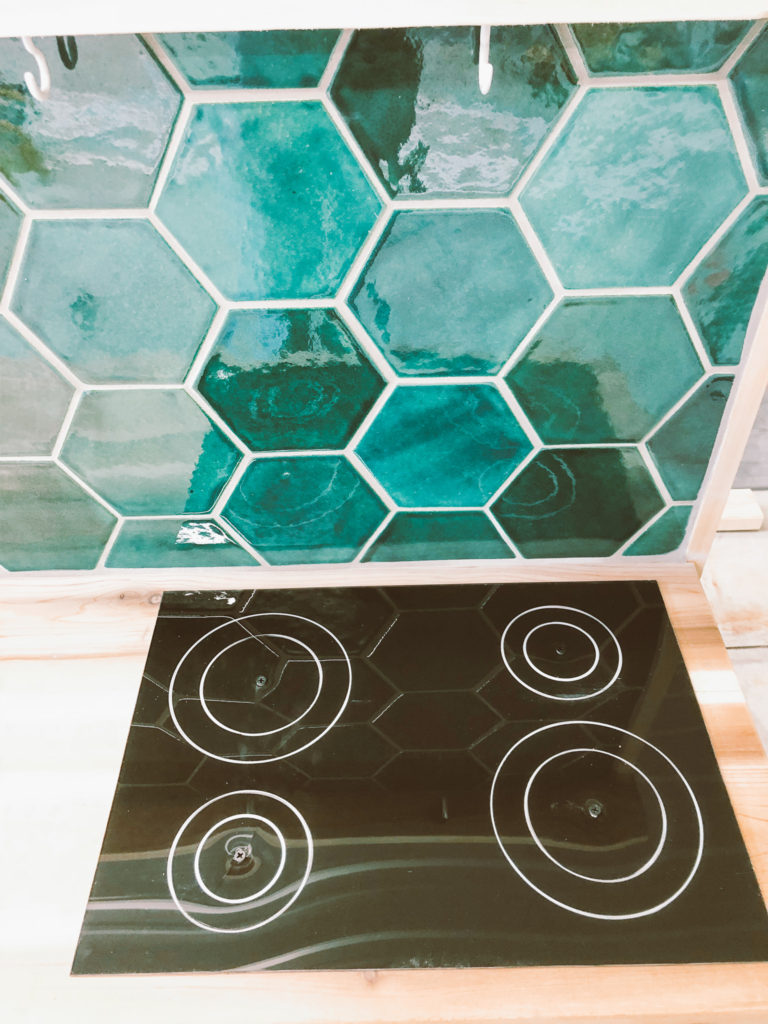
We also had some leftover tile from Mercury Mosaics from the American Craft Council show, so we thought, how fun would it be to do an actual backsplash in a fun, colorful mosaic tile pattern for the kids.
Step Three: Add Sink & Cooktop
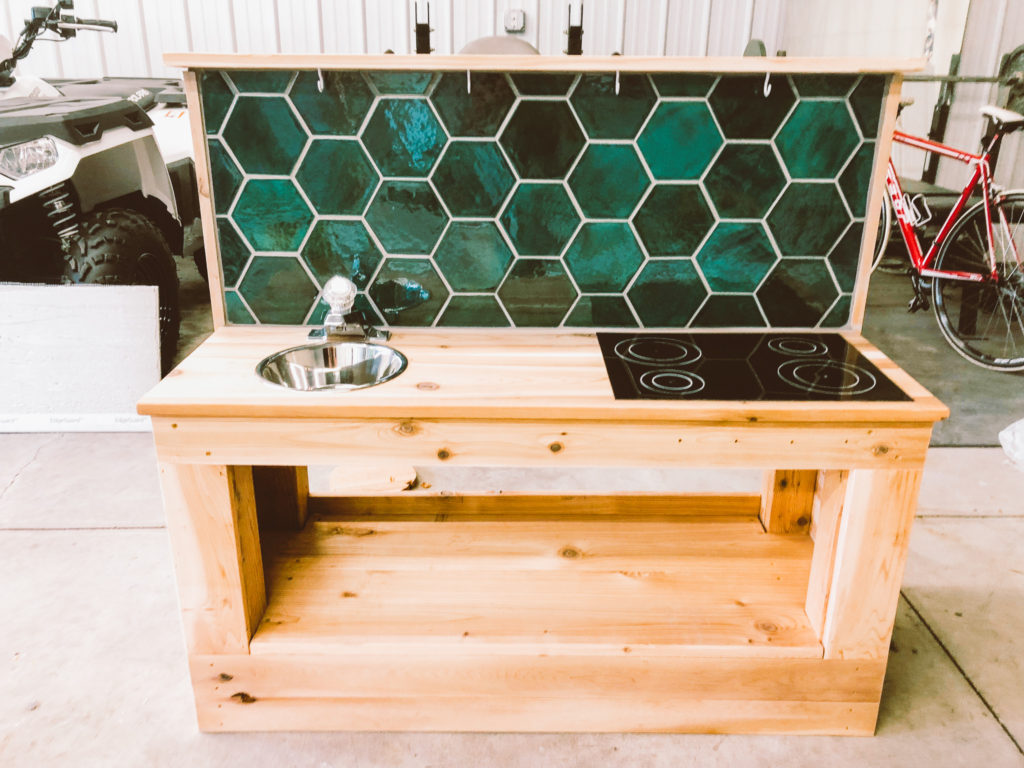
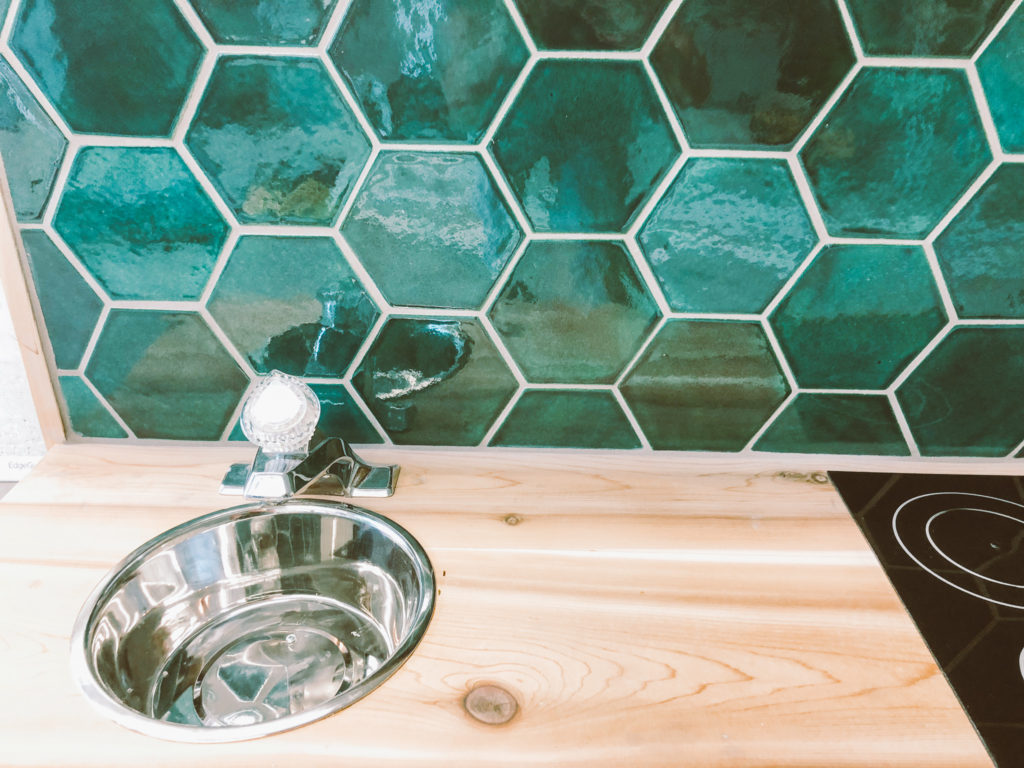
We decided we were going to add in a sink and cooktop into our kitchen. We had a faucet that we demo’d out of our client’s home so thought how much fun to add in a real faucet.
Except for the first thing Greyson said when he went to use it was, “Where is the water?!” Haha! Kids are getting way too spoiled nowadays!
Step Four: Accessorize
No mud kitchen is complete without the accessories: spoons, forks, pots, and pans.
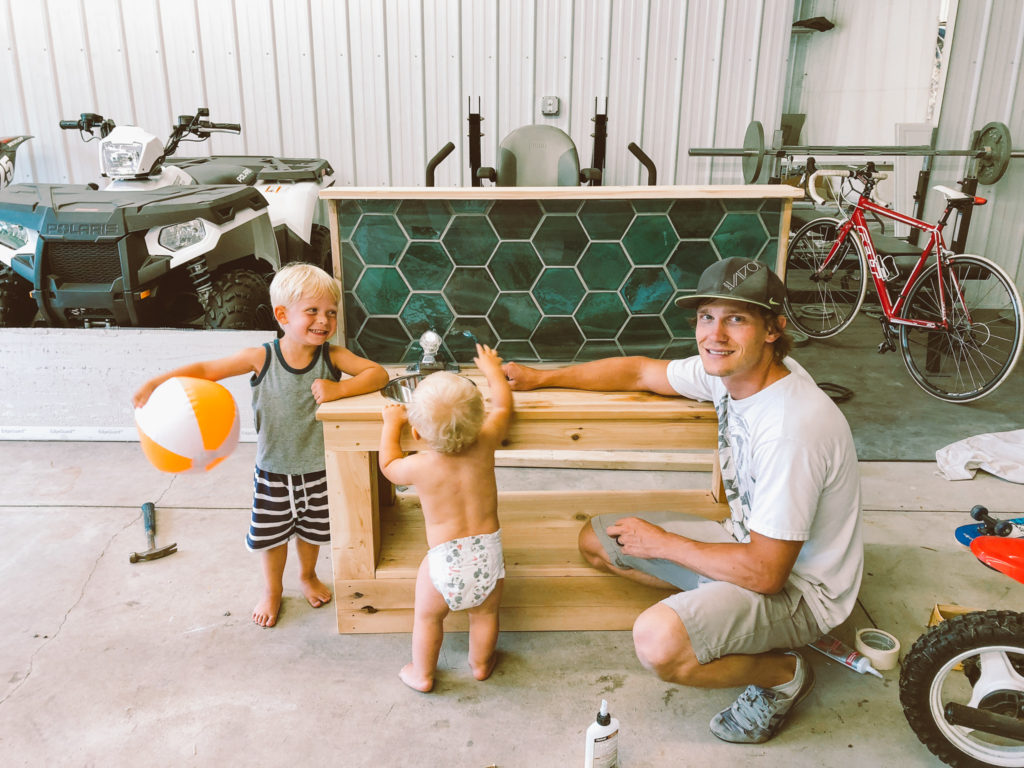
The boys were so proud of the mud kitchen that they helped Daddy build and to show it off to their friends!
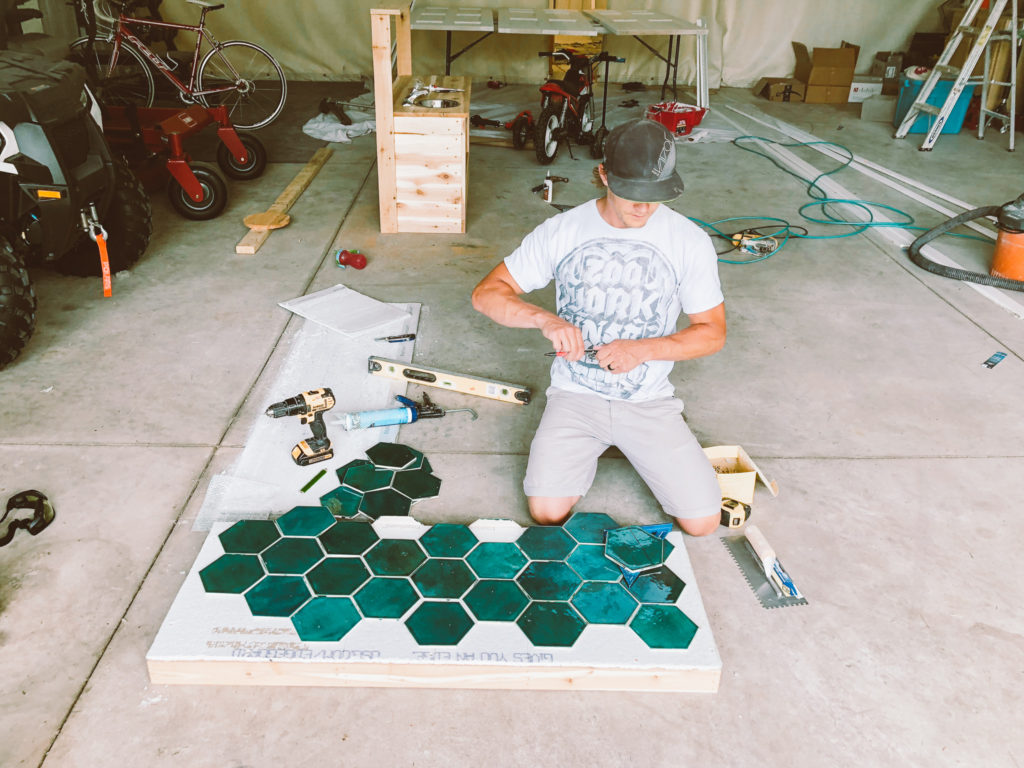

Thank you!! It was a fun project. We screwed it into the sideboards. We had framing behind it to secure it. We need to add that into the post- thank you!
This is brilliant! I love it. Do you mind sharing how you secured the backsplash backing to the main structure? Thank you!