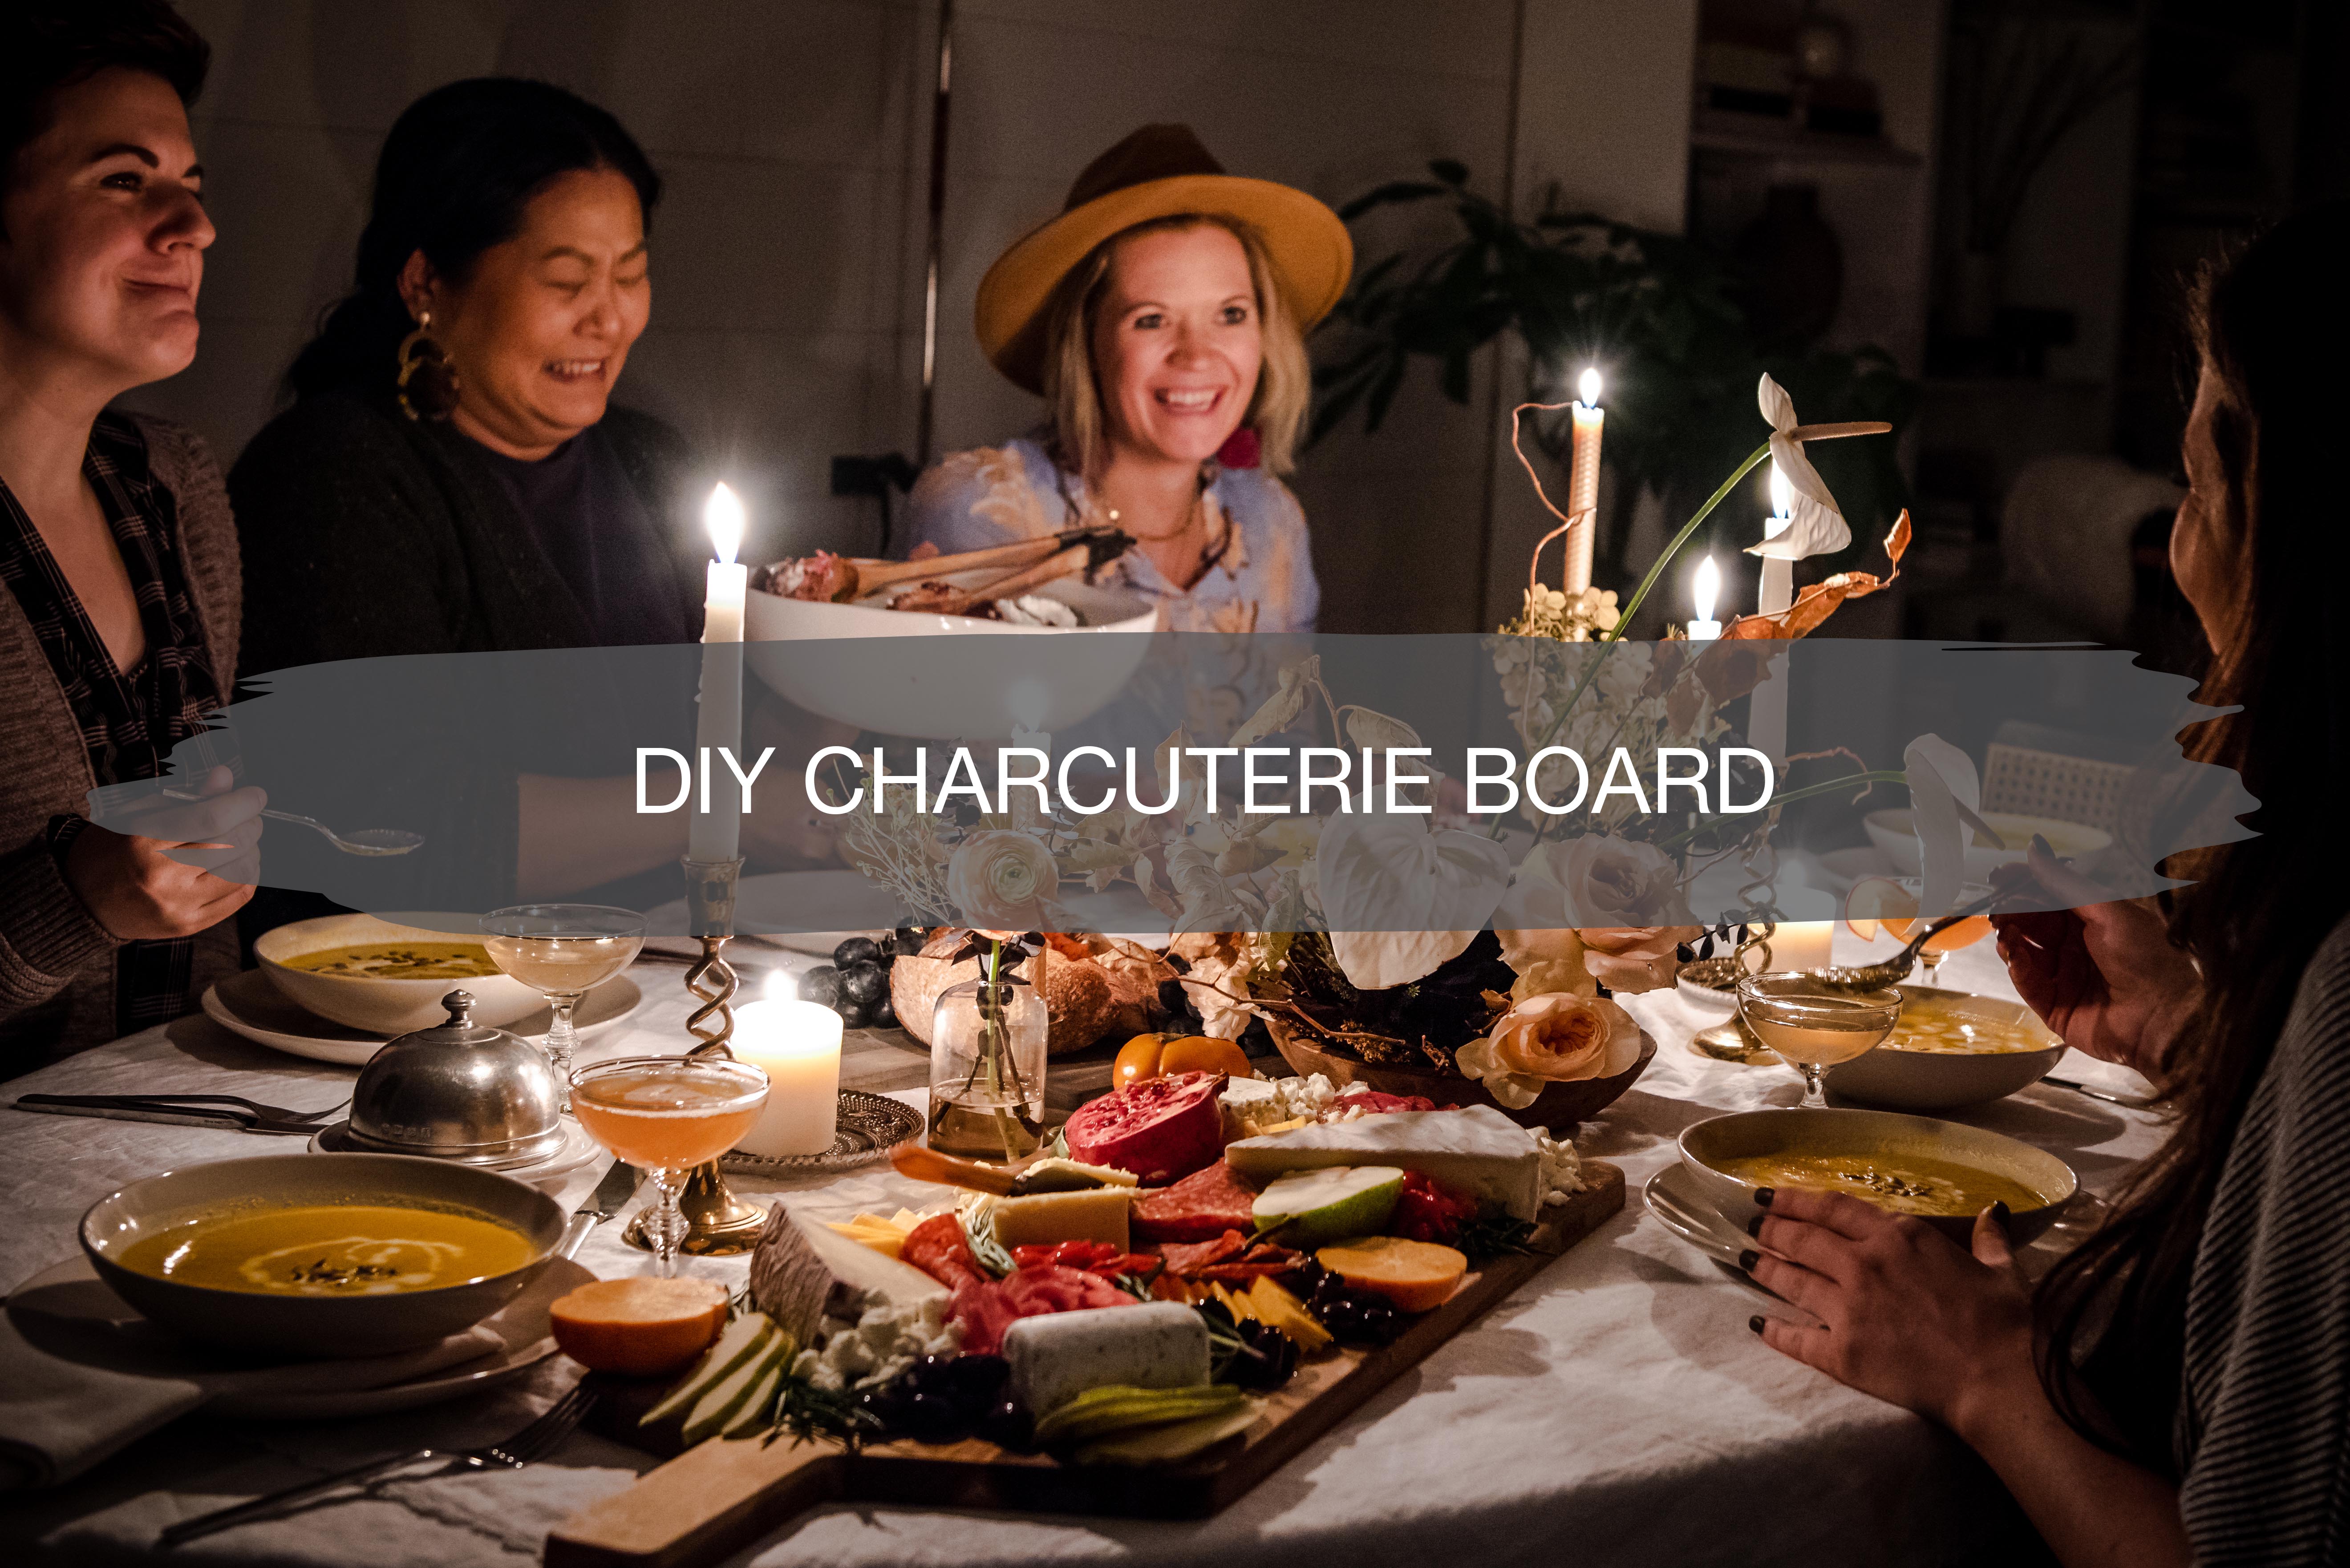
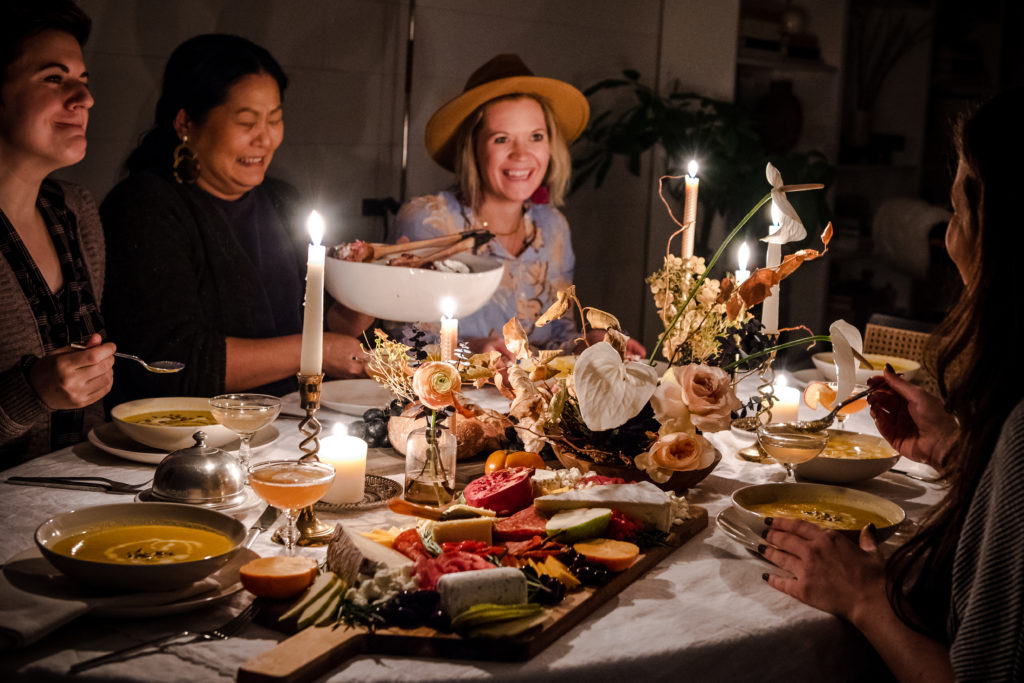
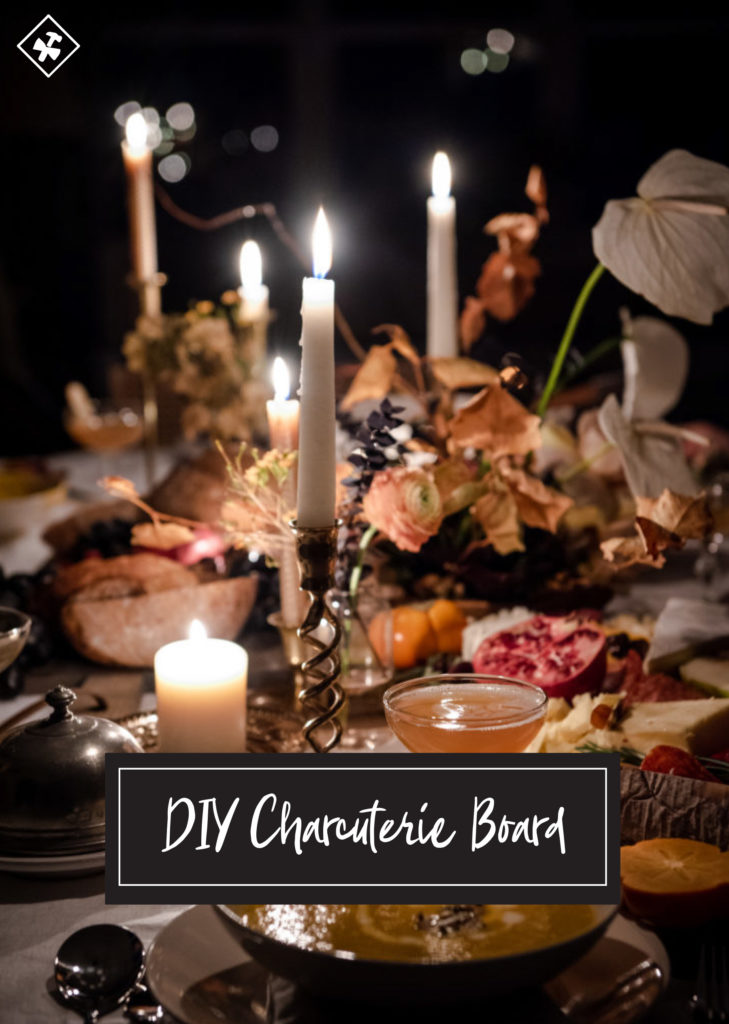
This past week my girlfriend Lea from Creekwood Hill gathered a handful of her friends for an evening of Friendsgiving, and I was in charge of bringing the Charcuterie board. If you’ve never heard of this term or can’t figure out how to say it, it’s basically a fancy meat and cheese tray. These boards have a balance of textures, flavors, and food that contrasts and complements each other.
Presentation is a big part of charcuterie boards! Natural wood cutting boards, a variety of colors, and beautiful looking items make these boards visually appealing and show off food in a beautiful way. Typical foods and key elements that go onto a Charcuterie board are a variety of meats, cheeses, olives, nuts, dried fruit, crackers, jam and honey, and more to make it just as mouth-watering as it is visually appealing.
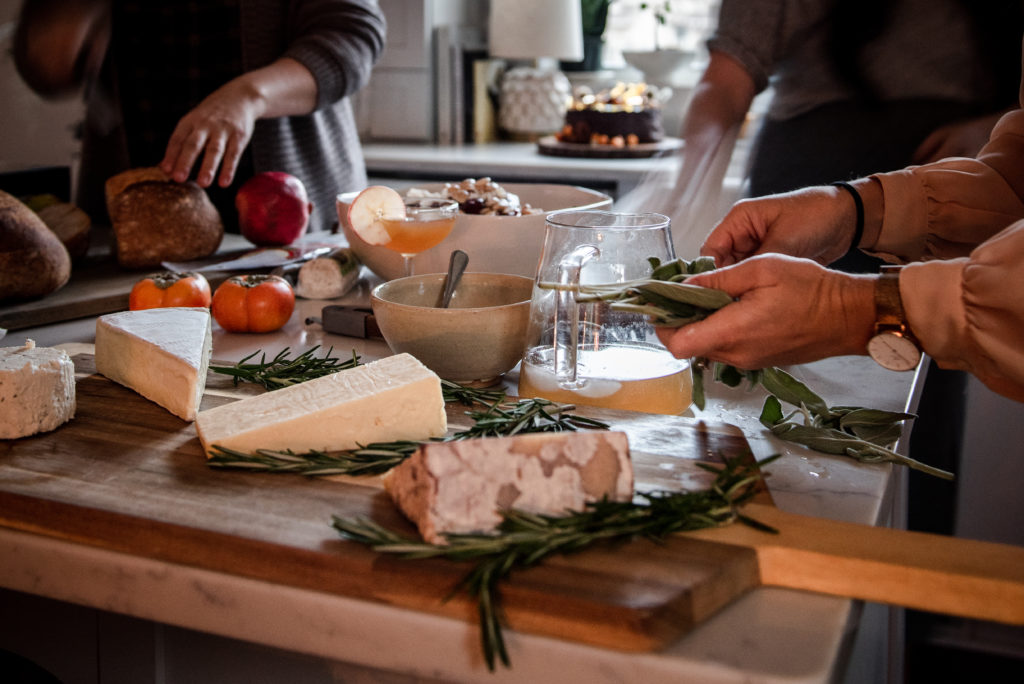
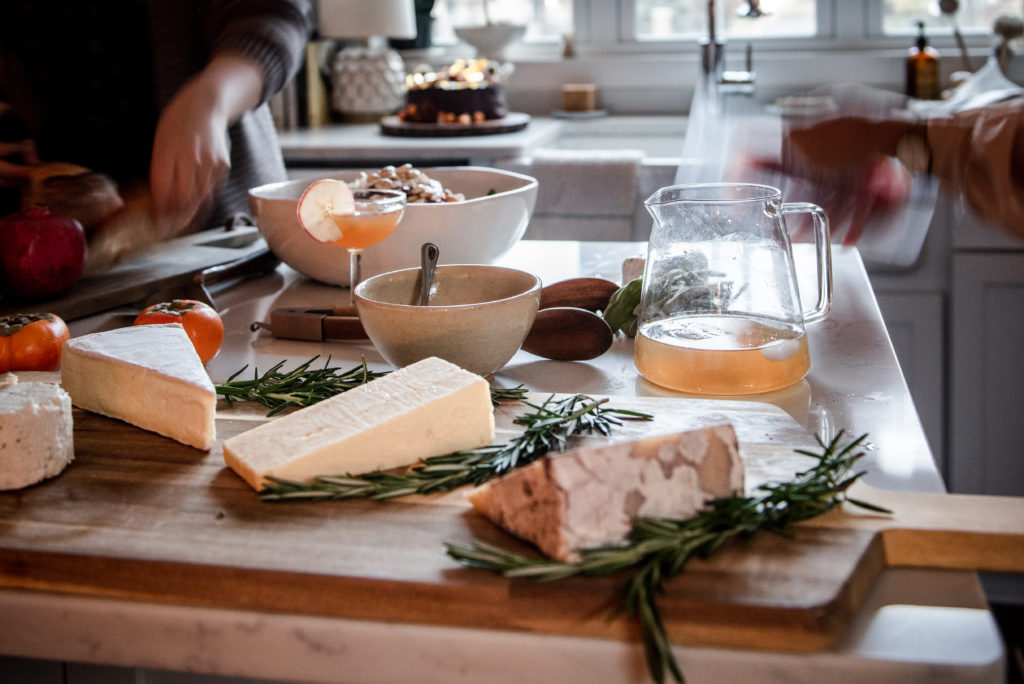
The goodies that I brought together for this specific Charcuterie board included:
- Crumbled Blue Cheese
- Brie
- Cheddar
- Goat Cheese
- Orti D’Italia Bruschetta
- Marinated Olives
- Black Grapes
- Pears
- Persimmons
- Figs
- Pomegranate
- Red Wine Salami
- Crackers (we did Valley Lahvosh 3″ rounds)
- Rosemary
- Basil
- Thyme
Once you’ve gathered all of the essentials, styling is up next and is key to creating a good Charcuterie board.
My biggest tip when it comes to styling is to layer, layer, layer. And make sure not to skimp out on the finishing touches such as herbs as those little touches will make all the difference for a visually appealing board.
Also, make sure to include a variety of colors within the food you choose and then make sure the colors are spread out amongst the board, not all stacked on one another. This will draw your eye from side to side and all over the board. It’s almost like styling your shelves in a way! Then stack your food to create a variety of different heights and and disperse the colors throughout the board and finish off splashes of herbs throughout and you’ll have yourself a well designed Charcuterie board.
Takeaway Tips for Styling your Charcuterie Board
- Use natural wood cutting boards
- Incorporate a variety of colors within the food
- Layer, layer, layer
- Stack some high, some low…keeps the eye flowing around the board
- Use a variety of cheeses, meats, olives, nuts, fruit, crackers, jam, and honey
- Garnish with things like herbs…it makes the presentation
One thought on “DIY Charcuterie Board”
Comments are closed.