About a month ago, Matt and I moved into our first home! We spent a month before moving in scraping the popcorn ceilings, applying knockdown, painting the walls and cabinetry, and updating light fixtures.
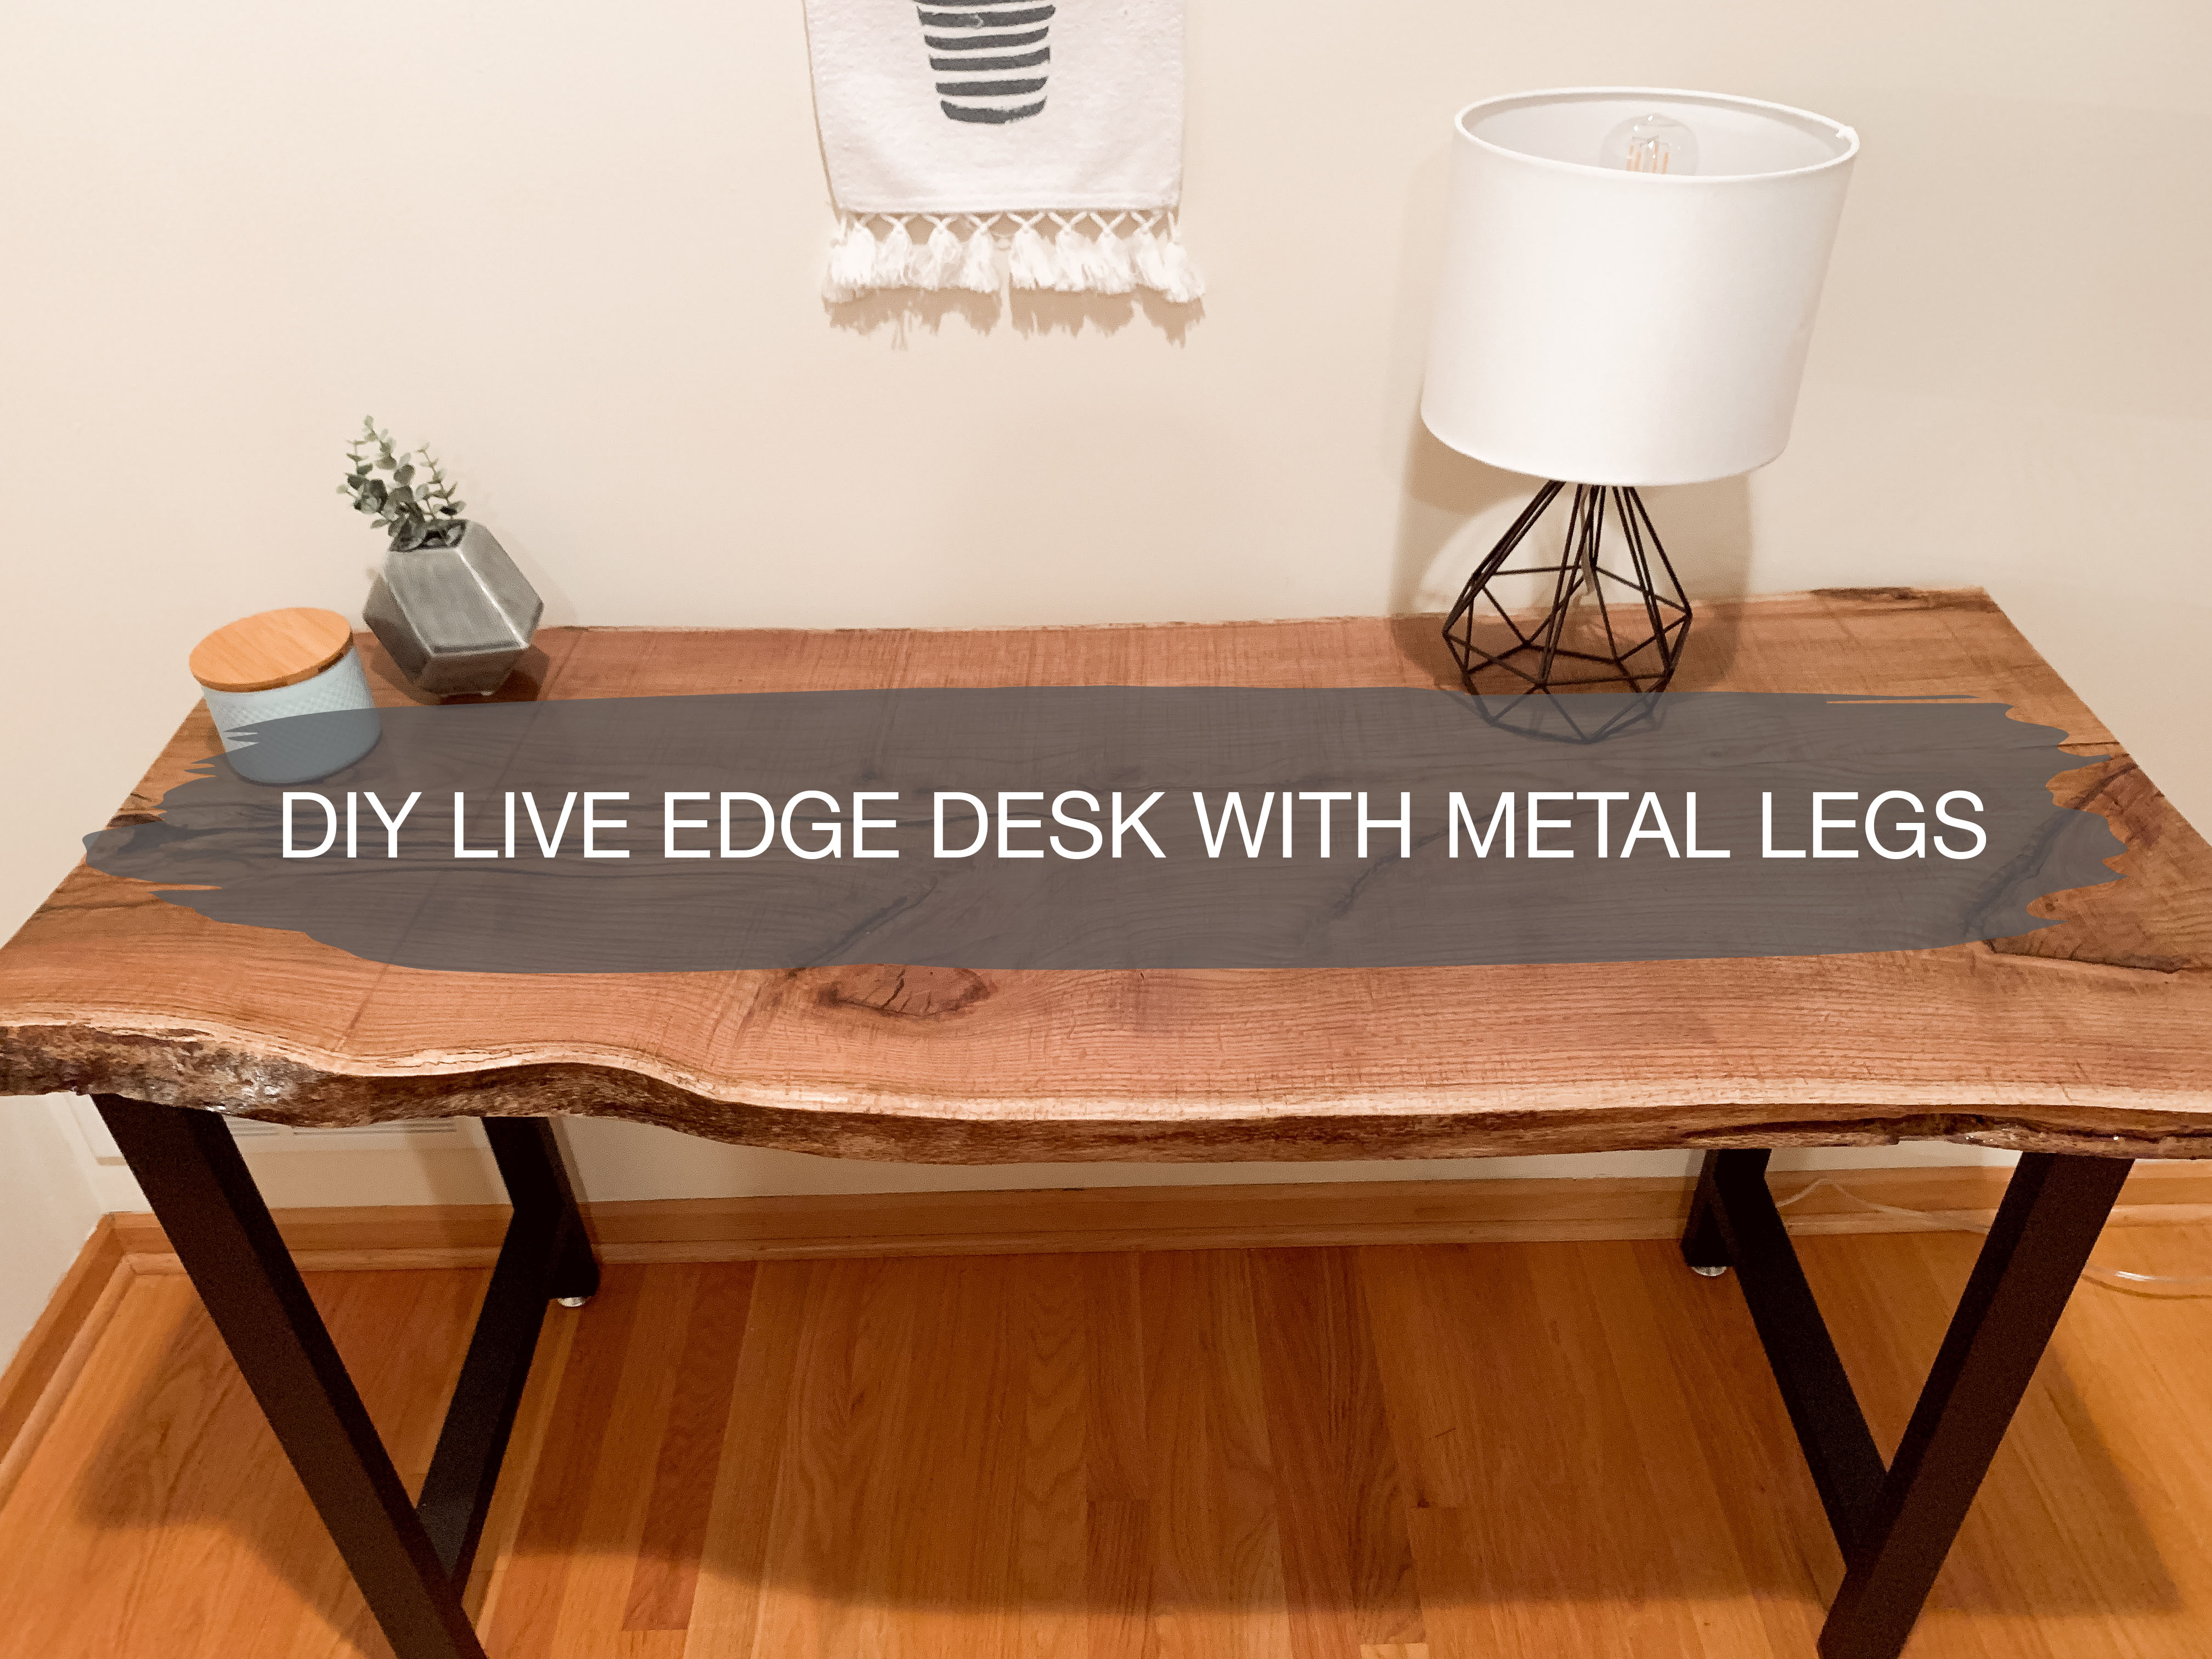
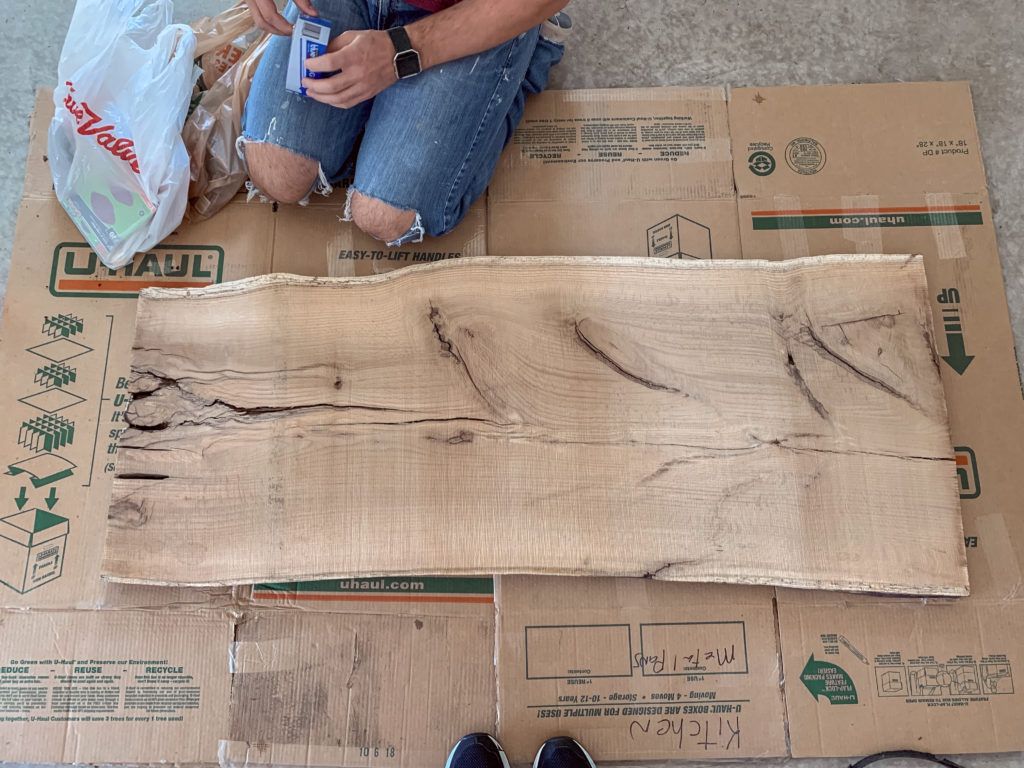
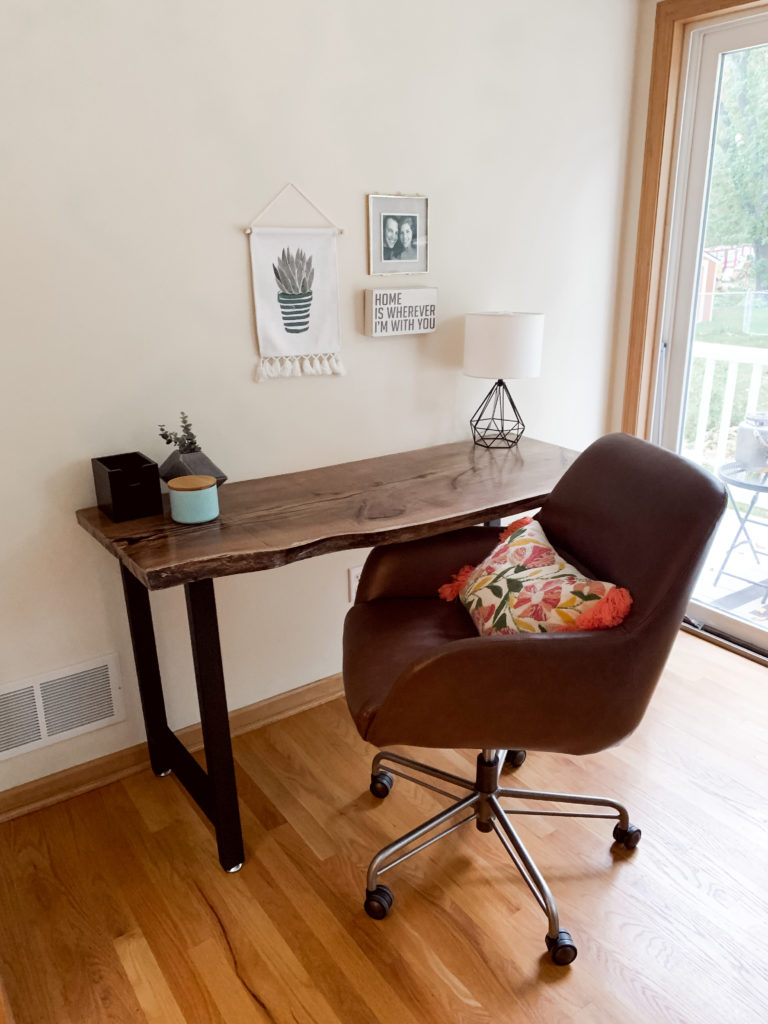
Now that we’ve had a little bit of time to relax and enjoy the space, it was time for another project! We had found this live edge piece of wood on Facebook Marketplace and I knew it would be perfect for my desk.
We found some metal legs and did some research on finishing a live edge piece of wood. Then, we were ready to begin! Now for the step by step tutorial on how we built this DIY live edge desk:
Step One: Gather Materials + Tools
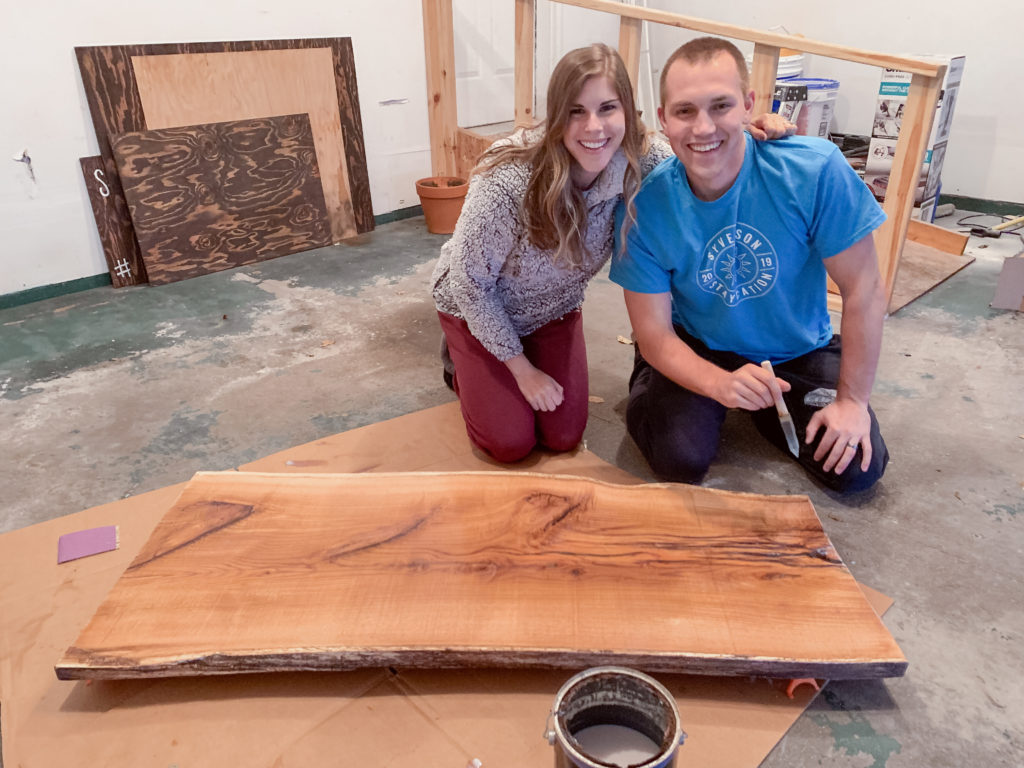
We got the red oak slab from someone selling live edge wood on Facebook Marketplace. He had already kiln dried it, so the wood was treated. Since we were able to pick out the slab we wanted, we went with a slab that was roughly 48″ long x 24″ wide for a desk. There are a variety of metal legs, including hairpin legs, on Amazon. We chose these because of the height and sturdiness.
- Live Edge Slab
- Metal Legs
- 80 Grit sandpaper
- 220 Grit Sandpaper
- Disposable Gloves
- Metal Legs
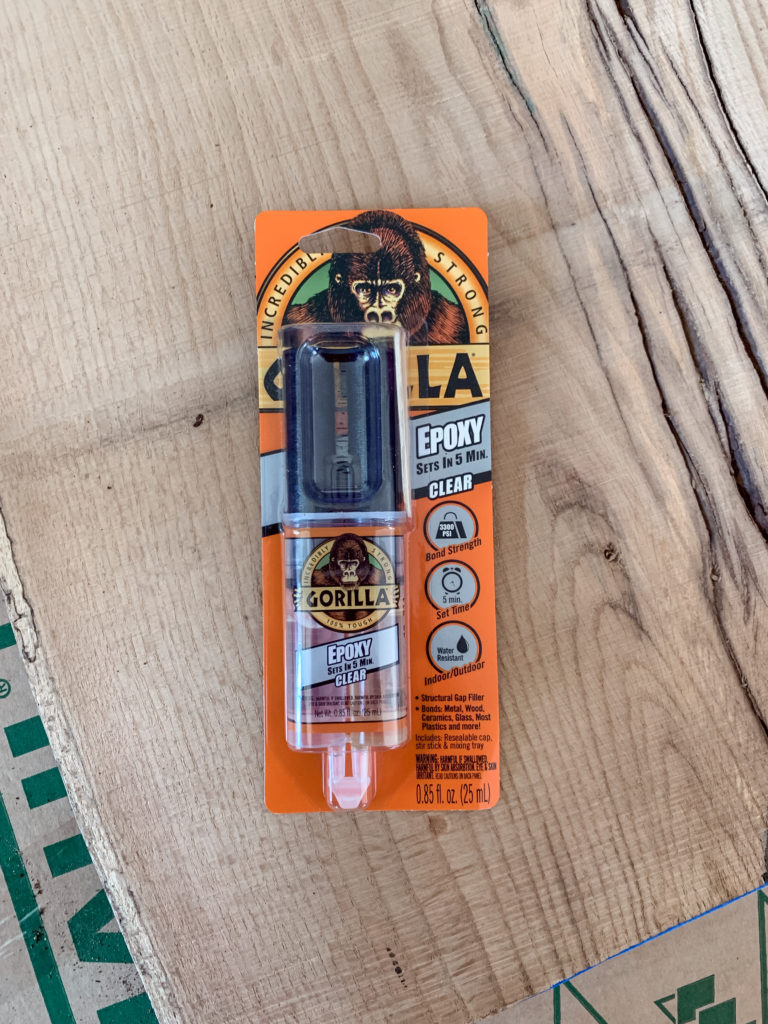
- Epoxy
- Orbital Sander
Step Two: Clean Wood
After we gathered all our materials, we cleaned out the wood with an air compressor. This allowed any broken pieces in the holes or dust that had gathered to be removed. If you don’t have an air compressor, you can clean it with a rag and blow in the holes.
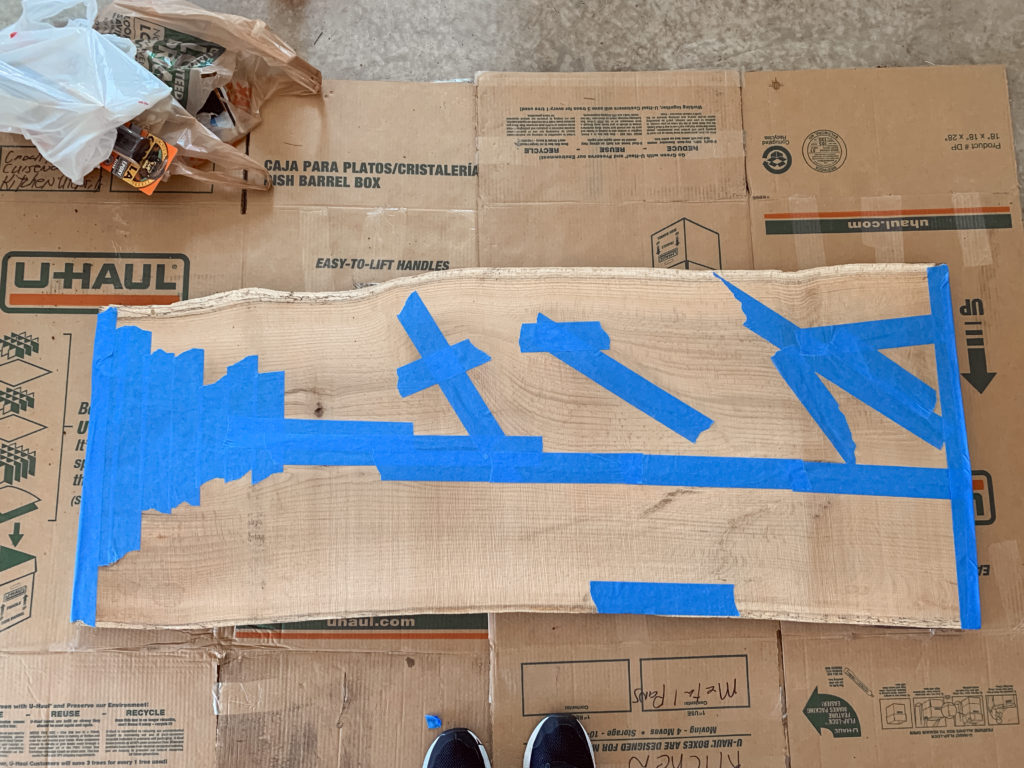
Step Three: Tape Bottom Side
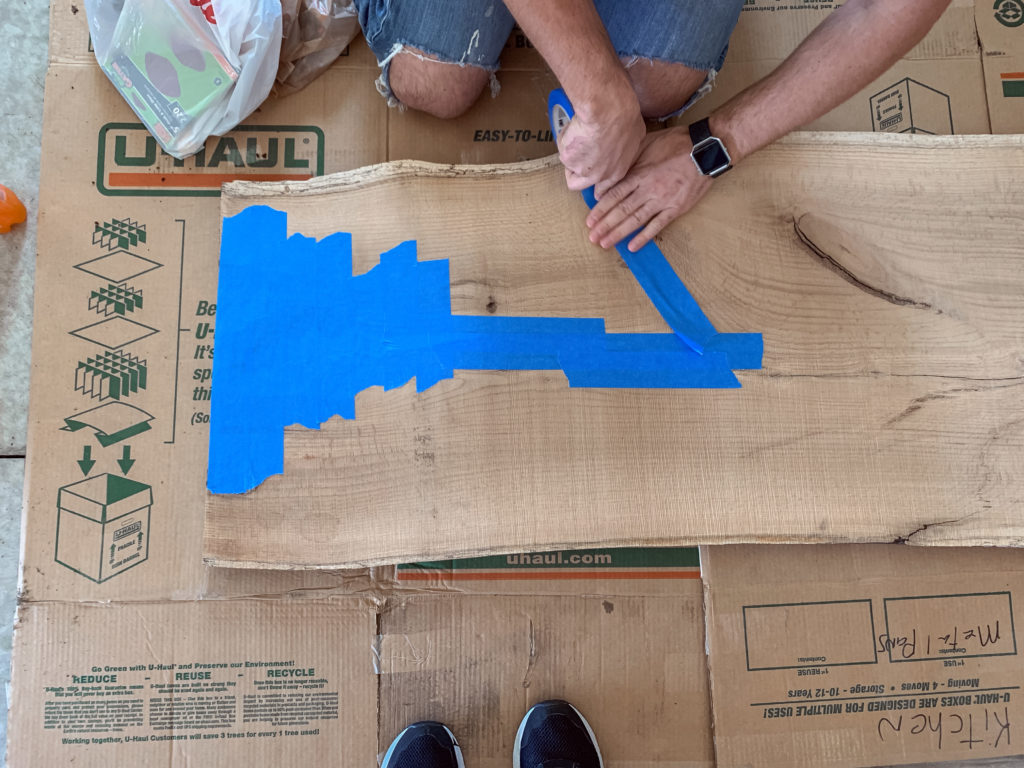
Next, we taped the bottom side so that the epoxy would not seep through the bottom. This allowed it to settle and set in the wood, rather than going everywhere.
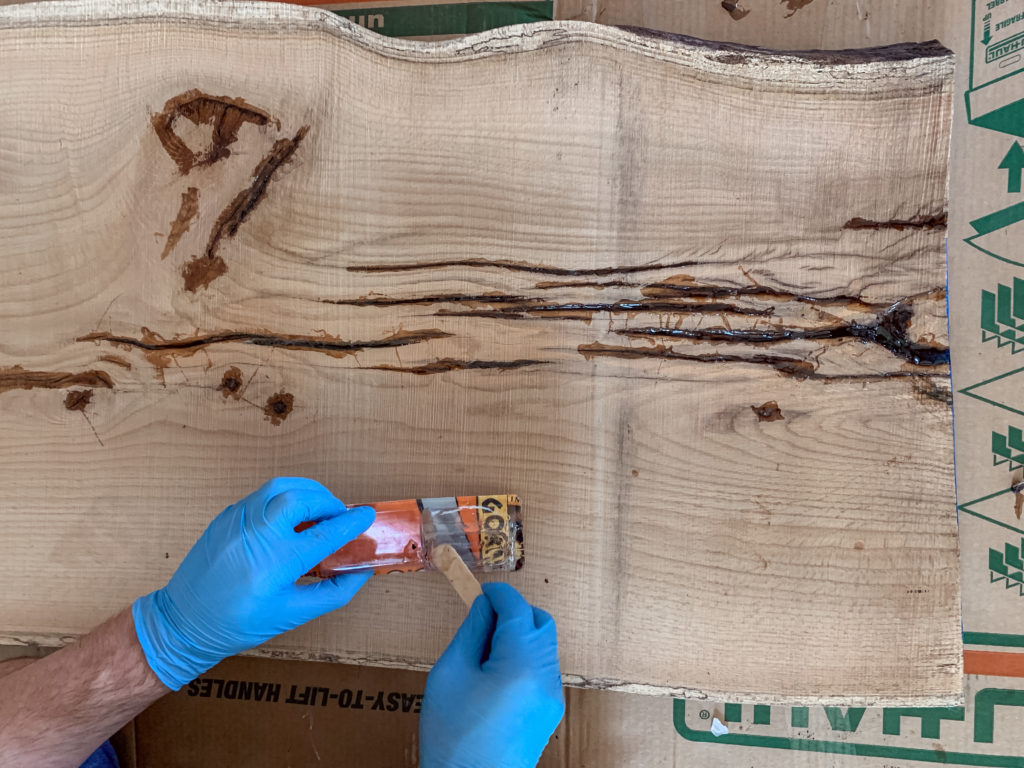
Step Four: Fill Holes with Epoxy
Then we turned the slab over and filled the top holes with epoxy. Since we weren’t as concerned about the bottom, we didn’t fill the bottom holes, but you definitely could. It took three of the small epoxy packages to fill in all of the holes, since some of them were pretty deep. We wore gloves since it got pretty sticky and used the stick that was provided in the package.
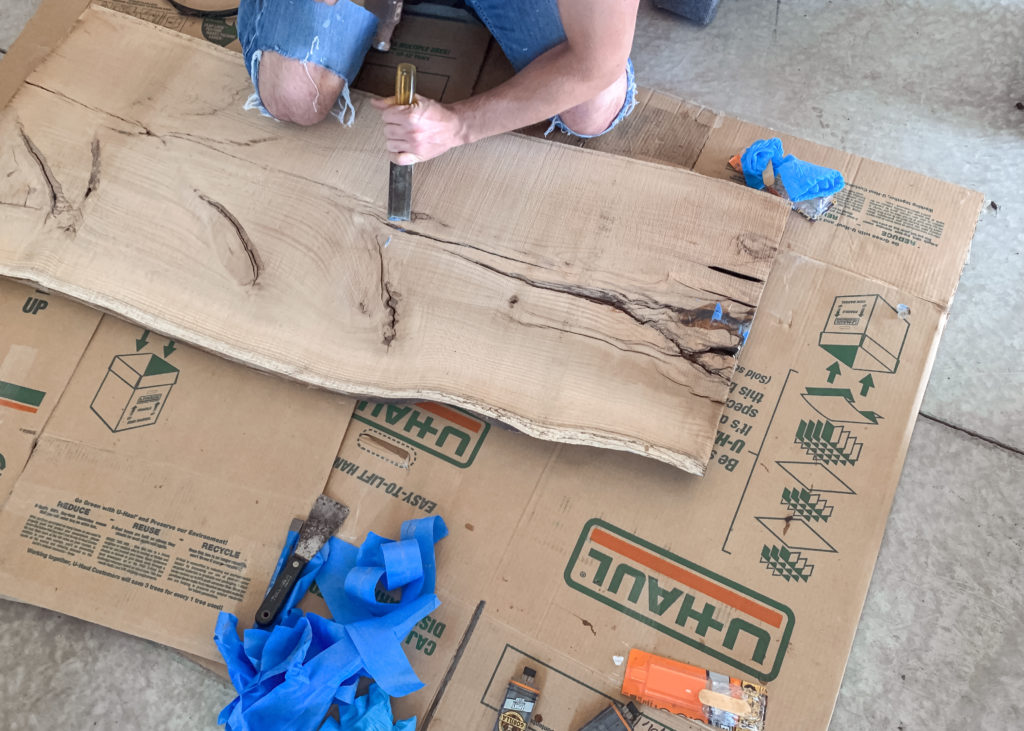
Step Five: Chisel Off Extra Epoxy
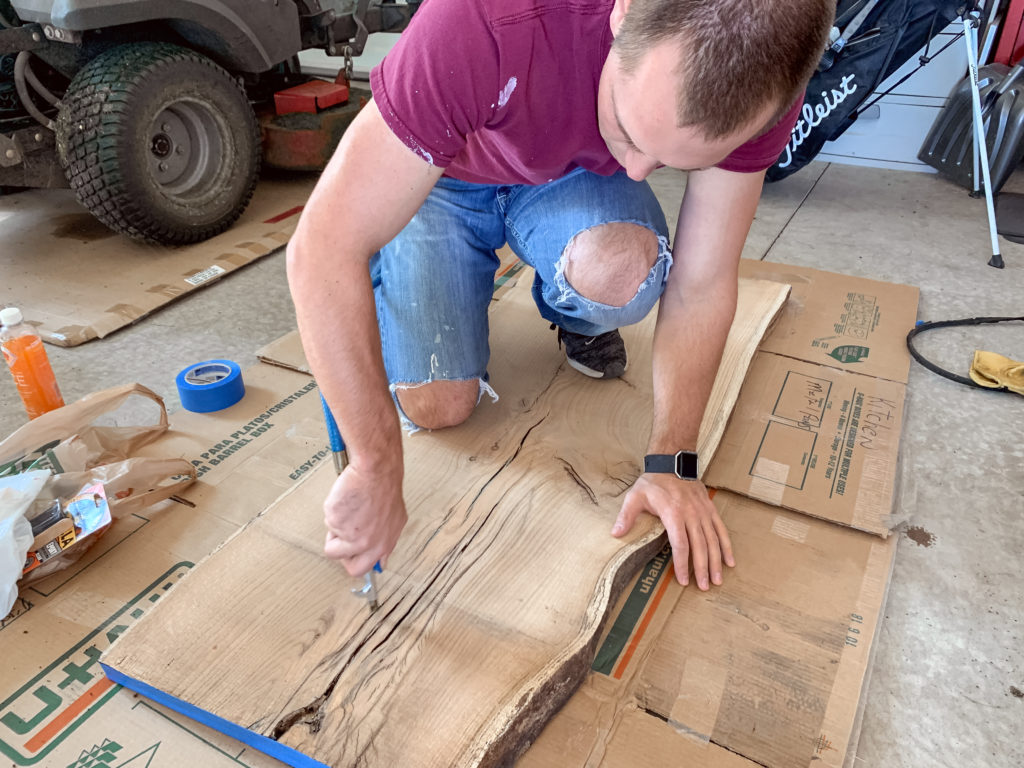
Once the epoxy had set and dried (it said 30 minutes, but we gave it almost 2 hours to cure), we chisel off any thick spots to save on sanding.
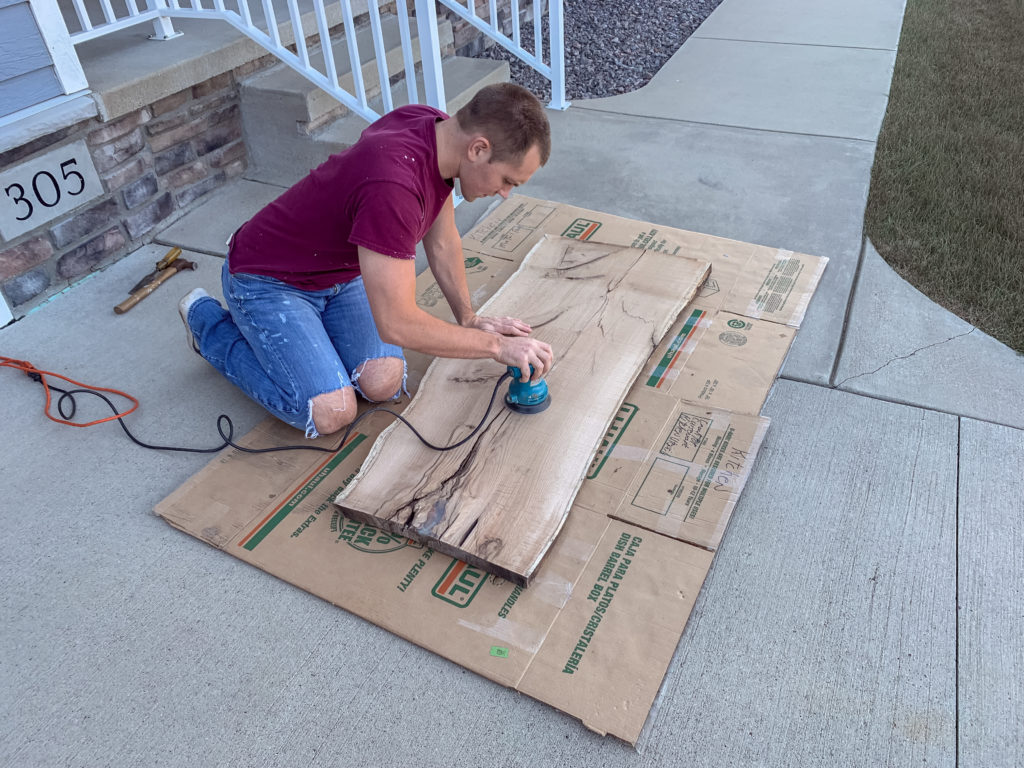
Step Six: Sand, Sand, Sand
And then it was time to sand, sand, sand. We used circular 80 grit sandpaper on an orbital sander to get off extra epoxy and make the slab even. With the epoxy, we had to sand multiple times and keep going over some spots to ensure a smooth finish.
Step Seven: Brush on Poly
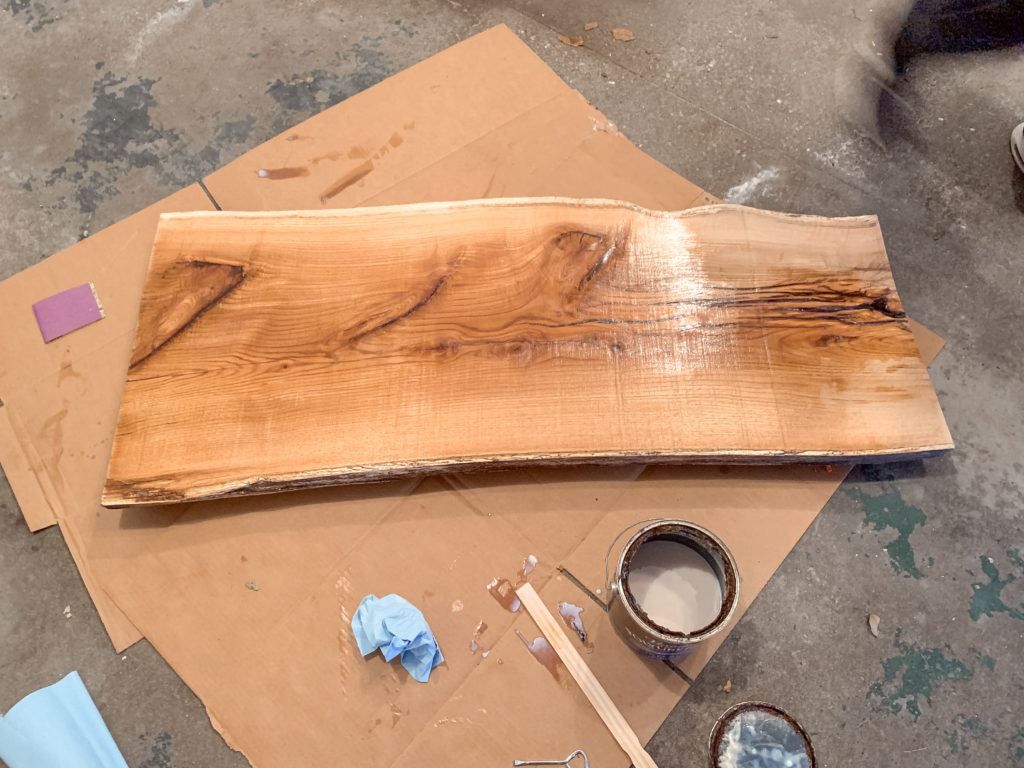
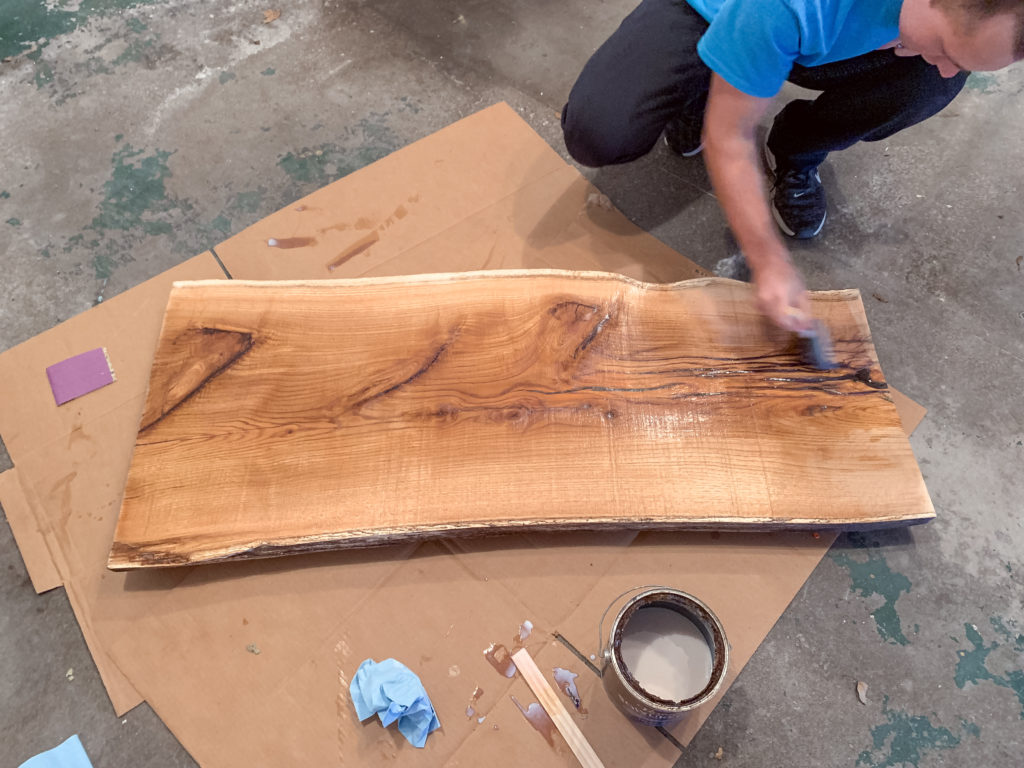
After sanding the wood down, we applied the polyurethane with a foam brush. On the bottom, we applied 3 coats and waited 2 hours between them. Then, we flipped it over to the front and applied 4 coats, again waiting 2 hours between.
Step Eight: Lightly Sand Between Coats
In between the coats, we lightly sanded as well to make sure the wood was smooth and clean.
Step Nine: Attach Legs
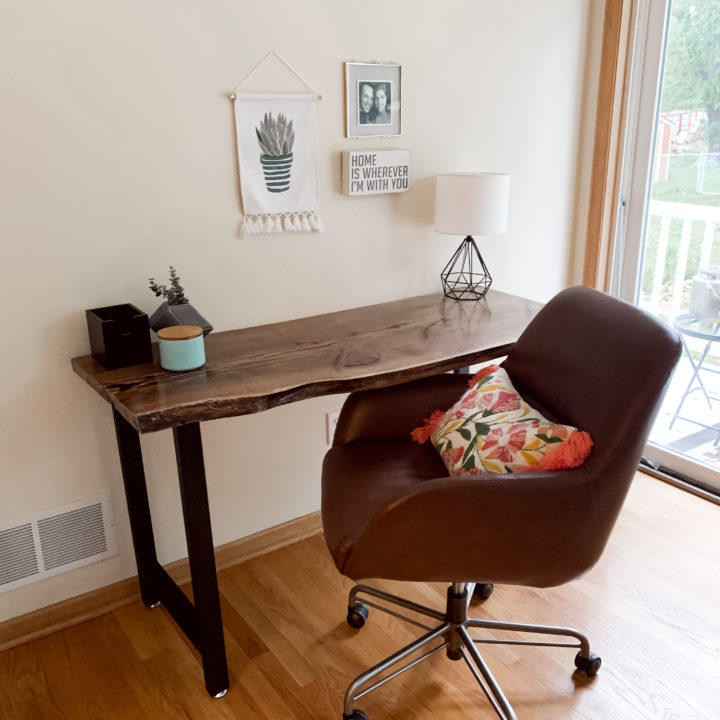
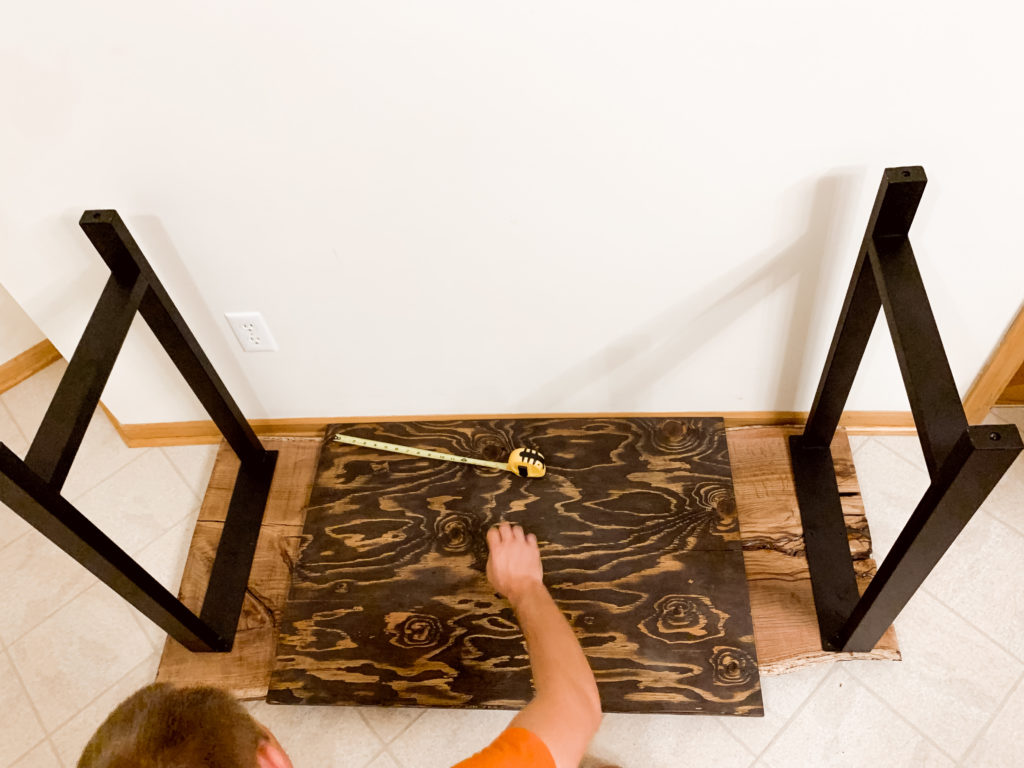
Finally, it was time for the legs! We used another piece of wood to square off the live edge, since it was not square. From there, we used a tape measure to mark where we wanted the legs to go. Then, we used a drill and the screws that came with the legs to attach them.
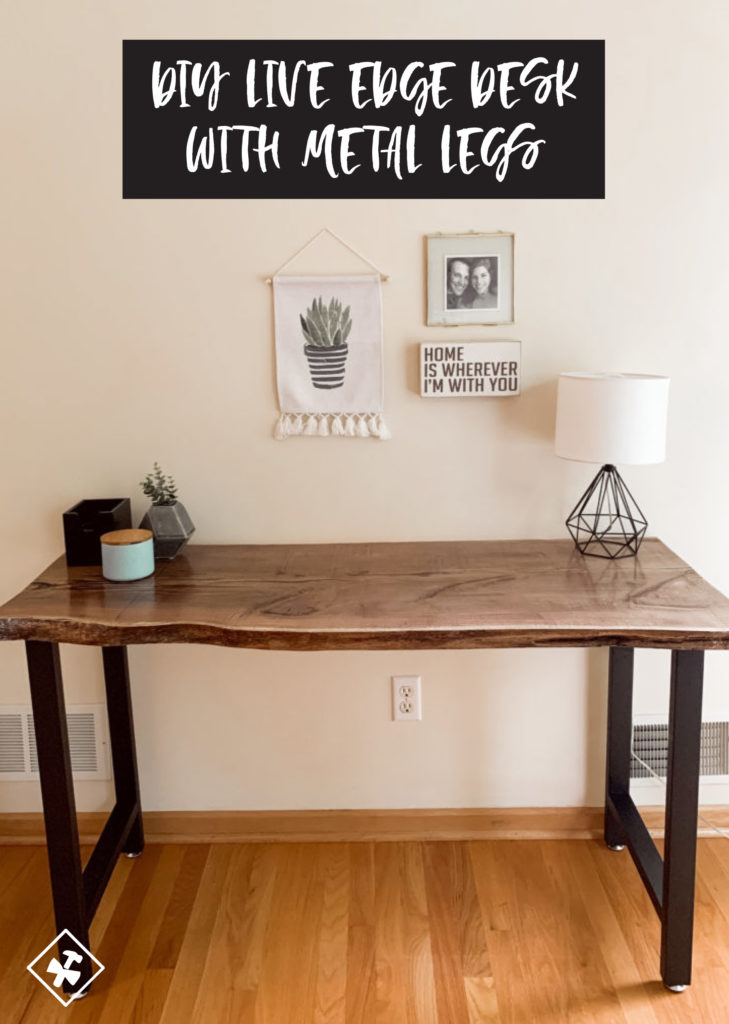
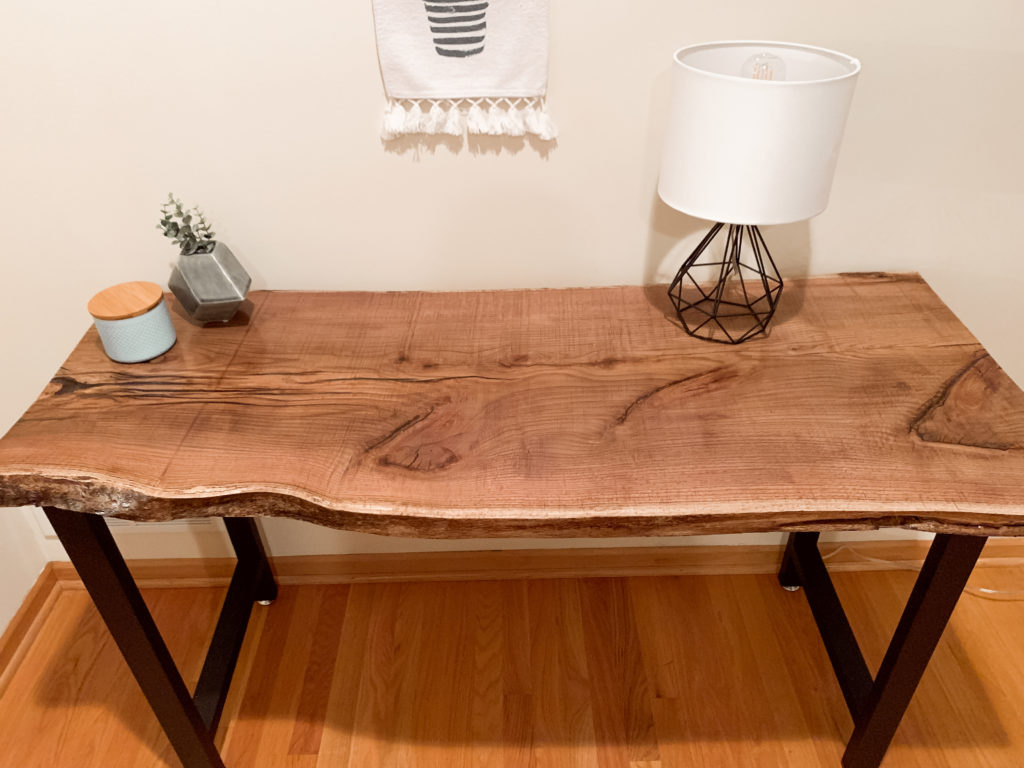
Ahhh!! It turned out so well. We love this desk and I’m so excited to use it.
DIY Live Edge Desk with Metal Legs
Materials
- Live Edge Slab – roughly 48″ long x 24″ wide
- Metal Legs
- 80 Grit sandpaper
- 220 Grit Sandpaper
- Disposable Gloves
- Metal Legs
- Epoxy
Tools
- Orbital Sander
- Drill
Instructions
- Gather Materials + Tools
- Clean Wood
- Tape Bottom Side
- Fill Holes with Epoxy
- Chisel off Extra Epoxy
- Sand, Sand, Sand
- Brush on Poly
- Lightly Sand Between Coats
- Attach Legs
Notes
Depending on the type of wood, you may want to stain it prior to the polyurethane. Since this was red oak, the clear coat brought out the color and graining.



One thought on “DIY Live Edge Desk with Metal Legs”
Comments are closed.