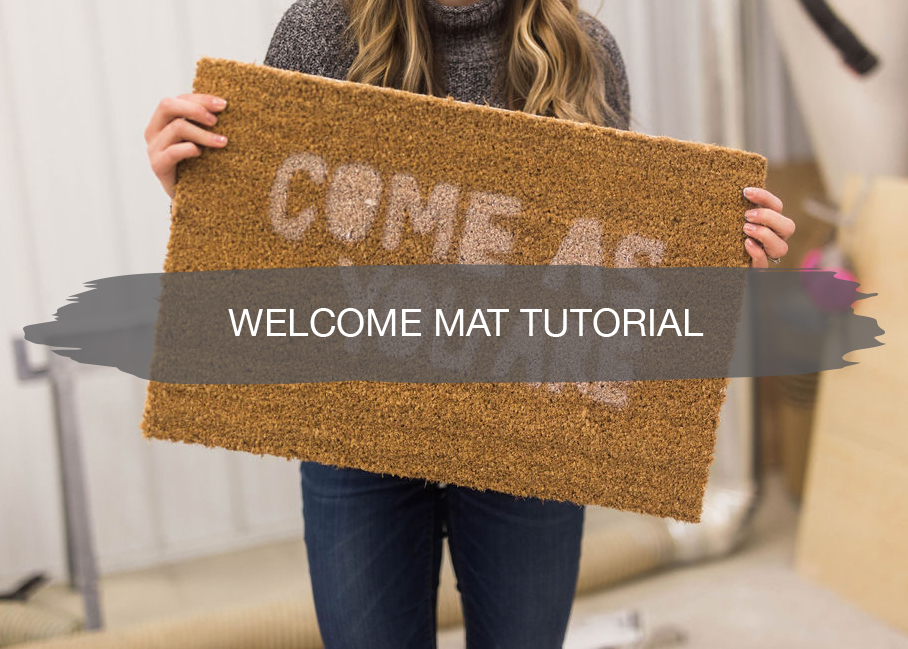
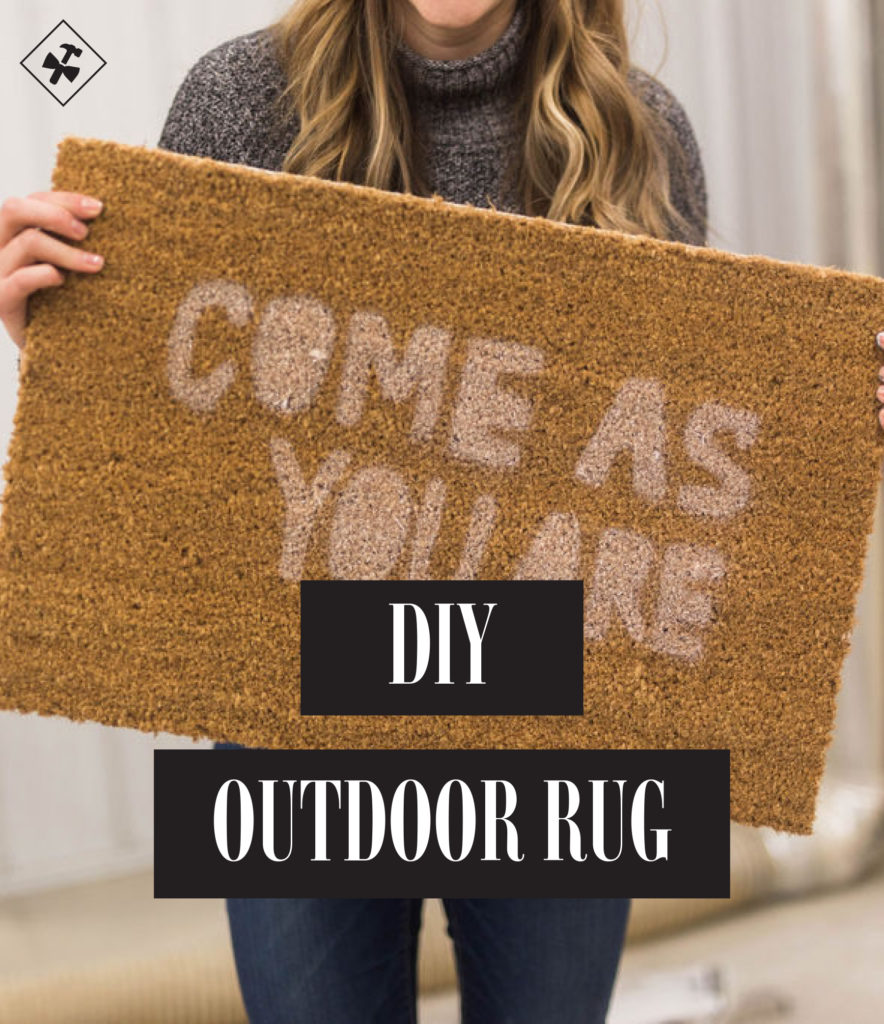
Hey friends! Today, we are sharing a tutorial on how to make a DIY outdoor rug with the saying of your choice on it.
It’s always refreshing to switch up the decor in your home with the changing of the seasons and after the holidays and an outdoor rug is a perfect way to switch up your porch. Plus it helps keep the mud and dirt outside of your house!
When welcoming guests into your home, it’s fun to have a quirky saying on your outdoor rug to show your personality and brighten someone’s day. There are so many fun ideas you can do!
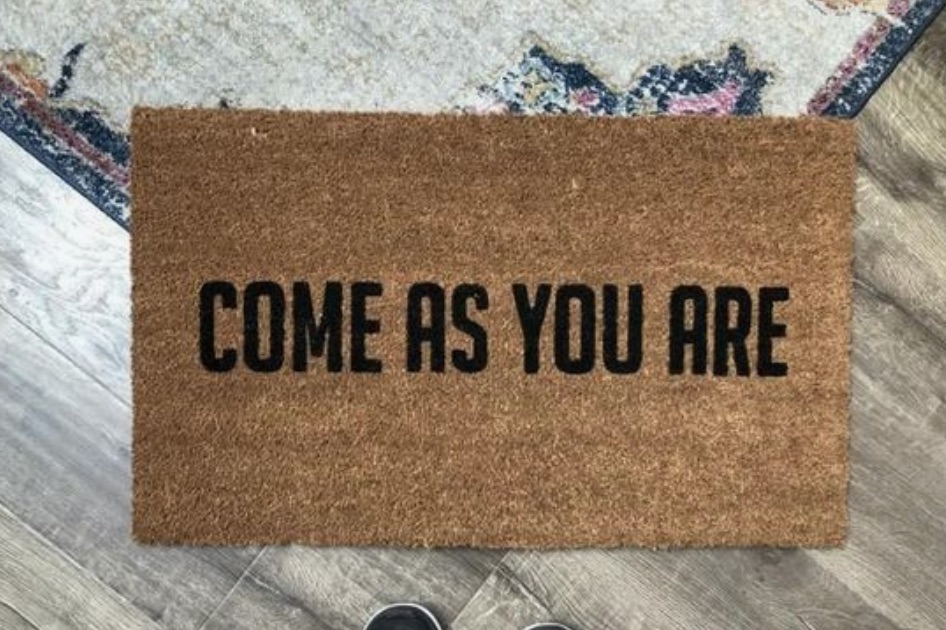
Here was our inspiration:
For our outdoor rug, we chose the saying “Come As You Are,” because we want guests to feel welcome and that they can be authentically themselves in our home.
Now, let’s get to the quick and easy steps for how you can make your own outdoor rug!
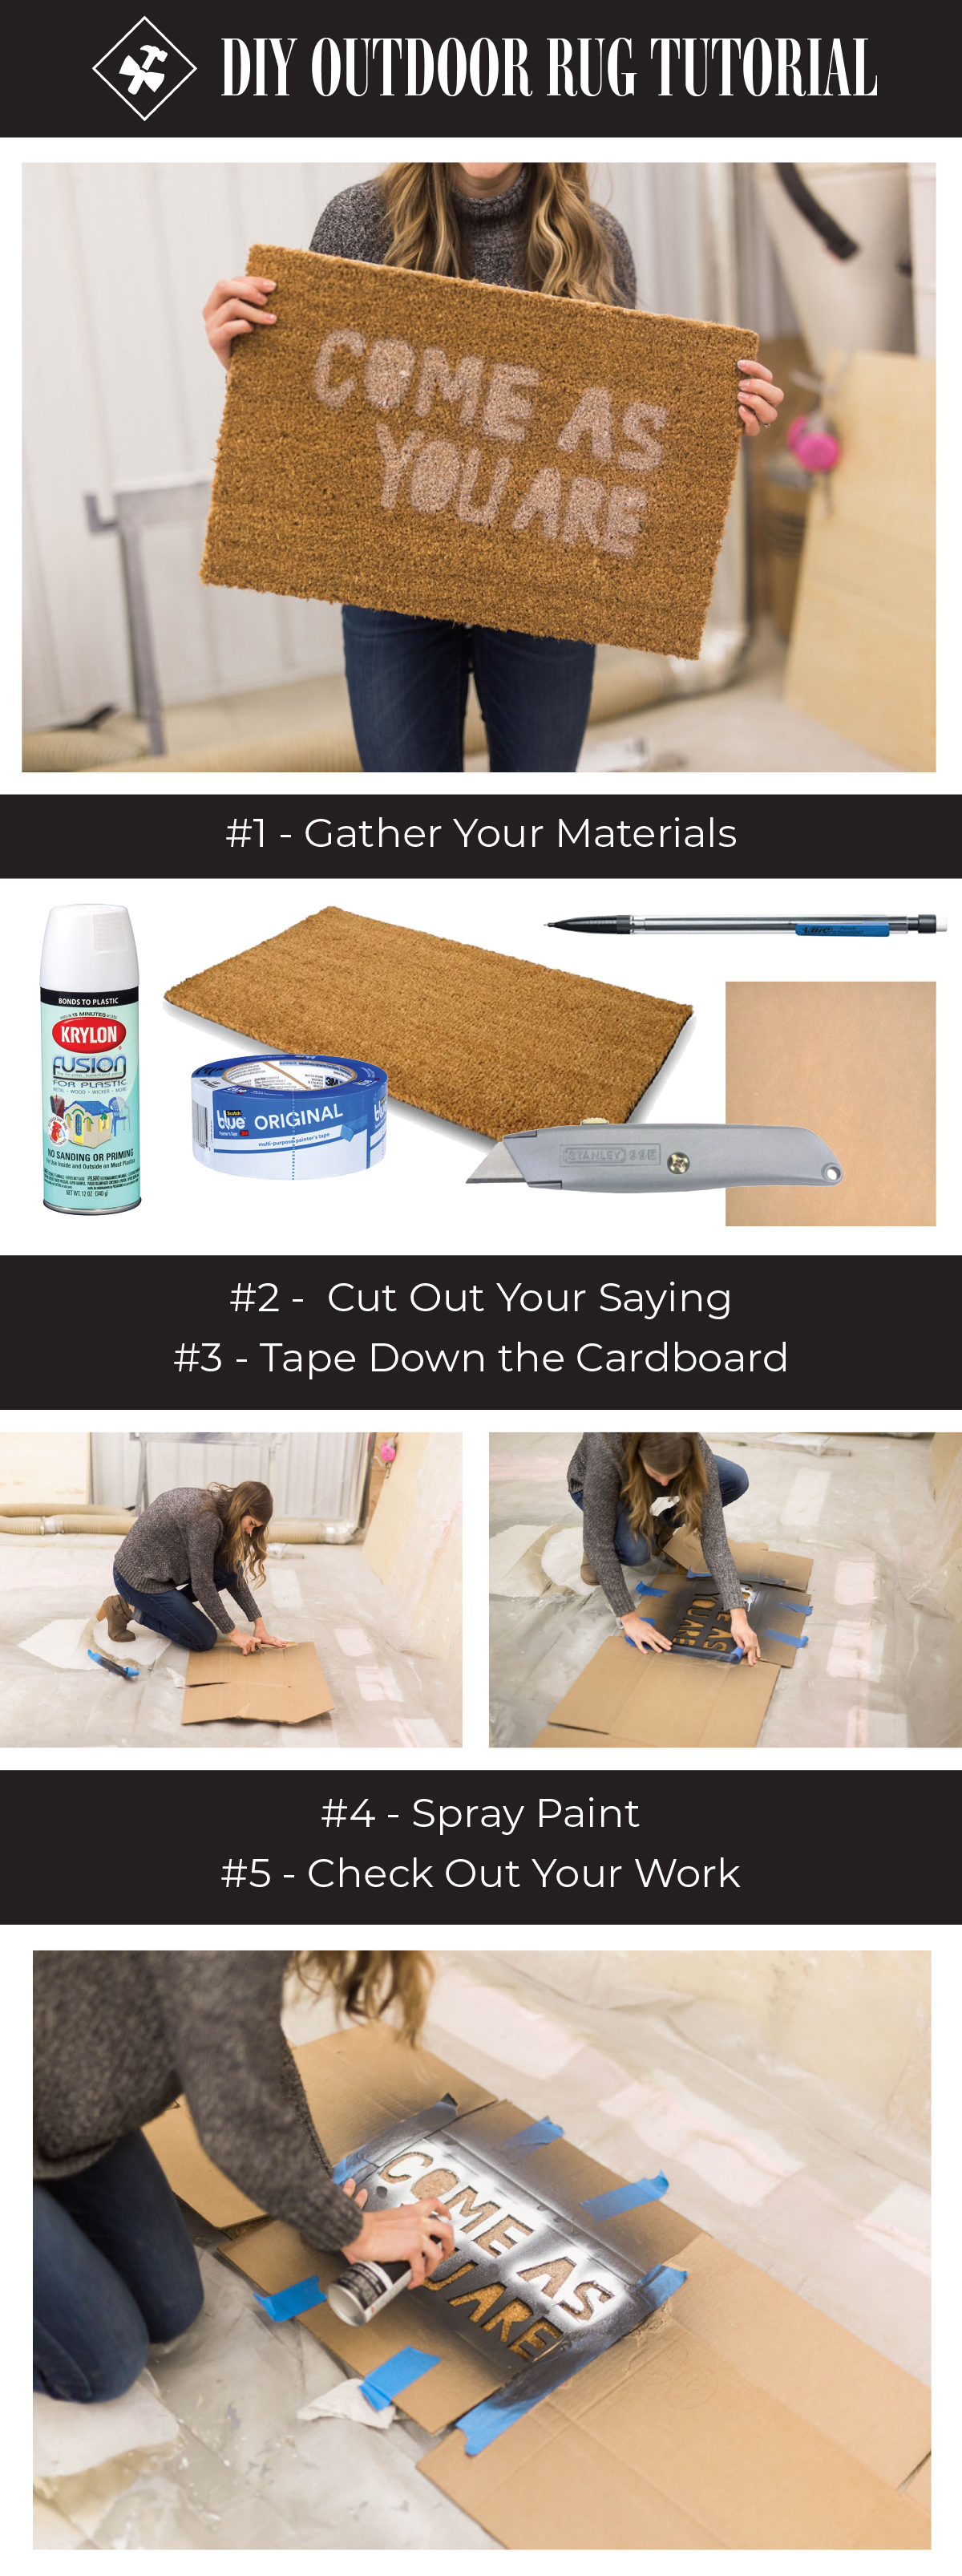
Step 1: Gather Your Materials
One of the reasons we love this DIY outdoor rug is that it was so simple and low-cost to make! Plus it’s always fun to create something completely unique to your home!
The materials are inexpensive and most of them you may already have in your garage or around your house. Here’s what you need to make the outdoor rug and if you need any of the materials, we’ve linked them so you can find them easily!
Step 2: Cut Out Your Saying
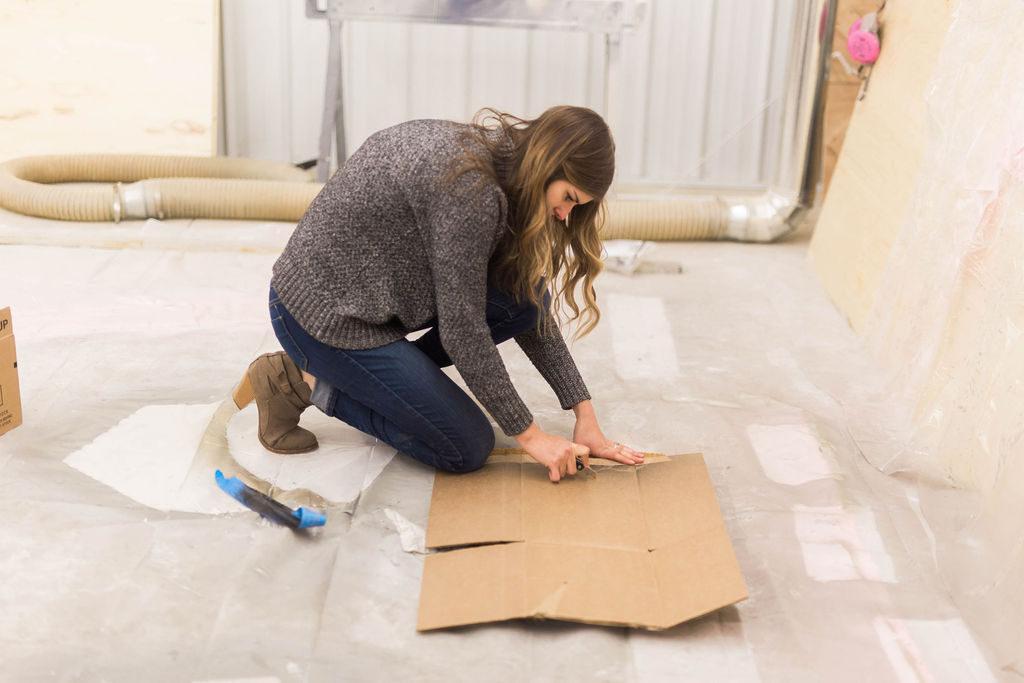
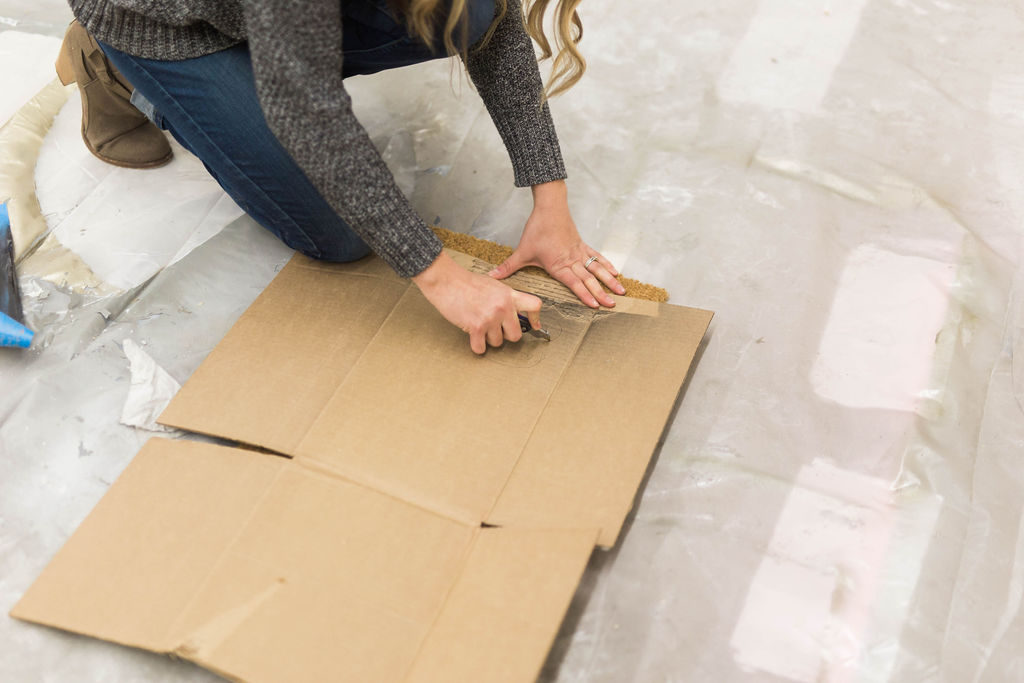
For this step, we used a piece of cardboard that was laying around in the shop and a utility knife. To make sure extra spray paint won’t get on the mat beyond the saying, make sure the piece of cardboard is big enough to cover the mat fully.
First, we wrote the saying in block letters on a sheet of cardboard. Then, we used the utility knife to cut through the cardboard and punch the letters out, leaving us with open block letters that form the saying.
Step 3: Tape Down the Cardboard
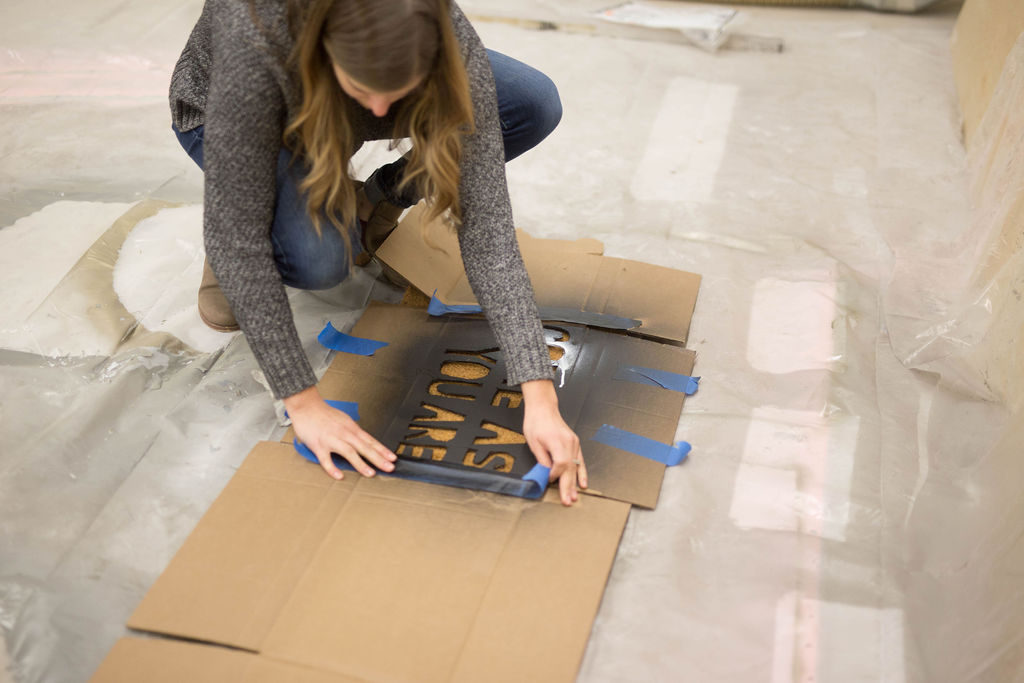
Center the saying over the rug to ensure that the placement is where you want it. Then use painter’s tape to secure the cardboard in place over the mat.
Step 4: Spray Paint
Now, it’s time for the fun part!
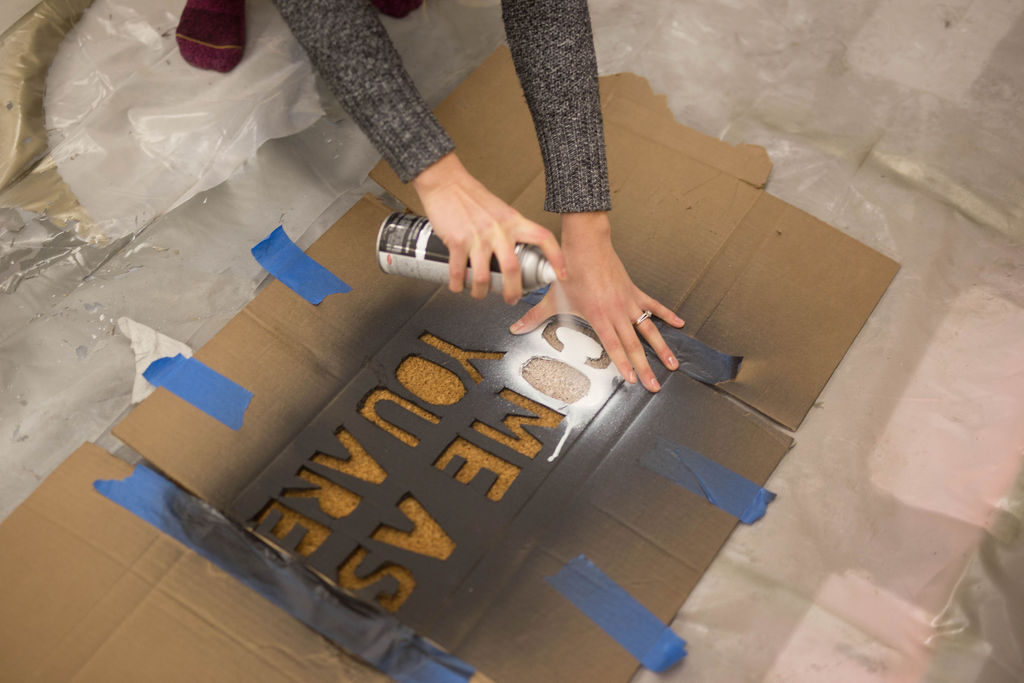
Get out your spray paint and hold the cardboard down with one hand as you spray in the other. At first, we tried black spray paint without holding the cardboard down, and the paint bled more than we wanted.
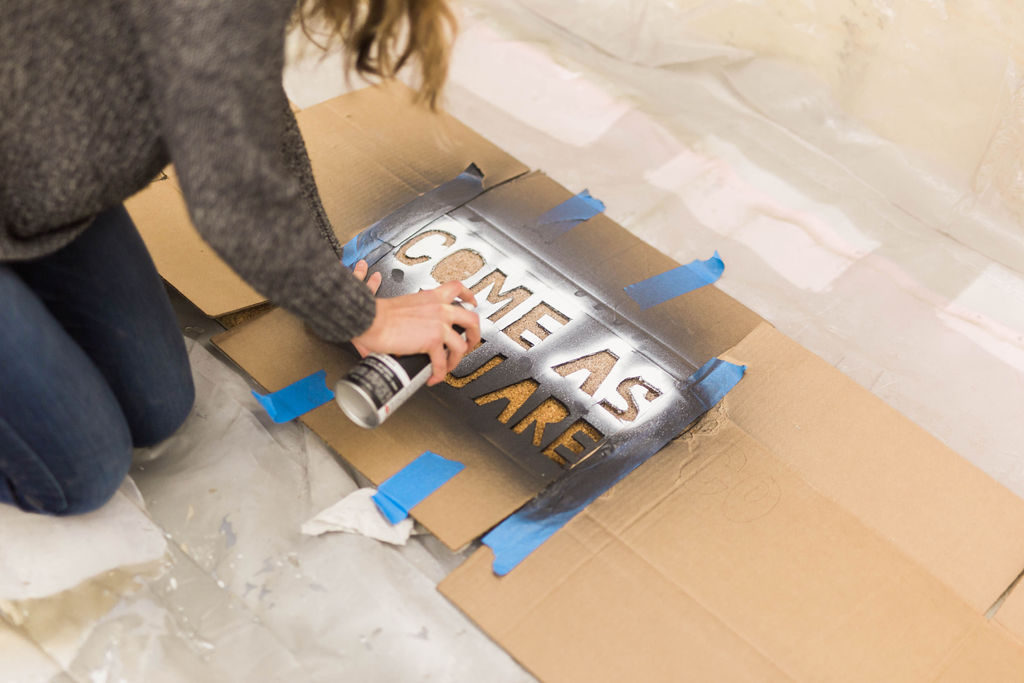
The second time around, we used white spray paint, held it a little further away, and put pressure on the cardboard, so there wasn’t a ton of paint bleeding out beyond the cutouts.
If the spray paint is a little too light to read, go over the letters 2-3 times so that the letters are clear.
Step 5: Check Out Your Work
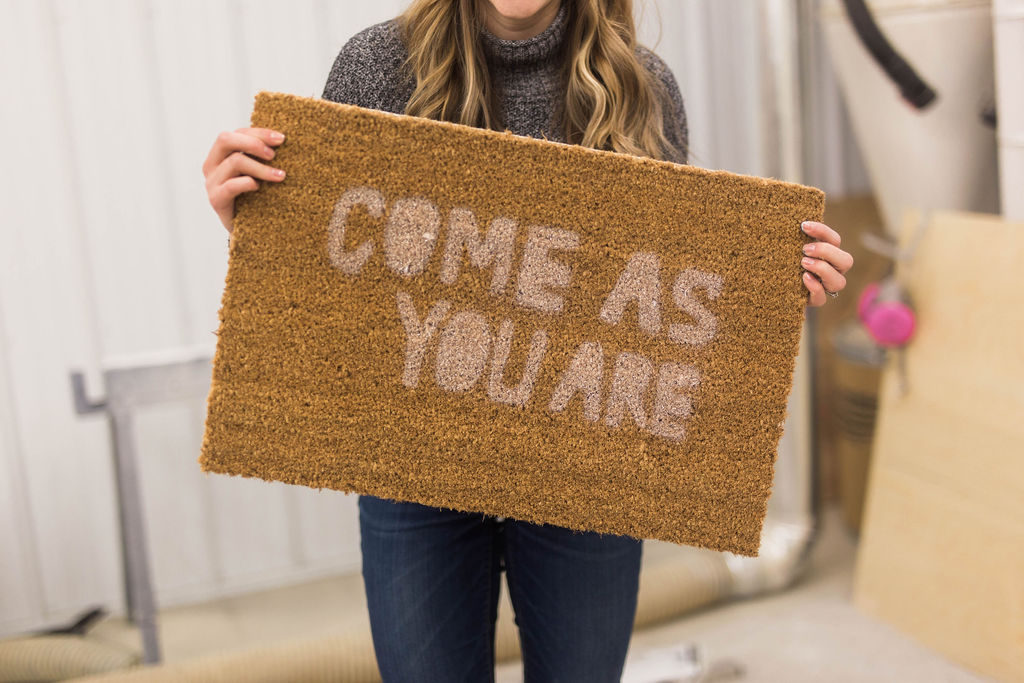
Once the spray paint has had a little time to dry, remove the cardboard piece and check out your work!
We love how the white turned out since it’s not as bold as the black and didn’t bleed into the rug.
If you want it darker, you can always do a few more coats. You can also use different colored spray paint to add a pop of color!
And there ya have it, simple steps to create a DIY outdoor rug! This was so fun to make, we might even make one for every season or holiday!
Did you give it a try?
We’d love to see your project, so tag us @construction2style.





Thank you! We really appreciate your kind words!
This is really smart idea for DIY outdoor rug. I have gone around your blog and found many interesting posts there. Thanks for working hard on that.