YEAH!! It’s Valentine’s day! Happy Valentine’s! Happy day!!
I have always just loved this day. Single or married. I used to love getting dolled up with my girlfriends and going out for a nice dinner and out on the town and now I am loving spending it with my family. I look at today as a day to love on all the wonderful people in your life.
Today Jamie, Greyson and I are going to go and check out the new Surly Beer Hall in Minneapolis and whatever else we feel like doing. It’s just going to be a day full of no plans and doing what we feel like in the moment.
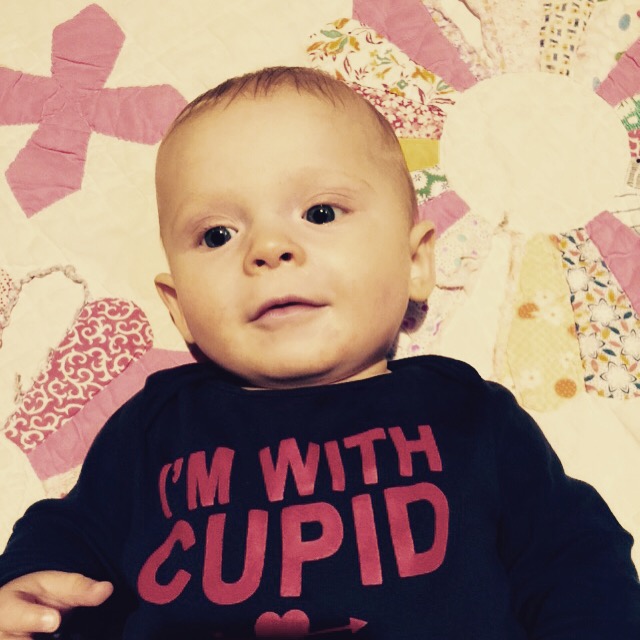
I hope you have been enjoying the wedding theme this week. We’re not done yet! Now that we’ve talked about bridal party gift ideas and DIY wedding signage let’s talk photo’s. Being today I am probably going to be taking a lot of pictures, since it is Greyson’s 1st Valentine’s and all.
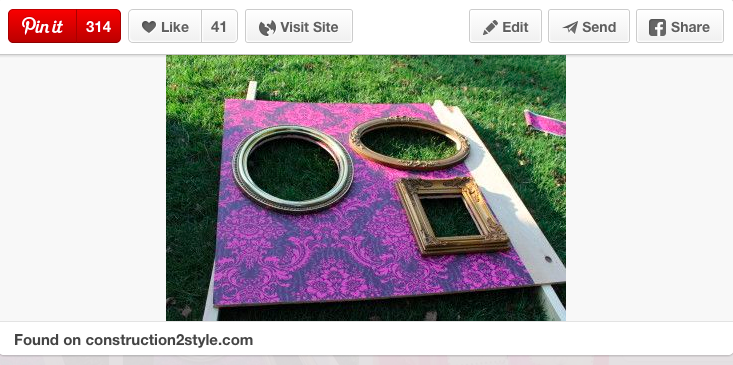
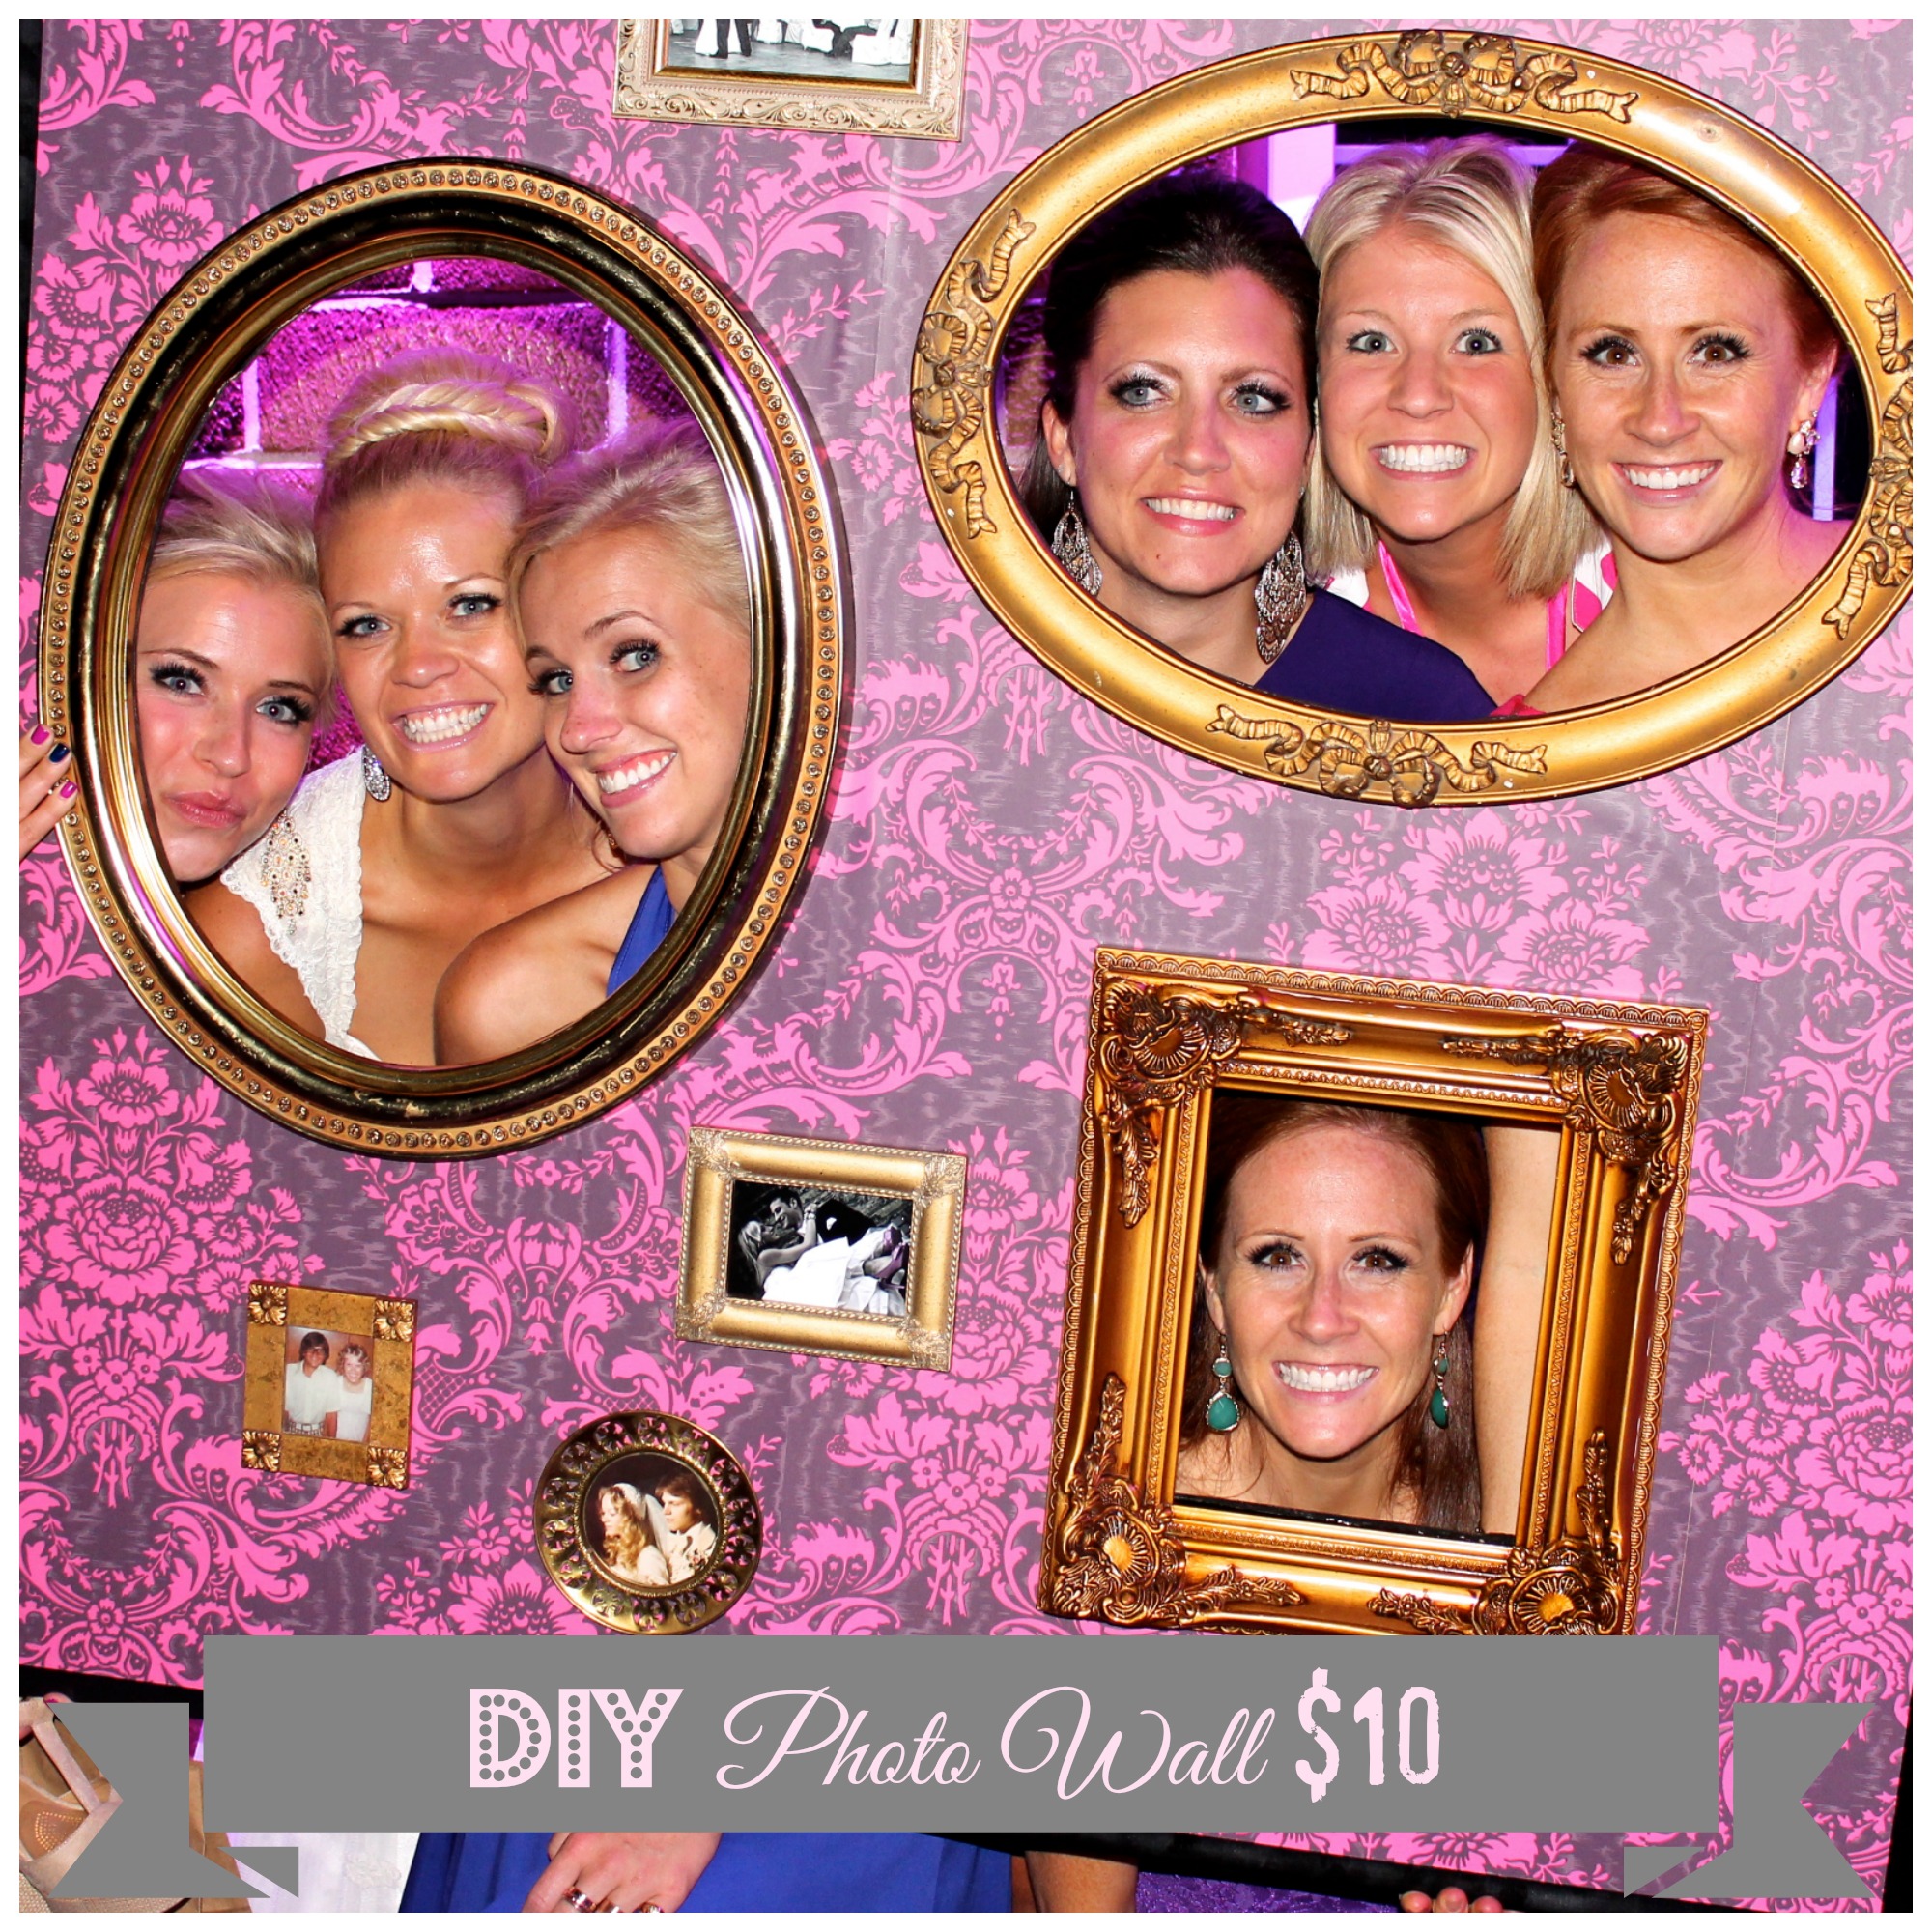
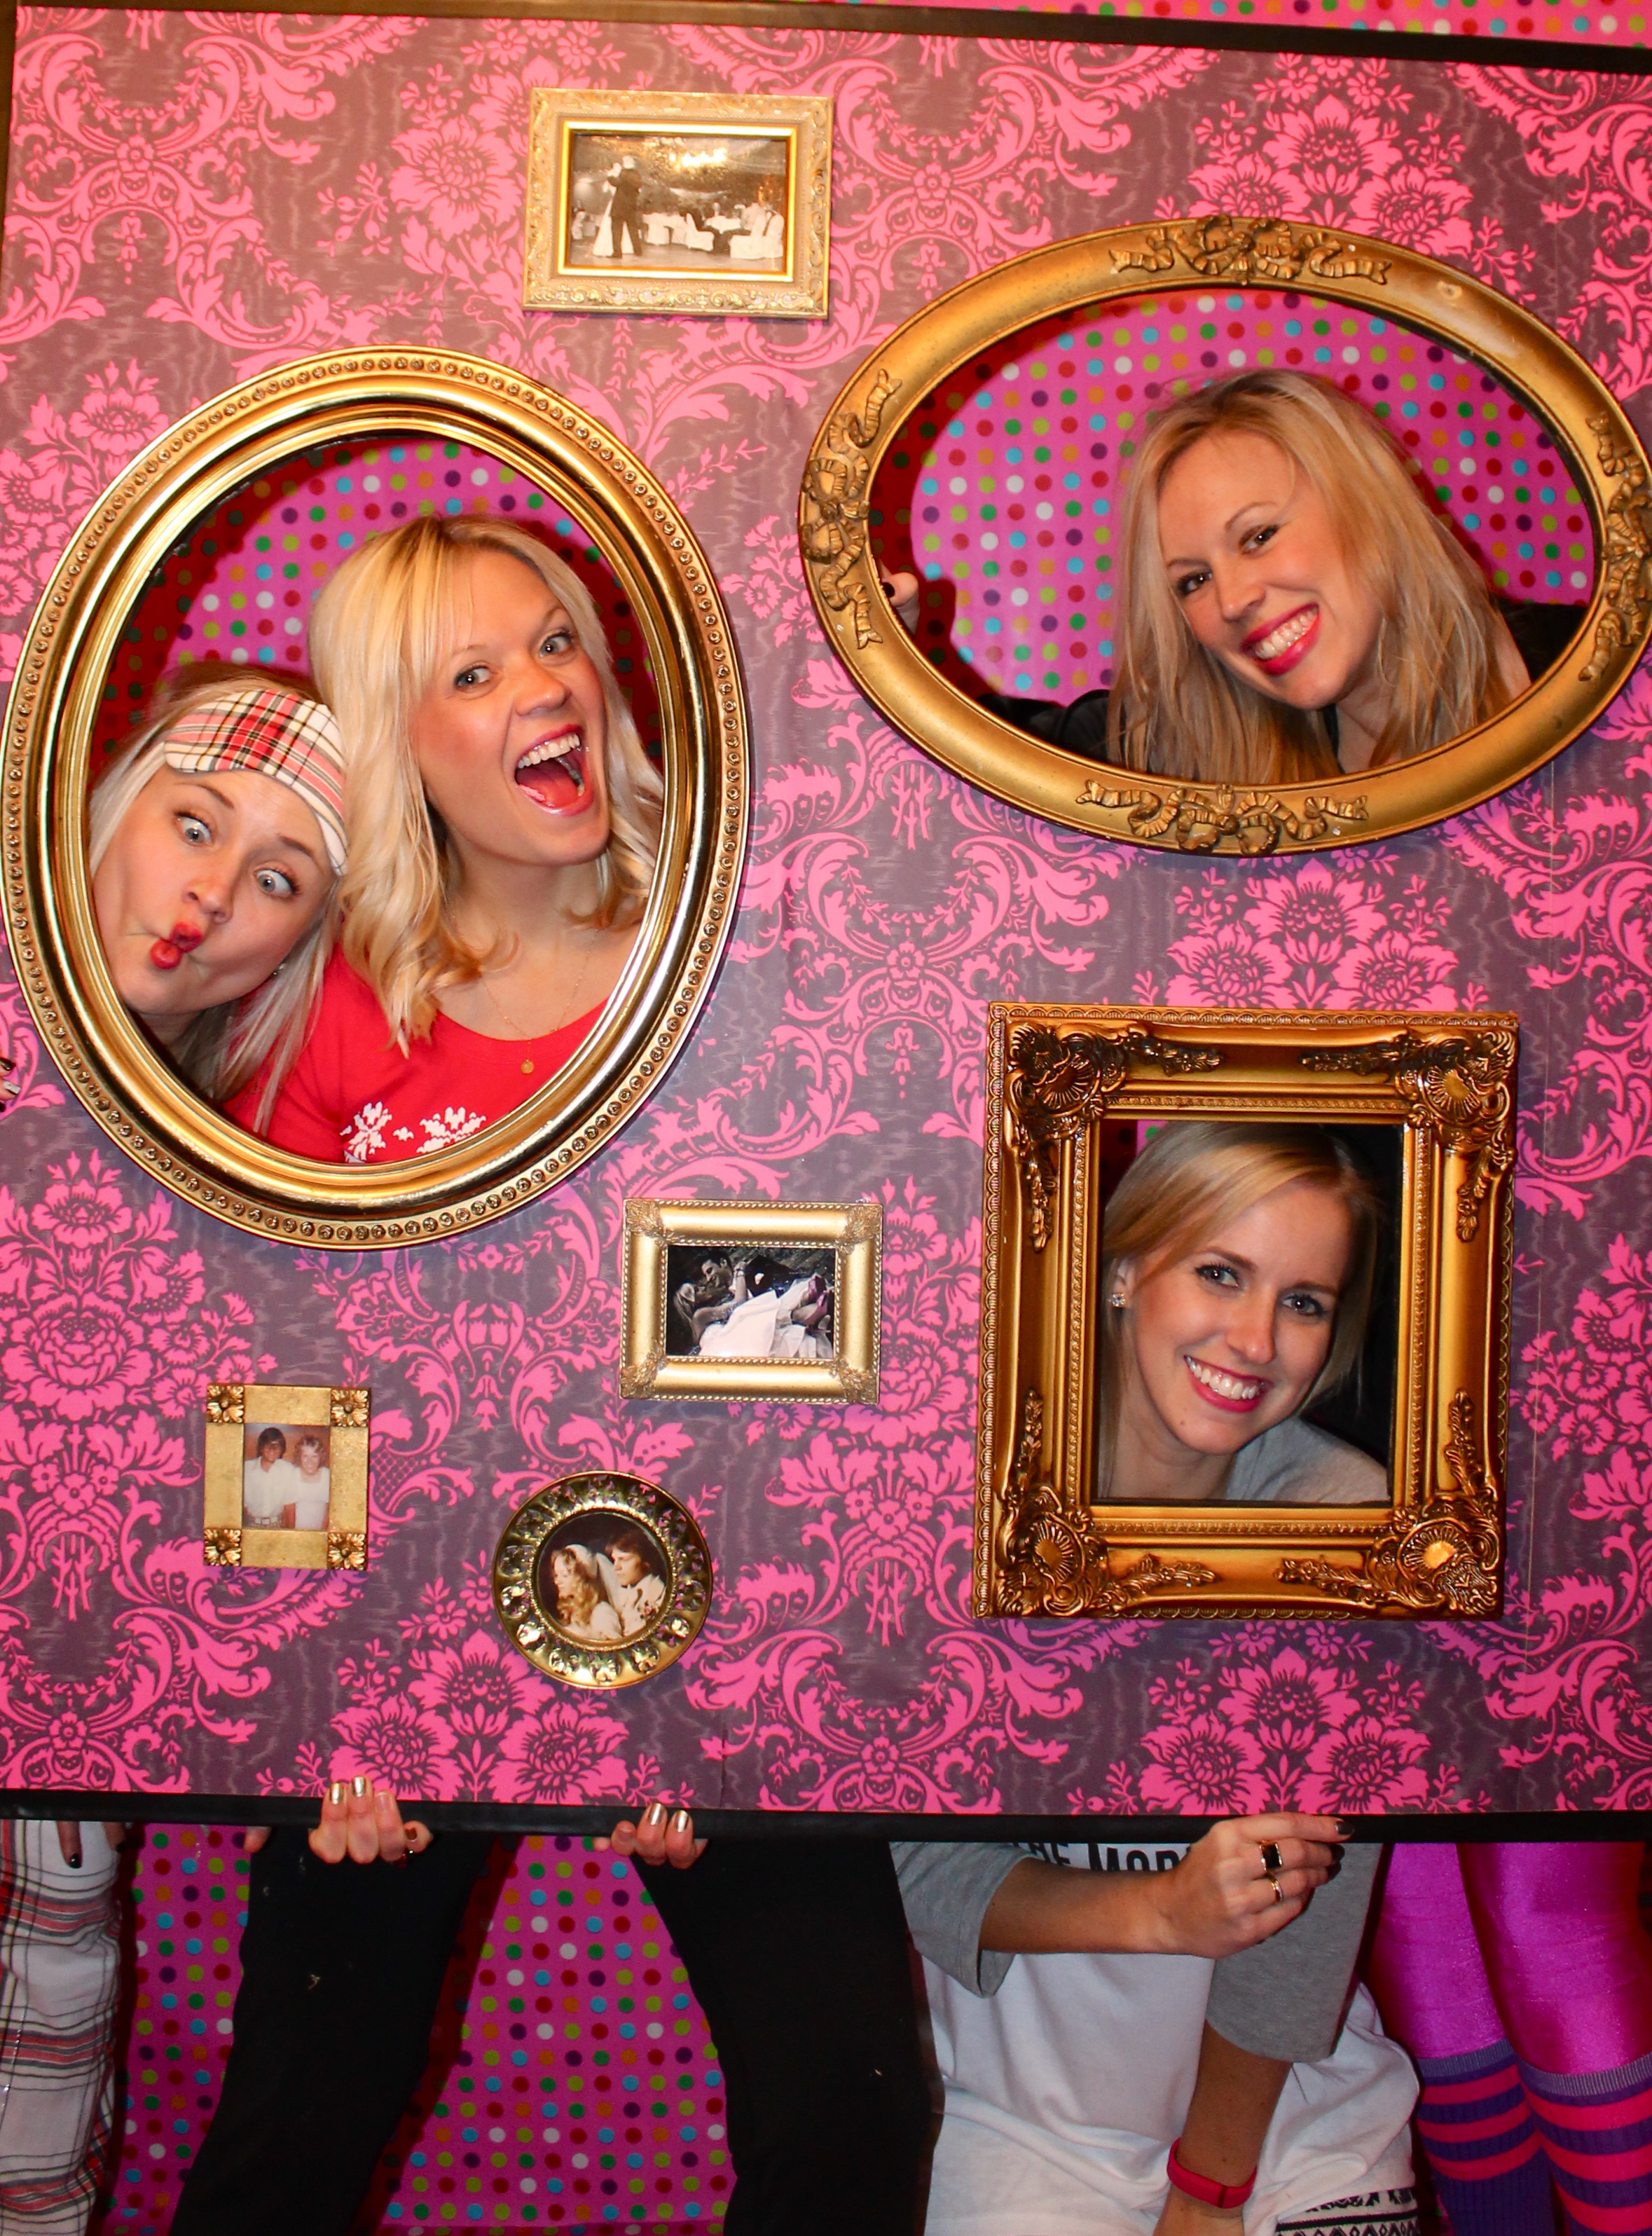
These days, no party is complete without a photo booth display. They are a great way to capture memories and bring a little creativity to the party. There are so many fun DIY photo booths ideas out there, I usually always make one for every party I have. So today we are sharing how you can make a DIY photo booth prop display for your wedding, party or any event. This is one of our top pinned posts, our DIY open air photo booth prop display.
There are pros and cons to hiring a professional photo-booth company and making your own. I did a little of both. I hired a professional photo booth for my wedding because I wanted everyone to be able to take their photos home with them. But I still wanted to bring in something a little more creative to take pictures with. So I decided I was going to make my own photo prop that people could use not within the photo booth.
 Materials:
Total cost: $10
- Plywood
- Picture frames
- Wire
- Wallpaper
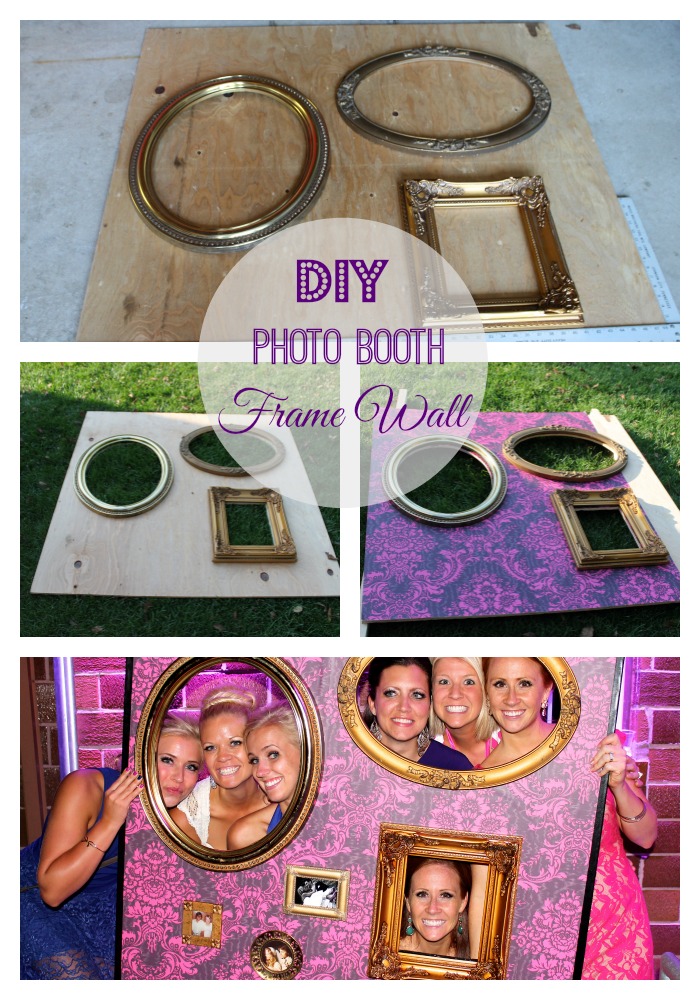
Step 1: From a piece of plywood, cut out a square 3×3 piece.
Step 2: Then strategically place your picture frames and trace the inner circle. I used my antique picture frames that I have collected throughout the years. I have found these frames at Goodwill and other flee market finds for as little as $1.
Tip: Make sure the board is small enough so it is light enough for guests to hold up
Step 3: Remove the frames and using a jig-saw cut the outlines to create the holes.
Step 4: Wallpaper the board. I found this wallpaper at Hirshfield’s.
Step 5: Once you have mounted the picture frames and secured with wire, there you have your photo booth wall frame!
The point of this prop was to make it look like an actual wall in someone’s house. So I also took and framed a pictures onto the board. Being it was for our wedding and I was focusing on marriages, I framed some photos from our parent’s, brother and sister’s wedding’s. Just make sure to take the glass out of the frames.
I was so happy with how it turned out and it was a hit at the wedding!
Tip: Tape the edges so no one has to pick up the rough wooden edges
Hope you all enjoy your loved ones today! Happy Valentine’s and DIY-ing!


Thank you!!
A for amazing! Lovely frame for family photos to place in the wall! Such creative art you made here!
Thank you Melanie!! 🙂
This is so cool! I love it!