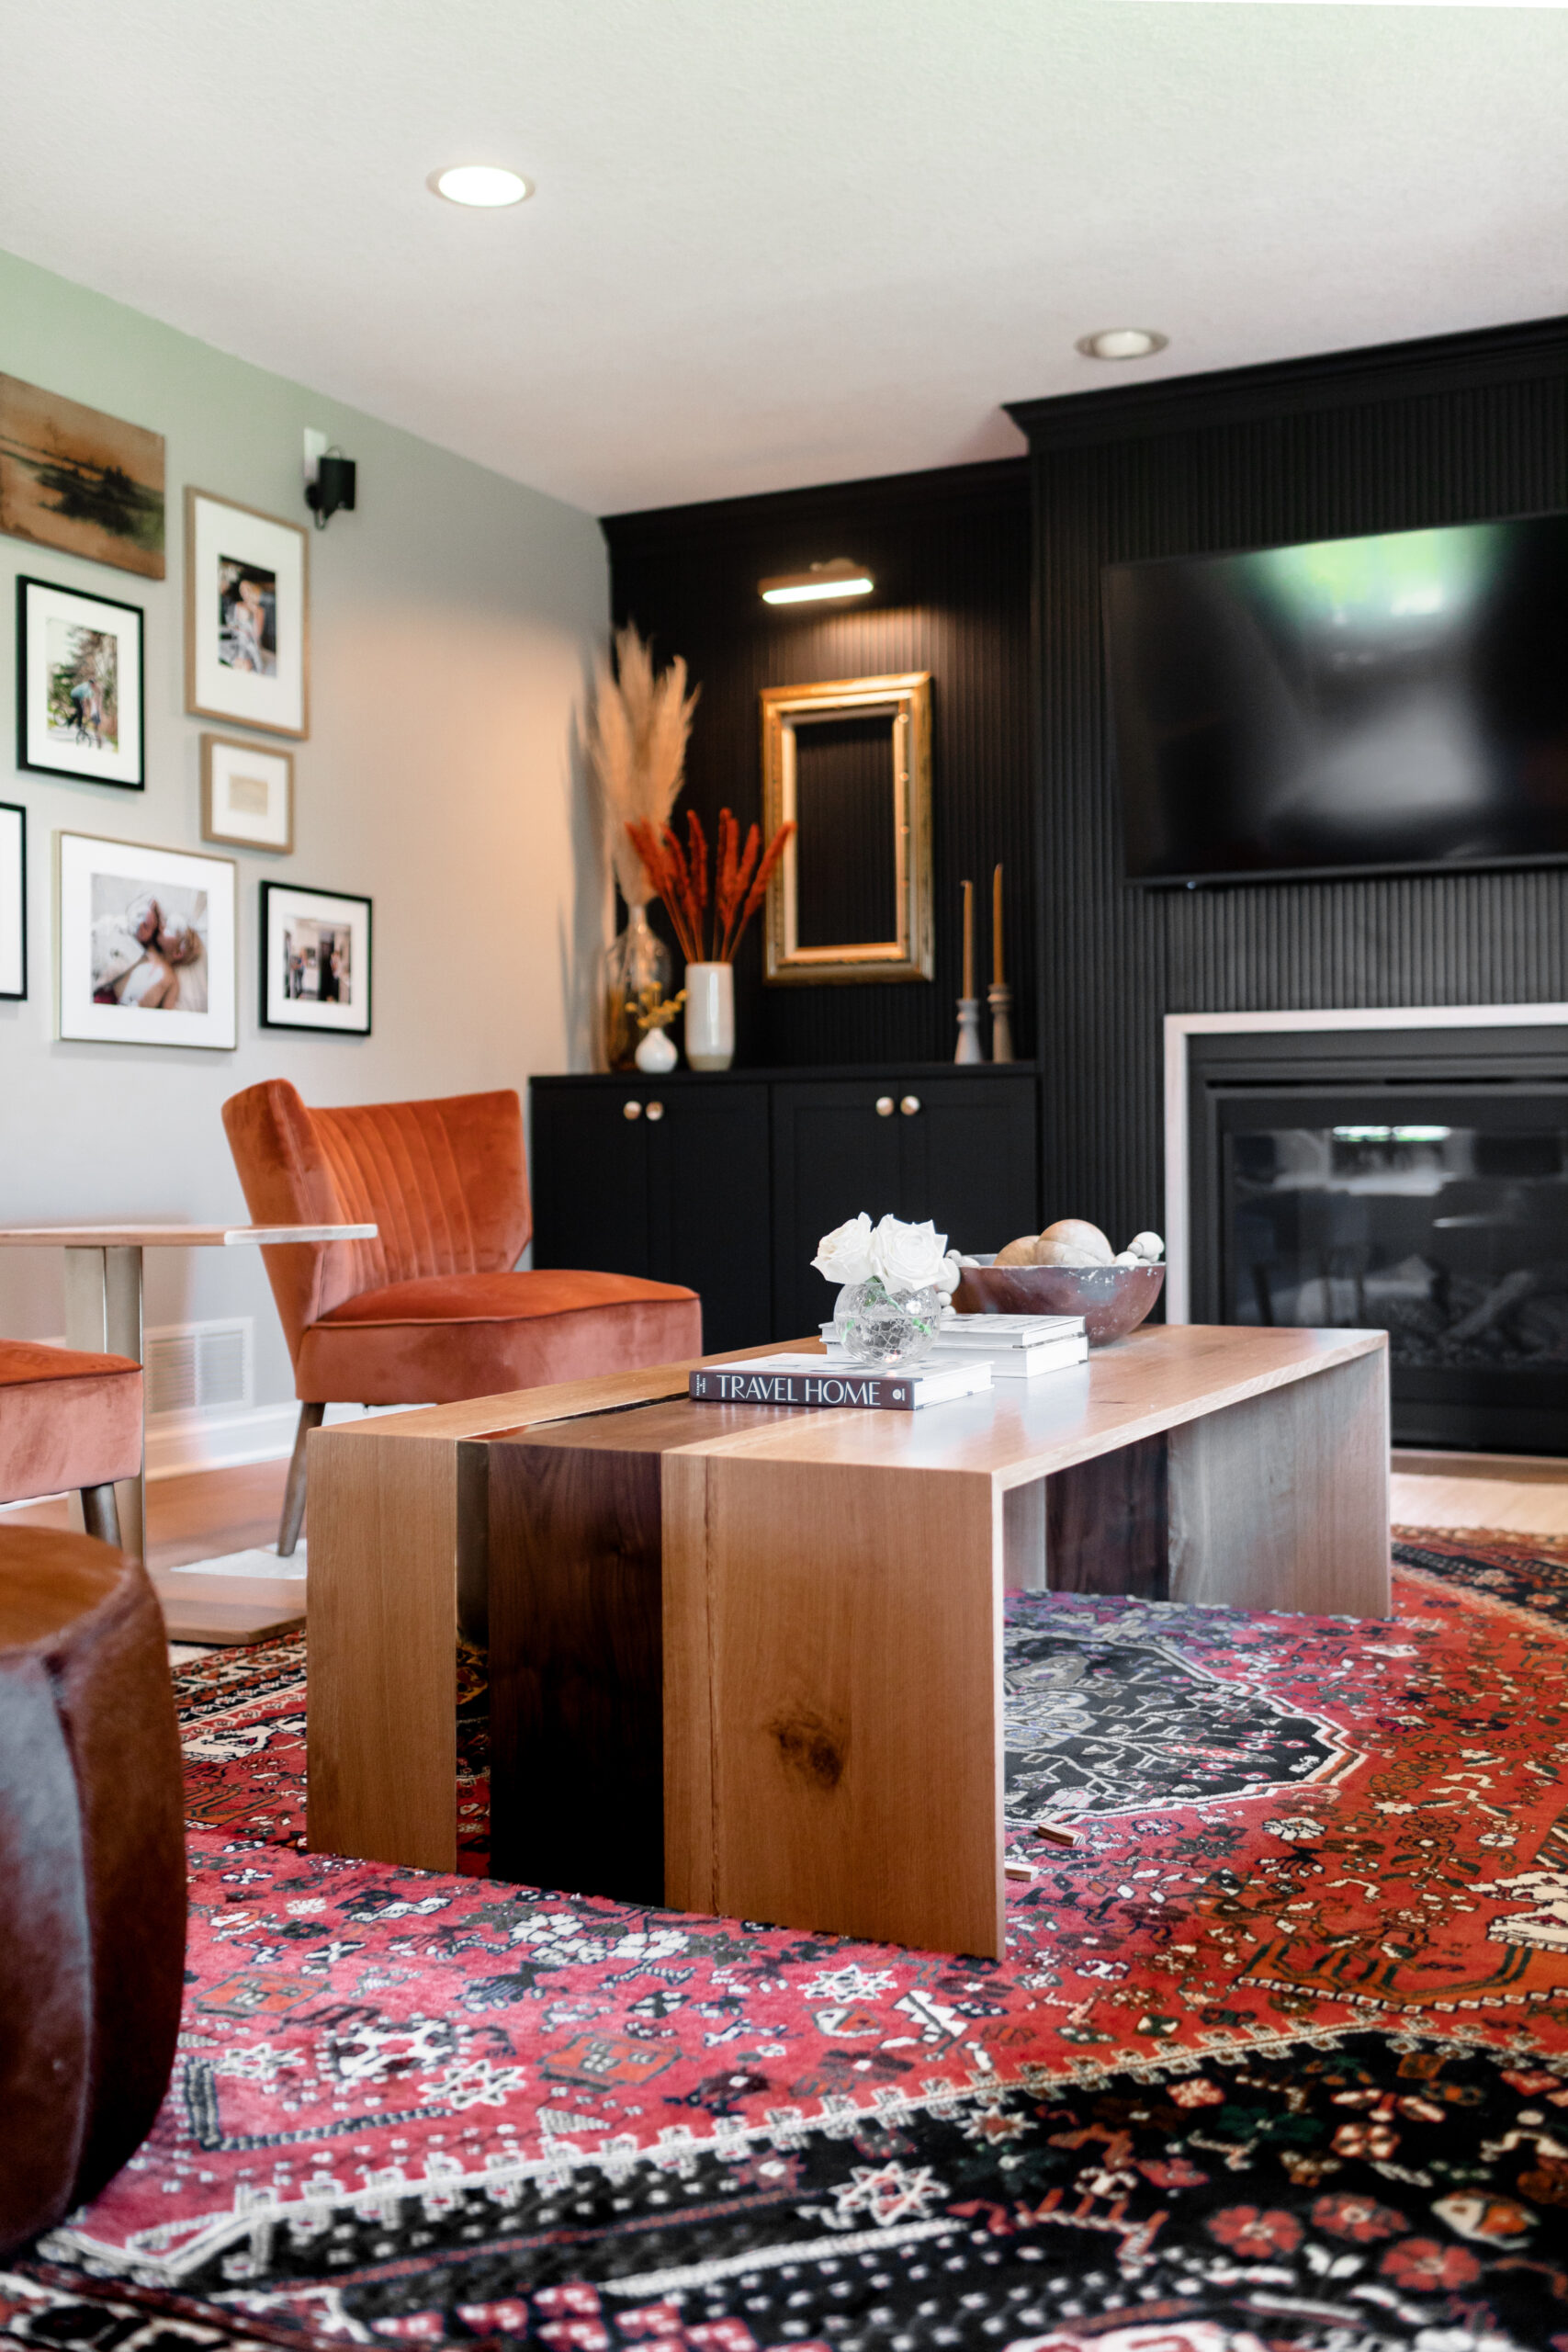
Are you ready to take your space to the next level?! Today, we’re giving you the inside scoop on how we transformed our living room with a stunning vertical wood slat wall—step-by-step!
While we’ve wrapped up the carpentry and construction on the wall, we still have a few finishing touches to go, like hanging the lights and hardware. But let’s be real—the slat wall is the star of the show, and we’re absolutely in love with how it turned out. So, we couldn’t wait to show you how to bring this design statement into your own home.
**Blog post originally published in 2020, updated in September 2024—and yes, we still LOVE this wall! **
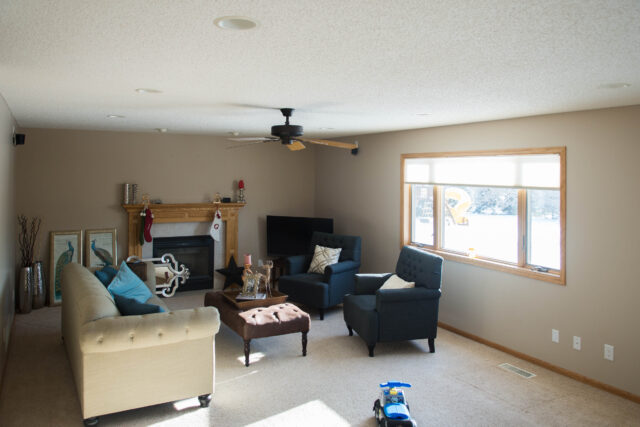
Before
Before we brought this space to life, it was pretty simple. But we had big plans! Fast forward to today, and we’re beyond excited to share how we transformed it with our vertical wood slat wall.
Here’s everything you’ll need to tackle this project like a pro:
Tools & Materials Needed for the Job
- Wood Slats- (4) 4 x 8 sheets of MDF
- Table Saw (if you don’t have, no problem)
- Miter Saw
- Orbital Sander
- Paint
- Tape Measure
- Liquid Nails
- Caulk
- Wood Filler
- Trim Nailer
- Tile Spacers
- Laser Level
Plan out Design
First things first—plan out your overall design and decide where you want to place your slat wall. Whether it’s a bold accent in your living room, a statement behind your headboard, a cozy nook, or a hallway feature, the options are endless. But before you dive in, make sure you’ve got a solid plan for the entire space.
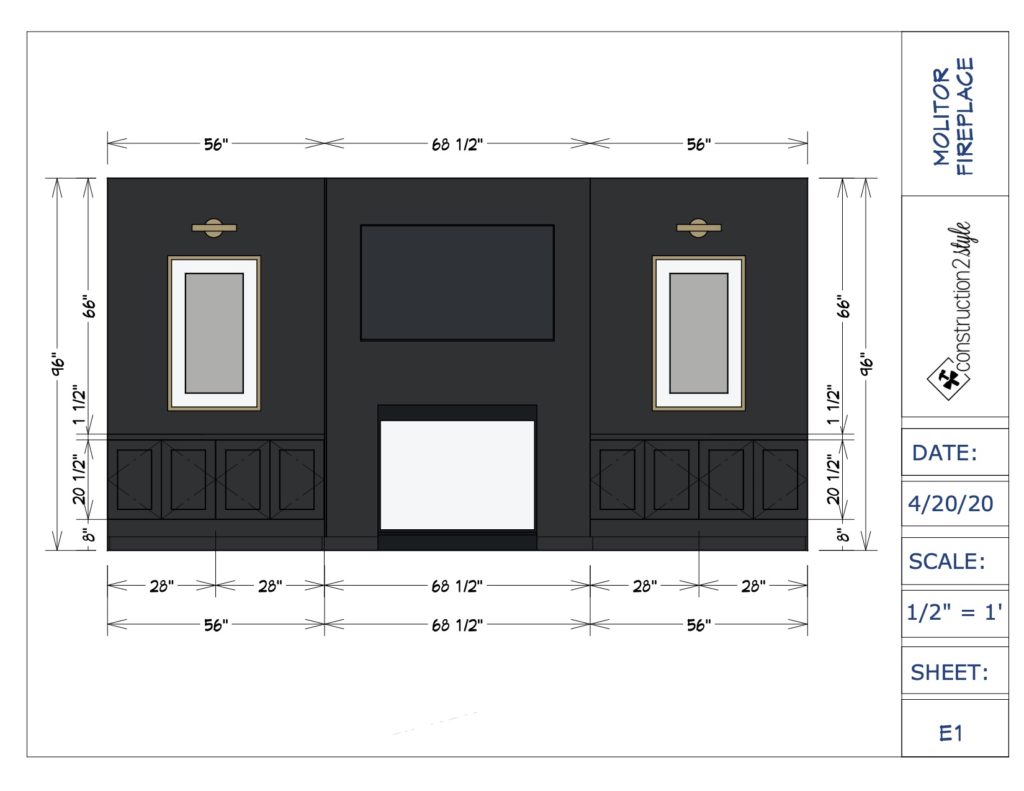
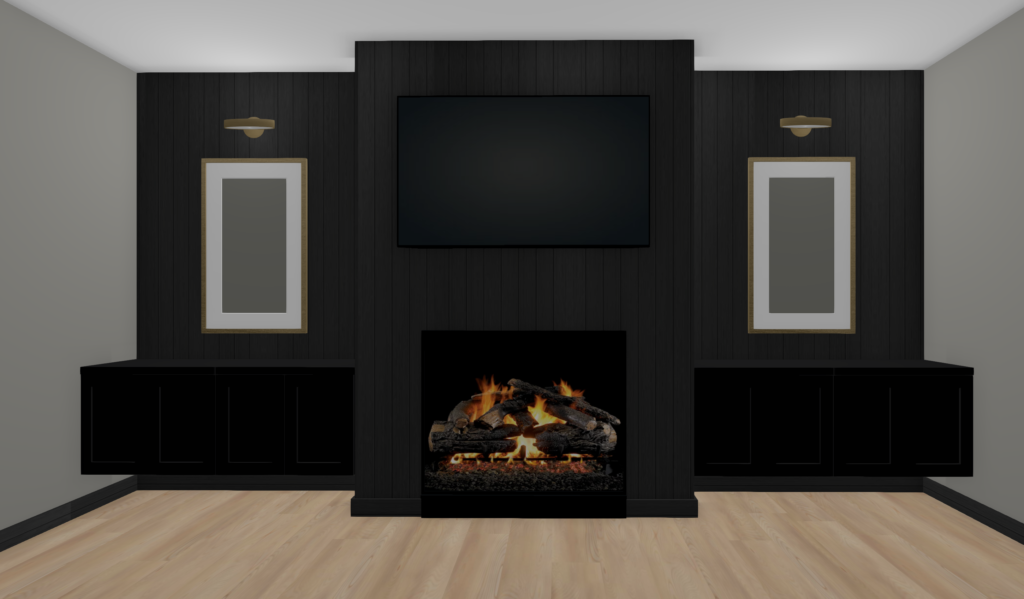
For us, figuring out the exact design was the hardest part. We knew we wanted a slat wall, but couldn’t agree on the rest—floating shelves, lights, cabinetry, benches—the possibilities were overwhelming. But trust us, this planning stage is crucial.
Why? Because if you’re adding cabinetry or floating shelves, those need to be installed before the slat wall goes up. Jamie had to ensure proper anchoring for the shelves, and if we were doing picture lights, the electrical wiring had to be in place beforehand.
We also decided to add crown molding to frame the accent wall, which needed to go up before applying the slat panels. Taking the time to plan out these details will save you headaches later and make sure your final design looks flawless!
As you can tell, if you want to avoid unnecessary work, it’s key to tackle any other design elements you’re incorporating before installing the slat wall. Doing so will help you avoid extra work, unexpected costs, and potential mistakes down the road.
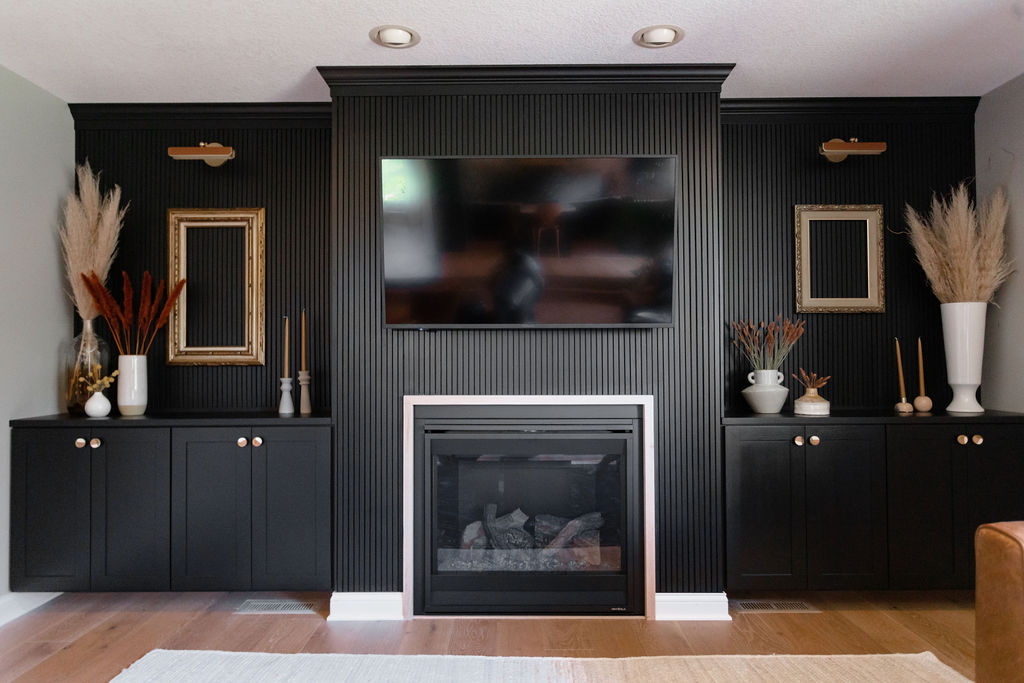
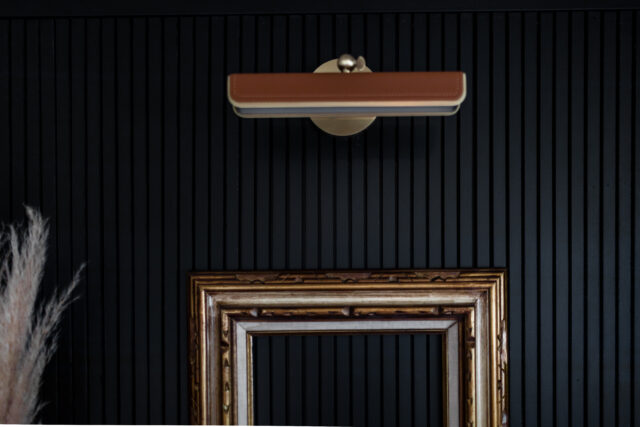
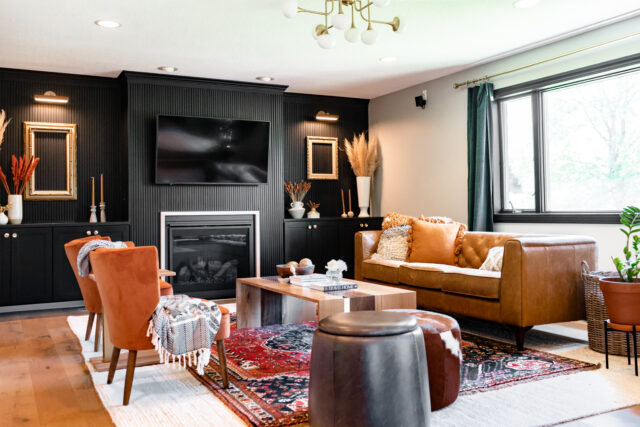
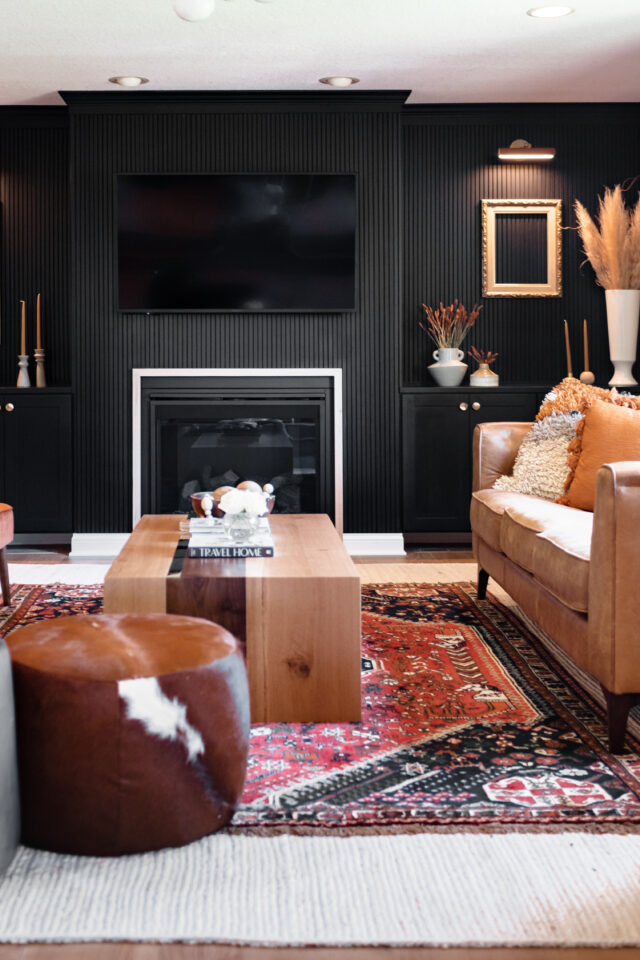
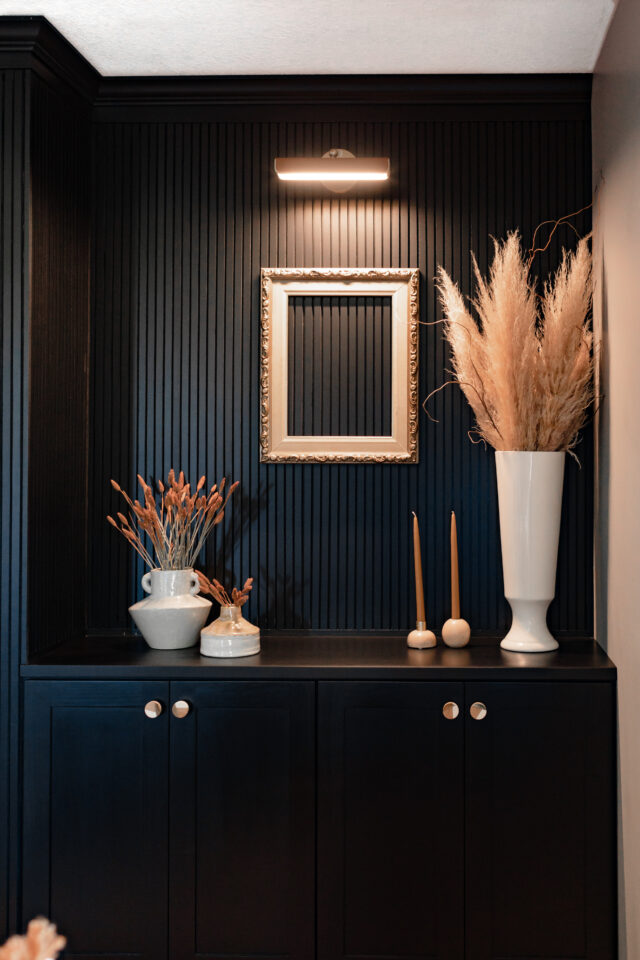
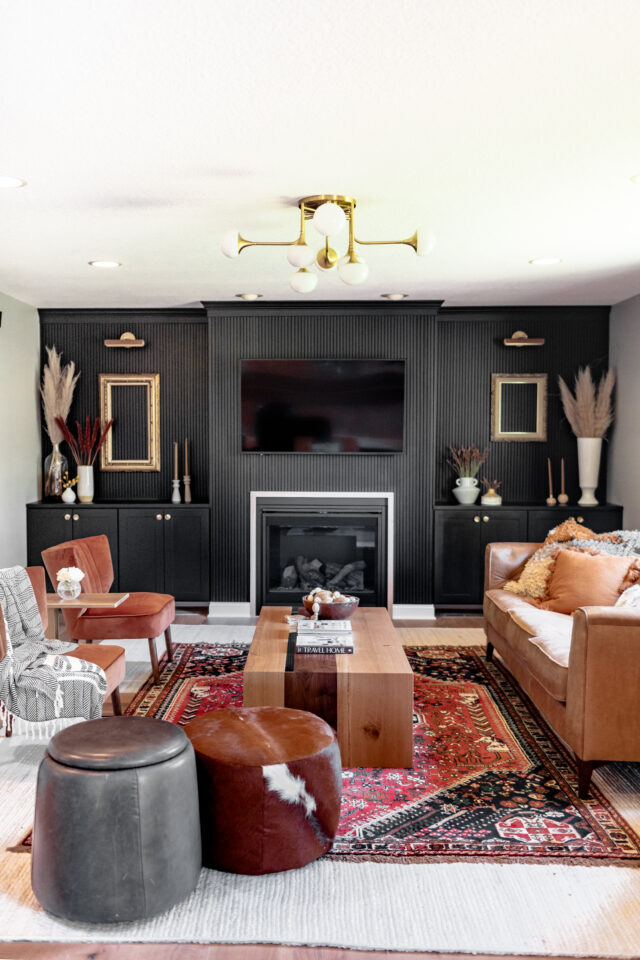
In the end, after many revisions, we landed on design #8—floating cabinetry, picture lighting, and no open shelving.
Cut Down Strips of Wood
Once you’ve nailed down your design and gathered your materials, it’s time to get to work!
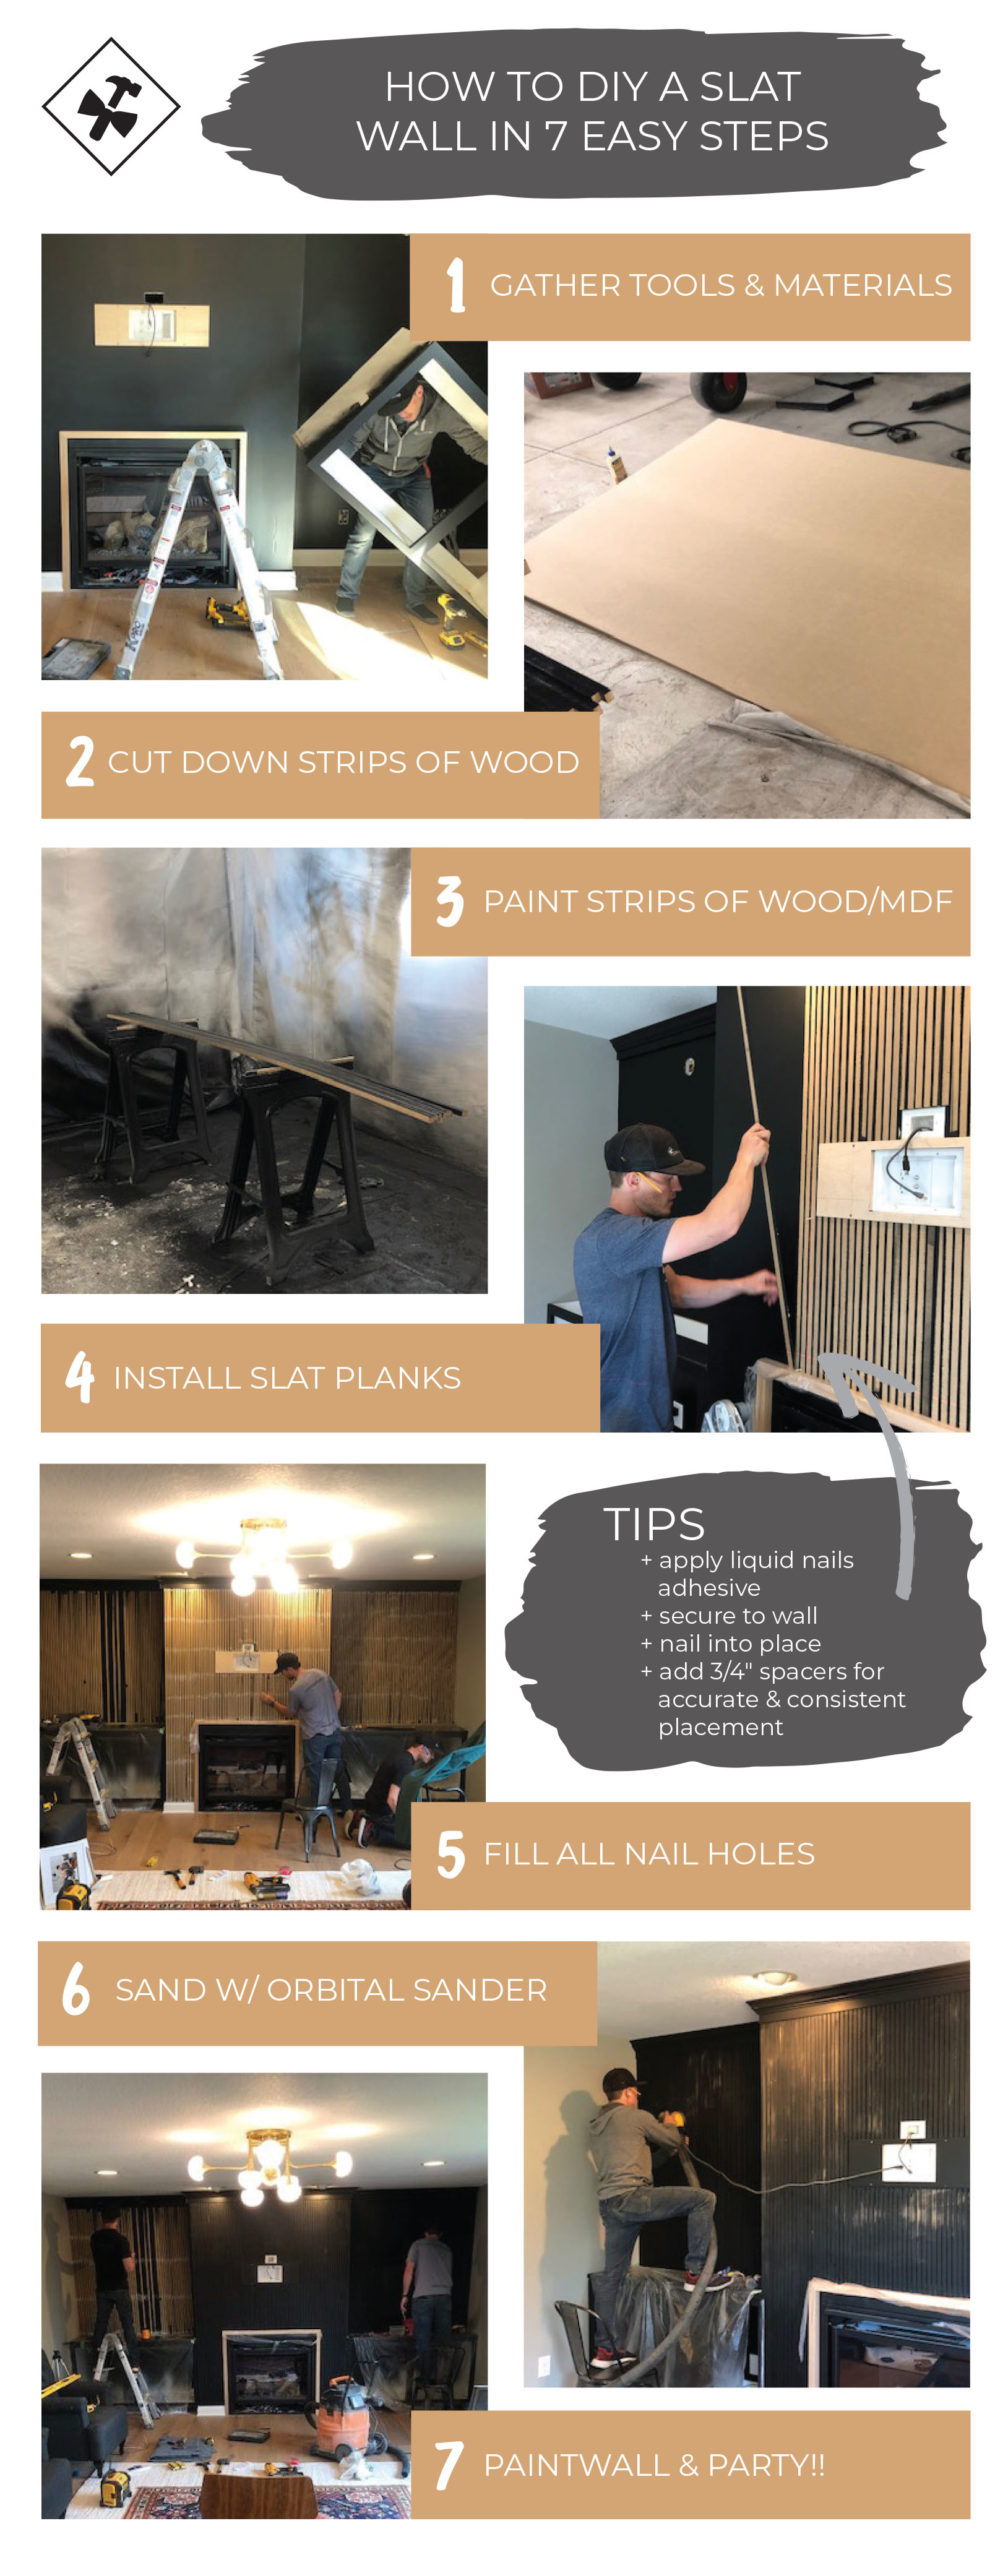
Using our table saw, we cut (4) 4×8′ sheets of MDF into 1/2″ strips, spacing them 3/4″ apart on the wall. If you don’t have a table saw, you can buy pre-cut strips, though it does come at a higher cost.
Pro Tip: Jamie mentioned that if we did this project again, he’d opt for real wood. MDF’s grain can be tricky—it absorbs paint quickly, meaning we needed additional coats. However, real wood would have cost 4-5x more than MDF, so we saved a lot by sticking with MDF.
Paint Strips of Wood/MDF
From the four 4×8 MDF sheets, we ended up with around 250 slats for our wall. Then it was time for painting!
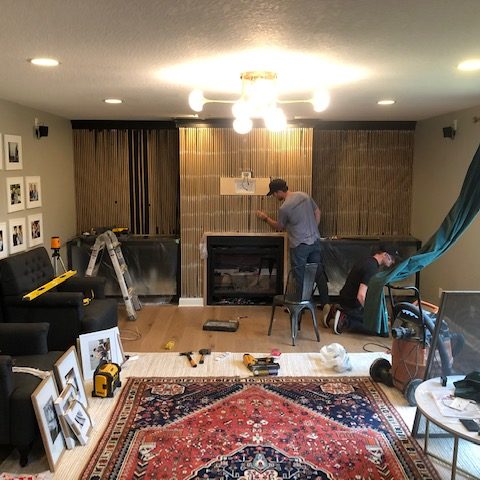
We set up a DIY paint booth in our shop and sprayed three sides of each slat. We didn’t bother painting all four sides since Jamie knew he’d be nailing them into place, filling the nail holes, and touching them up later—so we skipped an unnecessary step.
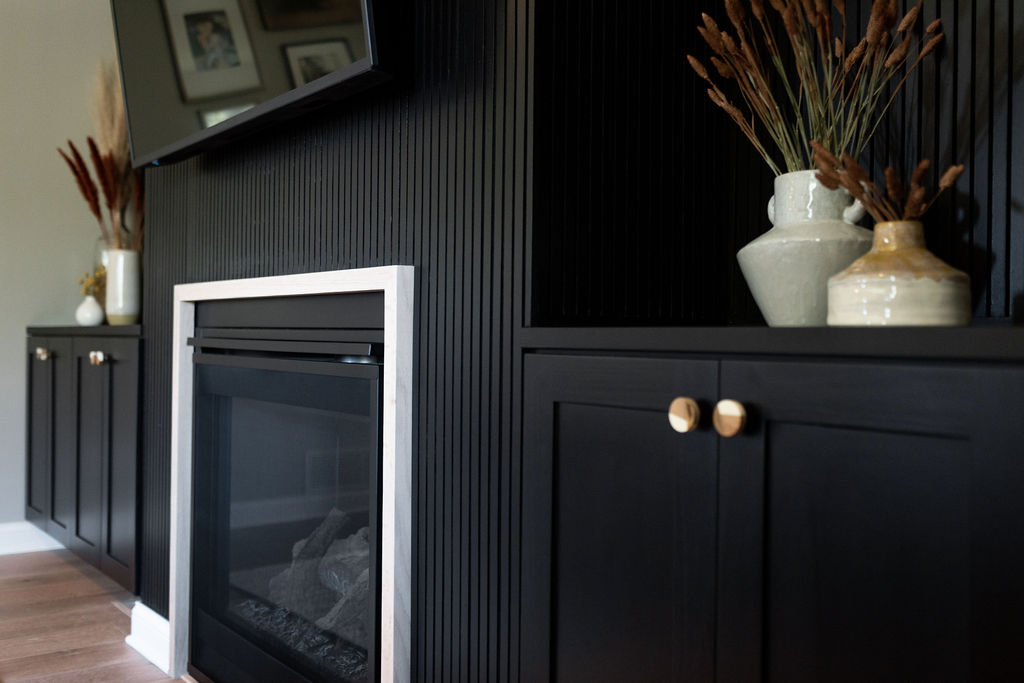
We used Tricorn Black by Sherwin Williams in their Emerald Urethane Enamel for our accent wall. We’d already painted our doors and trim in this color and finish, so we had some leftovers on hand. Otherwise, you likely wouldn’t need to invest in the Emerald line for this project.
After painting, we improvised by using our ladder as a drying rack—who knew it would work so perfectly!
Install Slat Planks
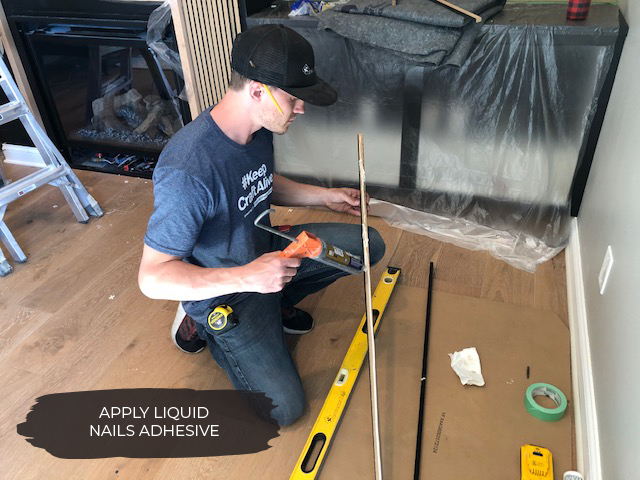
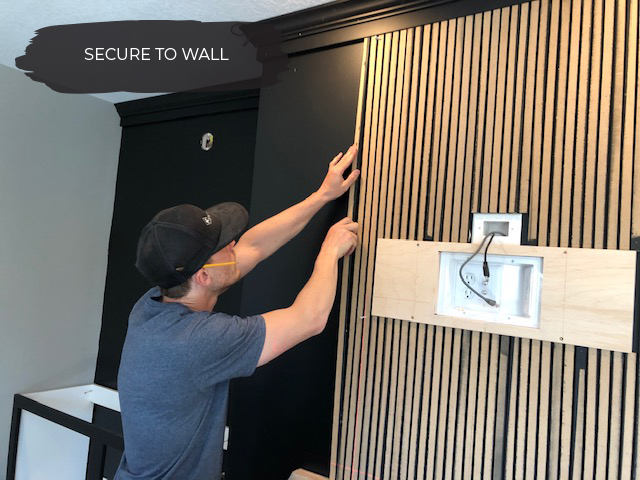
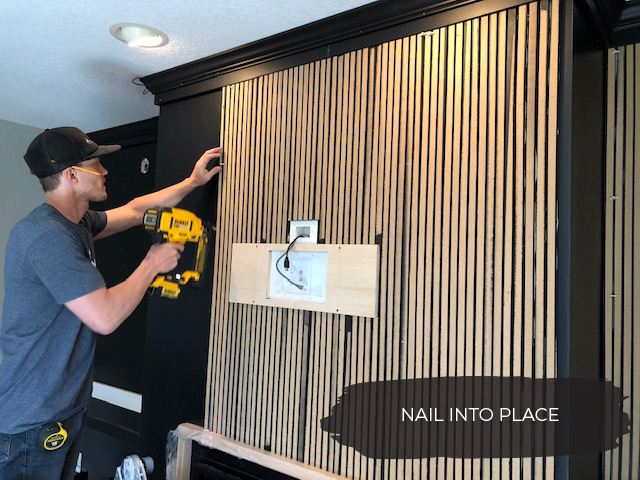
Once the boards were completely dry and ready for the next step, Jamie meticulously measured the wall, ensuring precision in every cut he made using his trusty miter saw. With careful attention to detail, he applied a generous amount of liquid nails adhesive to the back of each piece before delicately securing them to the wall with his nail gun, methodically working through the installation process one board at a time.
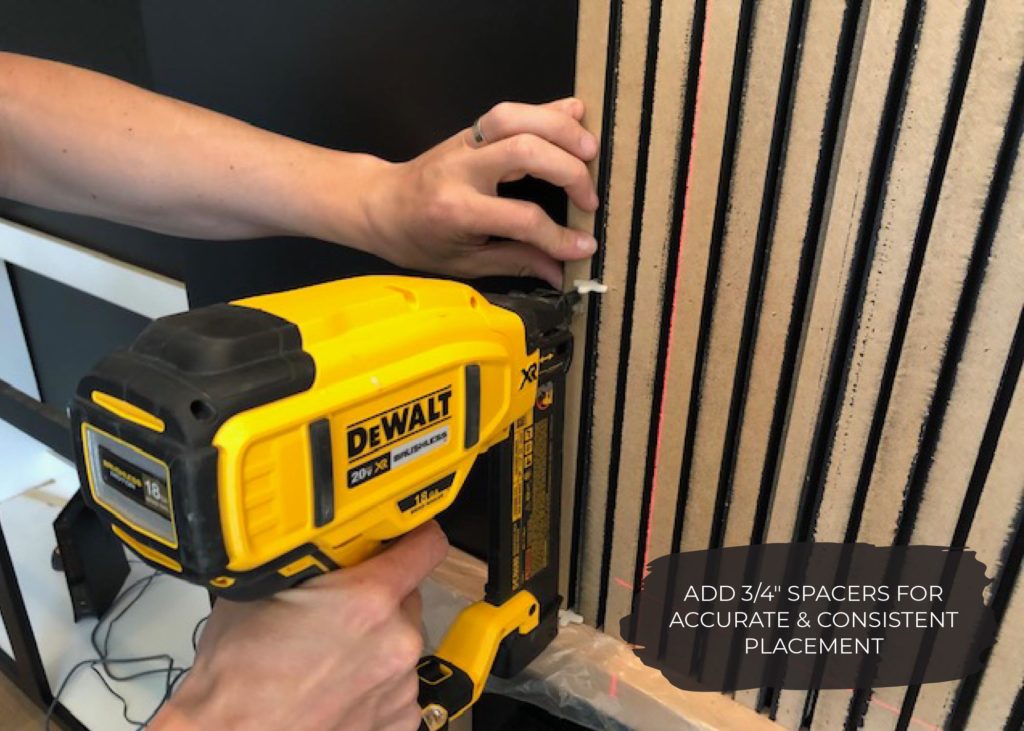
To ensure precise and consistent spacing between each slat, Jamie meticulously employed 3/4″ tile spacers alongside a laser level. This meticulous approach allowed for the creation of a flawlessly straight and aligned final result.
Fill Nail Holes
Once all the slat boards are installed, it’s time for the fun part—filling all those nail holes! Using wood filler, go over each one, filling them in one by one. All those white spots? That’s where Topher worked his magic, filling in every single nail hole.
Sand
Once all of the nail holes are filled with wood filler, it’s time to sand the wall down using an orbital sander – sand before you paint (we didn’t grab a photo of this).
We sanded before a coat of paint and after one coat of paint because Jamie could tell the walls weren’t perfectly soft to touch, and it was bothering him.
Sanding after your first coat of paint won’t be necessary if you’re walls are looking good!
Paint Wall
Alright, let’s dive into painting! As we mentioned earlier, we chose Tricorn Black by Sherwin Williams in its Emerald Urethane Enamel for that perfect finish. Once the slats were up, we carefully rolled and brushed the last side. To get every detail spot on, we grabbed a small artist paintbrush, ideal for those tricky corners and delicate features.
Dance Party Time!
DANCE PARTY!!! YOU DID IT! 🎉 And that’s a wrap.
From start to finish, it took Jamie around 40 hours to complete the project, with an additional 15 hours of assistance from Topher. So, if you find yourself embarking on this venture solo, be prepared to dedicate approximately seven days of hard work to see it through.
After the project was completed, I decided to give Jamie a couple of weeks to reflect before asking him about his thoughts on the endeavor. Those initial two weeks were a bit tumultuous as he repeatedly exclaimed, “We’re never doing that again!” However, as time passed and he could sit back and take in the final outcome, he began to appreciate the hard work invested and was pleased with the direction we took.
So, if you are seeking a challenge and aiming for an impressive accent wall that will steal the show, trust us—you have the capability to achieve it!
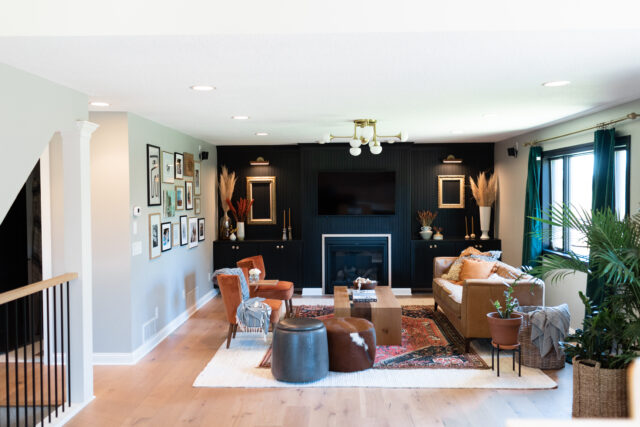
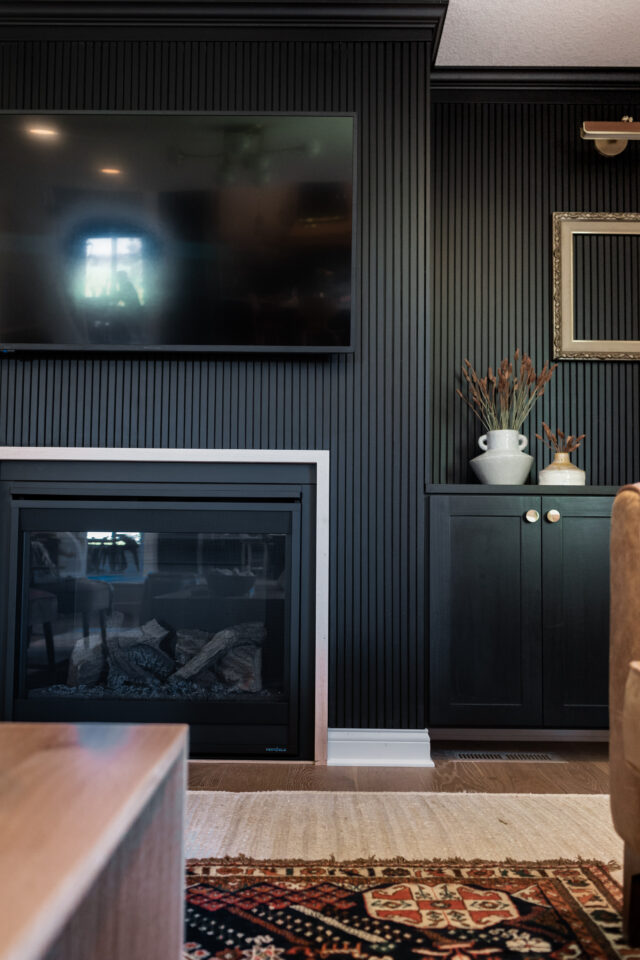
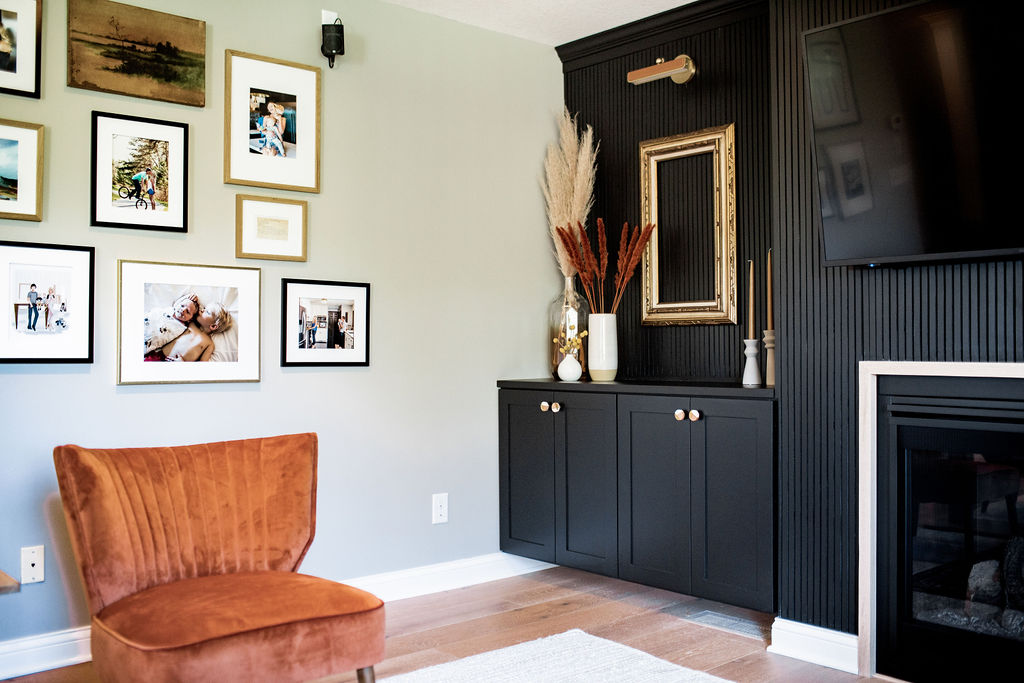
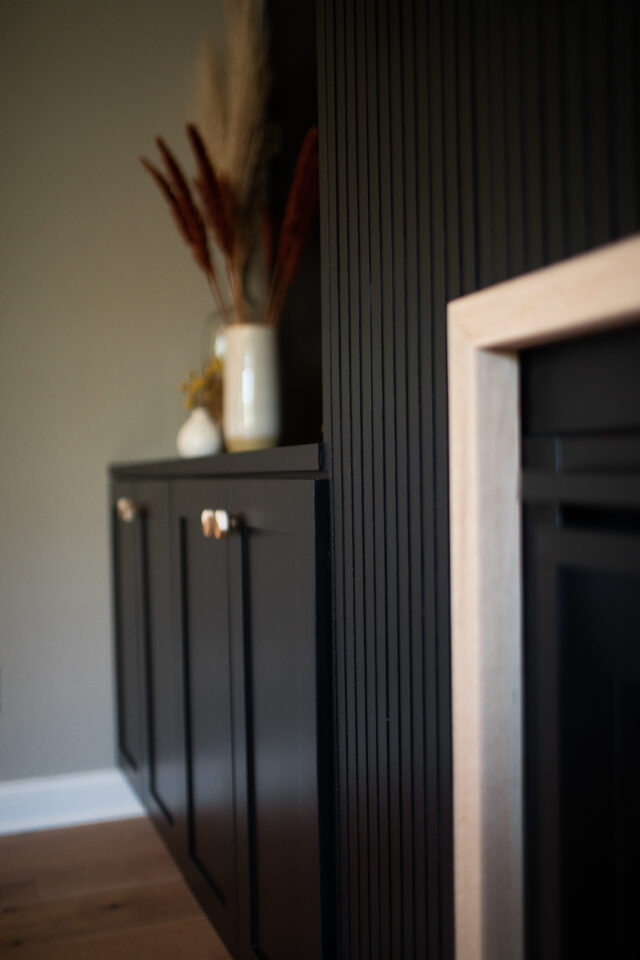
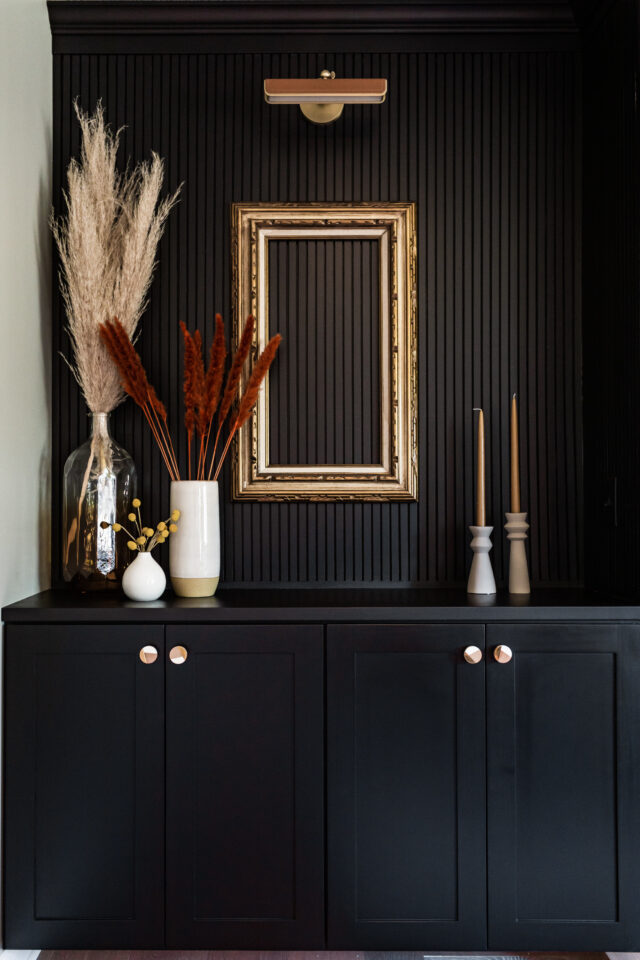
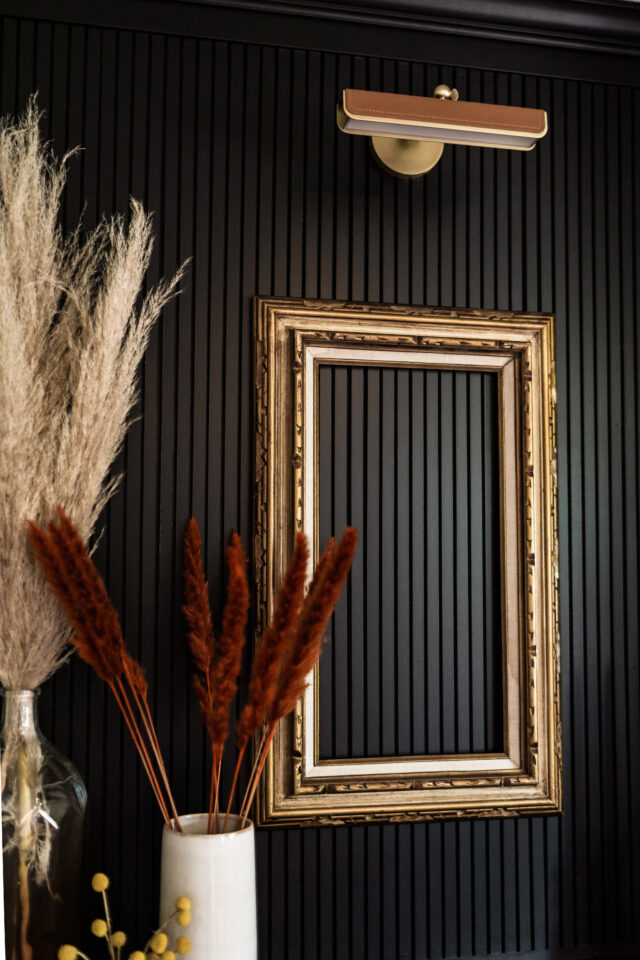
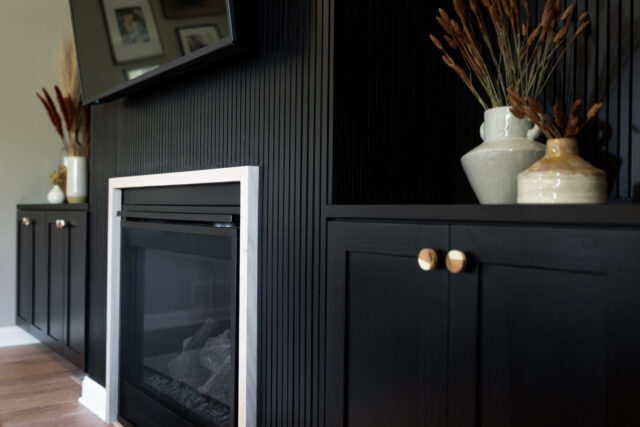
After, Full Reveal
Q:
I noticed your slat wall is one of the only examples I’ve found with existing crown molding. How did it turn out at the top? I’m planning to install slats on a wall with crown, but I’m worried the slats might look off or stick out where they meet the crown. Any advice? Thanks so much!
A:
Great question! To make it work, the crown should be installed on top of a horizontal 1x board that’s either the same thickness as the slats or just slightly thicker. The slats will butt up tightly against the 1x. If the thickness matches, the transition will be perfectly smooth. If the 1x is slightly thicker, it will stand just a bit “proud” above the slats, which can still look intentional and seamless.
Vertical Wood Slat Wall | How to DIY
Whether you're new to construction or a seasoned vet, we hope these instructions help you build your slat wall effectively!
Materials
- Wood Slats- (4) 4 x 8 sheets of MDF
- Paint
- Liquid Nails
- Caulk
- Wood Filler
Tools
- Table Saw (if you don’t have, no problem)
- Miter Saw
- Orbital Sander
- Tape Measure
- Trim Nailer
- Tile Spacers
- Laser Level
Instructions
1. Plan out Design
2. Gather Tools and Materials
3. Cut Down Strips of Wood
4. Paint Strips of Wood/MDF
5. Install Slat Planks
6. Fill Nail Holes
7. Sand
8. Paint Wall









3 thoughts on “Vertical Wood Slat Wall: How to DIY a Stunning Accent for Your Home”
Comments are closed.