Materials:
- Poly
- Drywall
- Screw Gun
- Screws
- Corner Bead
- Utility Knife
- Square
- Mud
- Mud Pan
- Drywall Knife
- Drywall Tape
- Corner Trowel
- Sanding block
- 5 Gal bucket with water
- Mixing paddle
- Poly: This process is messy. Prep your area taping all doorways and vents with poly. This will ensure that any dust or debris stays in the blocked off area. A thin poly will work just fine, sometimes called “cling cover” in stores.
- Drywall: This is what will go on your wall. Most often walls have 1/2 inch drywall. Make sure you measure your square footage before going to the store so you know how much you will need.
- Screw gun: Also known as a drill. There is specific drywall drills but if you are doing this not as a profession, a regular drill will be just fine.
- Screws: These will be used to hold your drywall up. Depending on the thickness of the drywall will determine the length of screws. For 1/2 inch drywall we recommend using 1 1/4 inch drywall screws.
- Corner Bead: This will be used to make all of your OUTSIDE corners look pretty. You will run your corner bead all the way from floor to ceiling, making certain that your corner bead is always tight to the ceiling. You can use metal or plastic corner bead.
- Utility Knife: This will be used to cut all of your drywall pieces.
- Square: Different than a carpenter square. This tool is shaped like a T and is used to make straight lines on your drywall to cut. Using a square will ensure that you have nice even and straight cuts.
- Mud: Unfortunately this is mud you have to buy and you can’t just dig up out of the ground. This is also known as “joint compound”. This often comes in a box or a pale. Mud is used to join and blend all seams together.
- Mud pan: This will be used to hold your mud. You will take scoops out of your big bucket and put it into your pan to then apply to the wall
- Drywall Knives: Drywall knives are used to apply the mud to the walls as well as make the joints look pretty. There are various sizes of knives. We recommend a smaller knife and a bigger knife. By smaller we mean 6 inch and by bigger we mean 12 inch. The smaller knife will be used for initial application of mud as well as scooping the mud out of the bucket. The larger knife will be used to extend and fan your tape joints on the wall.
- Drywall Tape: This will be used to go on top of the mud which will also make your joints look pretty. This comes in a mesh material as well as a paper material. We recommend using the paper material.
- Corner Trowel: Surprise, this tool is used in corners. This 90 degree trowel makes mudding corners a breeze.
- Sanding Block: The sanding block can be anywhere from 120-180 grit. We would recommend getting a pack of 3 for larger areas.
- 5 gallon bucket with water: In case you get thirsty… just kidding. This is for you mud. A big mistake people make is taking the mud as it is right out of the pale without mixing it. Adding water to your mud makes it much easier to work with and you’ll end up with a better finish on the wall.
- Electric Mixer: The same one you use to bake a cake will work… just kidding. A basic drill will work for mixing your mud you will just need to buy a drywall paddle. Mixing your mud often is always a good idea.
1. Hang Drywall
To hang the drywall itself we recommend starting with the top piece first then hanging the bottom after. What we mean by this is say for instance you have 8 ft ceilings, there will be 2 sheets of drywall vertically that will be needed to cover the wall. Take your first piece and hold it tight to the ceiling, screwing about every 12 inches up and down on each of the studs. Then butt your second piece tight to that first piece repeating the same process of screwing the sheet to the studs. You’ll notice where the 2 meet there is a factory edge. These two edges actually have a taper to them and will make it easier to tape them when the time comes.
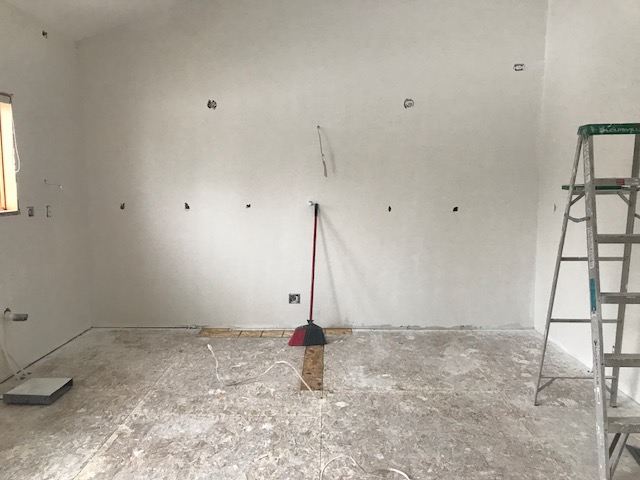
Continue this process of screwing the drywall to the walls, keeping little to no gap in between sheets. Measure and cut out any outlet or light switch boxes before hanging the sheets. Once this step is completed, prep the room for taping.
2. Poly Room
Go crazy with the poly. You can never have enough to be honest. Make sure that every doorway and vent opening is covered. Lay the poly out on the ground and cut it approximately 4 inches wider than the opening. This will give you 2 inches on each side to tape. If there are windows in the area or any furniture pieces, poly those as well. Not only is this for dust isolation but its also to keep this clean. Drywall can be very messy and the more contained your mess is the easier it is to clean once you are finished.
3. Fill Screw Holes
This can be an overlooked step because most people just want to tape the seams right away. Mudding the screw holes can be a quick and easy way to get familiar with the tools as well as the consistency of the mud. You wont need a ton of mud to do this so make sure you scrape the wall flat after going over each screw hole. If there are any screw heads sticking out too far, take your screw gun and drive the screw head flush into the wall.
4. Tape Joints and Seams
Use a corner bead for the outside corners to help protect against nicks also giving you a nice finished corner. Make sure that the corner bead reaches all the way tight to the ceiling. If you happen to cut the corner bead too short thats ok because your trim will most likely come up the wall 3-4 inches. Screw in the corner bead with regular drywall screws just as you did with the rest of the drywall.
When making up your initial batch of mud, add small amounts of water 1 cup at a time while mixing in between. It should be slightly more runny than peanut butter but its always good to add small amounts so to not water it down.
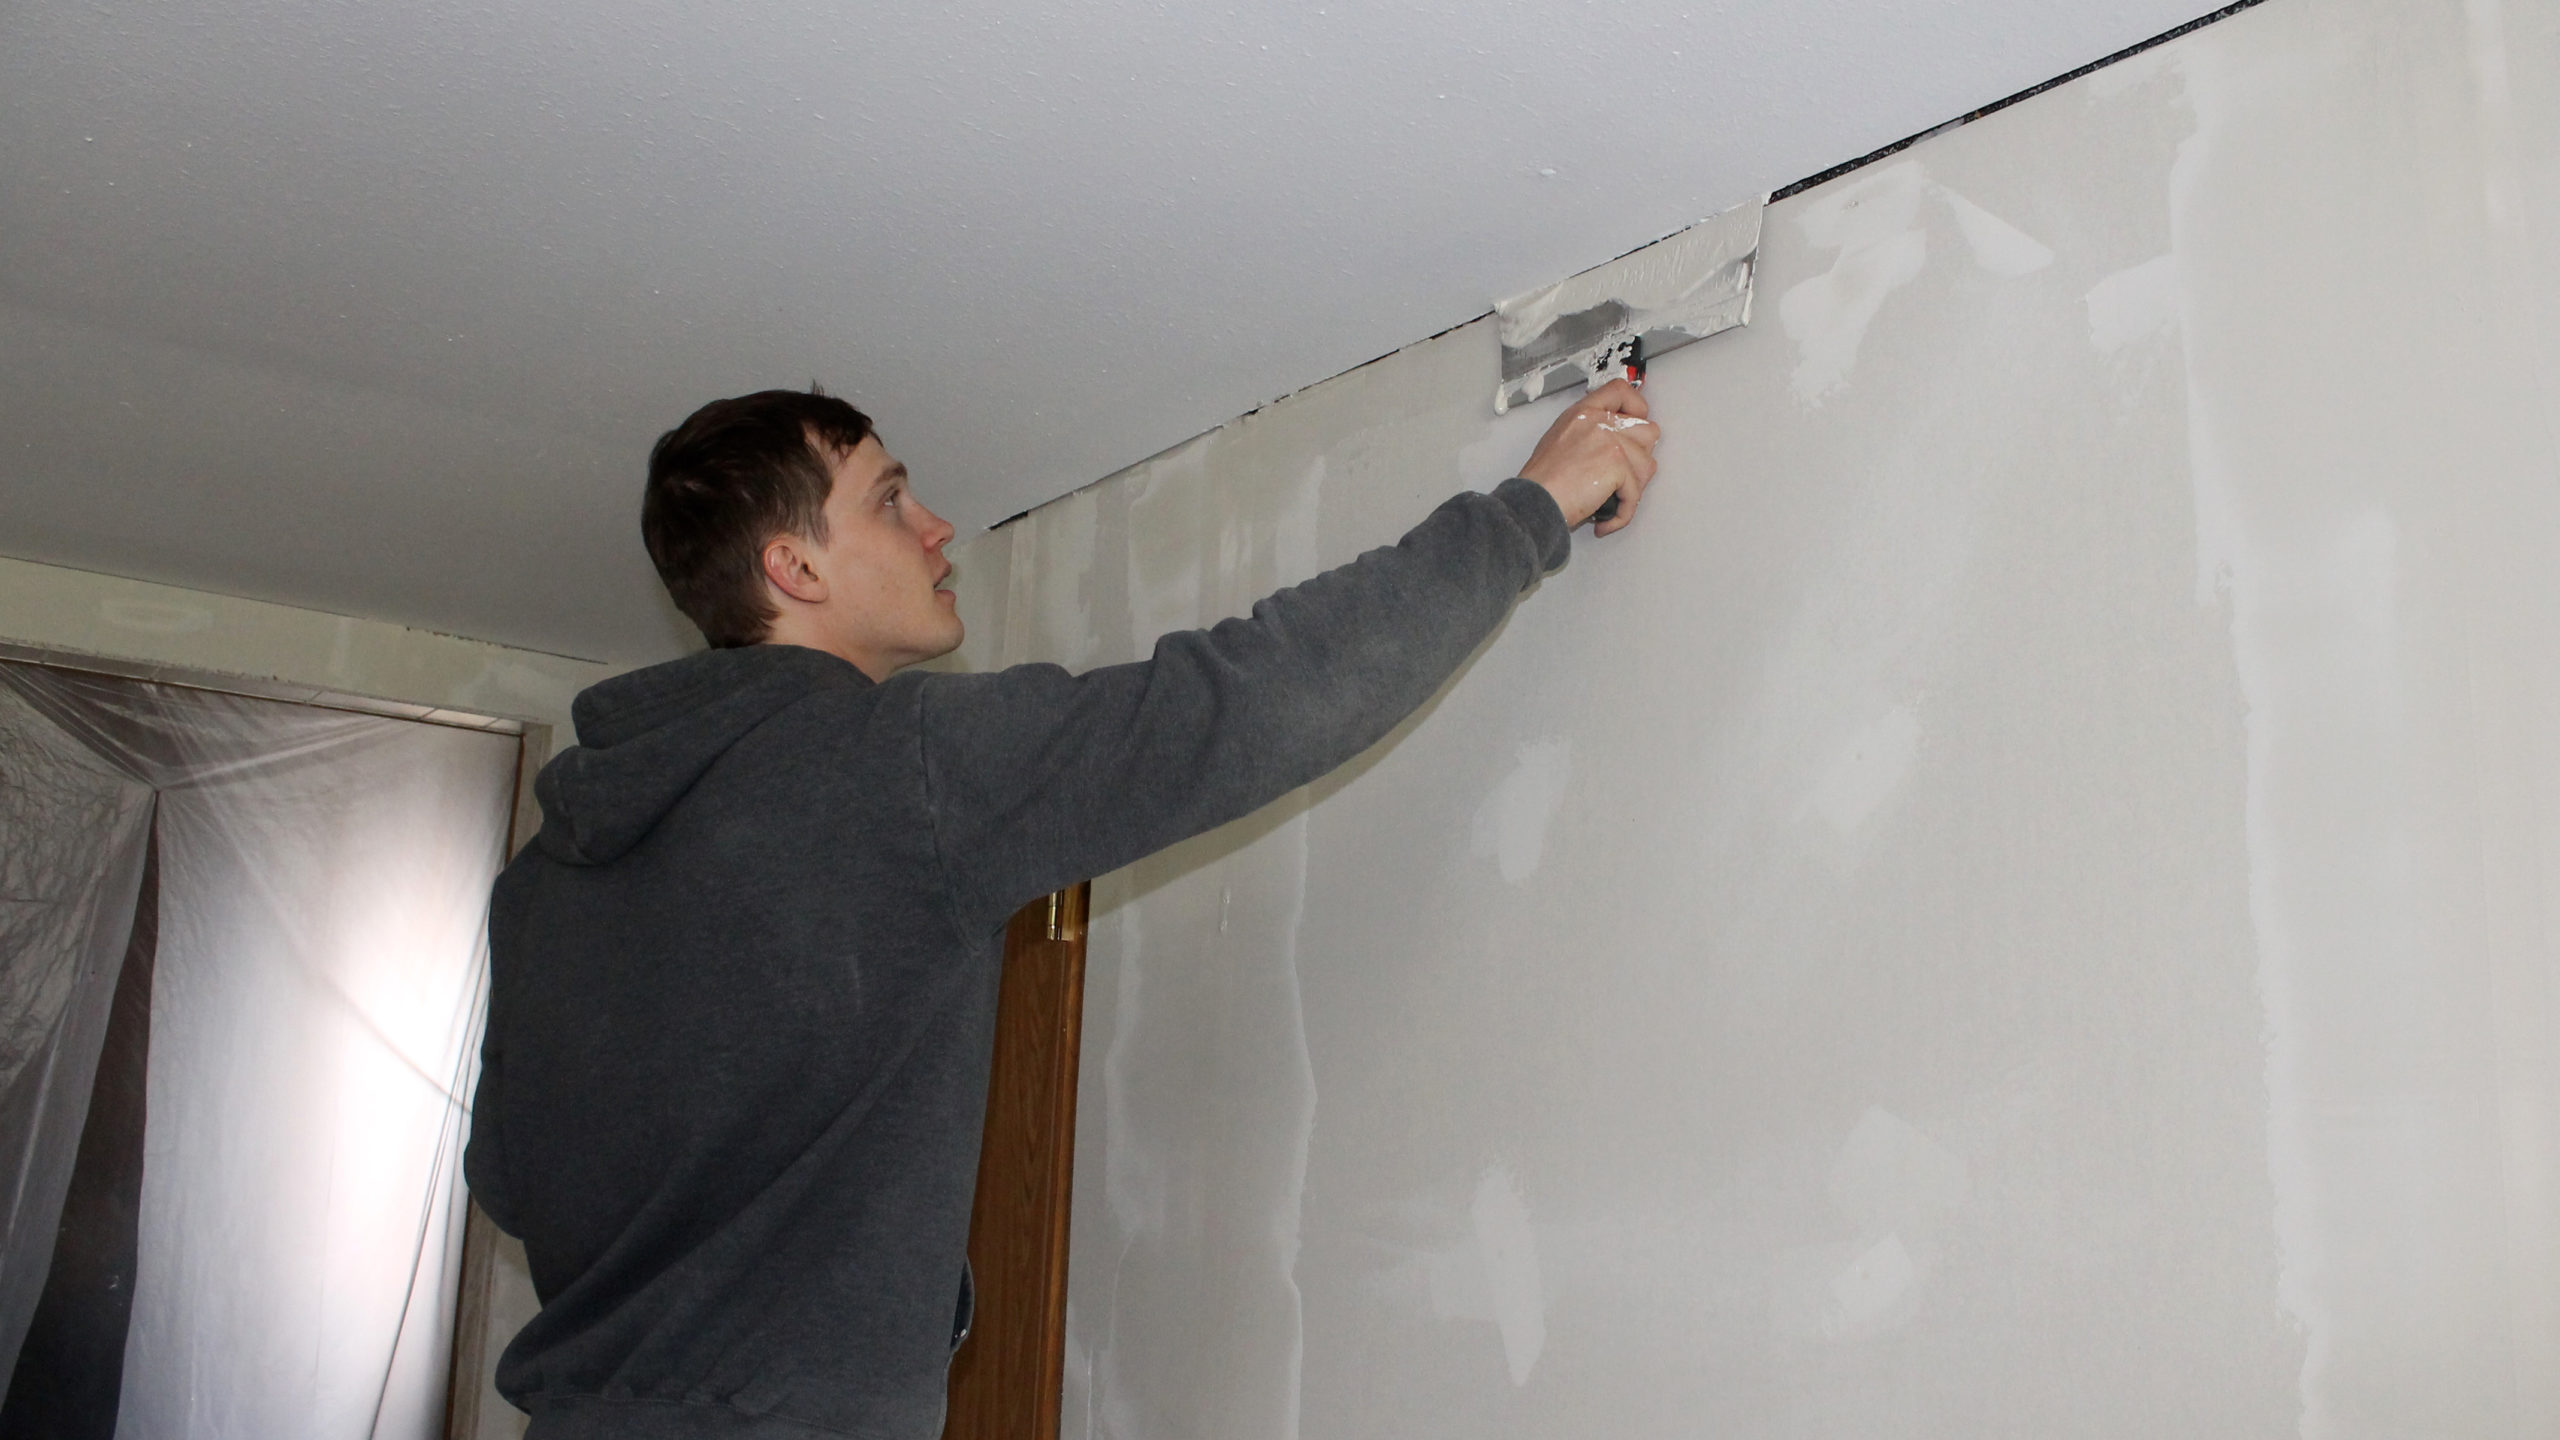
Tear and cut all of the tape a little longer than the length of the seams. Put a light layer of mud onto the seams, which acts as the “glue” for the tape. . Then, press the dry tape onto the freshly mudded joints by hand. Use a trowel and push the tape firmly into the mud, making sure there are no air bubbles. The goal of this initial taping step is to create a nice base for all of your joints. The goal isn’t to use a ton of mud or cover up all of the tape. Mastering this first step is crucial to having a nice smooth finish on your wall.
5. Mud
After the initial taping has been done, go through with a utility knife and cut out any necessary spots. If the tape bubbled up in any places simply cut it out/off of the wall. This process again will help you ensure that your are ending up with the nicest finish that you can get. Once those spots have been inspected and cut out your can begin to mud over the joints. For this step you will want to use a larger knife than the one you originally used. This will help widen out the joint creating a blended area across the joint. It is ok to use more mud and you want to make sure that you are covering the tape. This step can also be very tedious because you are working with a larger amount of mud. Don’t worry as much about making the joints absolutely flawless. You will have an opportunity to sand out the blemishes before putting the final coat on.
6. Let Dry
Nothing can ruin a drywall job more than going at the wall before the mud has dried completely. The mud will generally go on the wall with a grey color but it will dry completely white. We would always recommend giving it more time than you think, especially if you caked it on there.
After you coat the wall, wash your tools every time. Having dry and crusty mud pans or mud knives is a recipe for disaster. Having a clean and smooth tool to work with will help with the mudding process.
7. Sanding
For sanding we would recommend that you sand after the initial coating of mud. So you will have put the tape on, let it dry, mudded over that, let it dry, THEN do a light sand. For this step you will want either a sanding sponge or sand paper. You can buy long poles that have sanding adapters on the end that make it much easier to sand large areas.
The best gauge for how much sanding to do is using your eyes and your hands. Look for rough spots but also feel for them. Close your eyes and run your hand along the wall. If you feel raised spots you should go back over them with the sander. If you are going to use an electric sander make sure you are only using a drywall specific sander. A regular orbital sander will often take off more than you want. There isn’t really a correct technique to sanding. Just simply use your best judgement.
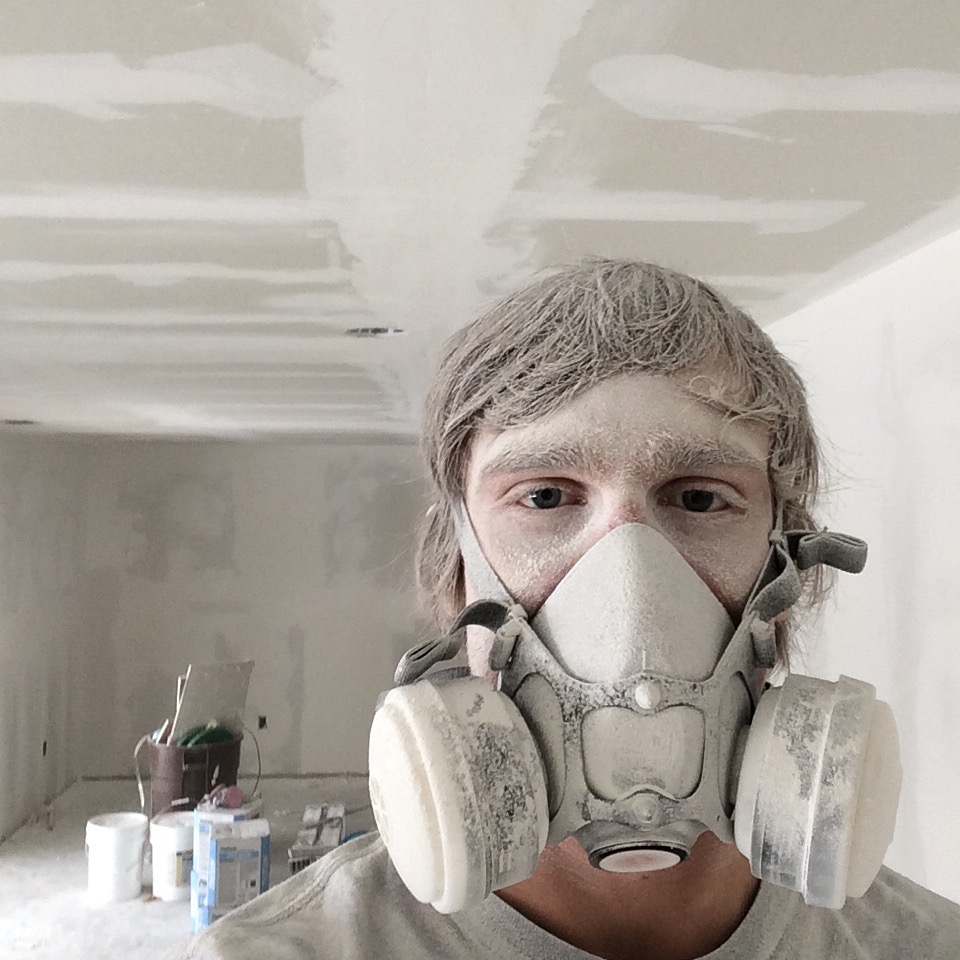
Wear a Mask
Protect your lungs by wearing a mask to prevent excessive dust from getting into your airways.
8. Mud & Dry & Repeat
Once the walls are sanded down, re-mud the tape again and let it dry overnight. This coating can be REALLY big. What we mean by that is you really want to fan out your joints. They should end up being around 15-18 inches wide across the wall. This will help with blending out the joints. If you notice any spots that are worse than others or need some extra attention don’t be afraid to mark up the wall with a pencil so you can go back and either mud it again or you can sand more thoroughly.
9. Sand
Now that you have sanded once and realized what a pain it is, you can be more picky with your mudding the 2nd time through. Try to eliminate any ridges or lines when mudding. This will make the final sand much easier. Simply sand the final layer of mud to a point of being ready to prime and paint. Once you have the walls to where you want them to be, prime them before painting. It’s always a good idea to wipe down the walls with a dry rag or take a dry paint brush and brush off the seams. There is often a lot of dust still on the walls. Getting the dust off the best you can will help with getting a smoother finish when painting.
