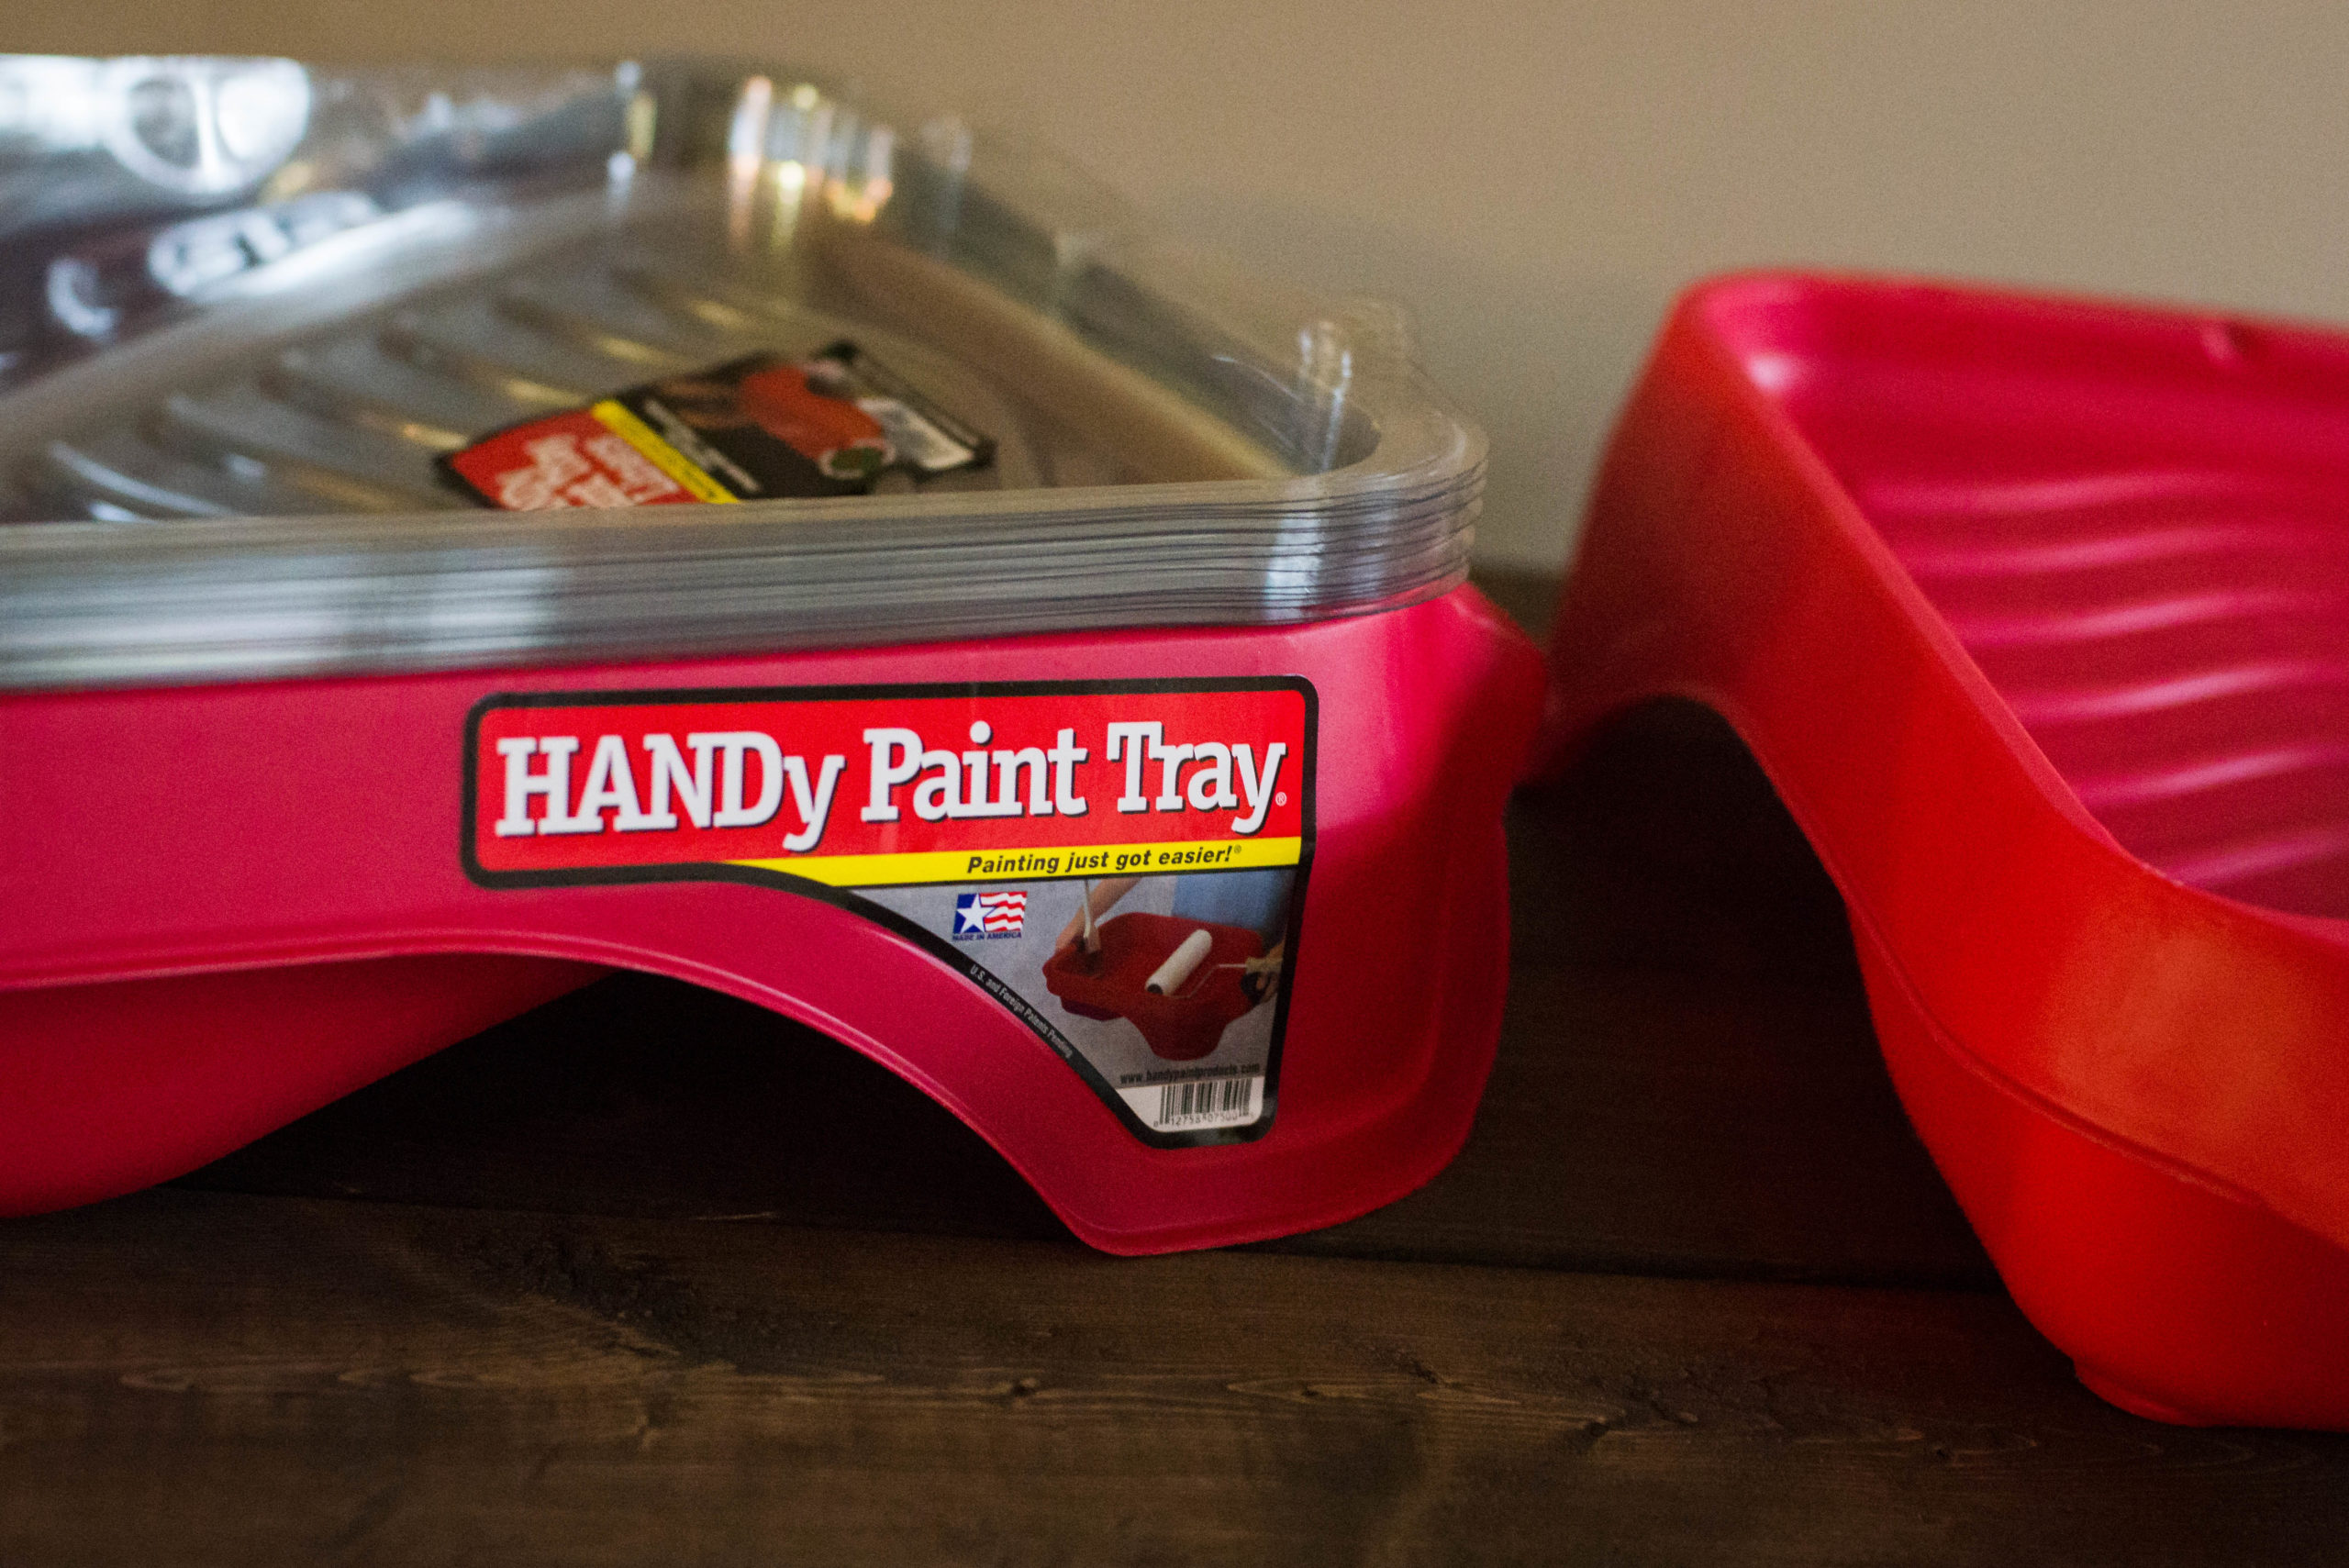
A huge THANK YOU to HANDy Paint Products for sponsoring todays post so that we can chat paint. Something we do in every single renovation is paint, especially the kitchen cabinets. So today we’re sharing our painting cabinet tutorial, our favorite paint colors and hosting a giveaway for HANDy Paint Products to one lucky winner.
Cool Story
A little over a year ago I attended the Good Leadership Breakfast at the Edina Country Club and had the pleasure to be seated at a table with a variety of mature, knowledgeable men. To be completely honest I was a little bit intimidated by what all of these guys had accomplished. Once we all got to talking and introducing ourselves, I happened to be sitting next to the inventor of THE HANDy Paint Pail, Mark Bergman. And can you even believe during the entire breakfast I never once brought up, construction2style.
We were already huge fans of the HANDy Paint Pail, but that was the only product we had ever purchased from their line. But after hearing Mark’s story I couldn’t help but immediately love all of the products.
HANDy Paint Story
The Bergman’s were (as he said, not me) older and wanted to do something they had always wanted to do, adopt. Their friends thought they were a little crazy being they weren’t in their child bearing prime years. Even though they knew it was going to be a new adventure, they were up for the challenge. They were able to give someone a home, food, a family and love.
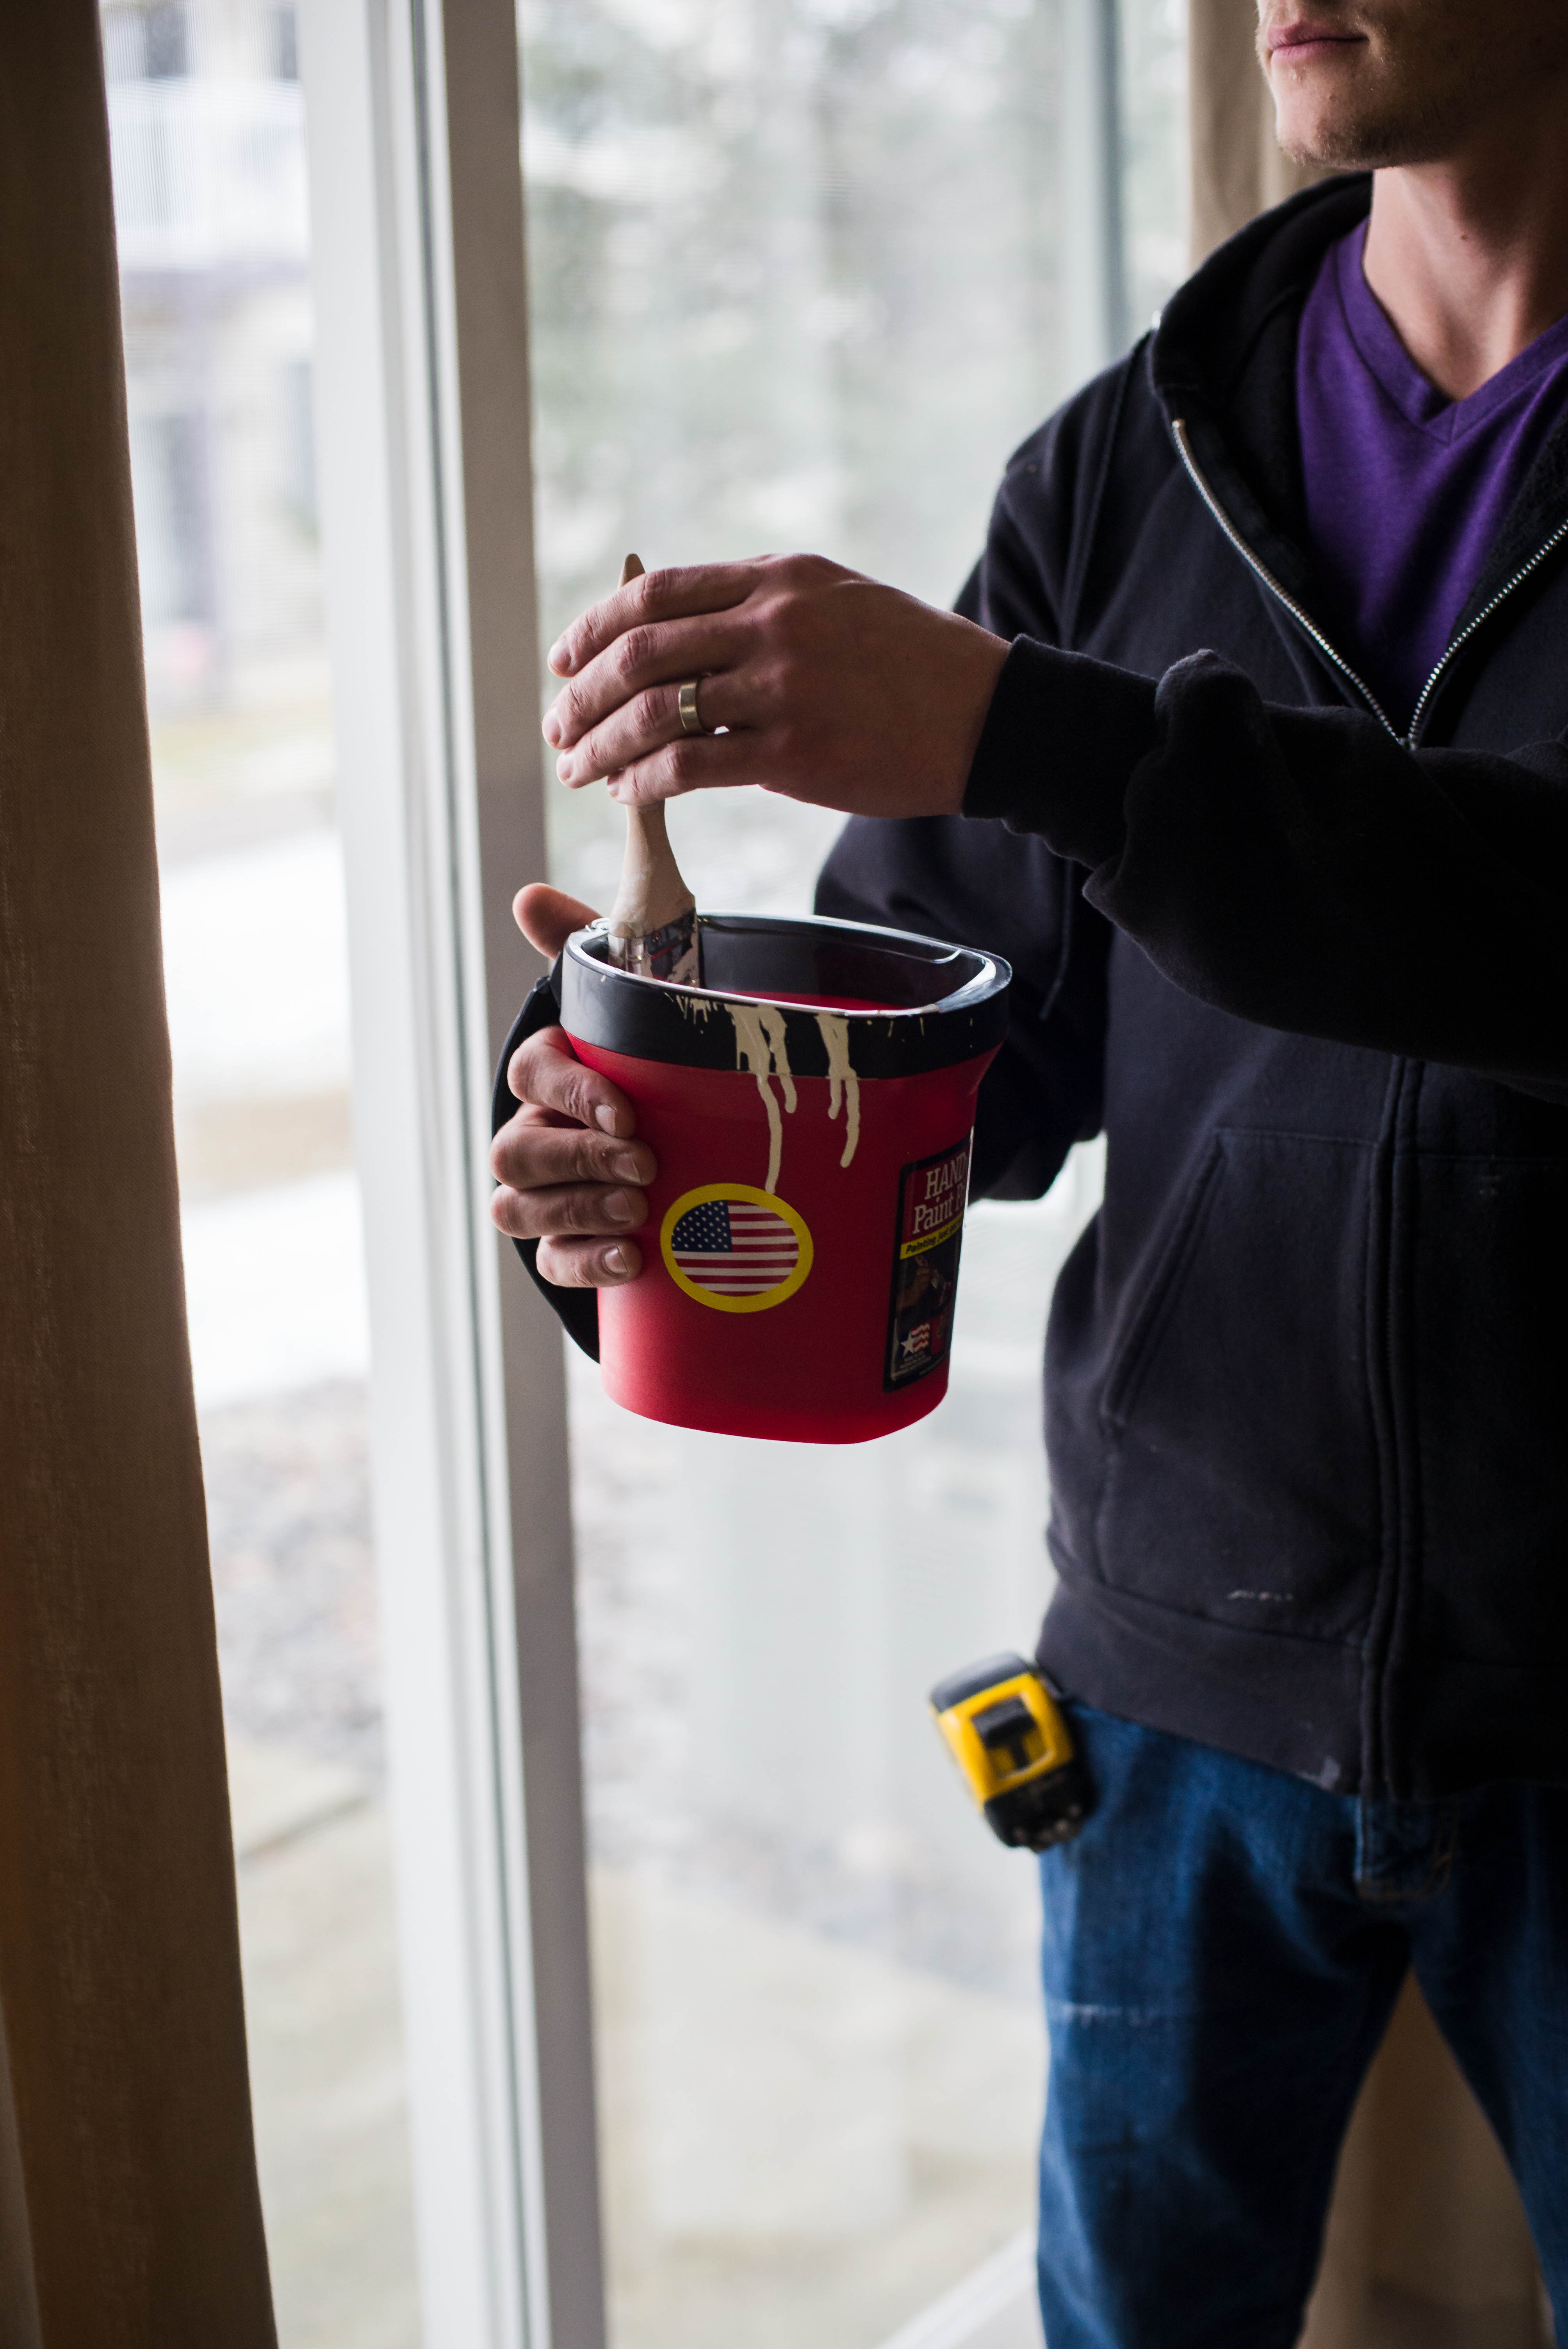
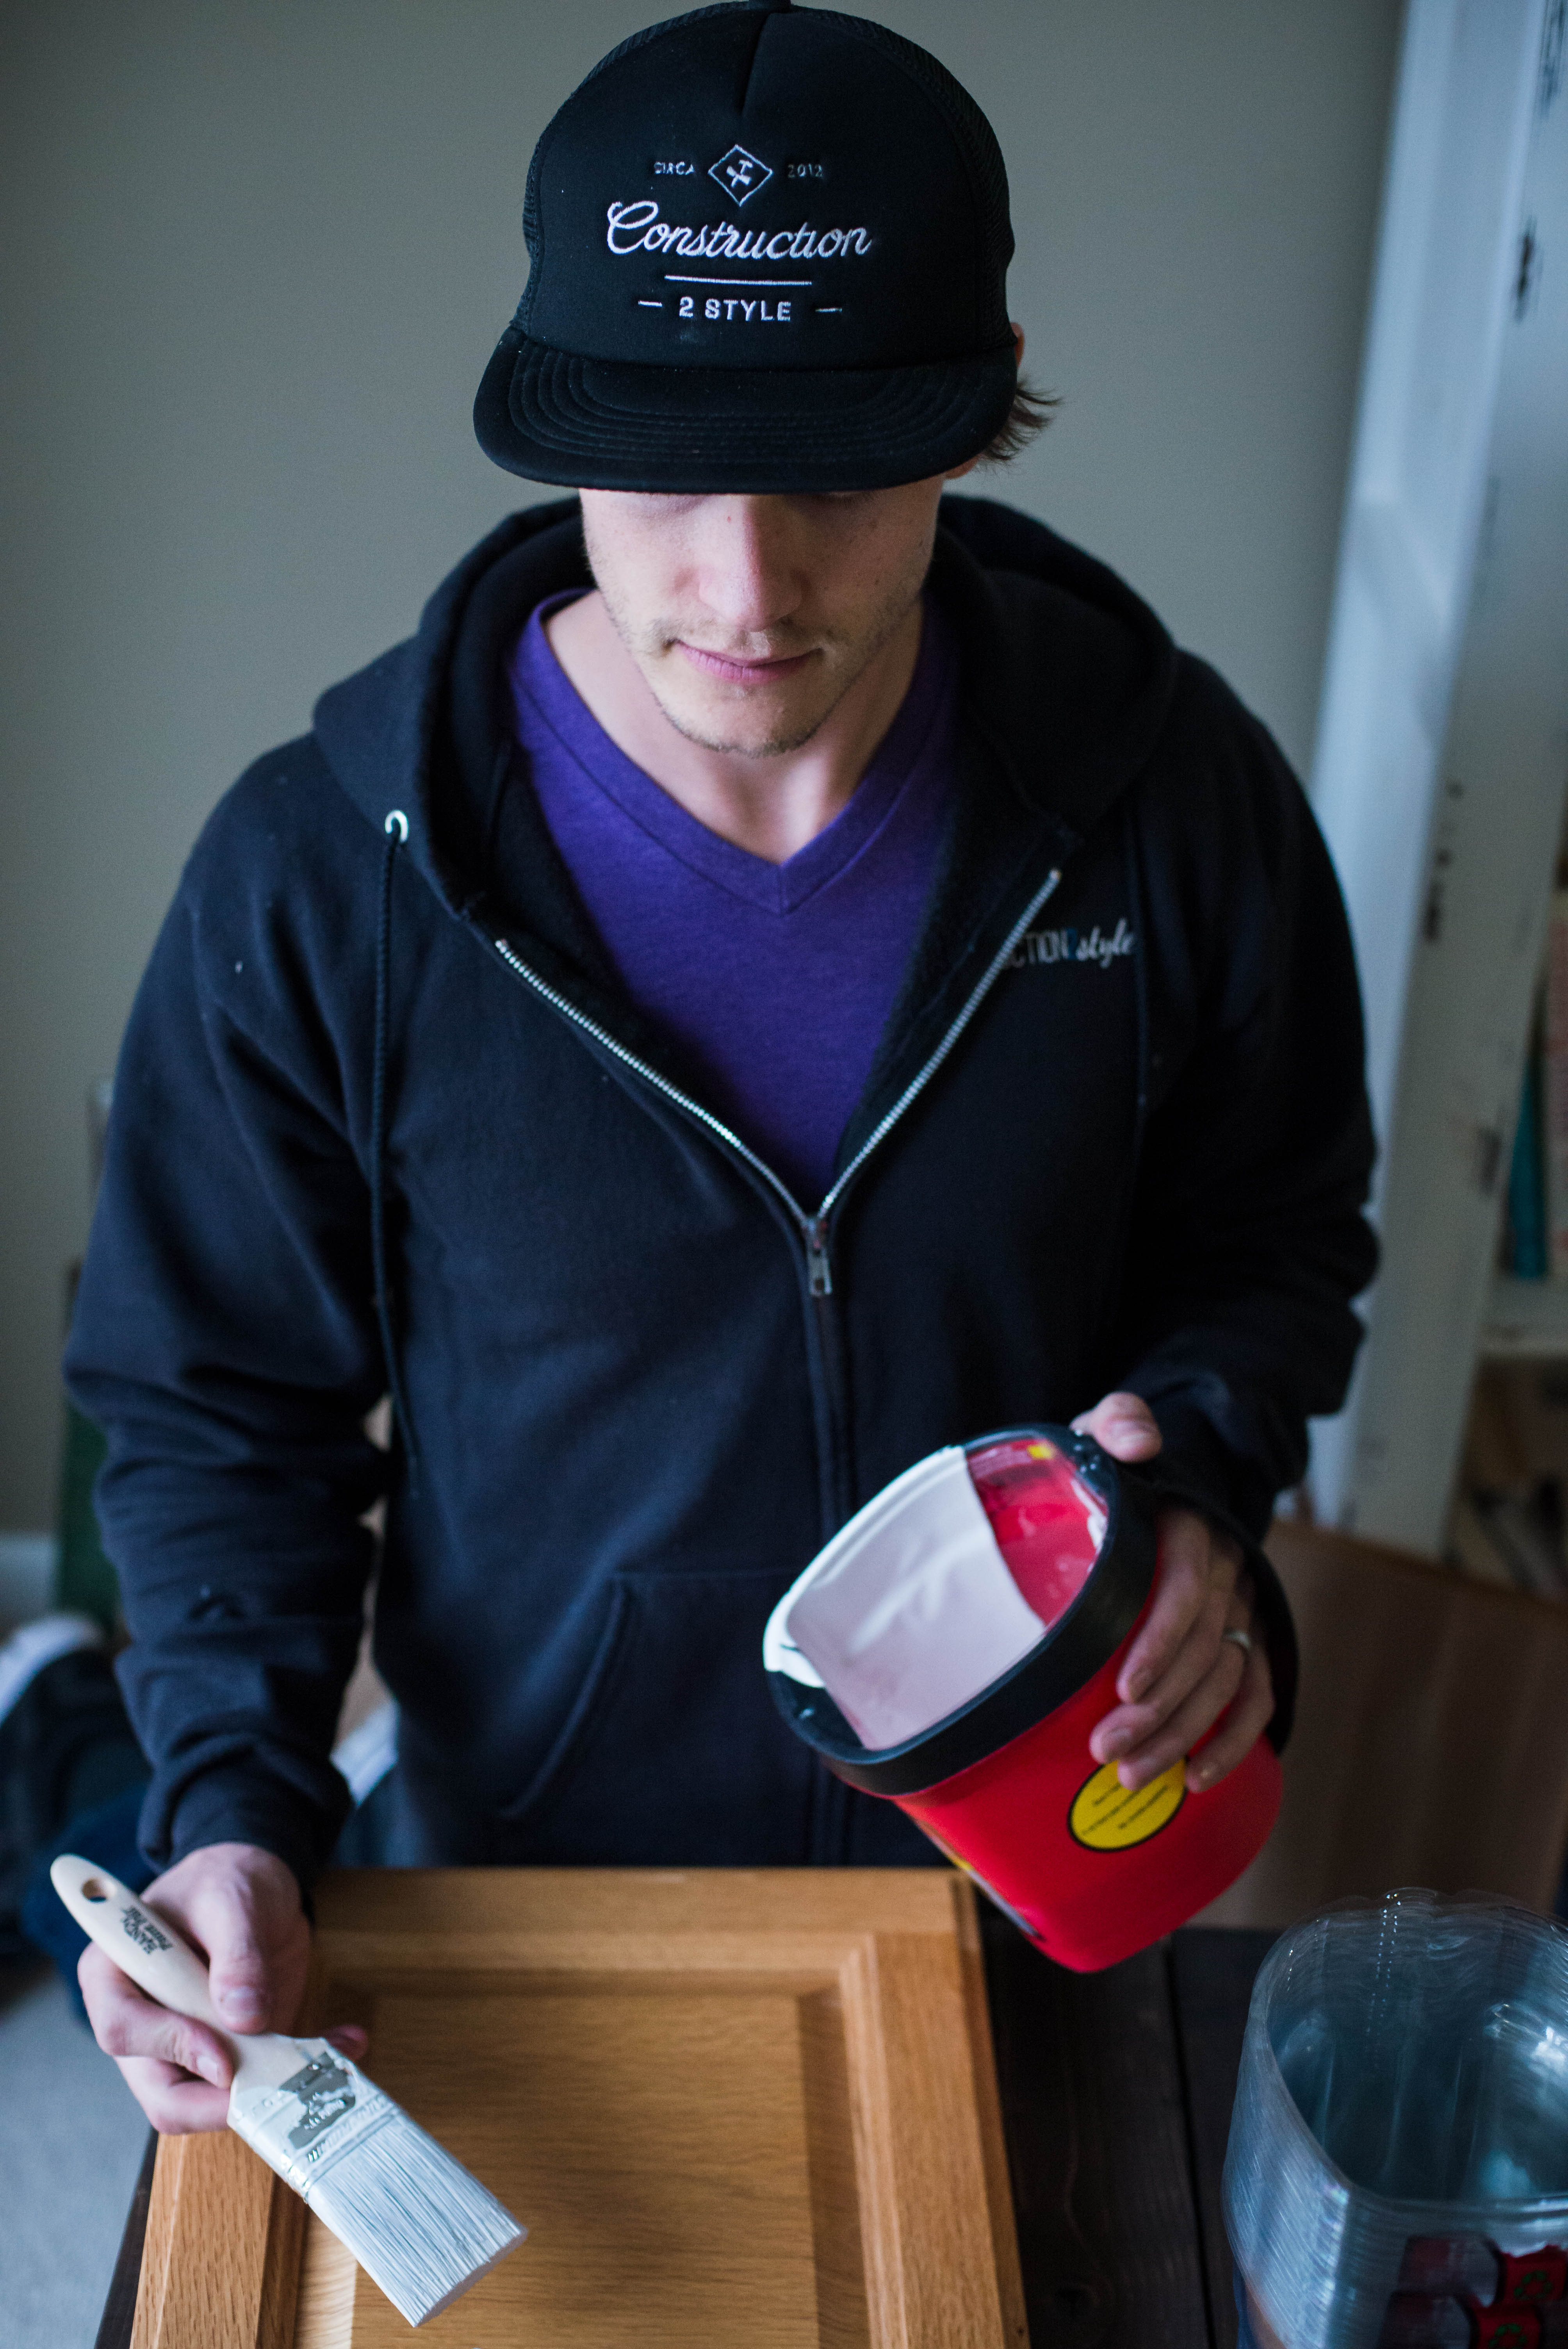
While getting ready to welcome their newest family member, they were remodeling part of their basement into a bedroom. While painting Mark got tired of holding a coffee can full of paint. So he grabbed a roll of duct tape and duct taped his hand to the coffee can, creating a strap. He even added a strip of tape across the top of the can for scraping excess paint off the brush. His whole family used it through the renovation process and loved it so much, it suddenly hit him that he was onto something! And that’s when the HANDy Paint Pail was invented.
After the Leadership Breakfast, I was so excited I immediately called to tell Jamie that I got to sit next to the inventor of HANDy Paint Products and shared his story. Neither of us never even knew the story behind the product. I remember our conversation to this day. We were both in awe of how when God is nudging you to do something that might be out of your comfort zone to better the world, he just might come back to you with something bigger!
So when we were contacted by HANDy Paint Products to do a collaboration, we of course jumped at the chance and knew once again that God is working his magic in ways we can’t imagine. So long story short, we’re super excited about this sponsorship and collaboration to share with you guys how to paint
There are a number of different great ways, tips, tricks, and techniques when it comes to painting your cabinets out there on the Internet. We get asked a lot about how we paint our cabinets.
HANDy Paint Products
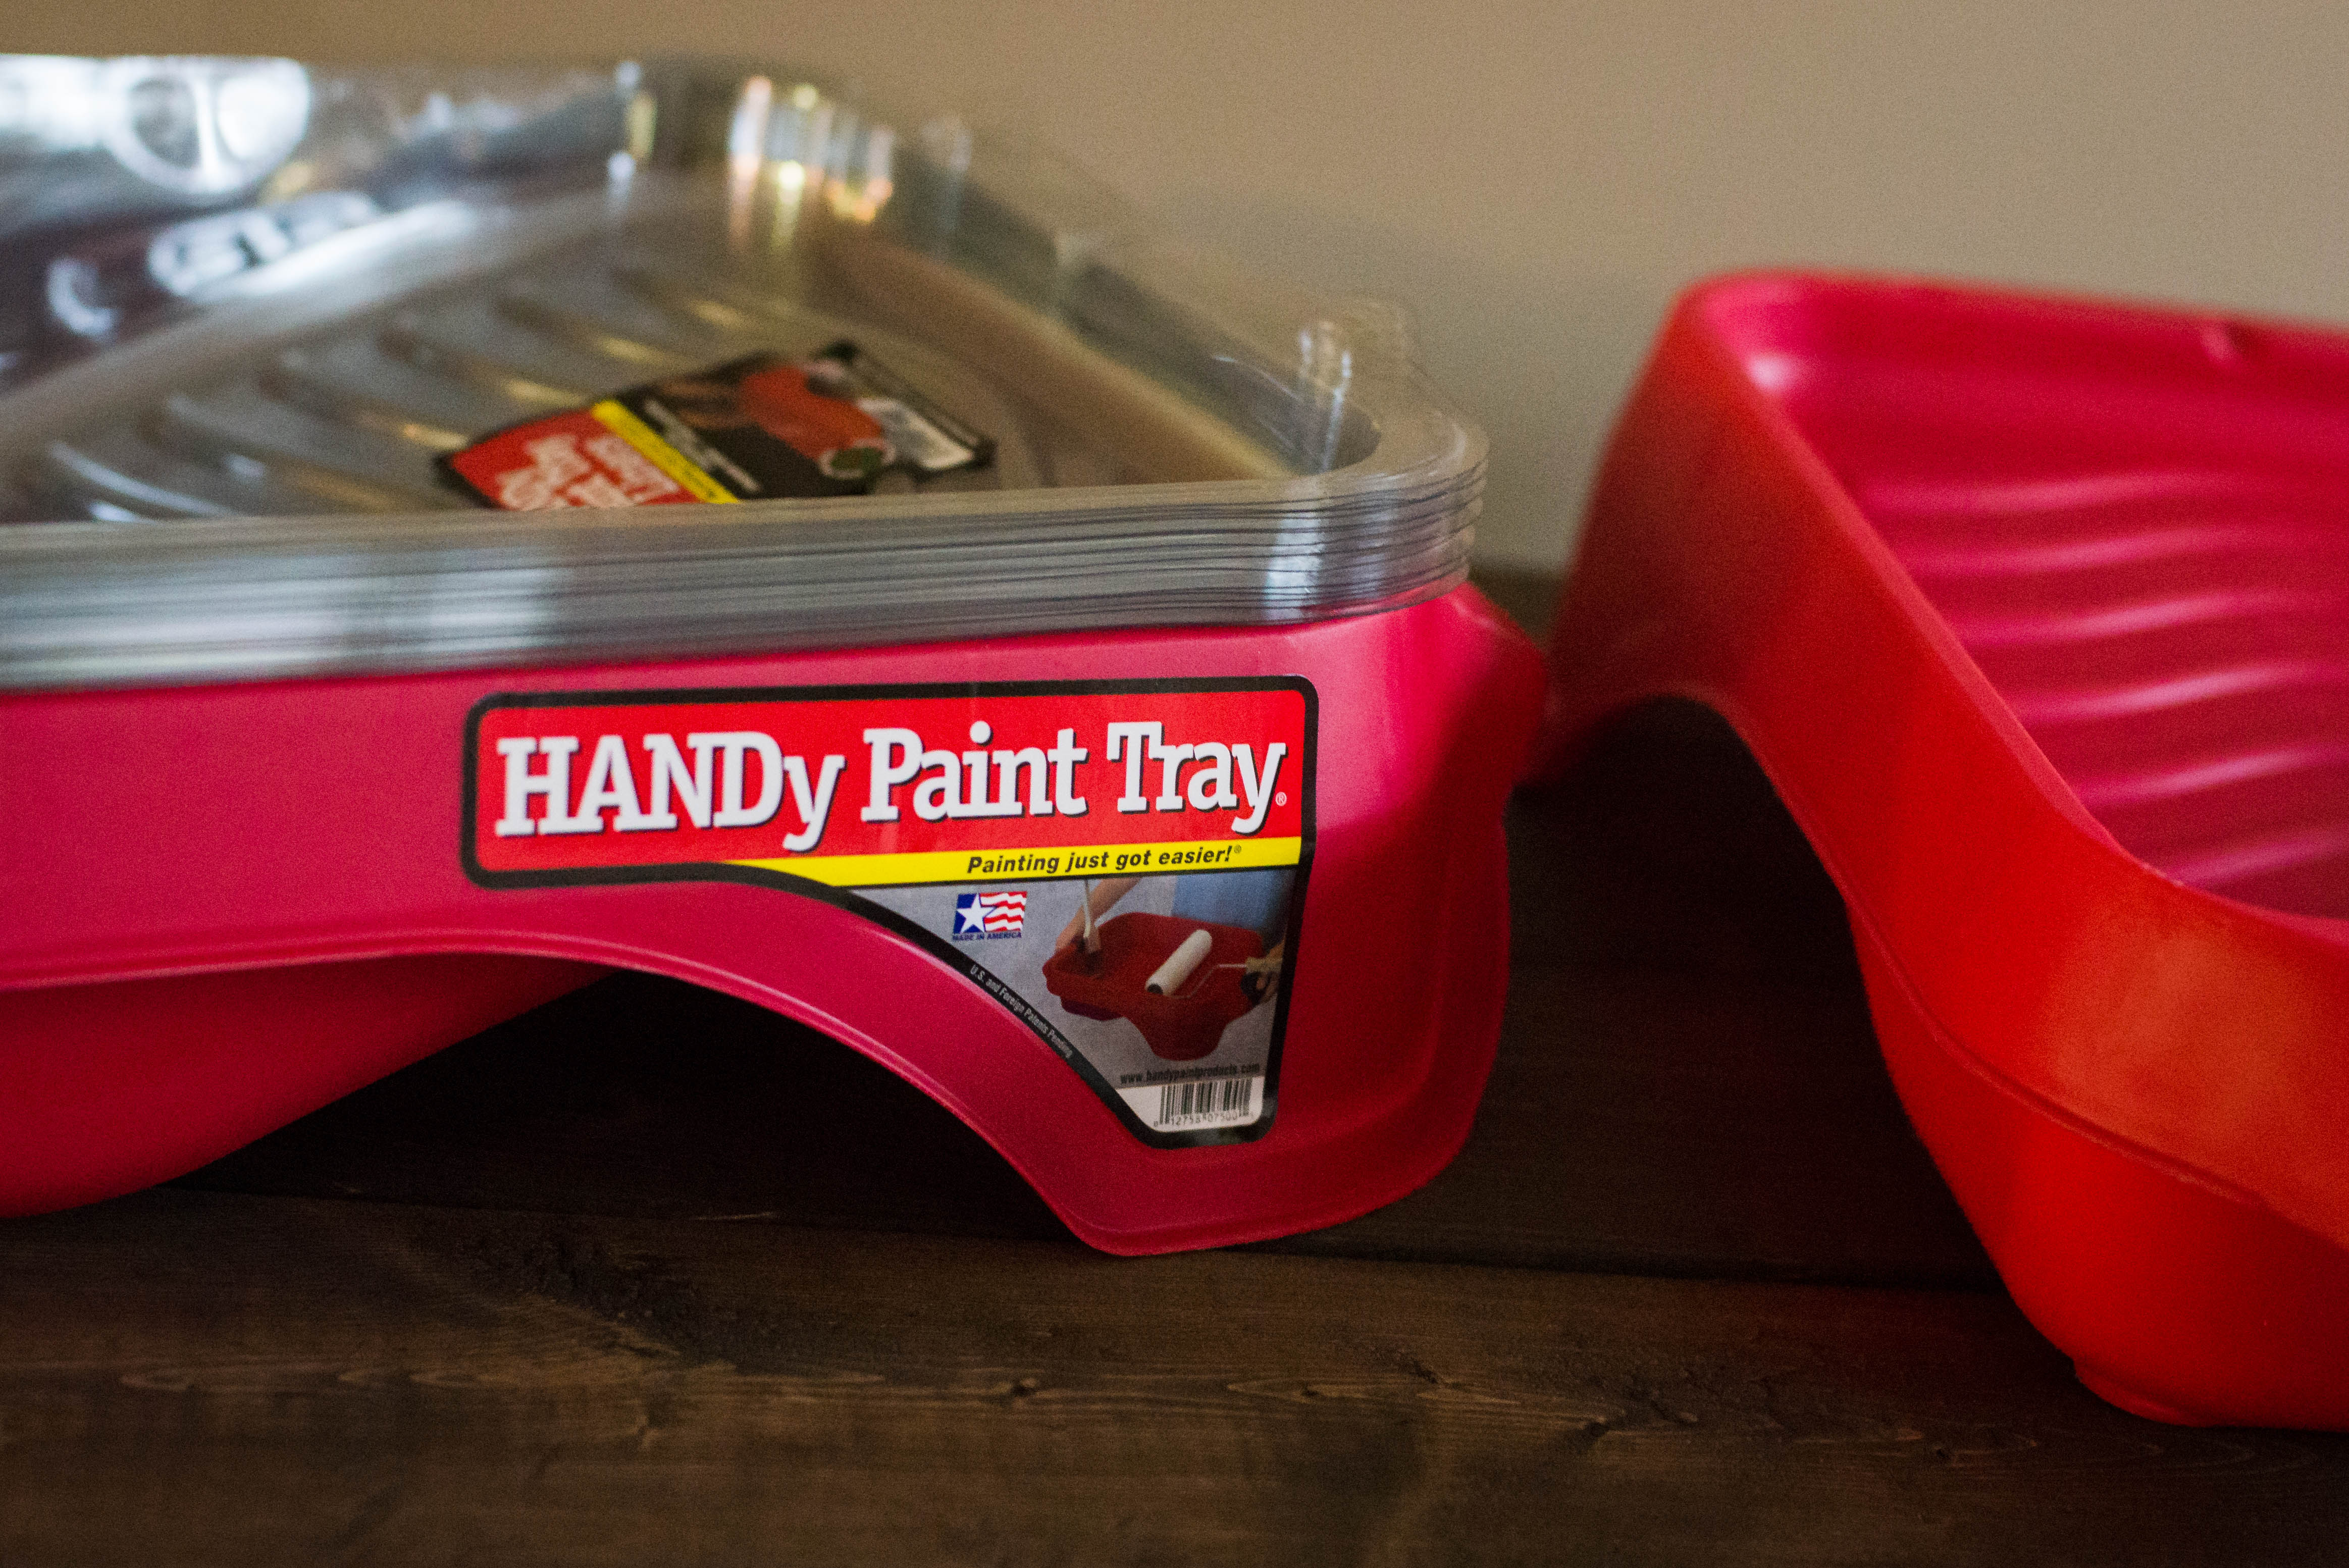
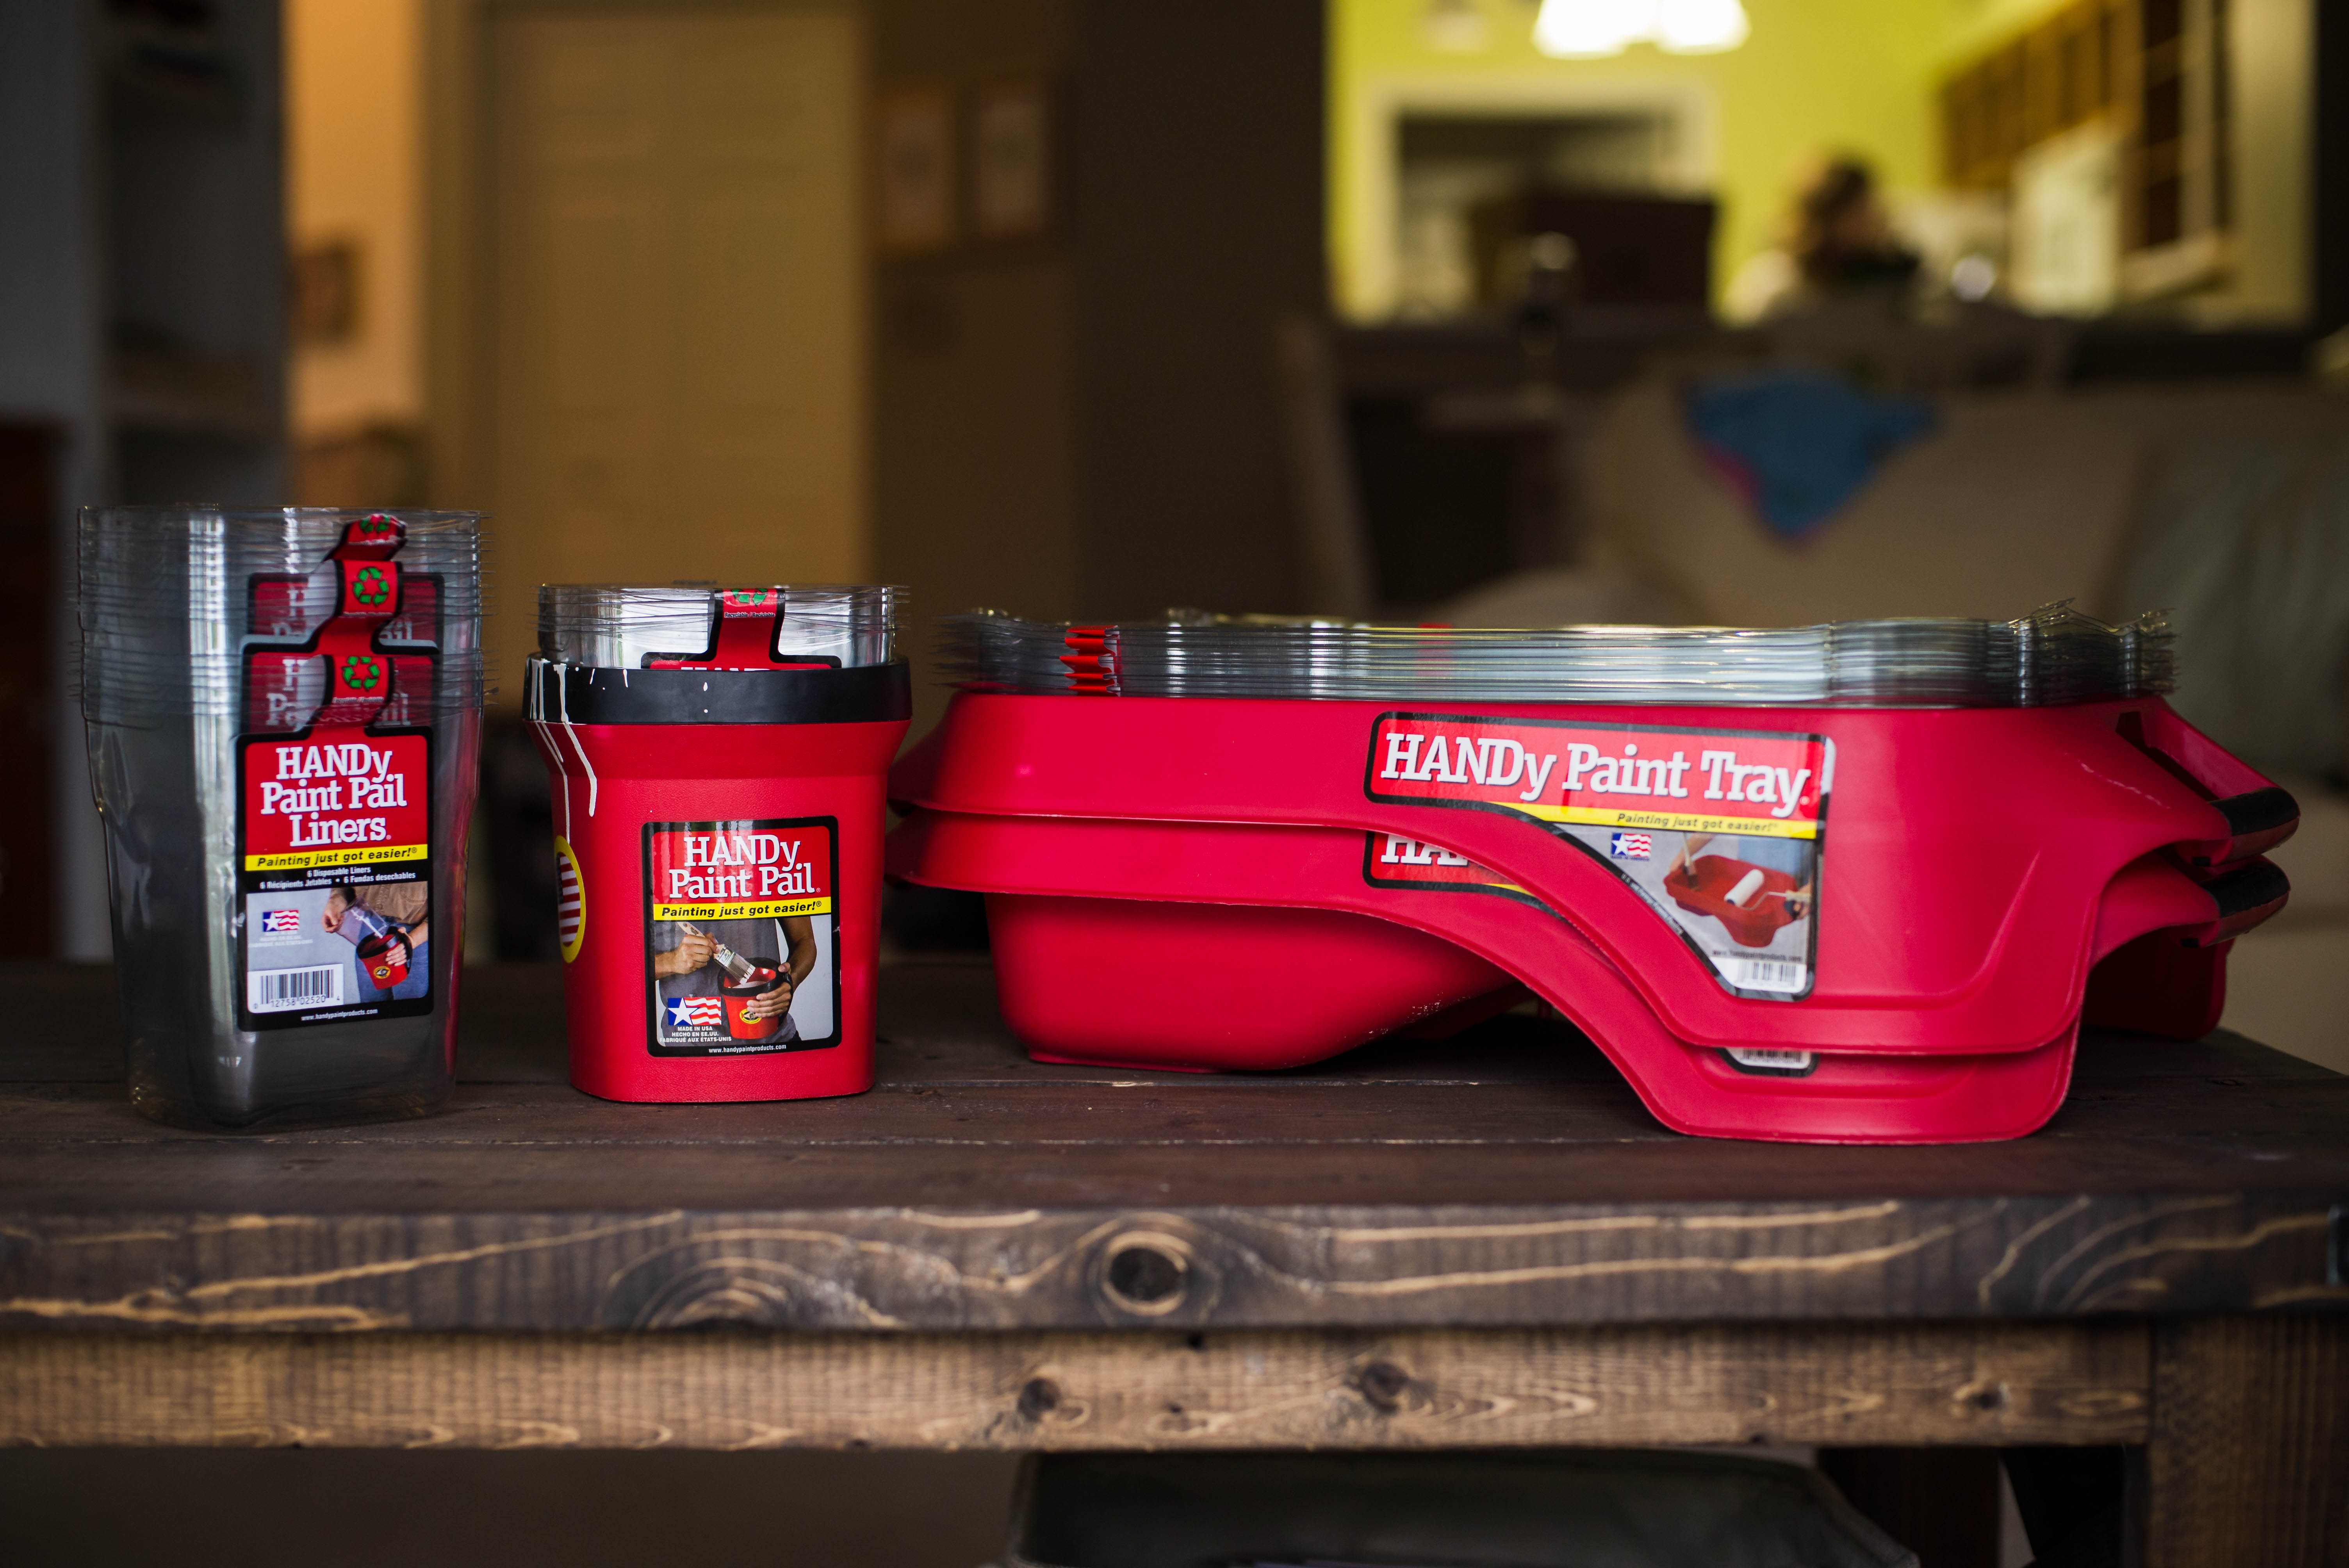
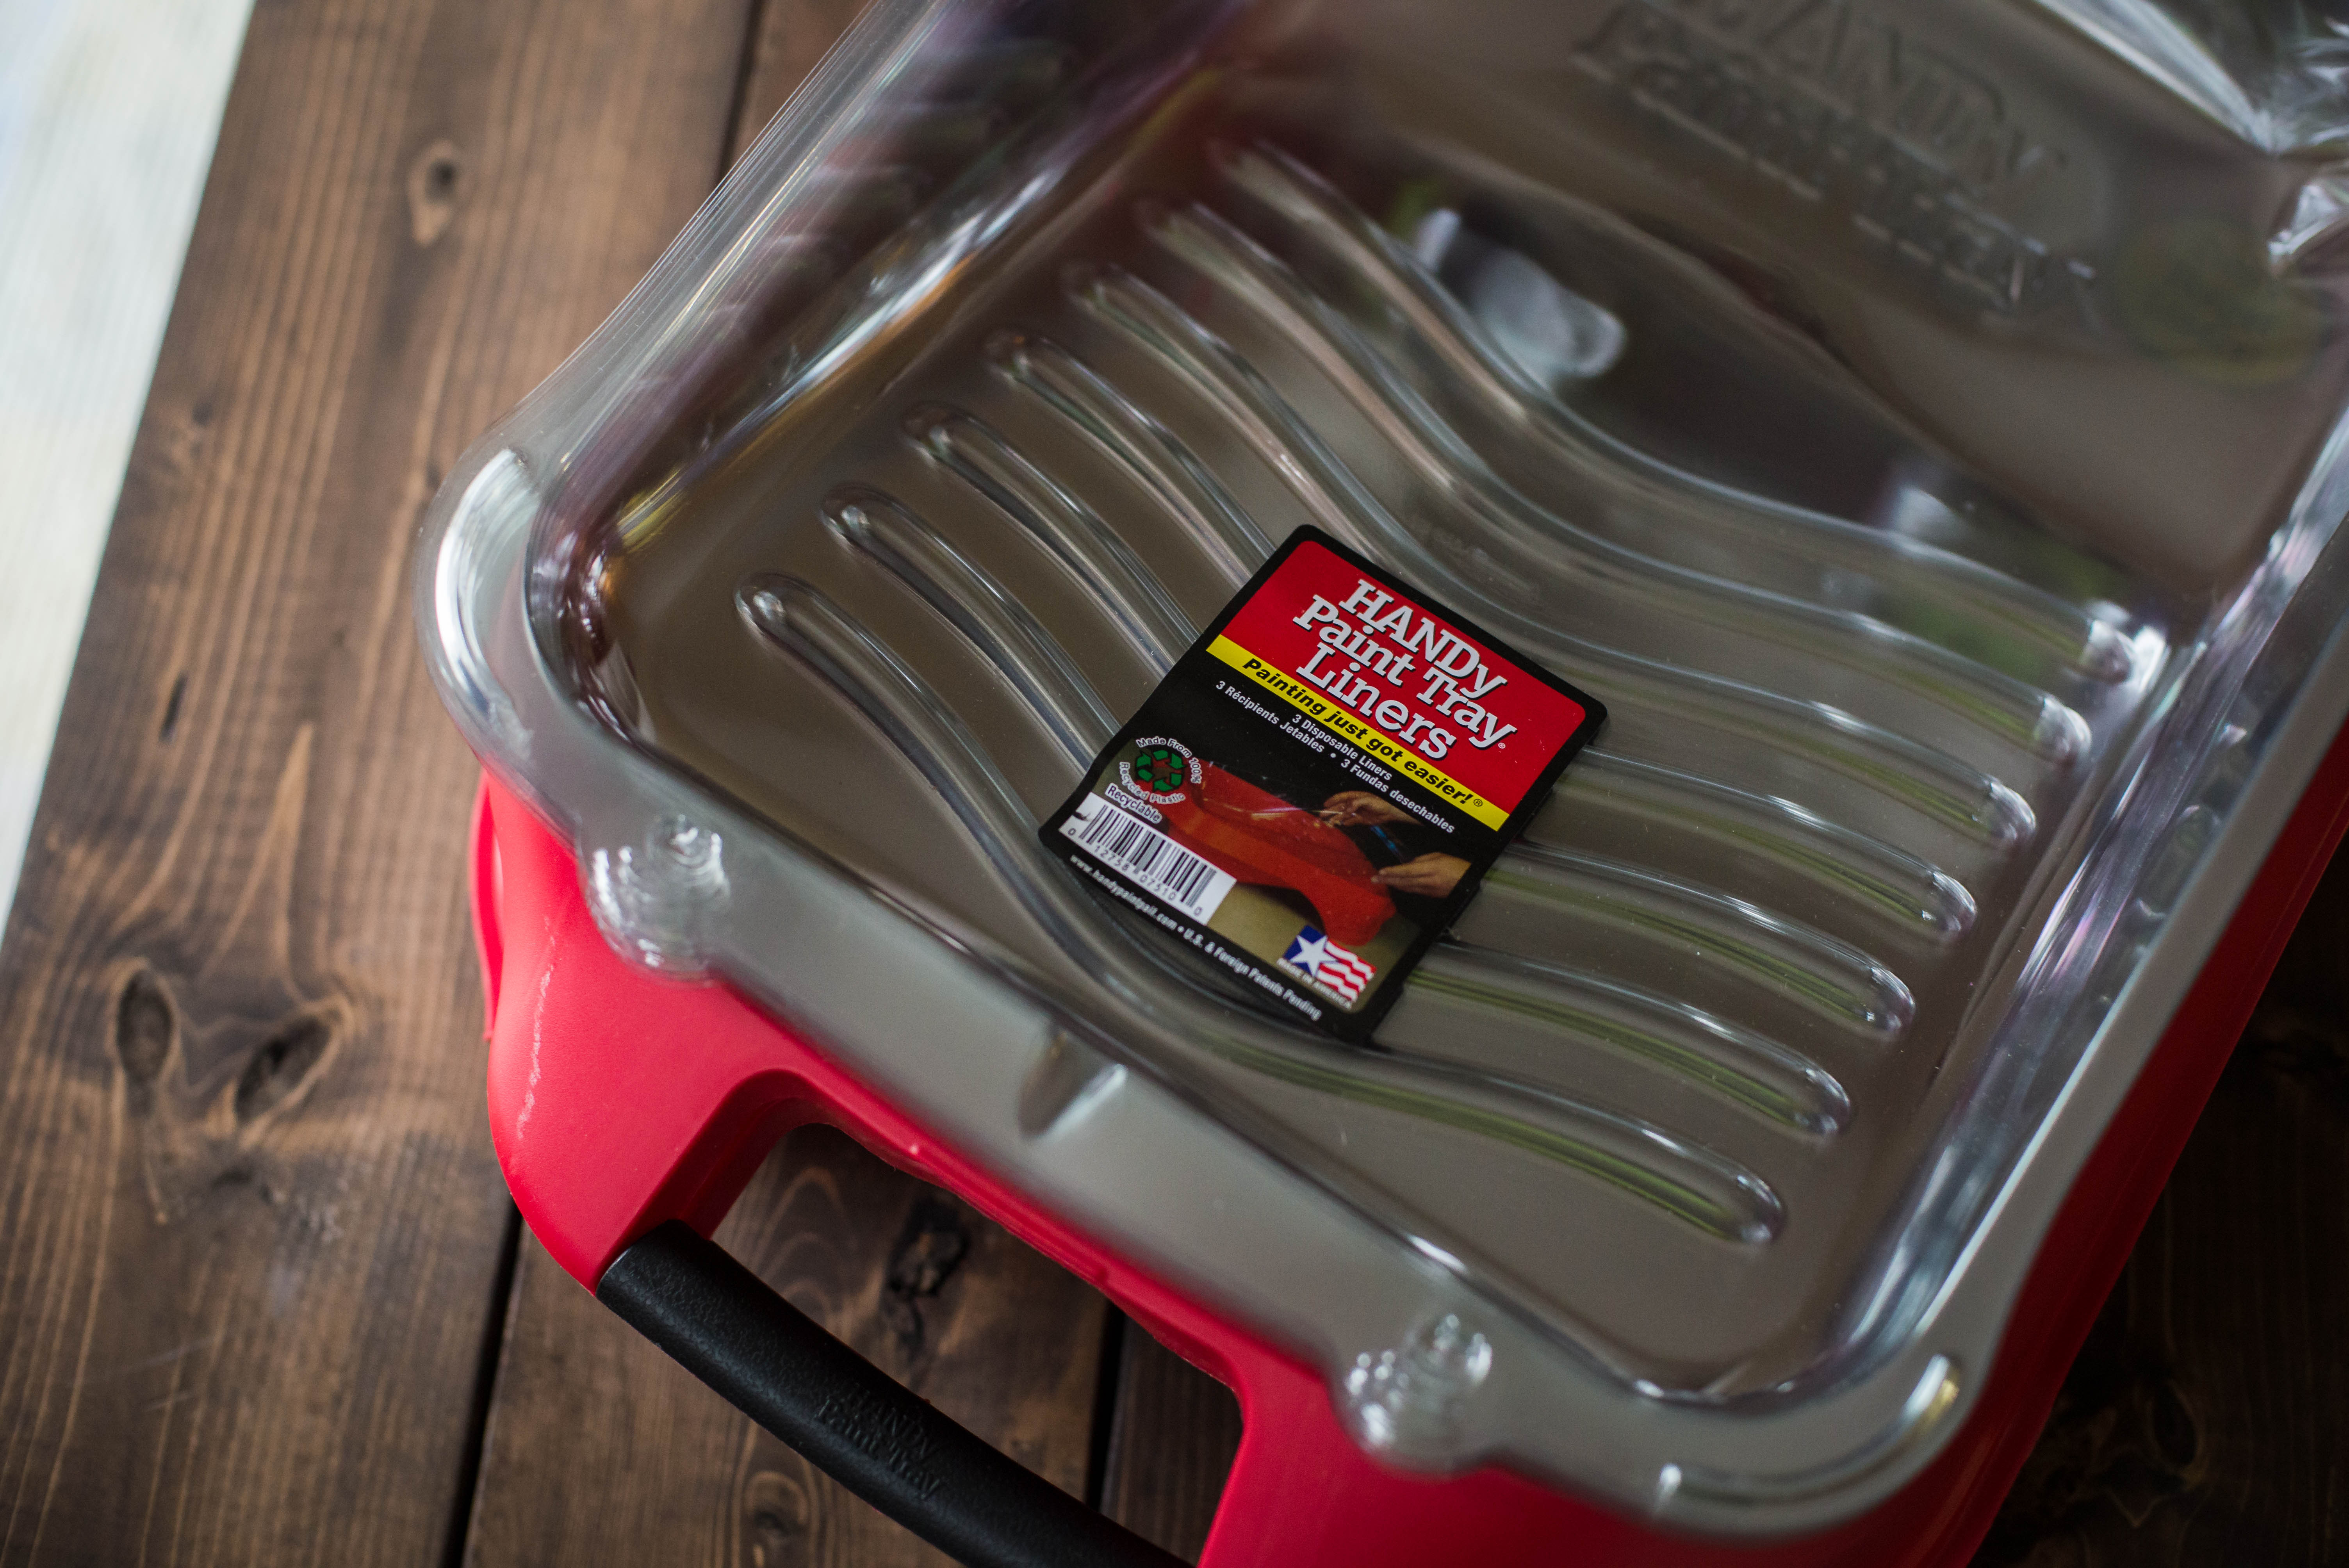
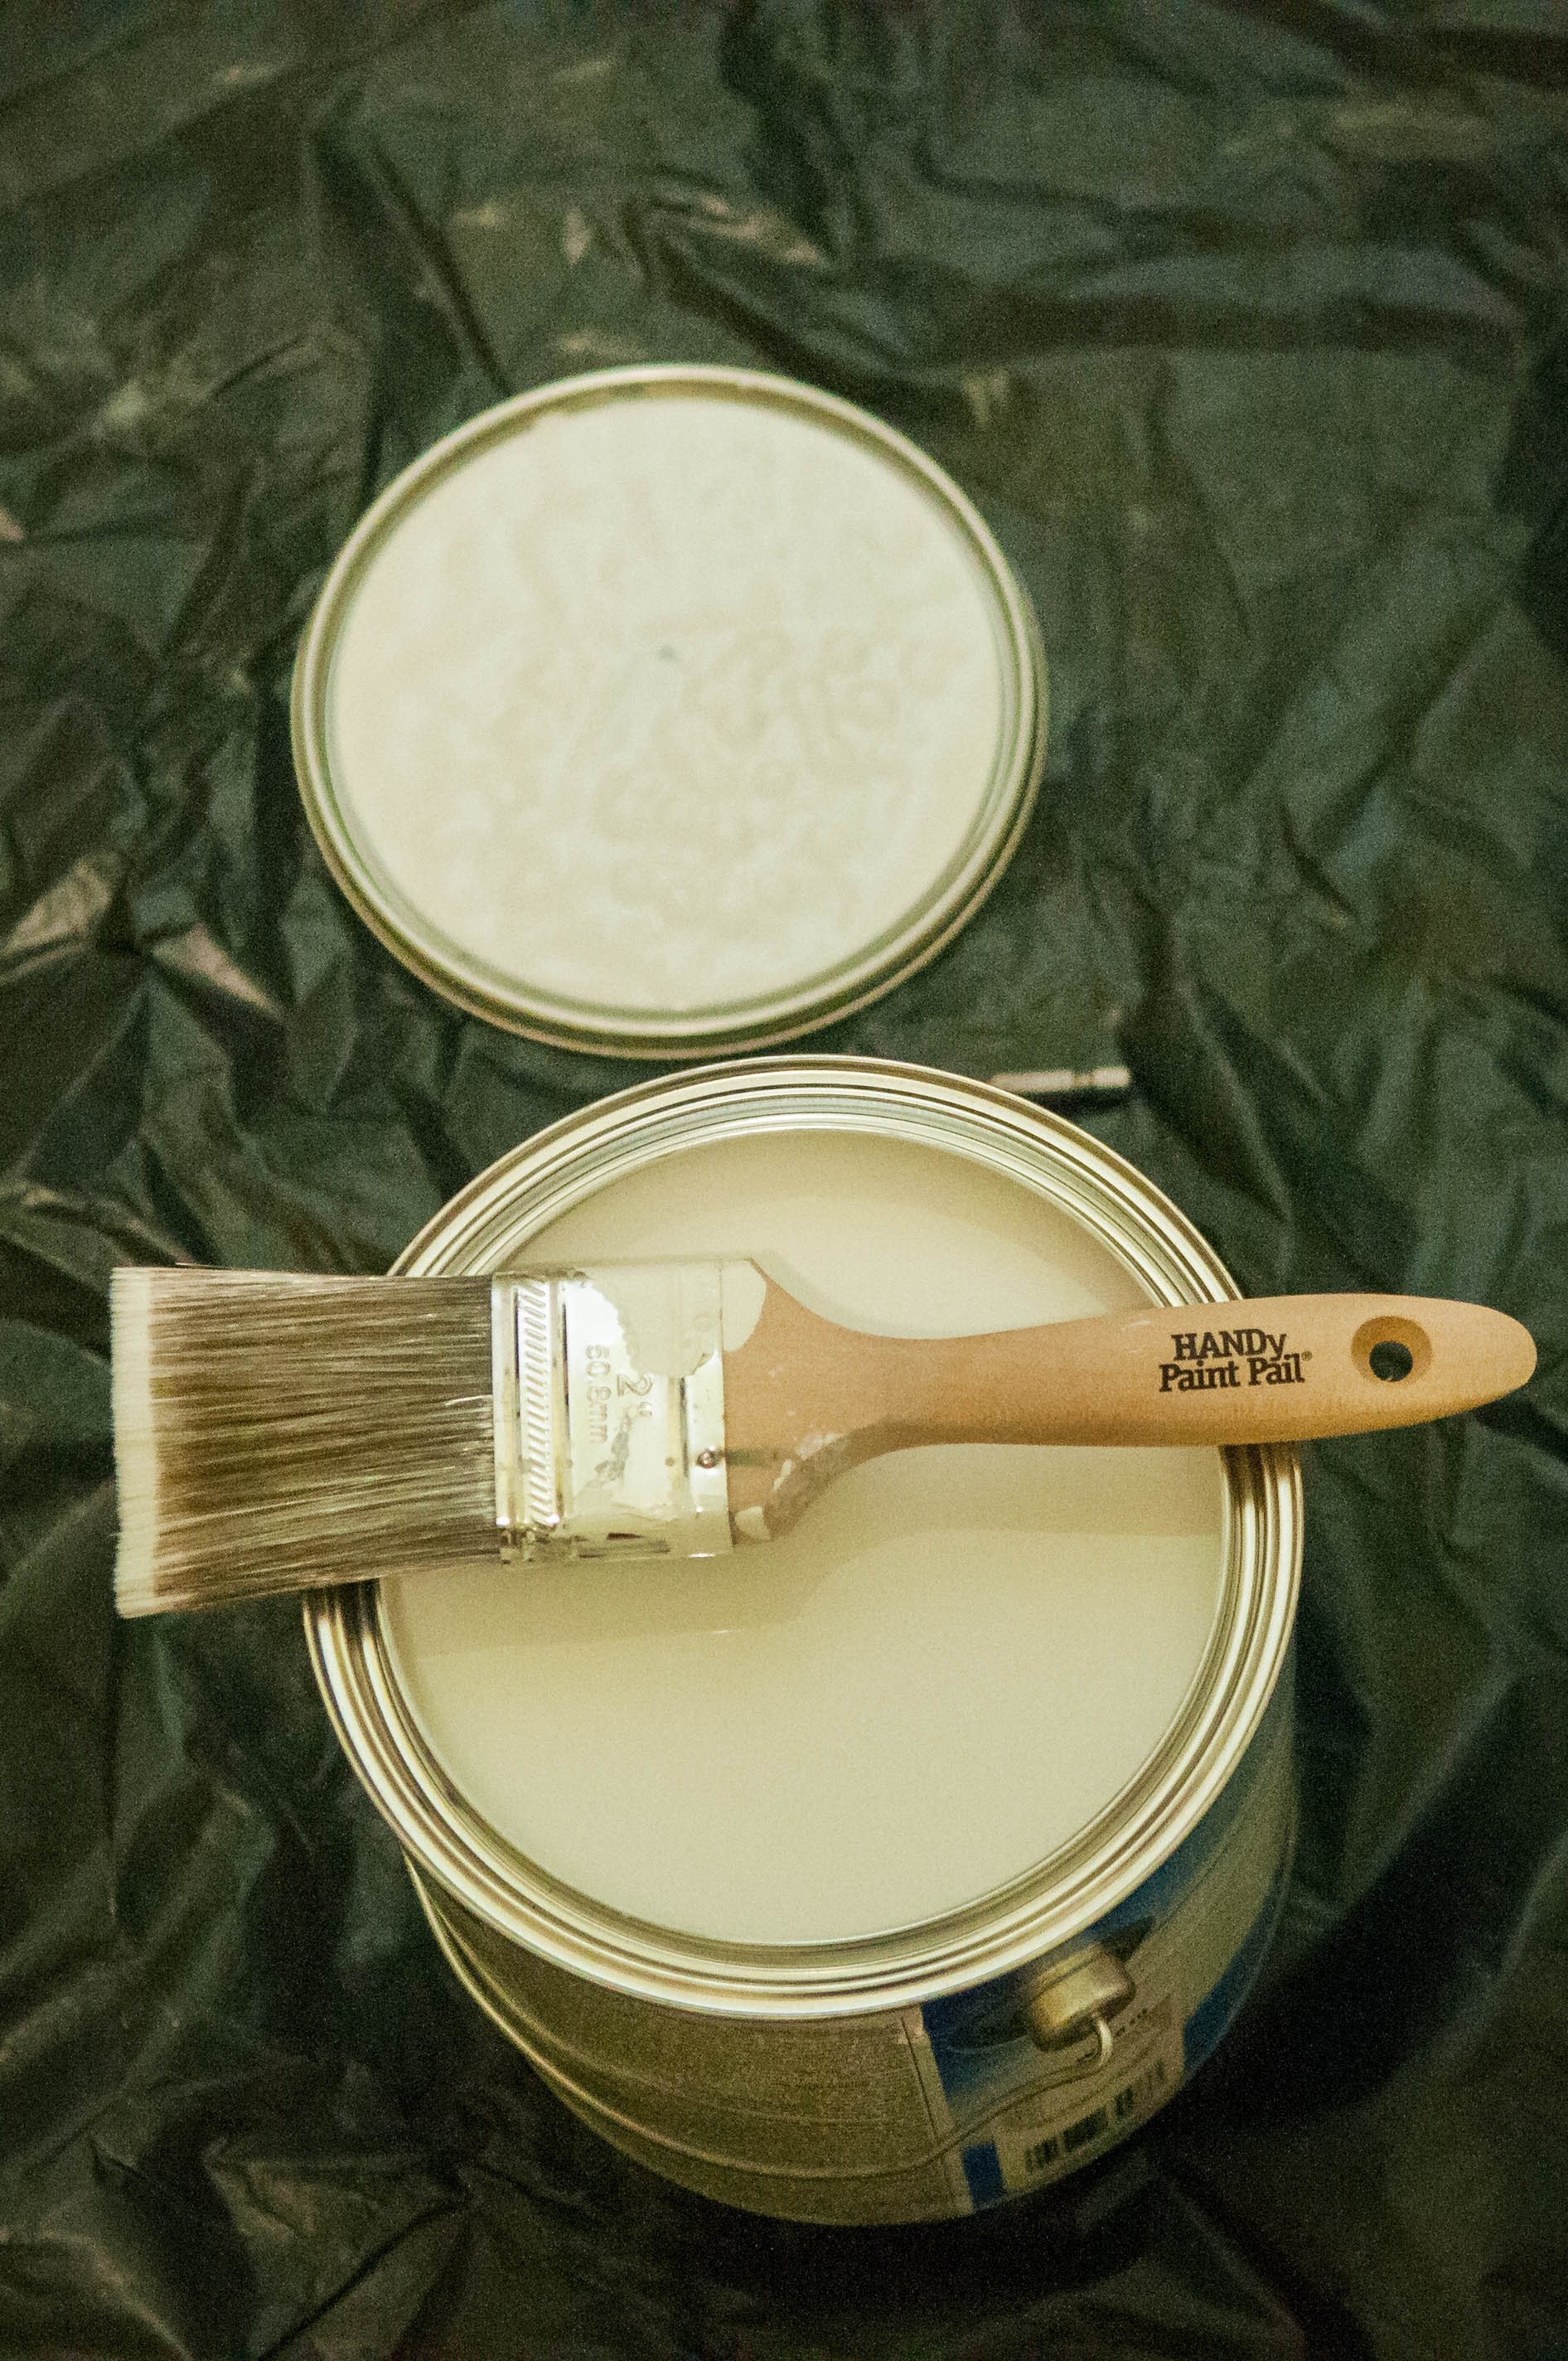
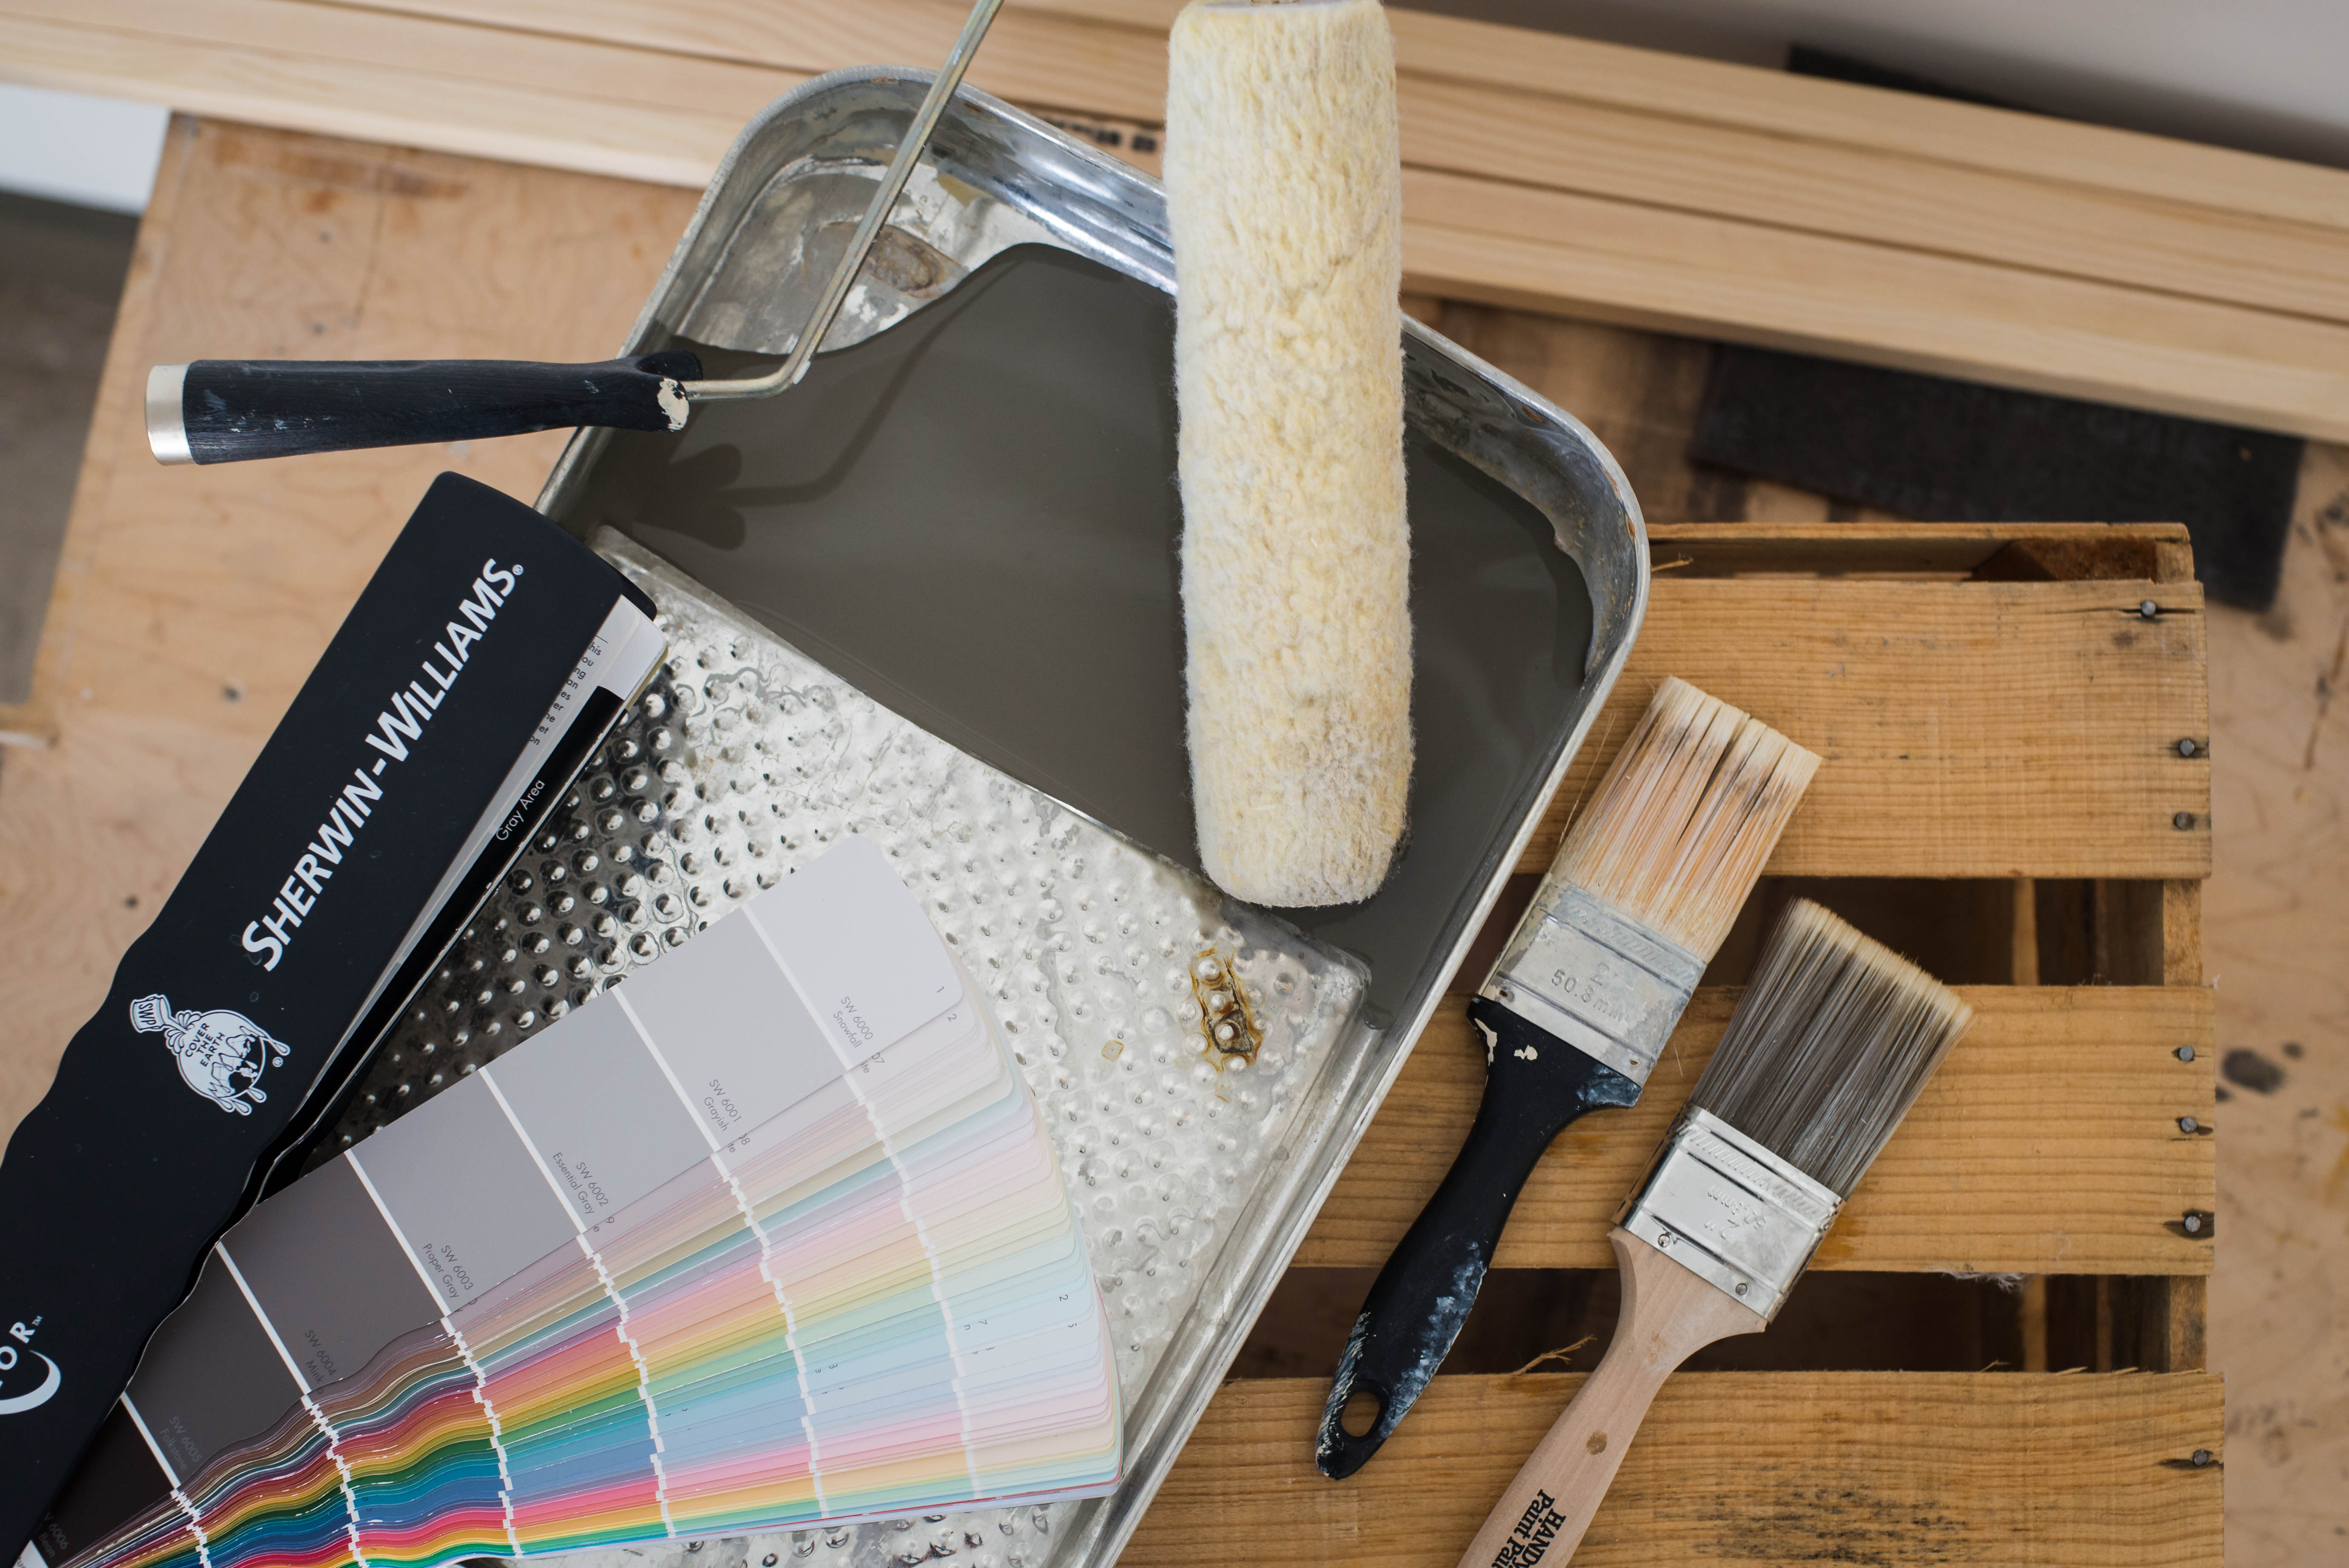
HANDy Paint Products consists of the HANDy paint pail, cup, tray, roller cup, paint grid, ladder pail and the new HANDy Pro Pail! Made for brushes, rollers, or ladders that come in all shapes, sizes and plastic liners you can purchase for almost all of HANDy Paint Products.
Our favorite thing about the pails is the magnetic strip so that you can easily place your brush full of paint, out of the paint, but within the pail. It’s awesome.
Favorite Questions
The biggest questions we get asked are… do you spray, roll or brush? Do you need to sand? Do you use oil or latex paint? Do you need to prime? What color paint do you use?
In almost every kitchen we have renovated we have painted the former cabinets. So although we never like to claim to be an expert at anything, we are pretty dang good at this, haha! Today we want to share with you how we go about painting our cabinets.
And to answer your questions, we have used it all! But now that we’ve got it down we…roll, then brush. We don’t spray (even though I always push Jamie too). Latex. Prime. White Dove by Benjamin Moore.
1. Prep
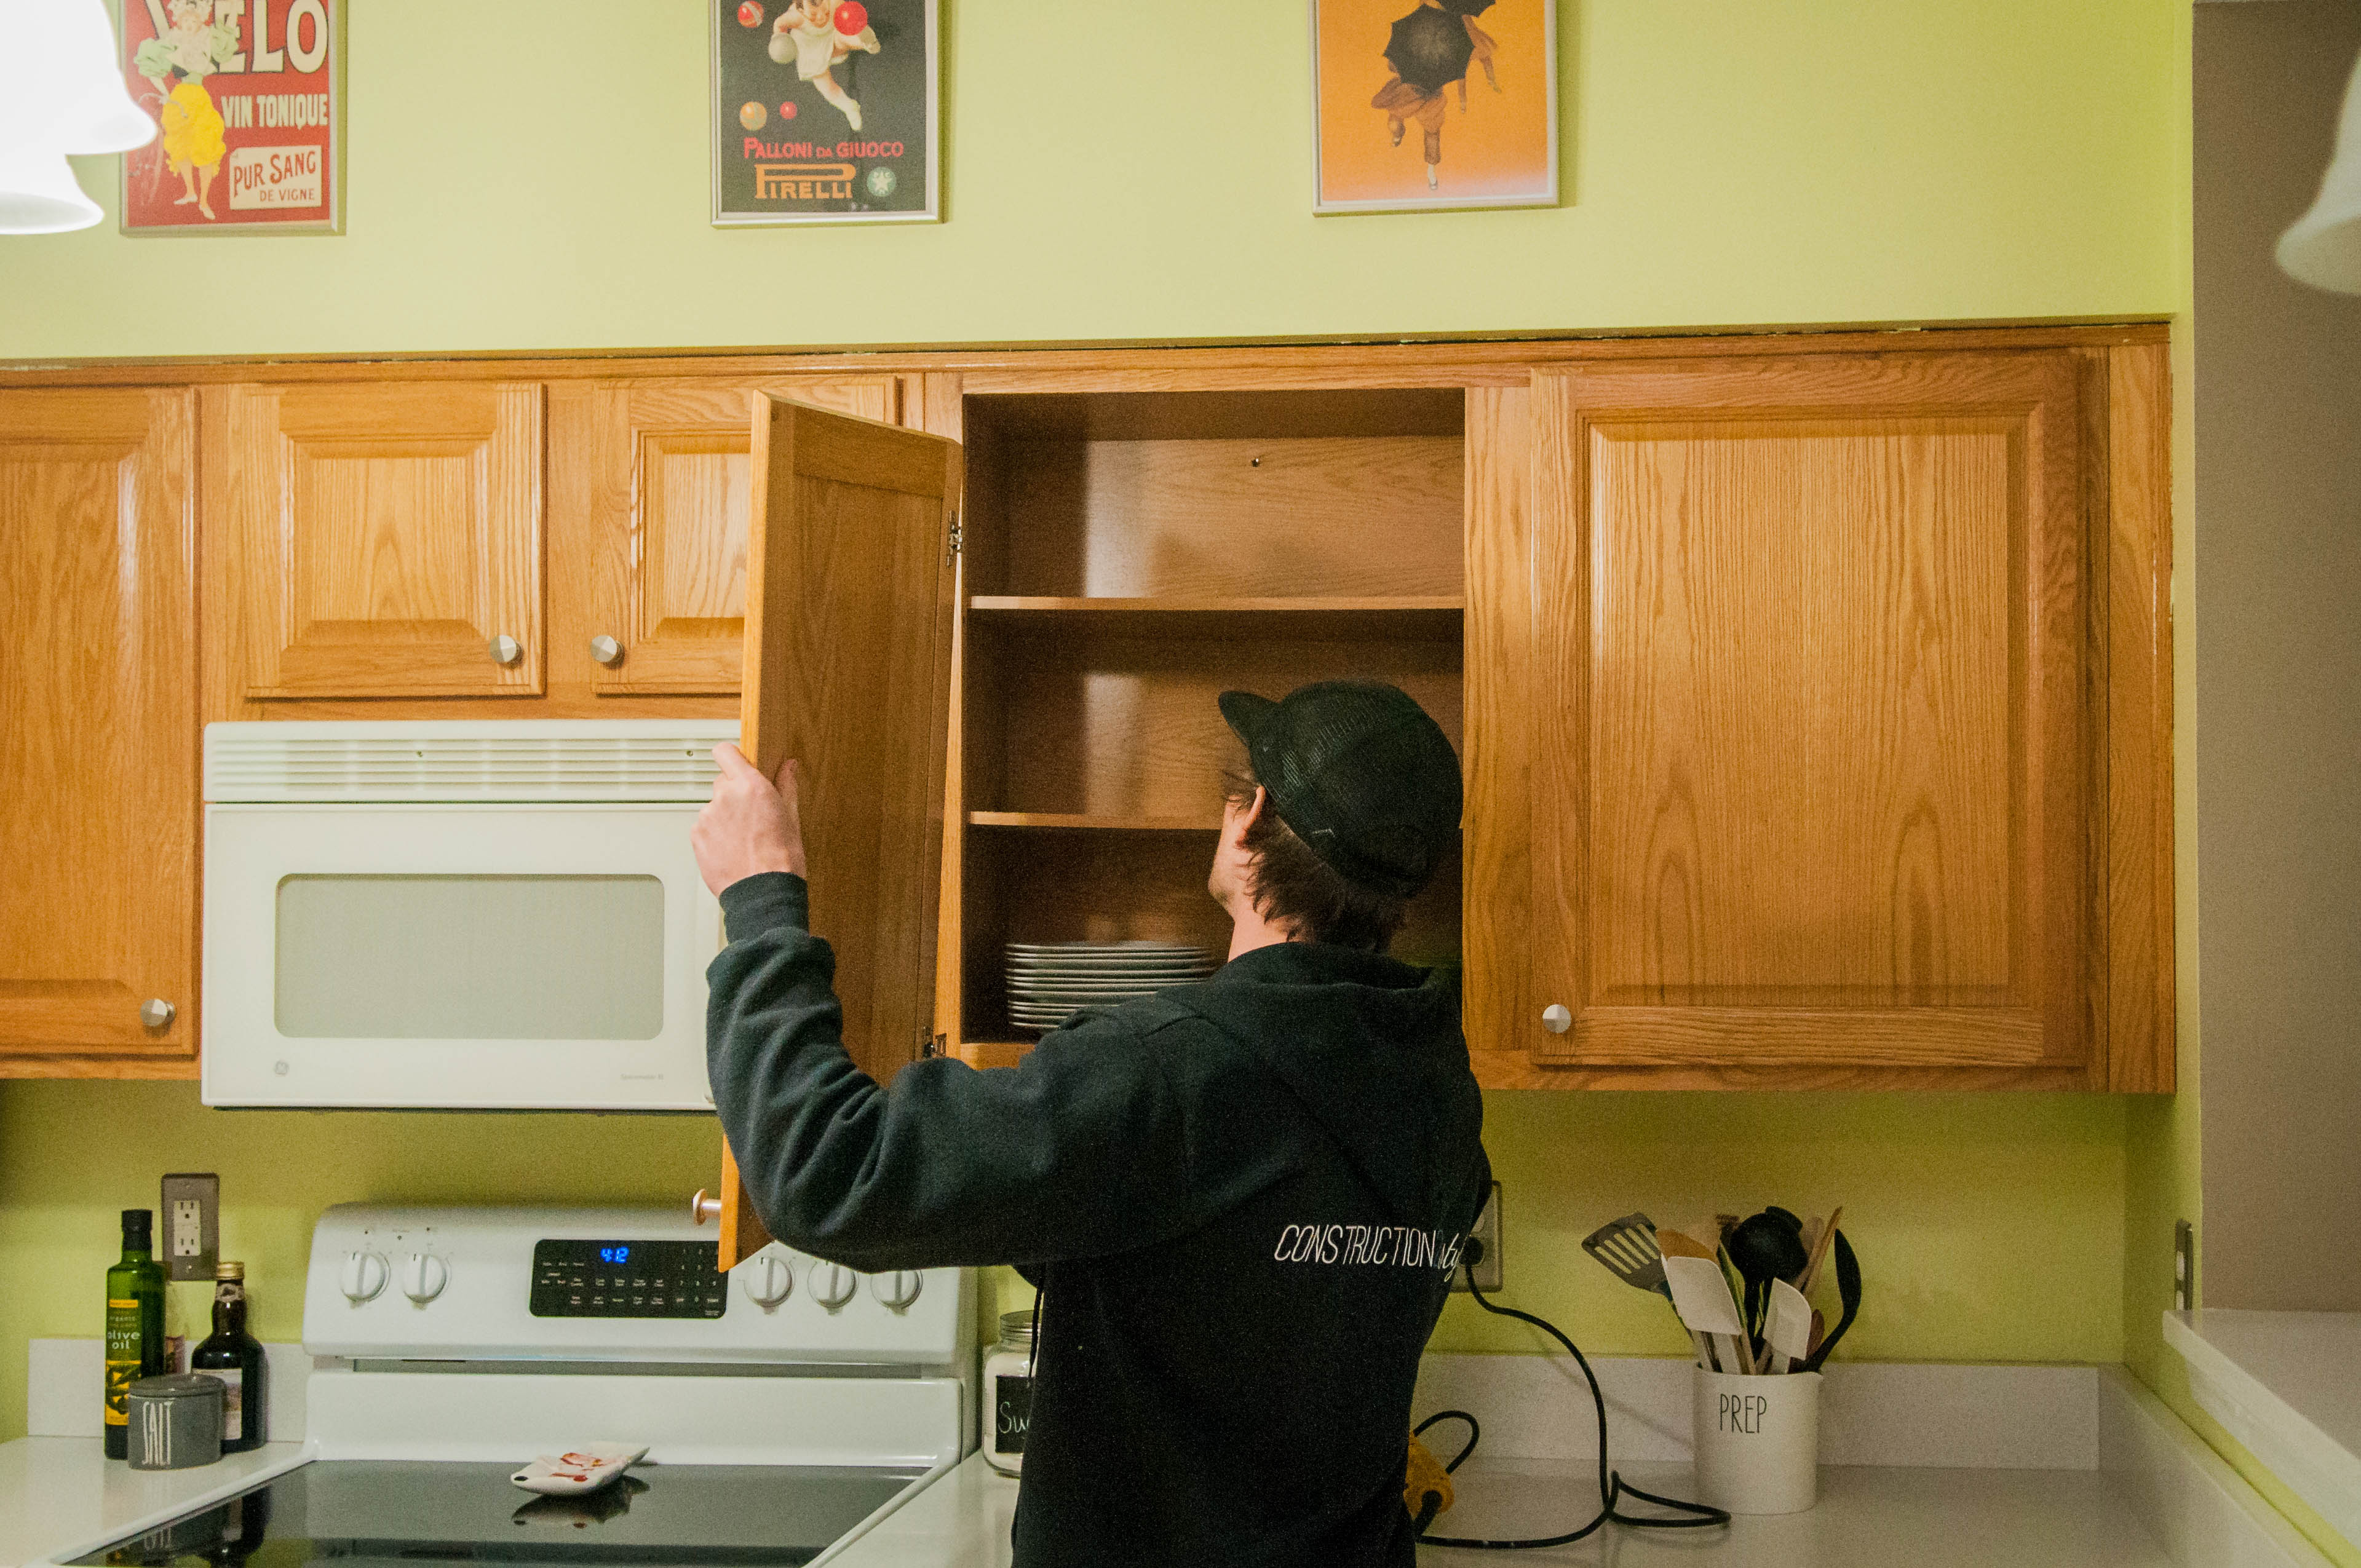
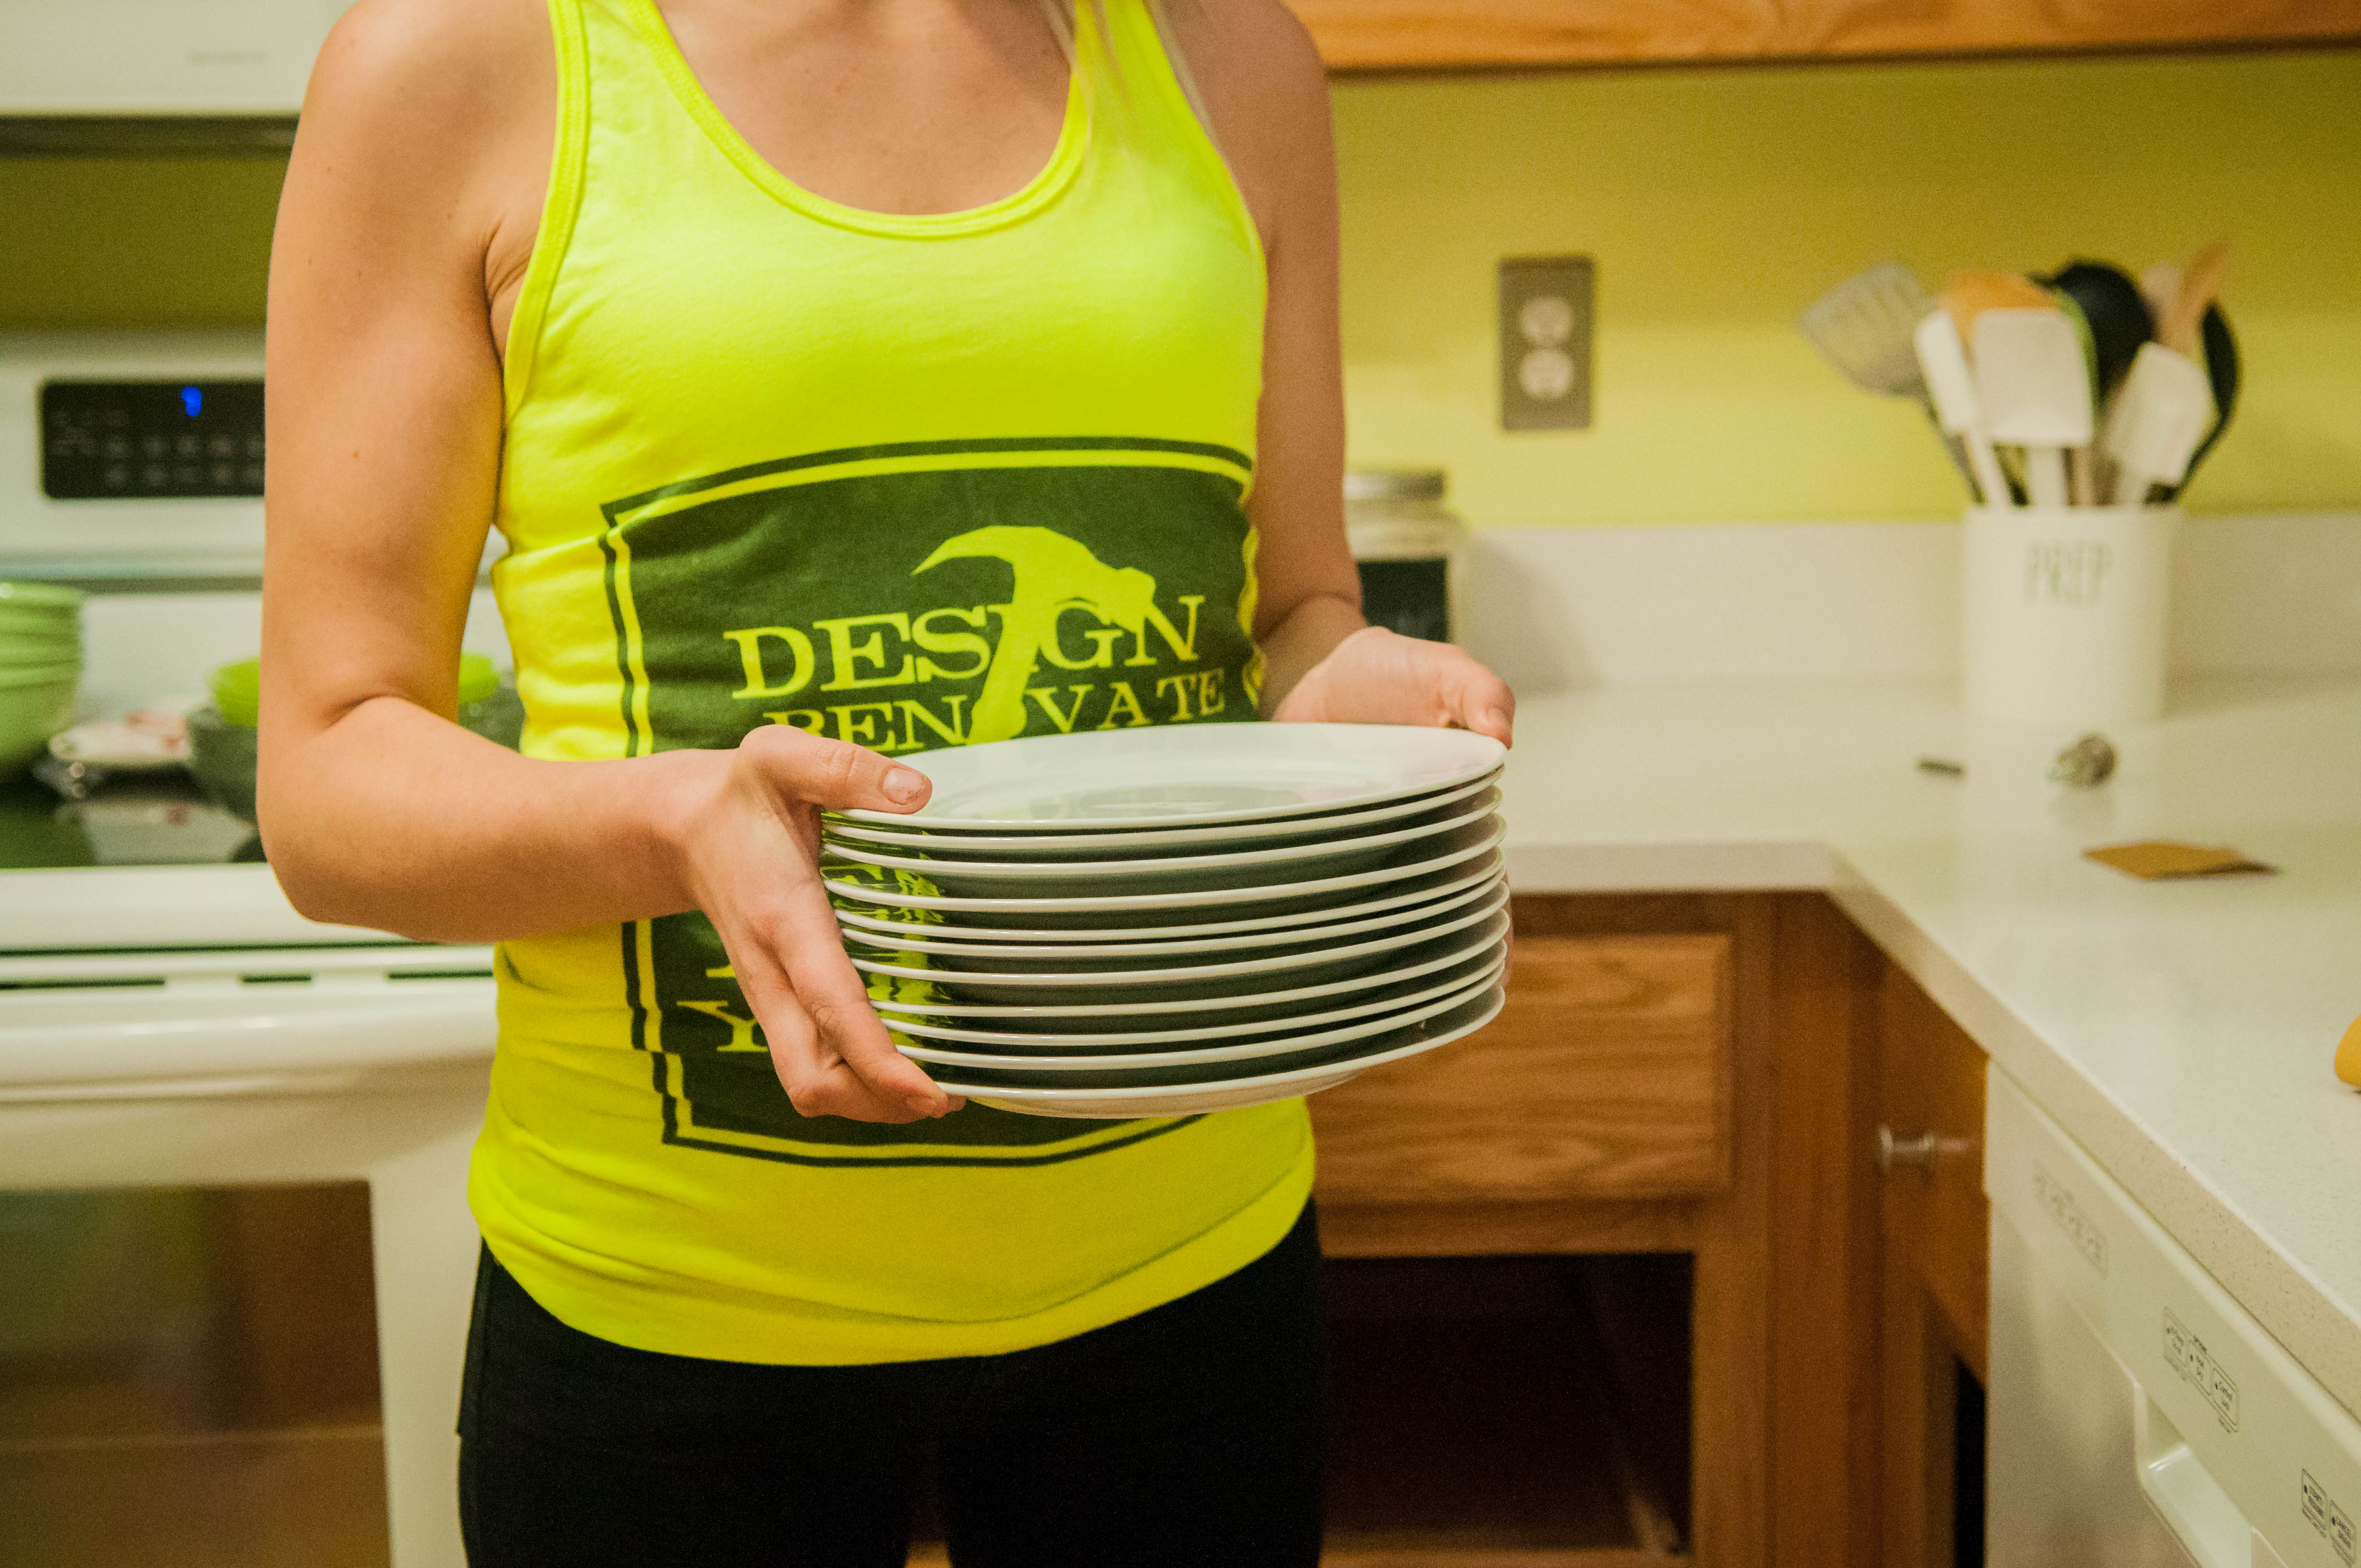
Ready to roll up your sleeves and get your hands dirty?! Let’s roll! Proper prep is key to painting your cabinetry. First step is to prep by removing the cabinet doors and hardware and cleaning out your cupboards. This sounds like a go-figure step. But…if you’re not painting the insides of your cabinetry, some of you may think it’s not a big deal to leave your dishes in your cabinets. But this is the perfect time to de-clutter and donate those old dishes you haven’t used in five years.
We often get asked, should we paint the insides of our cabinets. We have gone both ways and it’s just the homeowners’ preference. Either option works great. If your cabinetry is in good condition, I would leave them as is. If it was a former homeowner, I would suggest painting the insides to clean and freshen up the space.
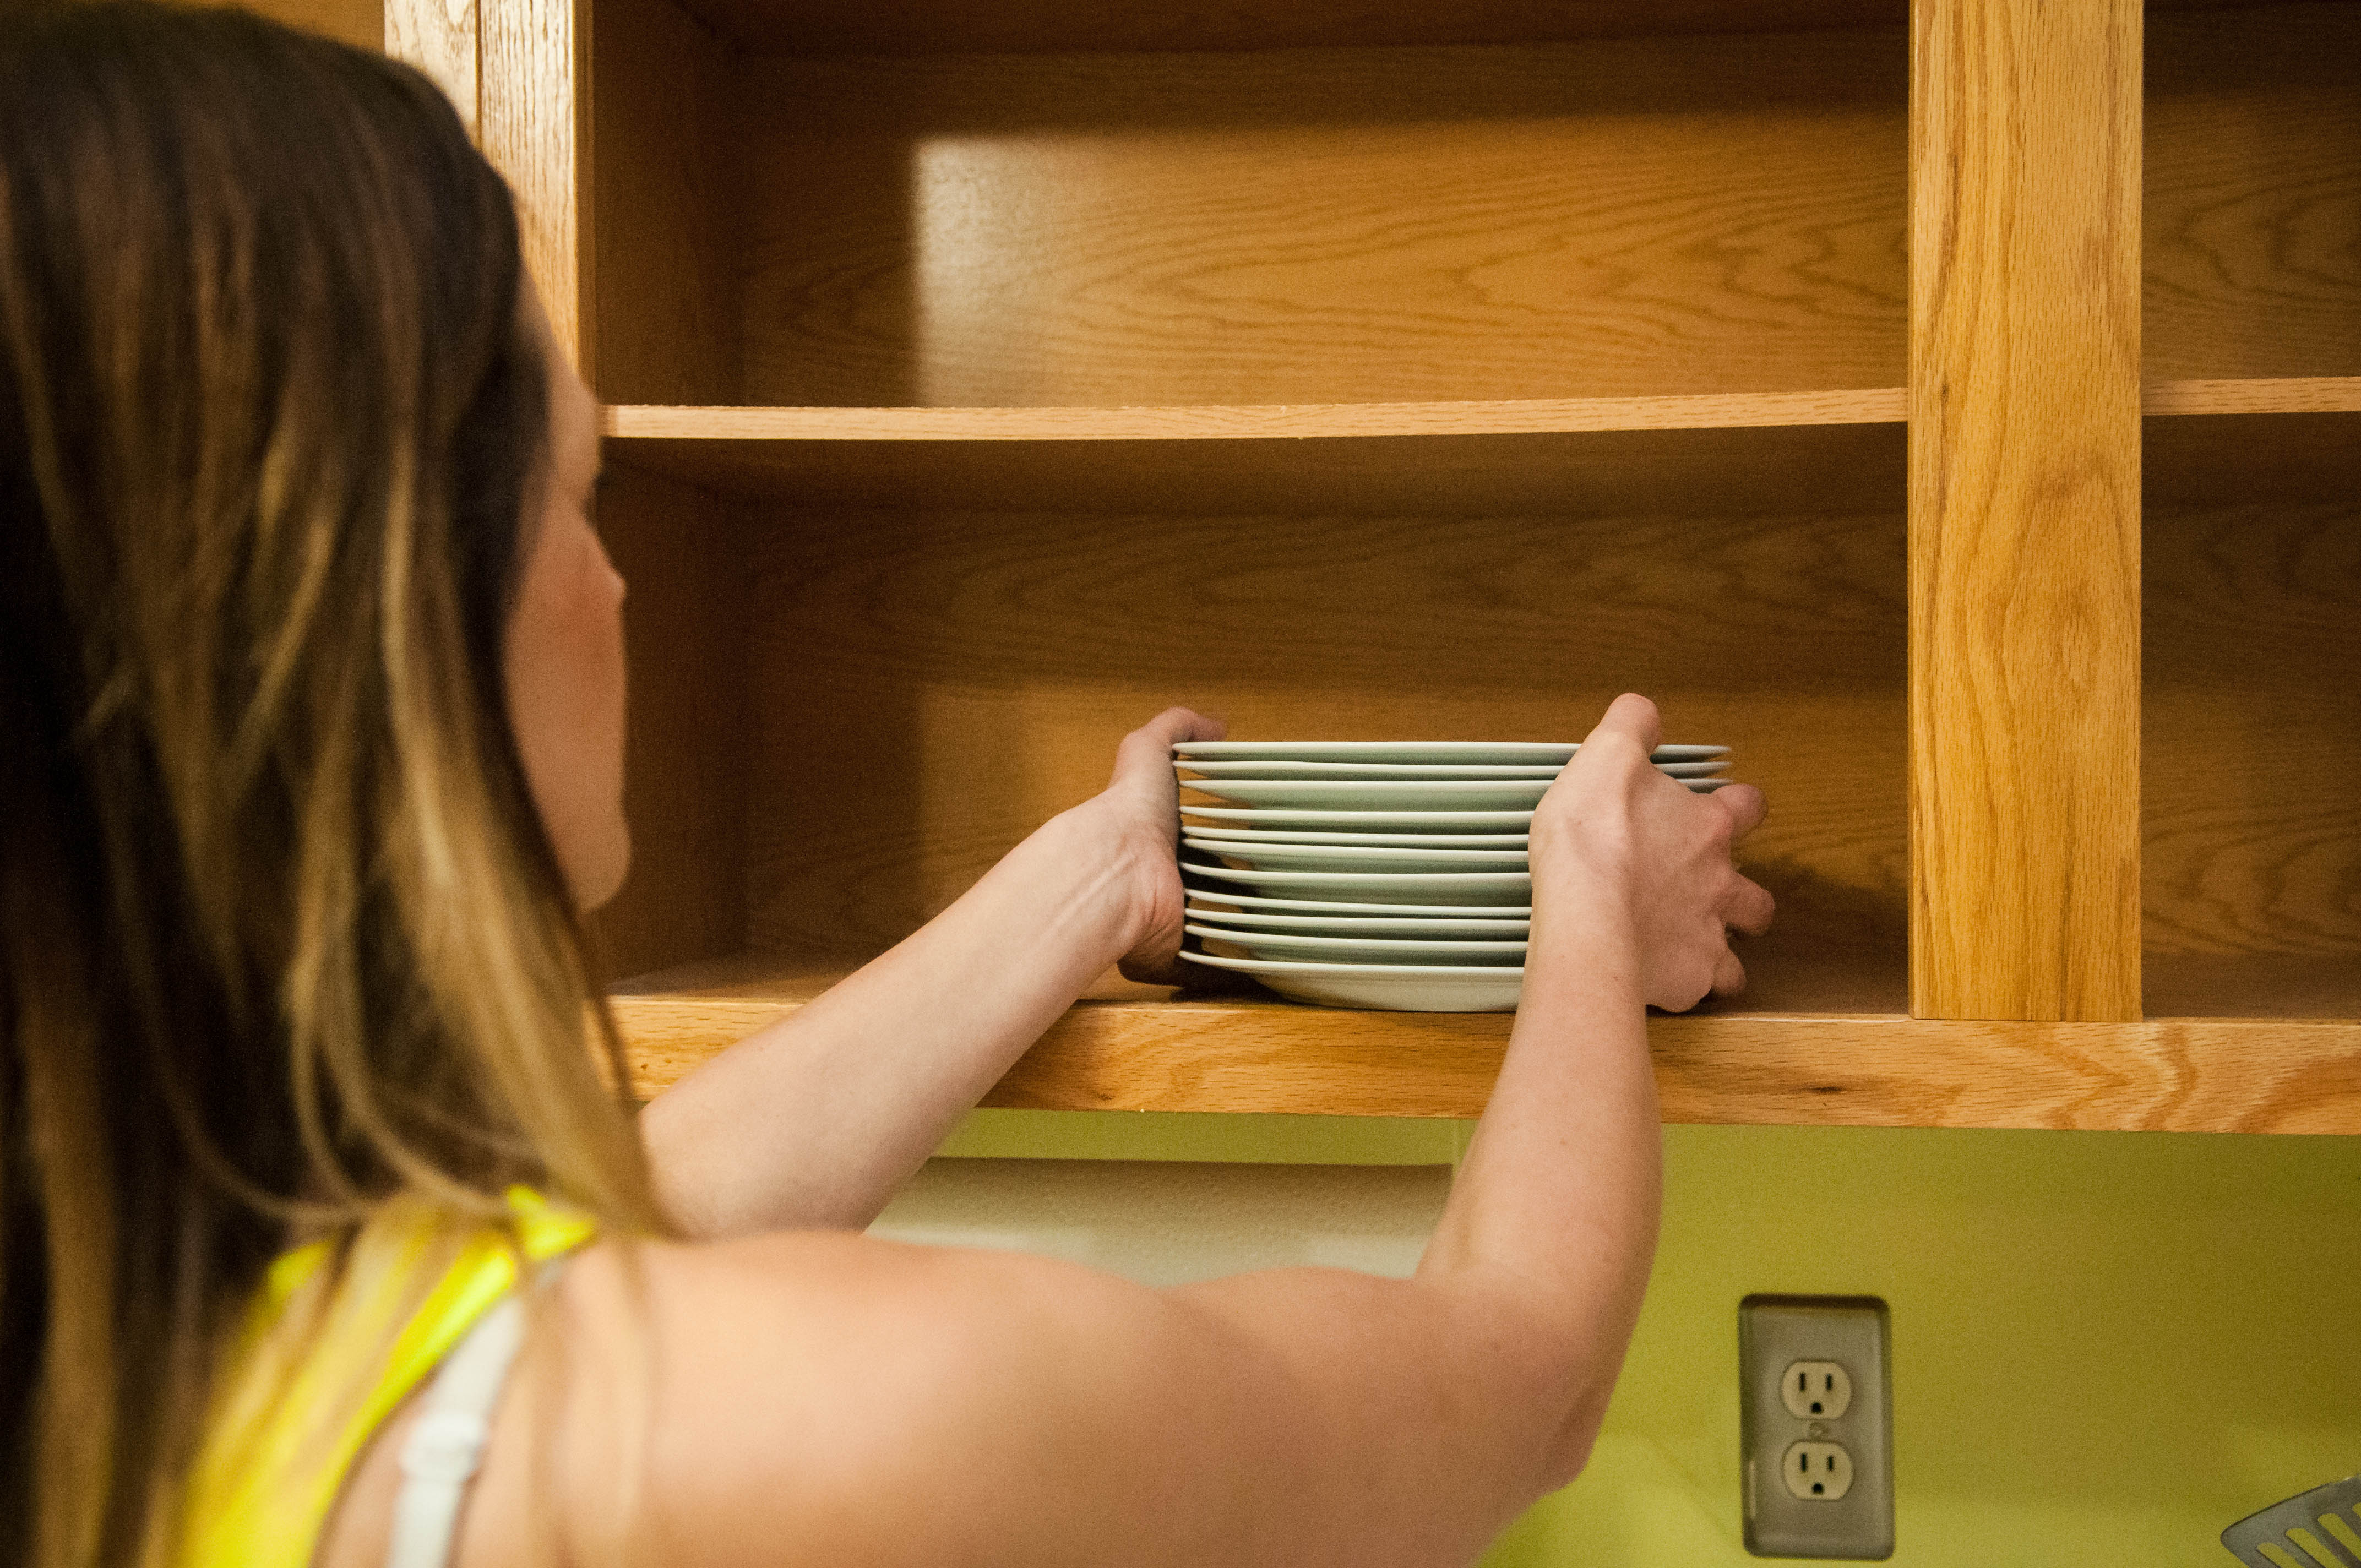
If your a messy painter, remember to cover up those beautiful countertops with poly or paper so avoid any drips. Next step for prepping your cabinets is to clean them. Older paint cabinets can be covered in oils and grease. I always just get a nice hot bucket of soapy water and a old rag and scrub them down.
TIP: Cabinets are covered in grease, oil, and smoke. So be sure to give them a good cleaning with soapy hot water so your paint sticks.
2. Sand
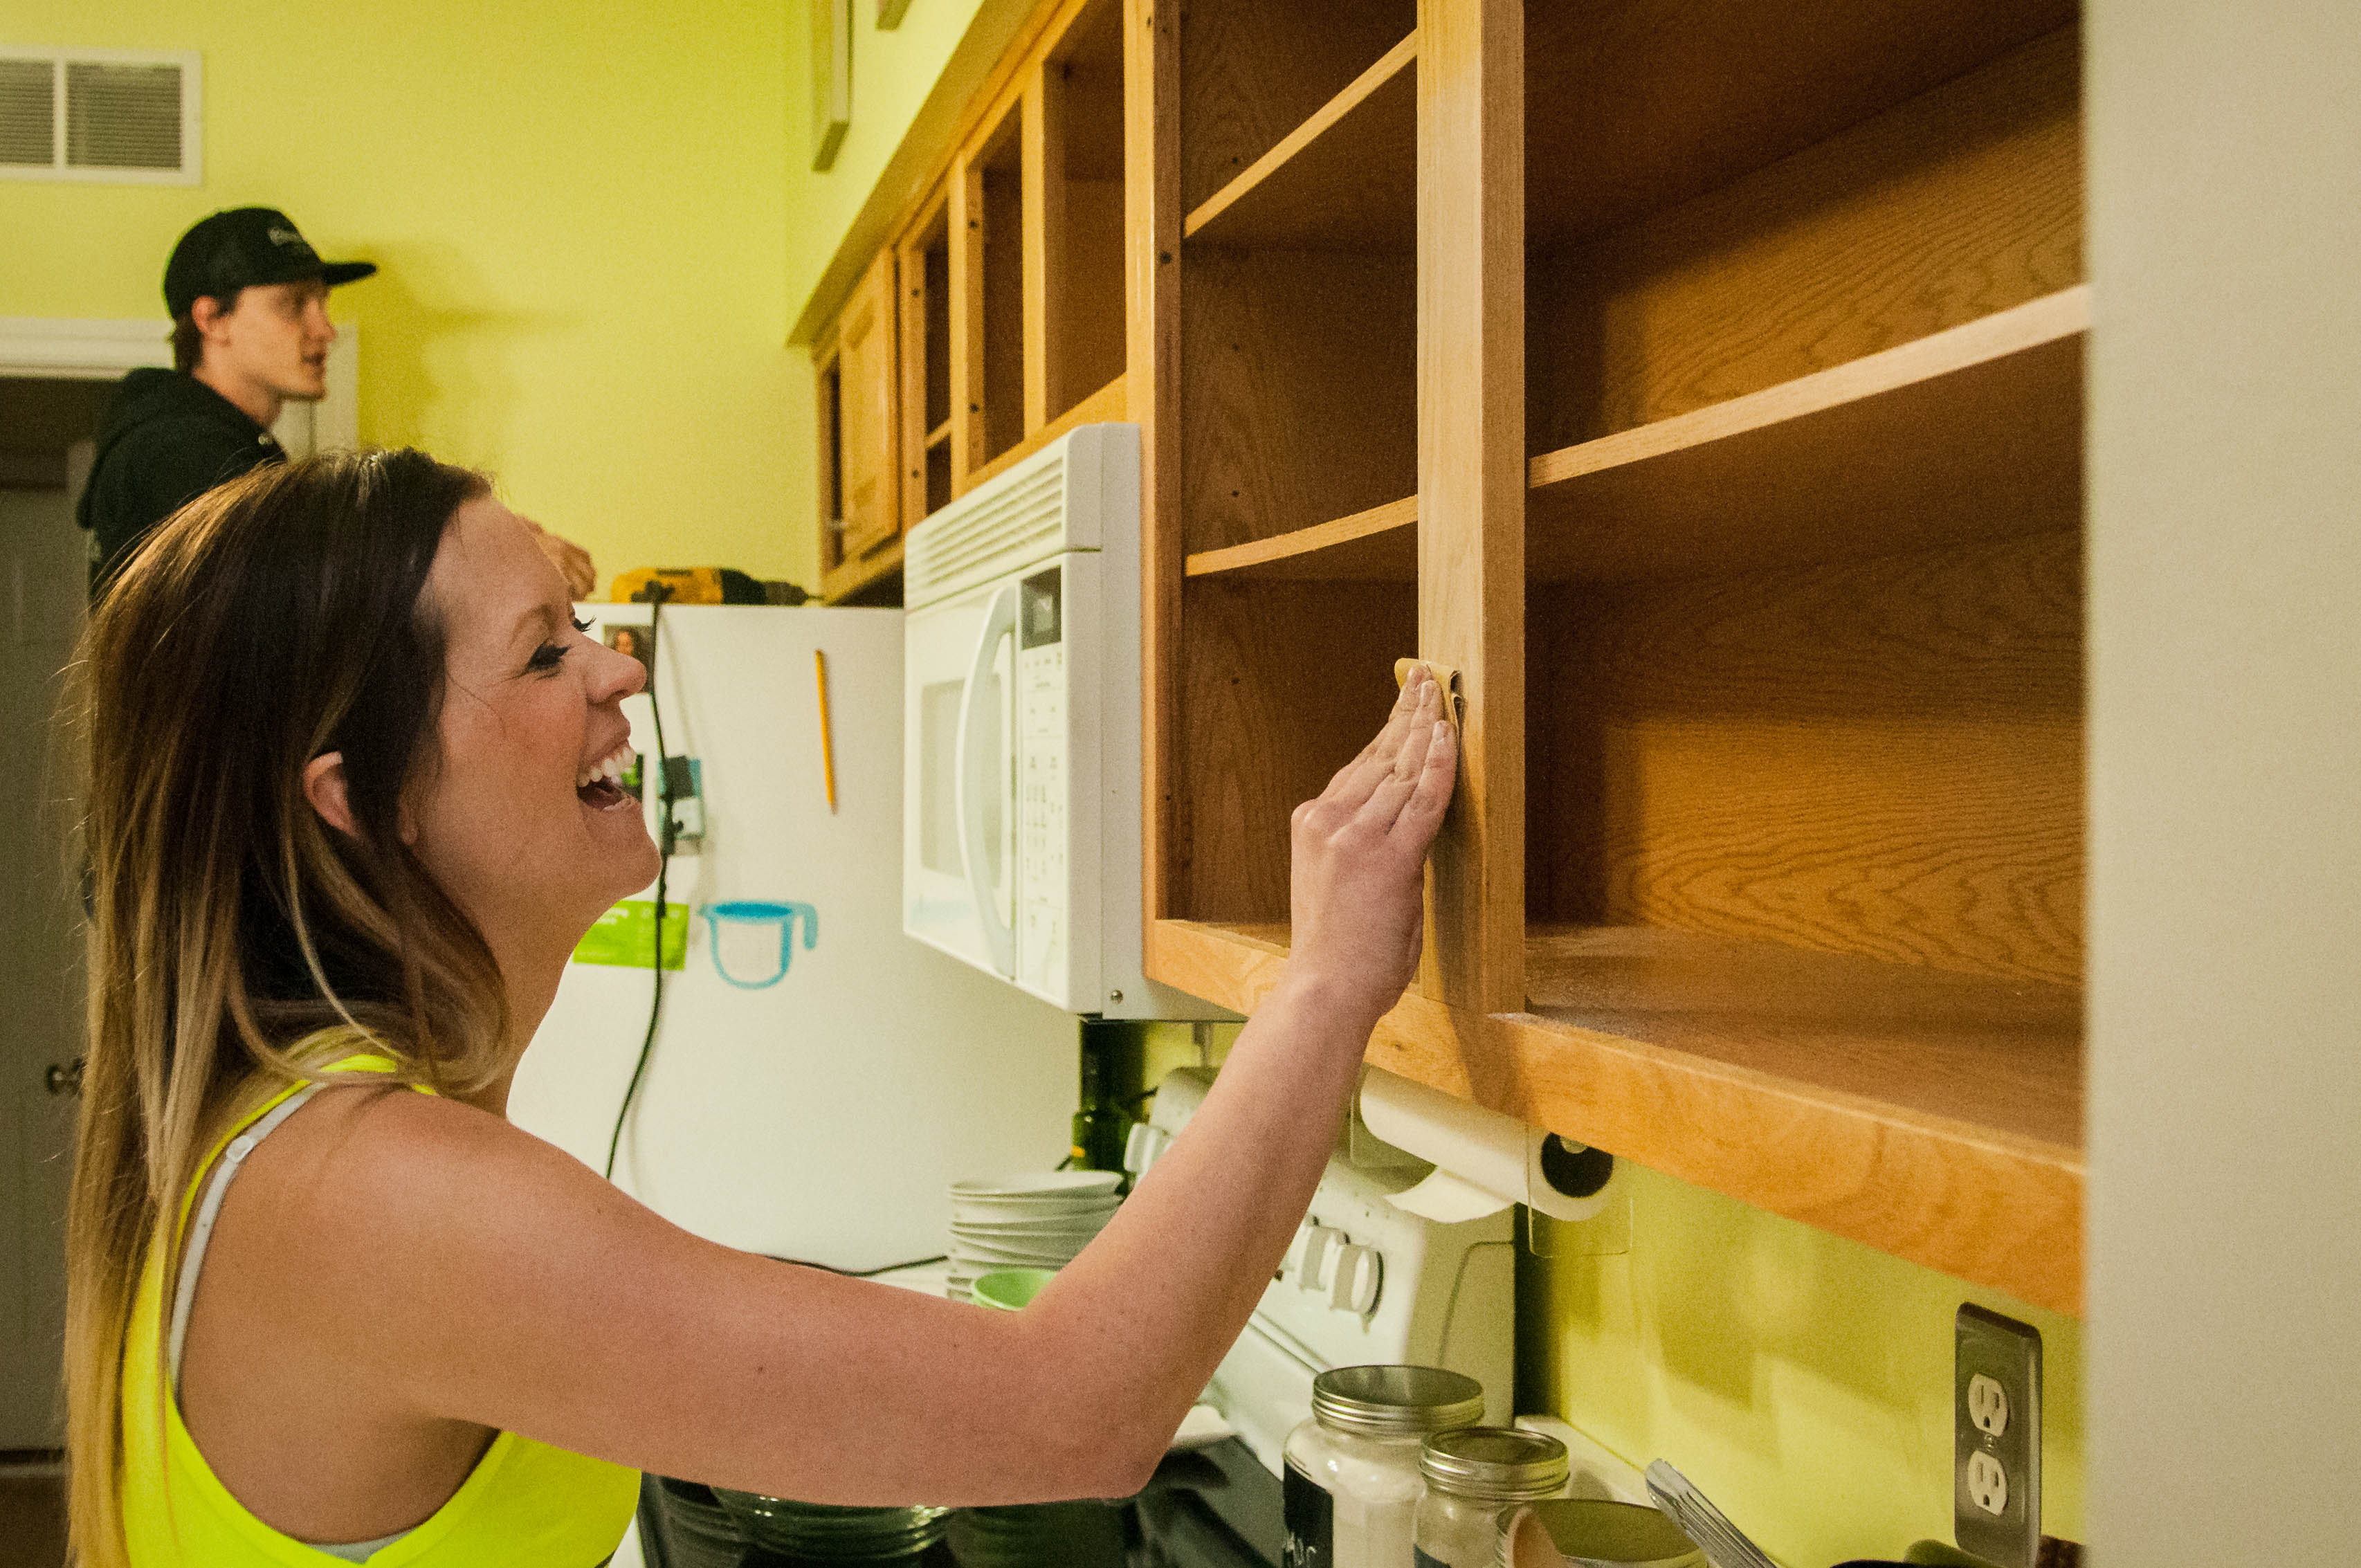
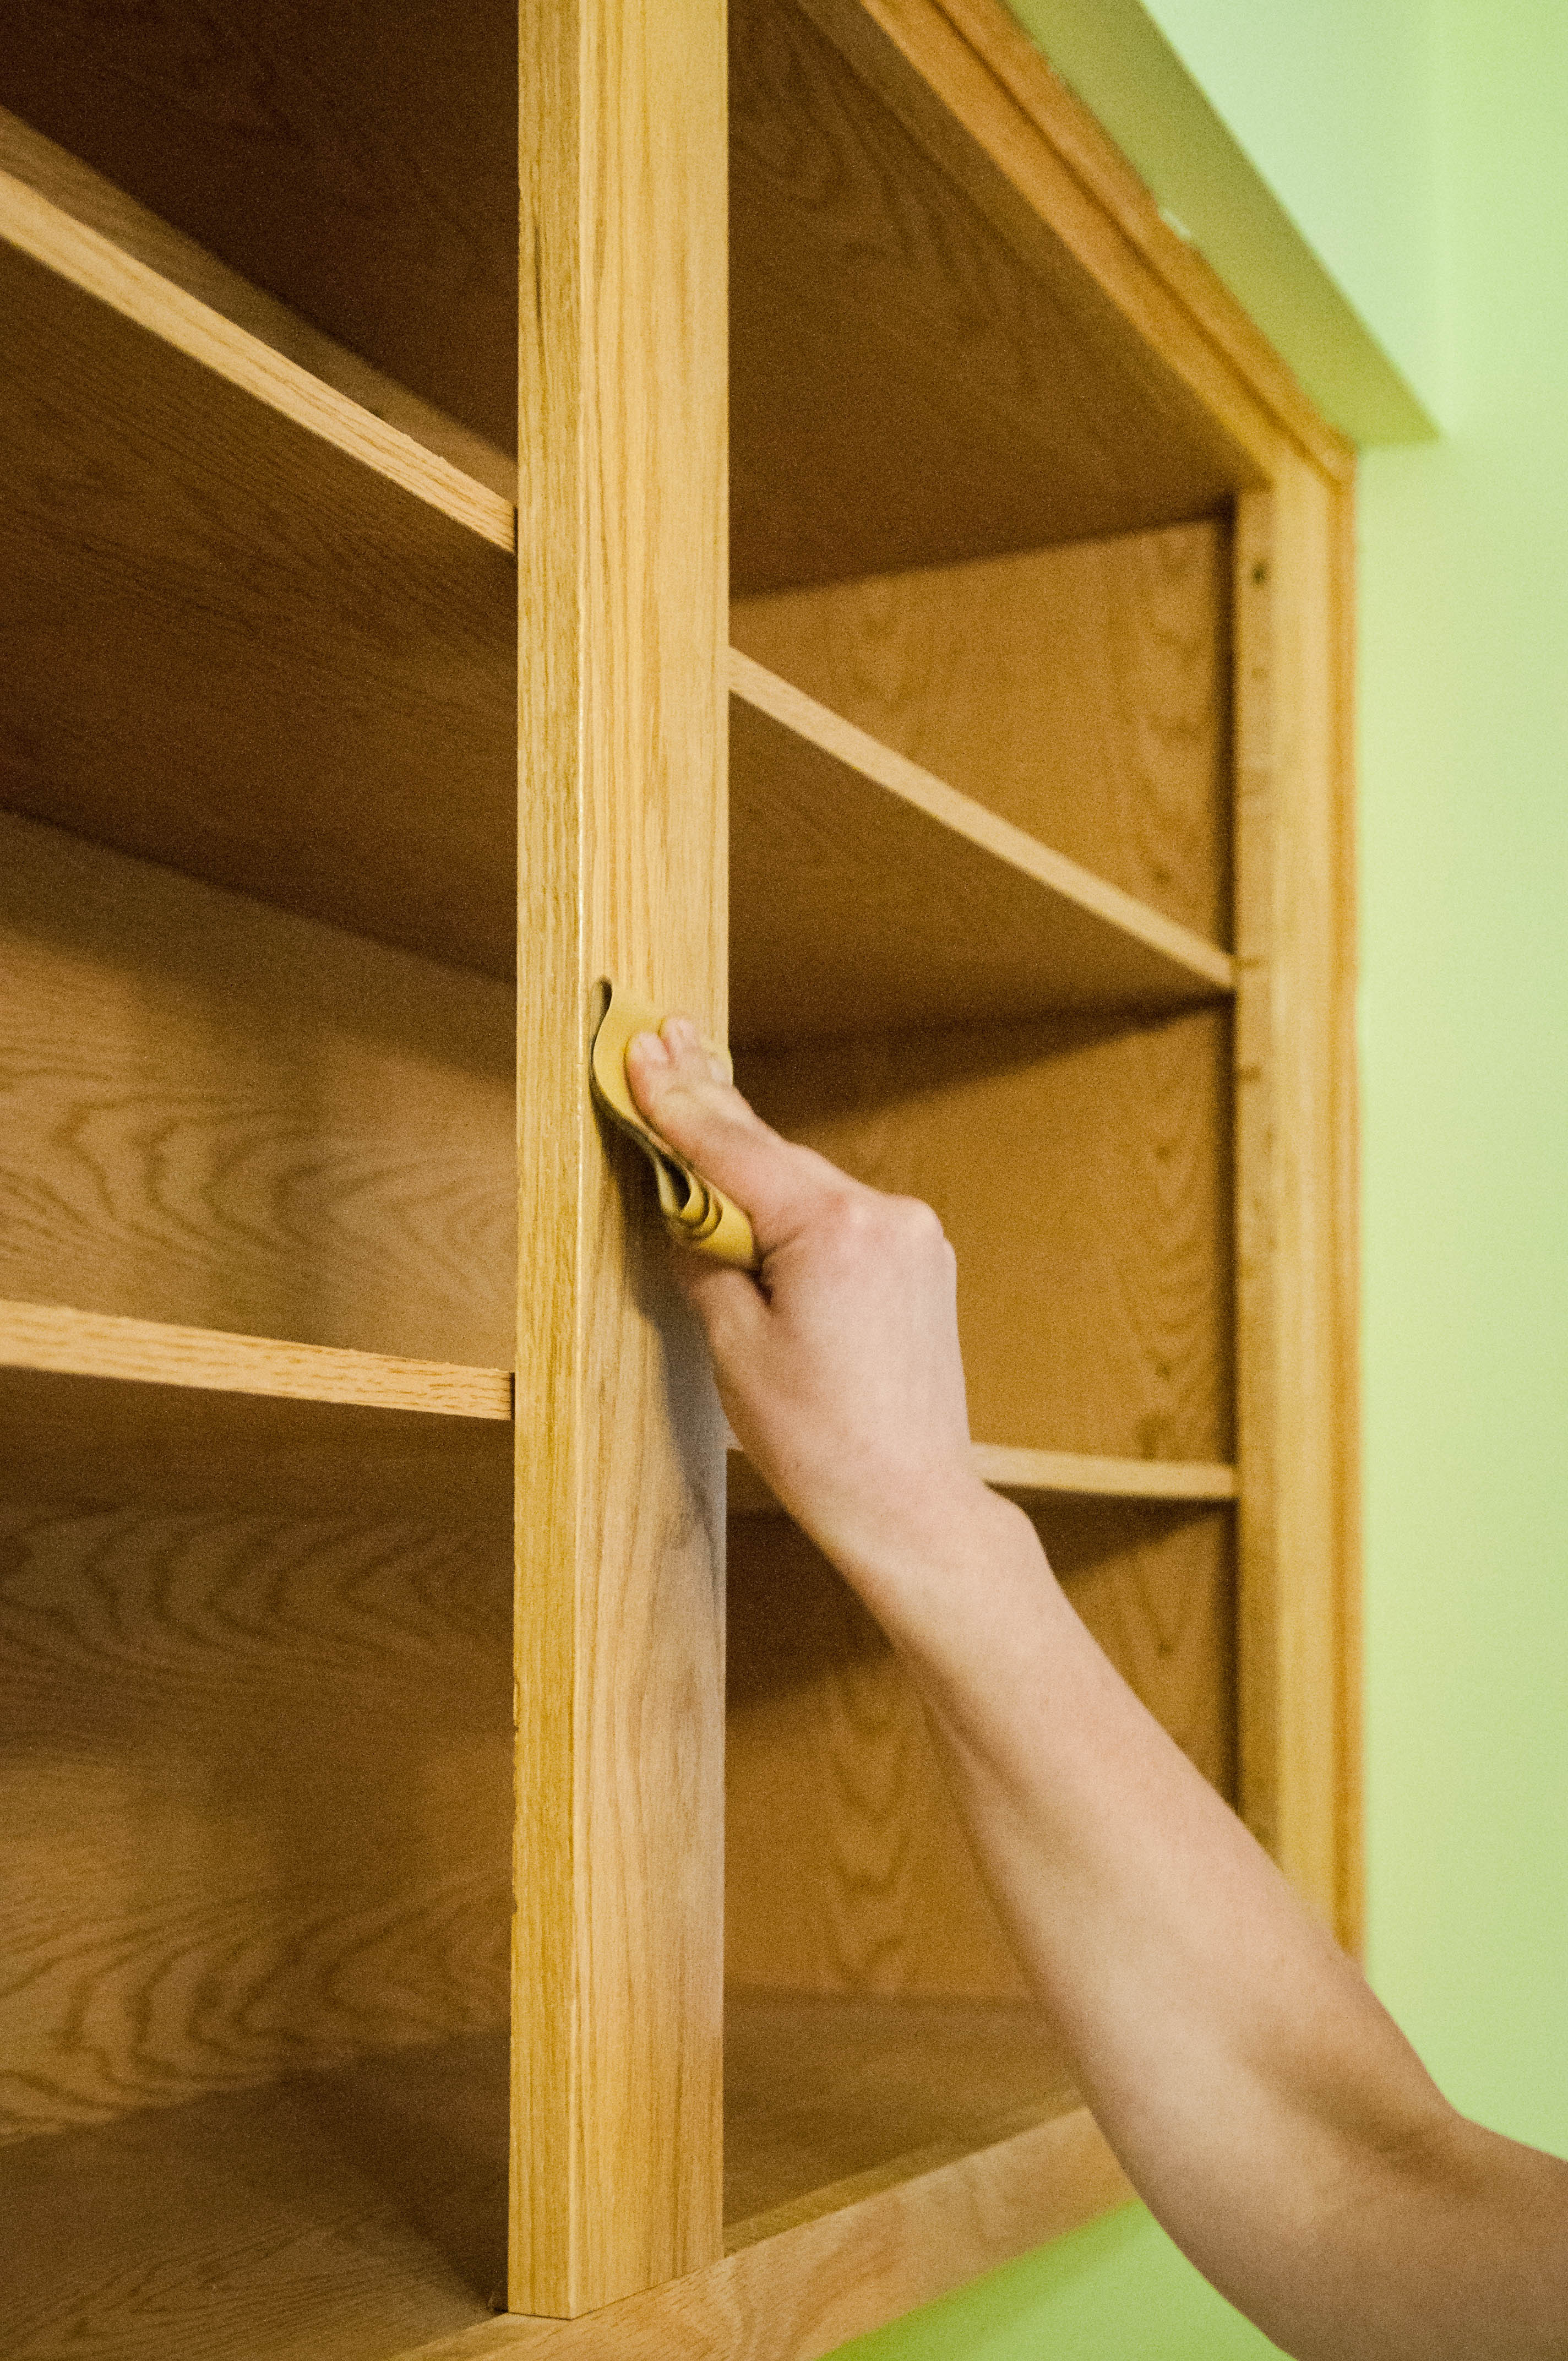
The next step is to gently sand all of the cabinetry. The purpose of sanding is to create a surface for the paint to sink into. An electric or hand sander work great! I always prefer to just use a basic piece of sand paper. I have had a tendency to get a little carried away with the electric sanders and if you put too much force into one area, there is no going back once you created waves in the wood.
TIP: Make sure to sand to create a surface for the paint to stick to.
If your cabinetry had former old paint, there is no need to remove any of the paint as the sand paper will do the trick. Once you sand over the cabinetry, you will create a new surface for the new paint to adhere to. And always remember to go with the grain in the wood.
3. Prime
Step three is to prime! Apply an even coat of primer to all surfaces. Primer helps to reduce multiple coats of paint and helps to give it a good base for any type of material and finish.
TIP: Invest in a good oil based primer so your cabinet paint doesn’t easily chip.
4. Apply Paint
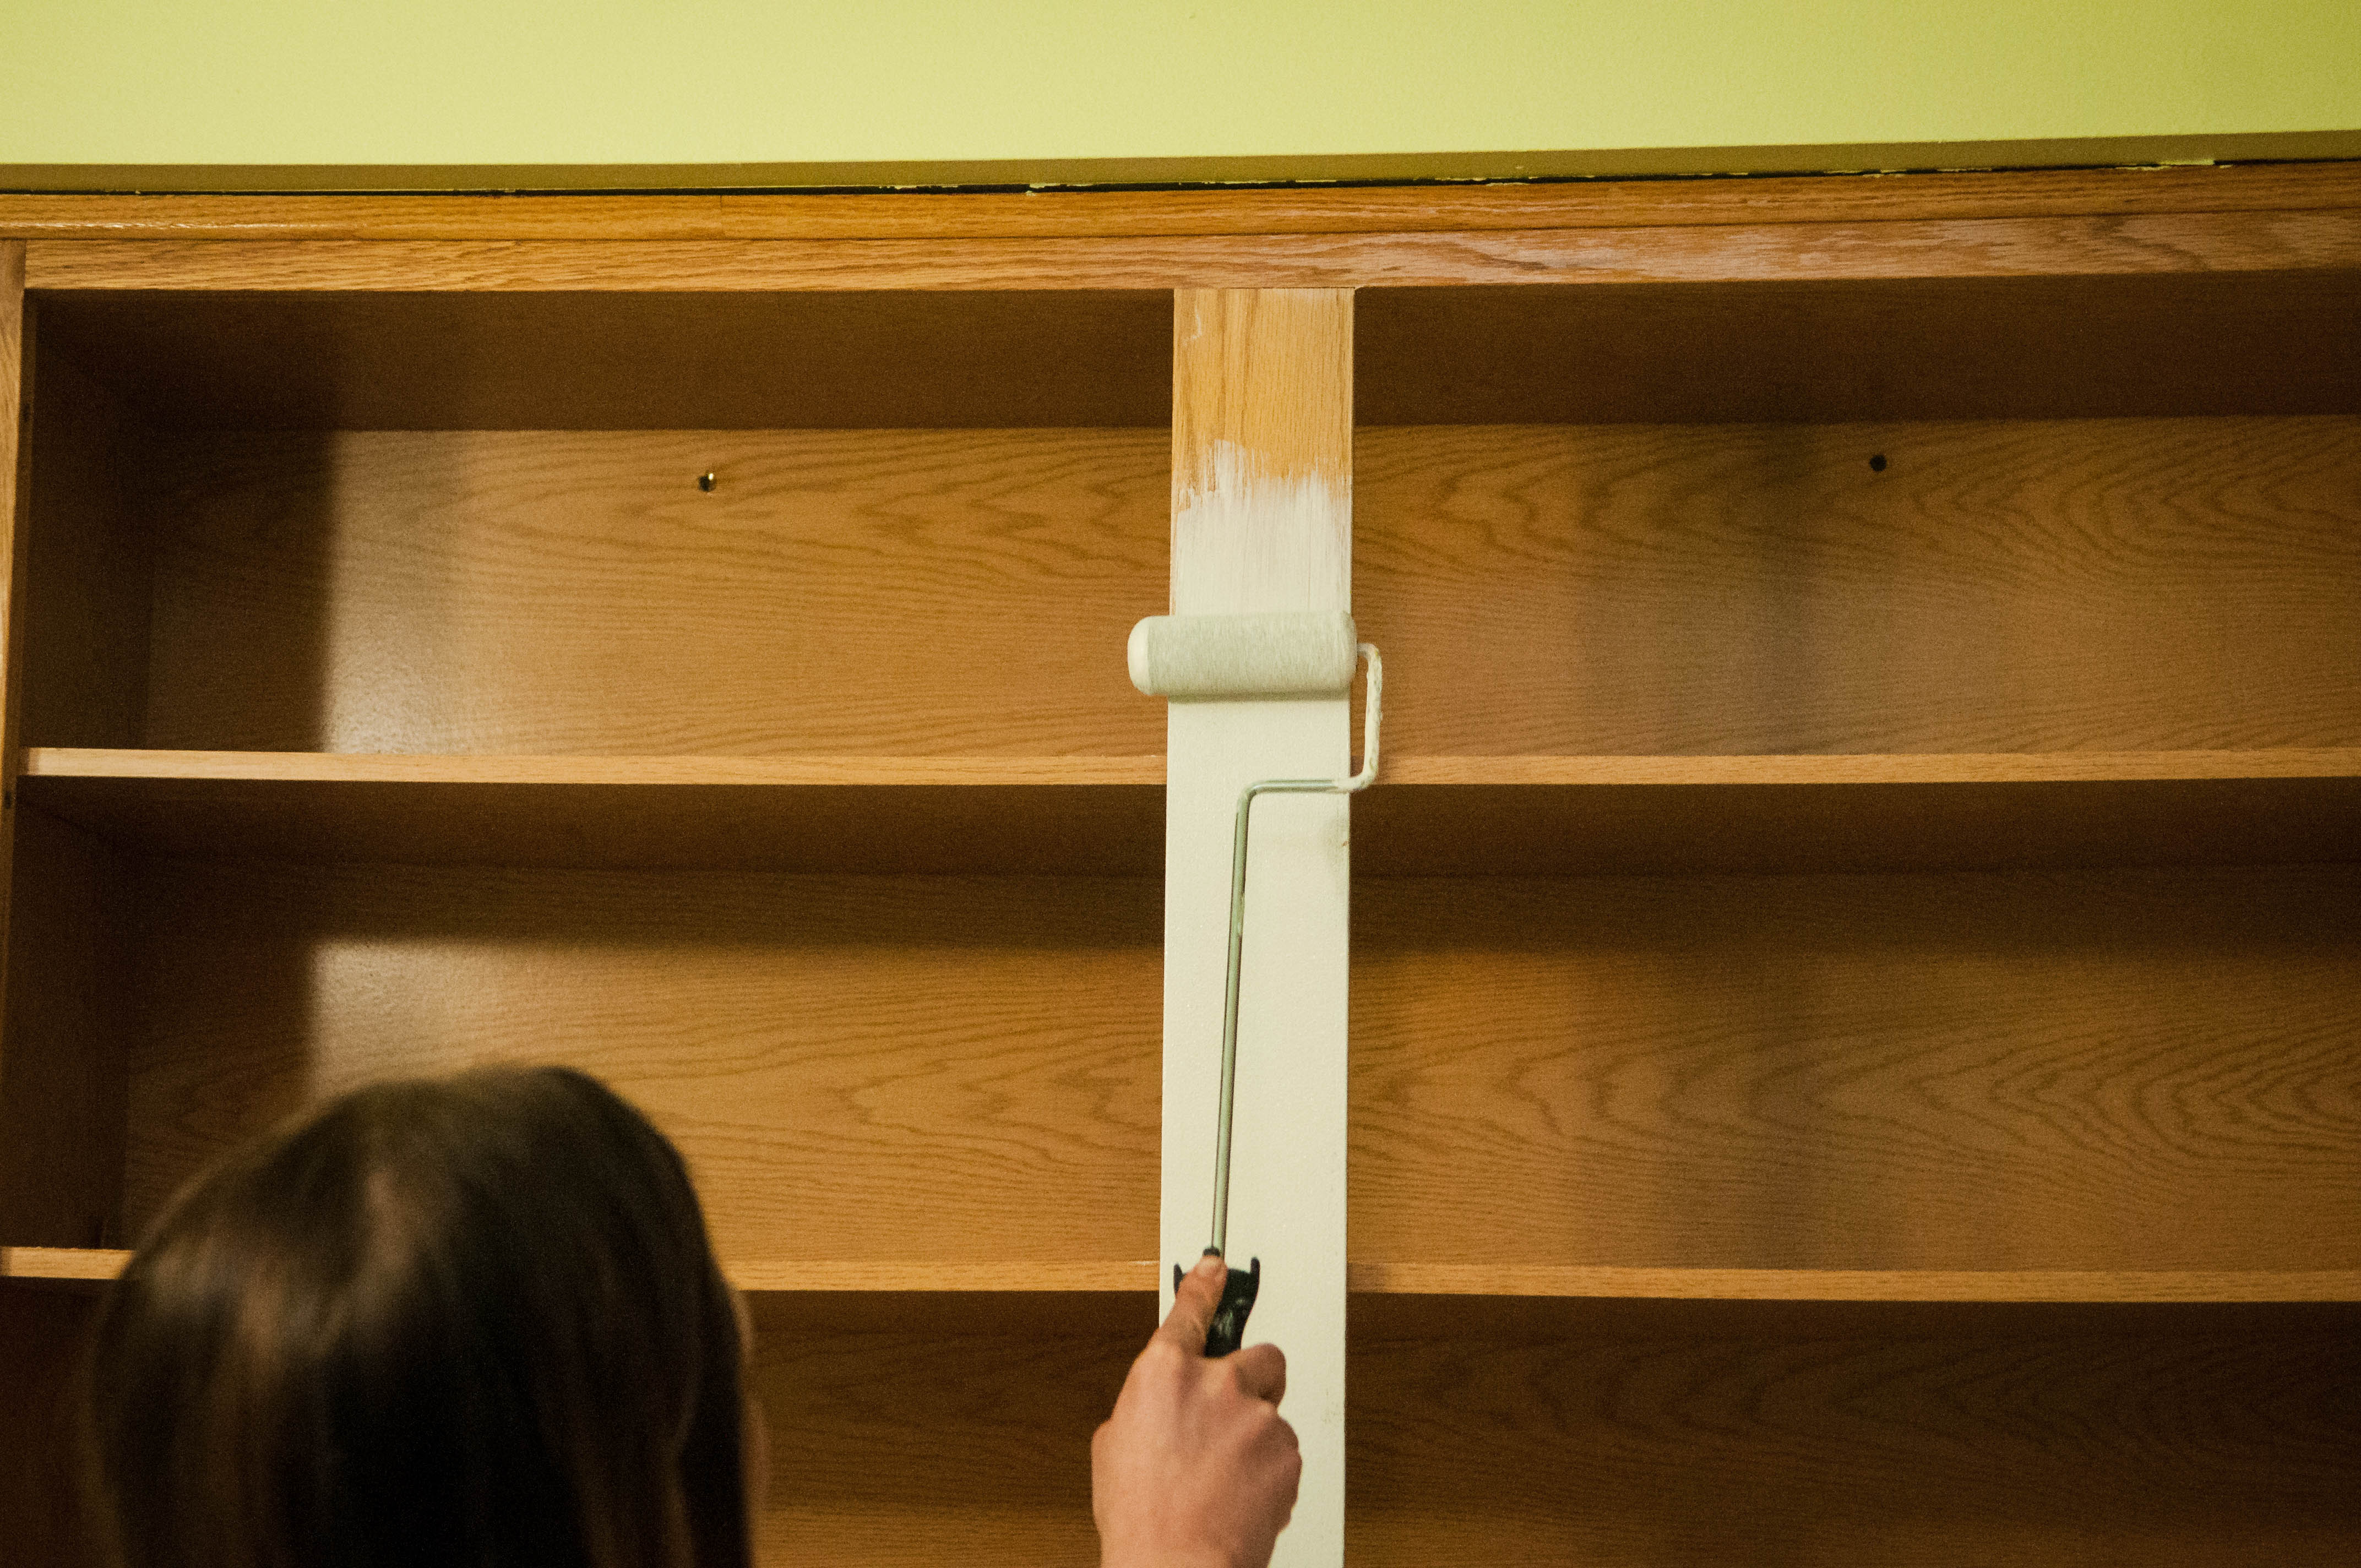
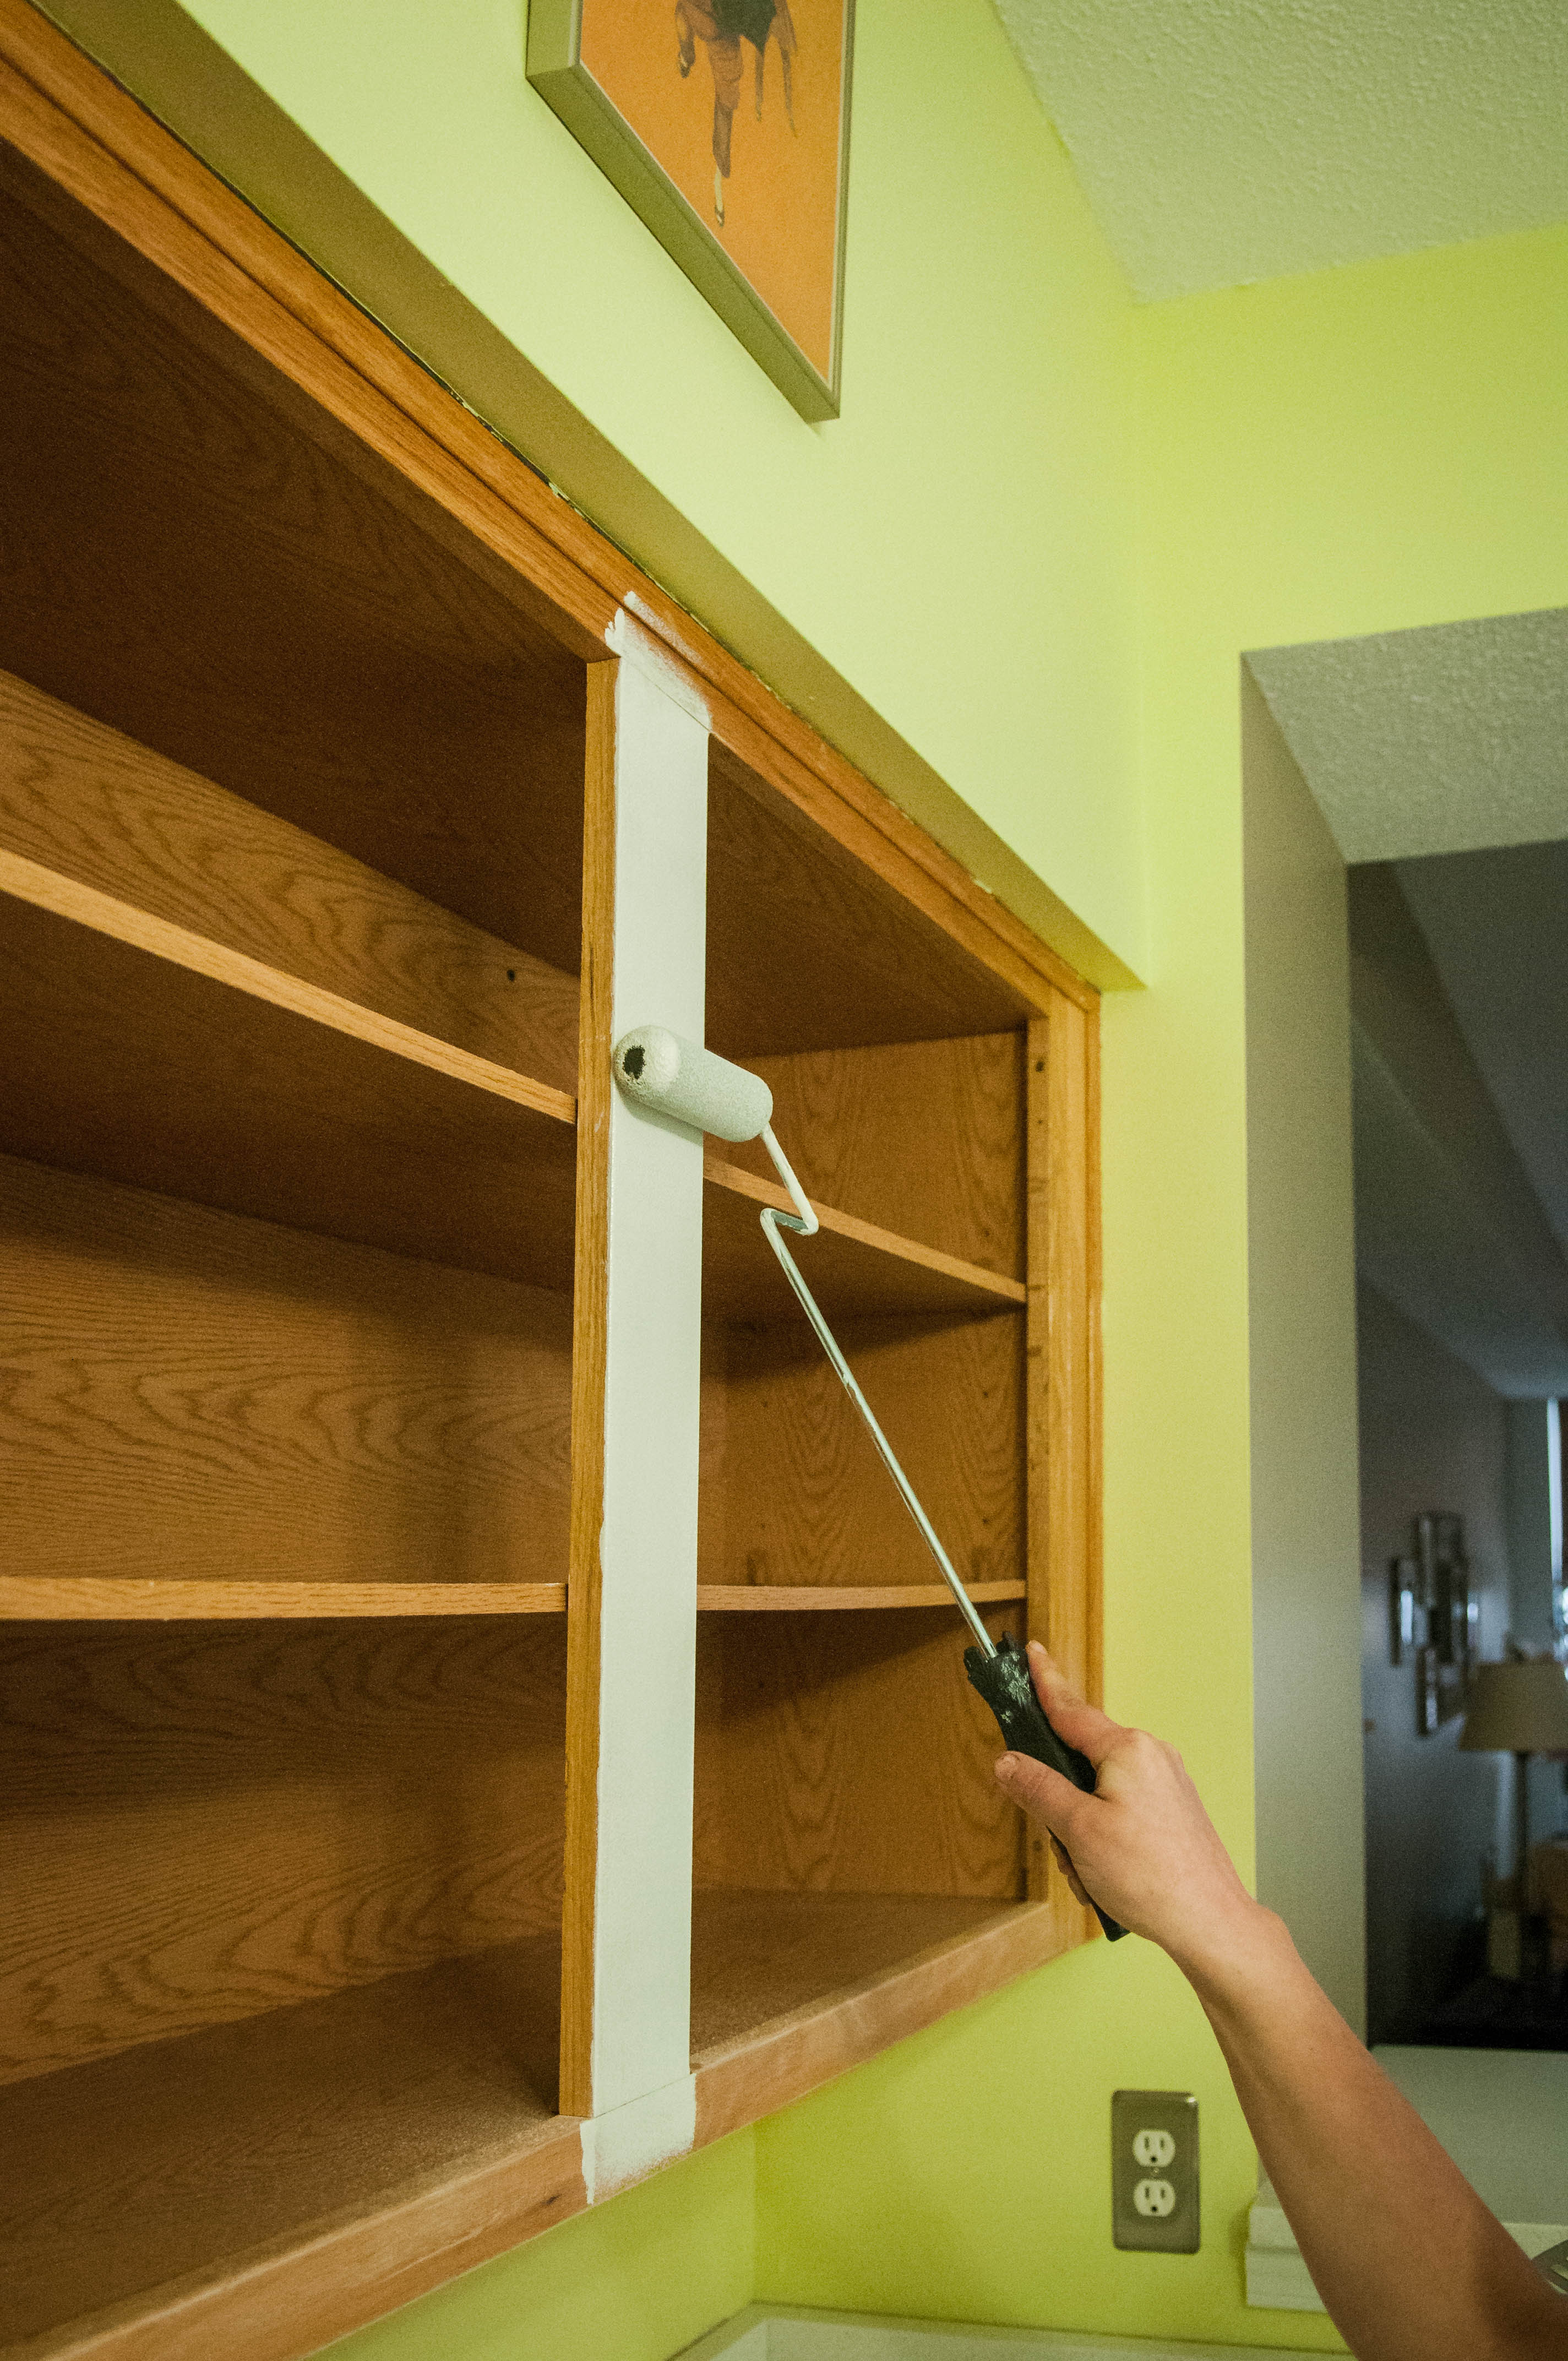
YEAH! Watching your hard work come together is the best. We always like to start by painting the insides edges and the opening of face frames, then outer cabinet sides and face frame fronts. I am typically doing the inner edges with a brush and Jamie is following behind me with a roller. We like to go this route to avoid any drips. It’s always good to have two eyes on all projects. Make sure to always apply in light, even strokes.
Depending on the color and quality of your paint will depend on how many coats you need. We always do two coats of paint, allowing 4-6 hours for paint to dry in between coats.
TIP: Paint inside edges and then opening face frames to catch any drips.
Favorite Paint Colors
Our favorite paint colors change daily! We have the best clients with the best taste so we are always getting exposed to new and exciting colors. But we do have our favorites!
White is a classic. It immediately brighten ups any kitchen, make your space feel larger and fresh! There are a ton of different whites. For cabinetry, we always tend to lean towards the off whites, even though no one would expect it if they walked into your home. But the stark whites are just a little too bright for us. Here are a few of our favorite white and off white paint colors that we love!
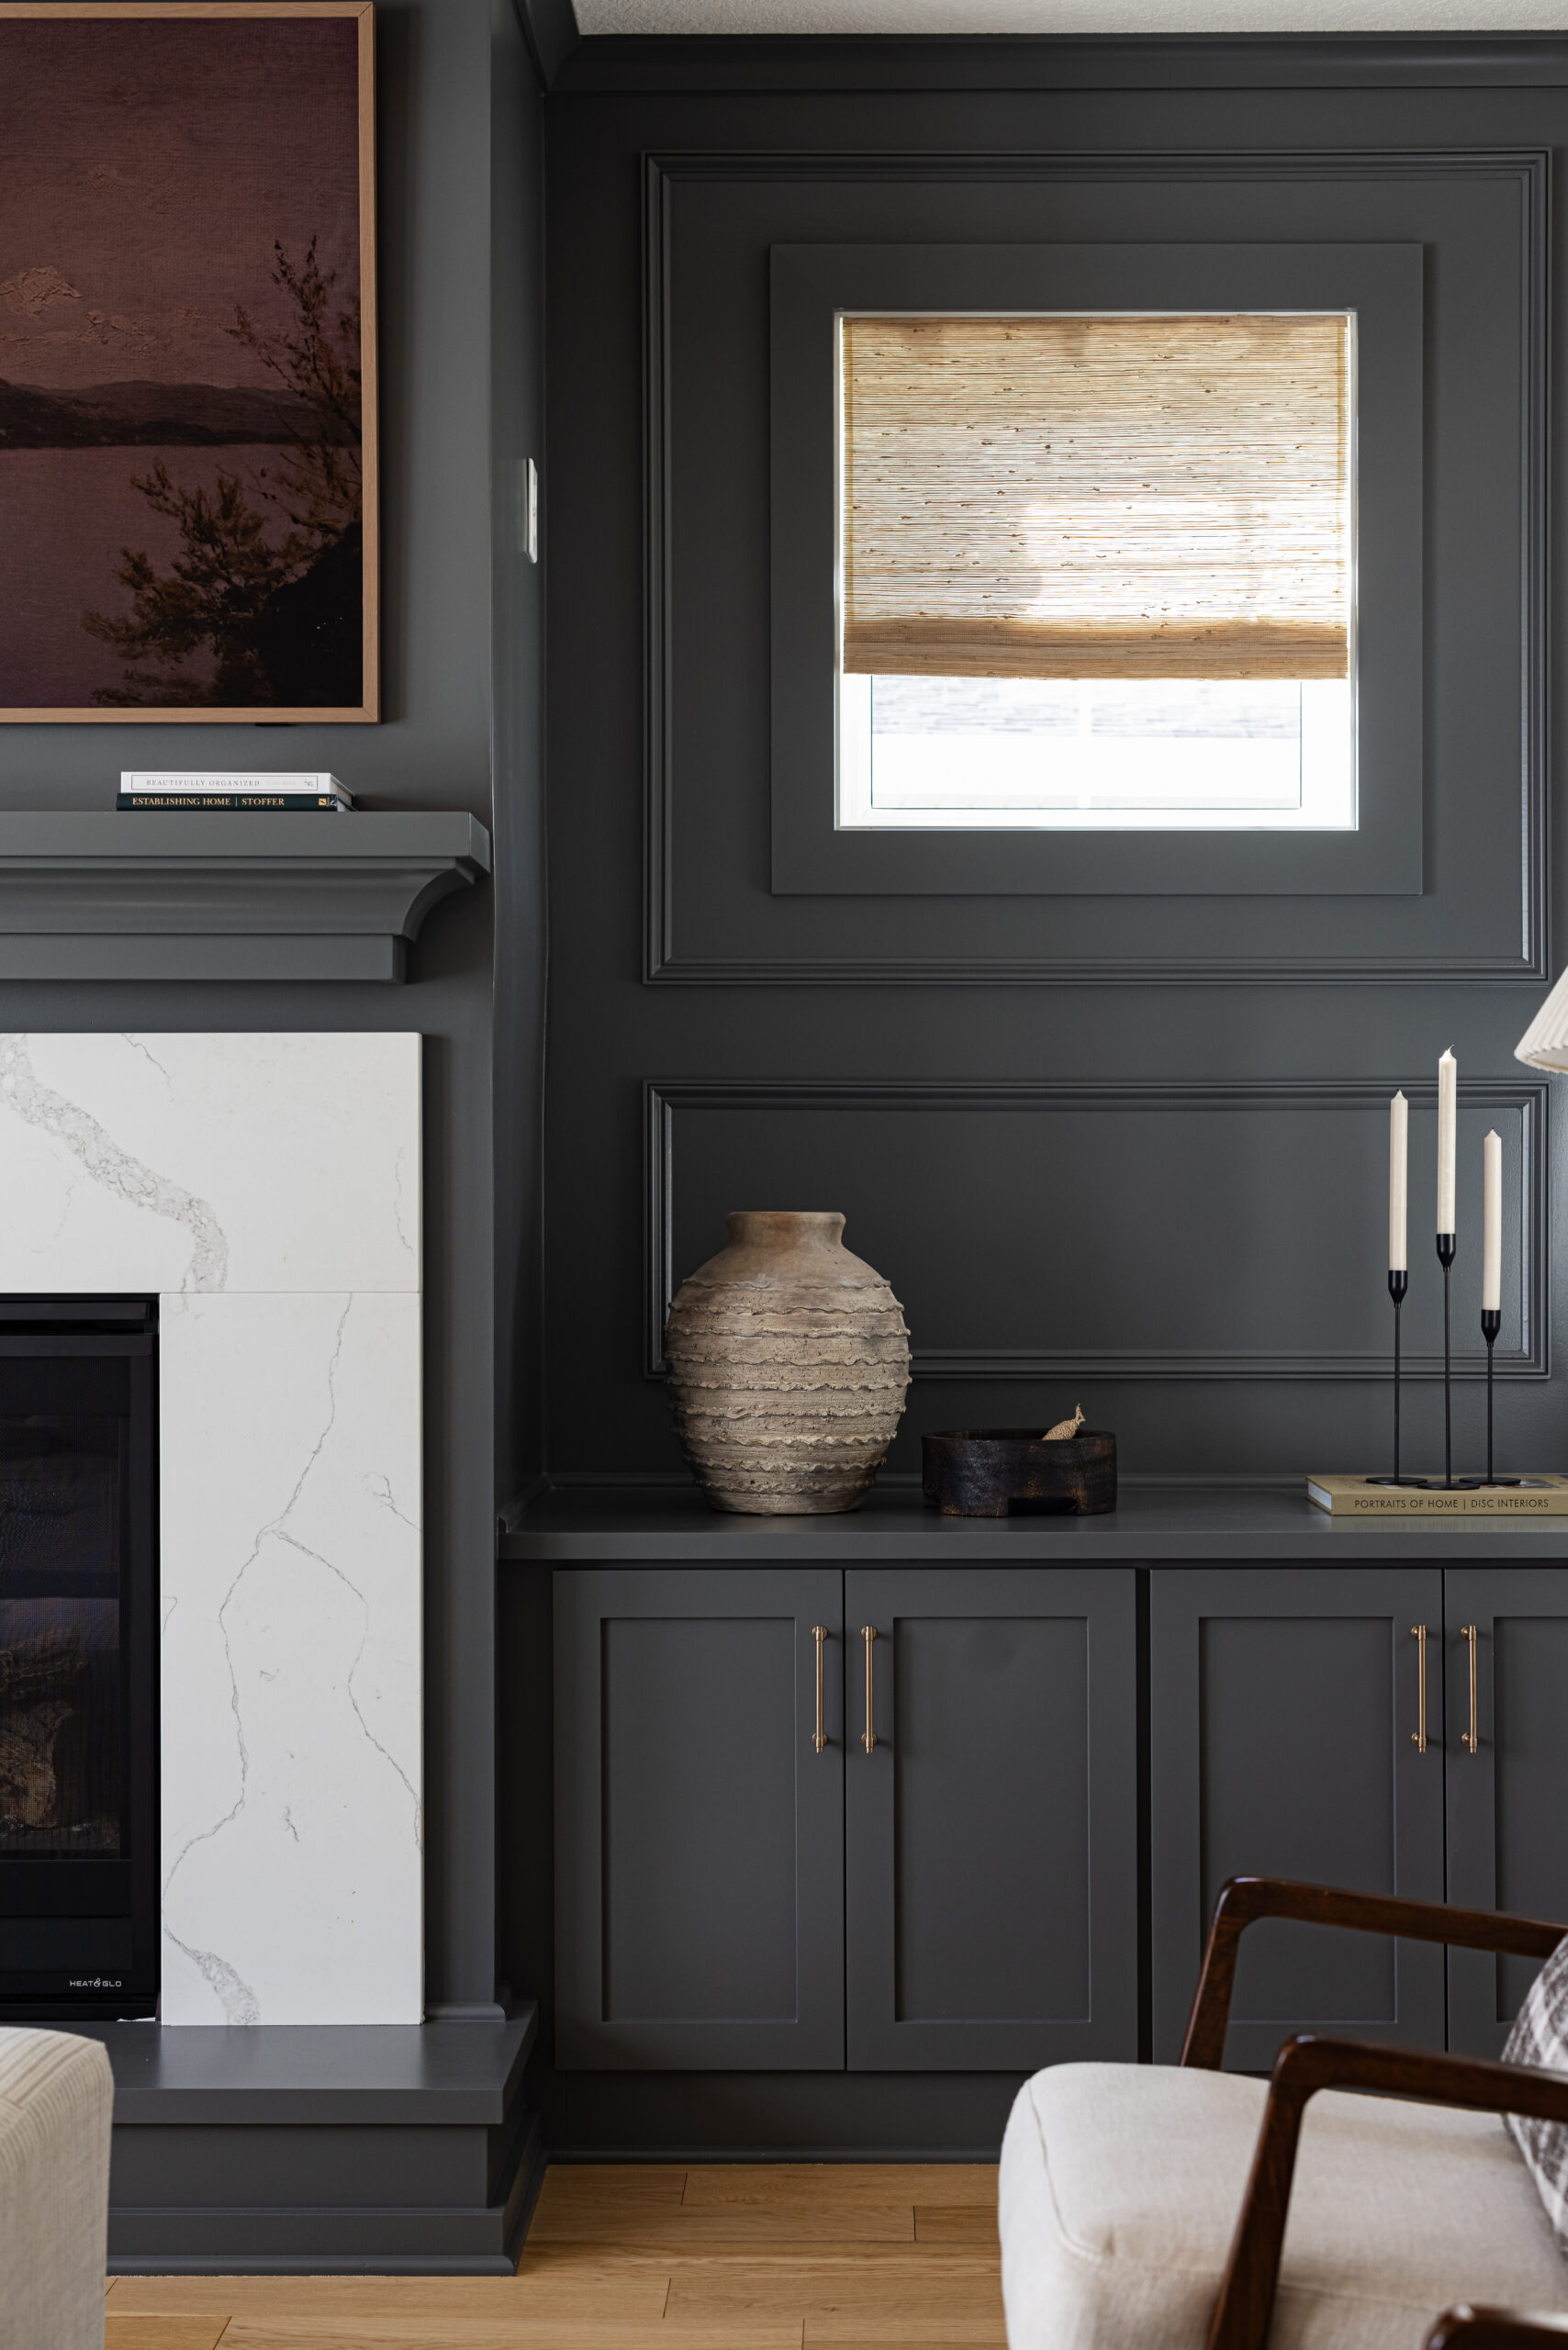
- Slate Paint Color Collection from Restoration Hardware (shown above)
- White Dove by Benjamin Moore
- Simply White by Benjamin Moore
- Gray Mist by Benjamin Moore
- Fieldstone by Benjamin Moore
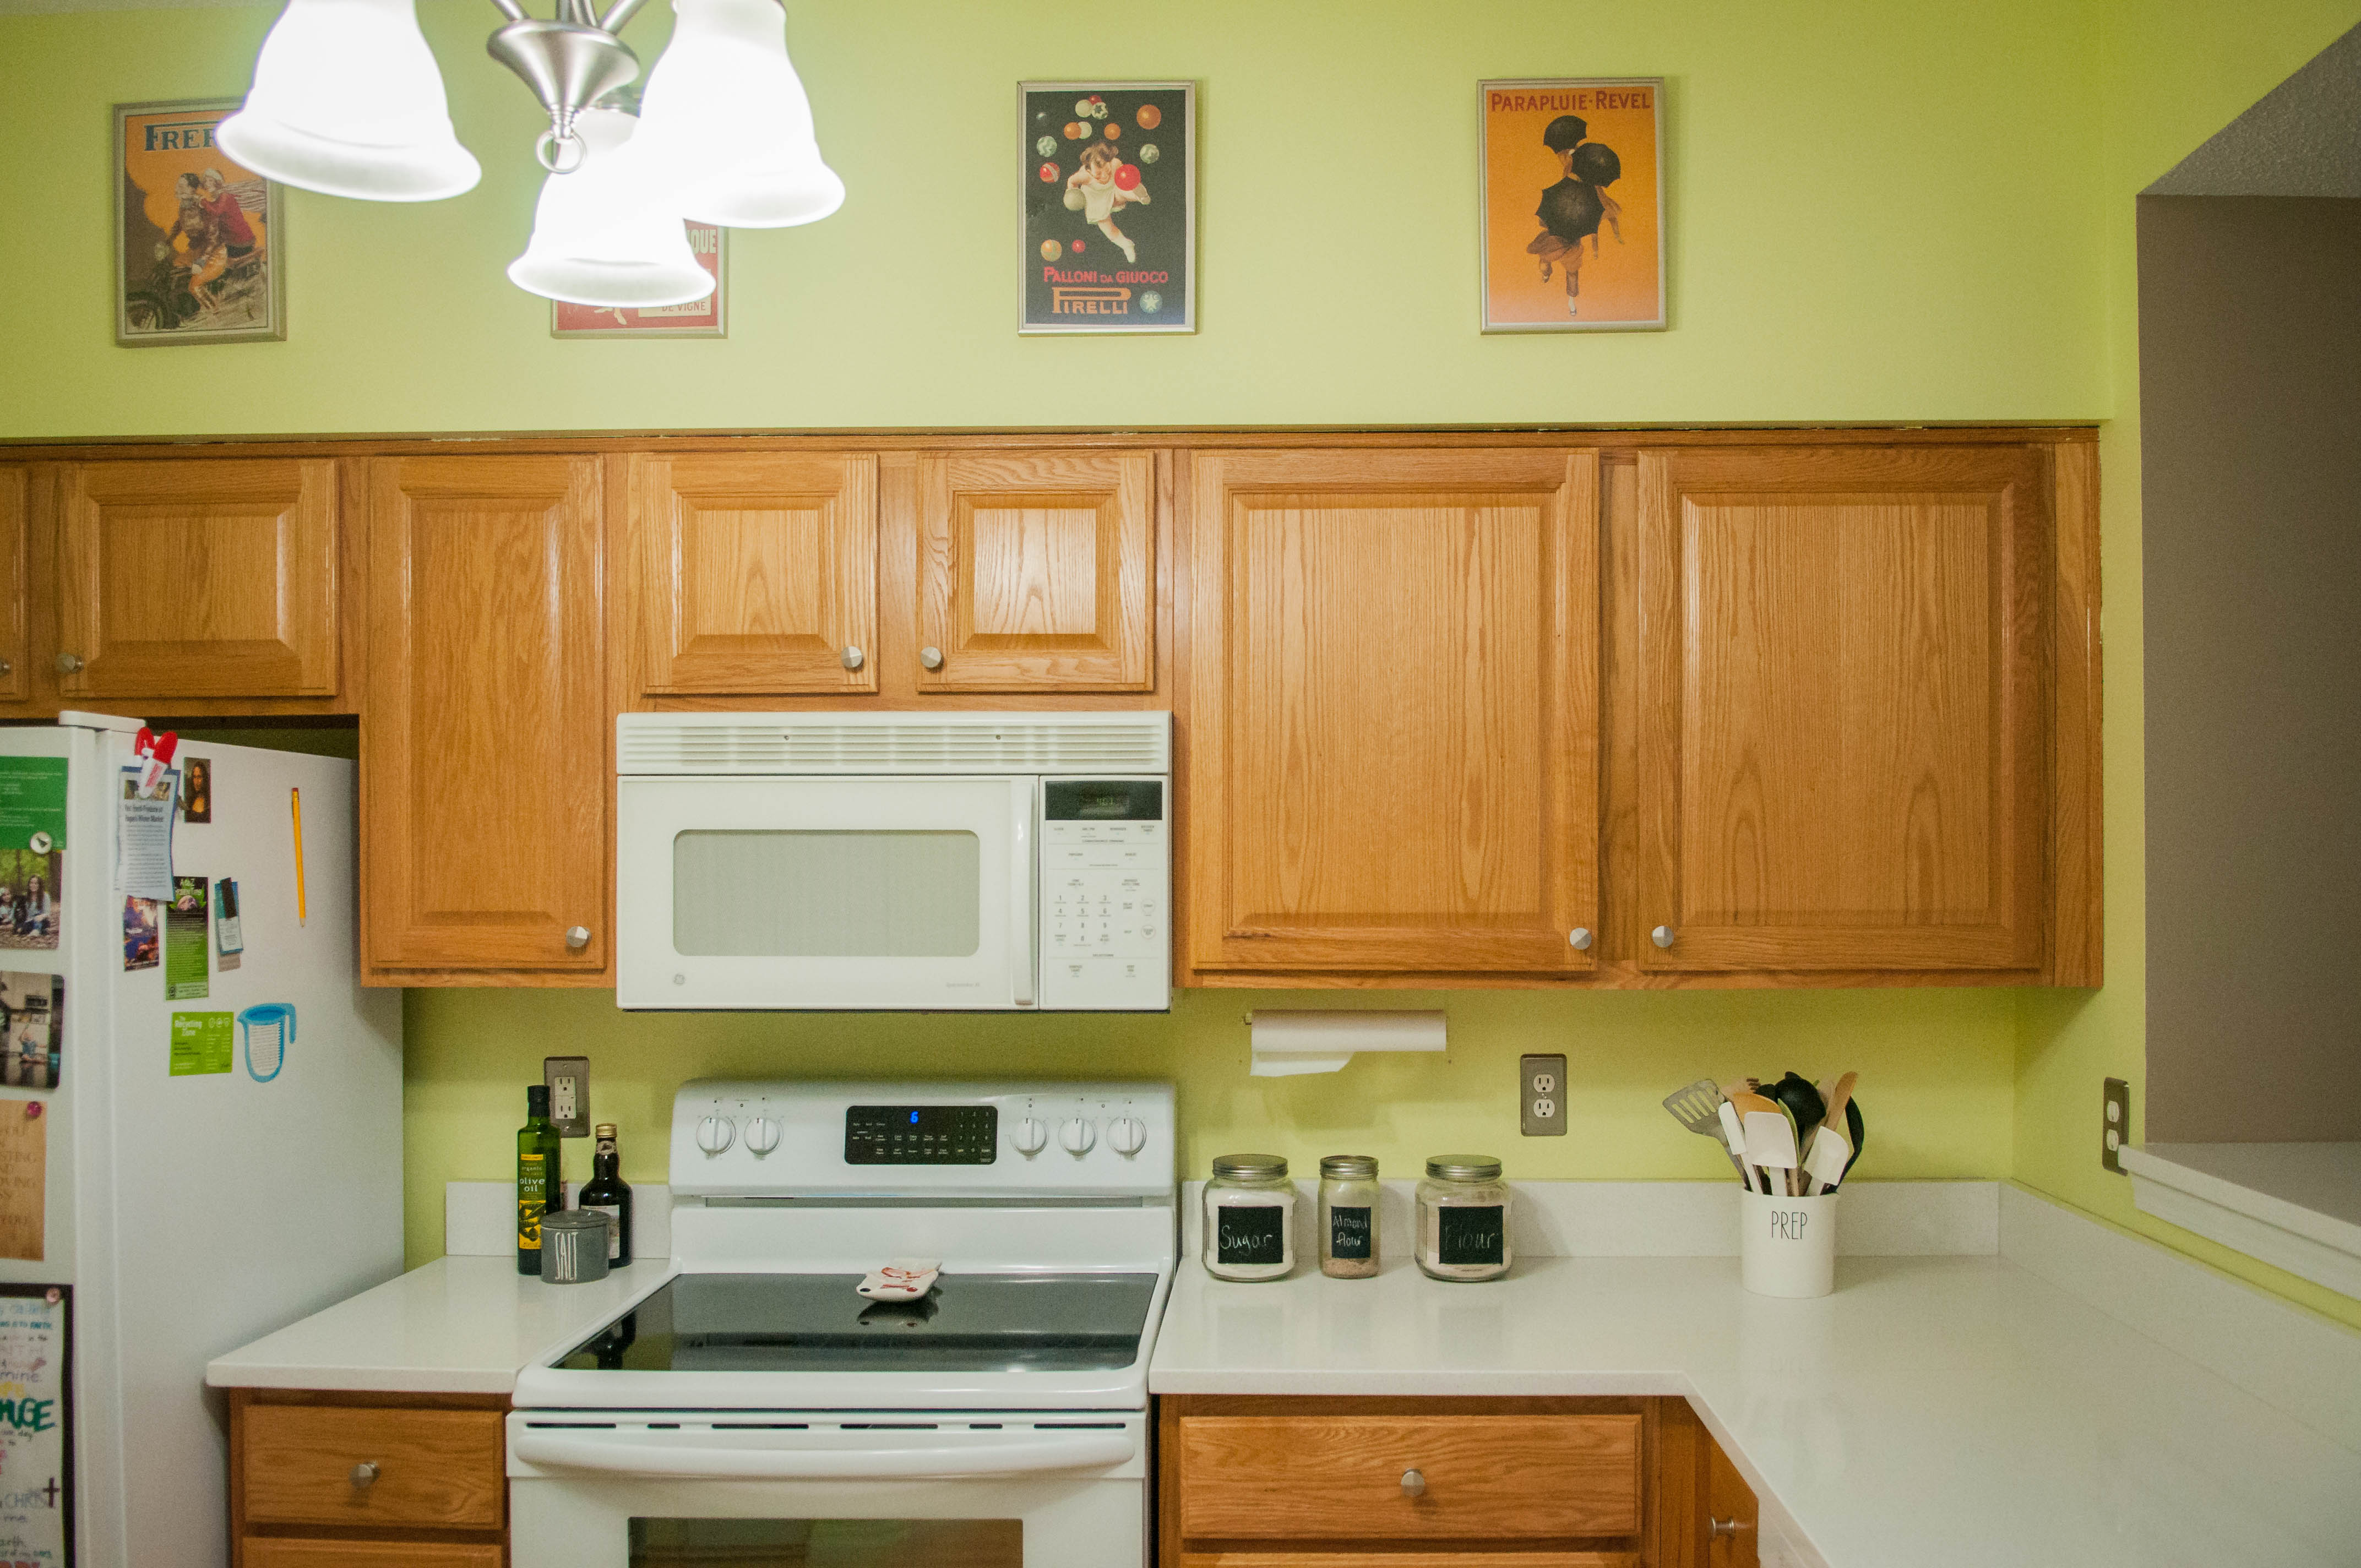
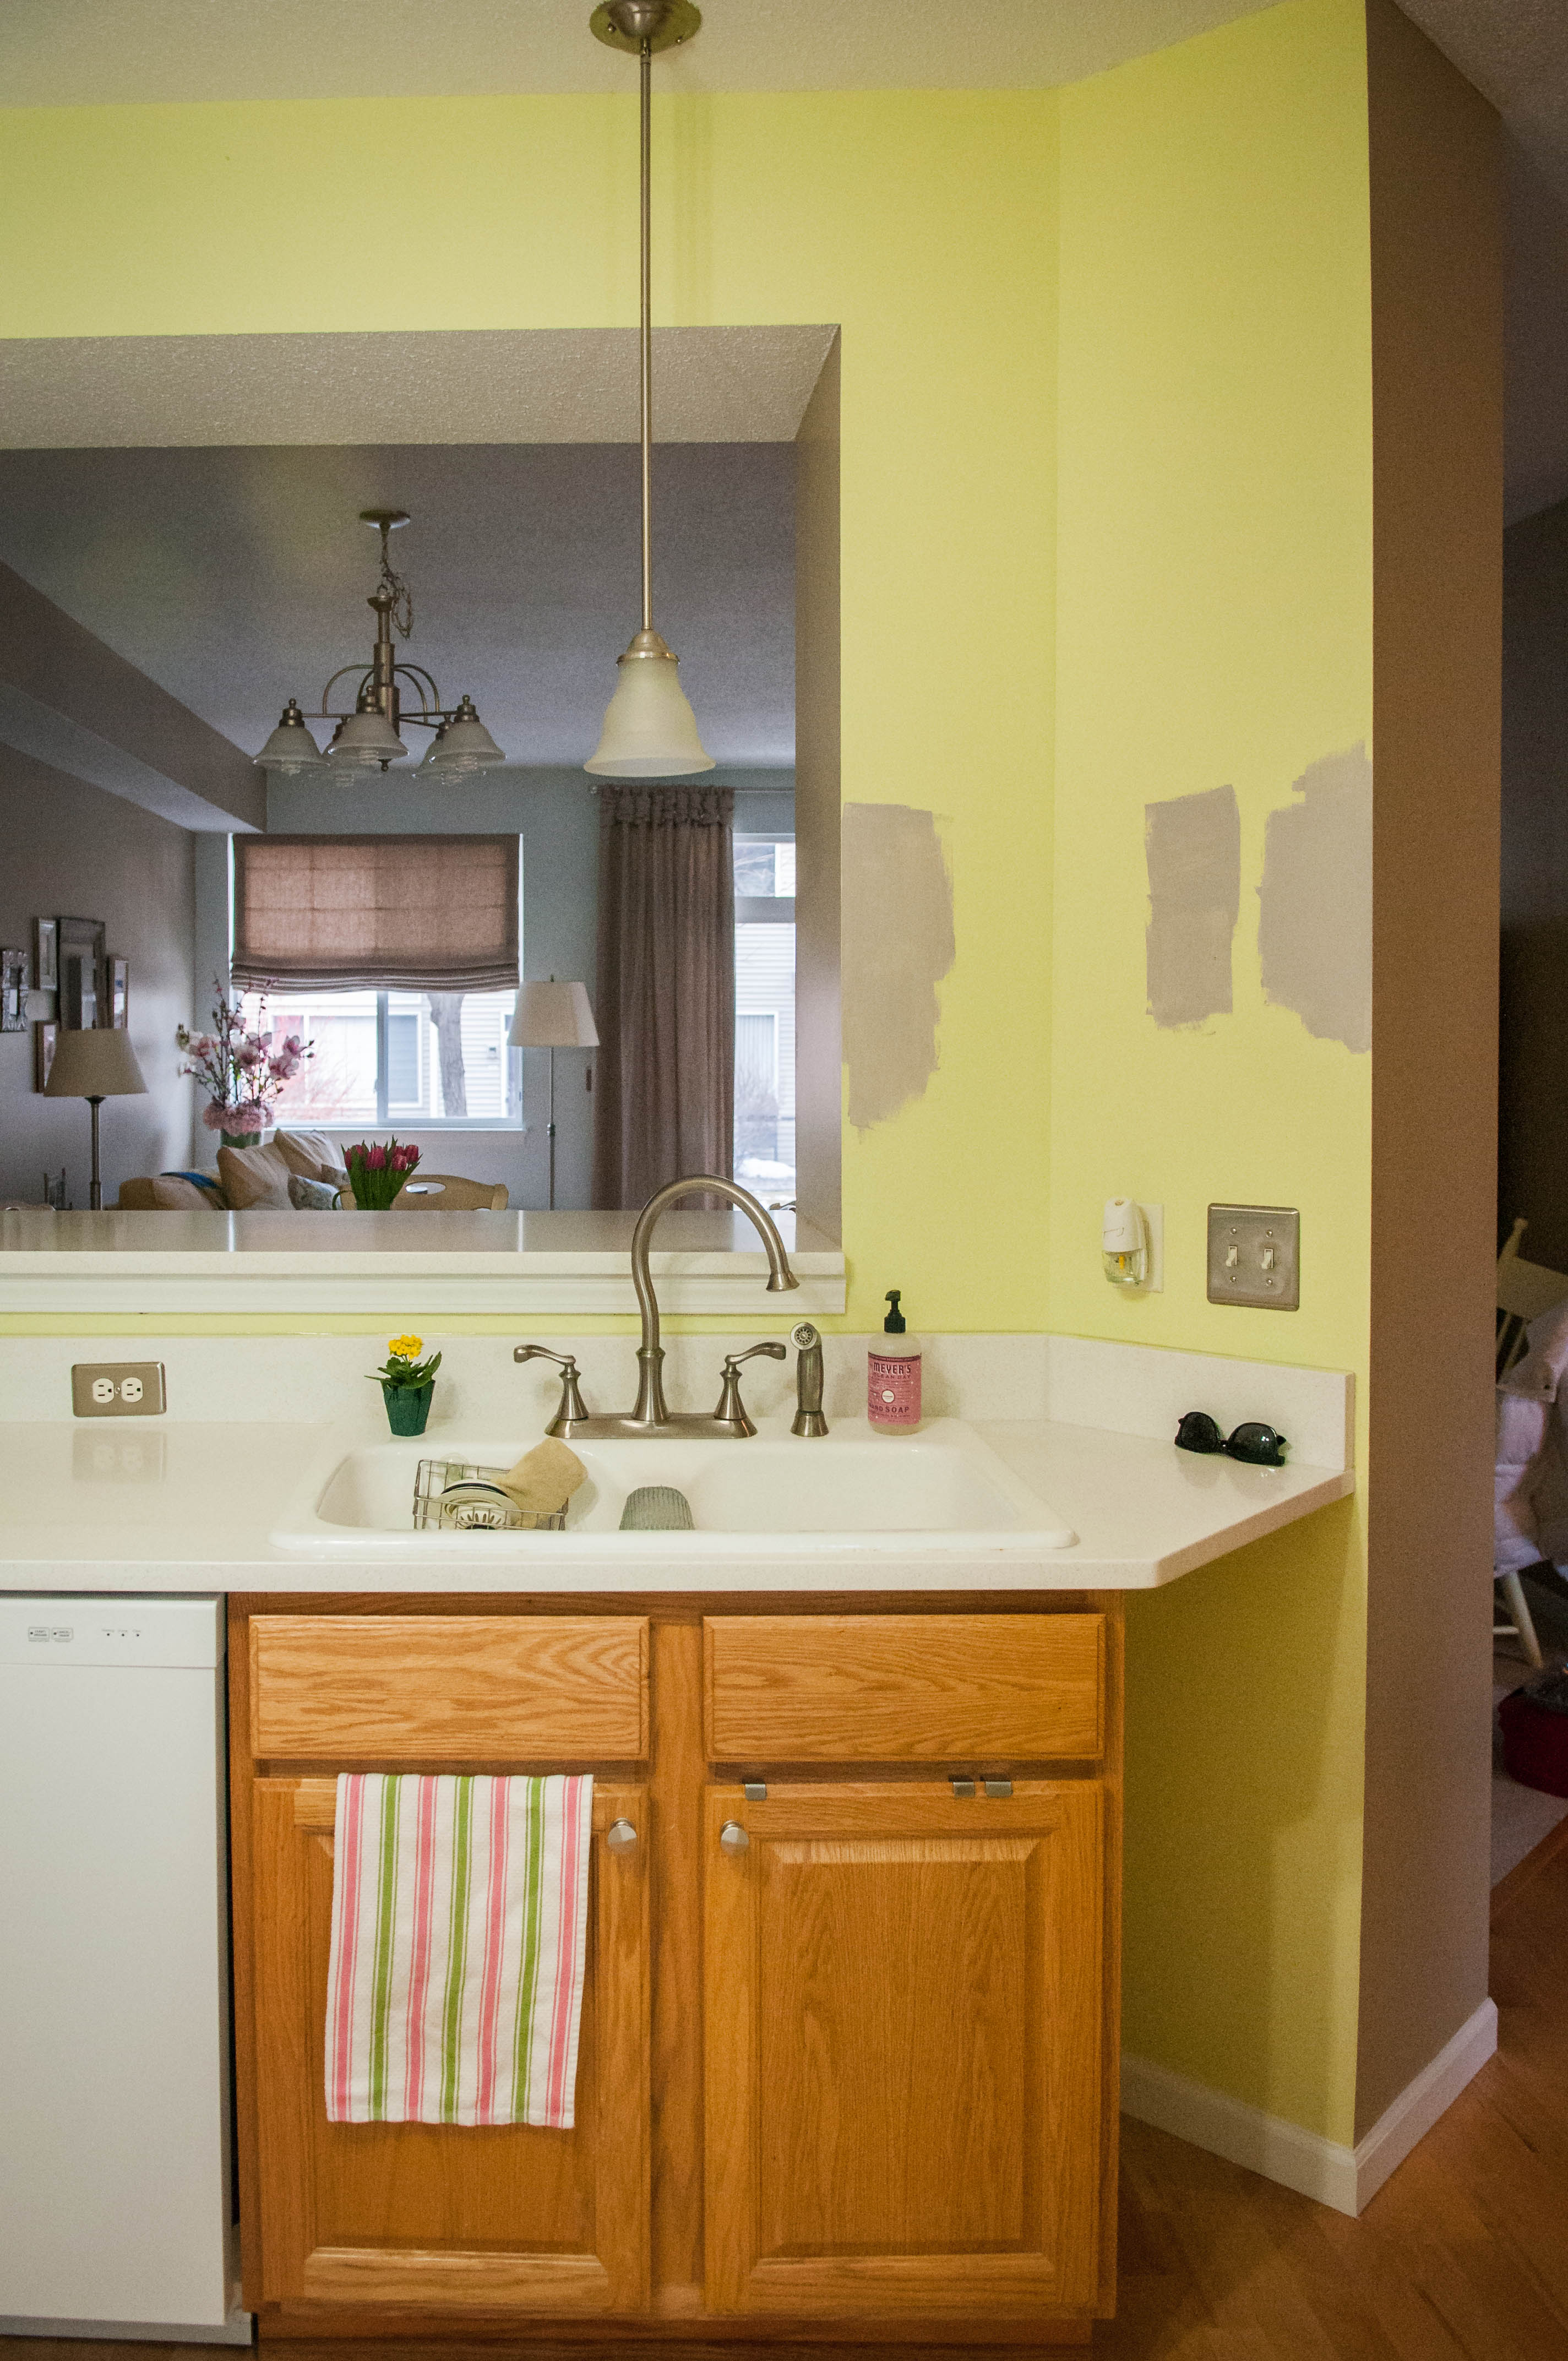
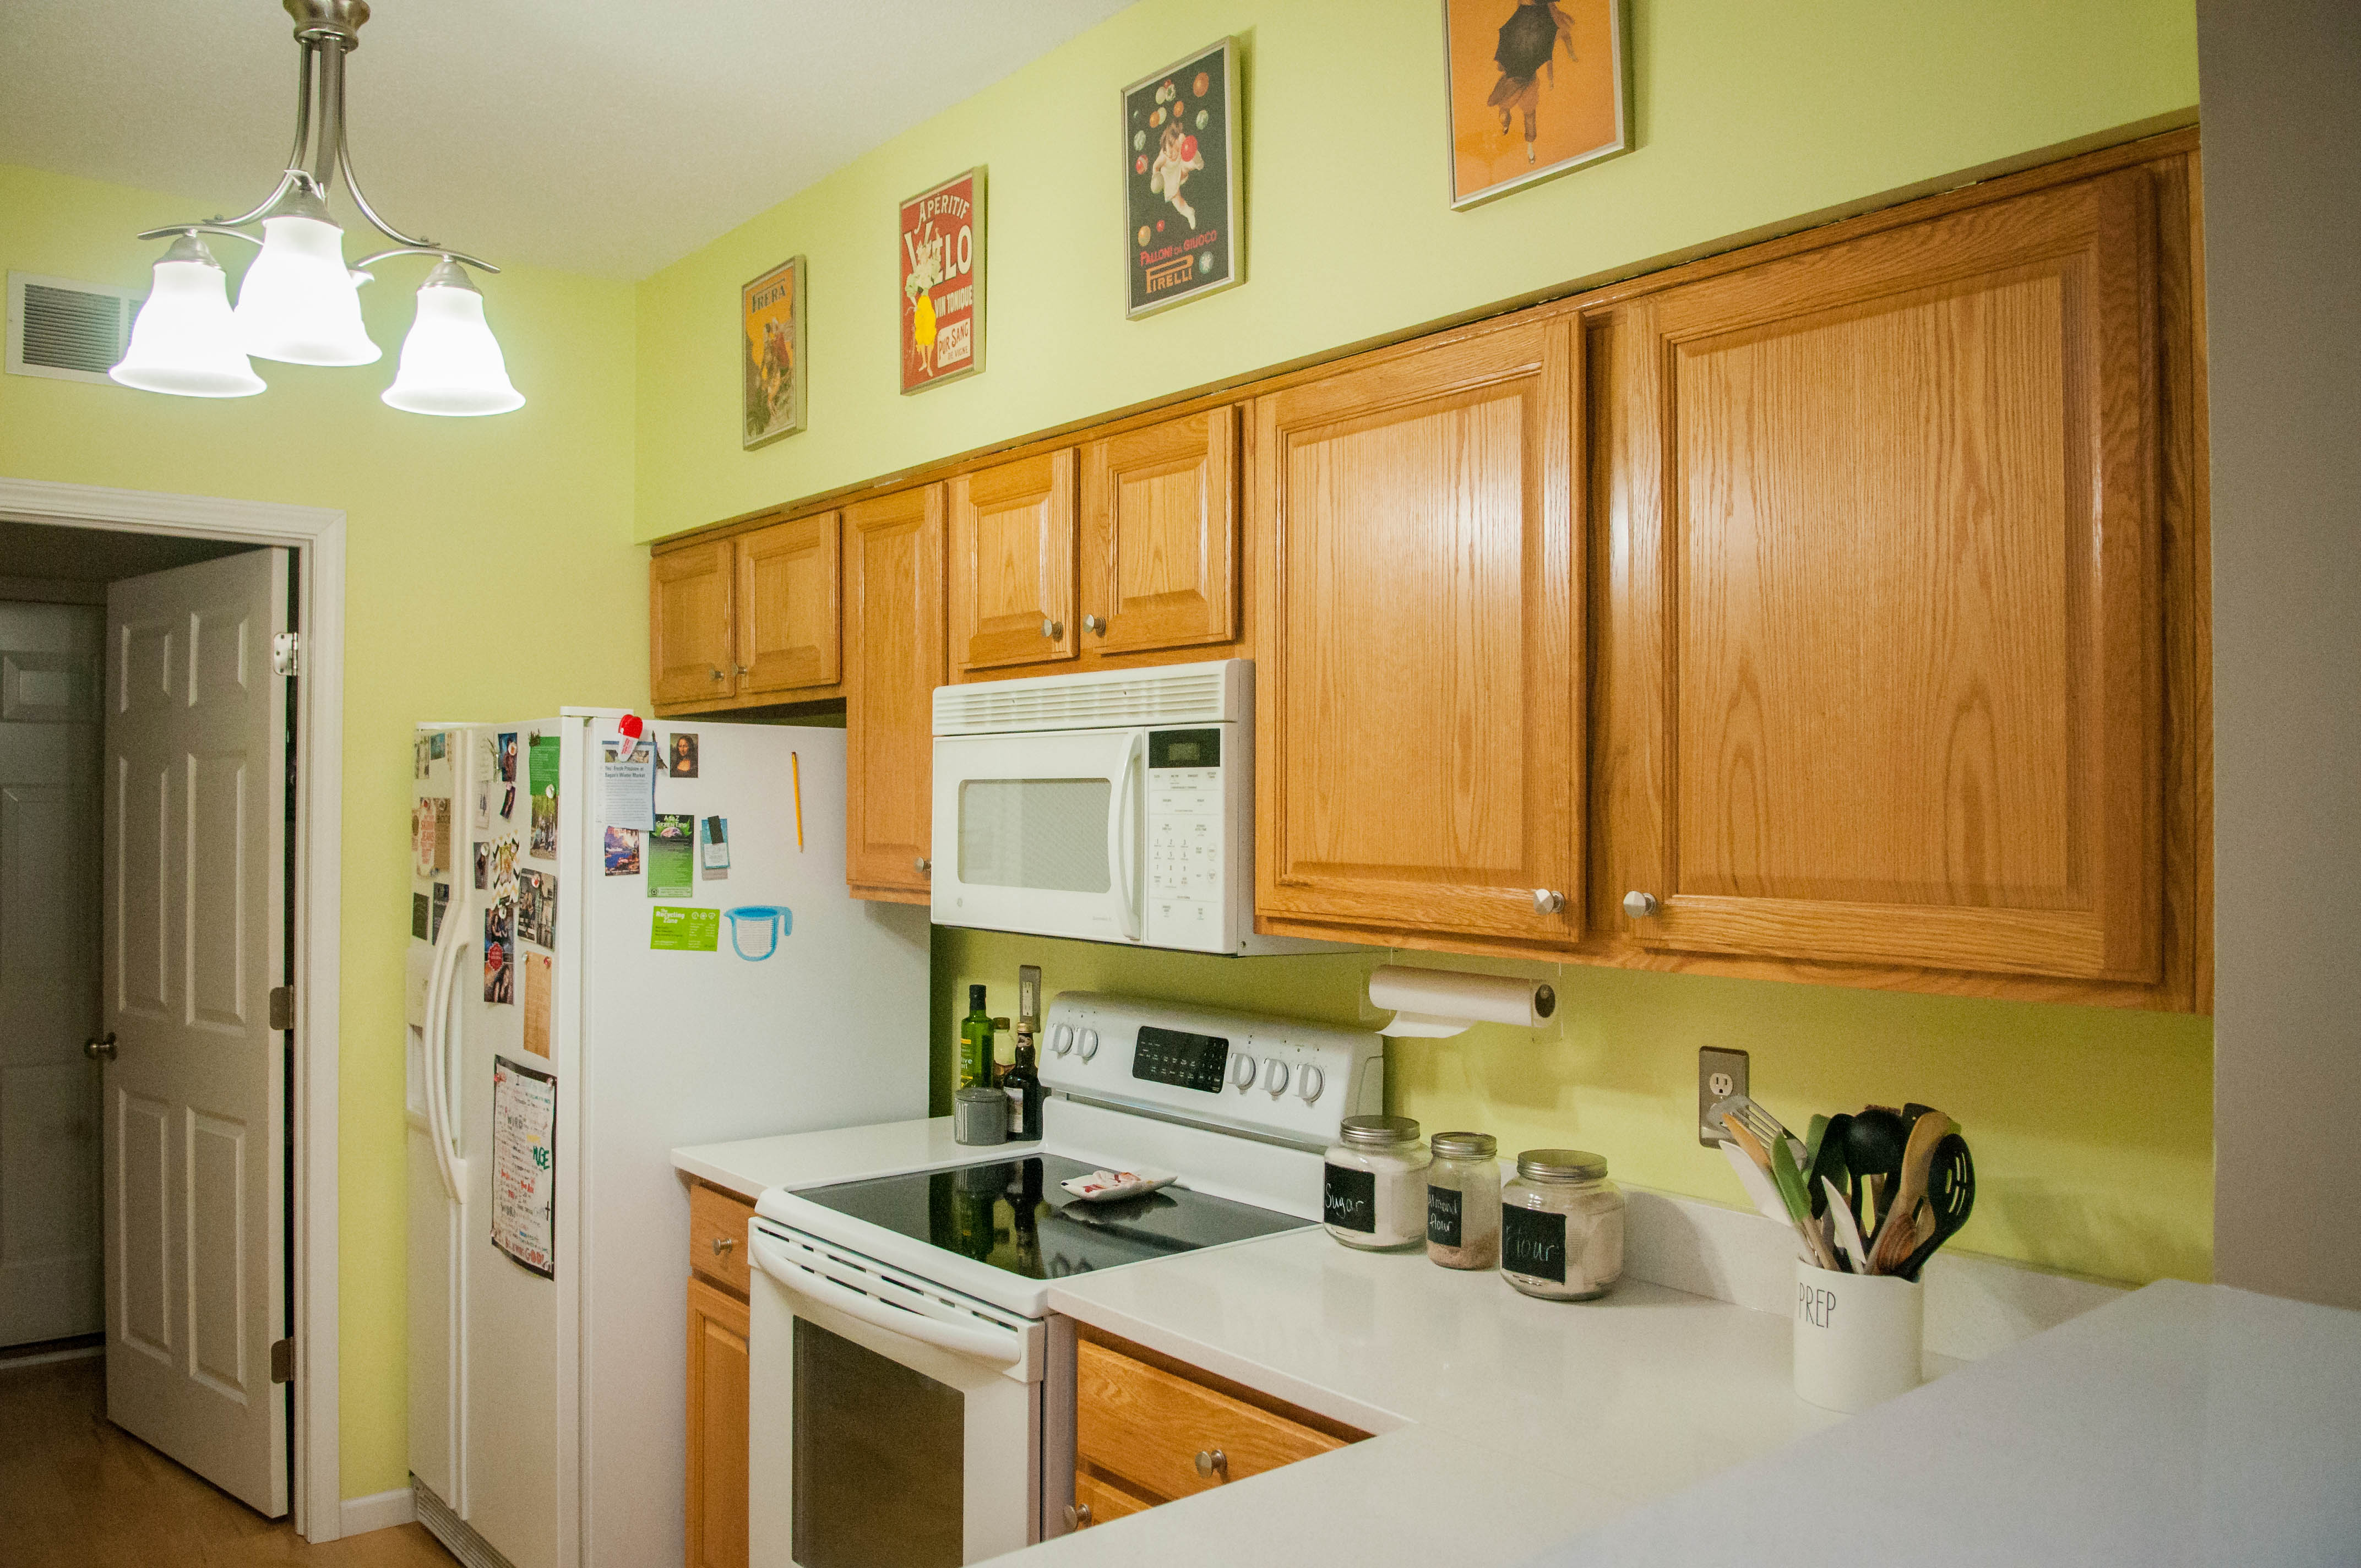
Before
Stay tuned for the full after photos of this kitchen remodel! We can’t wait to update the space and give our client a whole new look simply by just painting her cabinets and walls.
Giveaway
Time to give one lucky winner HANDy Paint Products. Enter below to win! Good Luck! And make sure to let us know what fun projects you’ll be needing HANDy Paint for.



Haha, Thanks Colleen! I’ve been told that a time or 2. hehe. We have never used it before but from those I’ve known to use it for kitchen cabinets, they’ve all had a great experience.
I can just hear your darling voice as you walked me thru how to paint cabinetry. I have been thinking for months about my bathroom cabinets. Kind of nervous to jump into the project . Thinking of Chalk Paint! Any suggestions for that look? Love your site!
Awesome!! So glad we could help!! Thanks Anna!
YEAH! Happy to help! It’s going to look so great!
Repainting our entire house, room by room, so I could definitely put these tools to good use! Our cabinets are last on the list:) Thanks for all of the information!
I’m always curious what whites others would recommend for cabinetry. Loved this post!