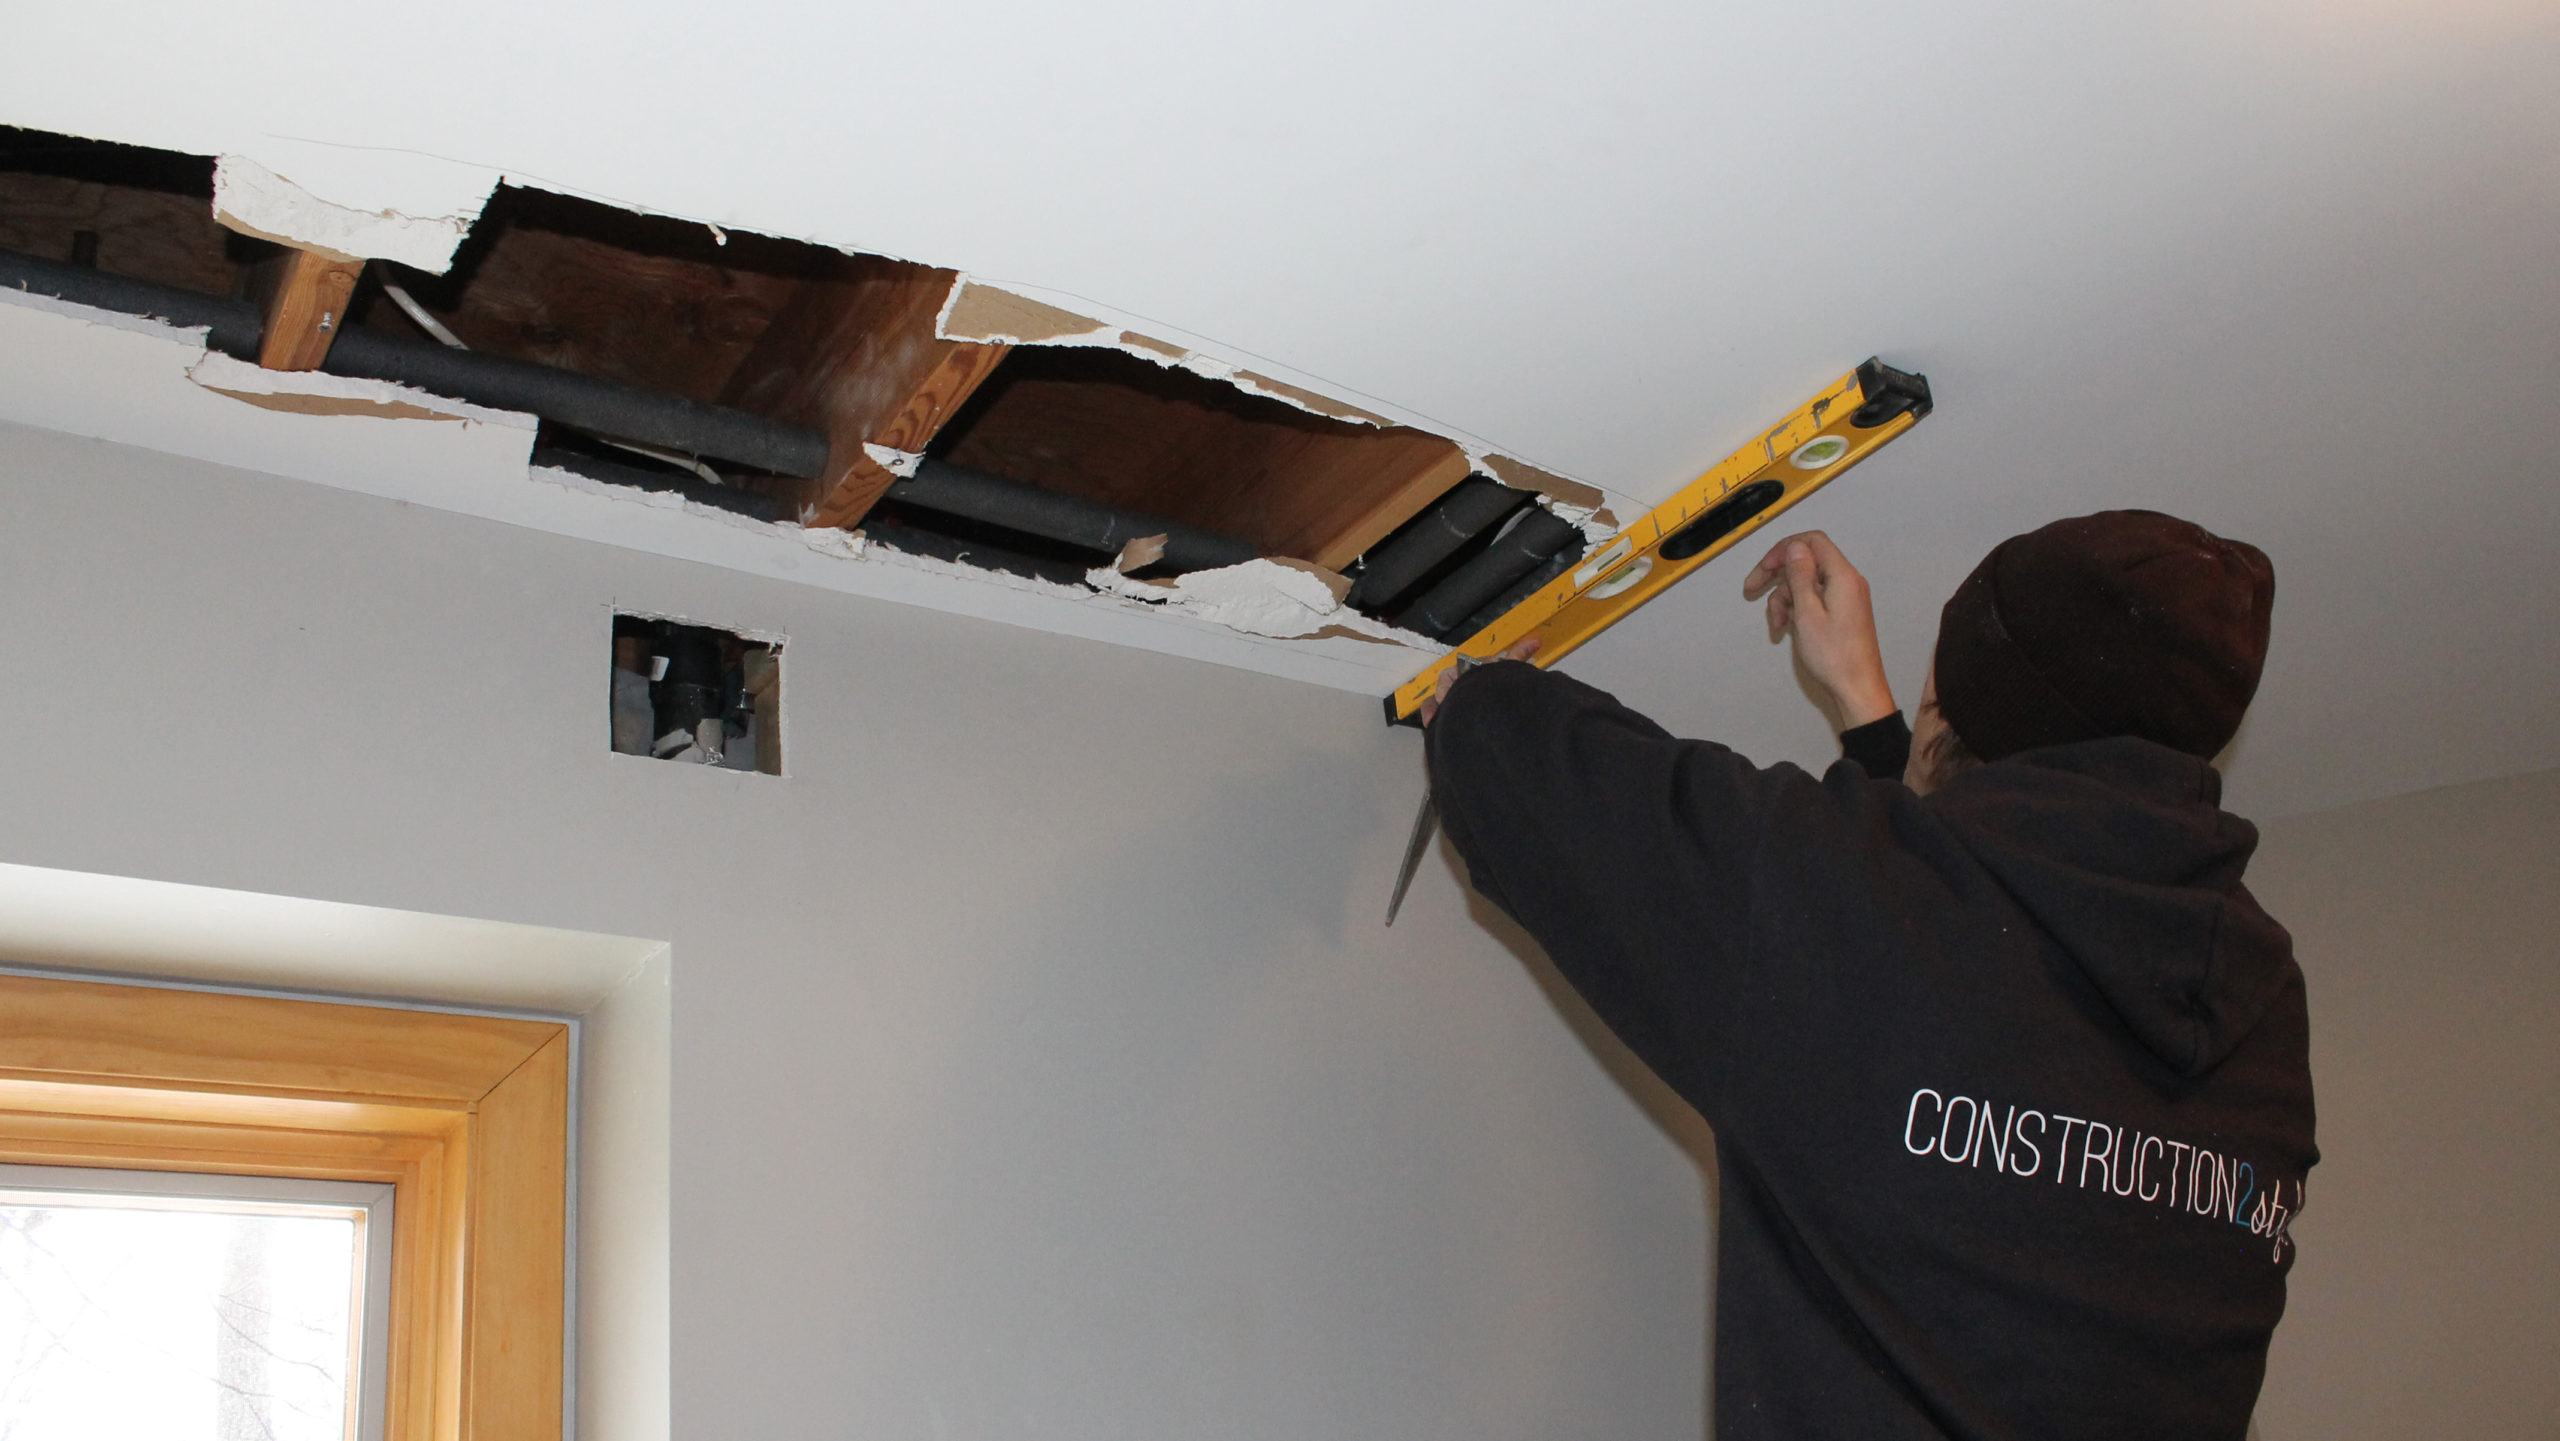
Materials
- Drywall
- Utility Knife
- Mud
- Drywall Tape
- Trowel
- Square
Drywall: Depending on the size of the hole you can either buy an entire sheet which is typically 4 feet by 8, 10, 12 feet or you can buy smaller pieces made for patching that typically come in 2 feet by 2 feet sheets. One thing to remember is that drywall thickness can vary. Make sure you know the thickness of the drywall you are patching before you get it. Too thin of drywall will create an inlay of your patch and too thick will make your patch bulge out. If you are patching a wall, most likely the drywall is 1/2 inch thick but it’s always good to double check.
Utility knife: This is the magical tool that makes the drywall the exact size that you want it. A big misconception about the utility knife is that you NEED to cut all the way through the drywall. This is not true. We call it “scoring” the drywall. Once you’ve marked out where the cuts need to be, run your knife along the line creating an indentation/cut/score in the drywall. Heres where the magic happens: once the cut has been made you can then bend the drywall on that cut mark. This will cause the drywall to break directly on that line that you just cut. Following this step you will take your knife and cut the back of the drywall, again on that same line. This will be the final step in cutting the drywall and creating two separate pieces.
Mud: Also known as joint compound. This is what you will apply to the patch that will ultimately create the blending from the patch to the existing wall. Again depending on the size of the patch will determine the size of the bucket of mud. You can also buy dry bags that you will mix in with water. If you are in need of a quick patch and don’t want the long dry time, there is something called “quick mud” or “5 minute mud”. This is a dry compound that you mix with water and quite literally sets and dries within 5-10 minutes.
Drywall tape: This description can be a bit confusing sometimes. Personally I think they should call it drywall paper because there is nothing sticky about it. However, it is used much like tape is. The drywall tape is used to join two pieces together at a meeting point. You can either use mesh tape or solid paper tape.
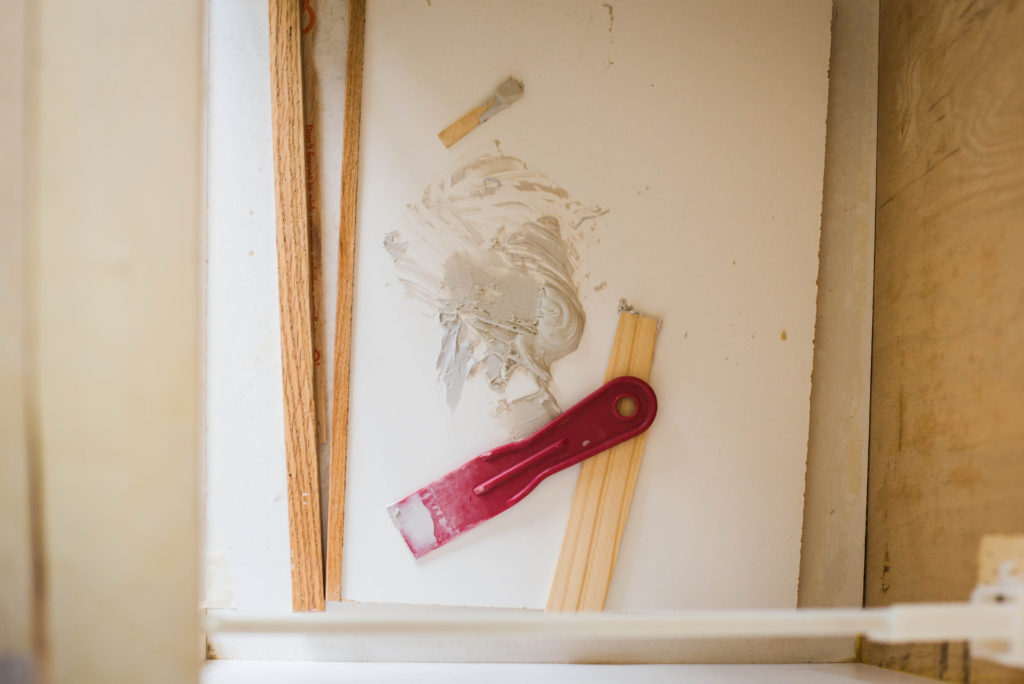
Trowel: This is definitely the one tool in drywall that can make all the difference. For patching a small area you wont need anything too fancy. By this I mean you can get by with a plastic trowel/ taping knife. Often times they will sell the plastic ones in a set of 3 or 4. Buy that. It’s about the same price as one metal trowel. Either way if you are using plastic or metal, start off with a smaller/skinnier trowel to apply the initial layer of mud. Once you’ve done this, work your way up to bigger trowels. This will ensure that you are fanning out the mud and creating a nice smooth joint between your patch and your existing drywall.
Square: Don’t be fooled by the name. This shape of this tool is anything but a square. It’s more of a “T”. The drywall square is used to ensure that you are cutting your drywall square. Imagine that! This tool is much like a carpentry square but is much larger. There is a small lip on the one end of the square that you will rest on the edge of the drywall. Then from there you will run a pencil or knife down the perpendicular side making a nice even cut.
1. Measure and cut your drywall
When patching a hole, it’s often times from an accident that happened. Maybe the kids were playing with a ball in the house and it ended up through the drywall or they are practicing being tough on the drywall and their fist ends up making a hole. Whatever the case is, the first step to patching that hole is to make the hole “nicer”. By this I mean taking a fist mark in the wall and creating a nice even square.
Typically we start by finding the rough size of the hole or patch we are going to be working with. Let’s say that it’s roughly 4inches by 3 inches. We would then take our piece of drywall that we bought from the store and cut it at about 4inches by 3 inches with our utility knife.
Once this is done we will then take that piece we just cut (4″x 3″) and hold it up next to the hole. You will then trace the outline of the 4″x 3″ piece onto the wall directly over the hole. Following your trace line you will cut out a 4″x 3″ hole on the wall. What this does is ensures that the drywall piece that you cut in your hand will then directly match the hole in the wall.
2. Prep the hole
Once you have cut the hole in the wall at the desired size, you will then need to add backing to that hole. This will ensure that the patch you are going to put inside that cutout will stay secure and strong. For backing material we recommend that you use anywhere from 1″ x 4″ to 1″ x 8″ wood.
Using the same cutout from the example before (4″ x 3″) you will need to cut your backing to fit that size. We typically cut our backing about 4 inches longer than the size of the hole. This provides 2 inches on each side of the hole. For this example I would cut a piece of backing at 8″ using 1″ x 4″ material.
I would use this size material because our hole in the wall is only 4″ x 3″ so anything bigger than that might be hard to squeeze in there. Once the backing is cut I would get my drill and 4-6 drywall screws. Drive 3 screws slightly into the wall at the approximate location of the backer board. Doing this will make it much easier to attach the backing because you wont need 2 hands.
Take your backing and place it inside the hole keeping one hand on it holding it tight against the hole. The idea of the backer board is to give you something to screw your drywall patch to. If your backing isn’t secure the patch won’t be either. Once you’ve got your backing in place you will drive those 3 screws that you previously put into the wall, all the way into the board. Take the extra 2-3 screws and make sure the backing is securely fastened.
Repeat this step with your 2nd piece of backing. It doesn’t matter whether you put backing on the left and right side of the hole or the top and bottom of the hole. But if you pick the top to do first, make sure you do the bottom next and not the left or right.
3. Drywall, mud and tape
Once your backing is in place you can attach your piece of drywall to the backing. Simply screw the piece of drywall until the screw head is flush or slightly indented into the drywall. You don’t want to screw it too deep because then you’ll run into your mud bubbling out of the screw hole.
Once the piece of drywall is securely fastened to the backing you can now begin mudding and taping. First coat of mud/ tape will be light. The goal of the first coat is to make sure your tape is covering all seams and that it is adhered to the wall. Start by coating all the seams with a light layer of mud.
You’ll want to fan the mud out on the seams roughly 1″ beyond the width of the tape leaving 1/2″ of mud on each side of the tape. To put this in simpler terms, if your tape is 2 inches, make the initial application of mud 3 inches wide. This will allow your tape to adhere because all areas of the tape will then be touching the mud. Once your mud is on the wall, lay the tape on top of the mud. We find it easiest if you start at one end of the seam, roll your tape out along the seam and then rip it off once it has reached the other end of the seam.
Once all the seams are covered in mud and tape, take your knife and run it along the top of the tape. This will press the tape into the mud, creating a tight bond to the wall. Run your knife over as many times as needed to create a nice smooth and even surface, catching and wiping any excess mud off the wall.
Remember that any excess or rough mud on the wall will dry and is a pain to have to sand. Repeat the mudding process 1-2 times over, letting each coat dry in between.
Depending on what kind of mud you use it typically takes a day for the mud to dry. Each time you coat the wall, expand the mudded area creating a larger and more even surface. If you mud 2 coats all directly on top of each other you will have a big bump at all 4 seams. Fanning your mud put is crucial to hiding and blending the patch.
Once your final coat is on, sand thoroughly. Use a sanding sponge or sand paper. We recommend 120-180 grit. Once the surface is sanded, roll over it with a drywall primer. It may be a good idea to wipe the surface with a rag before priming it. Doing this will prevent the drywall dust from getting wet and balling up on the wall. Once your primer is dry, inspect the wall. If there is areas that need more work do not neglect doing this.
When its all set and done, apply your final coat of paint. And you’re done!
