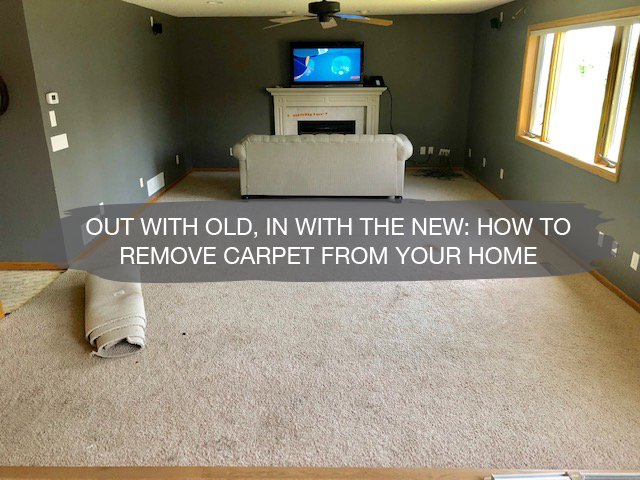
How to Remove Carpet
Whether you’re a germ freak or a comfort seeker, there are many reasons to remove your old carpet and swap it out with something new. A lot of times when buying a house, the first thing people will do is get new carpet.
You never know what is embedded in the old carpet and it can often get pretty nasty just thinking about it, and that’s why we want to show you how to remove carpet.
As you guys know, after 10x too many blowouts and food stains, we’re saying goodbye to our dirty carpet!
WAHOOO! It’s demo day.
New carpet can be an inexpensive way to take a used space and make it feel brand new.
There is something about the new carpet feel that you just can’t resist. The price of carpet along with the labor to install it is relatively cheap for how often you will use it.
For instance, a tile backsplash in a small kitchen can cost as much as a new carpet in your living room.
One is more visual and the other is more functional/comfortable. Personally, I would rather see my money being spent on something that I will get more use out of.
All of this being said, new carpet is a game-changer. What is also nice about the carpet is that the old carpet is relatively easy to remove.
We’re in the works of remodeling our living room and the first thing to go is the carpet so today we wanted to walk you through an 8 step guide on how to remove carpet.
Materials Needed:
- Heavy-duty utility knife
- Pry bar
- Hammer
- Pliers
- Knee pads
- Gloves
- Trash or Dumpster
- Broom
- Shop-Vac
Once you’ve gathered your materials, it’s time to get to work!
Step One: Remove Vents
The first step is to make sure you have everything out of the room that you are removing furniture from. Once that’s done, you’ll want to remove your vents.
Step Two: Cut Carpet with a Utility Knife
Then it’s time to get the carpet out!
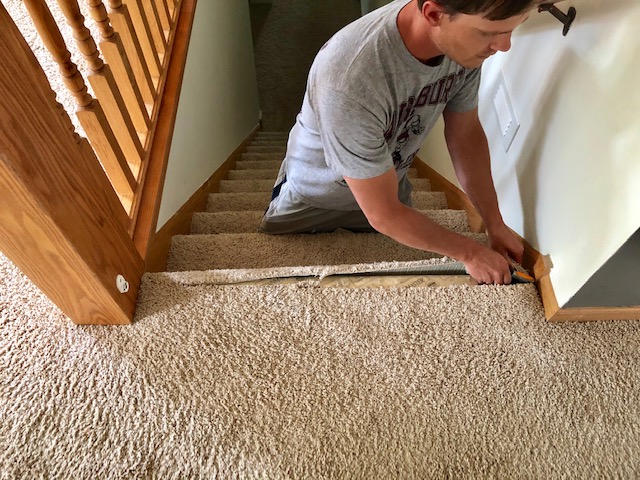
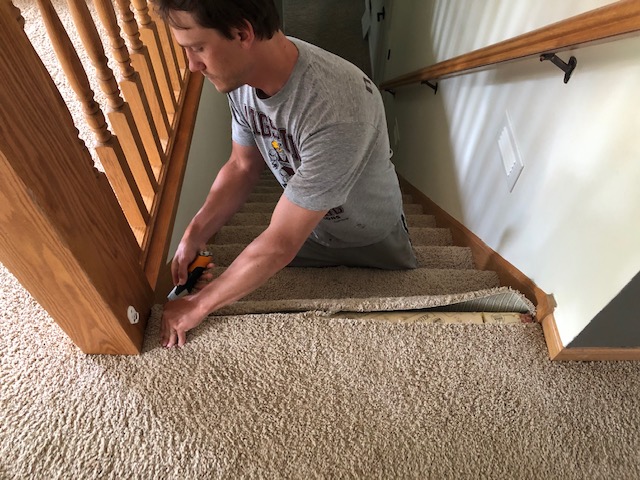
Whenever we are removing carpet we cut it up before removing it. The tools needed for this are a utility knife, a few sharp blades for your knife and your arm.
You will end up going through a few blades so don’t be shy to buy an entire package. When cutting the carpet our goal is to make the carpet more manageable to move.
If you rolled up 500 square feet of carpet in one roll it would probably be 30 feet long and need a bobcat to remove it. Given that most people don’t have bobcats, it will be much easier to cut them up.
How big or small you cut the carpet is totally up to you. We usually start on one end of the room and cut a line all the way to the other end, each cut being roughly 5-6 feet wide.
In nearly all scenarios there will be a baseboard surrounding the edge of all the carpet.
It is not necessary that you remove that. But if you are planning to replace it, definitely remove it before you remove the carpet to make this process much easier.
Continue this process of cutting out and rolling up 5-6 foot rows of carpet until you have the entire space all rolled up!
Step Three: Cut it up & Roll it up
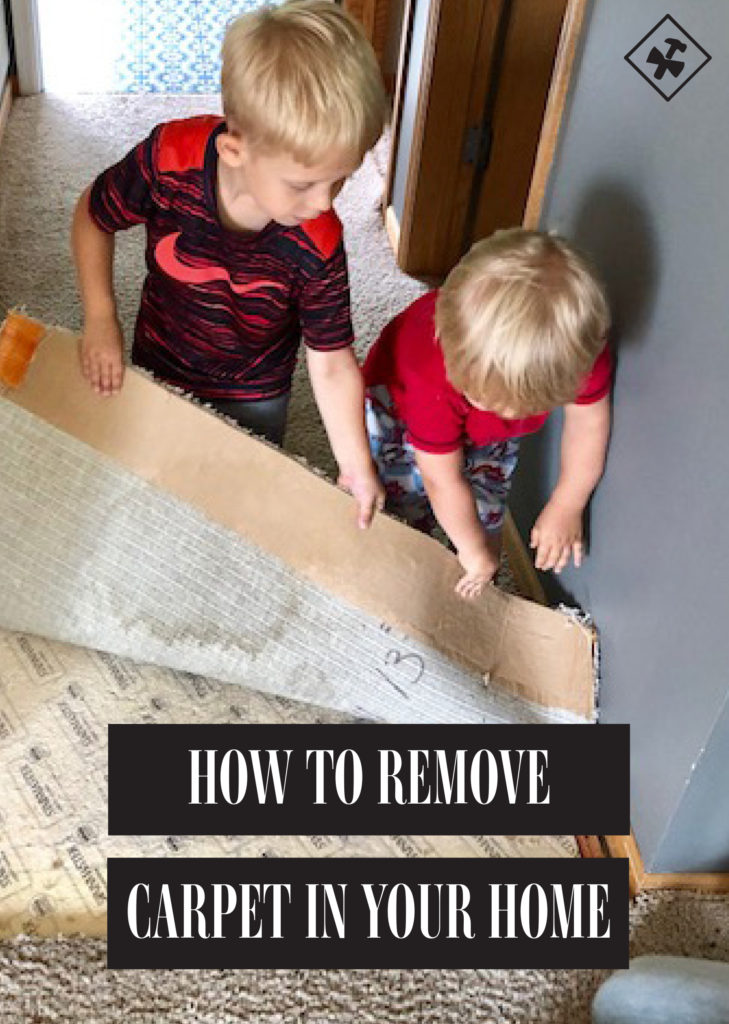
Once you have all your lovely old carpet rolled up, you’re going to repeat that process with the next layer. If you didn’t already know this, you will soon find out that under your carpet is another layer of padding.
This can be an absolute nightmare to rip out. But have no fear after reading this you will have no problem at all with it.
This layer of padding if often either stapled if there is wood underlayment or glued if there is cement.
The padding itself is typically cut already so you won’t need to cut it into rows. If for some reason there is a long run of padding, definitely feel free to cut it up into a more manageable piece.
Removing the padding is kind of a free for all. Sometimes there is no method to the madness when they initially lay the padding so there may be areas with a bunch of small pieces that you will need to rip out.
If you get lucky you can definitely roll this layer but it may be a good idea to have a trash bag handy in order to keep all the smaller pieces under control.
Some of the areas that were either stapled or glued will stay stapled or glued and not come up as easy. Don’t worry about those areas, focus on the easy stuff at this point and leave any stubborn areas for later.
One quick side notes: if you have existing furniture it is a good idea to move it all off the carpet to make for an easier demo of the carpet.
If it is a heavy piece do your best to cut around it, eventually moving it and removing the last bit of carpet that was under it.
& Keep Rolling
Step Four: Bring it out to the Trash
You’re going to have to use your muscles for this! And this is exactly why we cut it up because this carpet is heavy!
It makes for a lighter load. So depending on how many muscles you have, you’ll want to consider when you’re cutting it up.
Step Five: Remove Padding
Same as the carpet, cut the padding with your utility knife, and roll it up!
Step Six: Pull up the Tack Strips or Clean the Glue
This is where things get tacky. Depending on the surface your carpet is on will determine if it was tacked down or nailed down.
For us, it was on cement so it was all glued down and we didn’t have to pull up any tacks, but we did have the clean up the glue.
If it isn’t on cement you’re going to want to get your gloves on and prepare to be poked. After pulling up the layer of padding, you’ll notice that all of the carpets were held in with tack strips.
These strips are most often nailed into the floor beneath and give the carpet something to grab onto.
There is a lot of different ways that you can remove these strips but I’m going to share with you the way we do it and why I think it’s the best. Between demo major demolition projects or just needing to leverage something, a crowbar is a commonly used tool in our field.
For tack strip removal we use this tool as well. We use a 4-foot crowbar.
The size is crucial because anything smaller and you’ll end up bent over the entire time or on your hands and knees removing the tack strips. The trick to removing the strips is to just get enough under it to pop the nail out.
You don’t want to crack the strip in half because then you’ll be picking up 1000 pieces vs 100 pieces. The crowbar can then also be used to remove the remaining stubborn padded areas, riddled with staples and glue that you couldn’t get up initially.
Step Seven: Remove all Trim with your Pry Bar
Pro tip: Step on the trim to push down all the nails. Instead of pulling them all out one by one.
Step Eight: Clean up your mess
Finally, you’ve got to clean up the mess you just made. If this is a major project we would advise you to get a dumpster so that you can easily throw all of the old carpet and padding away.
You will find that between the carpet and the padding there will be a lot of debris left on the ground.
Most of this is dirt from the carpet so you can be glad you ripped it up. The rolled-up carpet and padding can pile up quickly.
We typically tape the rolls one time around to ensure that they don’t come unrolled. After the rolls are taped and disposed of, sweep up any remaining debris as well as smaller tack strip pieces.
If you have a large garbage can we advise you to put all the tack strips in there so that you don’t have to handle them as much with your hands? Once the space is clean you will then be ready for new carpet installation.
No further prep work is needed and your carpet installs people will know what to do next!





One thought on “How to Remove Carpet | 8 Step Guide”
Comments are closed.