A basement!! Or maybe Christmas! Over the past few weekends we have been busy at it. And by busy I mean playing in the snow with our little guy.
It became a winter wonderland in Minnesota this past week. Although most complain about it, I think it is just the most beautiful thing in the world. Especially when you realize that it is the first time your son has ever seen snow. It was a pretty special day.
So now that it has snowed it’s ok to put up the Christmas decor, right?!
While Jamie was out of the house no one was home to stop me so I couldn’t help myself but put up a few pieces of Christmas decorations. But being it is Greyson’s first Christmas I thought I better wait for Jamie to go and get the tree or else that thing would have been up too!
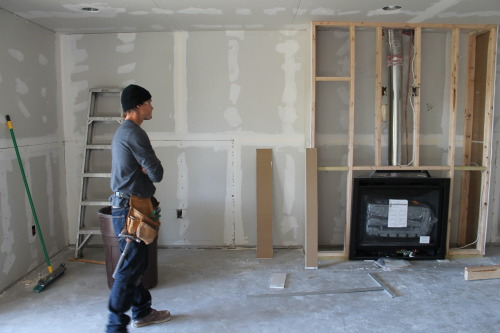
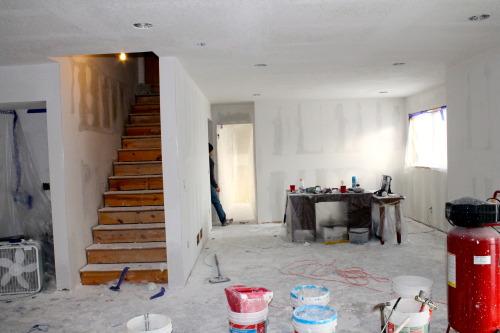
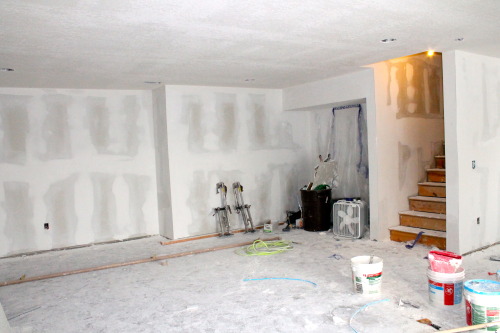
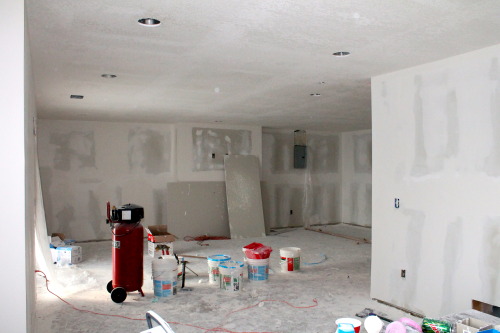
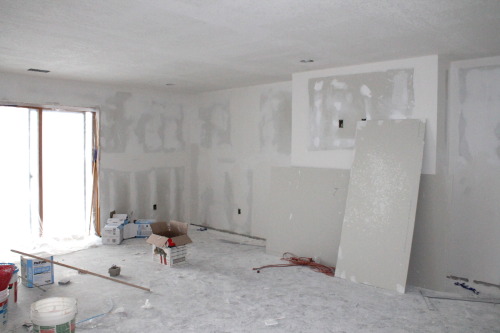
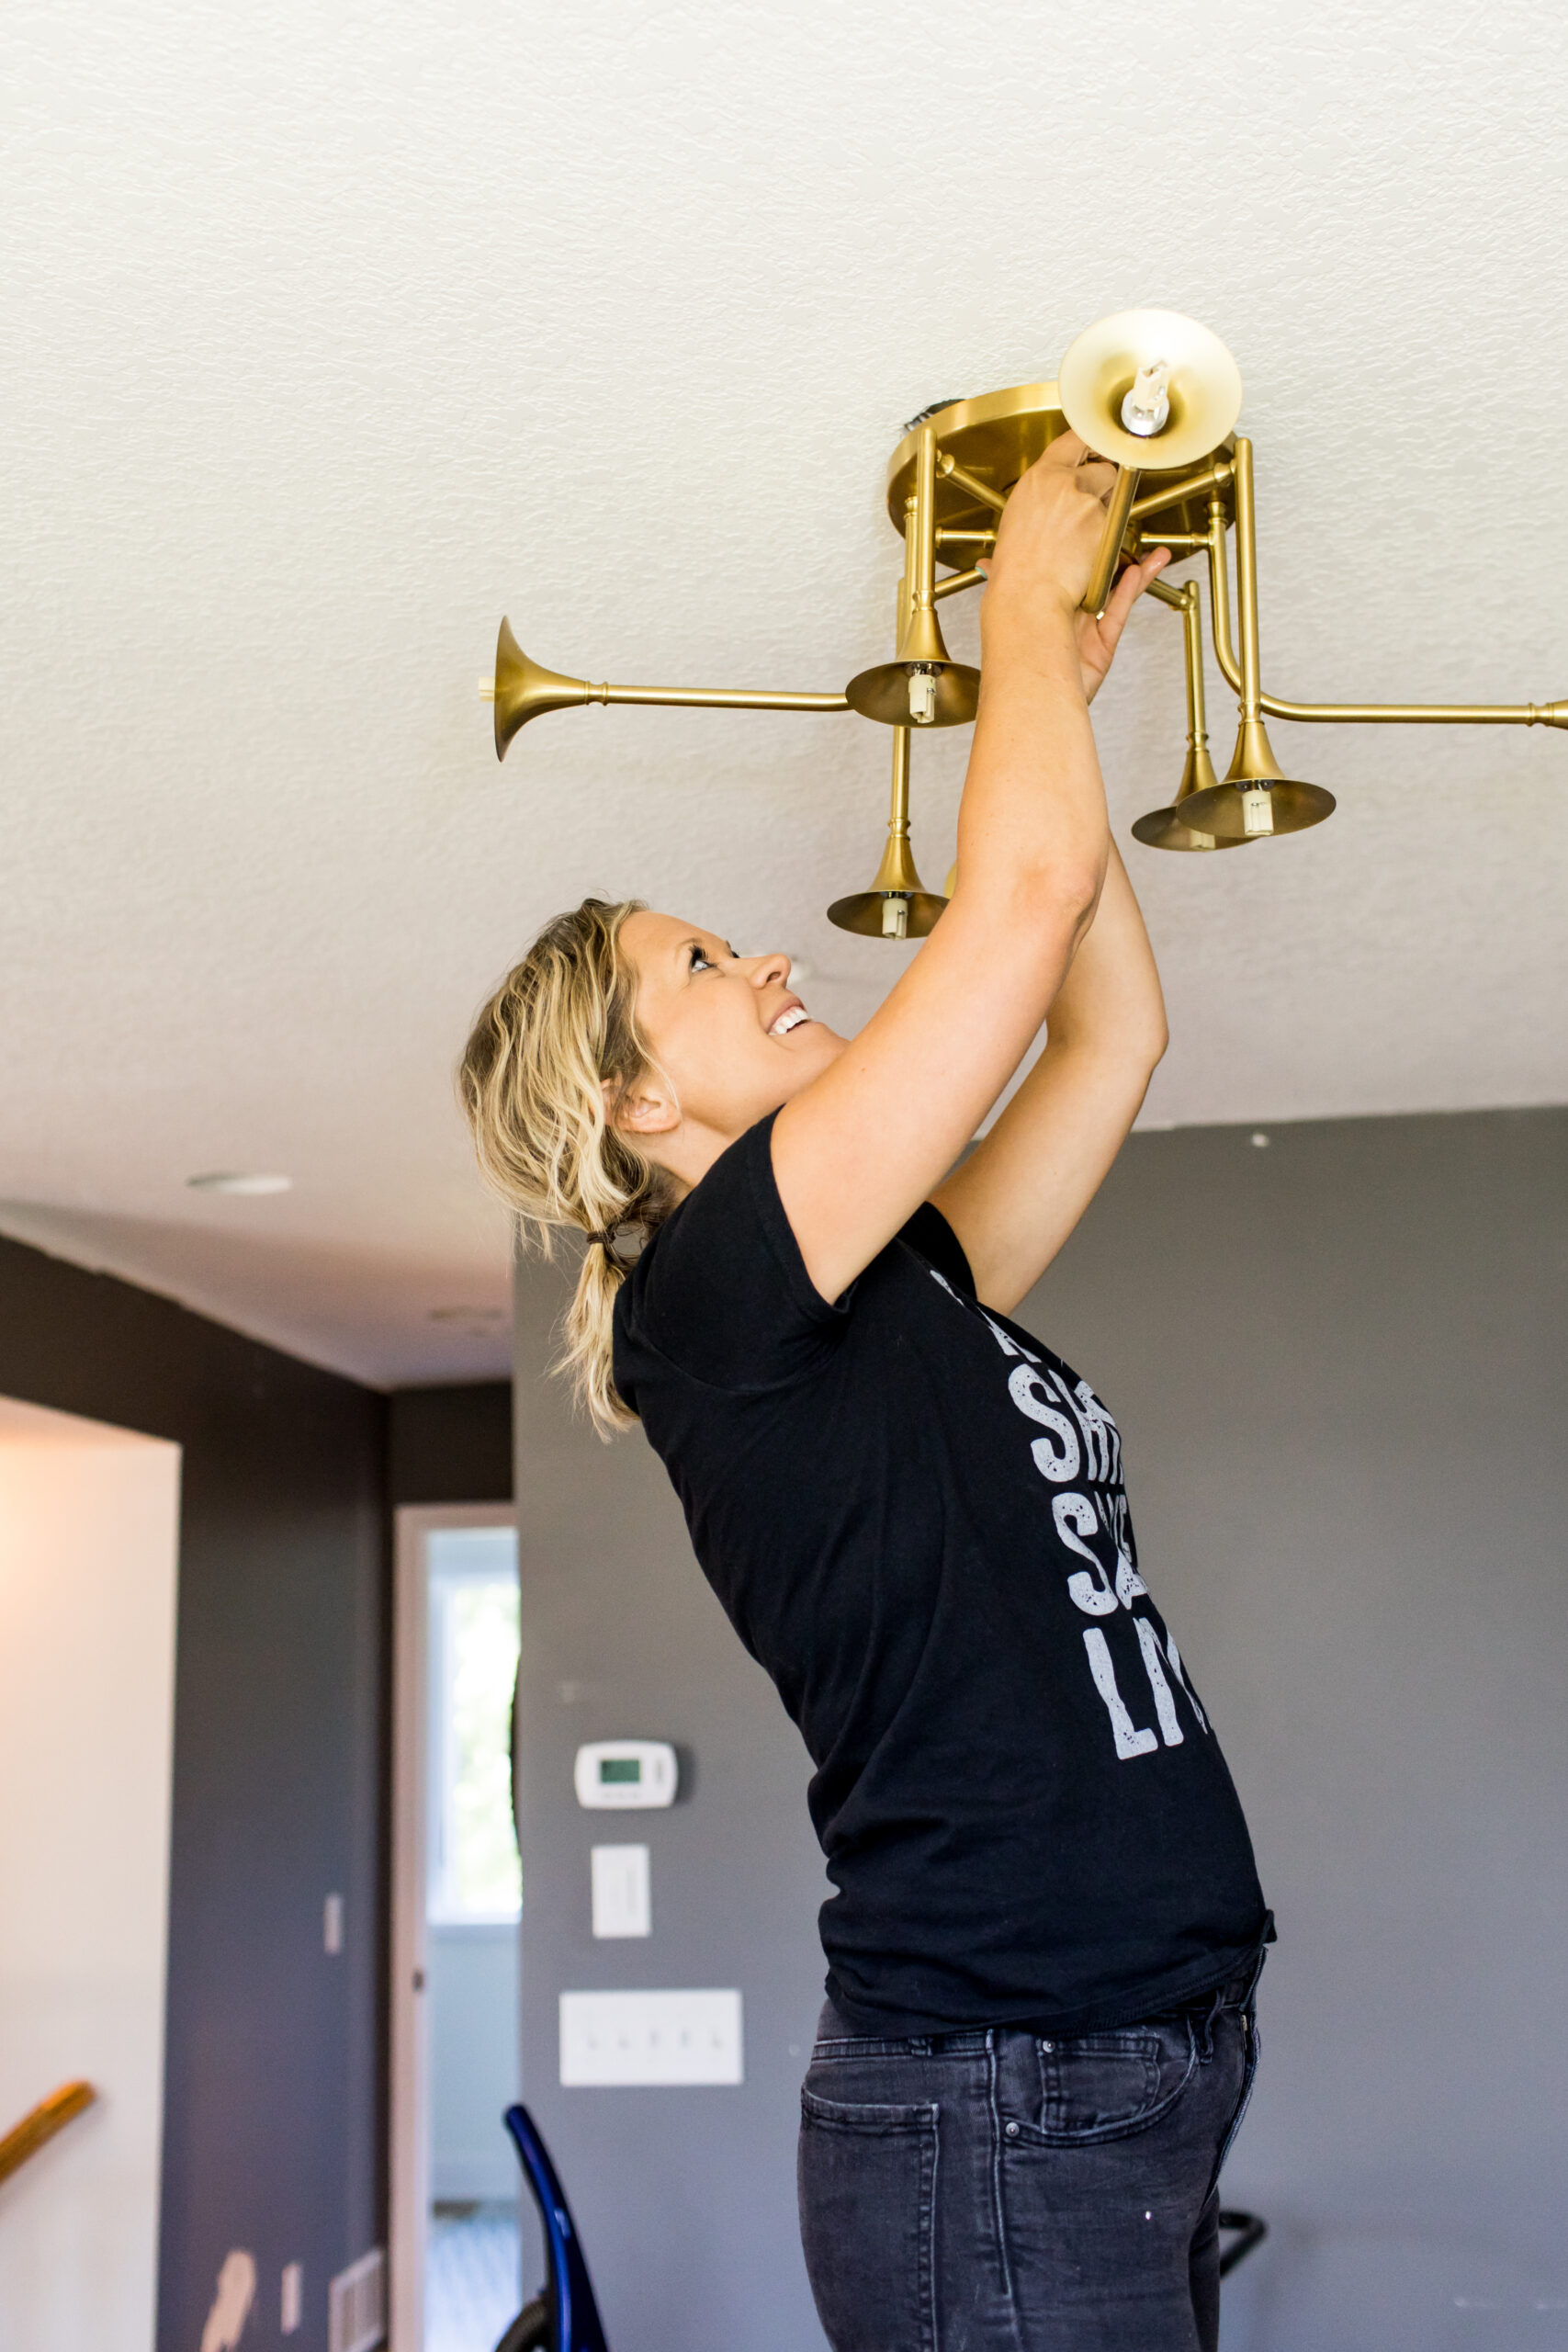
Ok back to what we came here to talk about, the basement renovation we have been working on for D and S. Jamie has been busy framing, hanging drywall, taping and mudding with the help of his man Jake. If you remember a few months ago, we started on this renovation. Jamie and Jake got all of the drywall hung and then had a few roadblocks as we had to wait on inspections…and well you know how it goes.
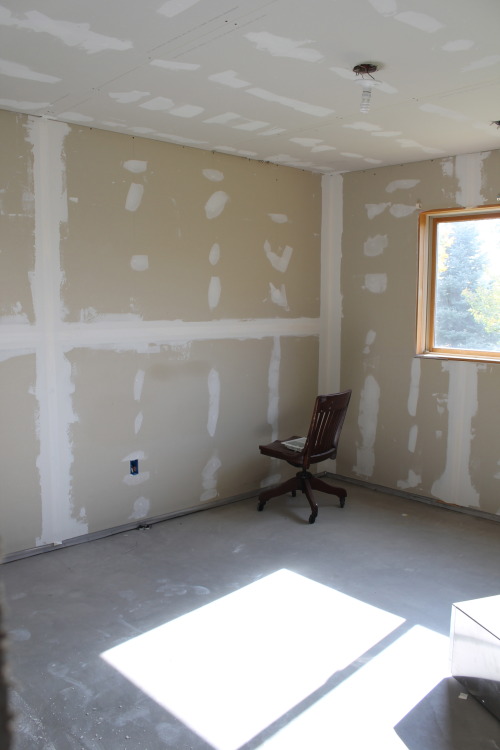
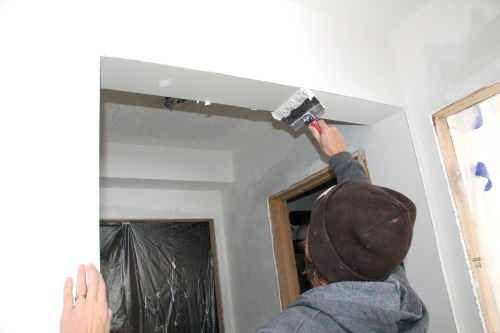
After Jamie and Jake used all of their man muscles and got the sheetrock hung, it was time to mud, sand and tape. Drywall, taping and mudding can be very frustrating and really is an art. If you don’t do it perfectly, the flaws will appear once you paint or even months later.
Your best bet is to always use your trowel and scrape the wall and if you feel a click you need to knock that nail in further and make sure you have a nice even finish.
The goal of taping and mudding is to make the joints between the drywall panels disappear so that everything is perfectly smooth.
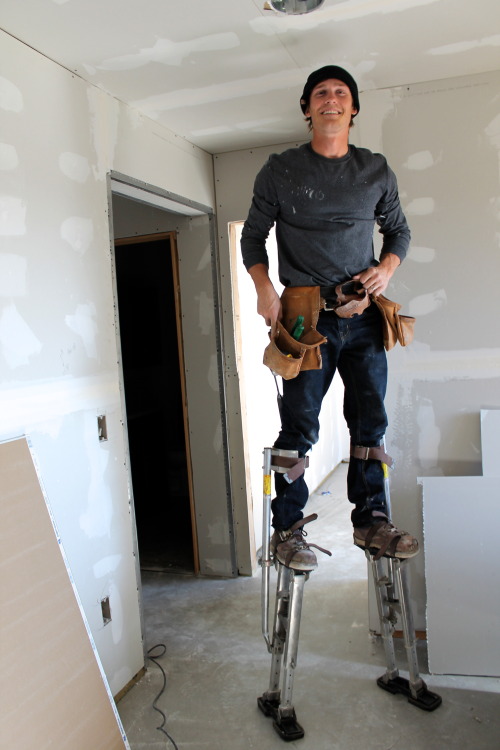
And of course who needs a ladder when you got stilts! Using stilts sure made for easy access to mud and tape in those hard to reach areas without moving his ladder around.
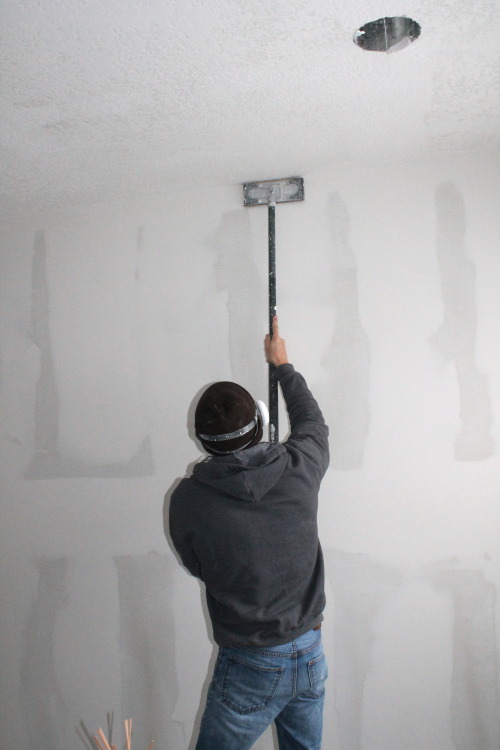
Sanding is another art and skill. Make sure you don’t sand too much of the mud off. You also need to have a good eye so that you can find all of the marks and indents that need sanding. The best way to find imperfections is by using a bright light.
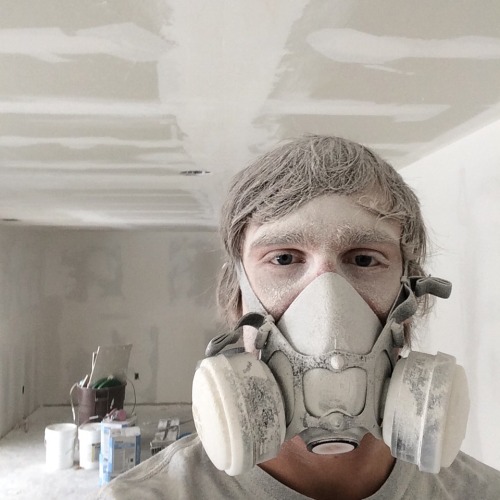
And be ready to make a big mess!!
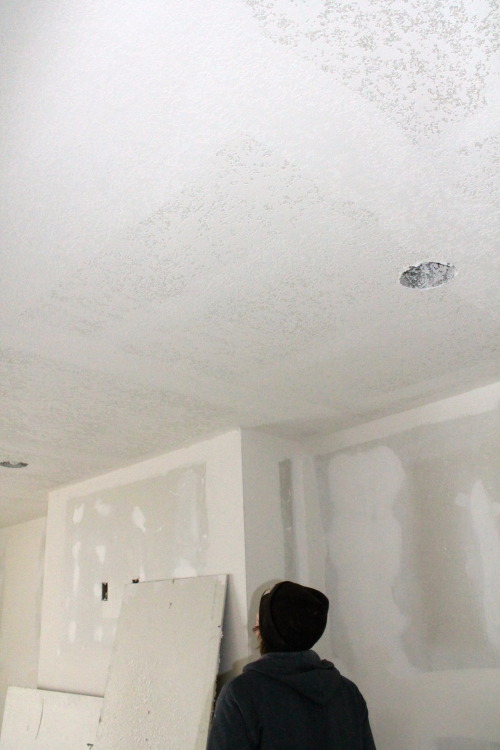
Once all of drywall, taping, and sanding were complete Jamie finished the ceilings in one day with a knockdown texture. A knockdown texture is fast and easy and is a good way to hide flaws. It also has a lot more of a subtle look than popcorn and looks a ton better.
Now the fun beings (and where I get to join)!! Cleaning, painting and all of the finishing details!
Next steps we will be doing for D and S is priming/ painting, building a bar and creating a fireplace and the surround.
For the bar they decided on a concrete countertop so being concrete countertops need to cure for a month before you seal them we decided to make one this past weekend.
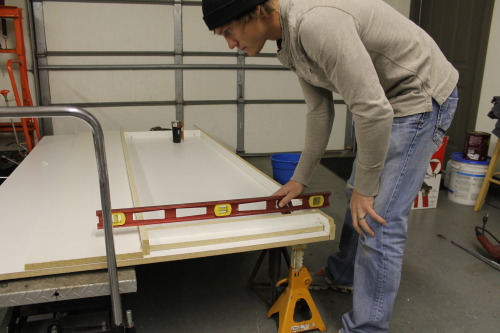
We first created the mold. We used melamine lumber, which already has a smooth finish, for our concrete mold. We have read that plywood works just as great but you then have to finish the plywood with a finish to ensure no bubbles or different marks appear within your concrete. We opted for the melamine to avoid one less step.
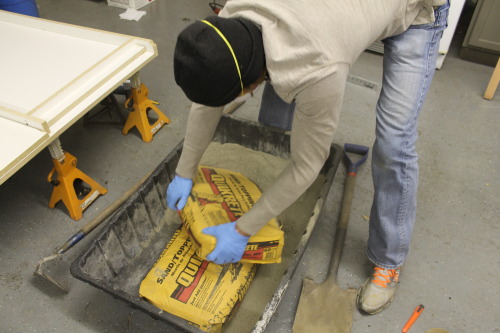
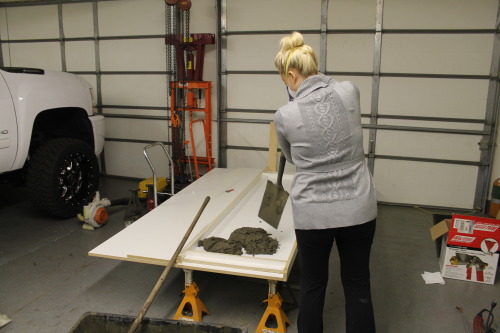
Once the mold was created we used quikrete concrete and placed the concrete into the mold. Take 80 pound bags of concrete and add water to that mix…talk about a work out!! I know I make it look easy shoveling that concrete into the mold, but that was some hard work! 🙂
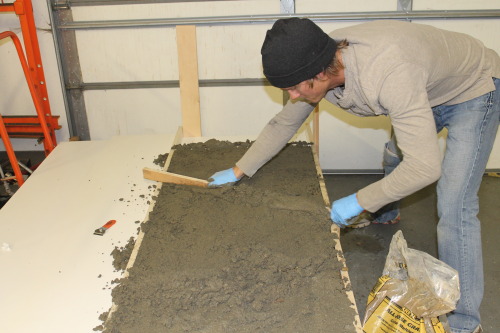
Once the concrete was full into the mold we used a smooth board to skreed the extra mud off. Now it’s the waiting game. Wait at least a day to pull the forms from the countertop mold just to be safe that the concrete has set up. For full cure concrete typically takes 30 days and then its safe to seal. We can’t wait to update you then on our finished countertops (along with a full DIY concrete countertop tutorial) and hopefully also our finished full basement renovation!!





What’s up, I check your blog daily. Your writing style is witty, keep up the good work!
Thanks Aisha!! 🙂 Love you!!
I can’t wait to see how the basement is going to turn out!!
Adorable photos of your cute little family!!! 🙂
Thank you Liz!! I know, we were in awe when we woke up to the view! You can’t help but love the beauty even with the cold 🙂
Thank you Tom!! We appreciate it. Yes, we used an electric sander all over the outside of the mold. Anything that vibrates will work great!
Great progress! Quick question on the concrete countertops. Do you use a sander or something that vibrates to knock the sides to get any air bubbles out?
Love seeing the progress on the basement! Can’t wait to see it with a coat of paint 🙂 We got snow in Wisconsin too and boy I sure wasn’t ready for it!!! LOVED the photo of the river and the woods. Keep up the great work and can’t wait to see it all come together. Liz
http://www.4evermysweetpea.blogspot.com