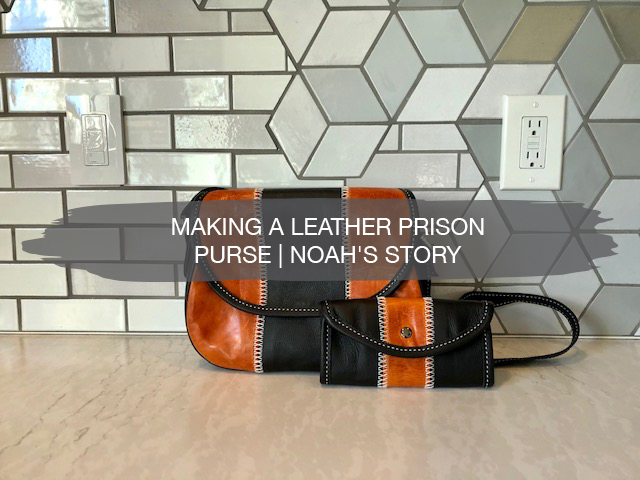
I took the leather class here at Yankton about 18 months ago. I have used it as a way to give back to those who have done so much for me over the years.
The tools are all provided for us by the BOP, and there is also a solid decade of experience in leatherworking, whichever way you decide to look. I can’t think of another point in my life when I have had more time on my hands. The only problem is the summer heat and the lack of A/C and airflow.
There is something about stitching or tooling leather that gets a guy pouring sweat, and the last thing you want is for those beads of sweat to come into contact with the leather you are working on.
Even after staining or drying the leather off, you will still see the marks. In case you don’t know what tooling is, it’s when you use different metal tools with a mallet, and you tap various grooves to make designs or pictures in the leather.
With each tap of the mallet, you indent the leather, which simultaneously raises the leather on each side, which helps to create a 3-D image. You then stain or paint that design to make it pop. I am going to run you through the process that a couple of friends and I followed to make my sister’s purse.
Also keep in mind that everything I have learned and the terminology I use may or may not even be correct, for all I know it’s all only valid in prison talk, but I will explain it the best I can.
We order bundles -or piles- of leather, and in these, you must find different pieces that will work for different projects. You have no control over what is in the bundle. It’s almost like a lottery on whether the leather is any good or not, but there are always uses for even the ugliest leather.
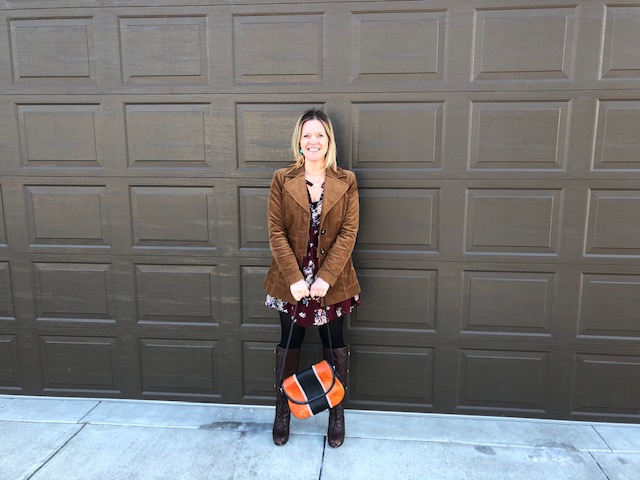
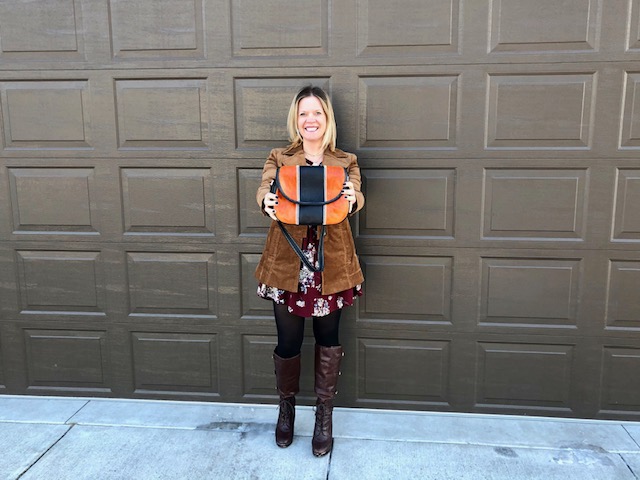
You then have to determine what complementary colors you have enough of to make a purse, bag, backpack, or whatever you can think of. As soon as I laid my eyes on the orange, I knew I had to have it for my sister’s purse. I didn’t know if it was more Harley-Davidson or KTM, but I knew Morgan would love it.
Once I got the leather I would need laid out I took the patterns, which are cut-out pieces of cardboard, and I traced the different pieces I would need on the backside of the leather using a pen, and then made the cuts with a rotary knife. The pieces I cut were the following:
(2) Back with flap
(2) Front
(2) Gusset
(2) Piping
(2) Strap
(2) D-ring holders
(1) Cap
(1) Clasp
(2) Spools of thread
For each piece, you have to cut two pieces because there is an inside and outside, and the reason being is the thicker the leather, the more stable or sturdy it is.
The inside doubles as a line, along with making the purse more stable. Sometimes the leather is thin, and additional leather is needed in between the inside and outside pieces; for this, you must use trash leather, which is ugly pieces from the bundle or leftover that aren’t big enough to do any projects with. You then glue them inside the outside piece of leather.
The back and front pieces are exactly what they sound like, and the flap comes over the front and secures to the front piece using a clasp. The gusset is the piece of leather that forms the base and sides of the purse that divides the front and back. After cutting the gusset, you use a pen on the inside to mark your midlines for when you start to sew.
The piping is what runs in between the gusset and the front and back pieces; the piping is for both appearance and stability. It’s the rounded edges you see, and it’s simply leather glued around a piece of weed eater string. Other things that work for piping is guitar string or headphone wires.
When preparing the strap, you must think about the individual that you are preparing it for. Obviously, I did different lengths for my daughter’s purse than I did for my sister’s, and these lengths can range from 36″-45″. The D-ring holders are simply the hooks the strap connects to. The cap is a piece of leather that is sewed to the edge of the leather to give it a finished look. The cap is the leather around the flap and the top of the purse, as well as the edge of the entire clutch wallet.
When all your pieces of leather are cut out and ready to be assembled, you begin by punching your holes with a punch and mallet. I like to match up the front and back and then use a stitch punch to go through both pieces of leather to ensure the holes line up.
We use granite stones with rubber tops to make sure the punch doesn’t go through and damage the table. Once all the holes are punched, you put the pieces together and start to sew, and when you sew, the leather will be inside out. For the majority of the bag, you want to use a thicker thread, size 277.
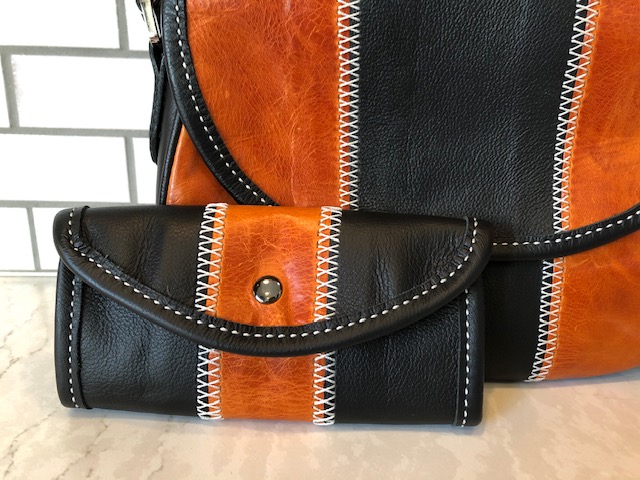
On the inside for any pockets, such as for the clutch wallet, you can use a sinewy thread, which is waxed and thin, which makes for easier work. For the stitching that connects the front and back pieces to the gusset and piping, use a single stitch. For the body, use an x-stitch, as seen on the front of my sister’s purse, it’s not only a strong stitch but has aesthetic benefits as well.
Once all the stitching is complete, you must flip the purse from inside out, and you must be careful here because I can no longer count on my two hands how many I have seen a rip or tear happen in this step.
An option that I didn’t use on my sister’s purse is put a zipper in the opening of the purse. You can also use different kinds of lace instead of thread to give it a different look, more of a western-style appearance.
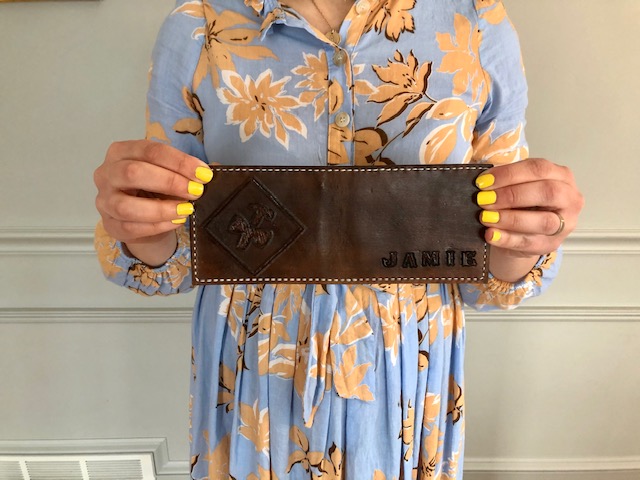
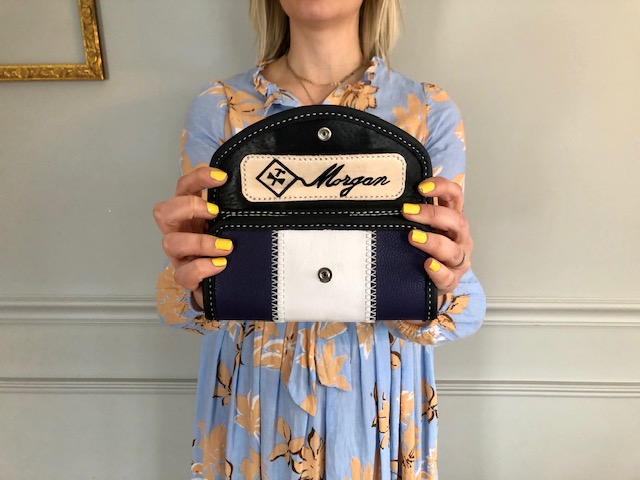
Patches of tooling leather with a name or initial can also be put on the purse or wallet to personalize it, I have done this with both clutch wallets that I sent to Melrose and Dacotah.
I also sent Morgan a clutch wallet that matches her purse. As you can imagine, these are much easier and less time consuming to make.
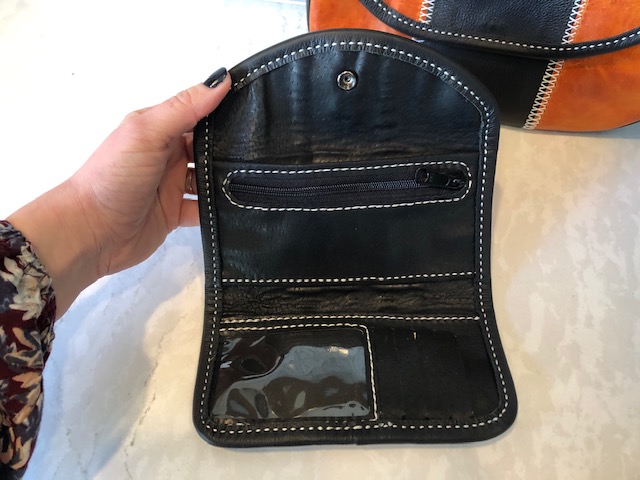
There are just two pieces of leather that you have to cut out, a front and a back—the front piece of leather you pre-sew the pockets onto it. You can just have two pockets and a zipper or include something for an ID that has a protective piece of plastic, or some credit card slots. It’s also practical to include a pocket with a zipper for change.
Put the two pieces together, secure them with glue, punch and sew with the cap leather around the edging, install a snap, and you’re done.
Another recent post by Noah:


4 thoughts on “Making a Leather Prison Purse | Noah’s Story”
Comments are closed.