Disclosure: This post was sponsored by Lowe’s. Although we were compensated to write this post, all opinions and content are our own, and we stand behind and use all brands and products we endorse on our site.
We’ve been busy bees making progress on adding a bar into our basement. And it’s almost complete!
After we got the cabinets painted, the next step was installing our basement bar laminate flooring.
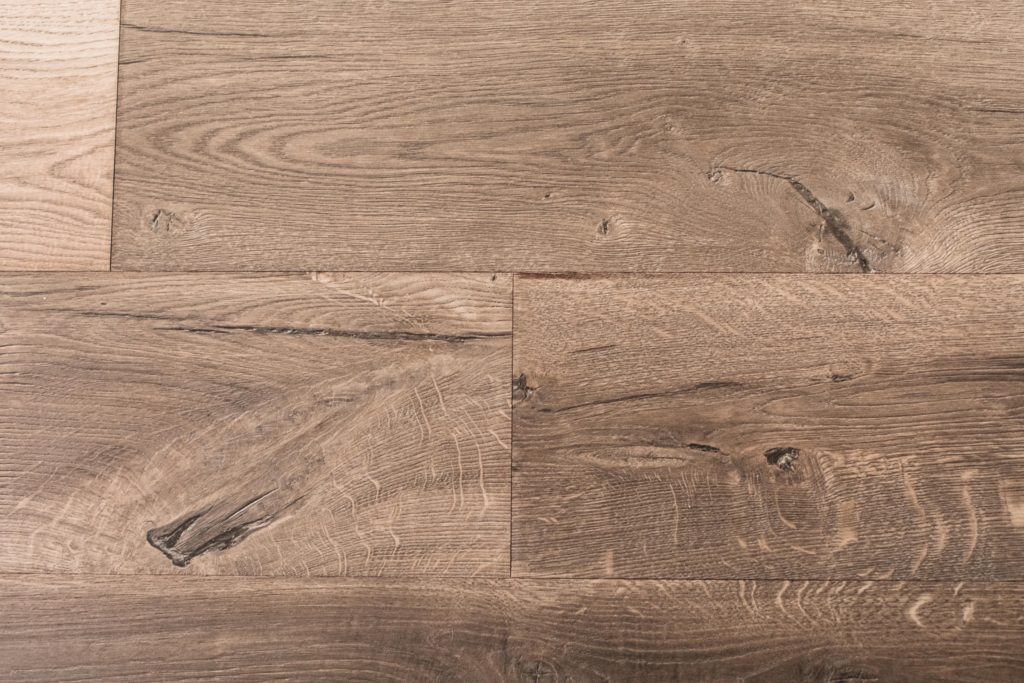
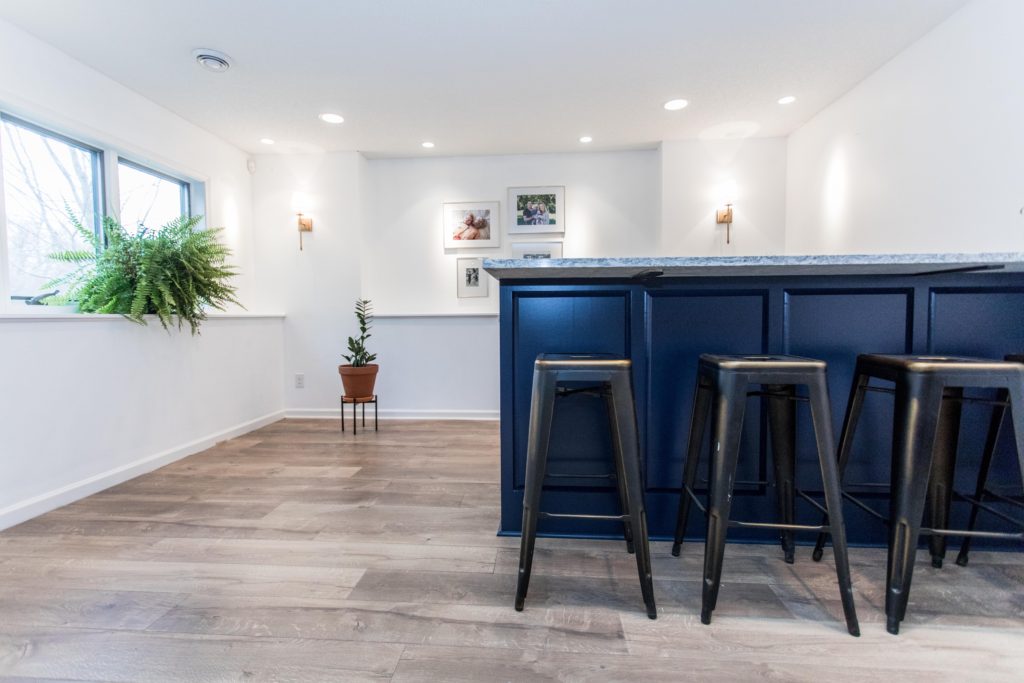
We chose a Pergo® TimberCraft™ + WetProtect™Waterproof Laminate Flooring from Lowe’s Home Improvement in a 7.48″ w x 4.52′ plank. What caught our eye right away was the Wheaton Oak color and design.
We’ve laid out all colors, brands, and styles of flooring and this one is a new favorite of ours. When we went to Lowe’s to pick out our flooring, the only thing we both knew was that we wanted a light color.
We did dark in our previous home, and we’ll never make that mistake again.
When we came across the Wheaton Oak in the Pergo line, we both knew right away it was what we wanted, and you couldn’t beat the price point either at $2.99 per sq ft.
We loved how it was light, yet it added warmth. We also loved that it had knots and character.
With two crazy kids, we’re all about the distressed look, and better yet the WetProtect™ technology that adds lifetime protection against spills.
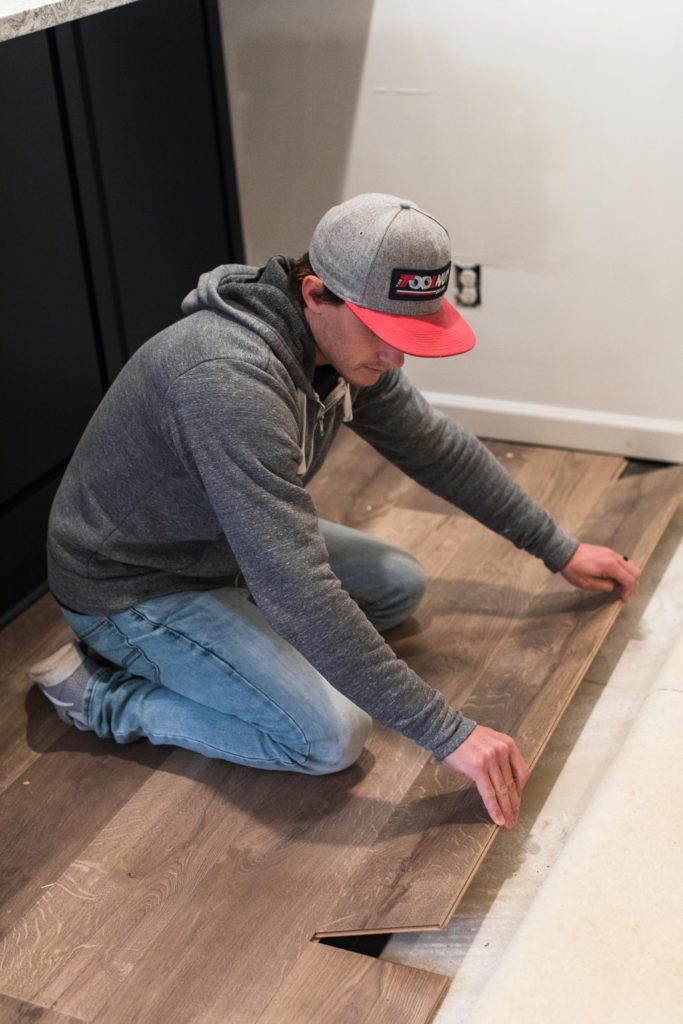
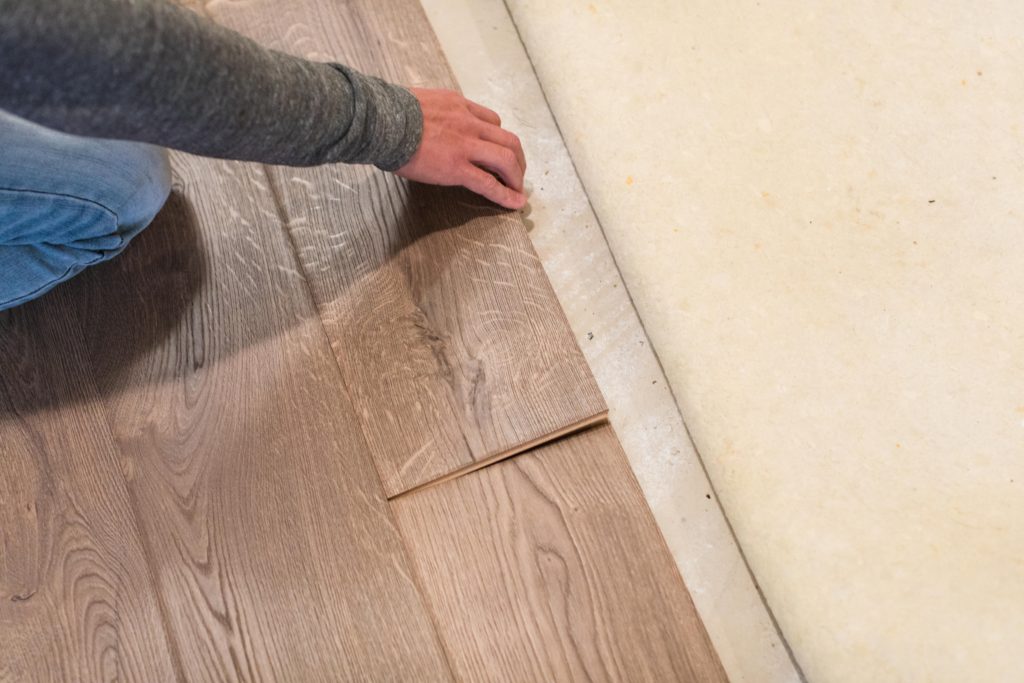
Jamie also said it was super simple to install. They just clicked and locked right into place.
No need for any messy glue, nails, or staples because this is a floating floor. We also put an underlayment under the flooring.
We recommend Pergo Gold™ for the added sound, thermal, and moisture protection.
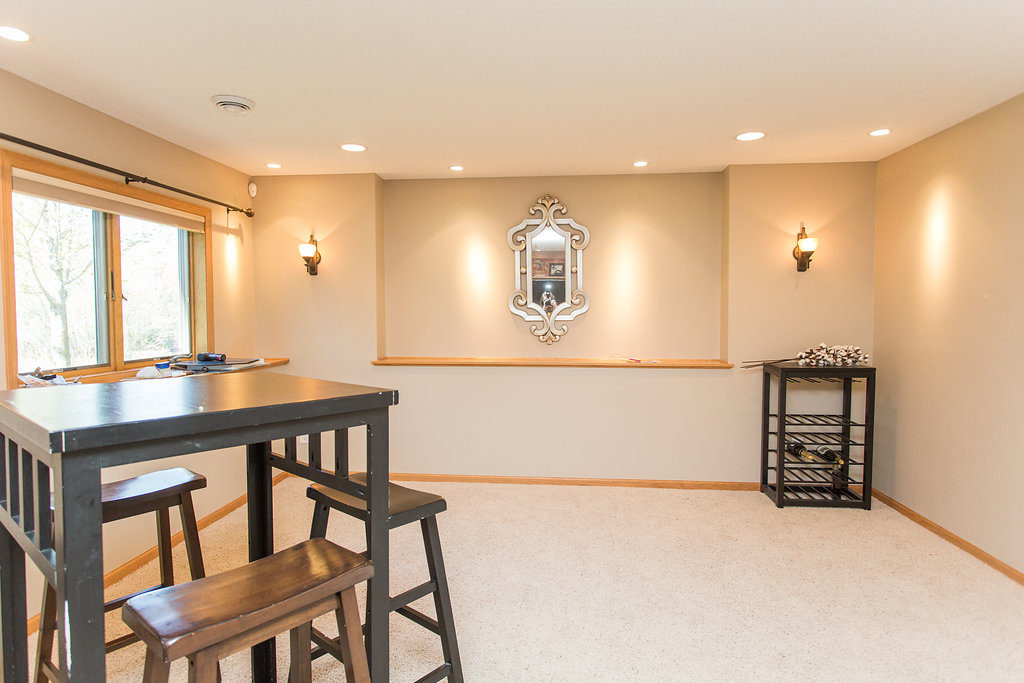
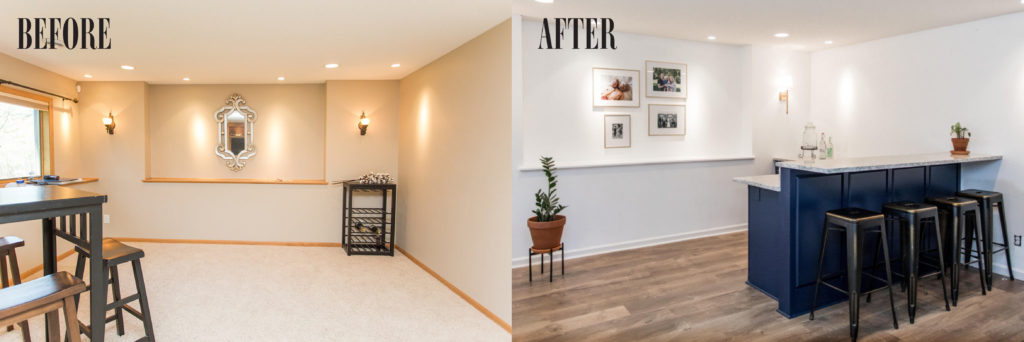
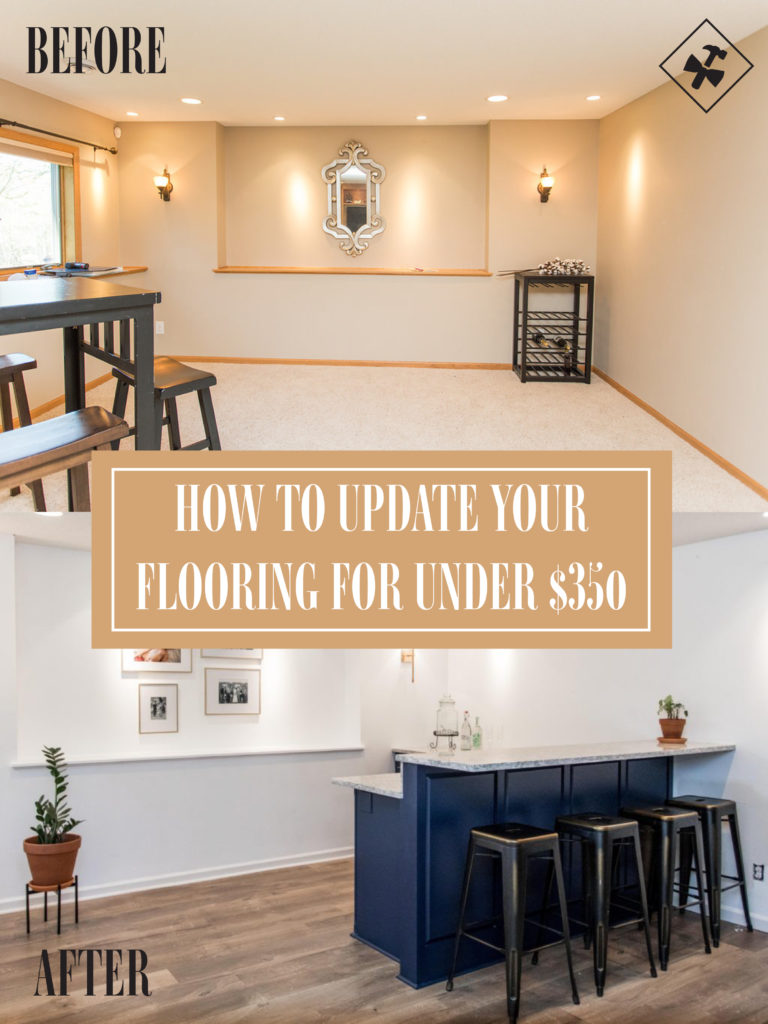
Let’s first rewind back to the before of this space…
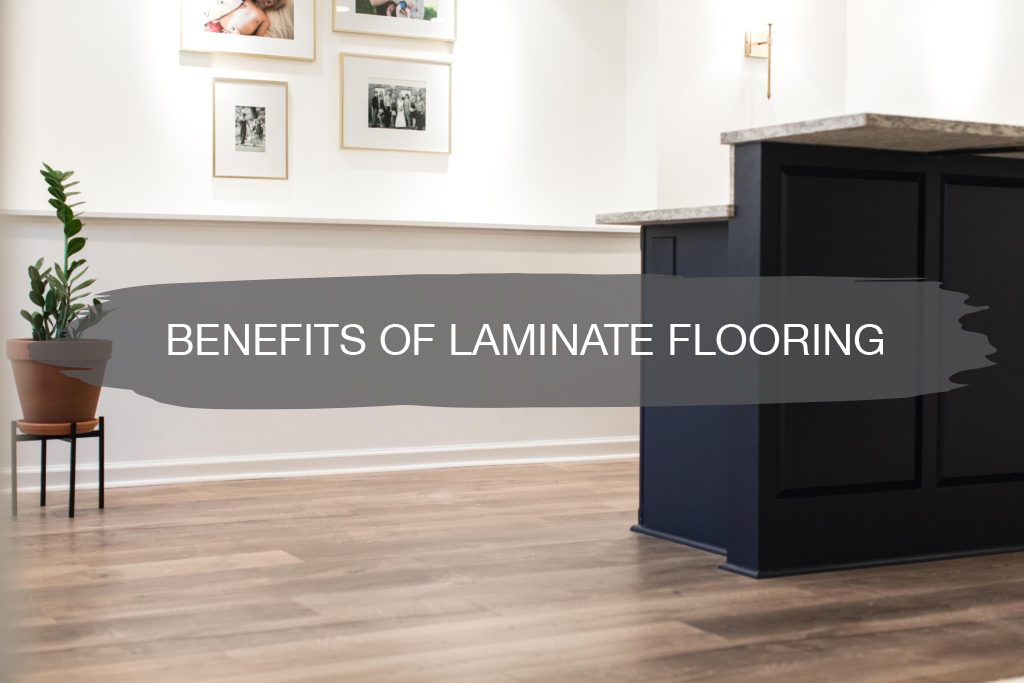
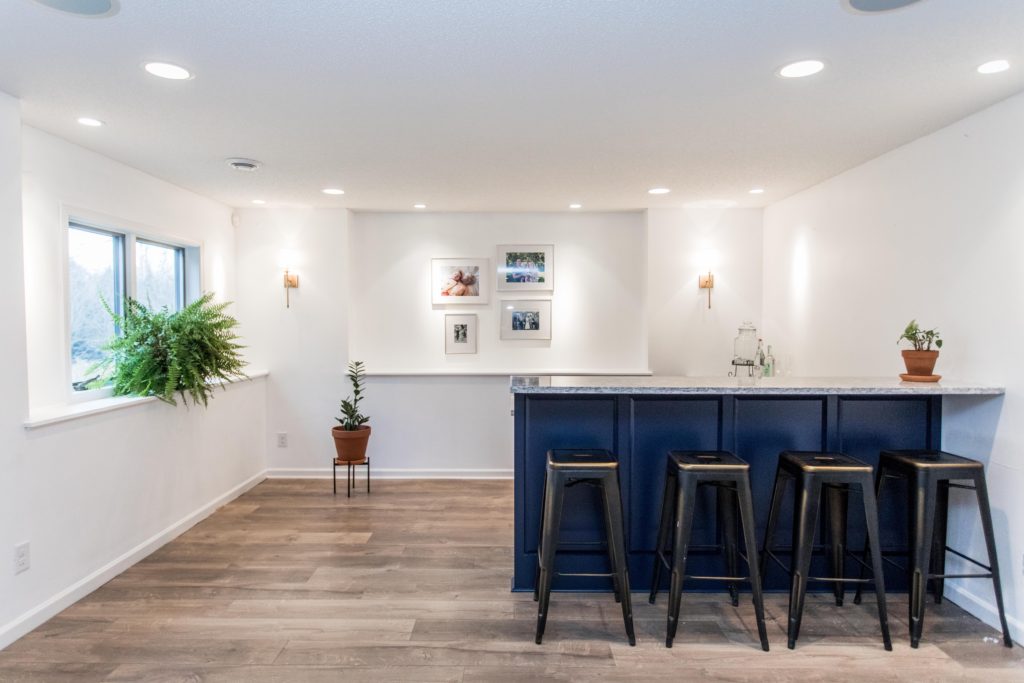
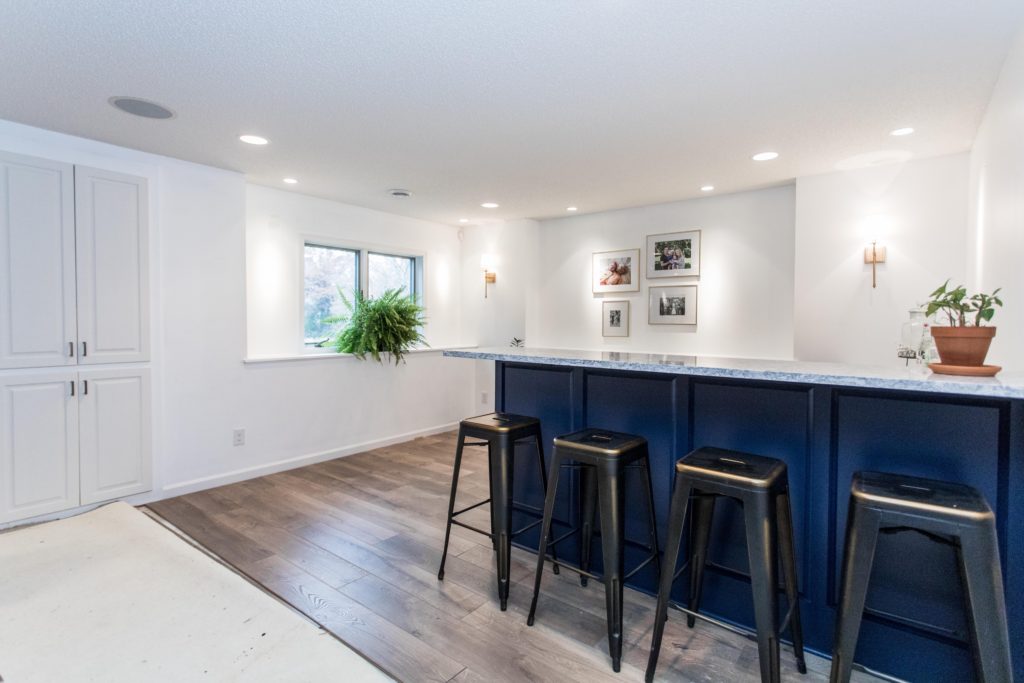
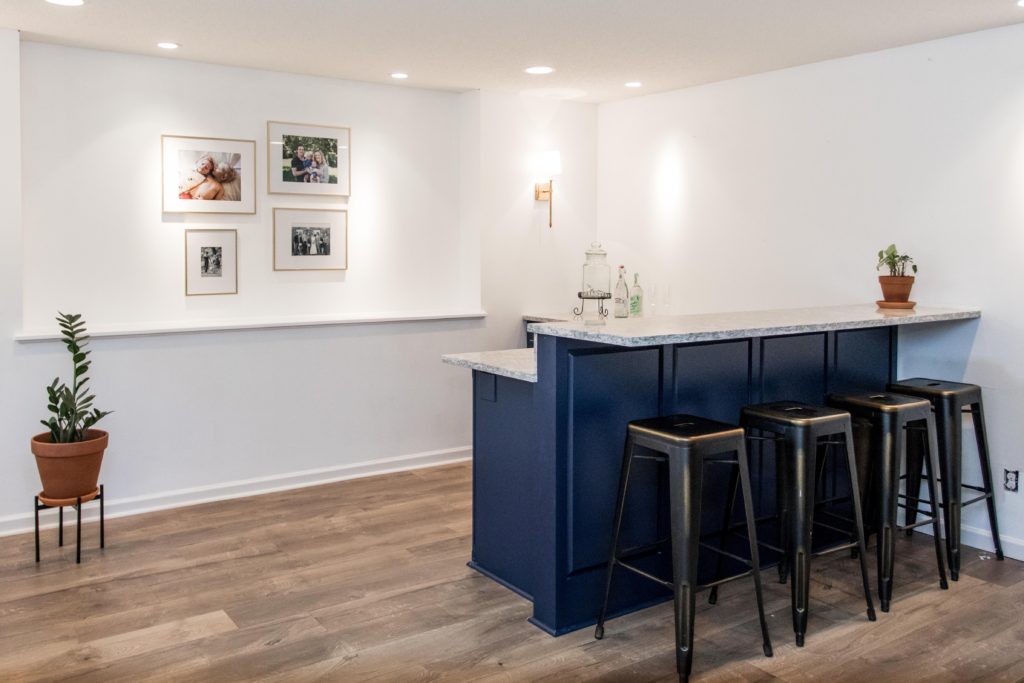
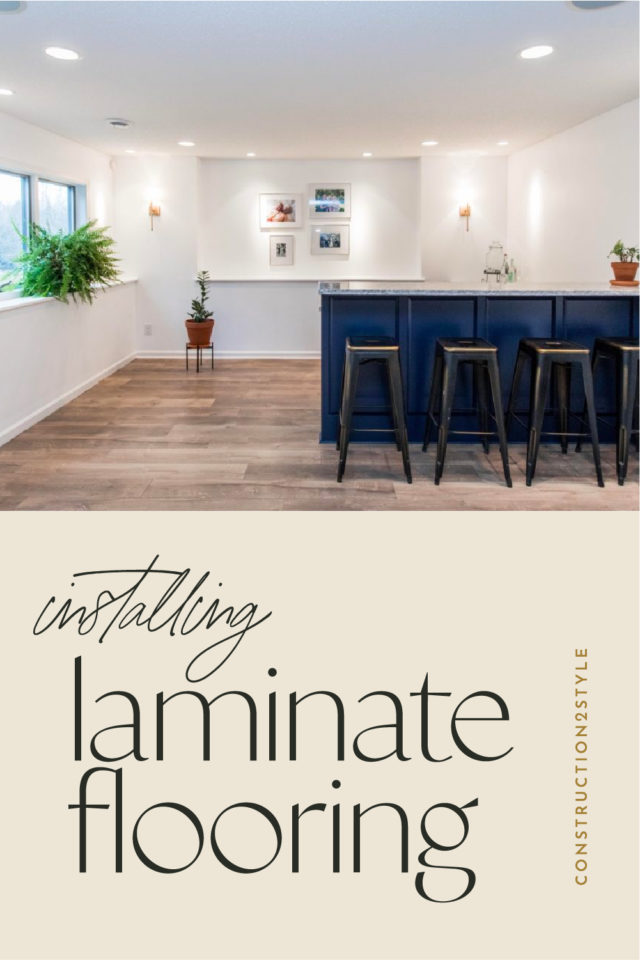
And now that our flooring is officially in, here’s the after…
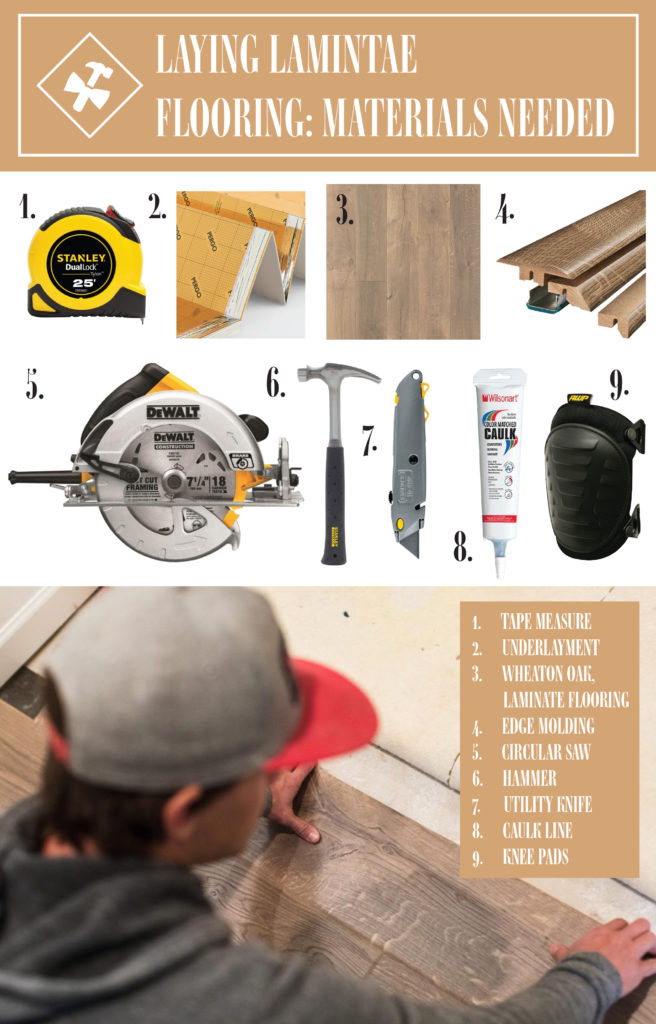
Now we want to chat all about our flooring and share with you the tools that we used to get the job done and some helpful tips for installing laminate flooring if you’re wanting to incorporate this style of floor into your own home.
Tools Needed for Installing Laminate Flooring
- Tape Measure
- Underlayment
- Wheaton Oak, Laminate Flooring
- Edge Molding
- Circular Saw
- Hammer
- Utility Knife
- Caulk line
- Knee Pads (recommended)
Pro Install Tips:
- Bring flooring into the space to acclimate to temperature 24-48 hours prior to starting the project.
- Remove existing flooring such as carpet, padding, and tacks.
- Make sure your floor is level and clean.
- Use a proper moisture barrier for your particular install area.
- Inspect each plank before installation.
- When laying your first row insert tongue away from the wall.
- Make sure no ends align within each row. Allow either to be at least a foot longer or shorter from the row above or below.
- When assembling, lock into place and then push down.
- Allow 3/8″ gap along both walls. This allows for expansion and for us we used quarter-round to cover up.
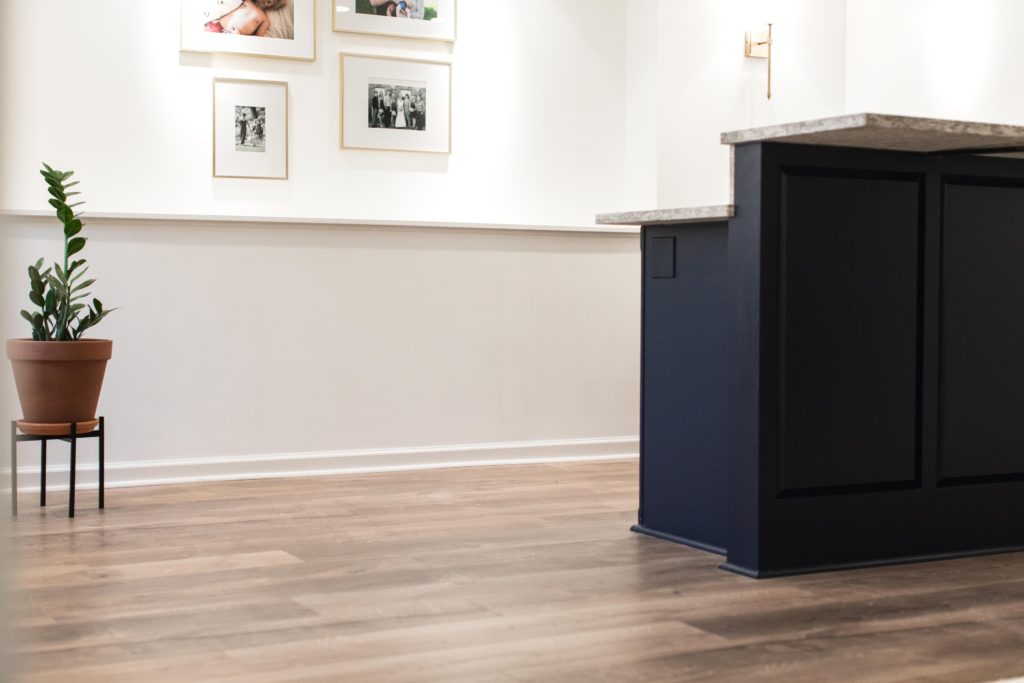
After Jamie got the floors laid, all that was left was a quarter-round and a simple carpet tuck.
We couldn’t be happier with how it all turned out. The crazy thing is that these look just like a lot of hardwood floors we’ve installed but for a fraction of the cost. Makes for the perfect flooring for a basement too to get that same hardwood look.
And there you have it, our tips on installing laminate flooring!
We love a good before and after and we’re so excited to finally have an area to entertain instead of that big giant blank space we weren’t entirely sure what to do with.
Next phase for our basement, we plan to put in a cool tile backsplash in that nook where the pictures are now and add in some suspended shelving. We can hardly wait to finish but we already love how it turned out.
And lucky for us we were able to salvage our former kitchen cabinets to create the bar space, so updating this space (despite the countertop) we were able to transform it for under $350.
We’ll be back diving into the details behind this project and the custom backsplash design we have in the works coming up next.

Thank you so much! I believe I just replied to the same person via email but wanted to follow up just in case anyone else was wondering. 🙂 For the wall color we used White Dove by Benjamin Moore… one of our favorites and that we use all the time. If you’re looking for more of a color I’d recommend Revere Pewter by Benjamin Moore… another goodie we use! Good Luck!
Looks awesome! We are installing this flooring next week. What is your wall color? Thanks!
Hey Mary! Yes, we bought caulk to caulk around the quarter-round and trim. We did skip the backer rod material. It’s to help water not get down underneath the flooring. We put in a dry bar- no running water, so we weren’t worried about water getting under. If you are nervous about that and the warranty- we’d definitely recommend doing it. We should have noted that in our post. Thanks for asking! Good luck on your project! We absoloutely love our flooring!!
We’re installing the same flooring now. It looks like you bought caulk to go around the edges, but I’m curious why you skipped adding the backer rod material in the expansion gap? The install instructions require it for the “wet protect” or it voids the warranty.