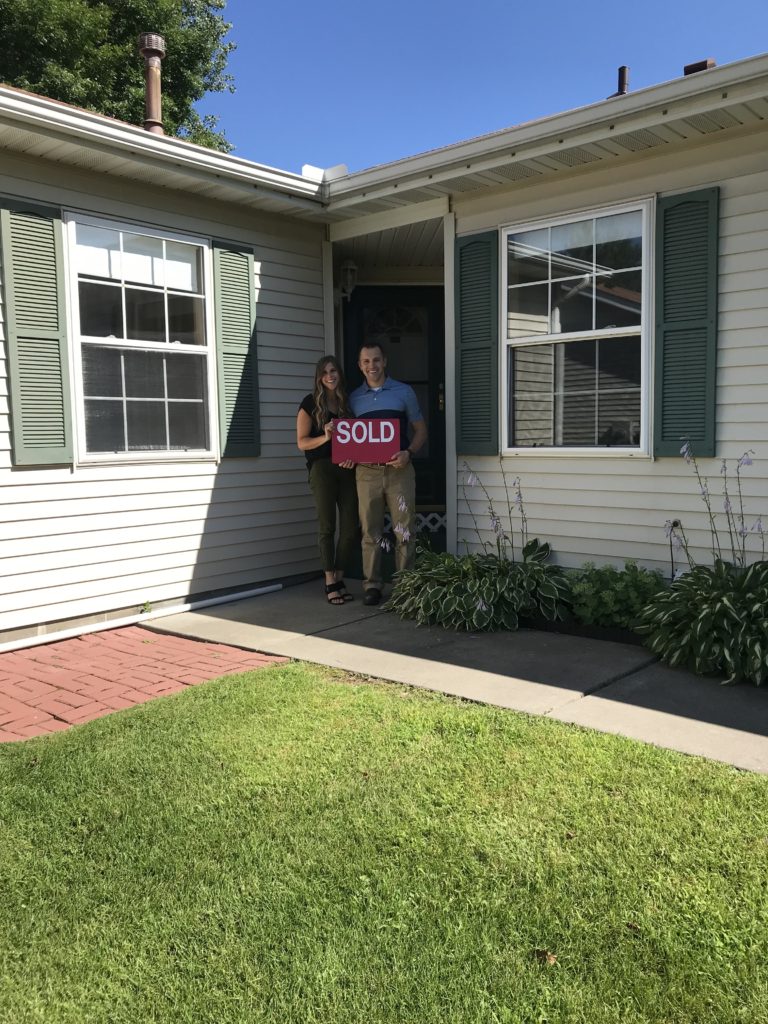
We closed on our first house over a week ago, which was so exciting!
After having a month before closing to plan, gather design inspiration, and make a timeline, we were pumped to get the keys and start to making it our own. Once everything was official and all the papers were signed, we went to the house and walked through the rooms, talking through the plan for each one.
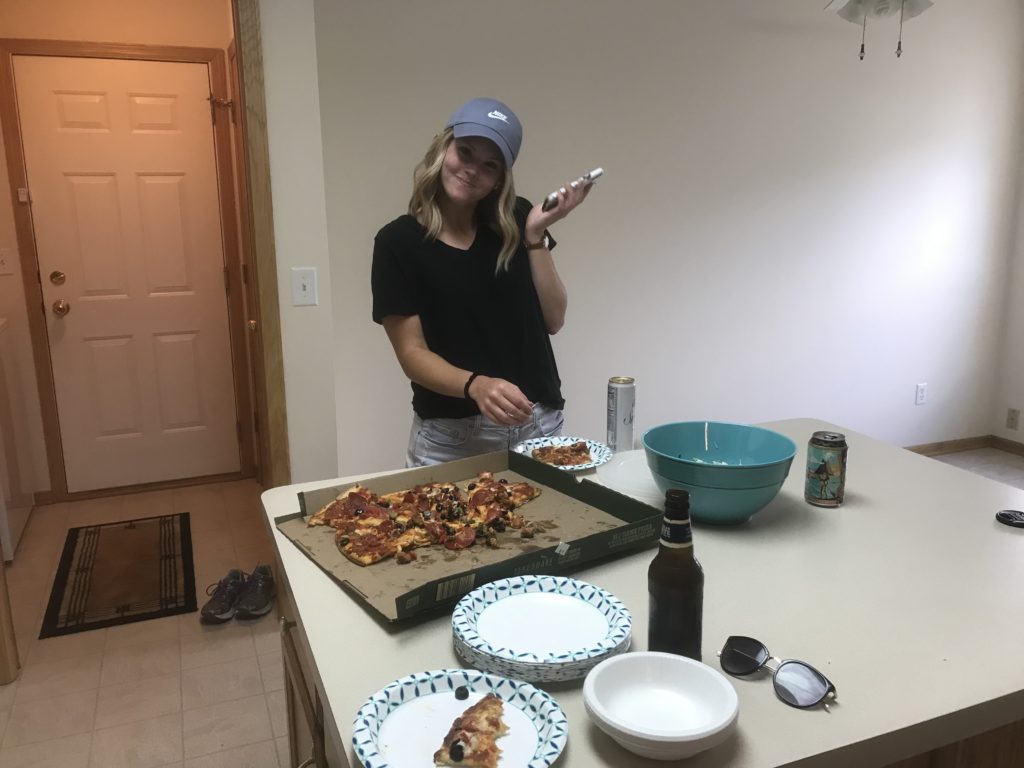
Then, we walked around our new neighborhood on the trail close to our house and had our first guest over! My sister came to take all the before photos of our home and we celebrated the closing with some pizza and beer.
And then it was time to get to WORK! But first, check out these befores:
Before
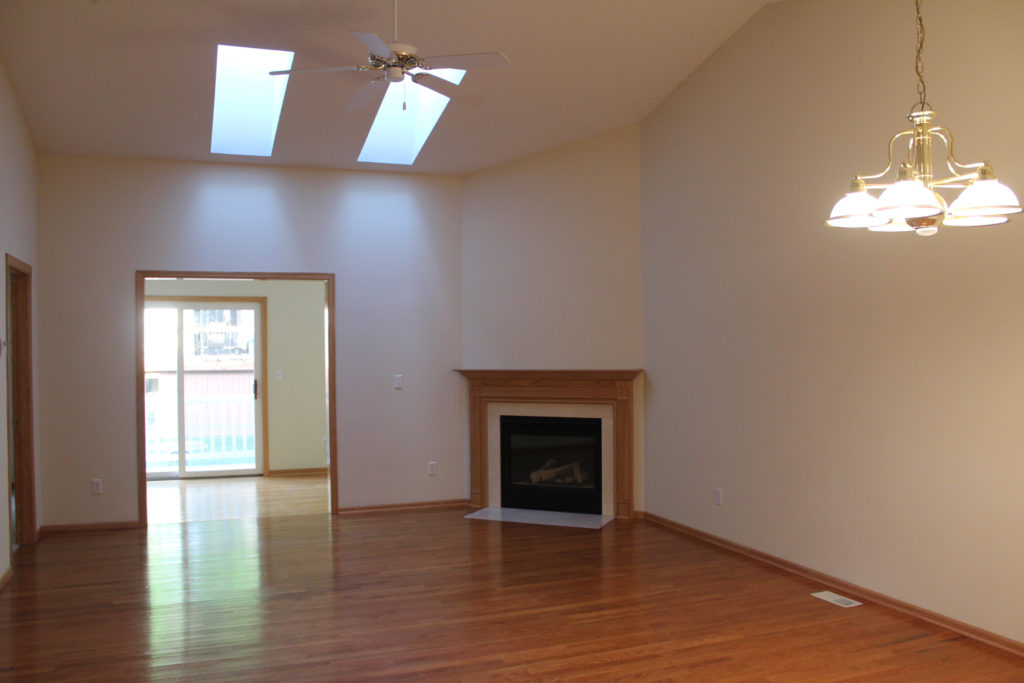
Below is the space you walk into from the front door. Where the chandelier is now will be where we have our dining table and chairs. Over by the fireplace will be our living room. For this space, we’ll be updating the fan and light and adding in some furniture.
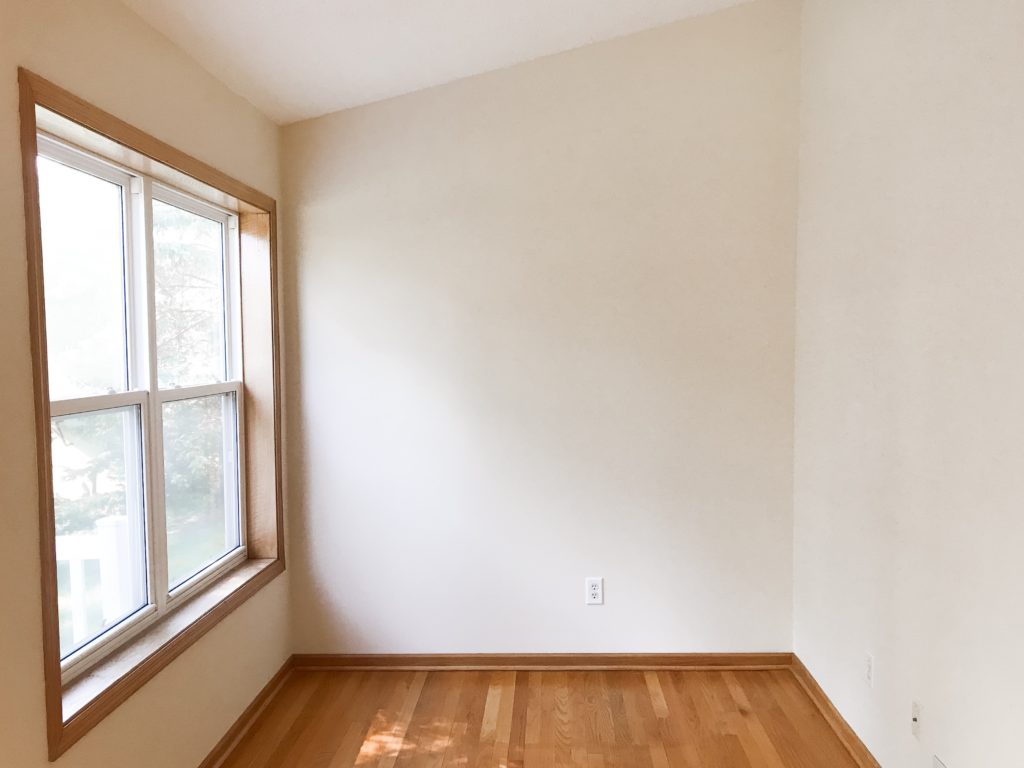
This is one of my favorite rooms in the house. It’s a sunroom located off the living room and will become my office. Since I work from home a couple of days a week, having a designated space, complete with a live edge desk (more on that later) and leather chair will be so awesome.
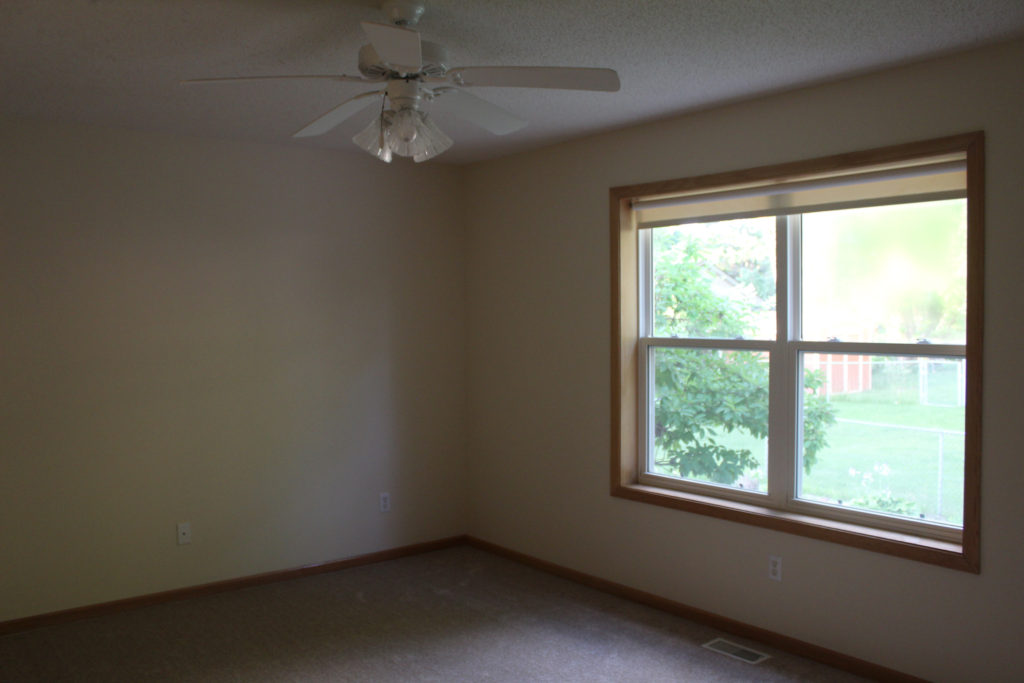
For our master bedroom, the plan is to paint the room a darker color to give it a cozy feel, remove the popcorn, and update the fan. We love the natural light this room gets and that we have a bathroom right off our room.
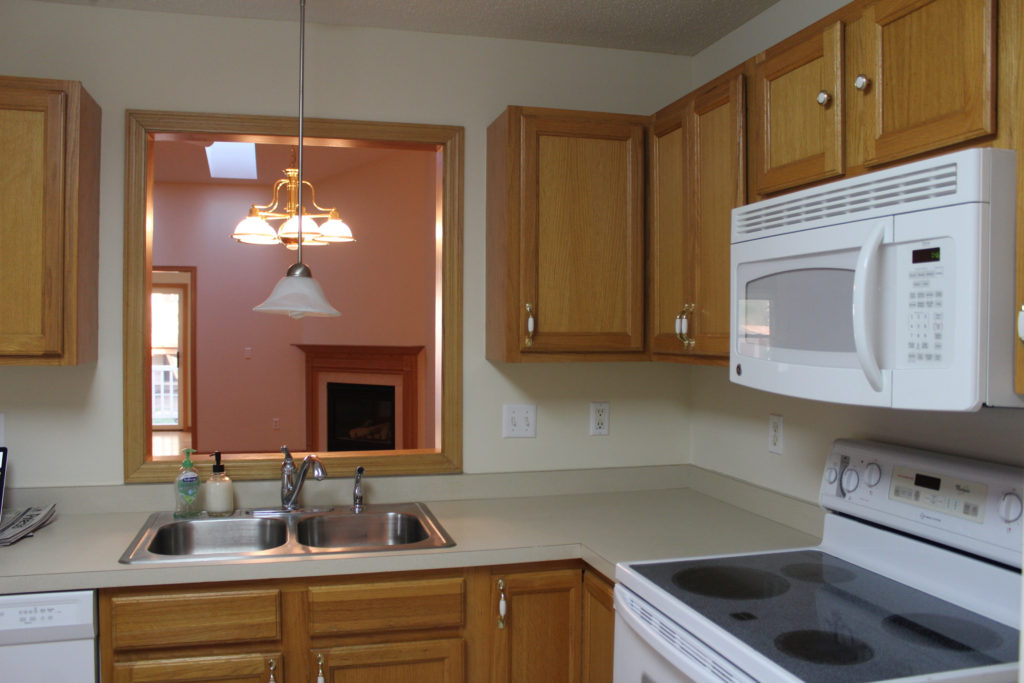
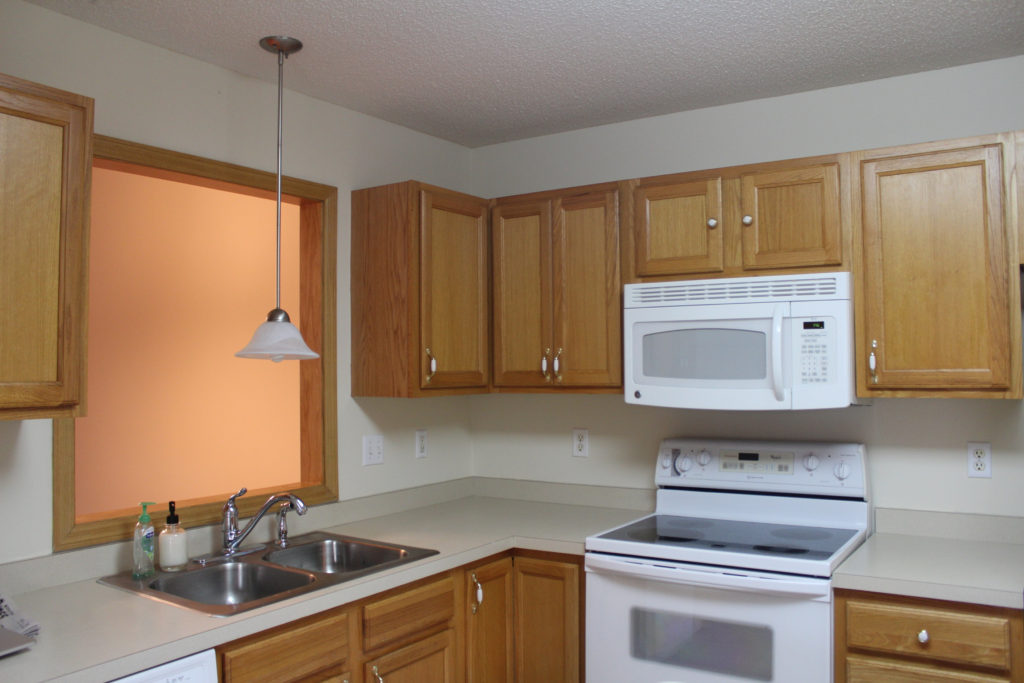
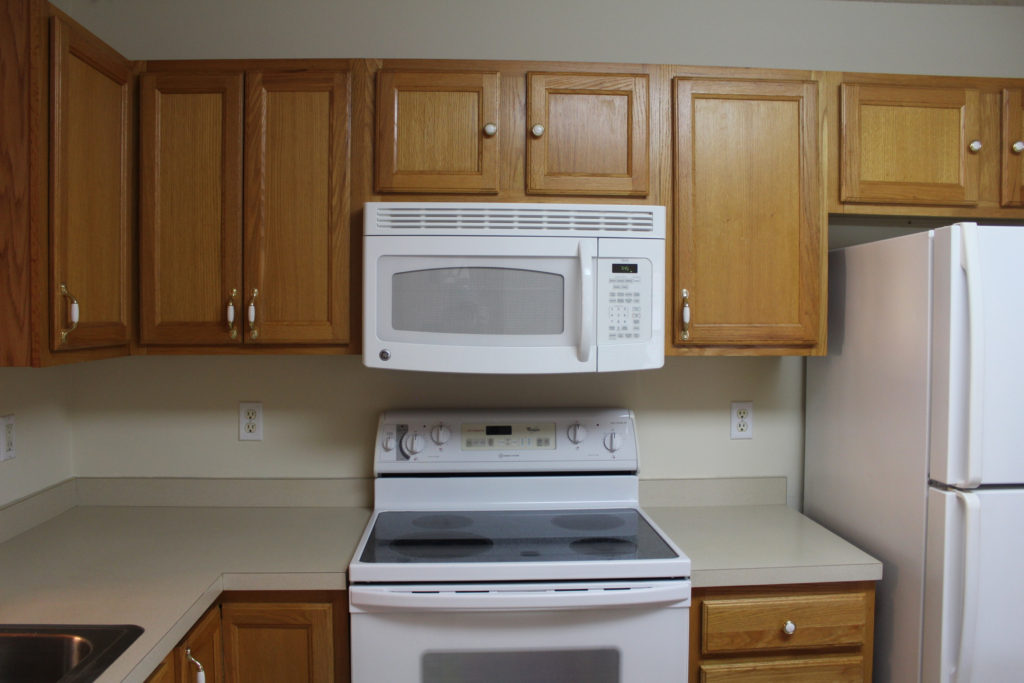
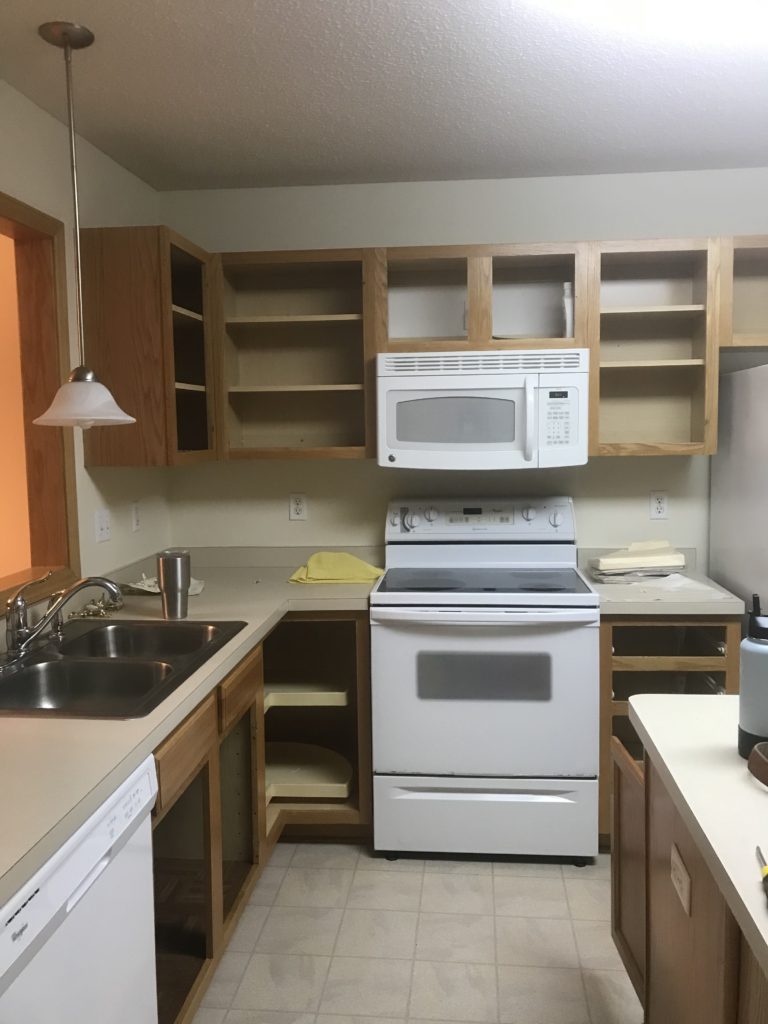
And now for the kitchen! The layout of this space actually works really well. For the kitchen, the plan is to paint the cabinets, replace hardware and lighting, and get a new faucet.
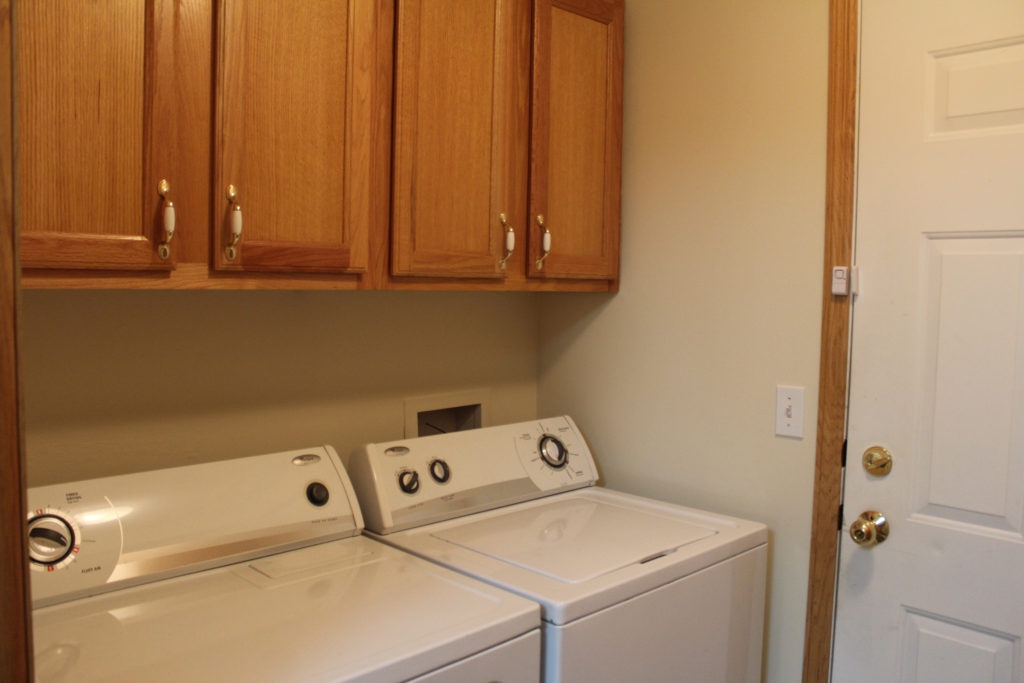
Right off the kitchen is our laundry room and in here, we’ll be painting the cabinets the same as the kitchen.
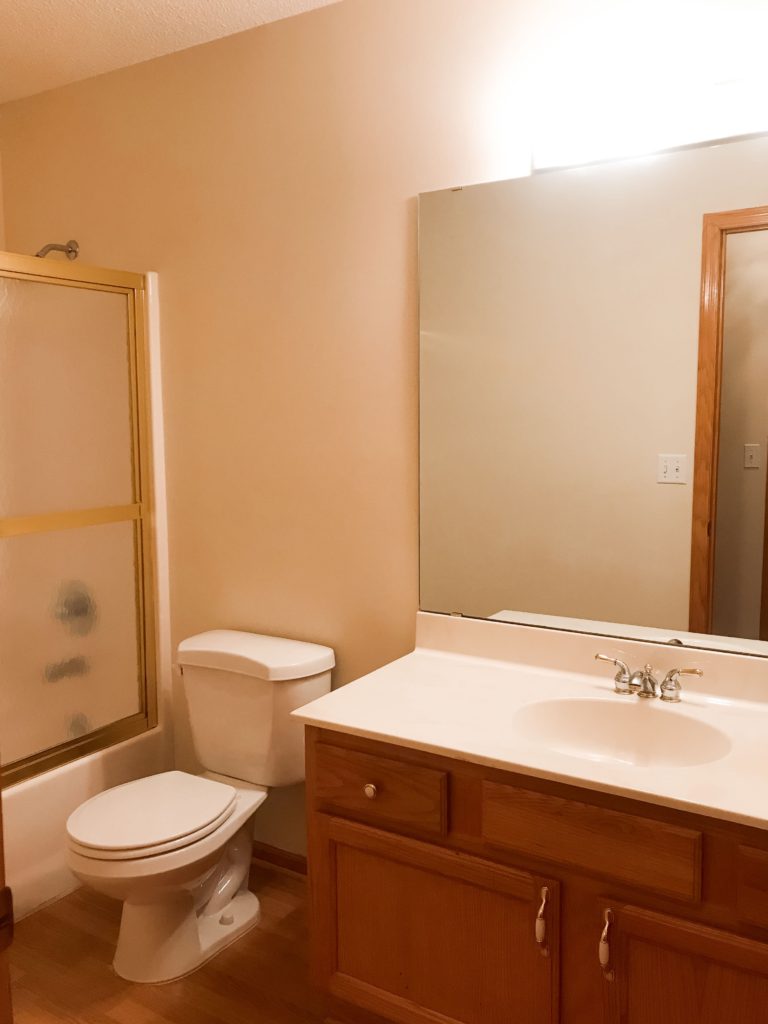
Finally, for the bathrooms, we will be painting the vanities, replacing the hardware and lighting, and framing out the mirror.
Getting to Work
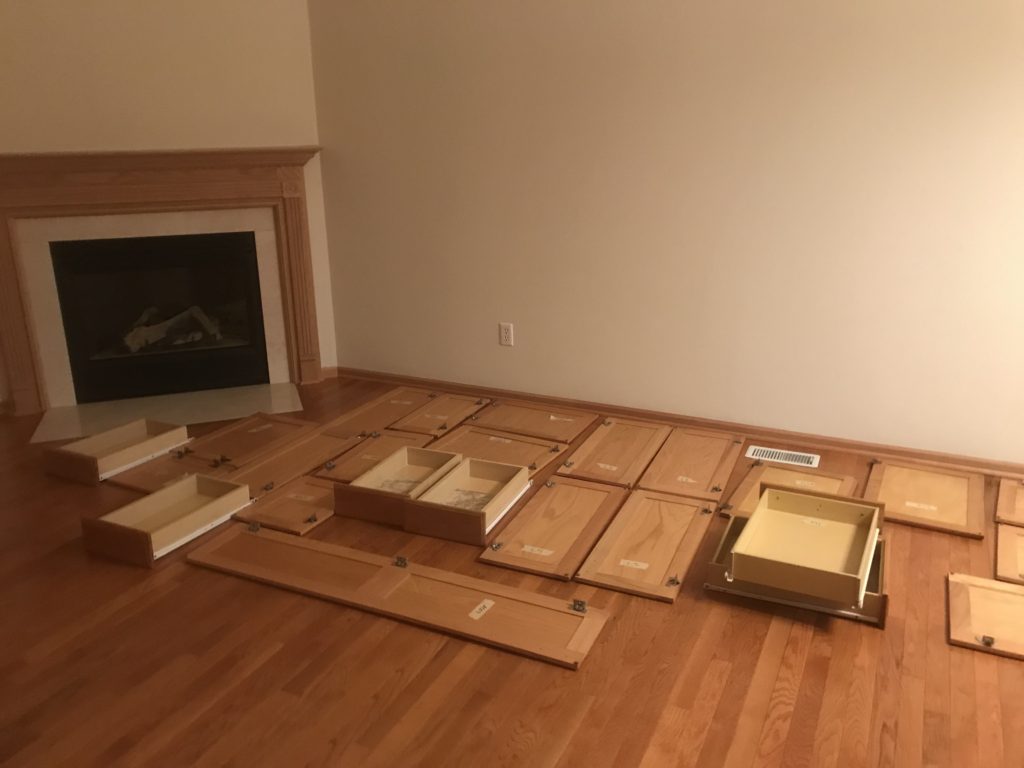
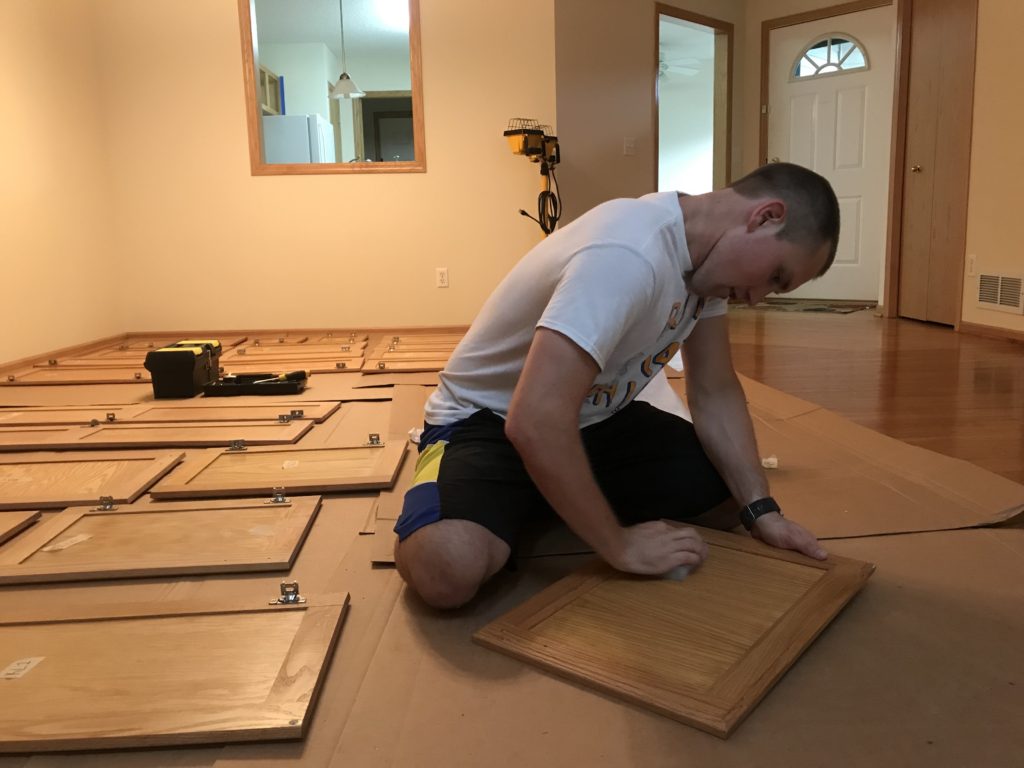
The night we closed, we started by taking all of the doors off the cabinets, taking the hardware off, and getting the cabinets prepped. Matt has been super organized and did a lot of research before we closed on painting the walls and cabinetry. After reading about mistakes to avoid when painting cabinetry, we knew that we needed to take all the doors off and label them.
There was also some wallpaper lining some of the drawers and bases, so we also worked on scraping it off. Then we used Goo-Gone to remove any sticky residue. After we had the doors off, labeled, and wallpaper gone, we called it a night.
The rest of the week we focused on cleaning the cabinets and face frames, sanding them down, and cleaning them again. We got a sanding block, which has worked really well for keeping a good pace with the cabinets. Matt also got the walls prepped for paint. He removed all the outlet and vent covers, sanded down any imperfections, and patched holes from nails and screws.
Since we were in a wedding over the weekend and were gone for a couple of days, the first week was mostly prep, but we’re excited to get started on more next week!
Tips from Week 1
- Take time to prep, it’s so important, even though it seems to take FOREVERRR.
- Clean up your work station each night. It makes coming back the next day better and you can get to work more quickly.
- Make a plan for each day so you don’t get overwhelmed by everything you want to do.
- Enjoy your new home in the midst of the mess, don’t wait until it’s all done.
3 thoughts on “Updating Our First Home | Week One”
Comments are closed.