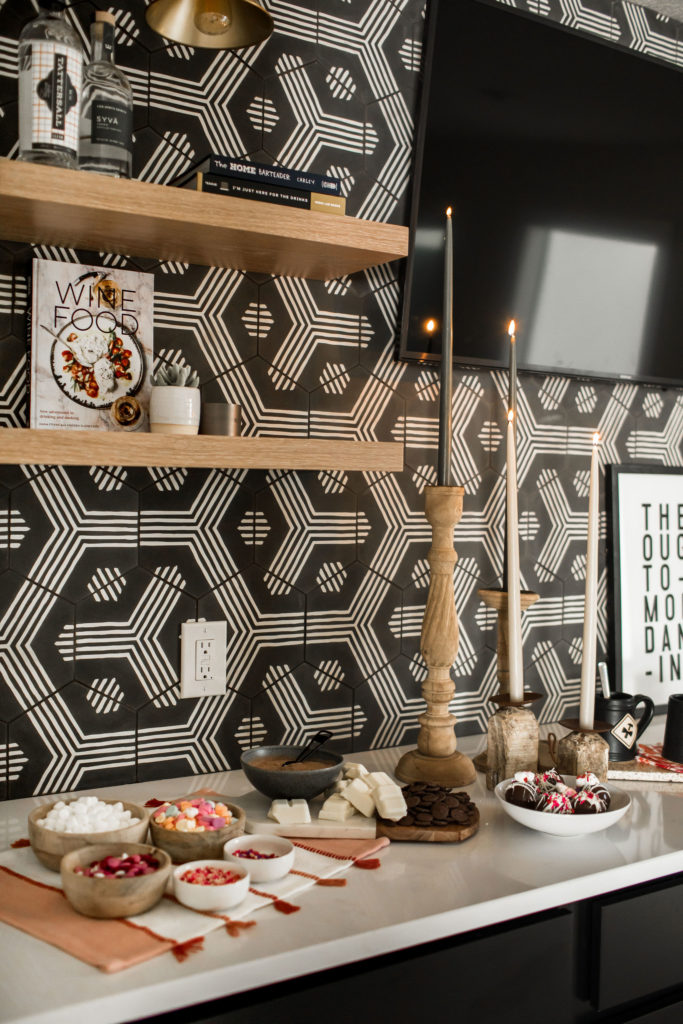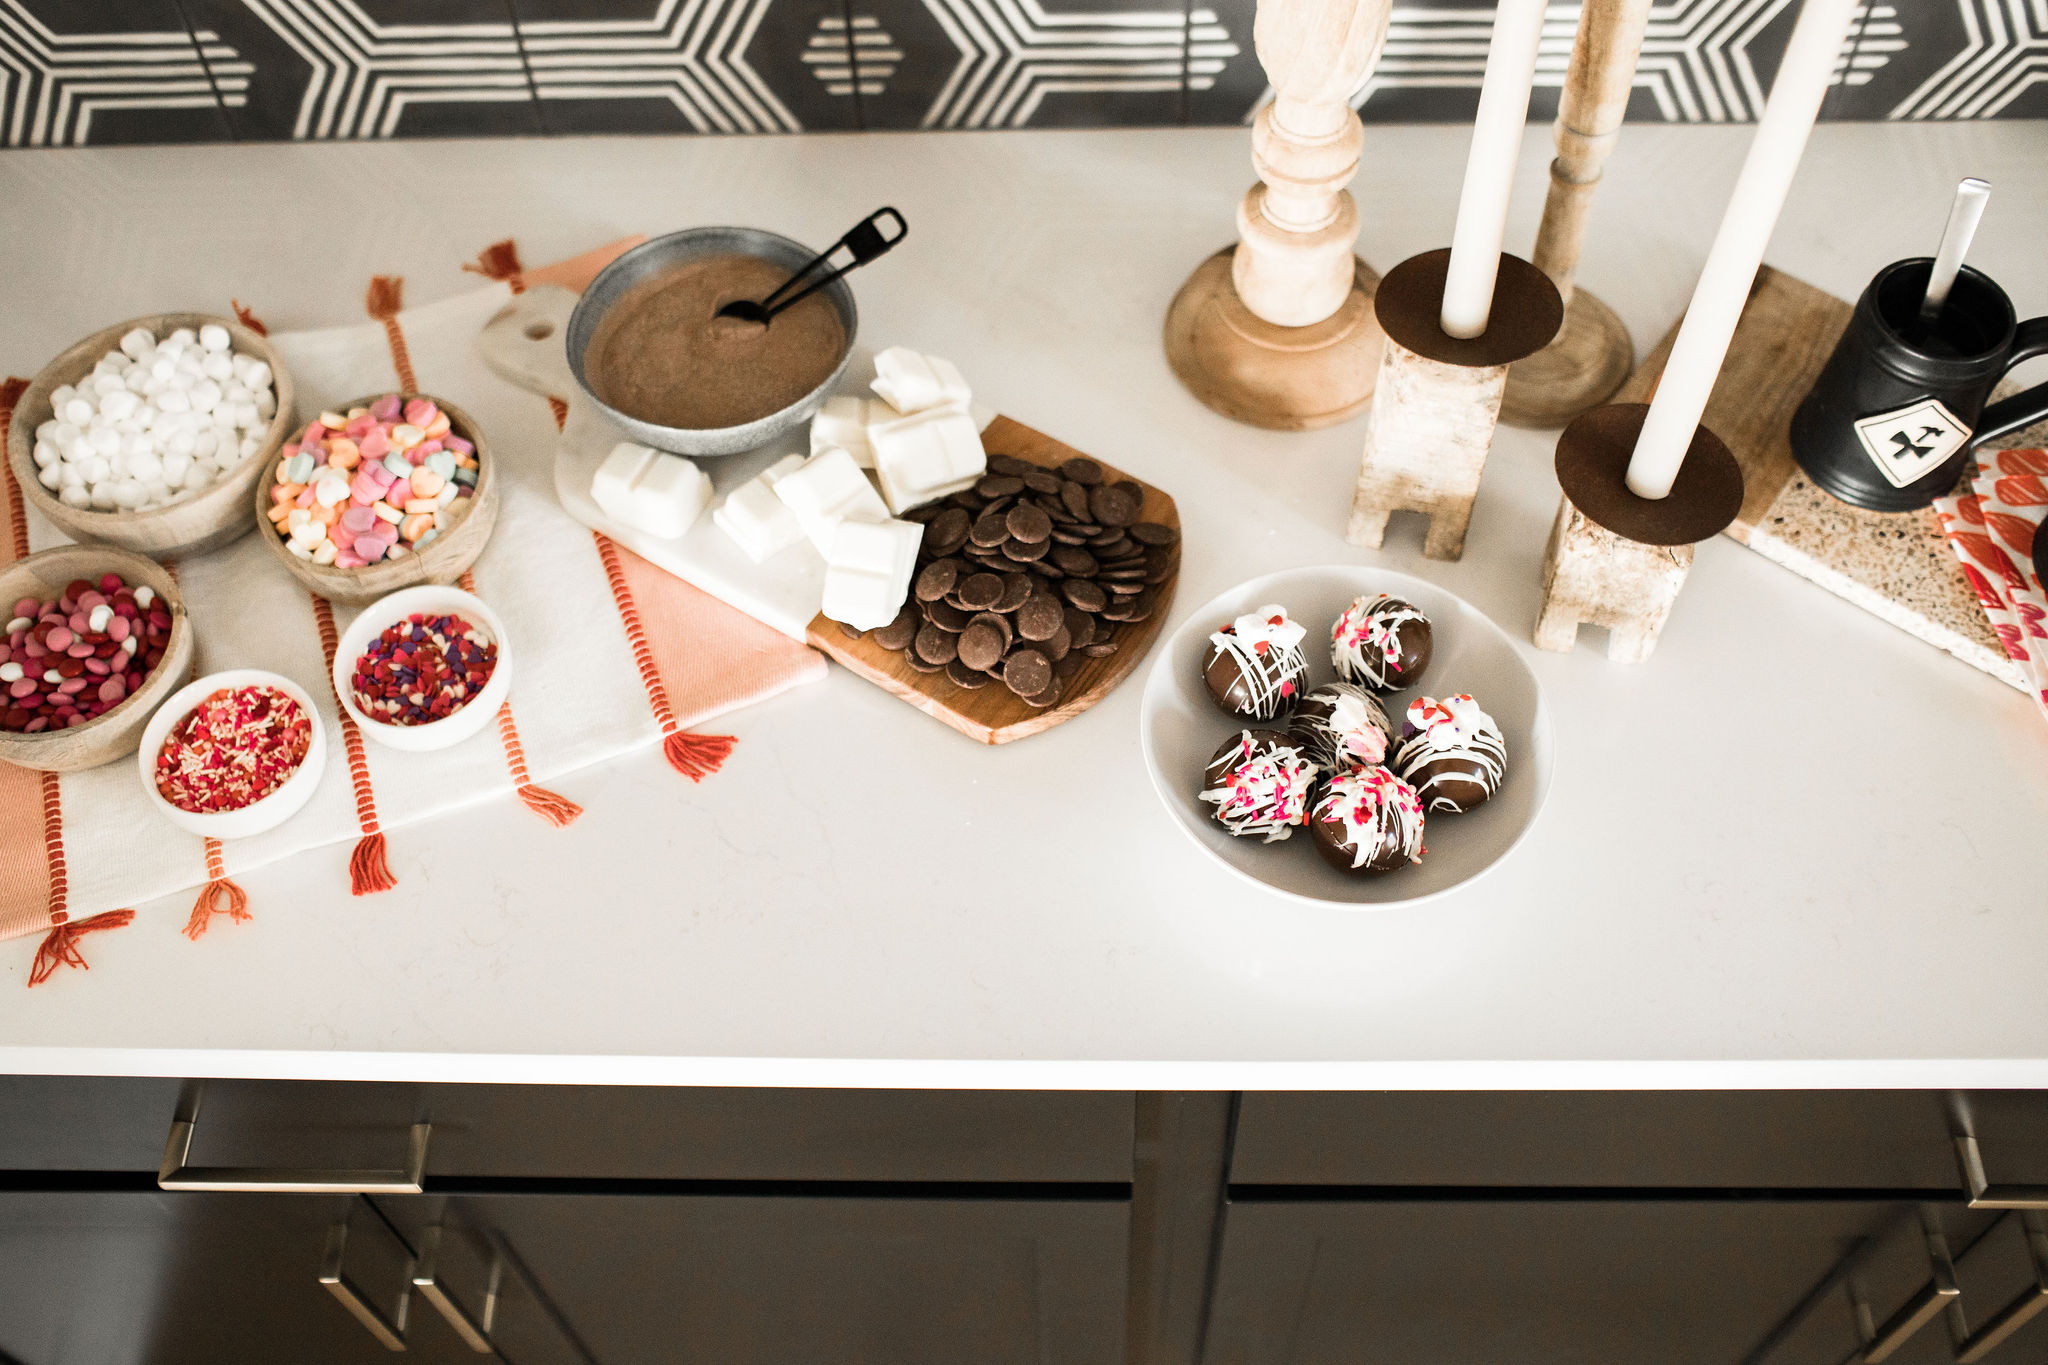
If you’re looking for a fairly easy and unique Valentine’s Day gift for the special people in your life, hot chocolate bombs are the way to go.
Ingredients
- 10 oz bag of melting chocolate (milk or dark)
- 10 oz bag of melting white chocolate (for drizzling)
- 6 TBSP hot cocoa powder
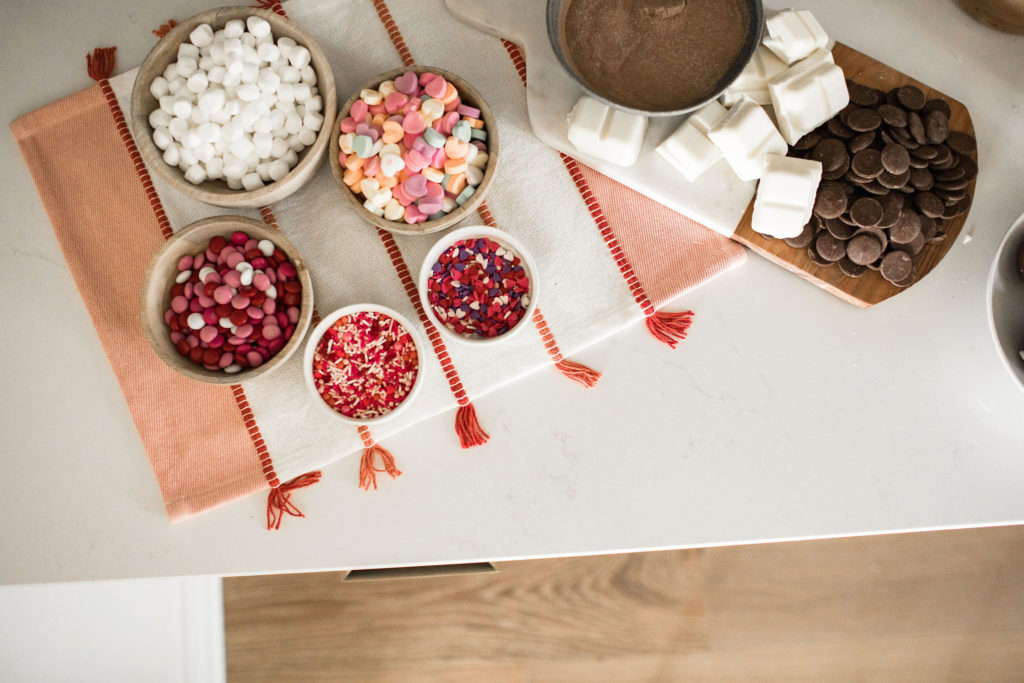
- Various toppings for inside & outside of the hot cocoa bombs
- Round silicone baking mold
Prepping Materials
Step one in your prep – order a round, silicone baking mold if you don’t have one. I used this mold from Amazon and it has worked perfectly for my hot chocolate bombs!
After receiving the mold and gathering the rest of your ingredients, it’s time to make those crazy hot chocolate bombs that are all over the internet. I first saw them on TikTok, and then saw bakeries selling them. Since I’m a DIY’er at heart, my first thought of course was, “I can make those!”
Creating the Hot Chocolate Bomb
The first step – melt your melting chocolate according to the package directions.
Once the chocolate is melted, use a teaspoon to spoon the chocolate into the silicone molds. Using the backside of the measuring spoon to spread the chocolate around the mold ensures full coverage in the mold.
Make sure the chocolate goes all the way up to the edges and there are no visible holes in the mold with the chocolate. If you feel the chocolate isn’t thick enough, you can go through the mold again with a little more chocolate!
After all of the silicone mold sections are covered with chocolate, place them in the fridge for five minutes to completely harden. Remove the molds from the fridge and slowly and gently peel the chocolate pieces out. If they don’t peel out easily, leave them in the fridge for a few more minutes.
Once your chocolate bomb is hardened, add approximately 1 tbsp of hot chocolate powder to half of the chocolate spheres. Ready for the fun part? Add in whatever toppings you would like to have inside of your hot chocolate bombs.
We used mini marshmallows, mini chocolate chips, M&Ms, and sprinkles! You can also add caramel or chocolate syrup, crushed cookies, the options are endless!
Next up – the seal. This is definitely the hardest part so if you fail the first time – don’t get discouraged! I definitely failed on my entire first batch.
Microwave a microwave-safe plate for 15-seconds. One by one, place an unfilled half-sphere of the chocolate seam side down on the plate until the rim is slightly melted.
Gently place the unfilled sphere on top of a filled sphere, so the melted rim acts as a seal to attach the two halves together. After sealing all of the hot chocolate bombs together, place them in the fridge for an additional five minutes.
Decorating Time
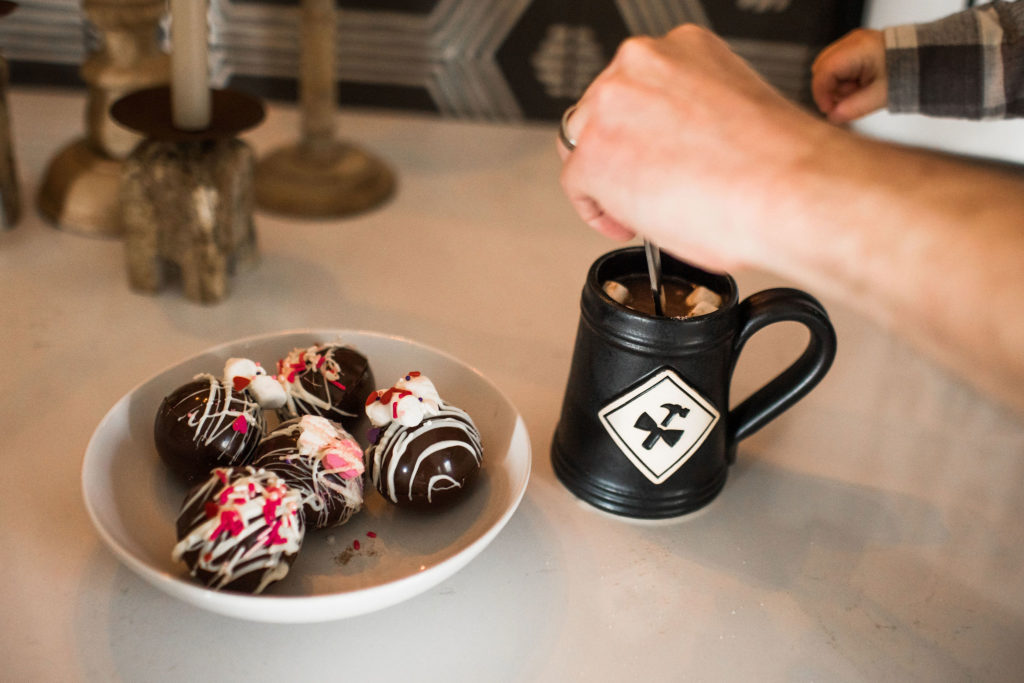
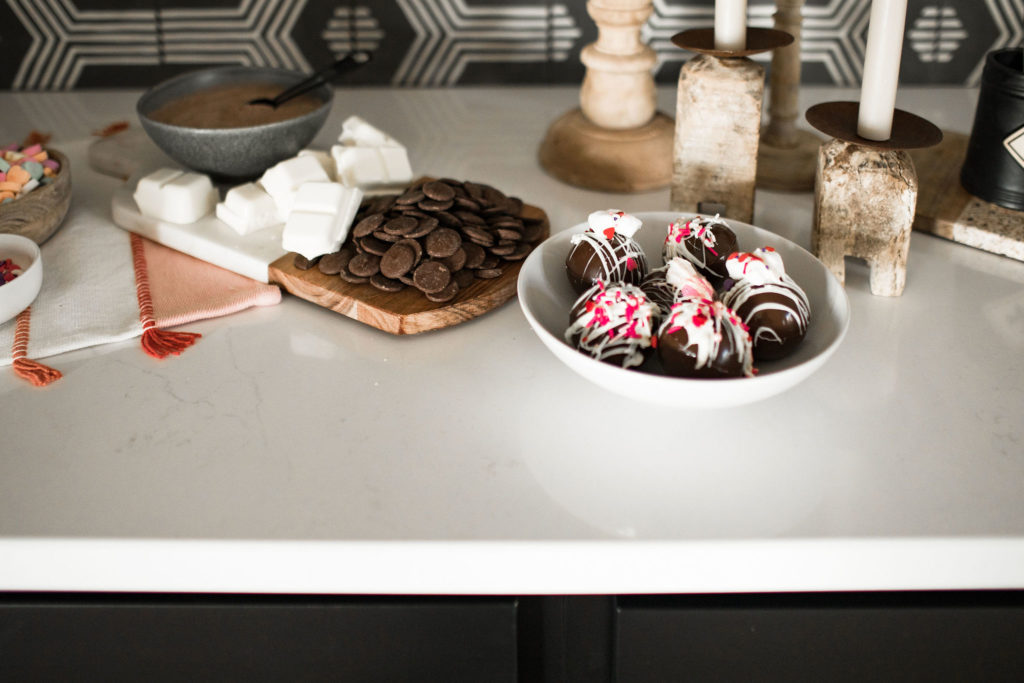
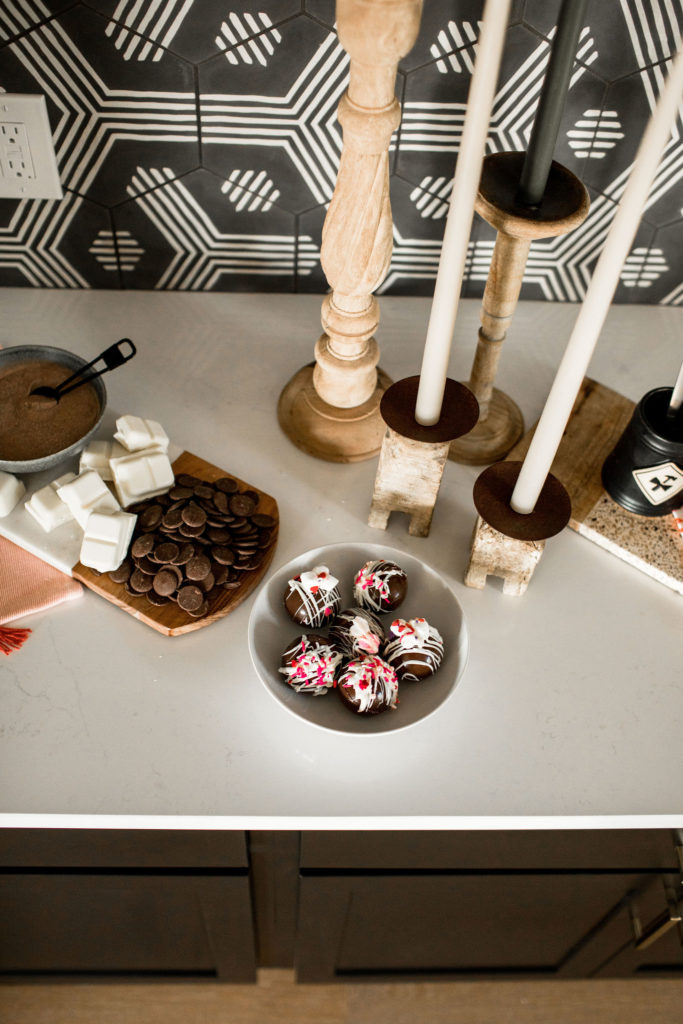
While the seal on the hot chocolate bombs hardens, melt the white chocolate to prep for decorating. When you’re ready, pull out the sealed chocolate bombs from the fridge. Using a fork, lightly drizzle white chocolate on the tops of the chocolate bombs.
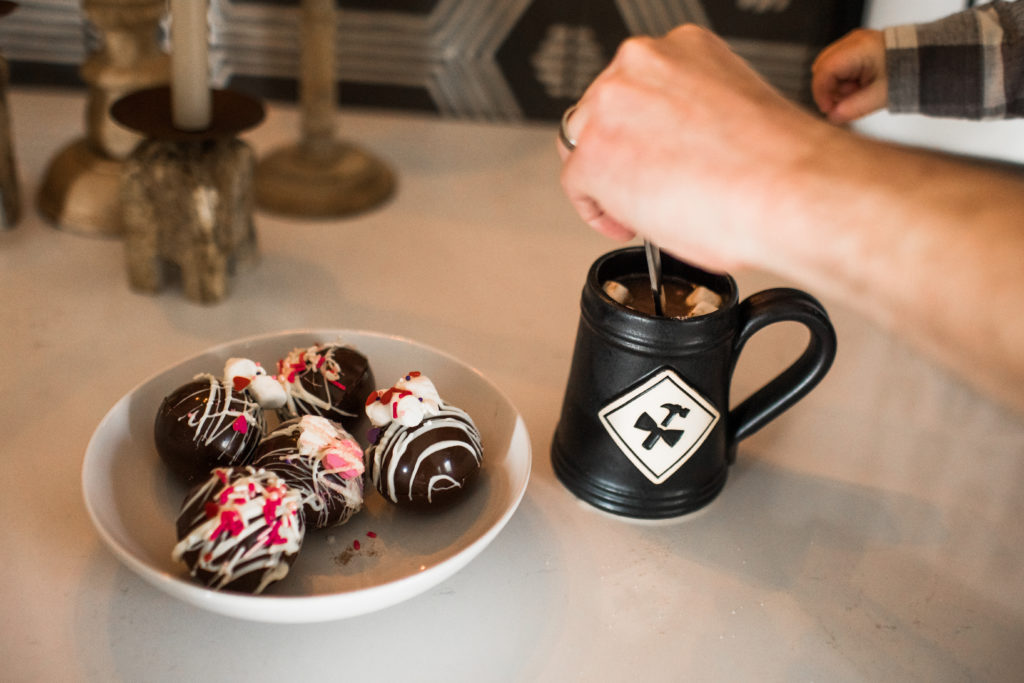
While the white chocolate is fresh, use sprinkles, M&Ms, mini marshmallows, or even conversation hearts to place on top of the hot chocolate bombs to add a little flair! Allow the white chocolate to harden by placing the finished hot chocolate bombs in the fridge for an additional five minutes.
Now it’s time to enjoy them or box them up for your Valentine! Pull out of the fridge, and add to a hot cup of milk or water to enjoy! These can be stored at room temperature and are best consumed within a week’s time!
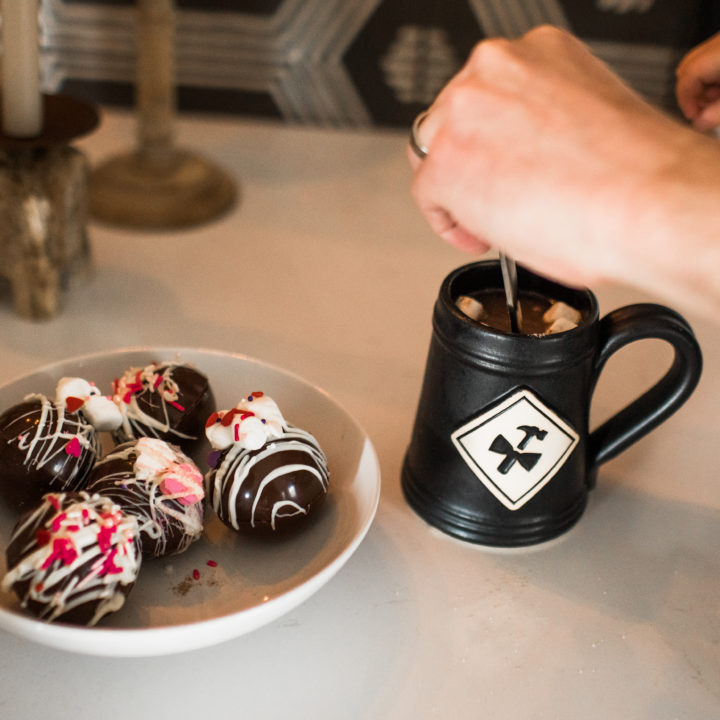
Valentine's Day Hot Cocoa Bombs
Need an easy, festive sweet treat for Valentine's Day? Try making these hot cocoa bombs!
Ingredients
- 10 oz bag of melting chocolate (milk or dark)
- 10 oz bag of melting white chocolate (for drizzling)
- 6 TBSP hot cocoa powder
- Various toppings for inside & outside of the hot chocolate bombs
- Round silicone baking mold
Instructions
- Gather materials & melt your dark melting chocolate according to the package directions.
- Once the chocolate is melted, use a teaspoon to spoon the chocolate into the silicone molds. By using the backside of the measuring spoon to spread the chocolate around ensures full coverage in the mold. Make sure the chocolate goes all the way up to the edges and there are no visible holes in the chocolate.
- After all of the silicone mold sections are covered with chocolate, place them in the fridge for five minutes to completely harden.
- Remove the molds from the fridge and slowly and gently peel the chocolate pieces out.
- Add approximately 1 TBSP of hot chocolate powder to half of the chocolate spheres.
- Add whatever toppings you would like to have inside of your hot chocolate bombs. We used mini marshmallows, mini chocolate chips, M&Ms, and sprinkles!
- Next up - the seal. Microwave a plate for 15-seconds, and place an unfilled half of the chocolate spheres on it until the rim is melted slightly.
- Gently place the unfilled sphere on top of a filled sphere, so the melted rim acts as a seal to attach them together.
- After sealing all of the hot chocolate bombs together, place them in the fridge for an additional five minutes.
- While they are cooling, melt the white chocolate to prep for decorating.
- Next, pull out the sealed chocolate bombs from the fridge. Use a fork to lightly drizzle white chocolate on the tops of the chocolate bombs.
- While the white chocolate is fresh, use sprinkles, M&Ms, mini marshmallows, or even conversation hearts to place on top of the hot chocolate bombs to add a little flair!
- Allow the white chocolate to harden by placing the finished hot chocolate bombs in the fridge for an additional five minutes.
- Pull out of the fridge, and add to a hot cup of milk or water to enjoy!
Notes
You can also use the white chocolate for the hot chocolate bomb casing & drizzle with the dark/milk chocolate to get different flavors!
