We are excited to be partnering with Bobee wall decals today. Wall decals can be a fun and convenient way to add simple decor to your home. However, they can also be easily oversaturated. But with the perfect product and placement, they can be nicely done.

Perfect placement
The best part about wall decals is that they are interchangeable. You have the ability to instantly change the look and feel of a home quickly and inexpensively.
- Rental property’s are the perfect place to use wall decals as you don’t want to invest too much money into permanently renovating a property you don’t own.
- Adding wall decals in children’s rooms also make sense as they can be interchangeable as the child’s imagination grows. Bobee provides adorable wall decals for children. I think the whale would go perfectly in Greyson’s room!
- I also love the idea of an alternative decal headboard.
- Decals look nicely above walkways.
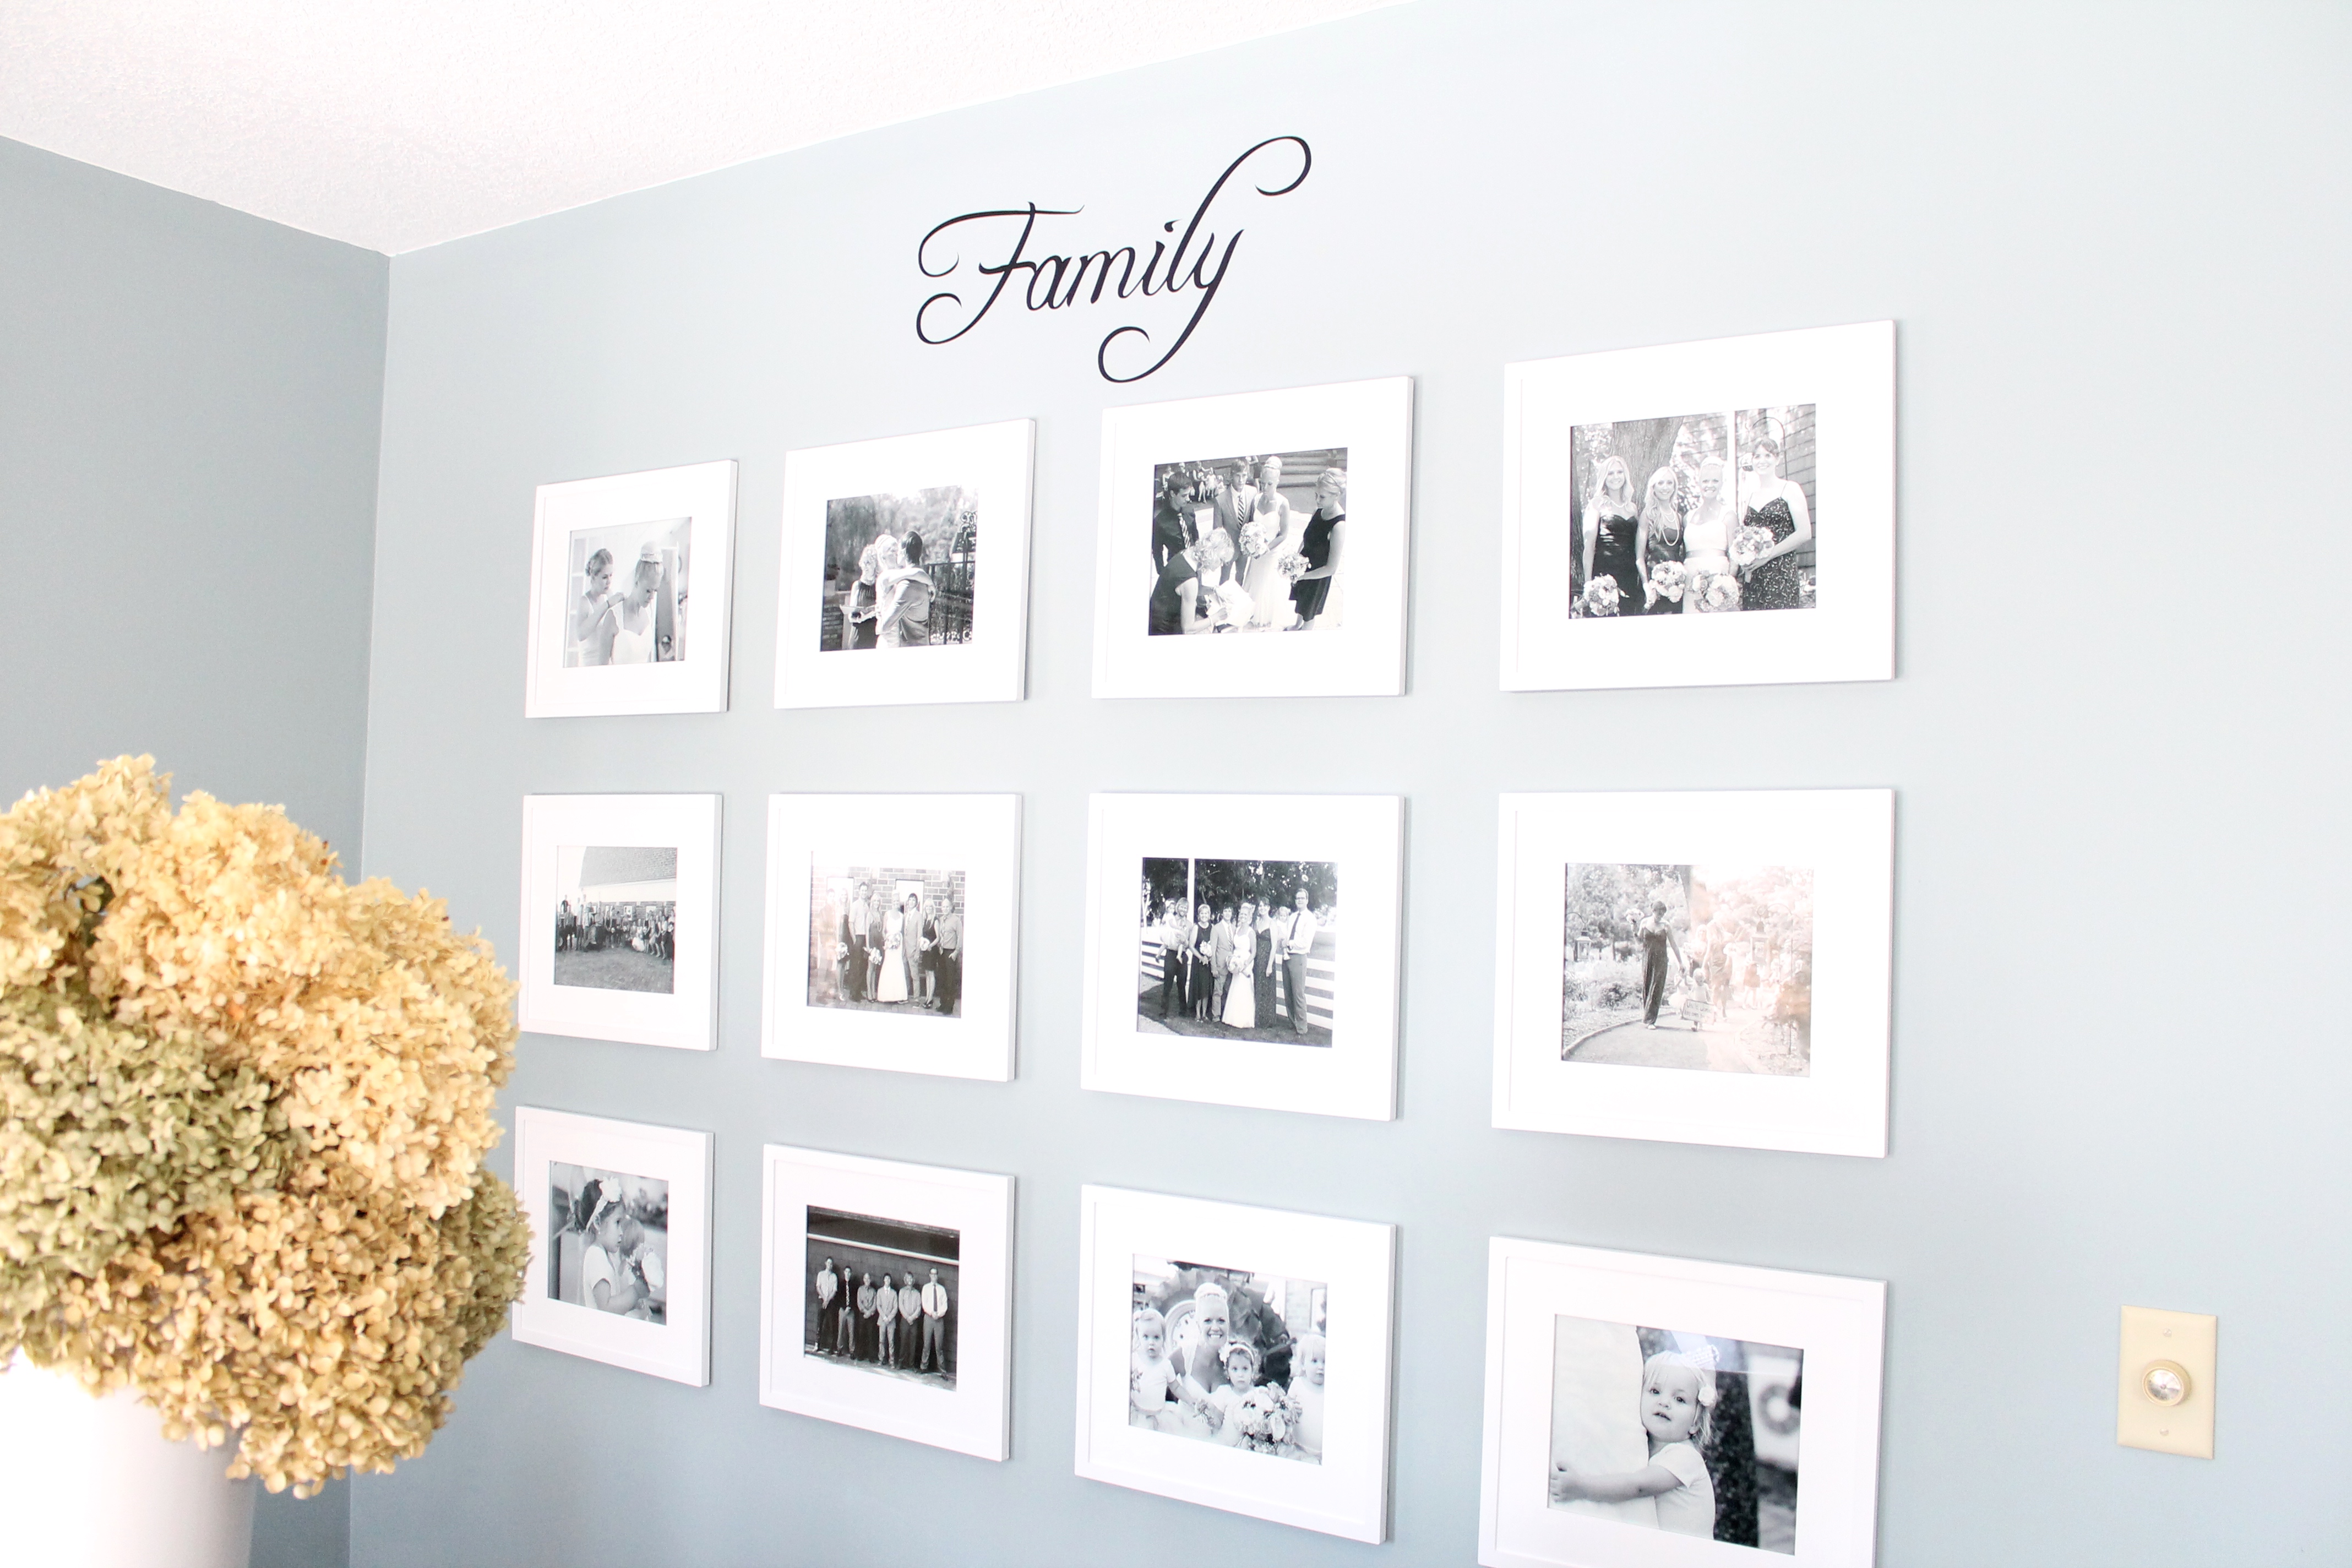
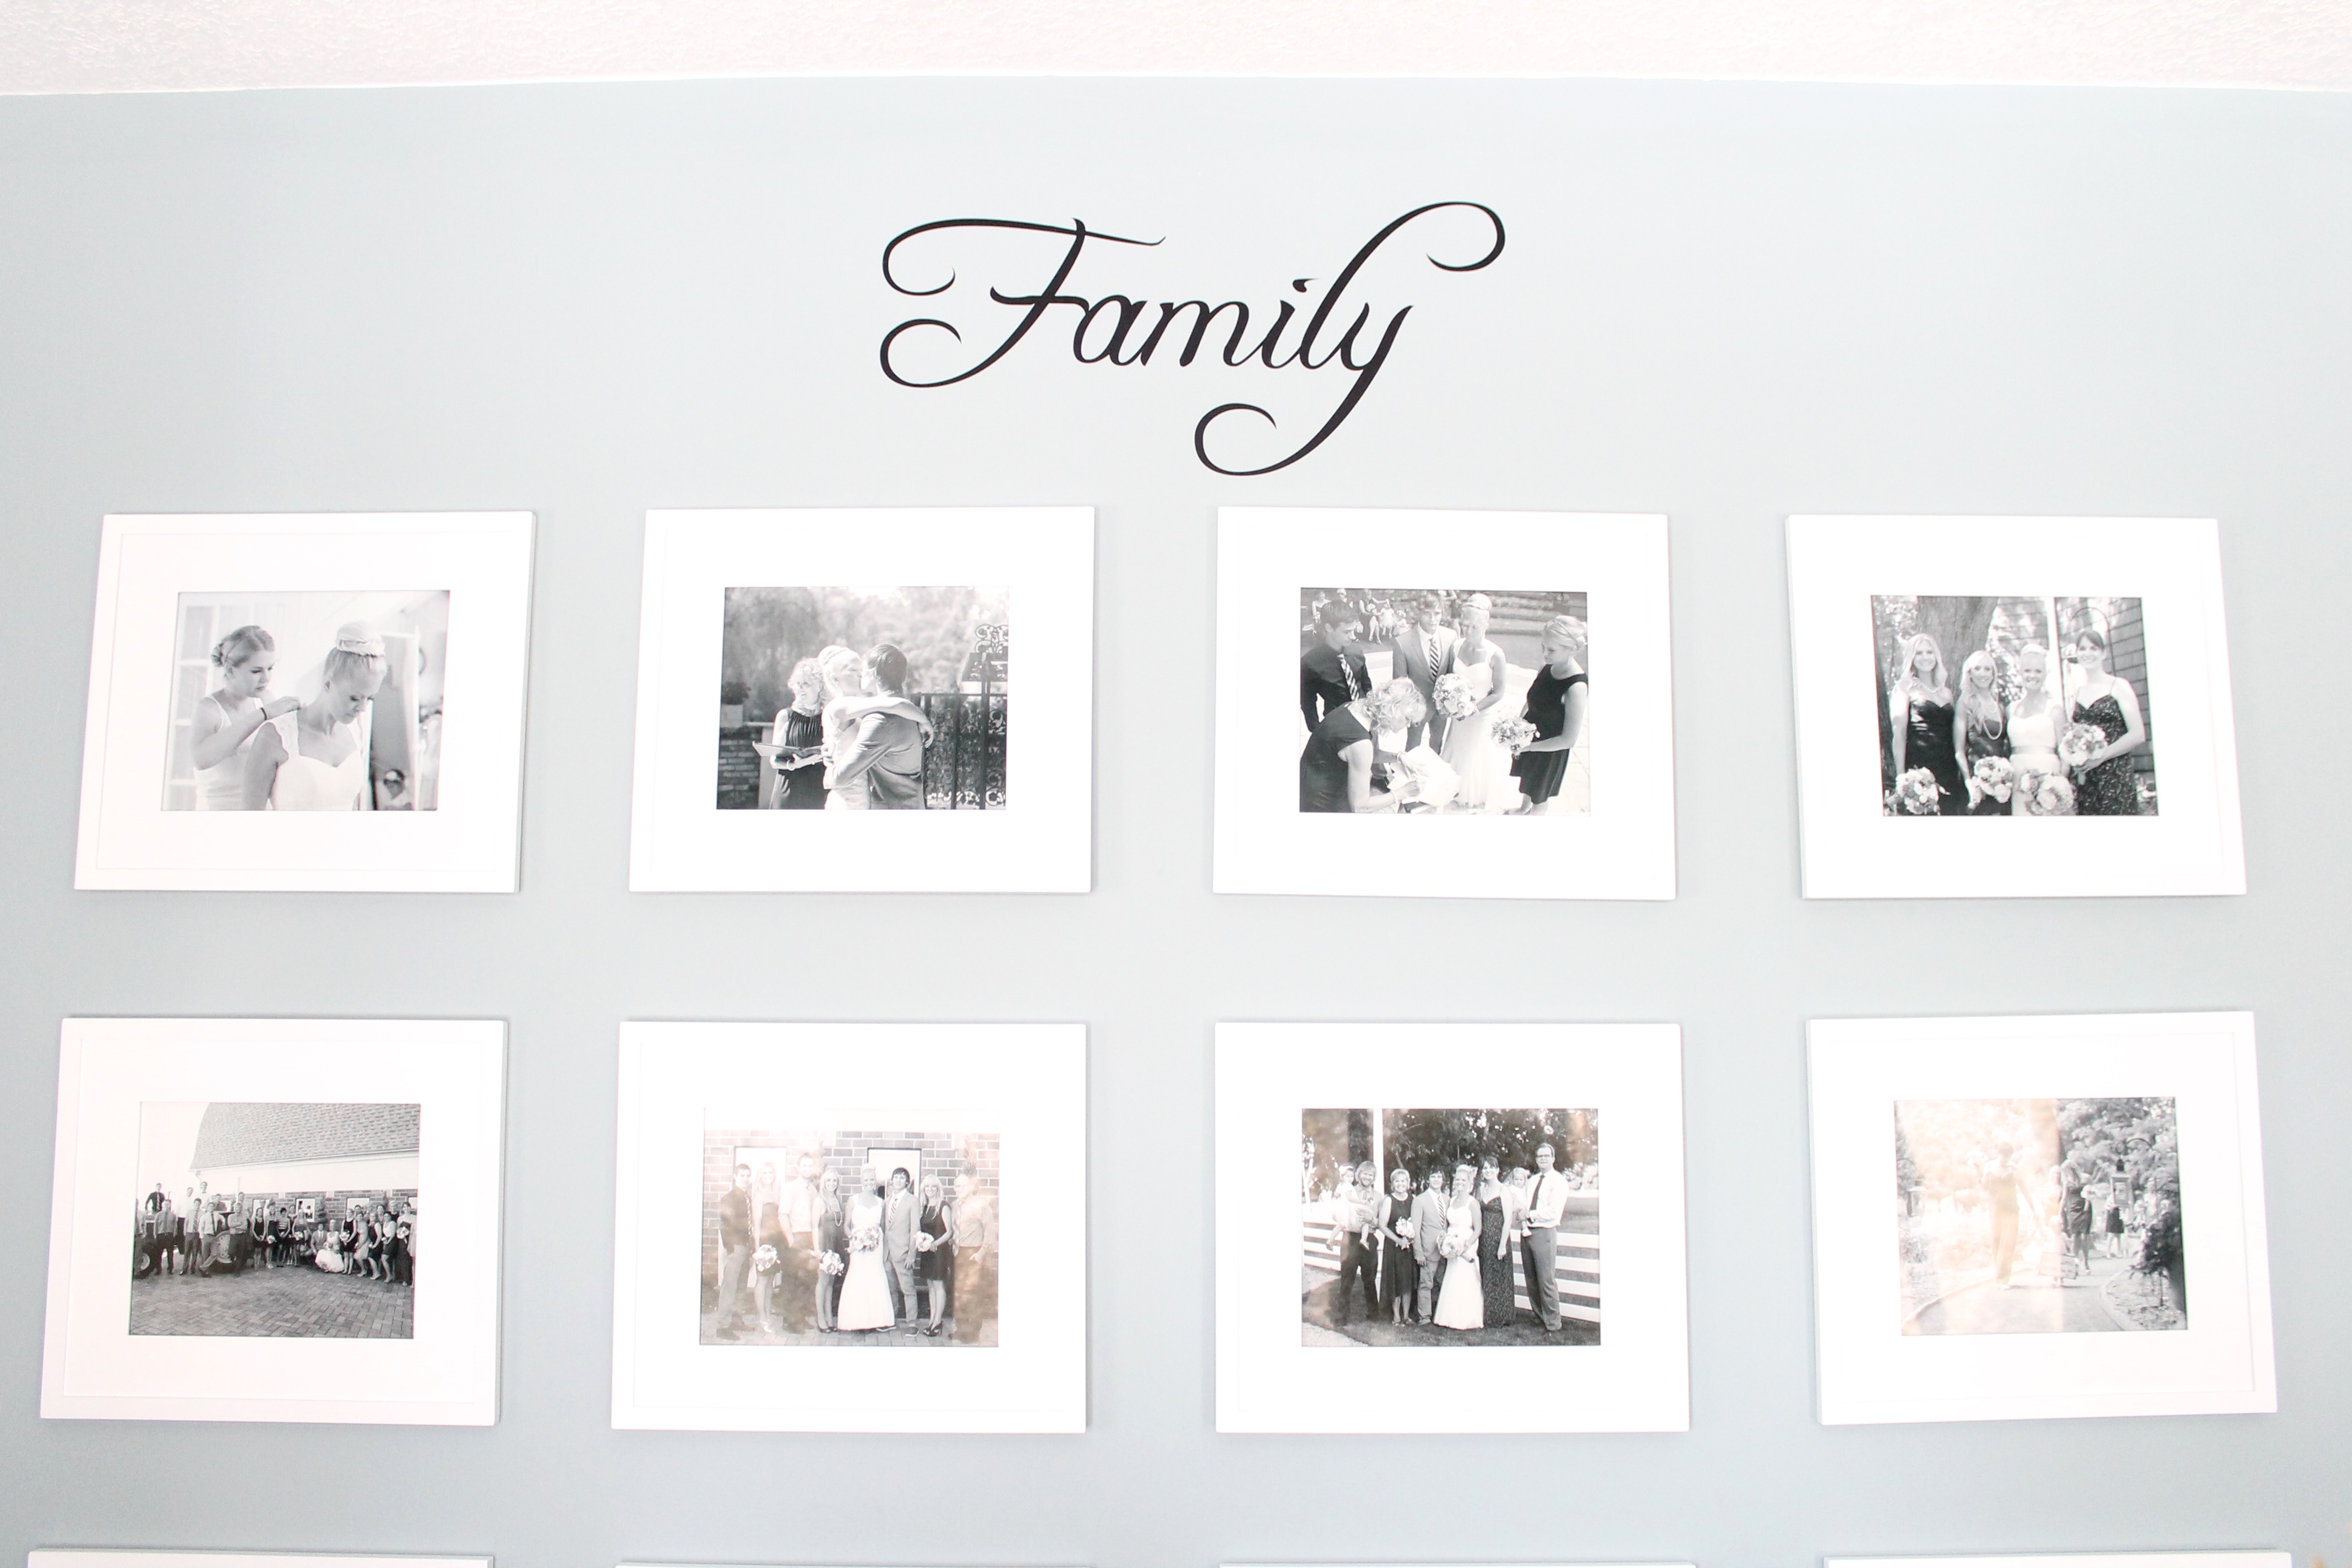
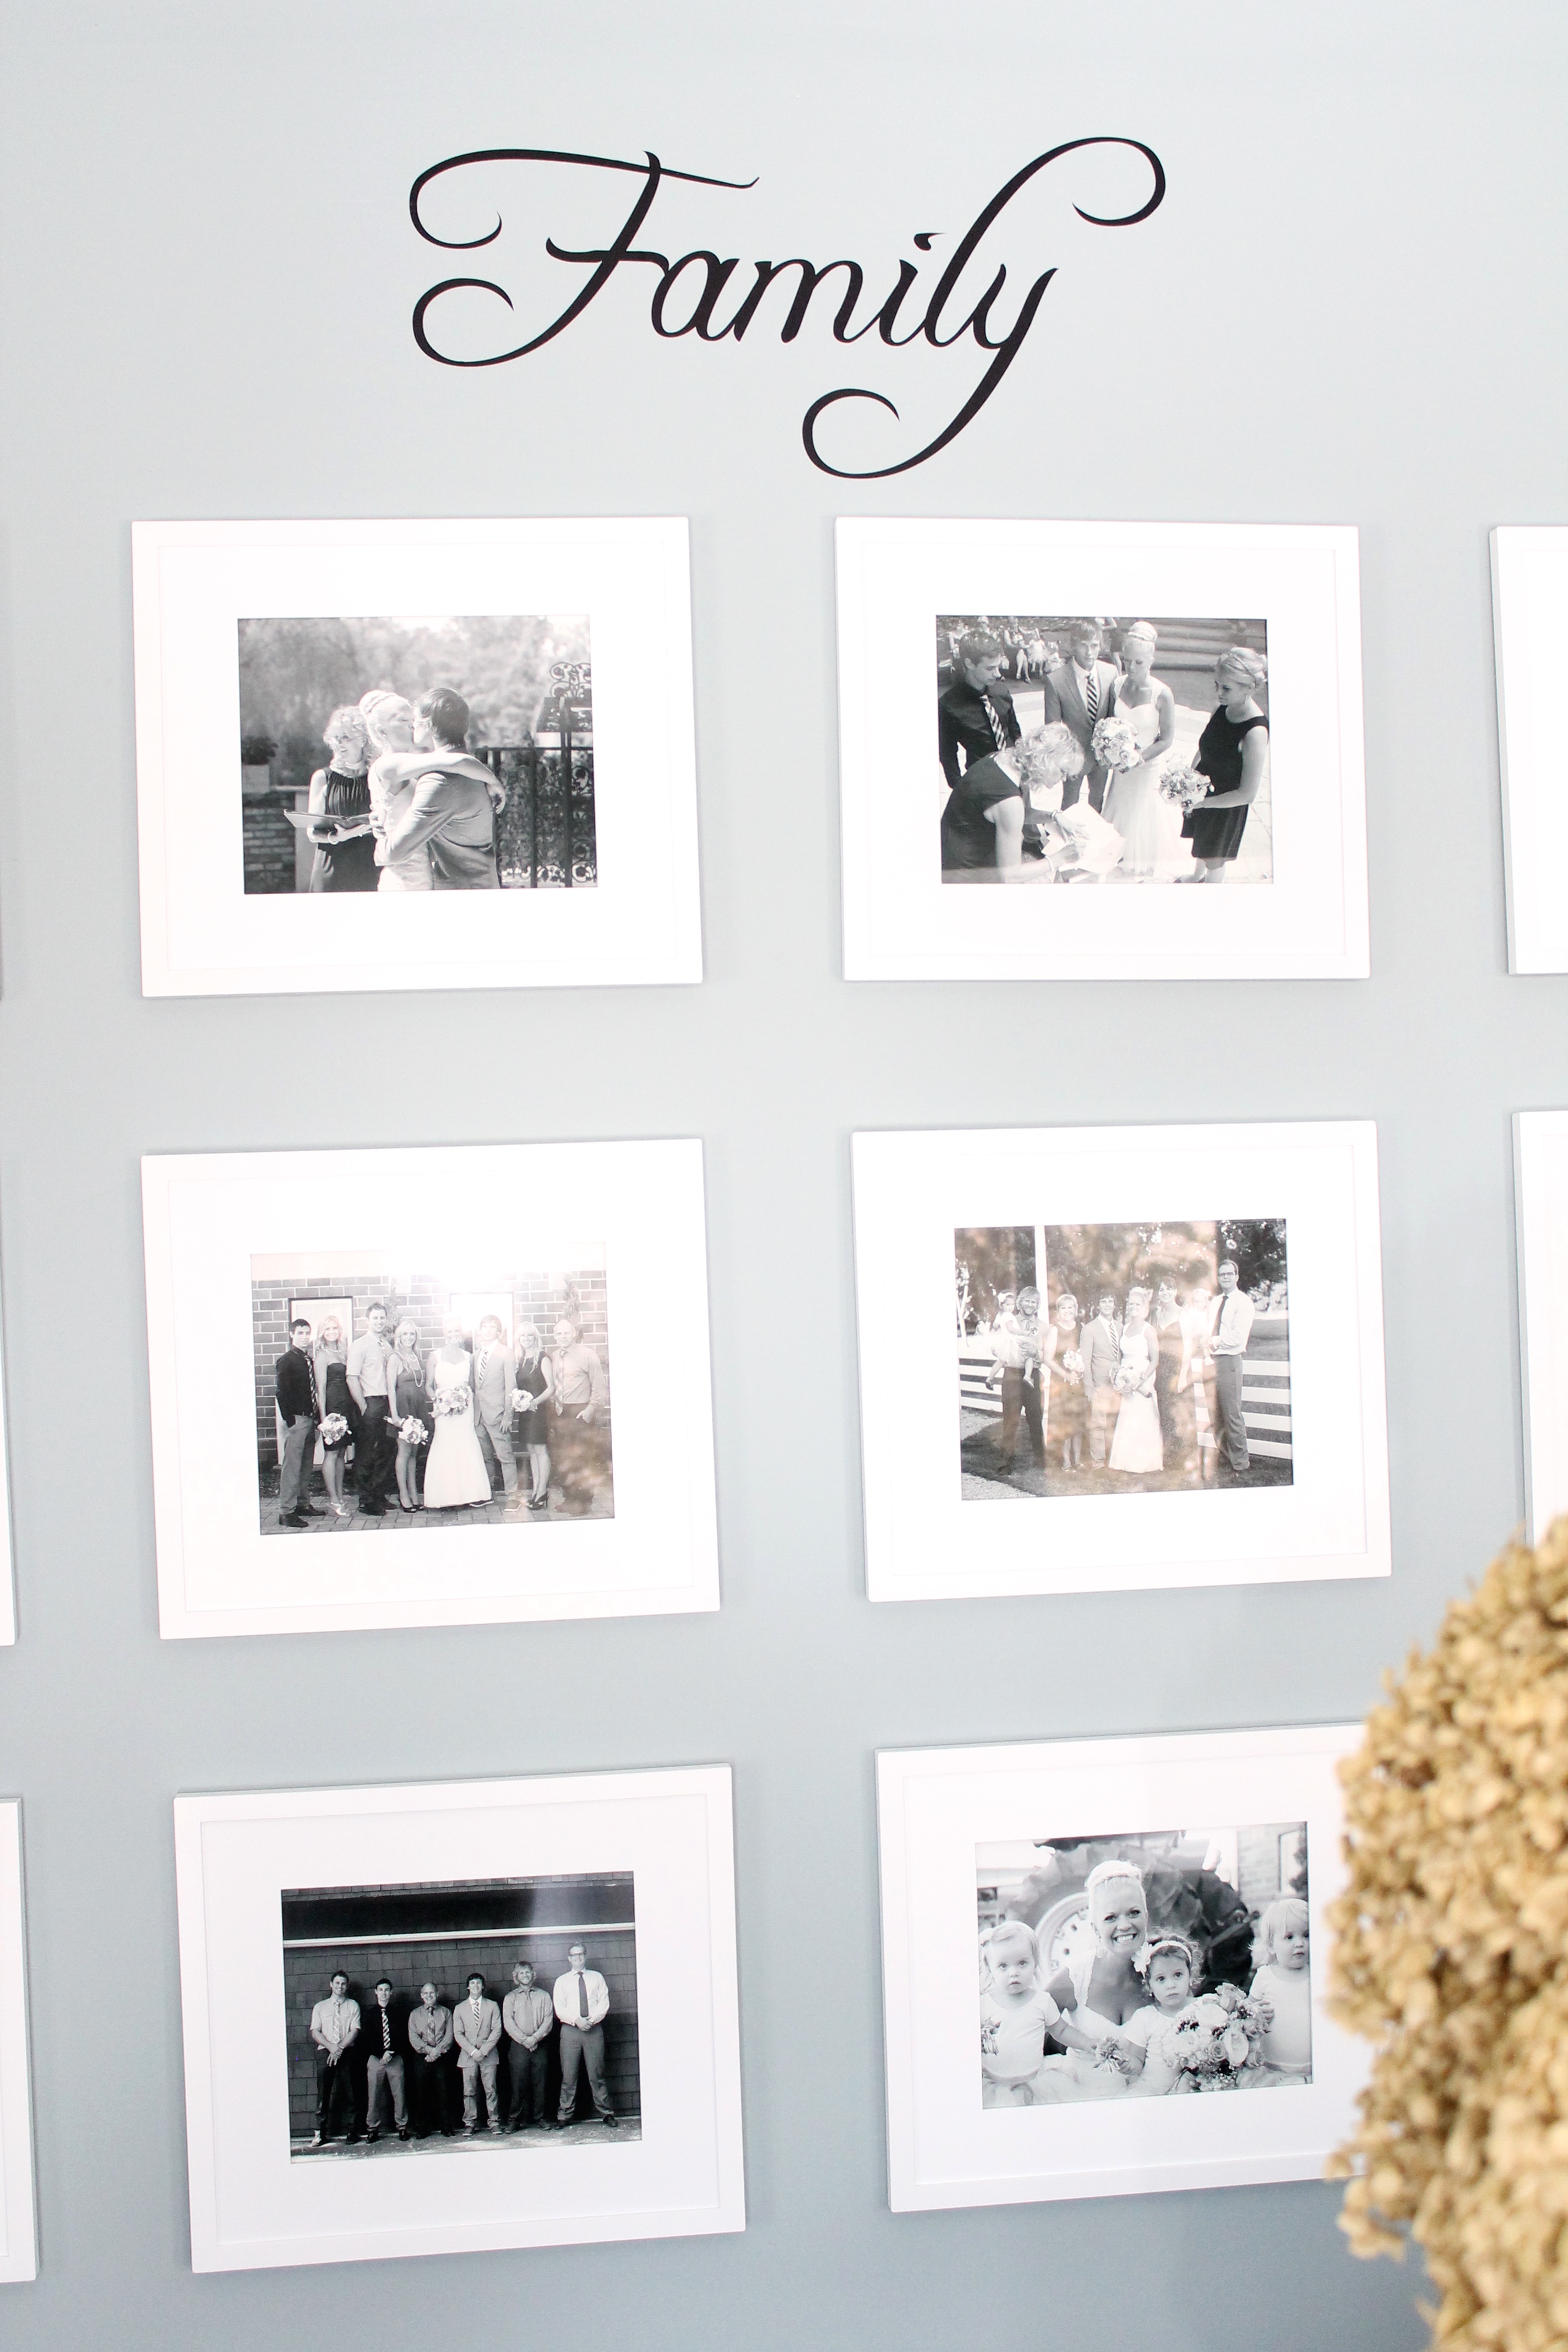
- And as for us, it went perfectly above a photo collage.
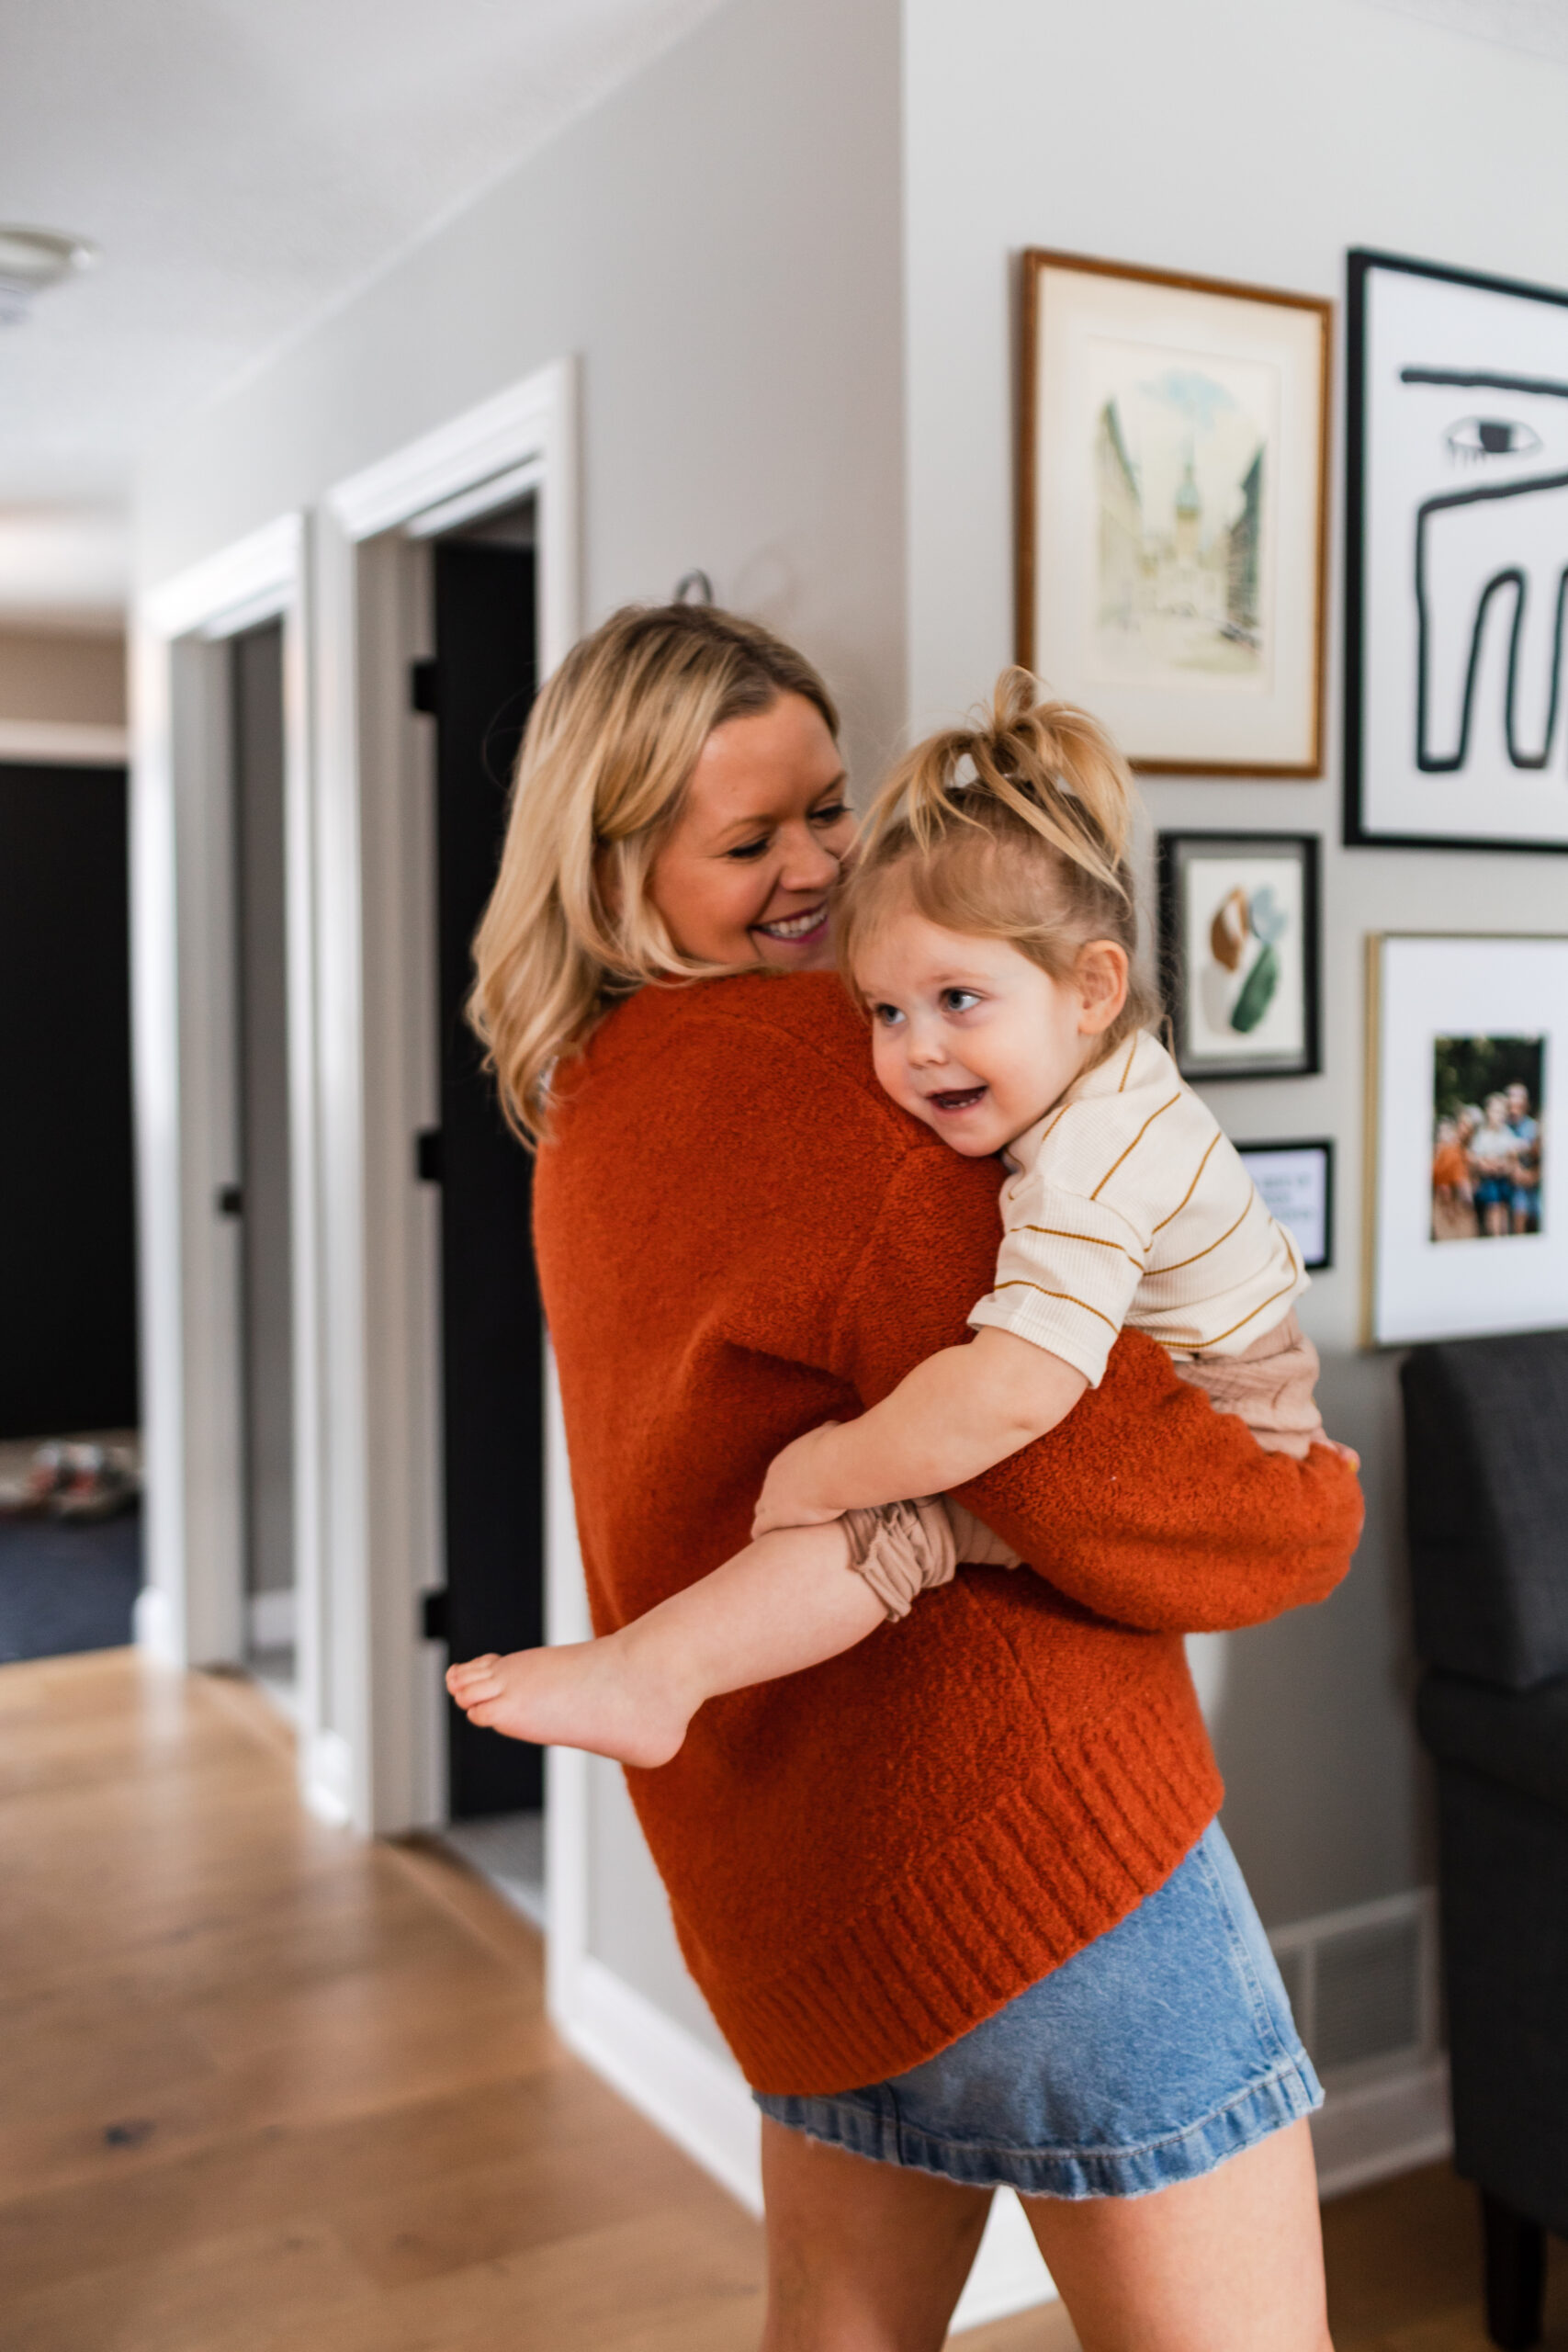
We were excited when Bobee sent us a “family” wall decal to test. In our home, it was fitting to place this decal above our family wedding photo collage in our dining room. We were able to place the decal in under 5 minutes and in just 3 simple steps.
How to place wall decals
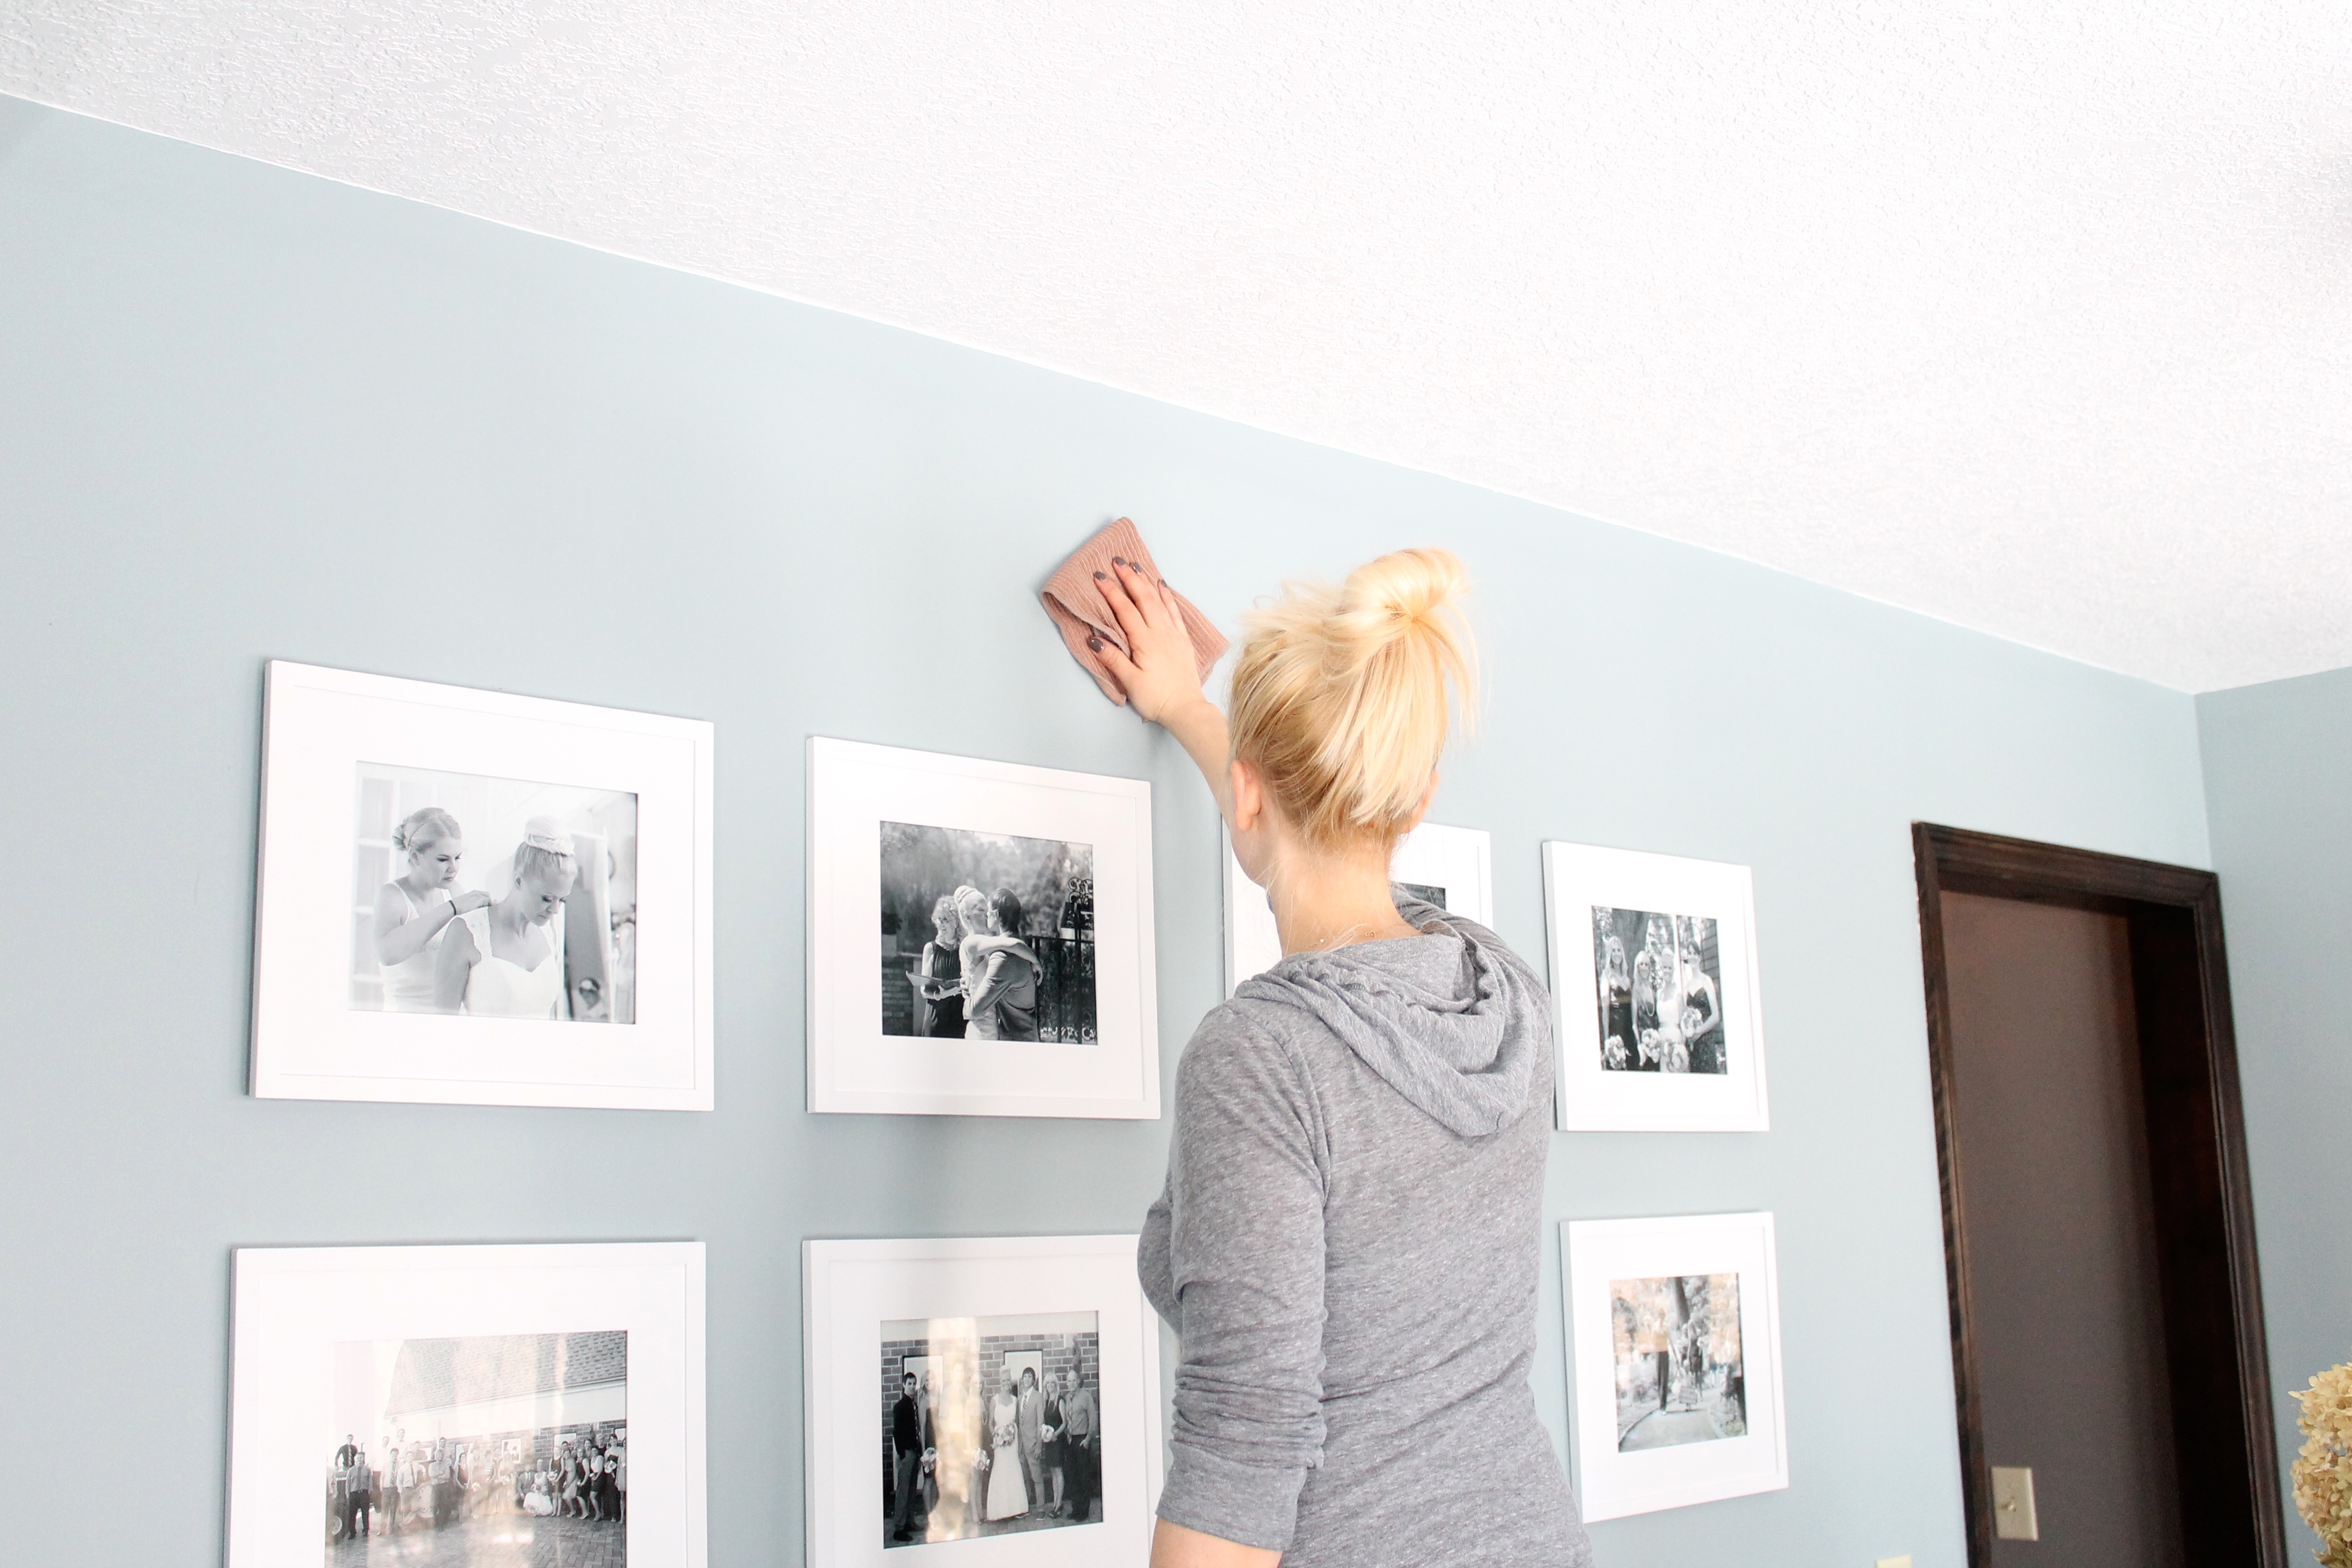
1. Clean surface
Make sure the wall is clean. If the walls are dusty the vinyl will not stick. So be sure to wash your walls down and make sure they are dry before applying the wall decal.
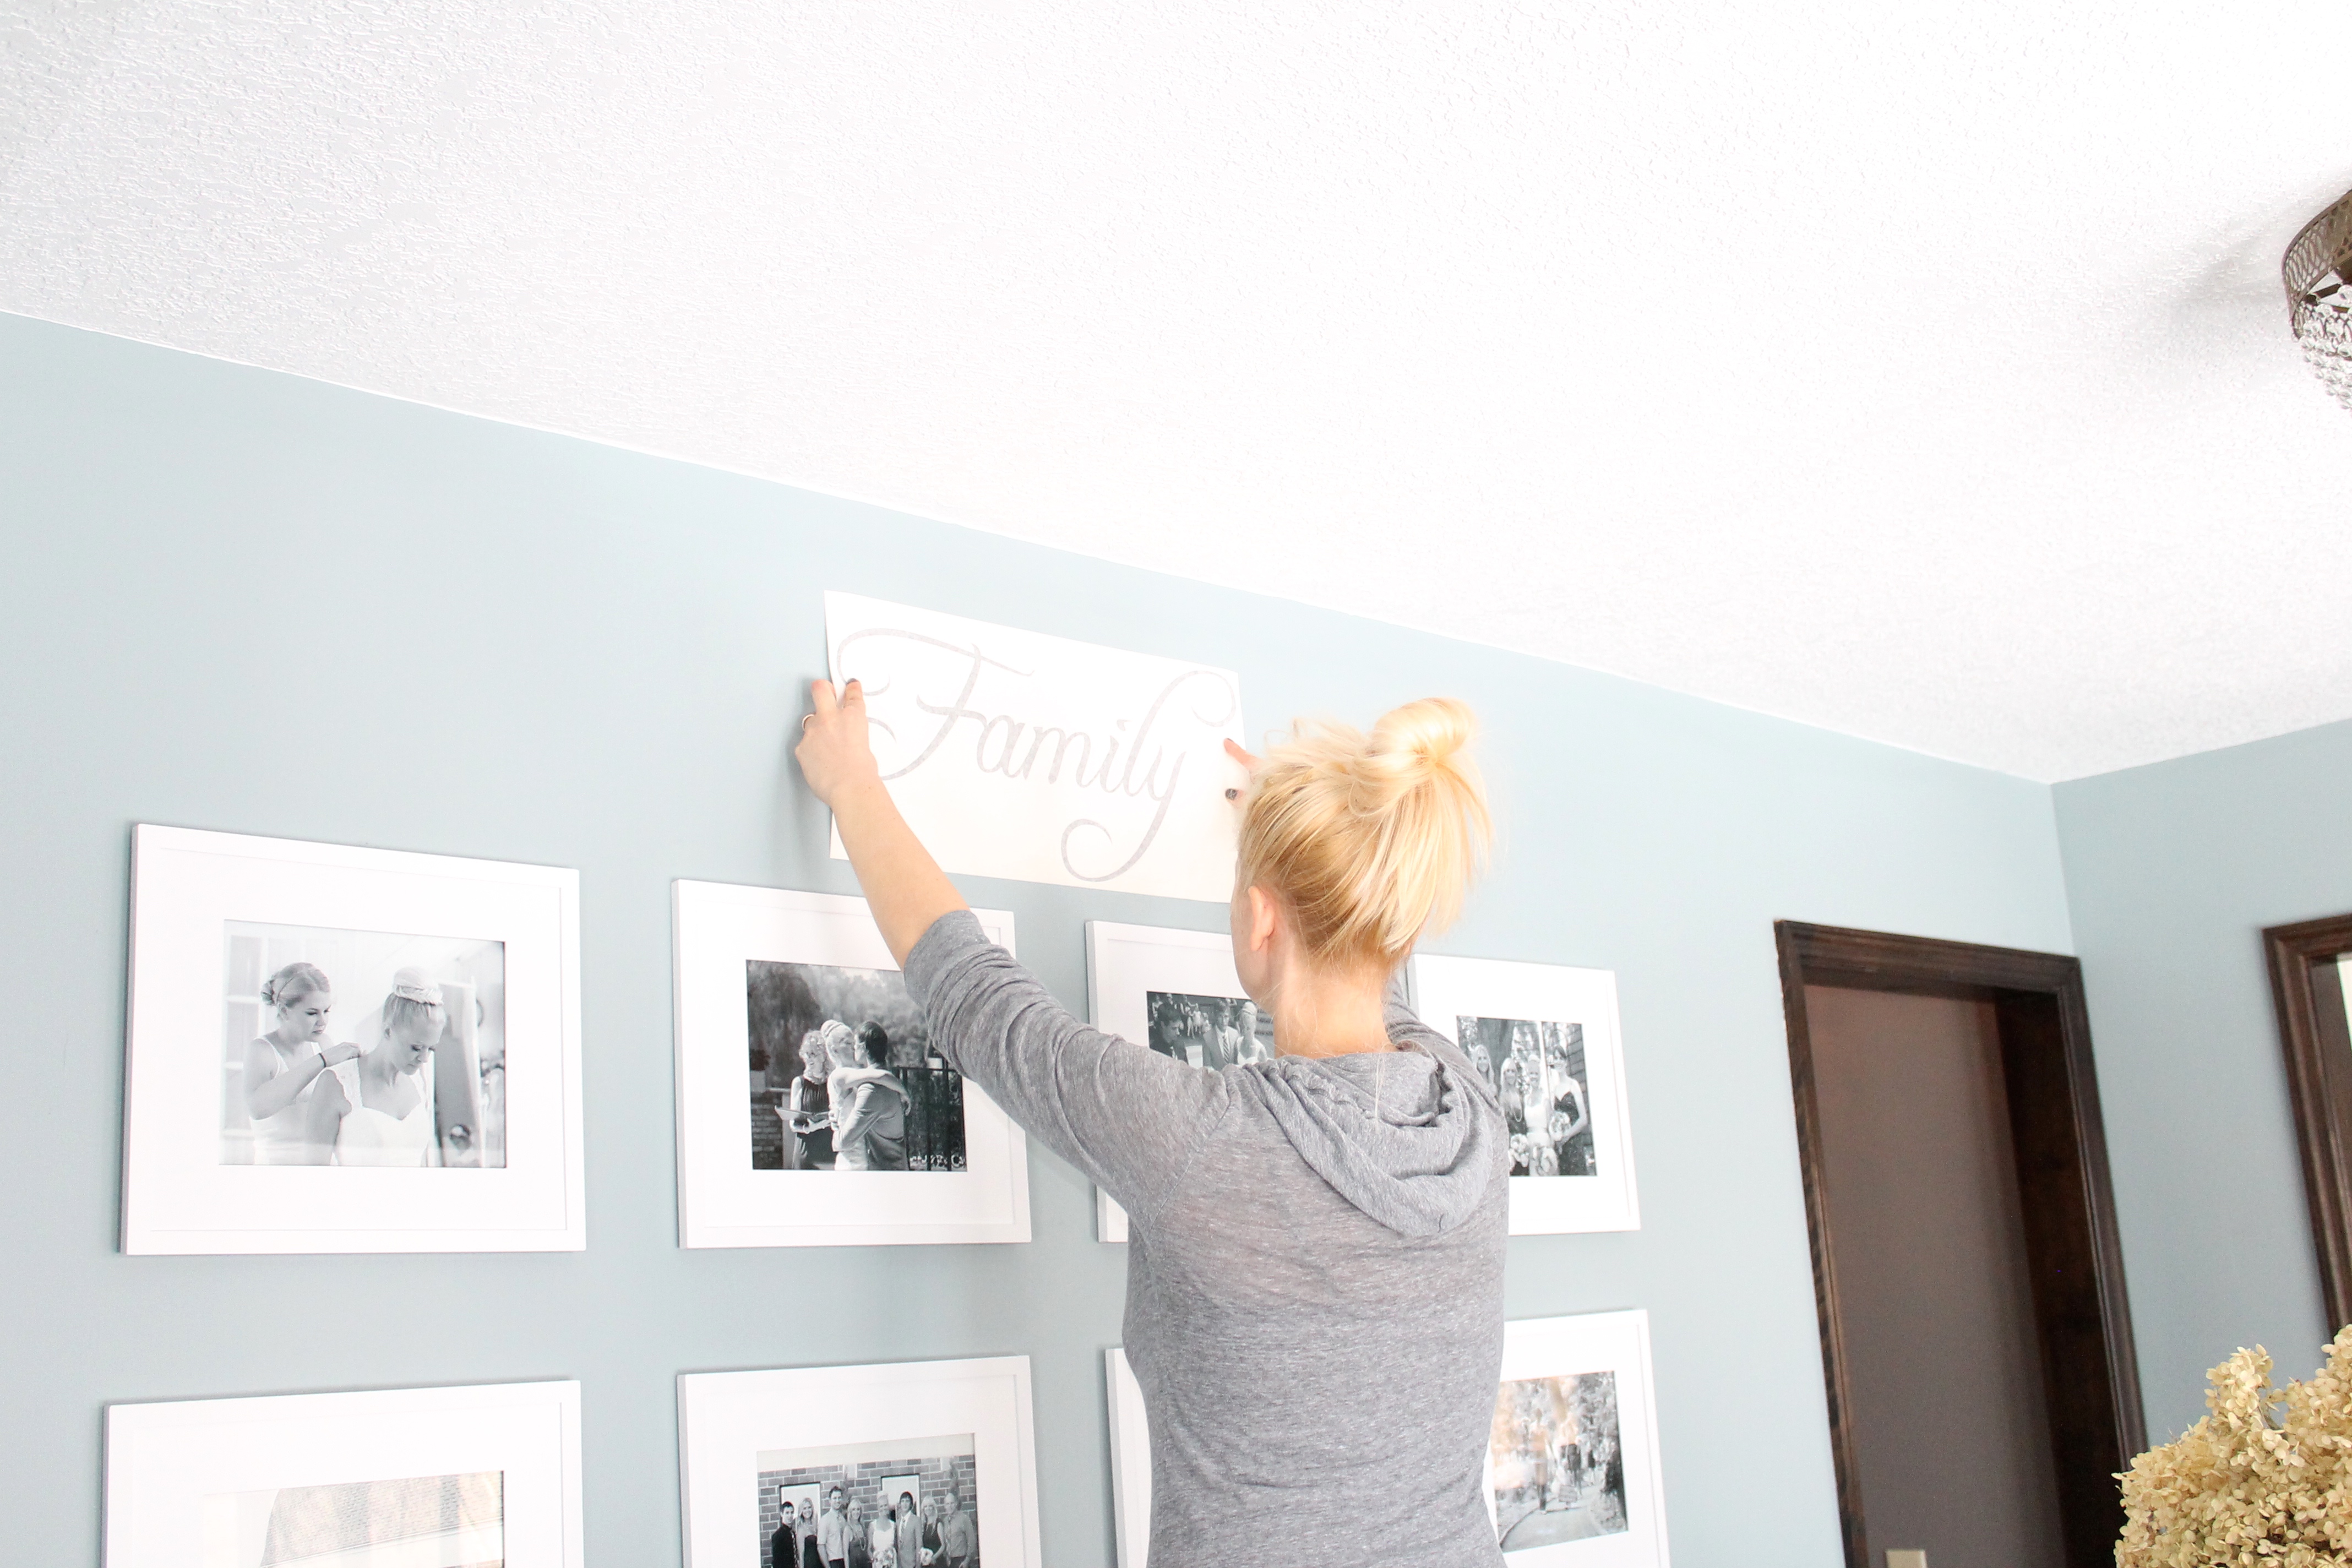
2. Measure and place
Lay out your scene on the wall. If you are placing more than one wall decal use painters tape, step back and make sure it looks perfect.
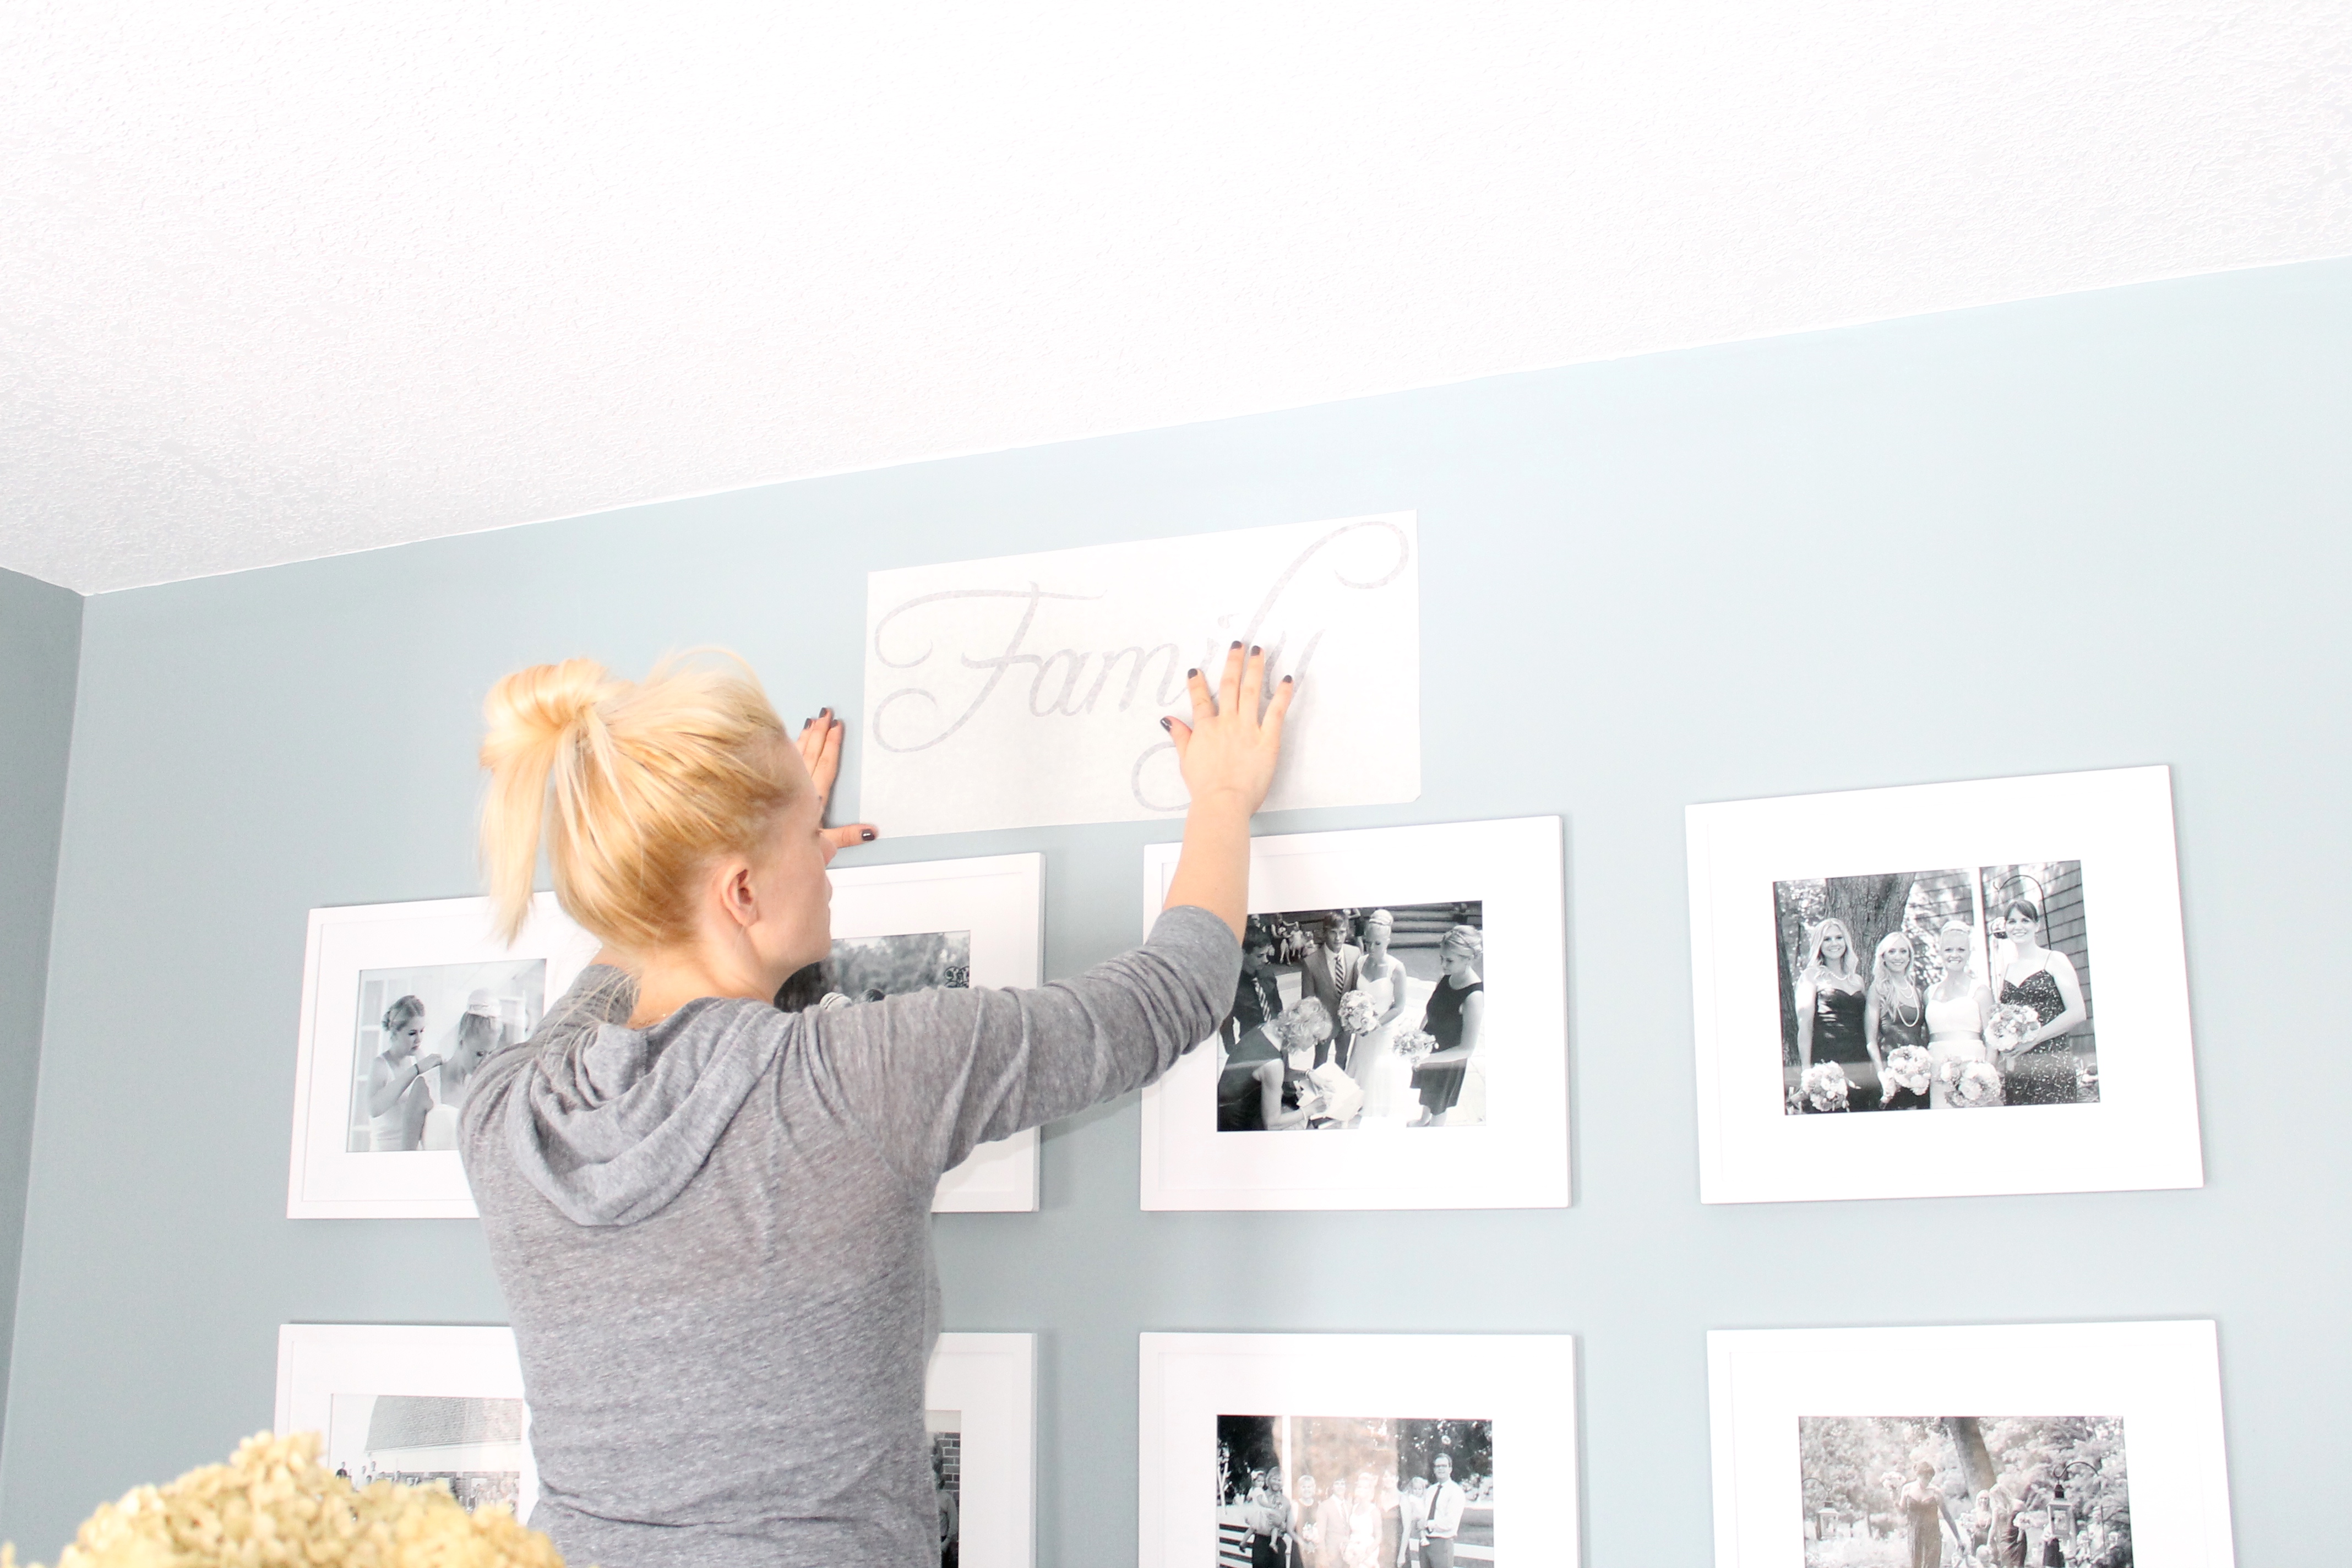
3. Separate the vinyl from the paper
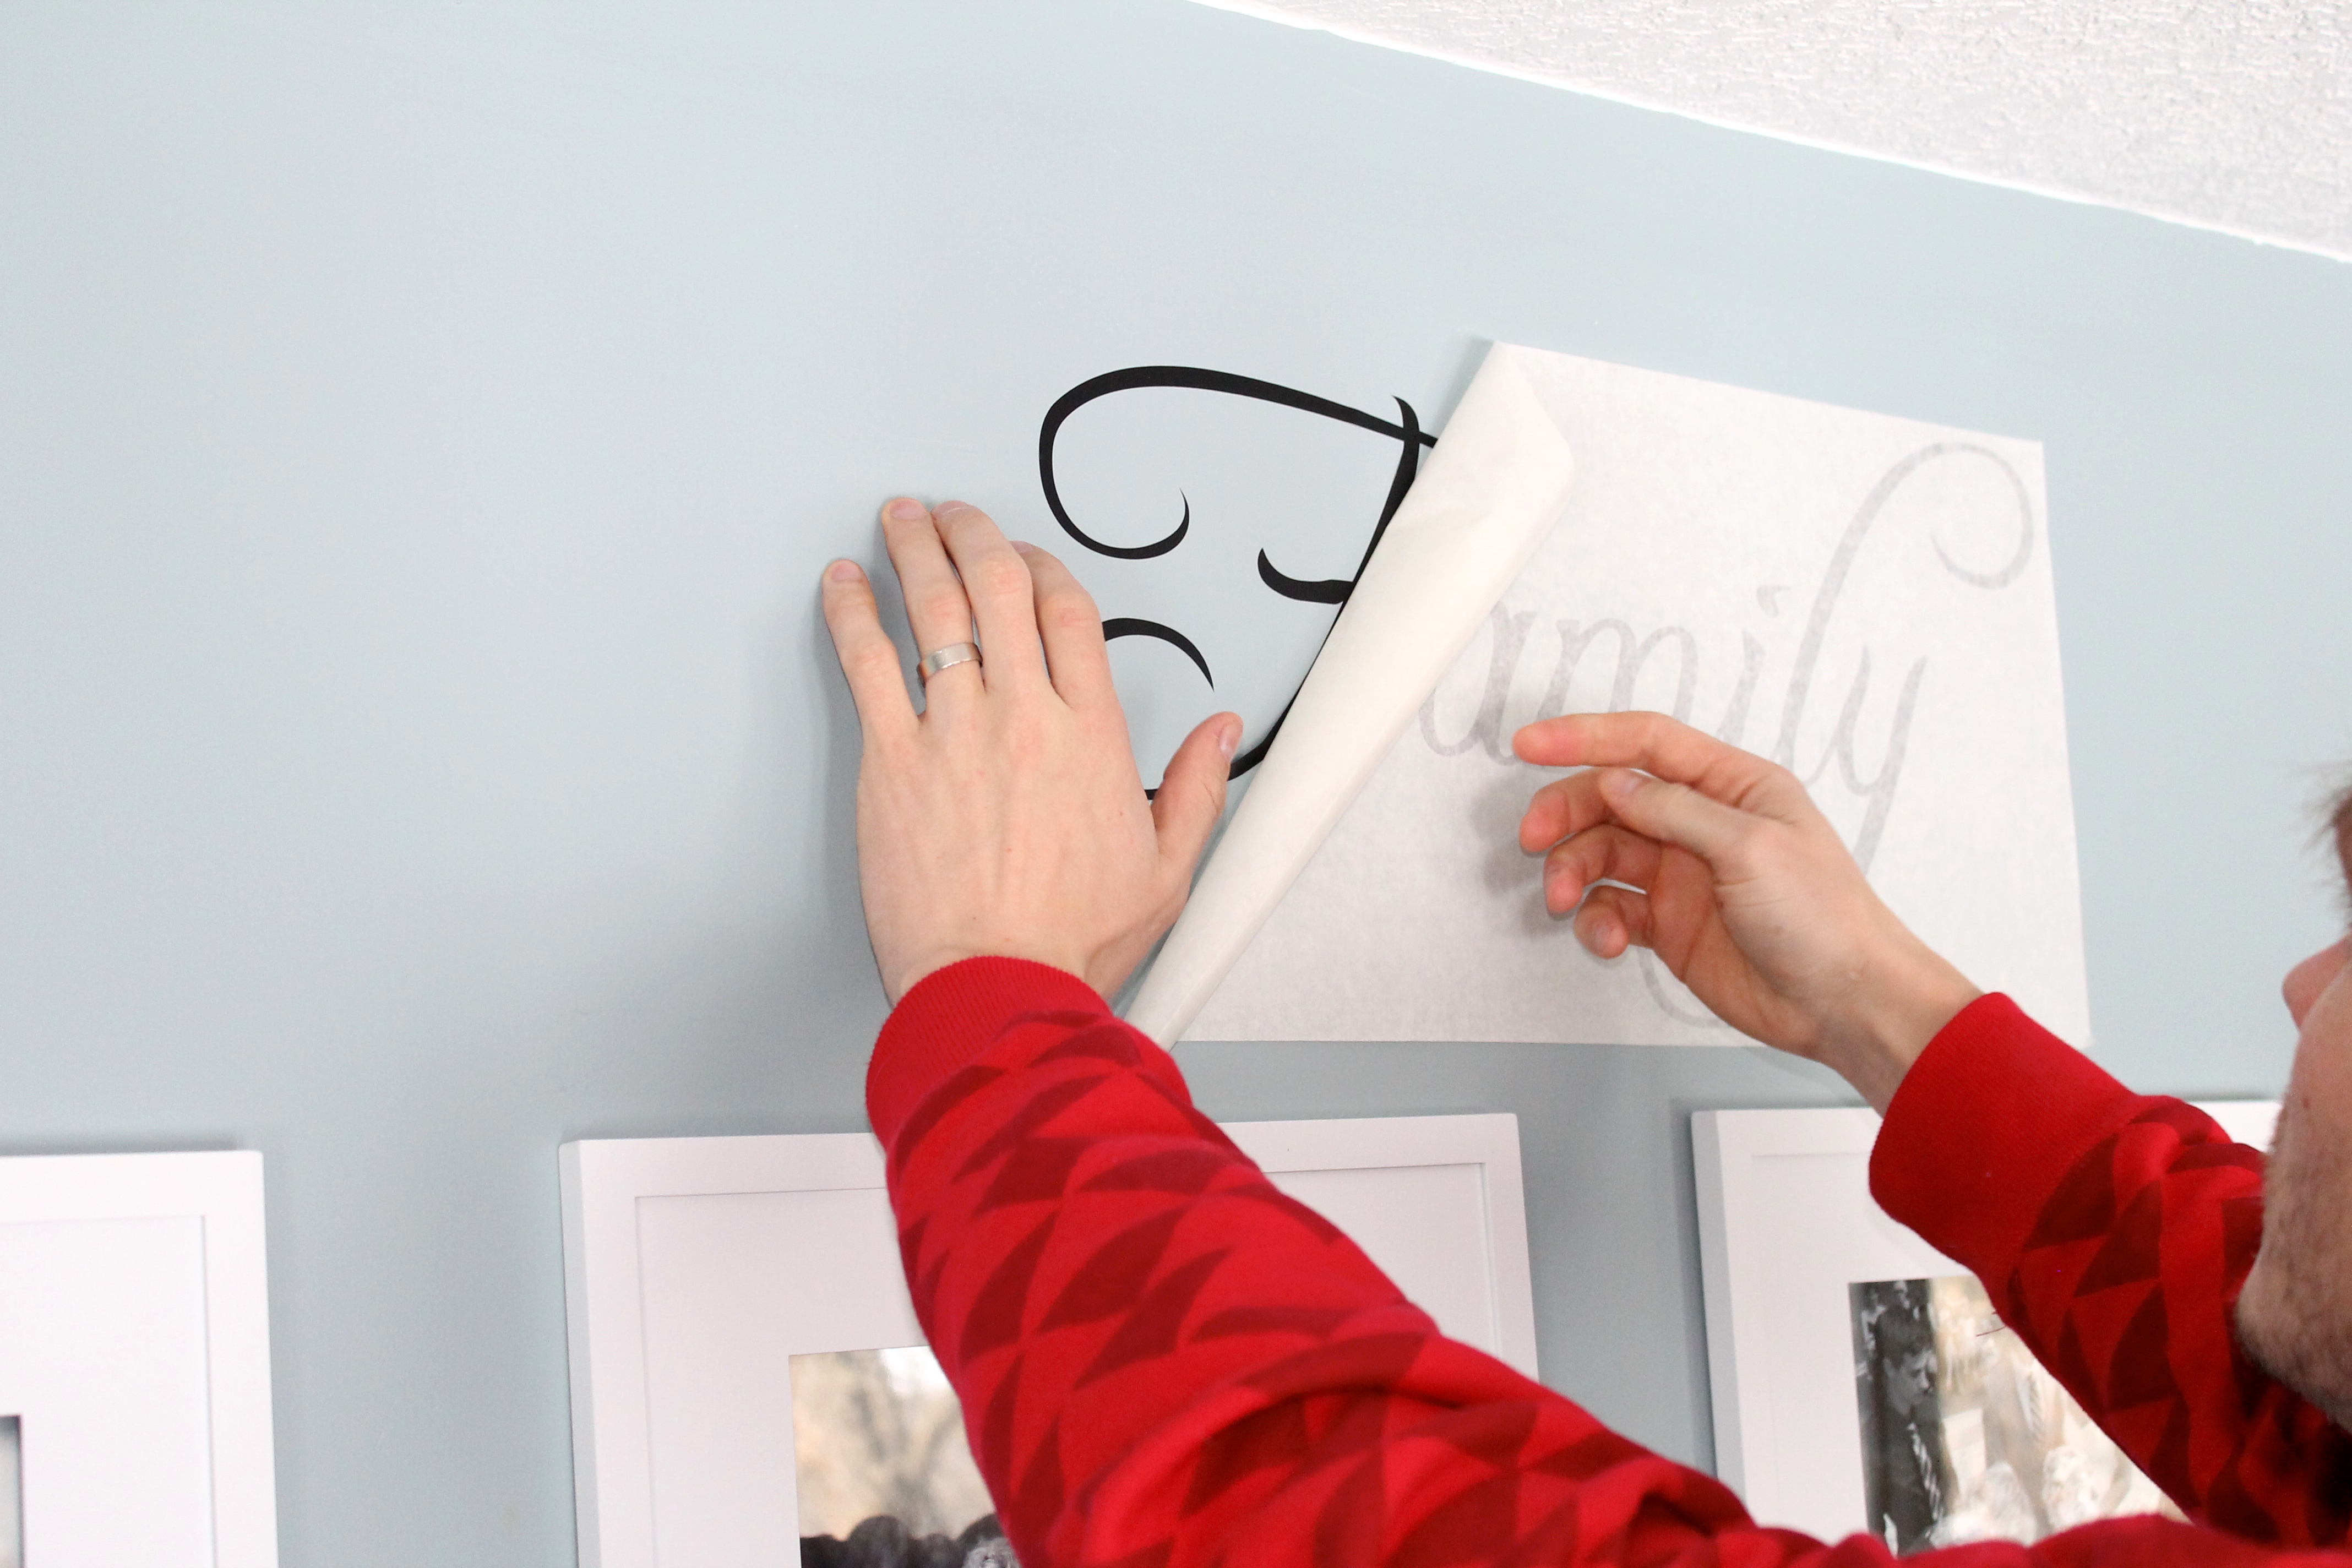
Place the decal on the table. Rub the front of the decal with a flat edge. The purpose of this is to get the vinyl to stick to the transfer paper. Using a credit card works great! It helps squeeze out all of the air bubbles as well.
Take your time. Wall decals are fairly simply to apply but can be a little more difficult with the larger decals. If you rush through the installation process, the vinyl can easily tear. Be sure to slowly peel off the transfer paper. If the vinyl is sticking to the transfer paper and is not separating, be sure to roll it back and rub it again.
And Viola! It’s that simple, you are done!
Wall decals have come along way. Some have overstayed their welcome, while others have adapted with the trends. You can now even get herringbone pattern decals that might even have you fooled for wallpaper!
Be sure to stop over at Bobee to check out their wall decals for your next decorating project!

Thank you so much Stacy! Love the product!
Thank you so much for your feature on my Family wall decal. It looks fantastic on your photo wall and I love your easy step-by-step description.
Thank you so much Kami!! We appreciate it! That will look very nice!
Thank you so much Nicole! We appreciate it!
Thank you Leann! We appreciate you stopping by and checking us out!
This looks so simple even I should be able to do it! Thanks for showing us how easy it is!
How simple and elegant! Love that they are easily removed later. Great pictures, too!
I love how the lettering looks so crisp and neat. Thanks for posting the step-by-step pics – makes me think I can definitely do this! I have a group of photos going up my stairwell, so I’m thinking this decal would be perfect there as well.
Thanks Brig!!
That just added the perfect touch to the wall!