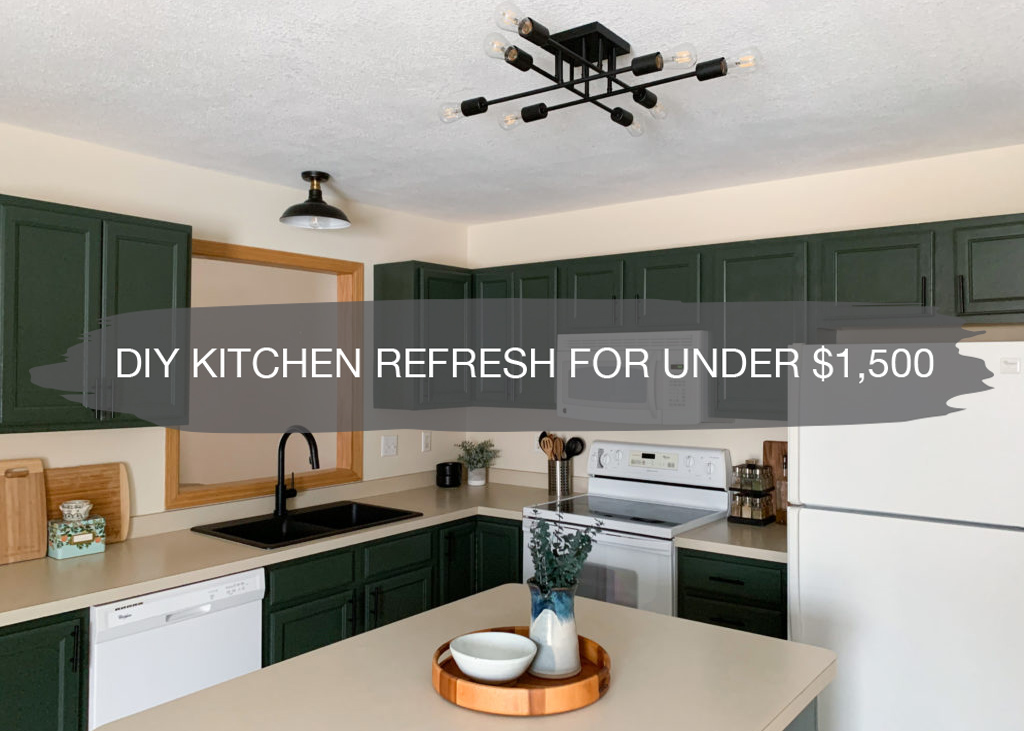
Back in August, Matt and I closed on our first home and spent that entire month updating it to make it our own. After living in the space and taking a little break for a few months, we finished our guest bathroom refresh in December with a new mirror, faucet, and lighting.
A few weeks ago, we moved into the kitchen to update the sink and faucet, which were the last items on our initial list.
Here’s where it all began…
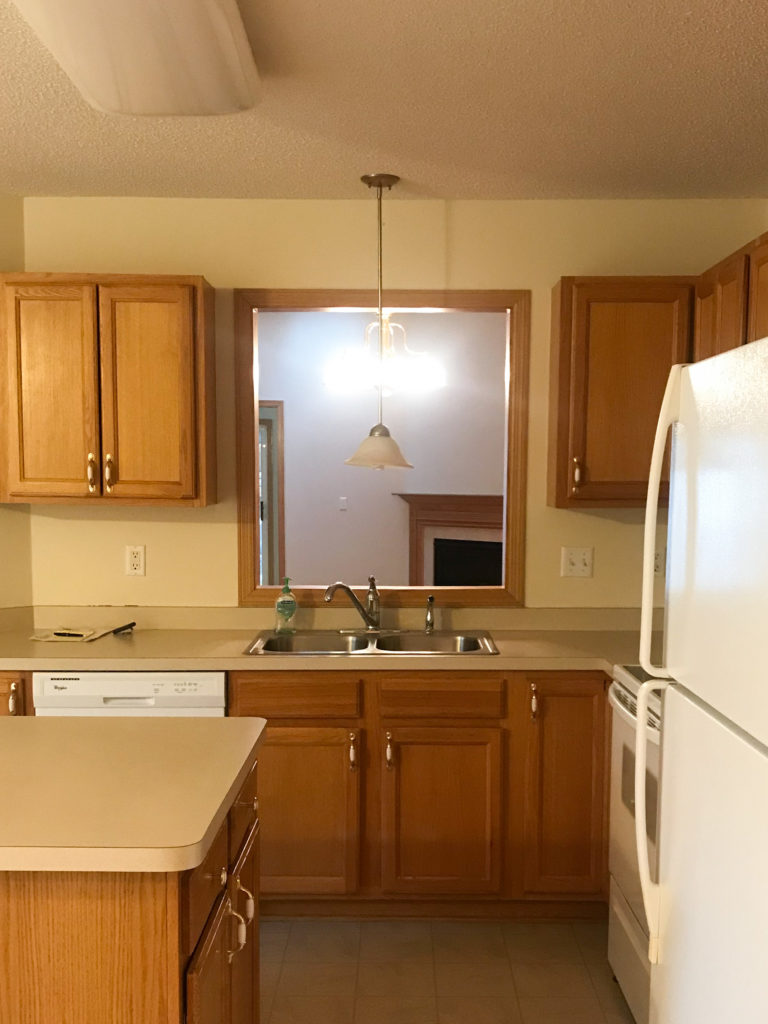
Before
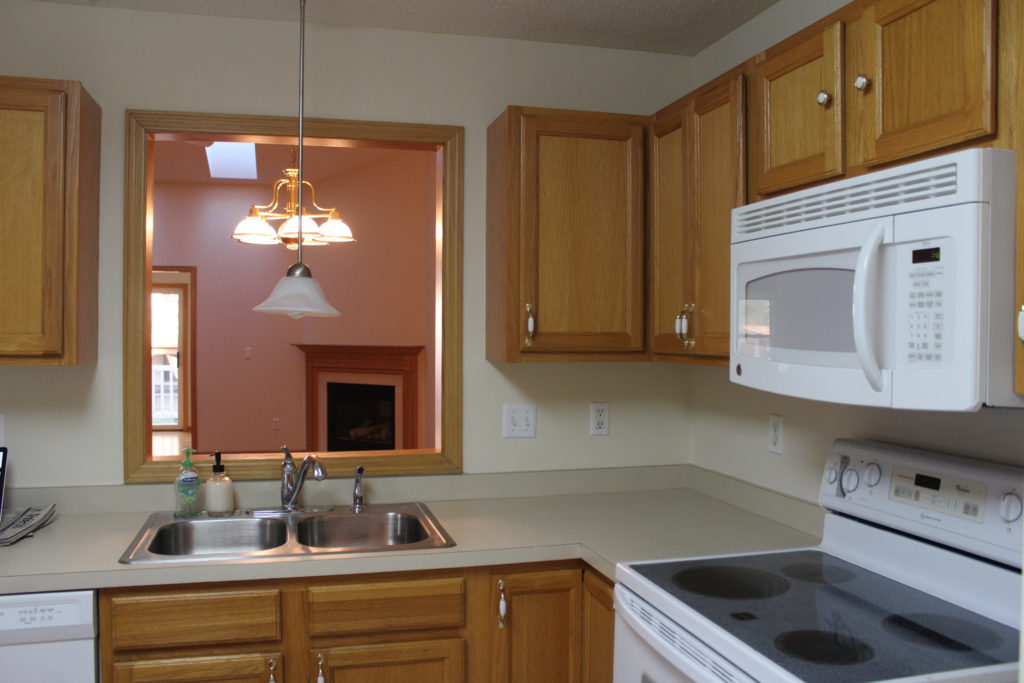
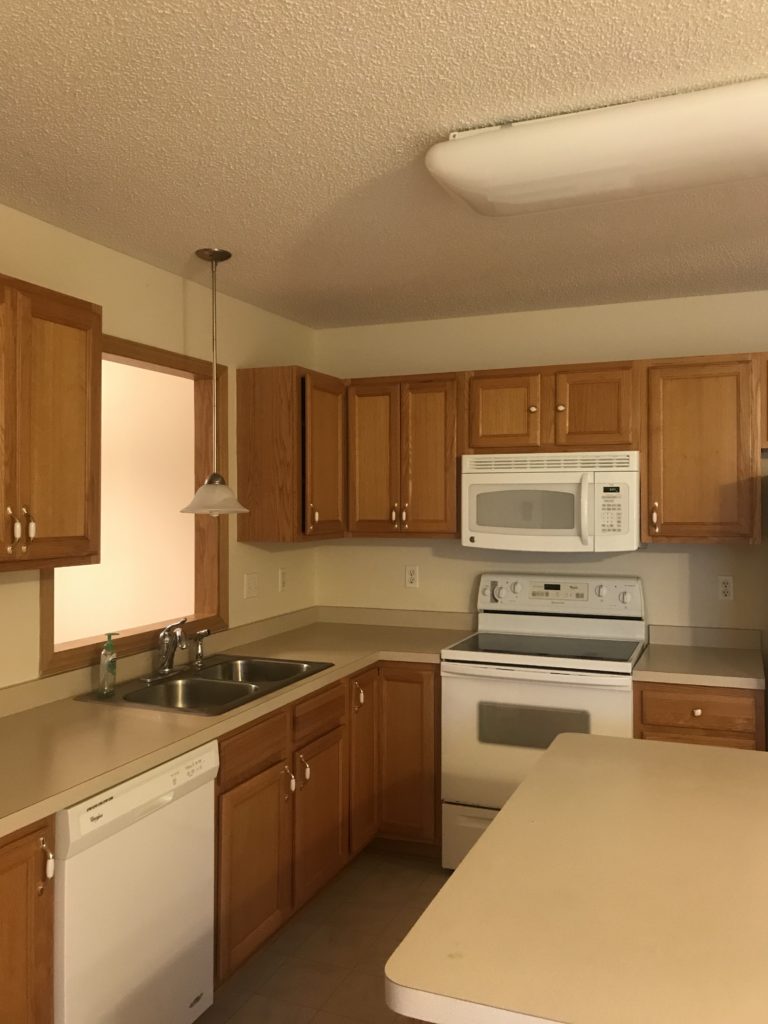
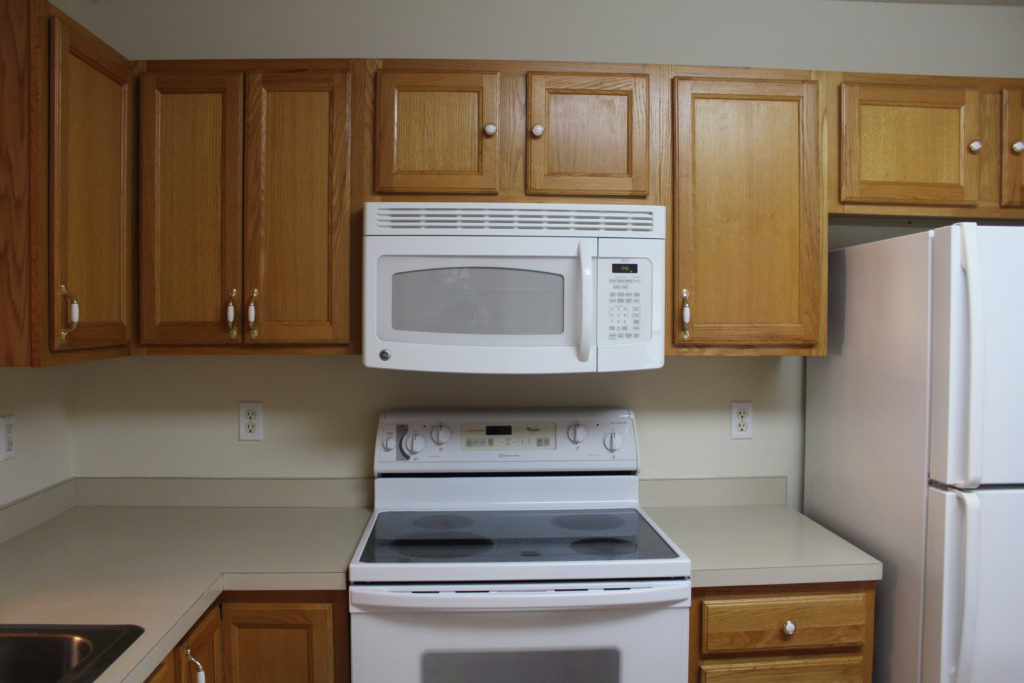
This is a photo of the kitchen during our inspection, about a month before we closed on the house. All of the cabinetry was golden oak, the ceilings were a very heavy popcorn, and the light fixtures were very dated.
We knew that we wanted to make the kitchen more our style, but also didn’t want to break the bank or go into a major renovation.
In Progress
In the month before we closed on our house, we came up with a plan of attack for updating each room, what it would cost, and the timeline we wanted to accomplish it in. This allowed us to know the costs upfront, plan for what we wanted to buy right away, and what could wait.
And it helped us accomplish so many of our tasks in the month overlap we had with our apartment, so we didn’t have to live in a mess.
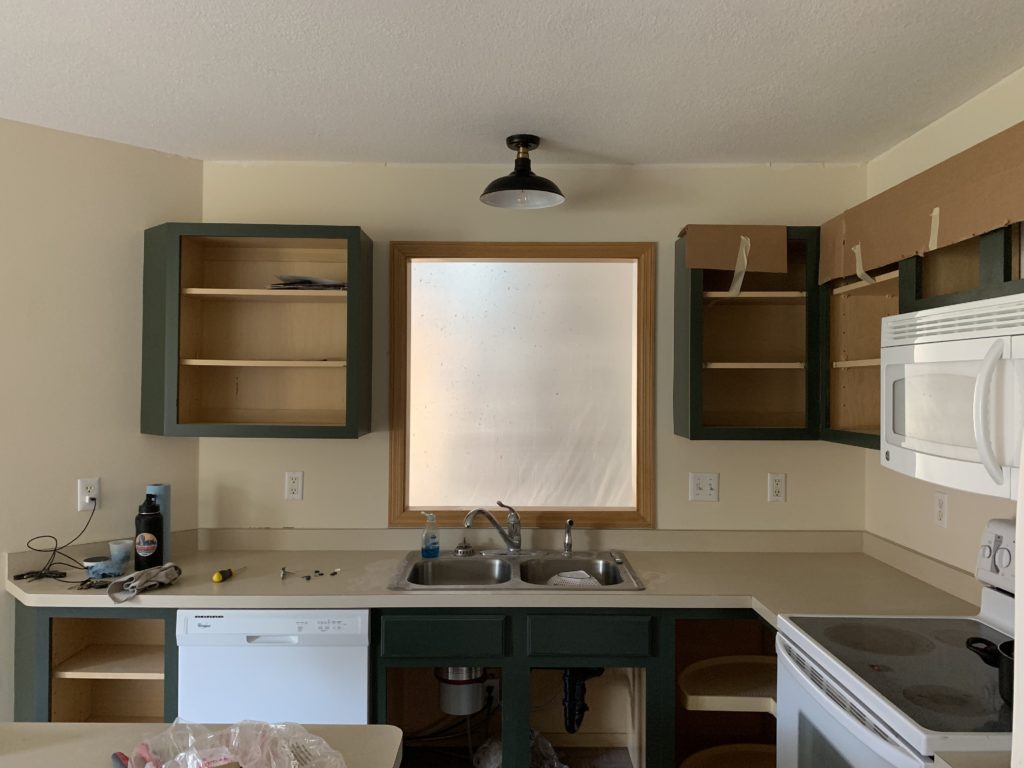
During the first update over the summer, we scraped the popcorn ceilings and added knockdown, painted the cabinetry, replaced the hardware, and updated the lighting in the kitchen. The plan was always to update the sink and faucet, we just saved it for a few months down the road, since they were a higher cost.
After living with the super shallow sink and dated faucet for four months, we were ready to bring our kitchen to a new level!
Let’s rewind to the beginning of the project where we’re walking you through each step in the refresh. First up…
Painting
Painting the cabinetry was a big game-changer! Even though it was time-consuming, the cost was fairly low, and it made such a difference in the space.
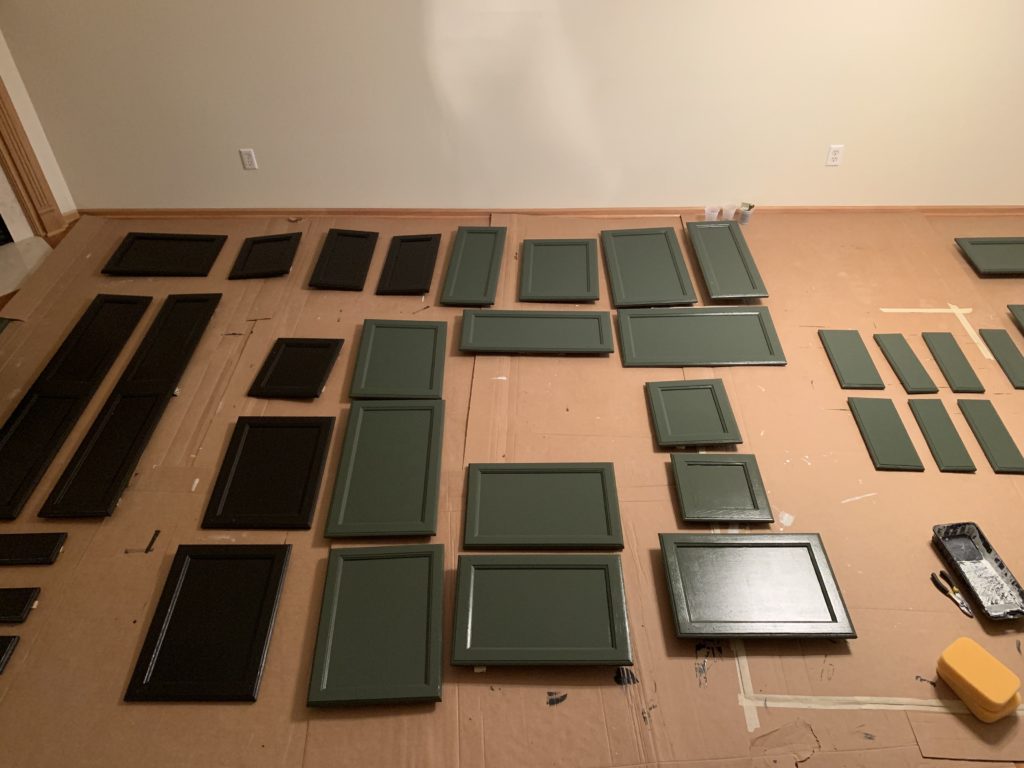
We painted all the cabinets with this primer twice, with light sanding in between. For the kitchen paint, we used the color North Woods by Behr. It was a Urethane Alkyd Semi-Gloss Enamel Interior/Exterior paint, which works well for wood surfaces, including trim, doors, and cabinetry.
The photo below shows our kitchen cabinets and our bathroom vanity cabinets on our living room floor, where we painted them all.
Hardware
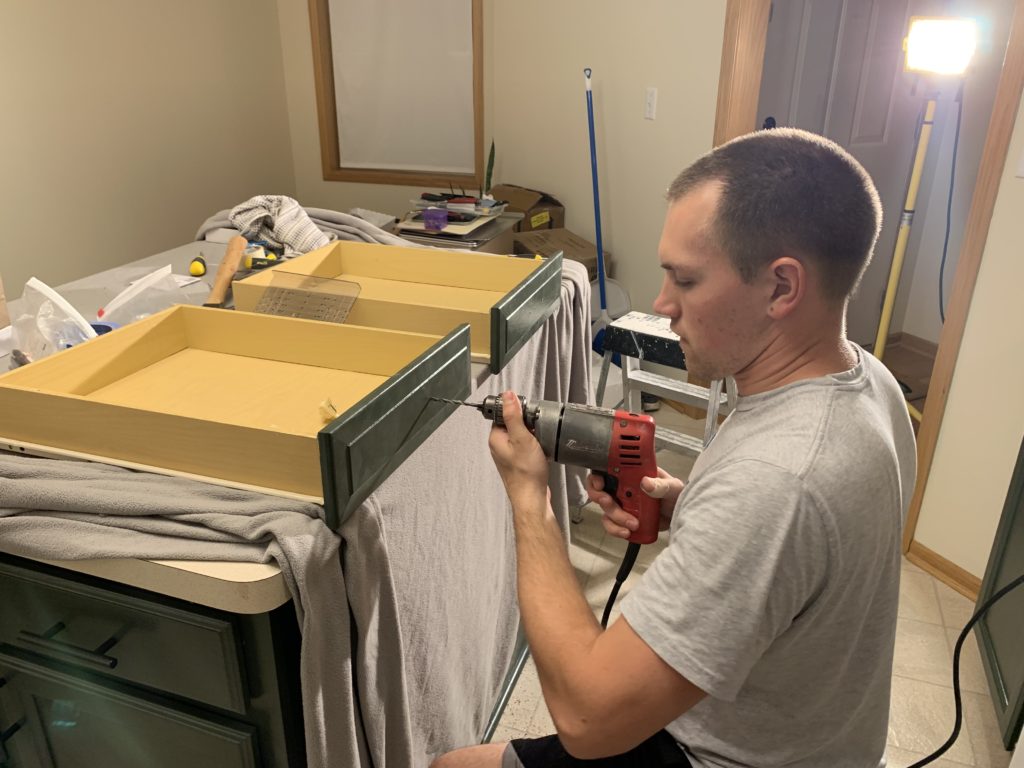
The previous hardware was gold, silver, and white, so we updated the hardware to these matte black cabinet pulls. Since the previous pulls were 3″ center-to-center, and so were the new ones, we only had to fill in a couple of drawers with wood putty and then re-drill them.
Updating the hardware, especially if you stick with the previous holes, is a simple and easy thing to DIY that makes a big difference.
Lighting
We had a light over our kitchen sink and a big fluorescent light over the island that both had to go. With our lighting, we didn’t want to spend a ton but still wanted them to look nice.
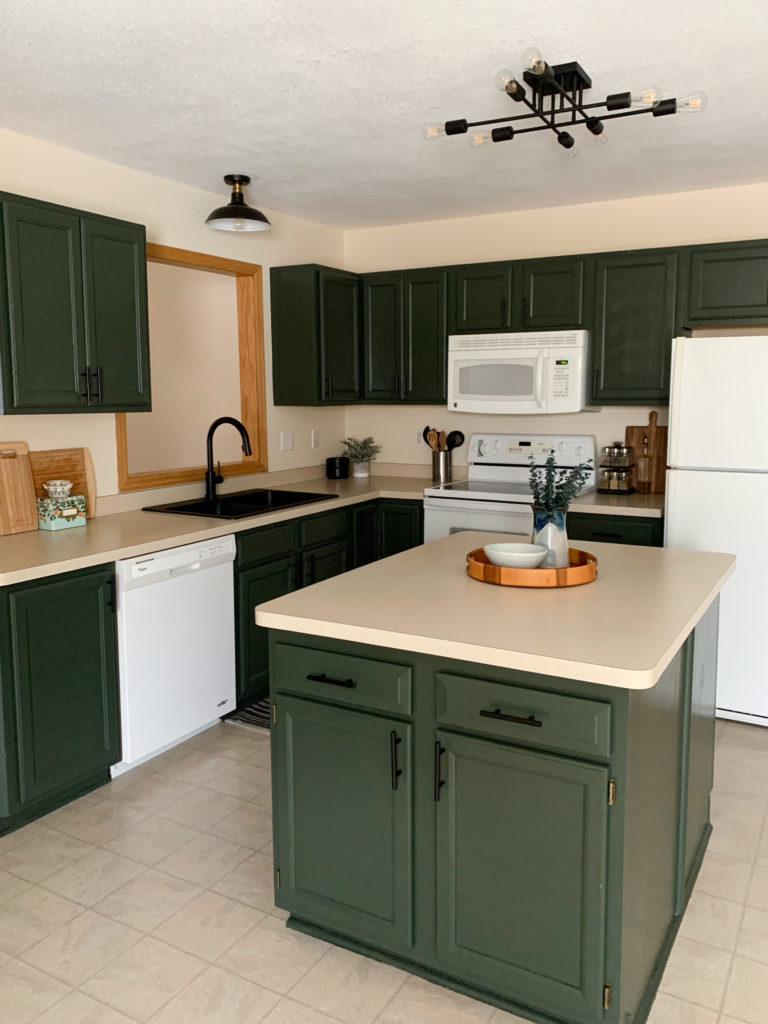
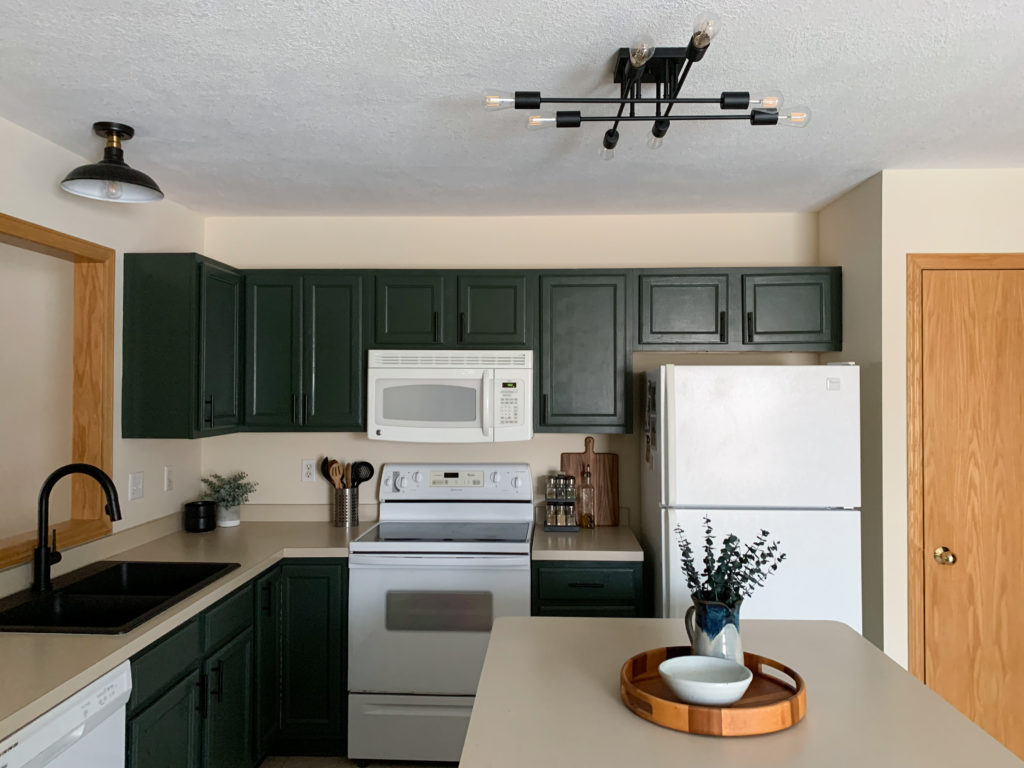
We went with this black and gold farmhouse semi-flush mount light over the kitchen sink, which was only $30! Since we weren’t sure what would be underneath the large fluorescent light, we were pleasantly surprised when it was a normal socket, and we could install this semi-flush mount sputnik light over the island.
New Sink + Faucet
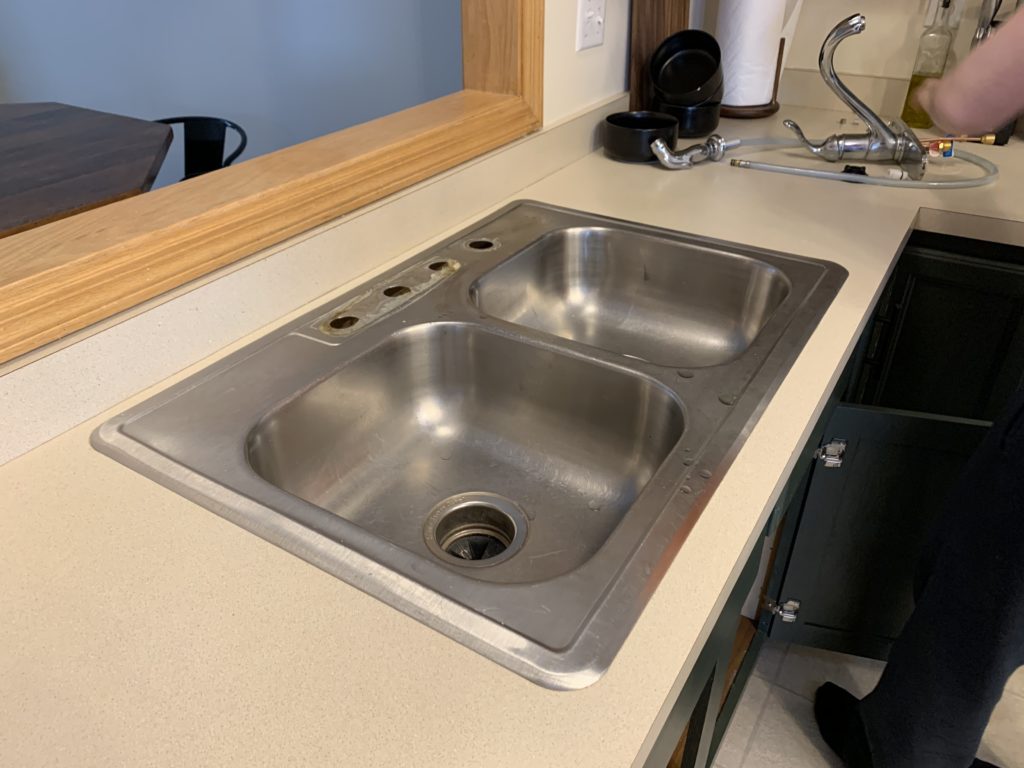
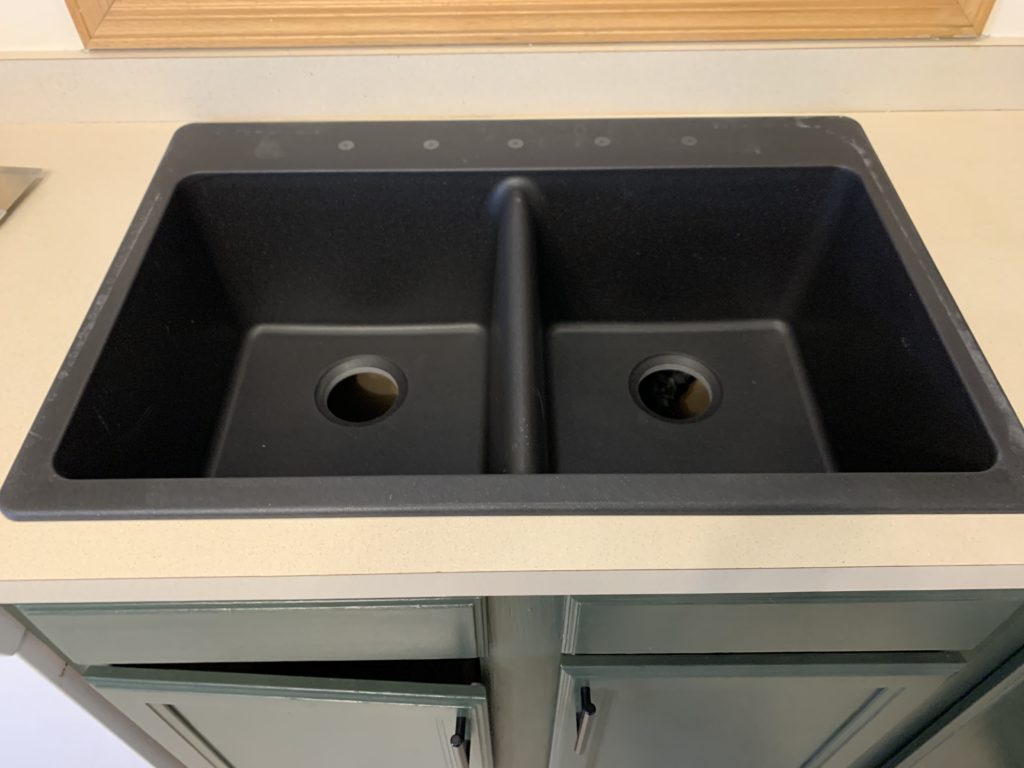
Our sink was very shallow, which made it hard to wash dishes, so we were pumped to install a new sink that was much deeper! We started by removing the faucet.
First, we turned off the water and loosened up the hoses, loosened and took off the water lines, and then removed the faucet by loosening up the bottom of it.
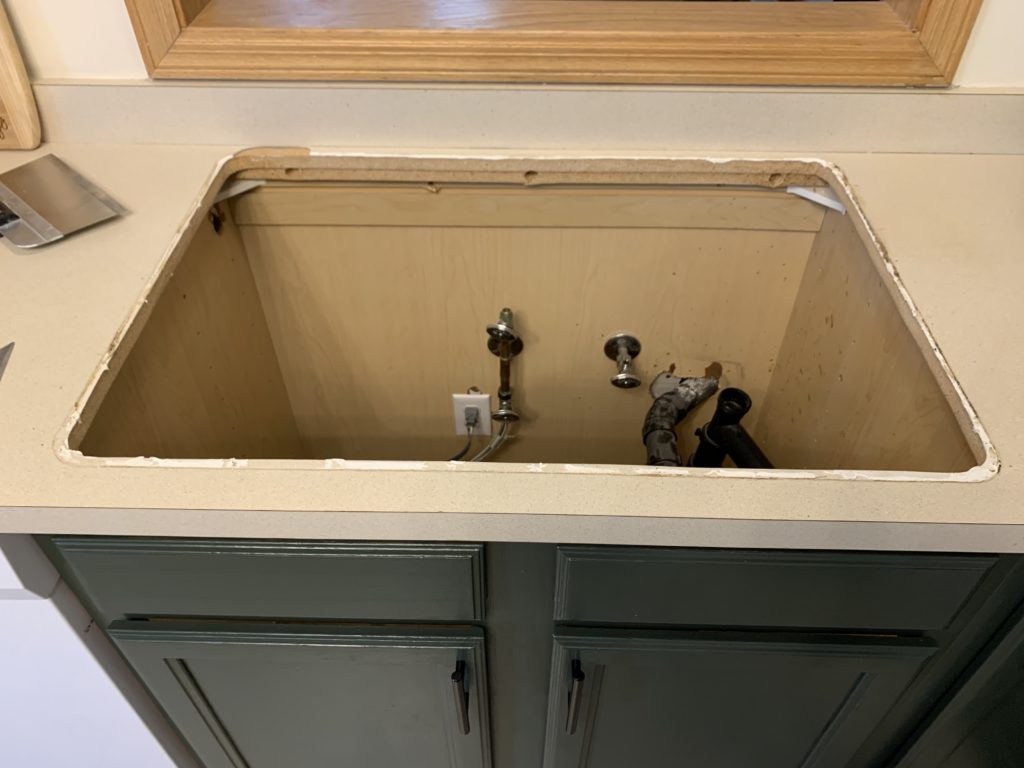
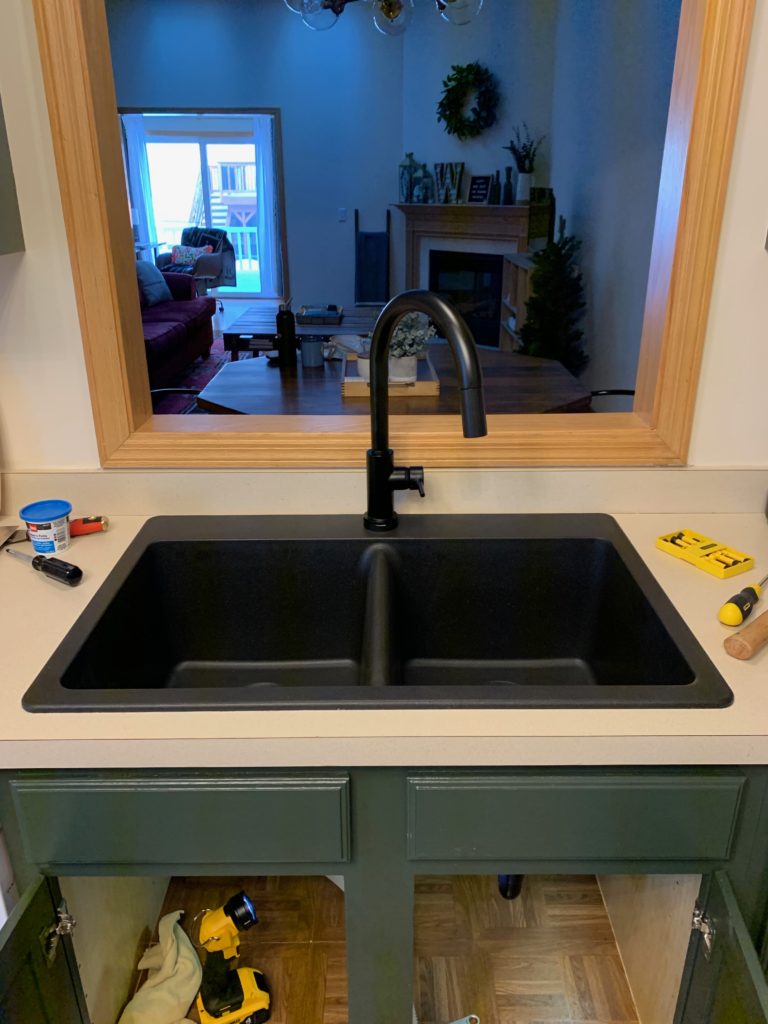
After removing the faucet, Matt used a putty knife to separate the sink from the countertop to remove the adhesive and lift it out.
Because we weren’t changing out the countertops, we needed a sink that would be the same size as our previous one that we could drop in. This Elkay quartz composite sink is durable, scratch and stain-resistant, and almost twice as deep.
The faucet holes were already laid out for us, so we just had to punch through the middle one for the faucet and remove the stickers on the ones we didn’t need.
We LOVE our Delta Trinsic Kitchen Faucet with Touch2O Technology. It’s in a matte black finish, which matches the rest of the lighting and pulls in the kitchen.
The touch capability is soooo nice, especially when you are cooking and your hands are a mess. There is a light on the bottom of the faucet that shows the temperature of the water, changing from blue, to purple, to red.
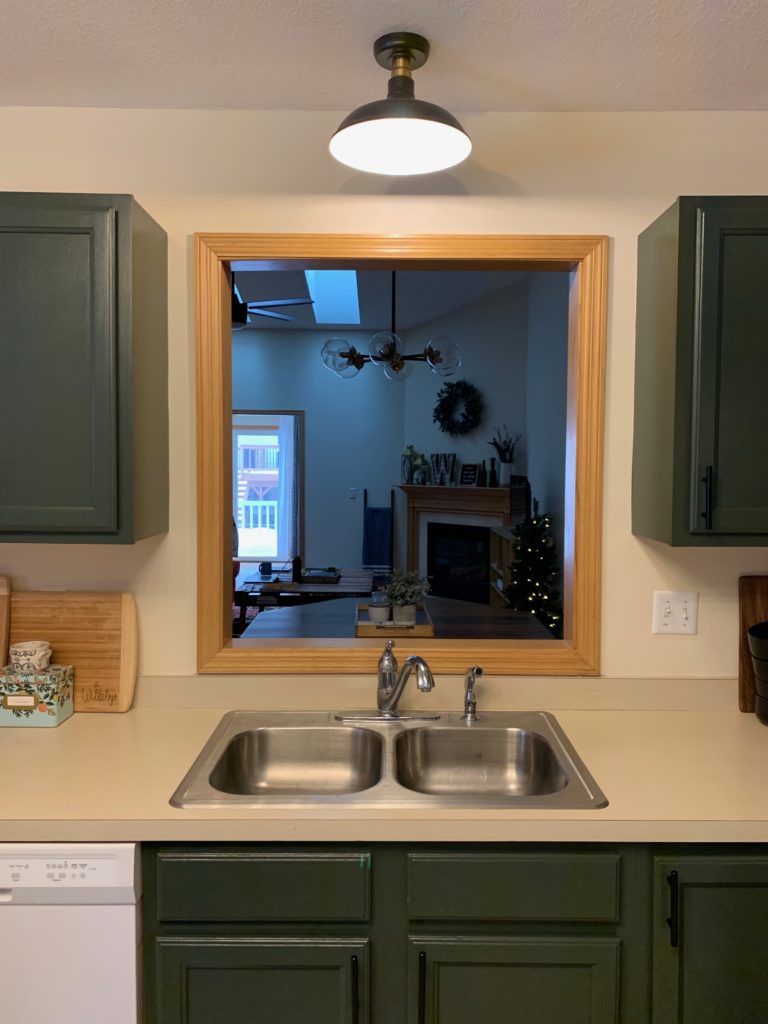
After
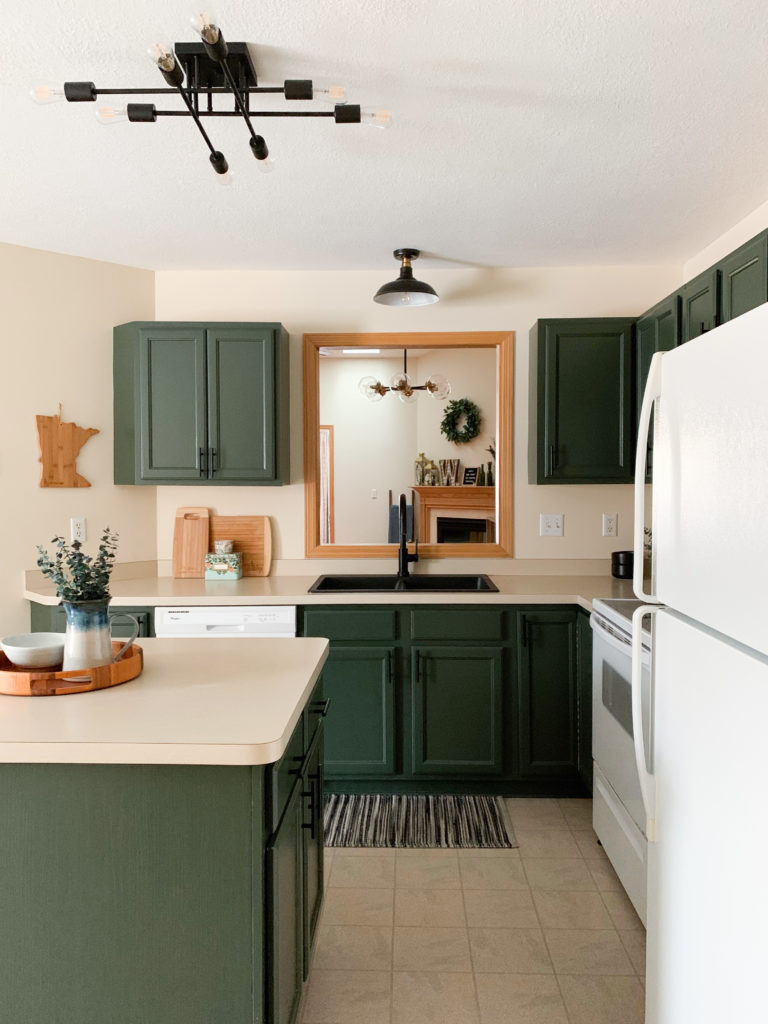
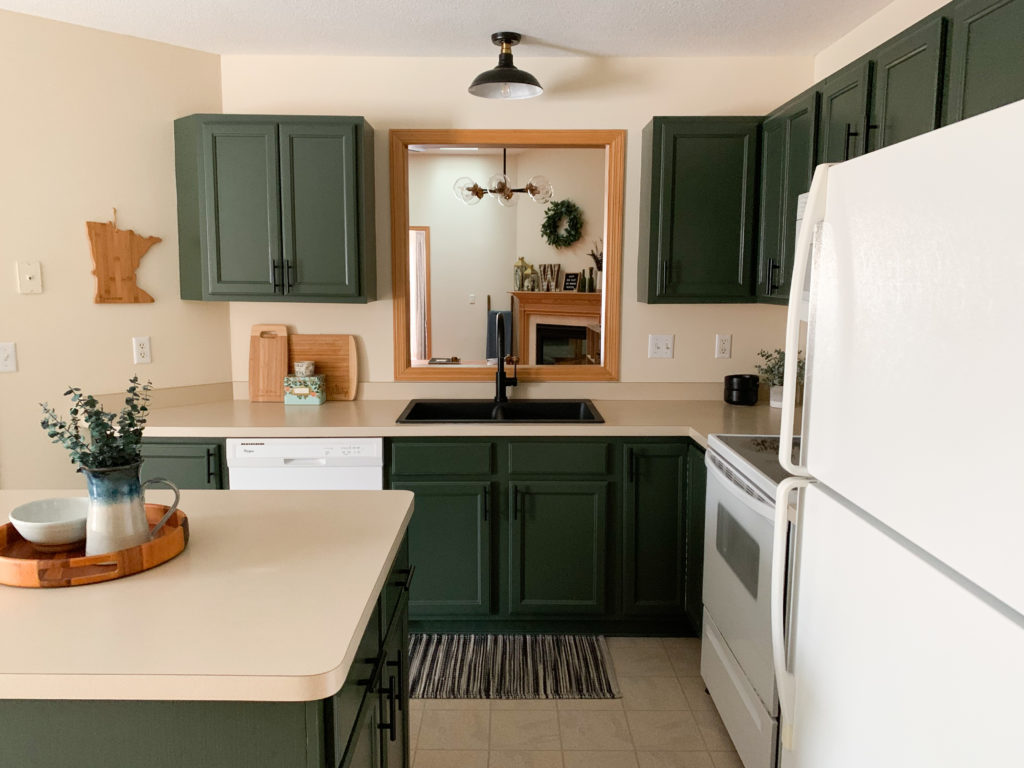
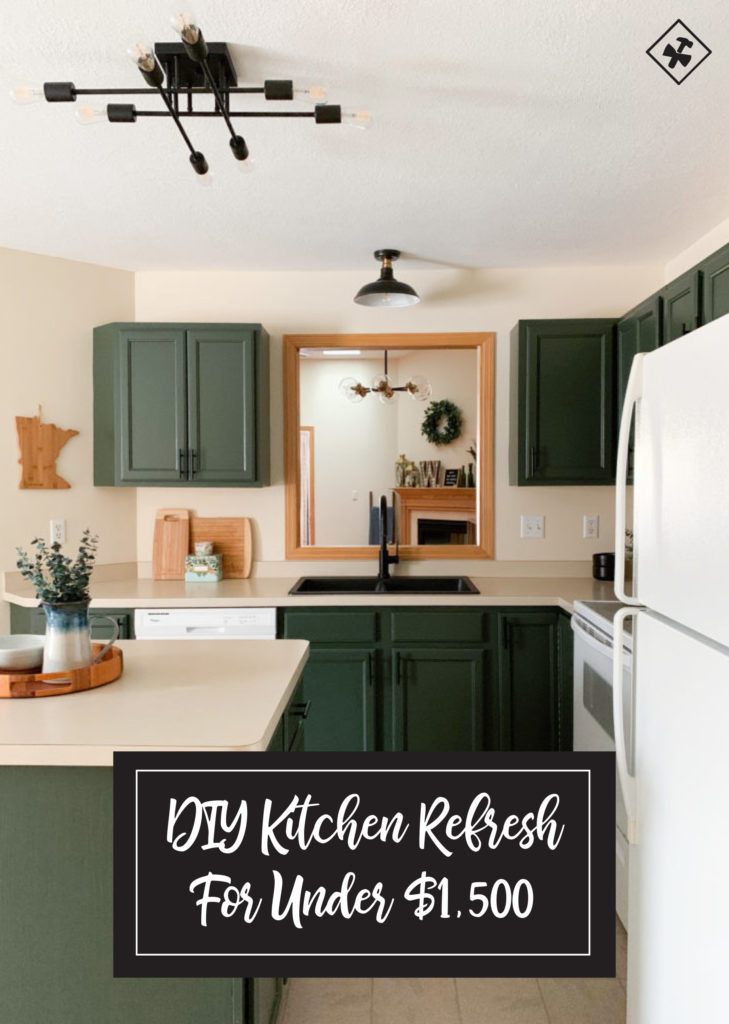
Ahh!! What a difference this refresh made! Since the layout of our kitchen already worked well for us, we were able to save a lot of costs by not having to get new cabinets or countertops.
We also kept our appliances and will save up for updating those in the future. It was such a good reminder that you don’t always have to do a full remodel to make your space look completely different.
For under $1,500, we transformed this kitchen from a dated 90s look to a space that makes us happy, and we love to host in.
Here’s the breakdown of costs for our kitchen refresh:
- Primer: $15
- Paint: $60
- Paint Supplies: $50
- Tape: $15
- Faucet: $500
- Sink and Flanges: $380
- Island Light: $100
- Sink Light: $30
- Cabinet Pulls: $40
The items above come out to around $1,200, but since we used some tools we already had and bought other material that was used throughout the entire home, $1,500 is a good estimate for the total cost!
Although the sink and faucet made up a majority of that cost, we think they’re totally worth it to invest in since you’ll be using them daily, and they make such a difference in the functionality of your kitchen.
Before & After
We love our kitchen now and have been having so much fun hosting friends and family in our updated space!
Here are some more before & after of our kitchen refresh…

This is a very informative blog, thanks for sharing about these updating our first home kitchen refresh. It will help a lot; these types of content should get appreciated. I will bookmark your site; I hope to read more such informative contents in future… great post!!
I like to see the series Before and After…The kitchen looks really much difference. It seems that you did great job. Love it!