
Disclosure: This post was sponsored by KILZ. Although we were compensated to write this post, all opinions and content are our own, and we stand behind and use all brands and products we endorse on our site.
Who remembers the DIY Slat wall in our living room?!
The project I was obsessed with and thought Jamie would never do again because it was pretty tedious?? Are you ready for this…
I made him do it again!!
I’m laughing and crying at the same time. Another project that I know will be AAAAAAMAZING.
But one that takes a ton of detailed time. But worth it.
This time around, we’re doing it at the Black Lake Place, our flip house.
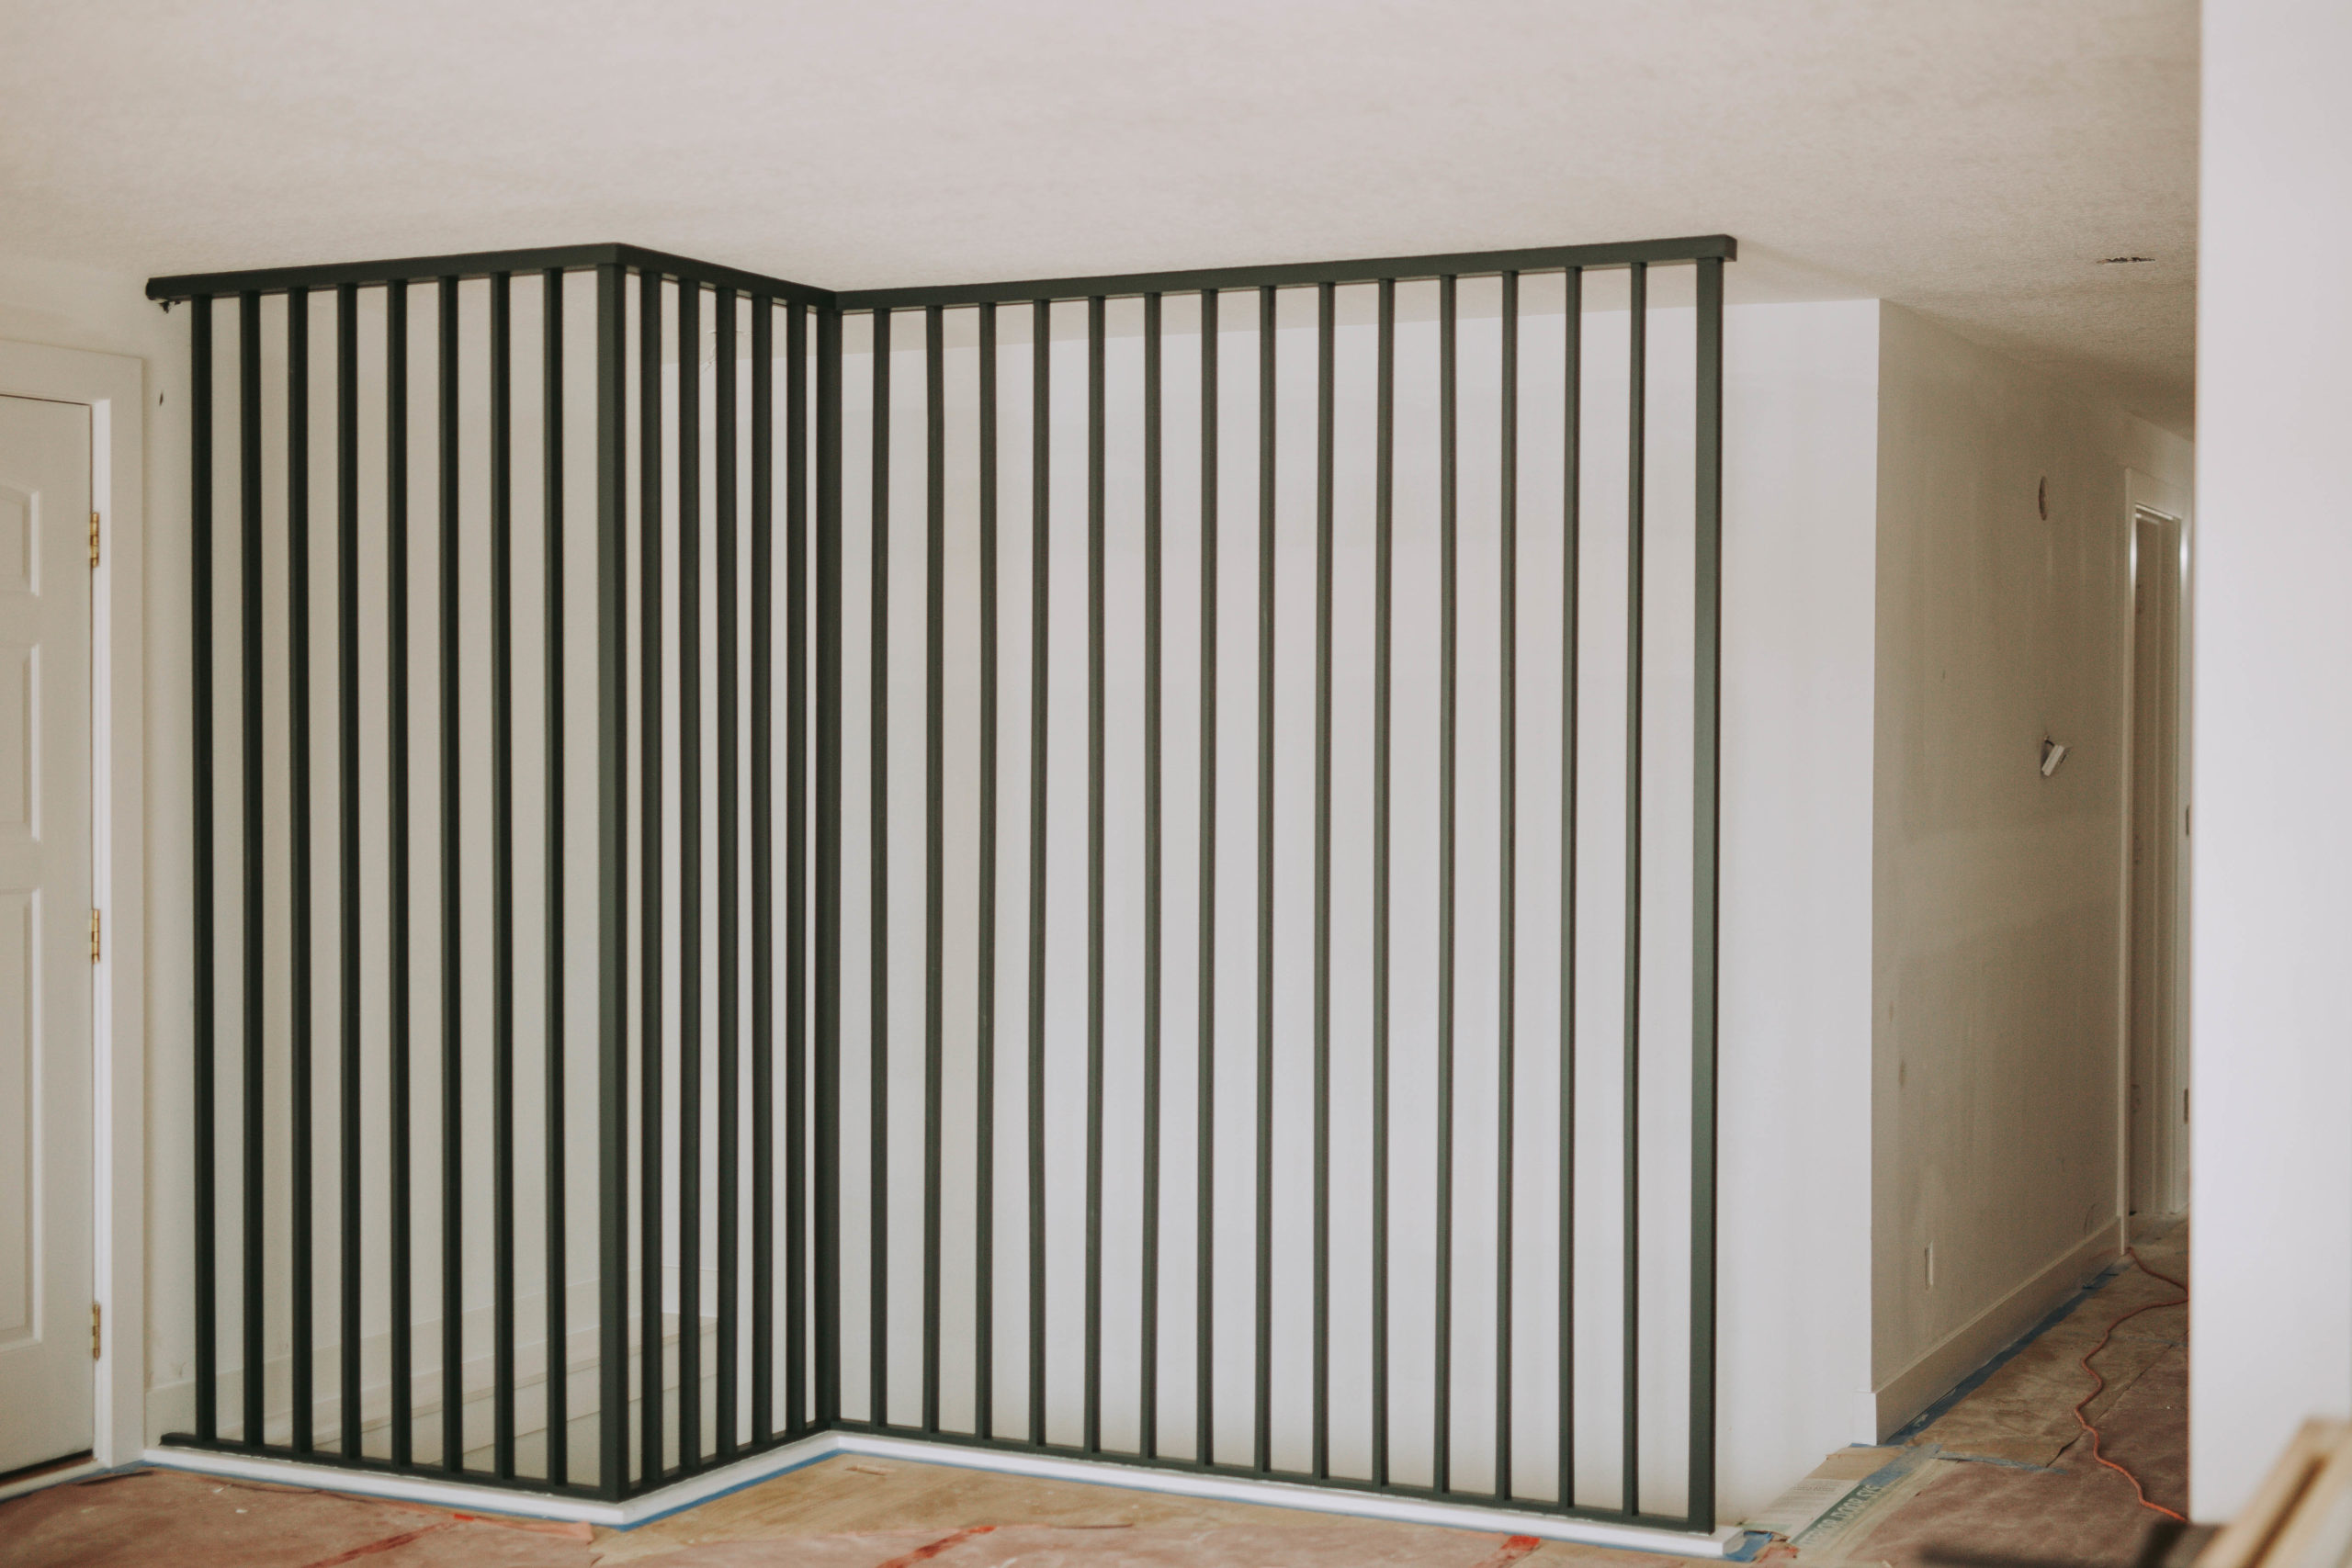
A slat railing around a staircase, which brings on a whole new set of challenges in itself.
Codes, regulations, inspections….and style. Even more, time is beyond your DIY control.
1. Design & Regulations
With any project, figuring out the overall design comes first! And with some designs, such as stair rails, you also have to think about codes and city regulations.
Being our Black Lake Place is on the lake, tucked back in the woods, we’re going for earthy tones. And at c2s, we like to do things a bit differently, so I knew I wanted to go with a color for this slat wall.
When I came across “Current Mood” from the Magnolia Home by Joanna Gaines® paint line, I knew it was perfect and would go with the overall vibe of the home.
Before…
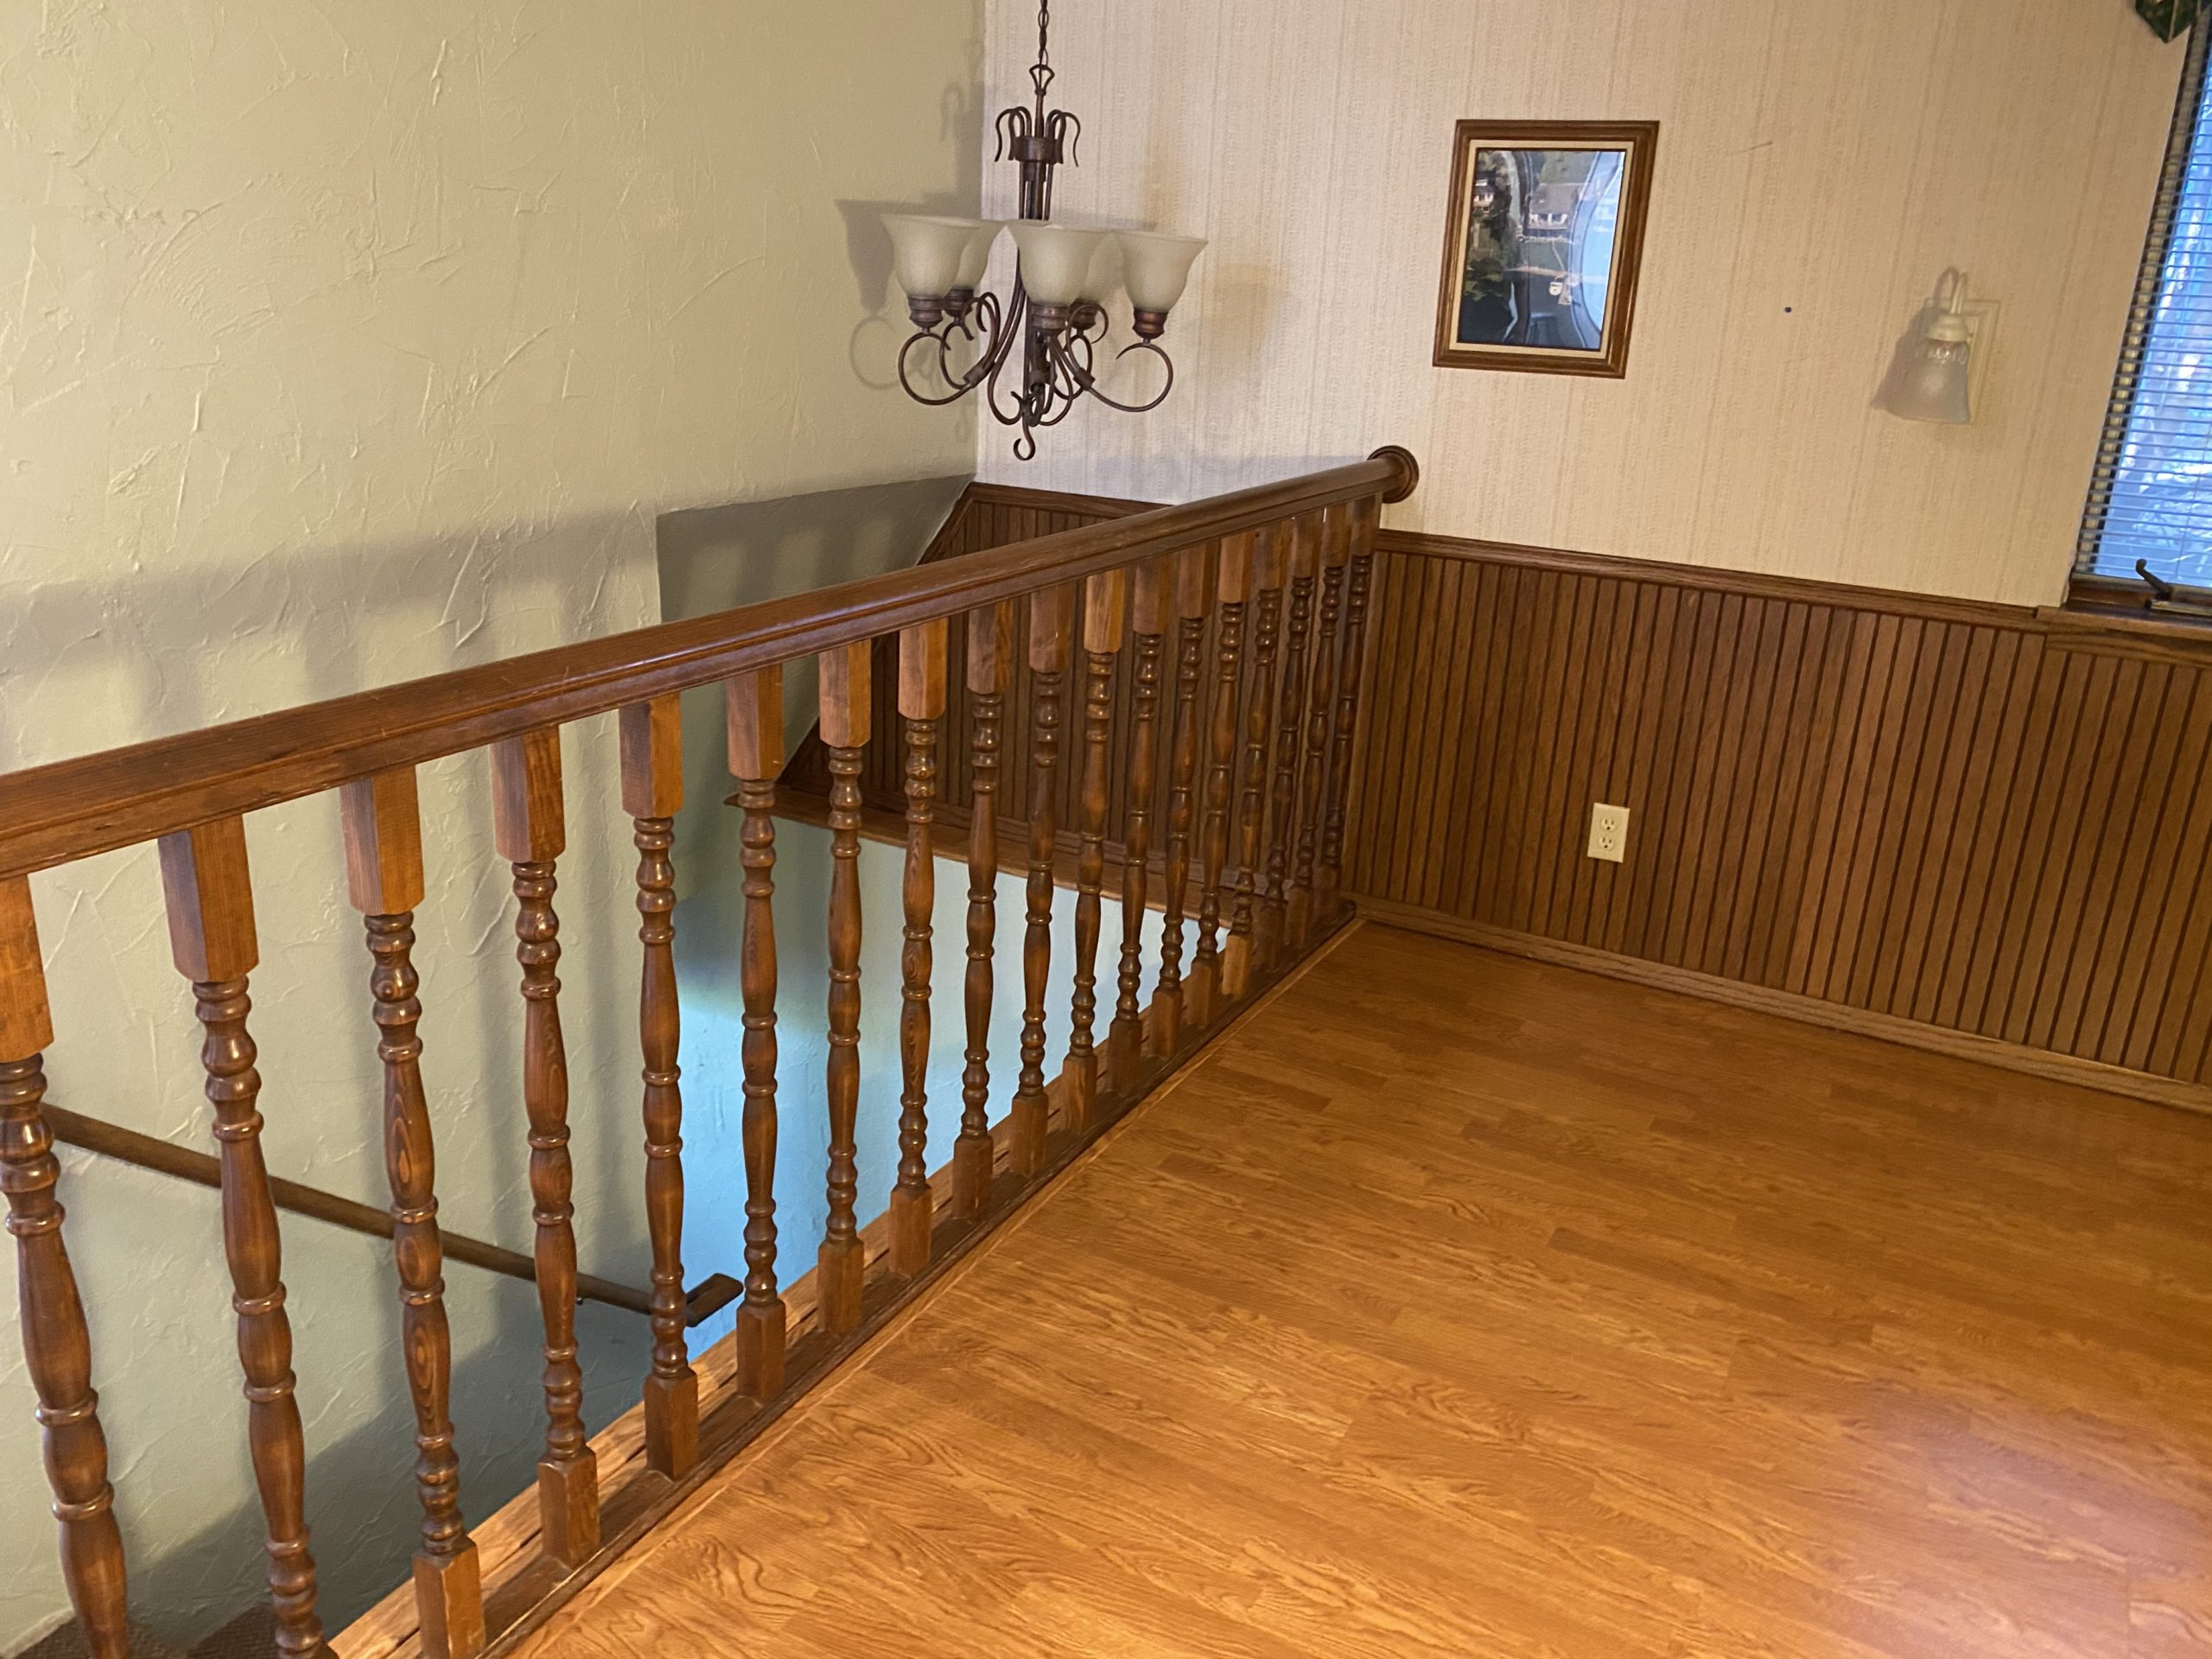
When we bought this home, here is what it looked like.
See where the railing is below? This is where we now put a wall up – to create a fourth bedroom.
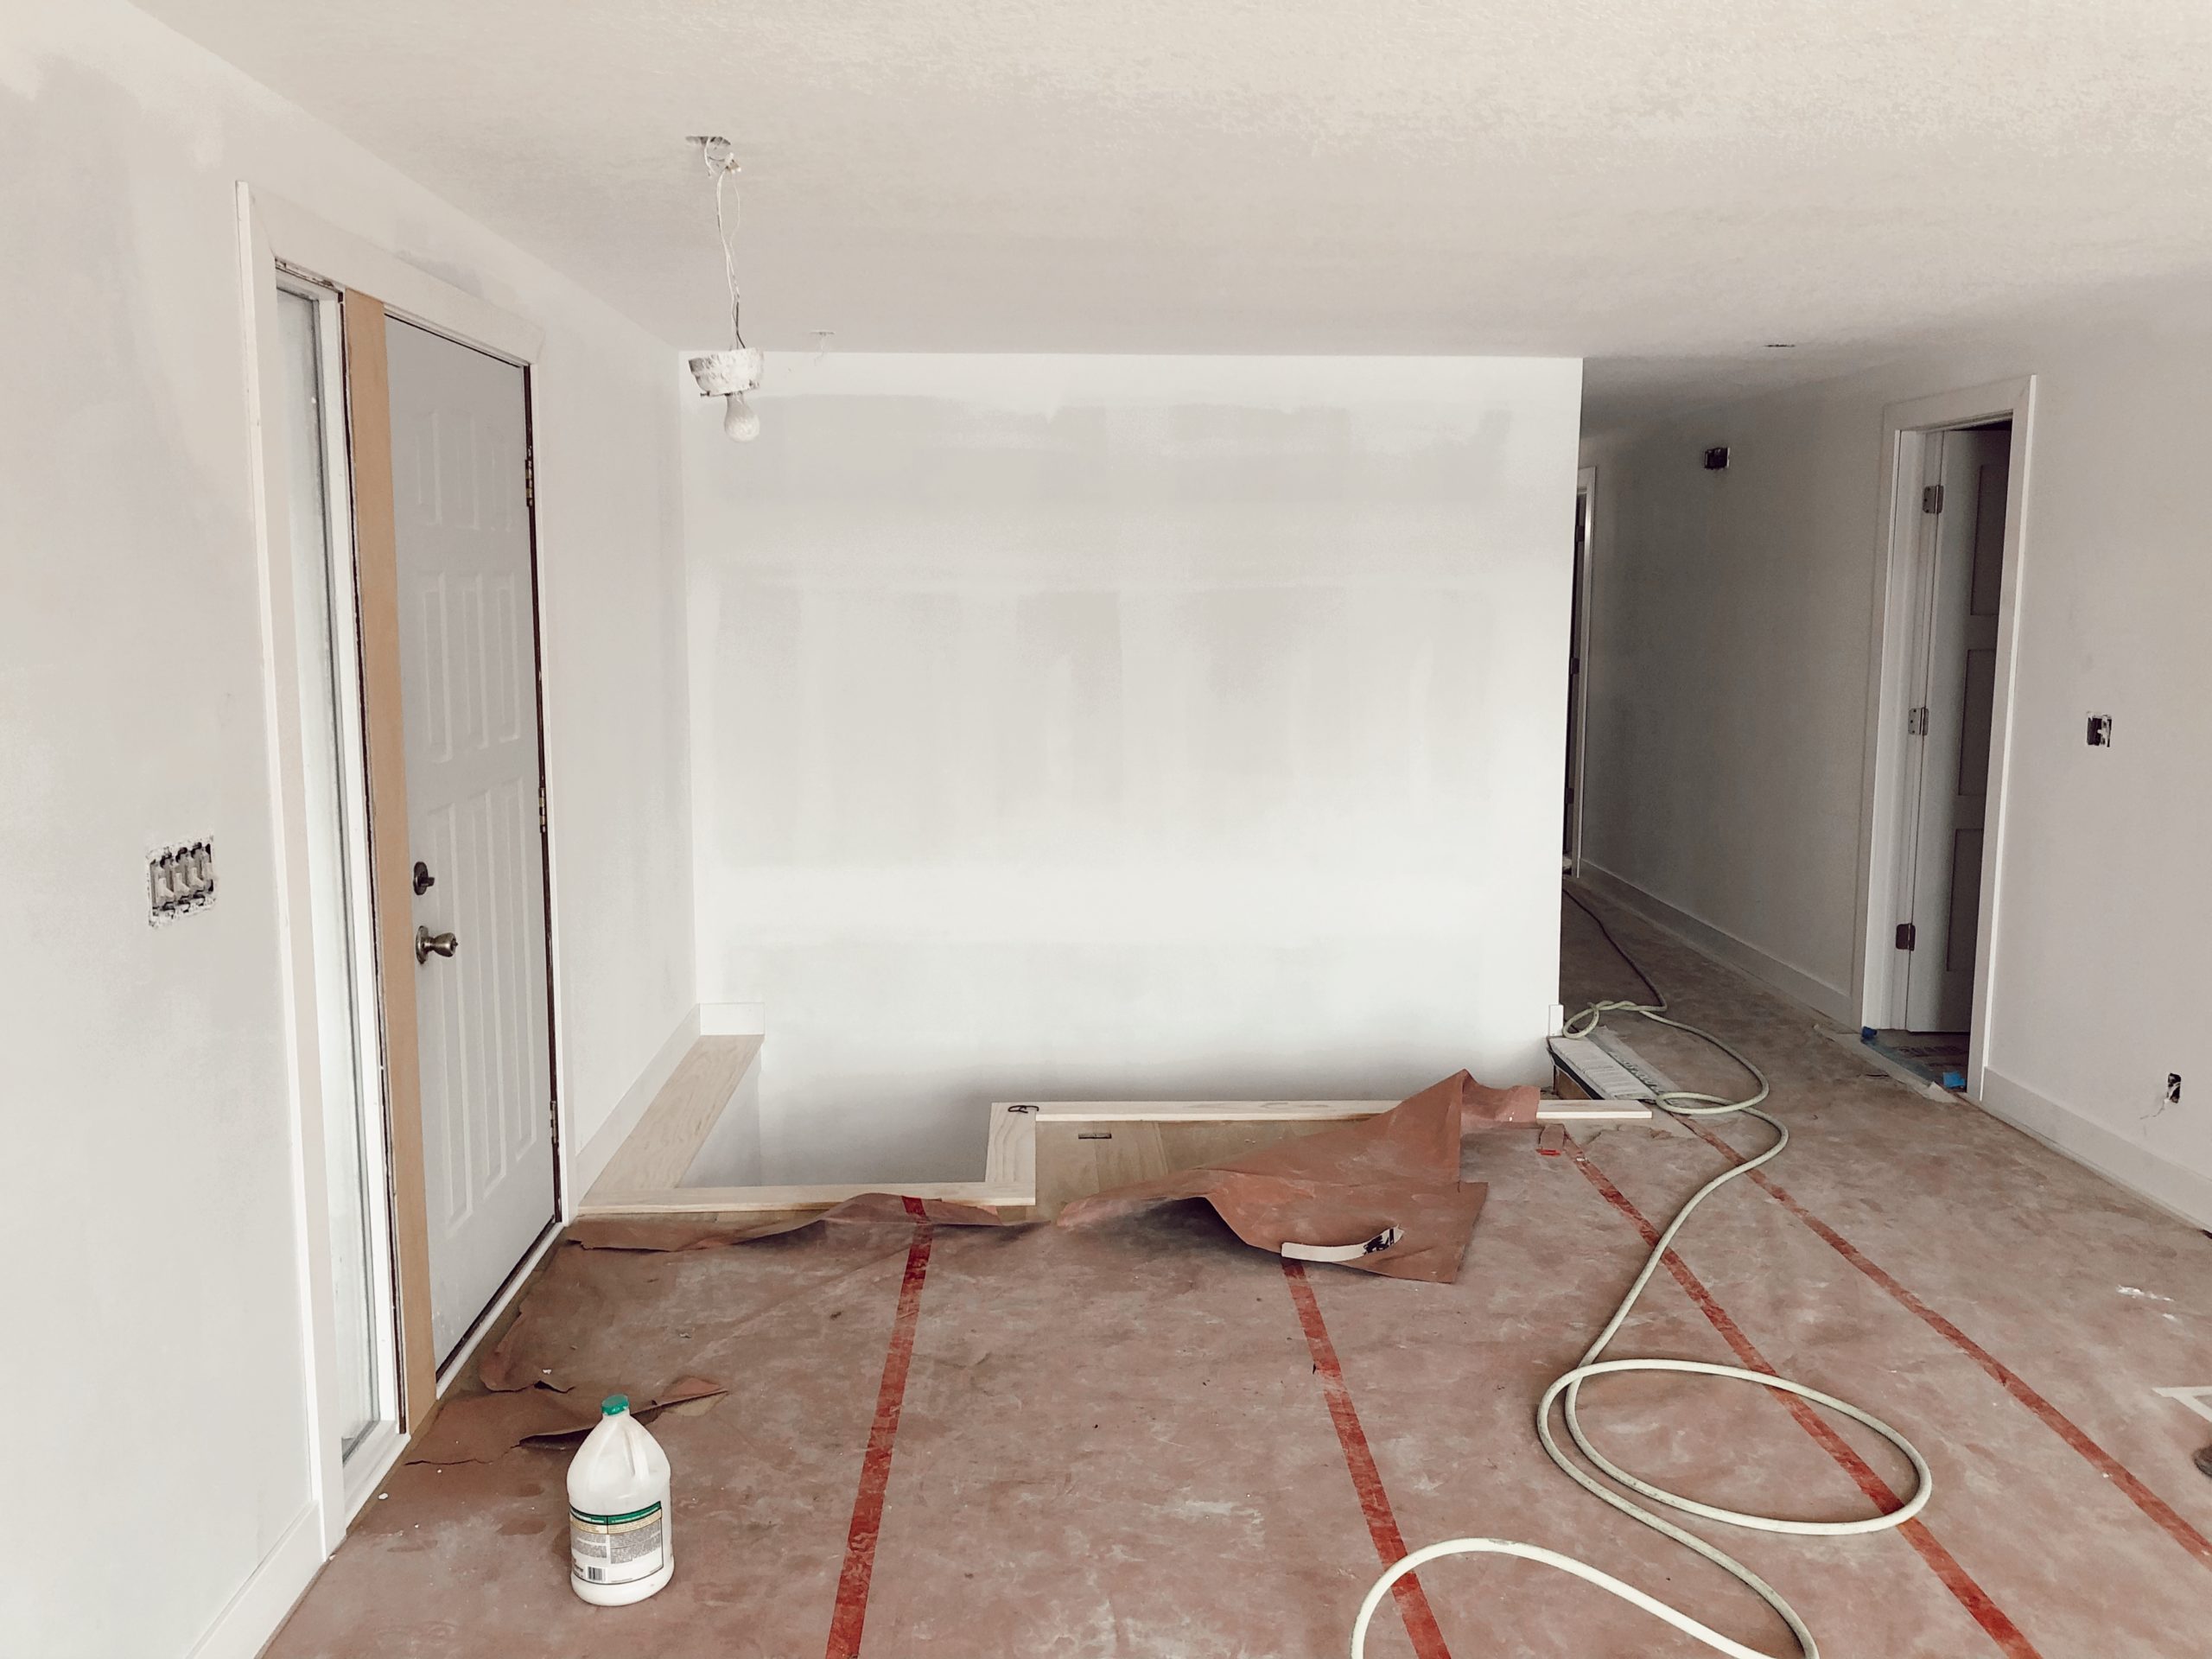
Where you see the wall on the left in the photo below, that is where the slat wall railing is about to go.
And now if you look at the treads along the bottom, that is where the new slat wall is going to go.
And now if you look at the treads along the bottom, that is where the new slat wall is going to go. Being we don’t need a handheld stair rail we thought this would make for the perfect slat wall placement.
And then we’ll be building in a bench in that “L” shape nook.
2. Gather Tools & Materials
A few things we learned from doing our last DIY slat wall was buying individual slats instead of buying 4 x 8 sheets of MDF to cut up into slats, which took us hours and hours on end. This time around we bought 40 pieces of 1 x 2 x 8′ poplar.
On top of the specific wood, here are the tools and materials you’ll need to do any sort of slat wall.
- KILZ 2® All-Purpose Primer
- Paint from the Magnolia Home by Joanna Gaines® paint line
- Miter Saw
- Orbital Sander
- Tape Measure
- Liquid Nails
- Caulk
- Wood Filler
- Trim Nailer
- Laser Level
- 1 x 2 x 8′ Poplar (we used 40)
- Paint Brush
- Roller Brush
- Roller Trays
- Drop Cloth
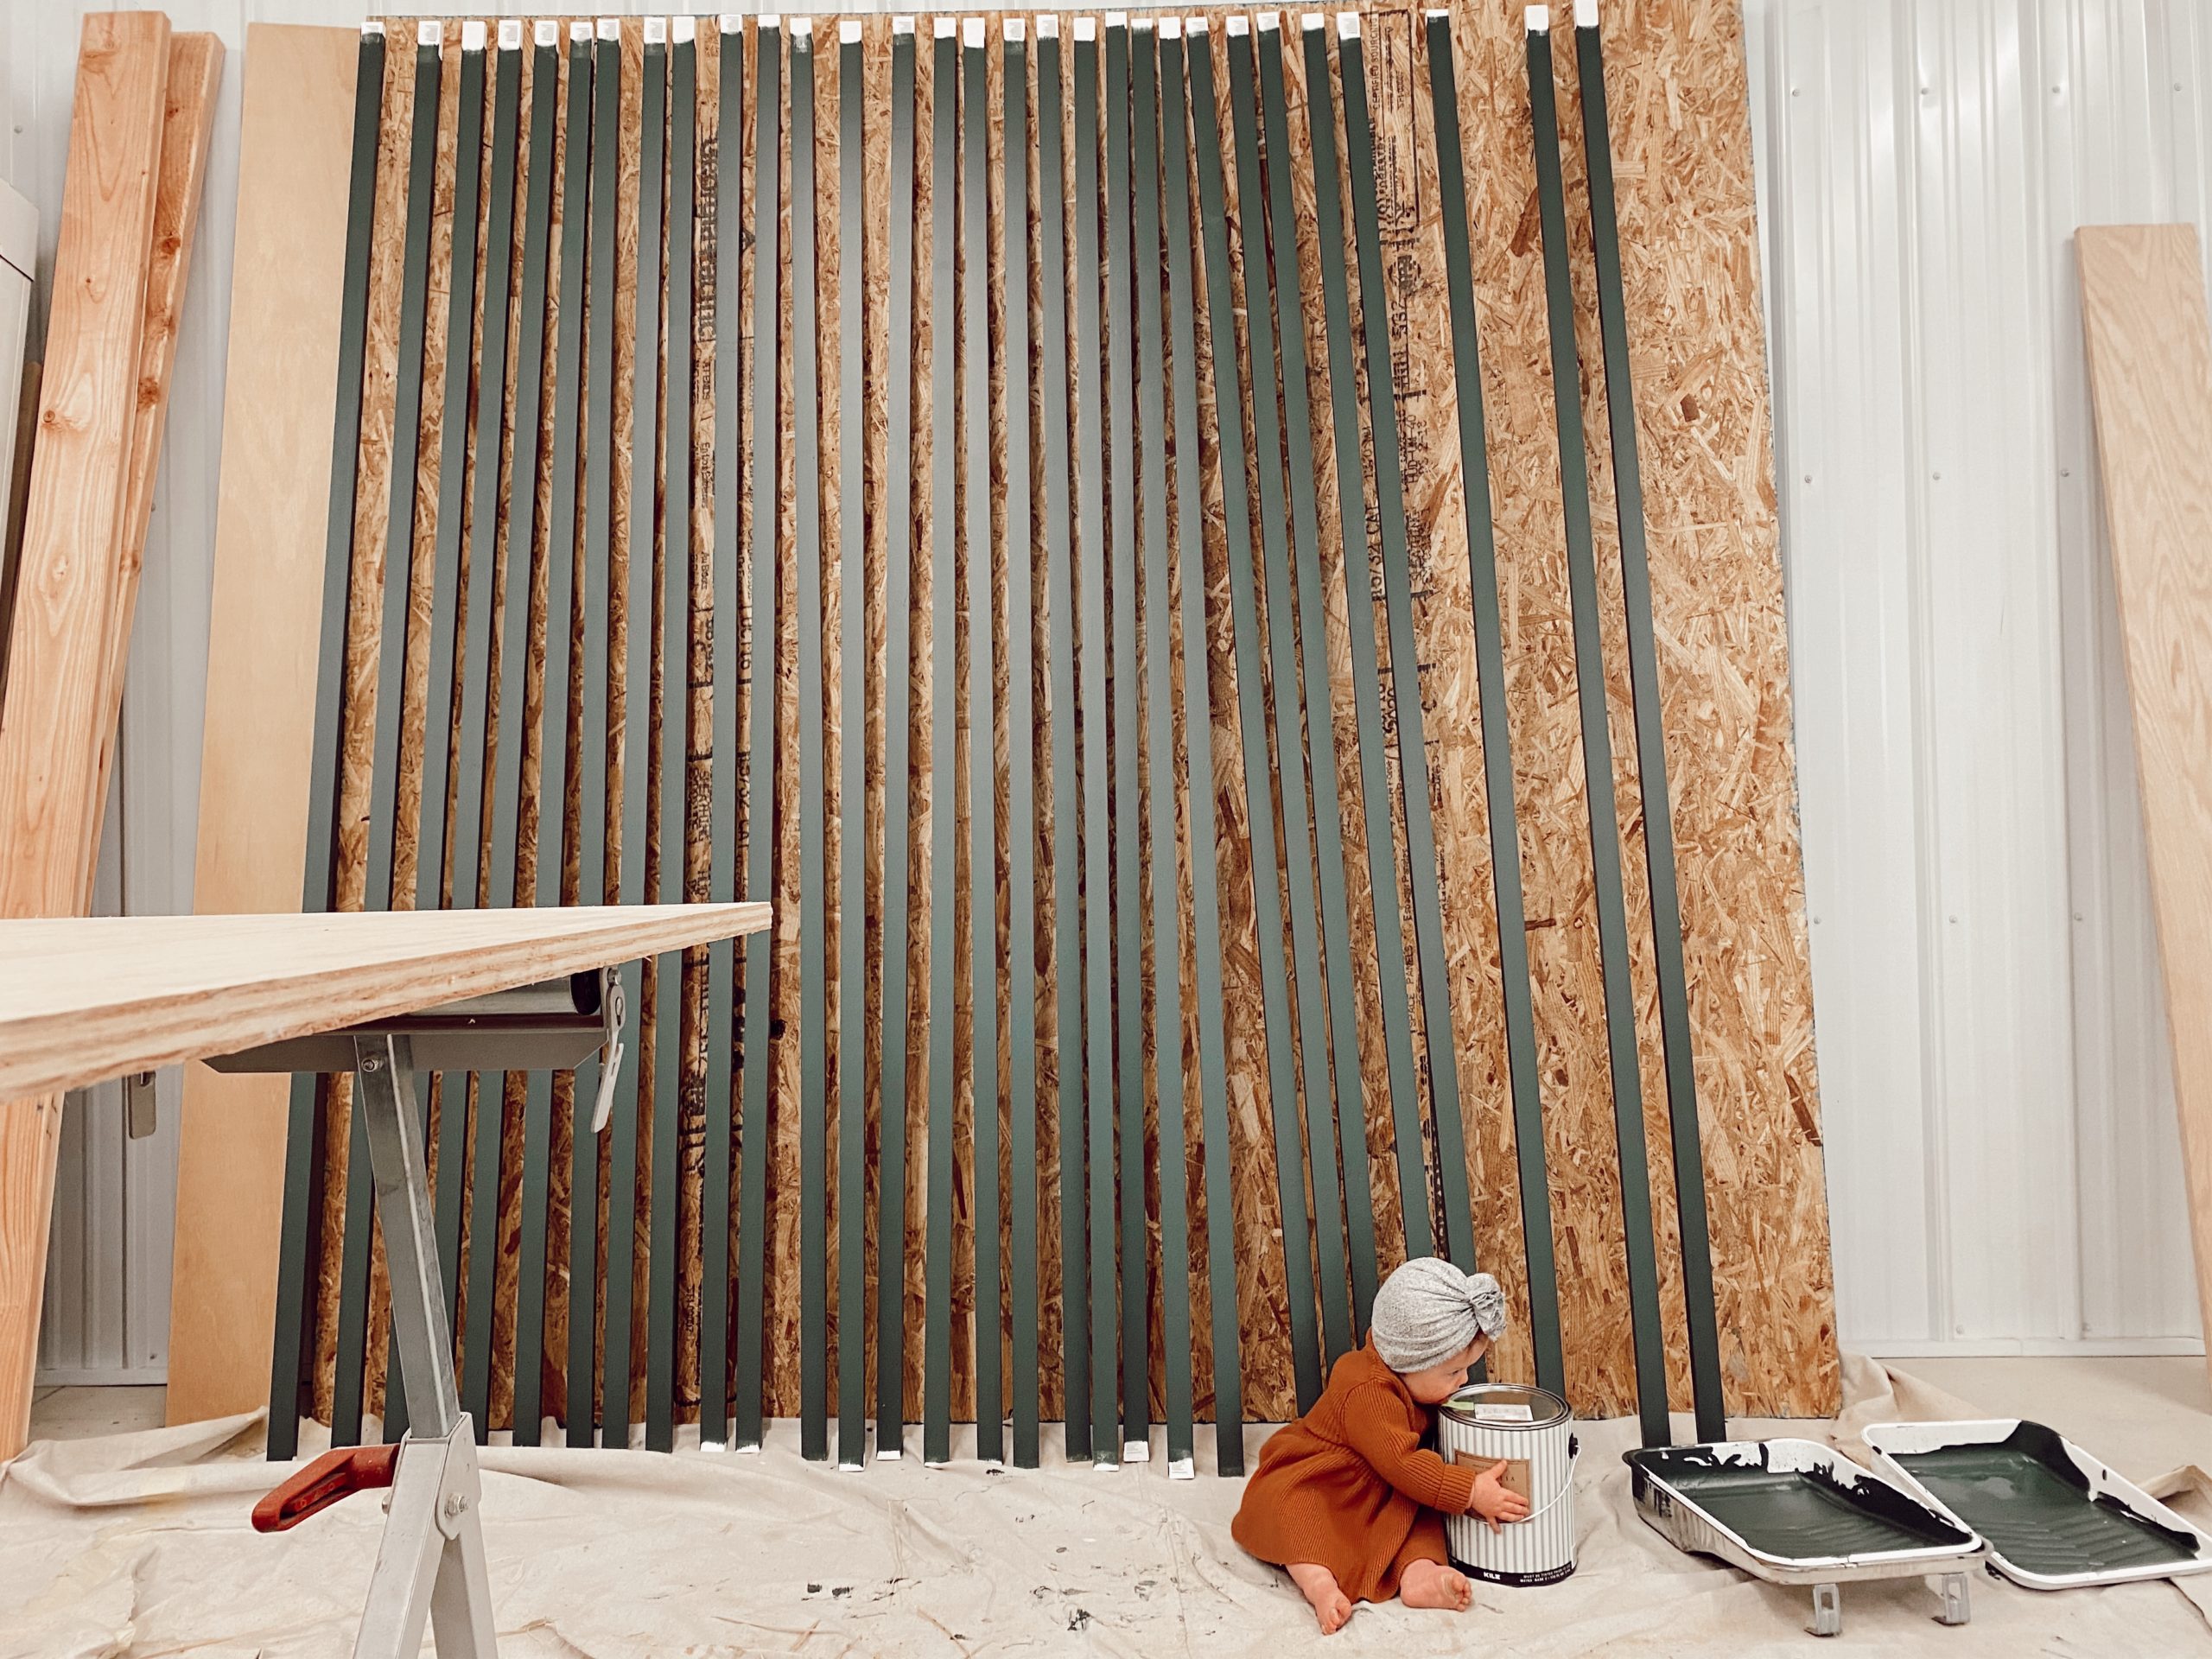
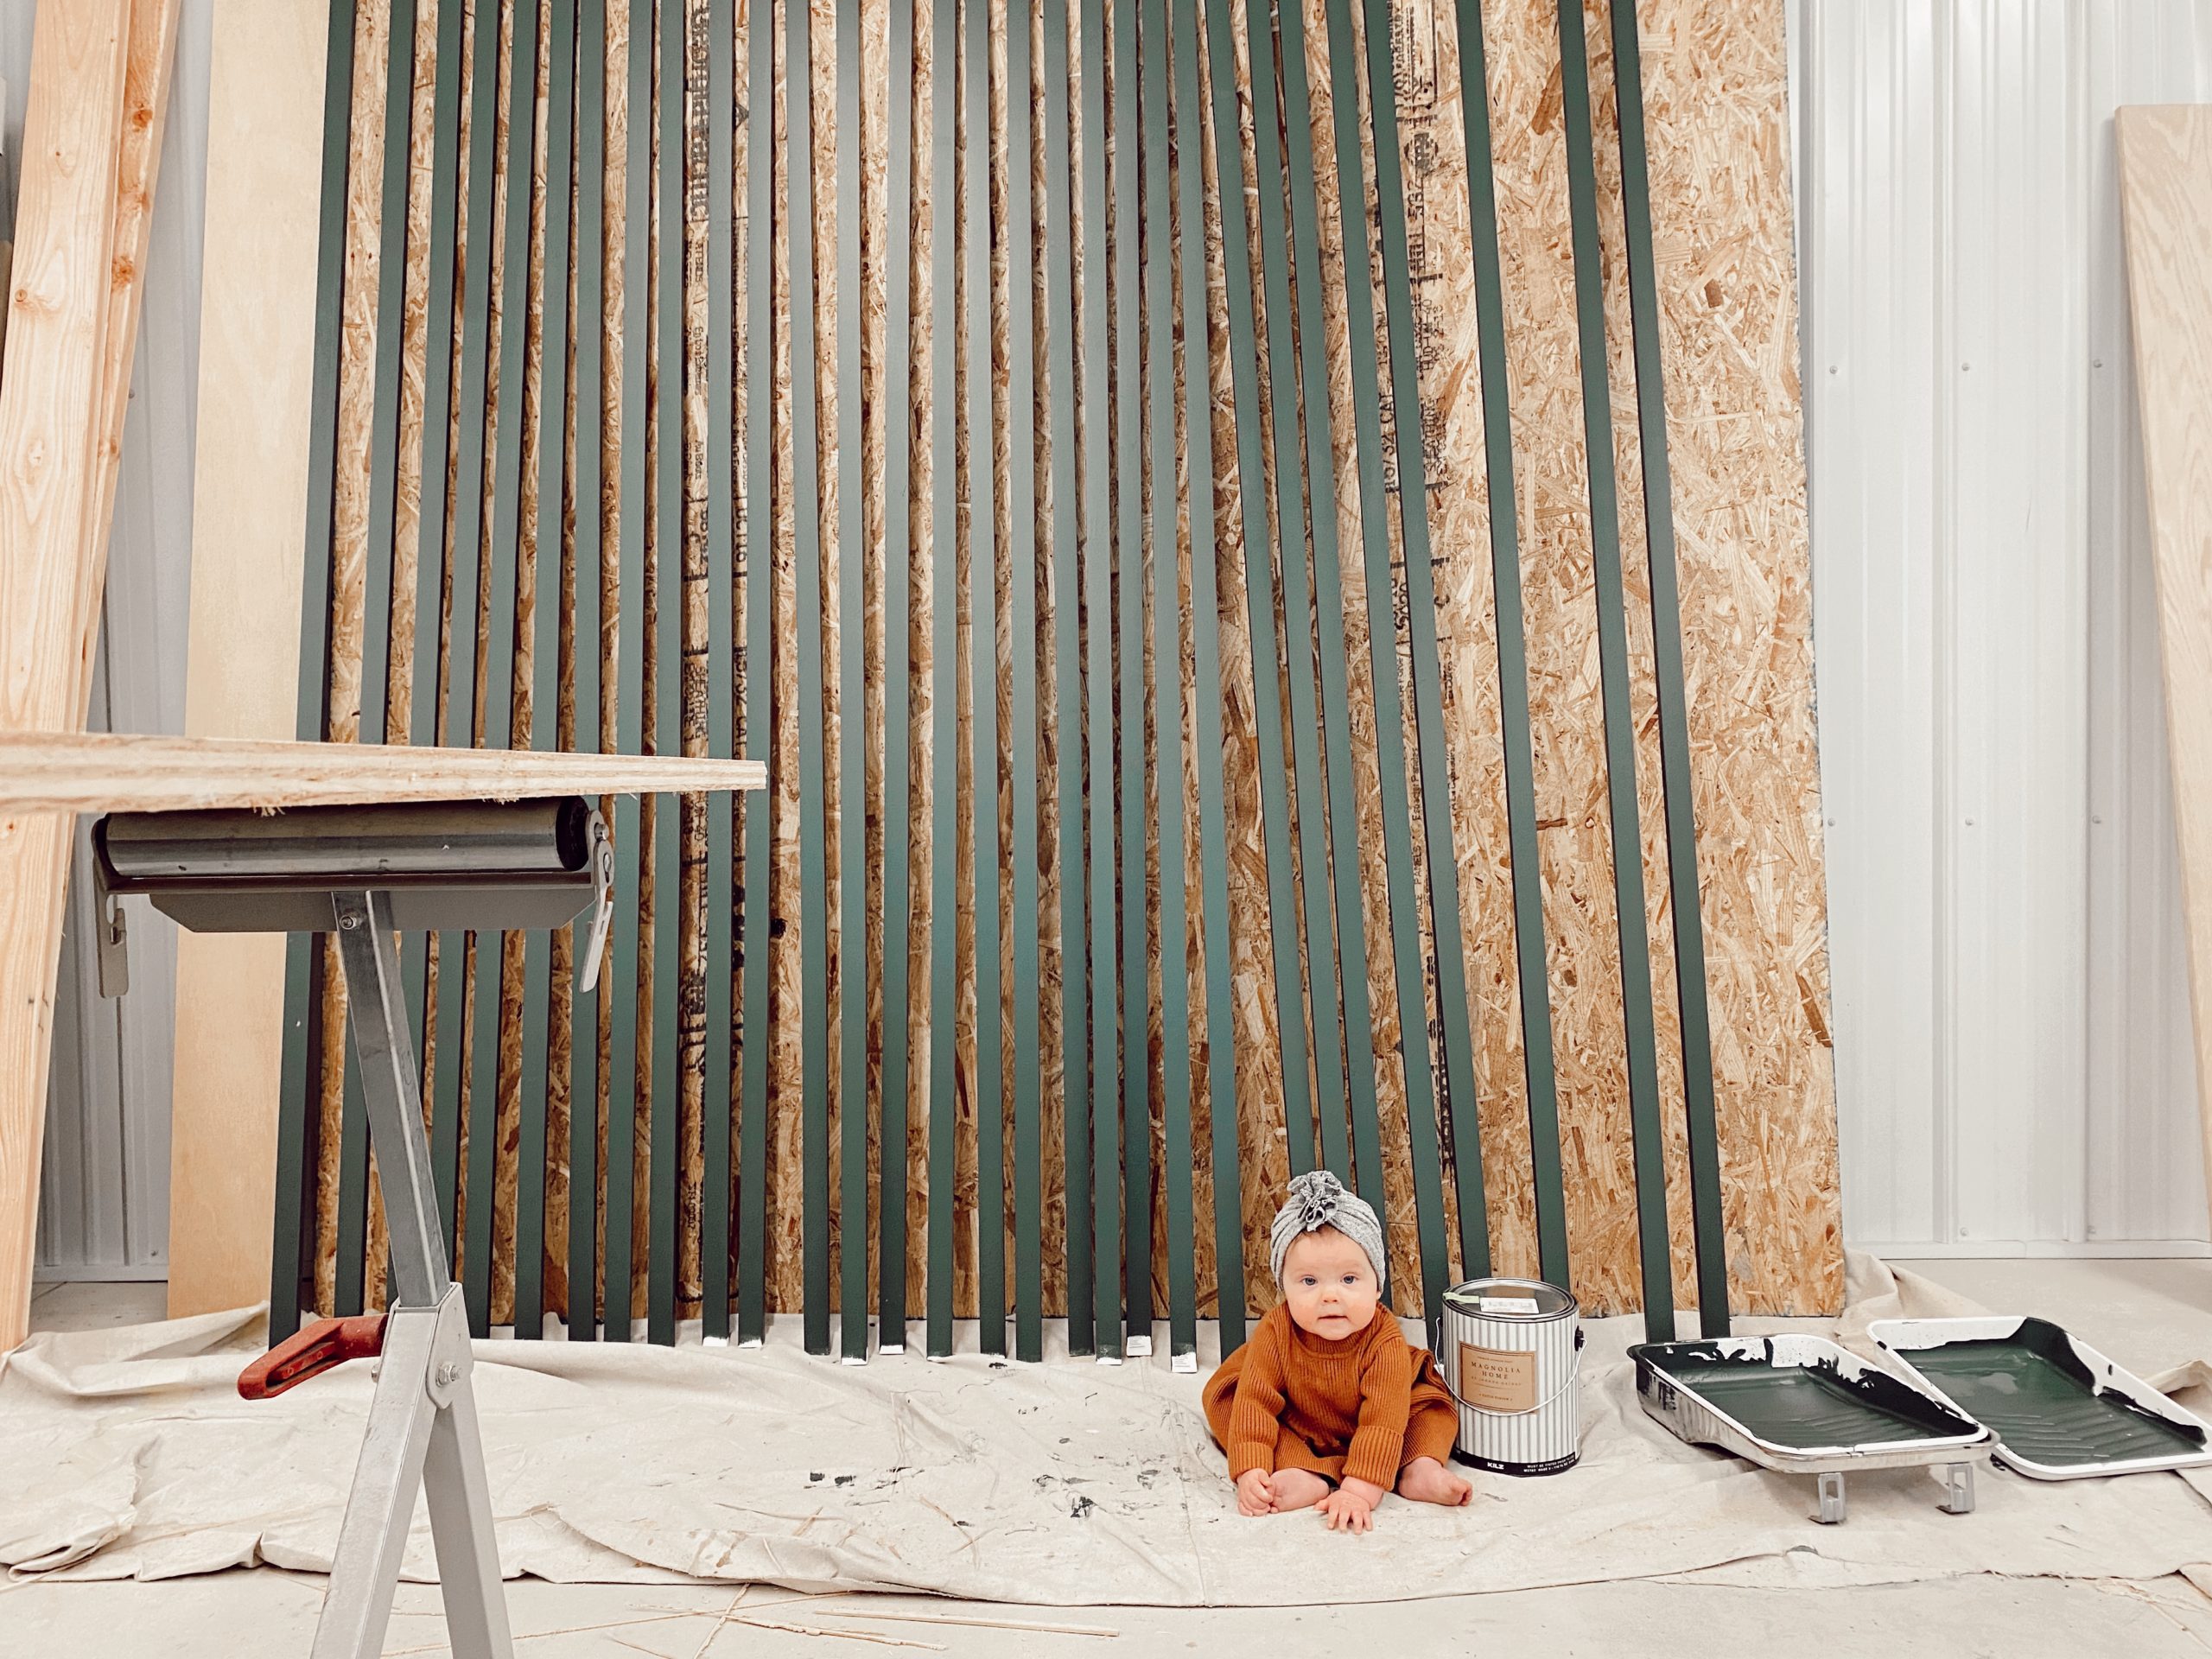
- And a cute baby to help … 🙂
3. Prep Slats
We loved the look of our slat wall in our living room so we knew we wanted to go with vertical slats again.
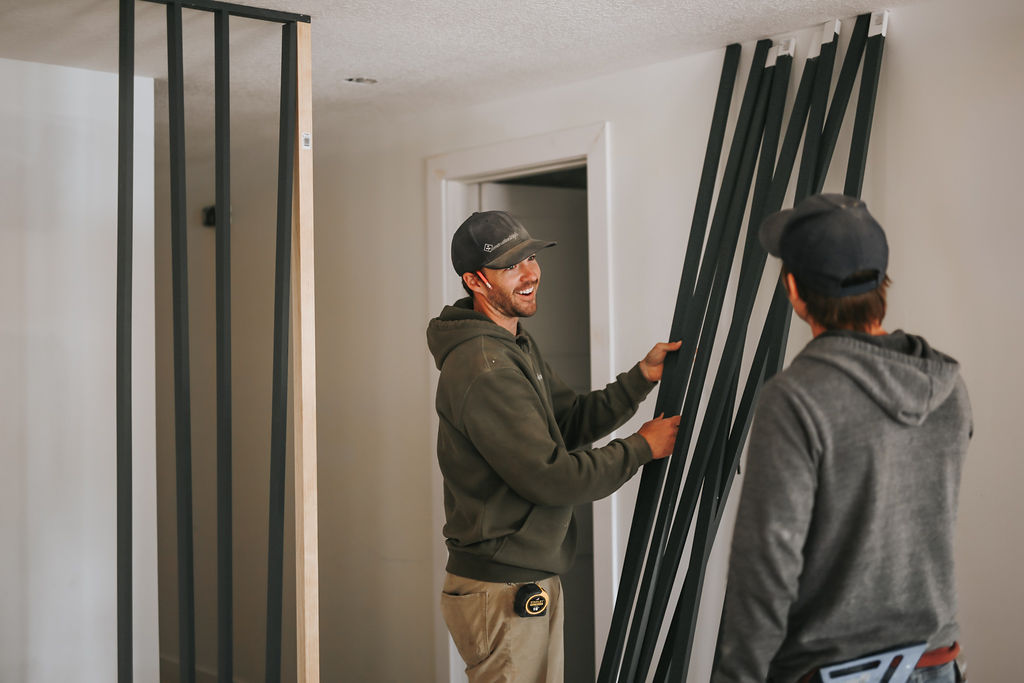
However, this time instead of buying a big sheet of MDF and cutting the slats down Jamie bought individual 1 x 2 x 8′ poplar.
This saved us a lot more time. Even buying them individually cut we still had prep work to do!
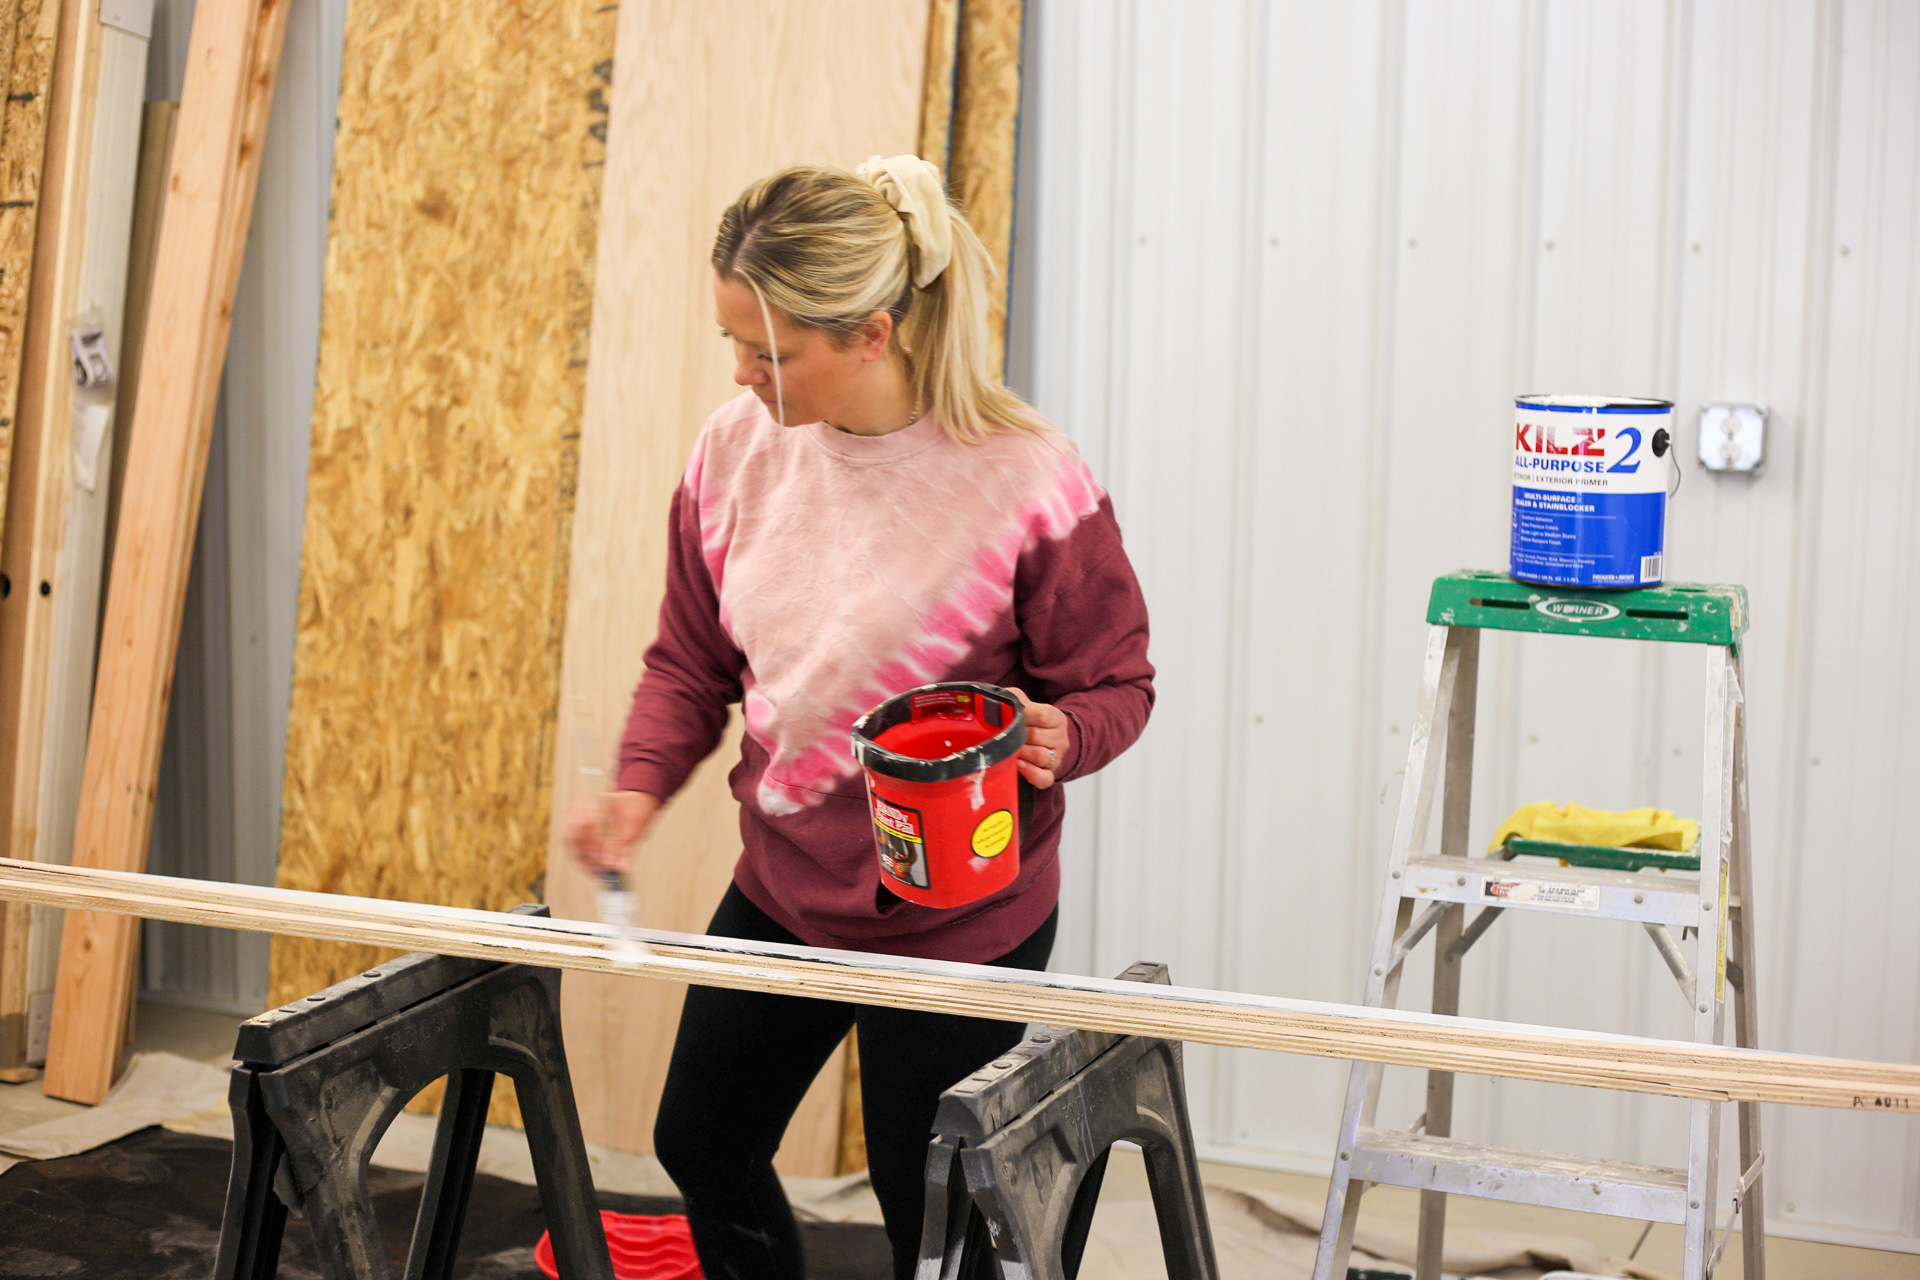
We sanded all of the boards down before we started to paint.
4. Paint Slats
Before the actual paint goes on, make sure to Prime! We went with KILZ 2 ALL-PURPOSE Primer due to the fact that it blocks stains including minor water stains, rust, grease, ink, pencil, and felt marker.
Being it’s the handrail for a staircase this is essential, especially if you’re like us and have a lot of sticky fingers in your home.
Another great feature of this primer is that it also works on exterior woodwork, drywall, plaster, paneling, masonry, brick, painted metal and properly prepared glossy surfaces. Use under or over-water-based or oil-based paints.
It truly is an all-purpose product.
Once the primer went onto all sides of our slats, we sanded them down before putting on the actual colored paint.
Then for the color, we went with “Current Mood” from the Magnolia Home by Joanna Gaines® paint line that we picked up from our local Ace Hardware.
Being this will be a railing, we wanted to ensure we went with a durable paint that was stain-blocking.
The key to doing any sort of slat wall is painting them prior to putting them up, and that way once they are placed, all you have to do is minor touch-ups.
Once the primer was dry, which is a KILZ product, we sanded down the slats down and went ahead and painted all four sides of the slats with Current Mood by Joanna Gains.
As you can tell a lot of the time needed goes into dry time.
Once all the slats were primed and painted, it was time for install!
5. Install
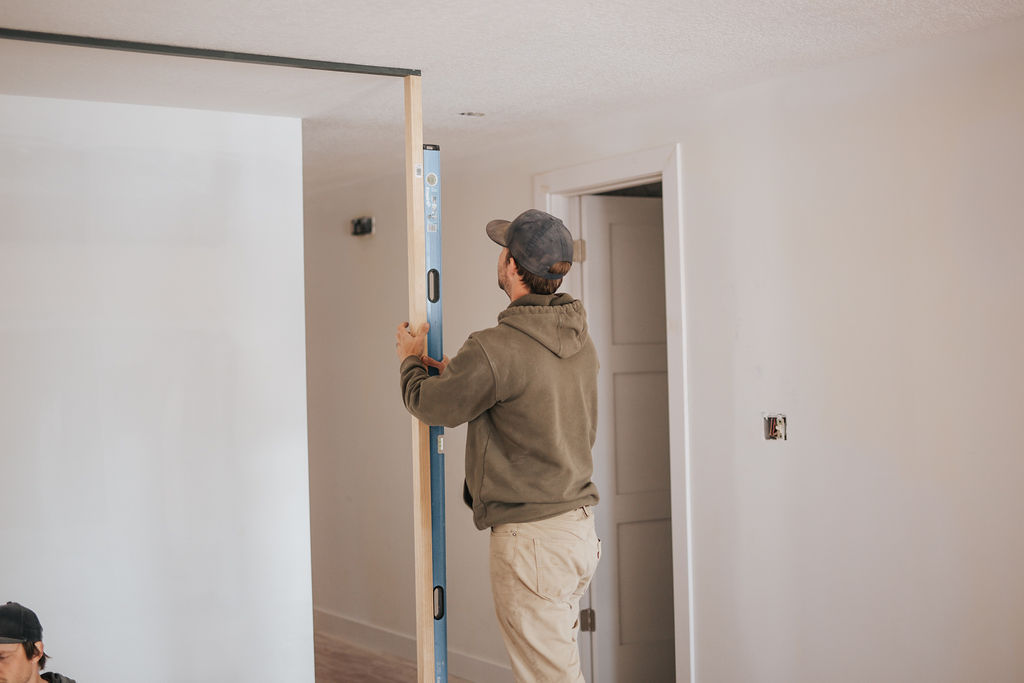
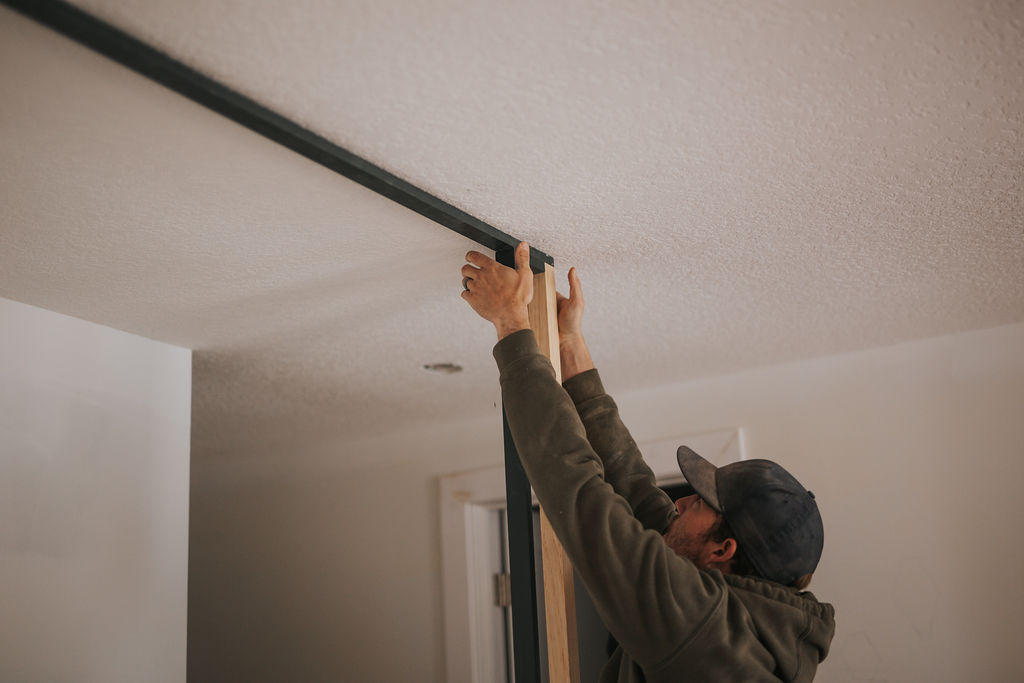
The first step in our install process was marking the ceiling supports so we were aware of what we’d be nailing into.
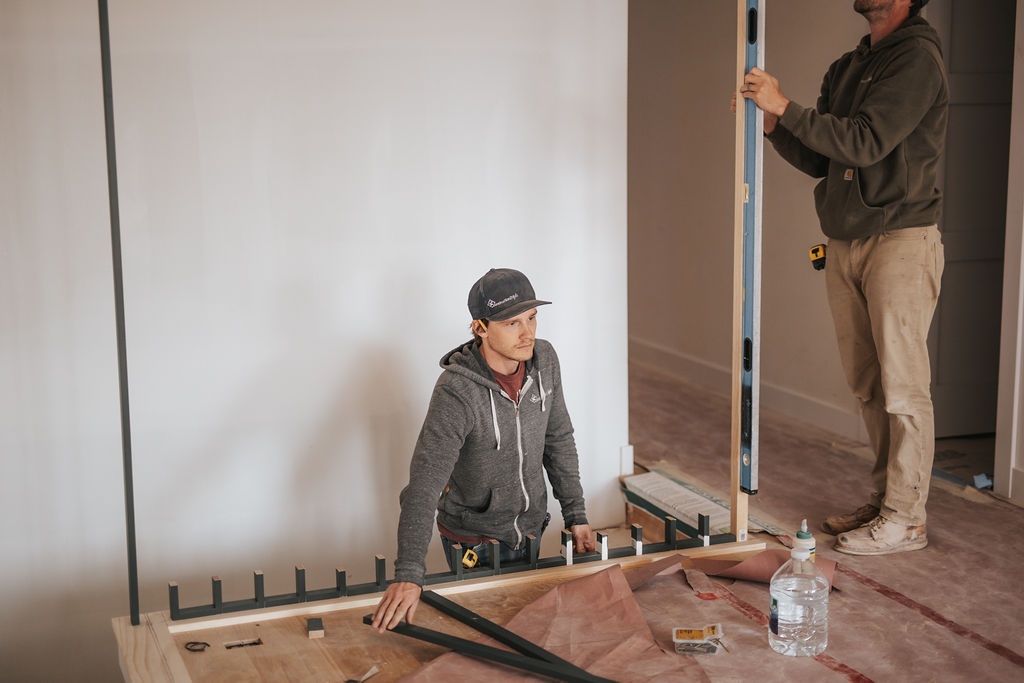
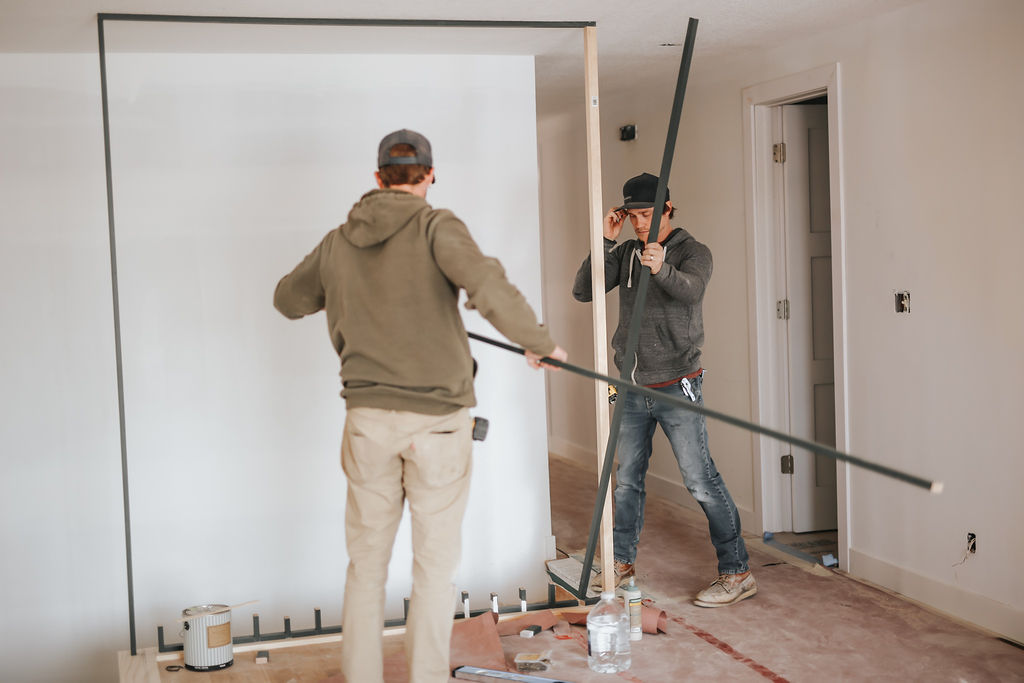
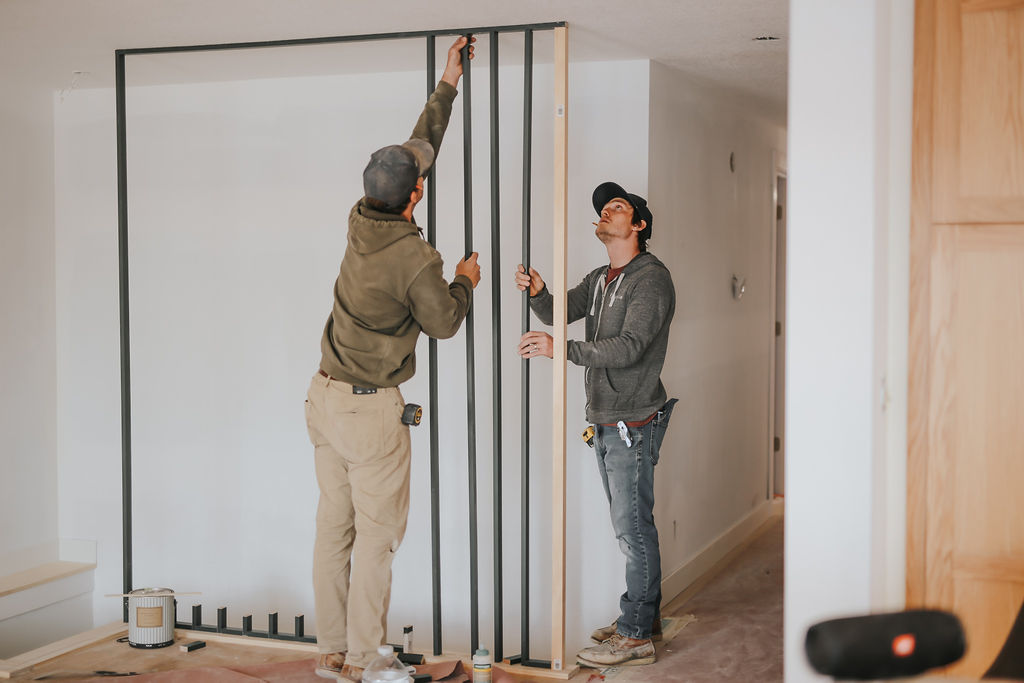
We then set up a laser level to match where the bottom of the slats would land with the top on the ceiling, to ensure that they would be straight and level.
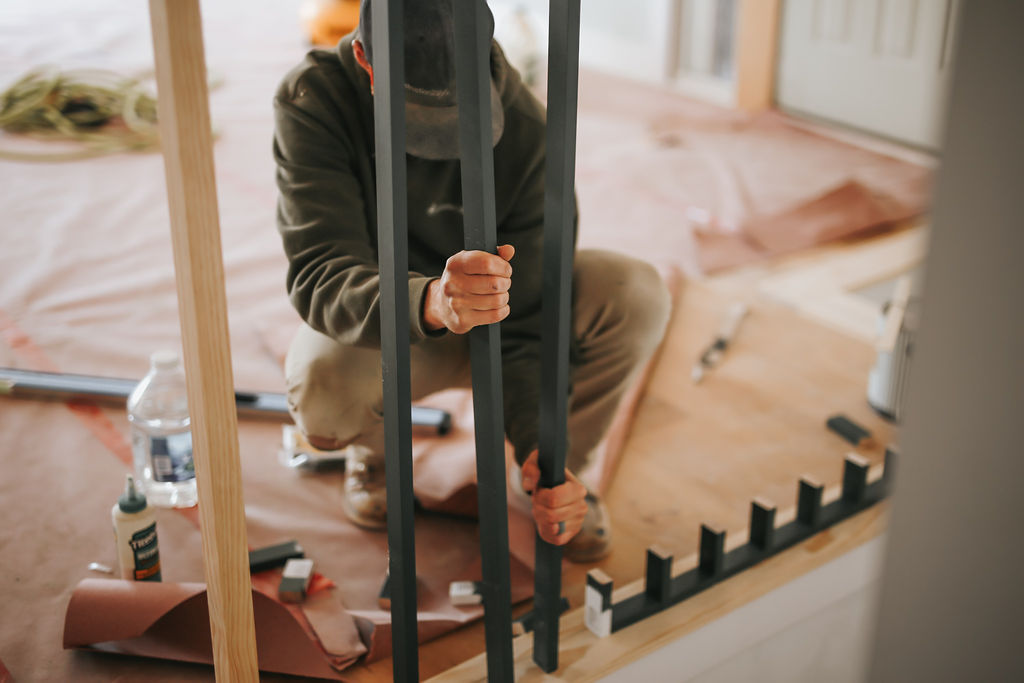
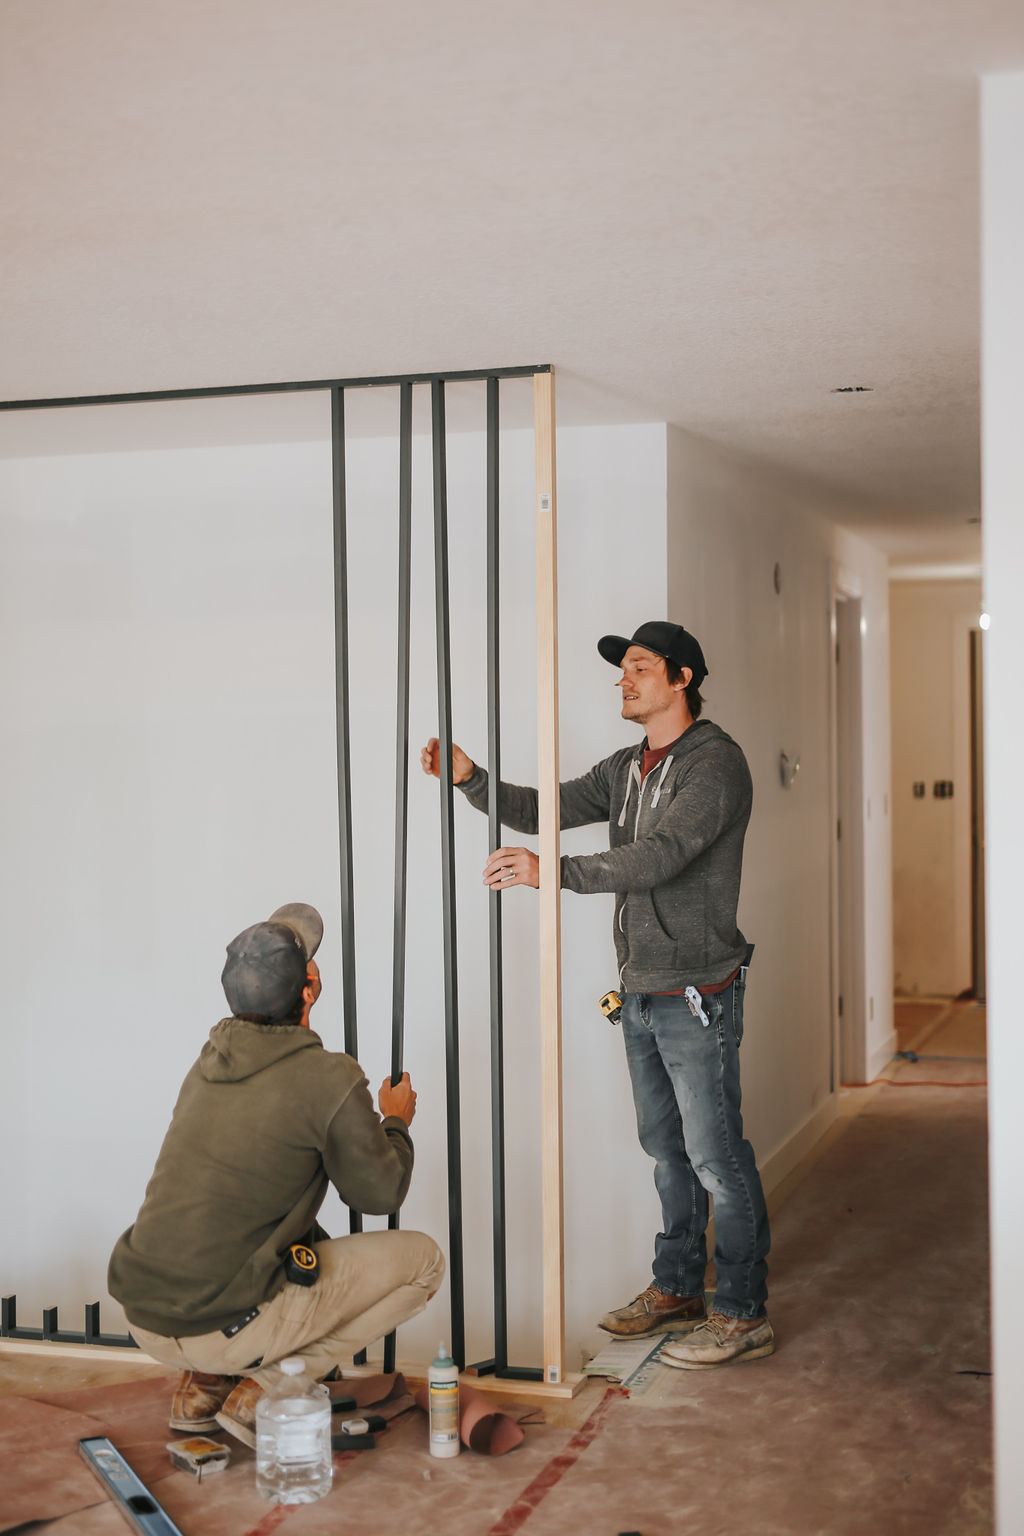
In order to keep the slats equally spaced out, we cut down one of the slat pieces into spacers. We placed them along the railing and then proceeded to add in each slat.
We used an 18g trim nailer to attach all of the slats to the spacers behind it on the top and the bottom. At the start and finish of each slat, we used a 2×2 material for more stability.
Reveal coming at you soon…
What do you guys think?! The guys have finished it up and we’ll be back with the full reveal of this stair rail coming soon.
For now, here’s a little sneak peek…








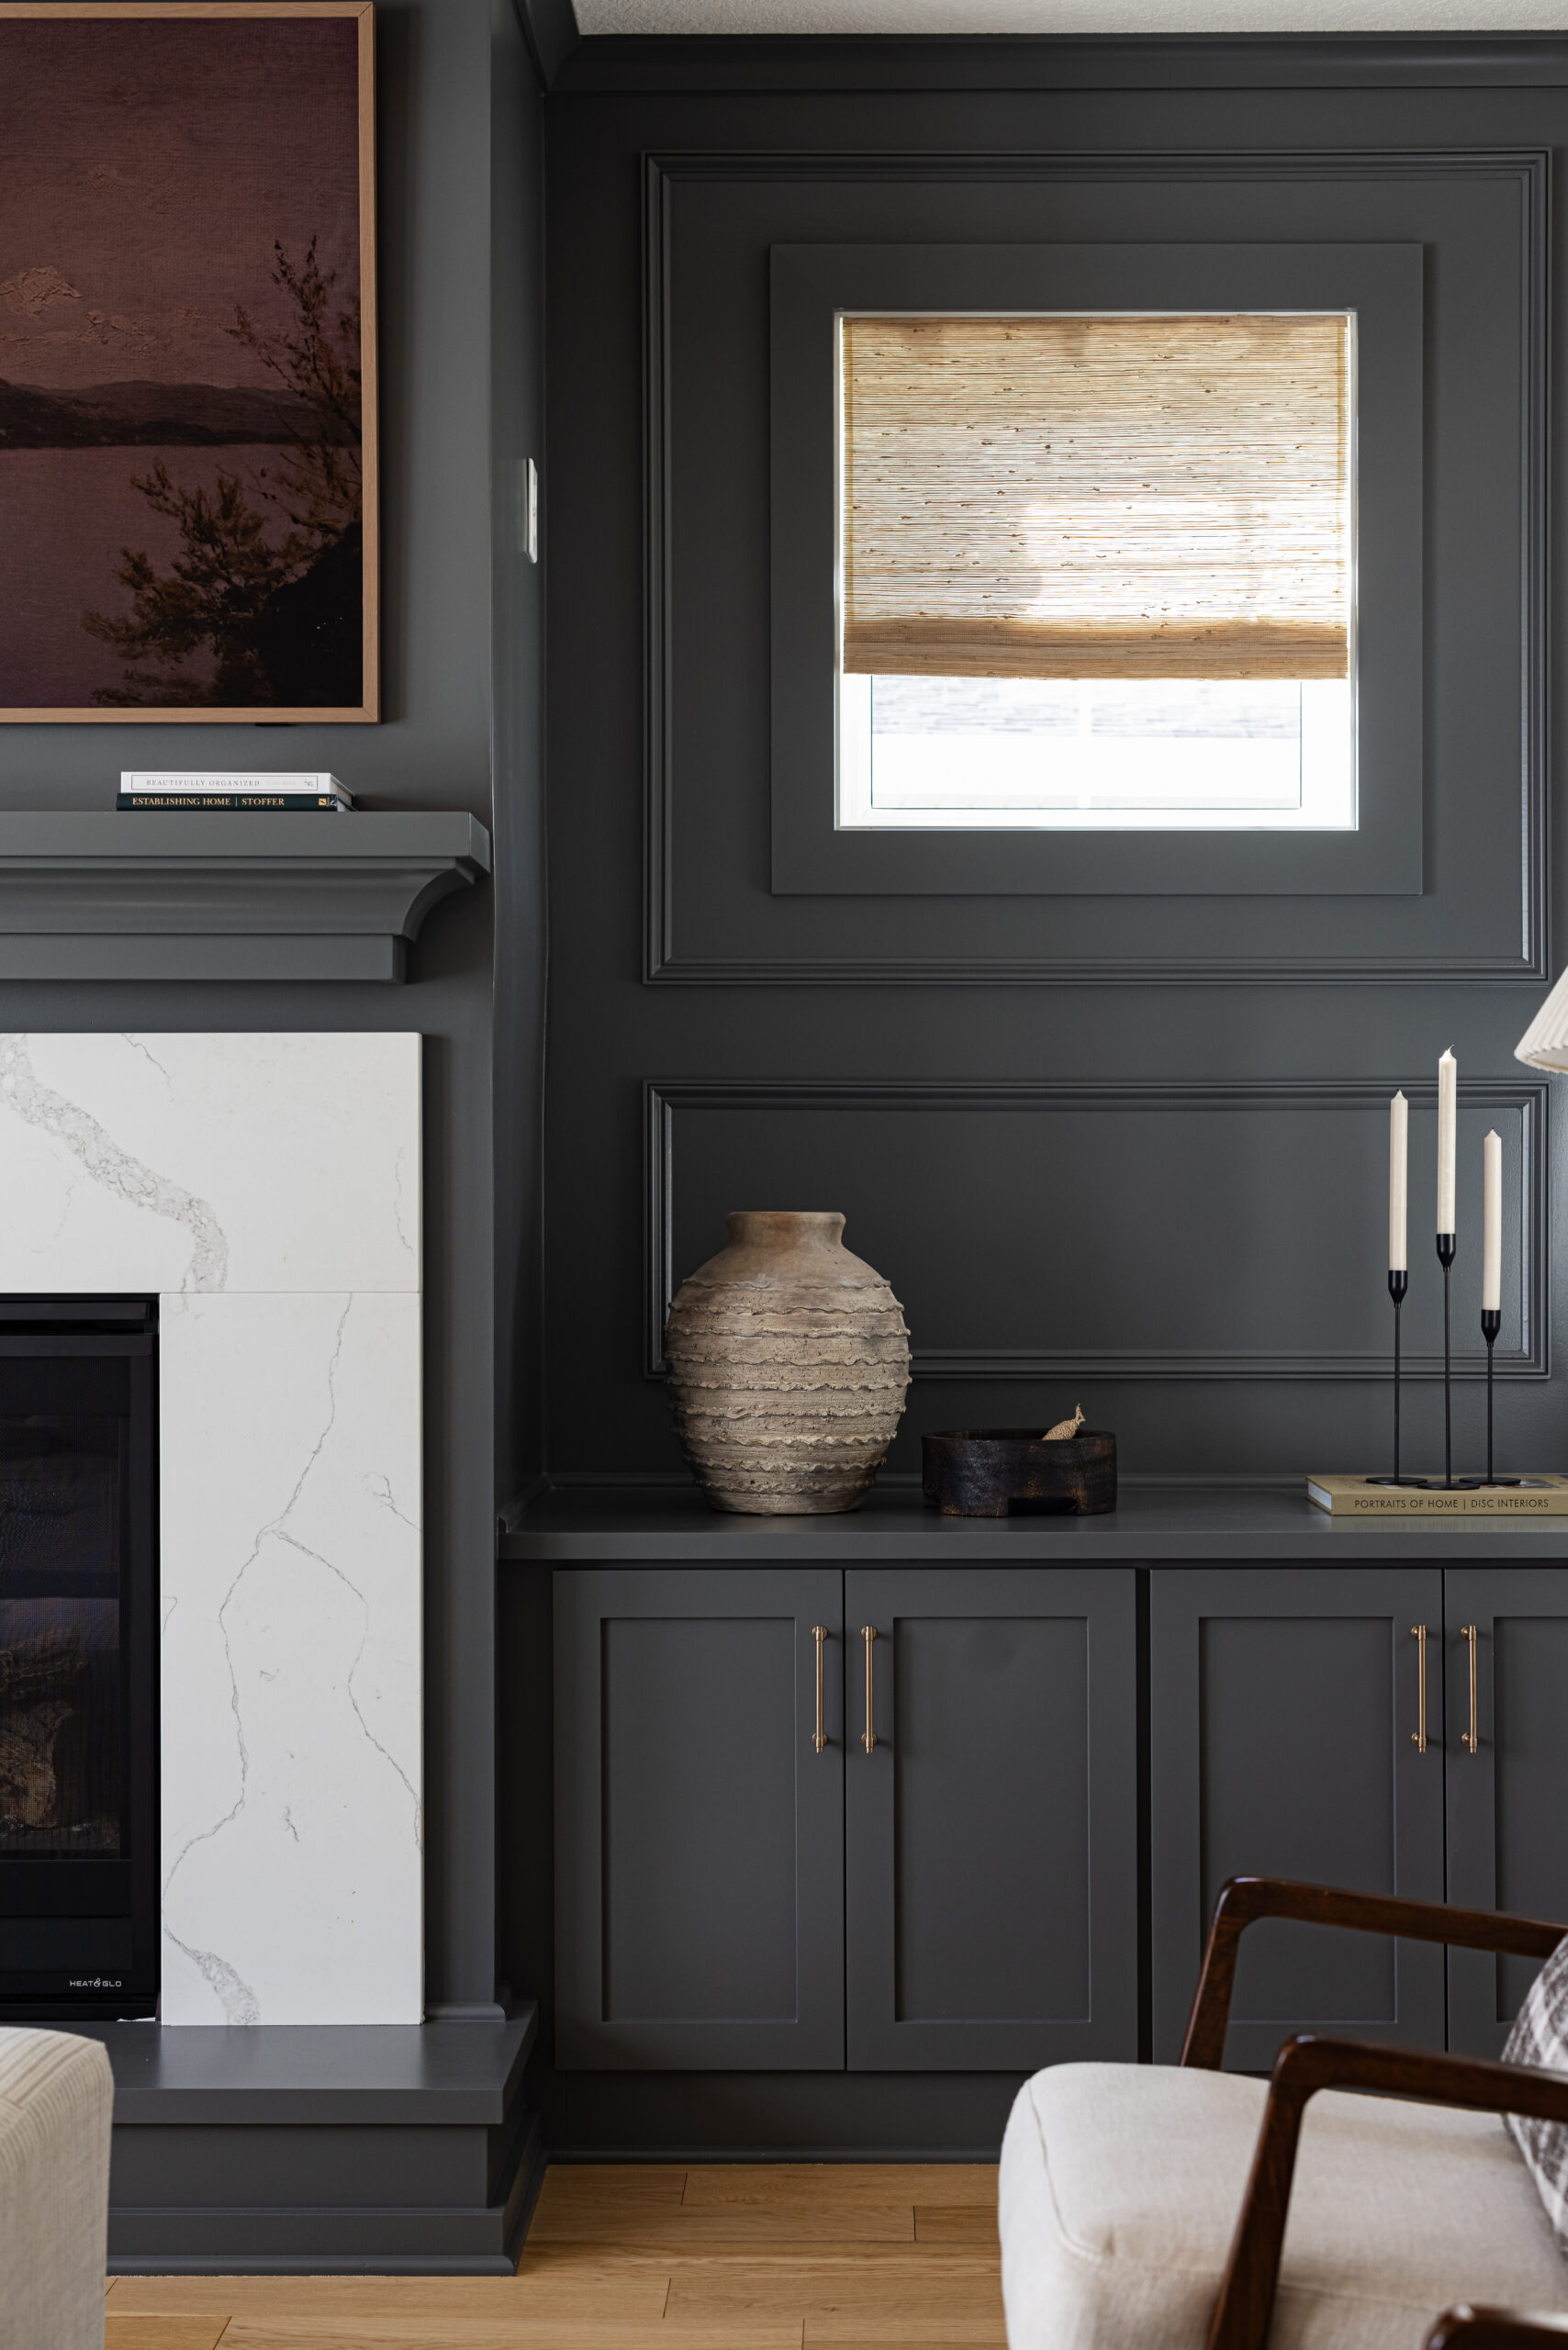

We sold the home, but I’m sure if it has – they’d be calling us. 🙂 We’ve done many slat rail walls and have never had an issue in warping.
Has the wood warped at all?