A backsplash used to be put into kitchens to catch your flying food and to easily clean up.
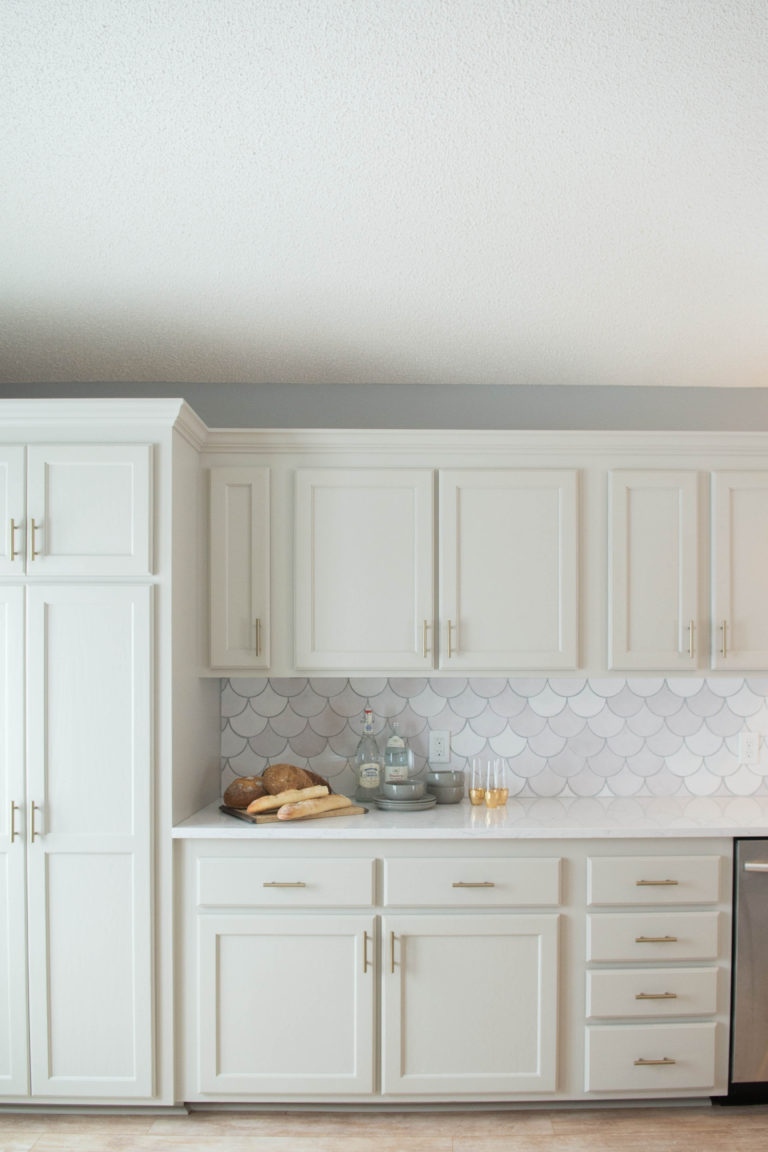
No longer are fish scale tiles only used to protect the walls, in 2019 they are being used to make a statement.
From the standard subway to glass, wood, metal, stone, and brick…the choices are endless. Then, once you have your material chosen you have different sizes and patterns to choose from and there are so many fun options it’s hard to choose just one.
That’s why we love working in the field, haha, because we get to choose and install them all for our amazing clients. Lucky us!
We recently fell in love and have been working with the talented creators and team, Mercury Mosaics on tile selections.
Not sure if it was the tile or the team that we loved so much! But we cannot get enough.
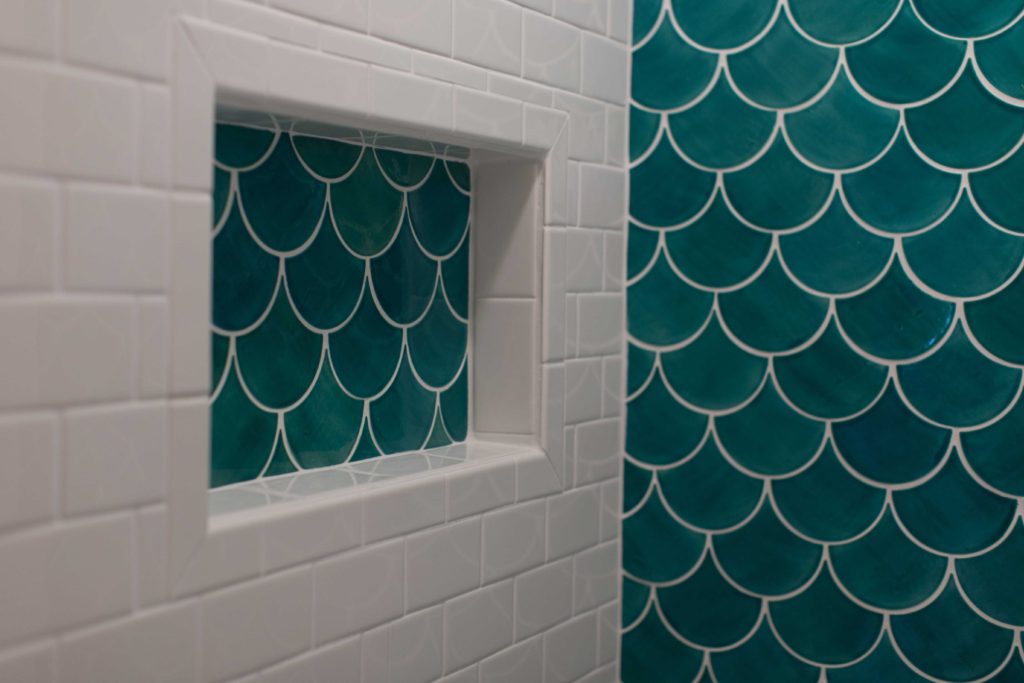
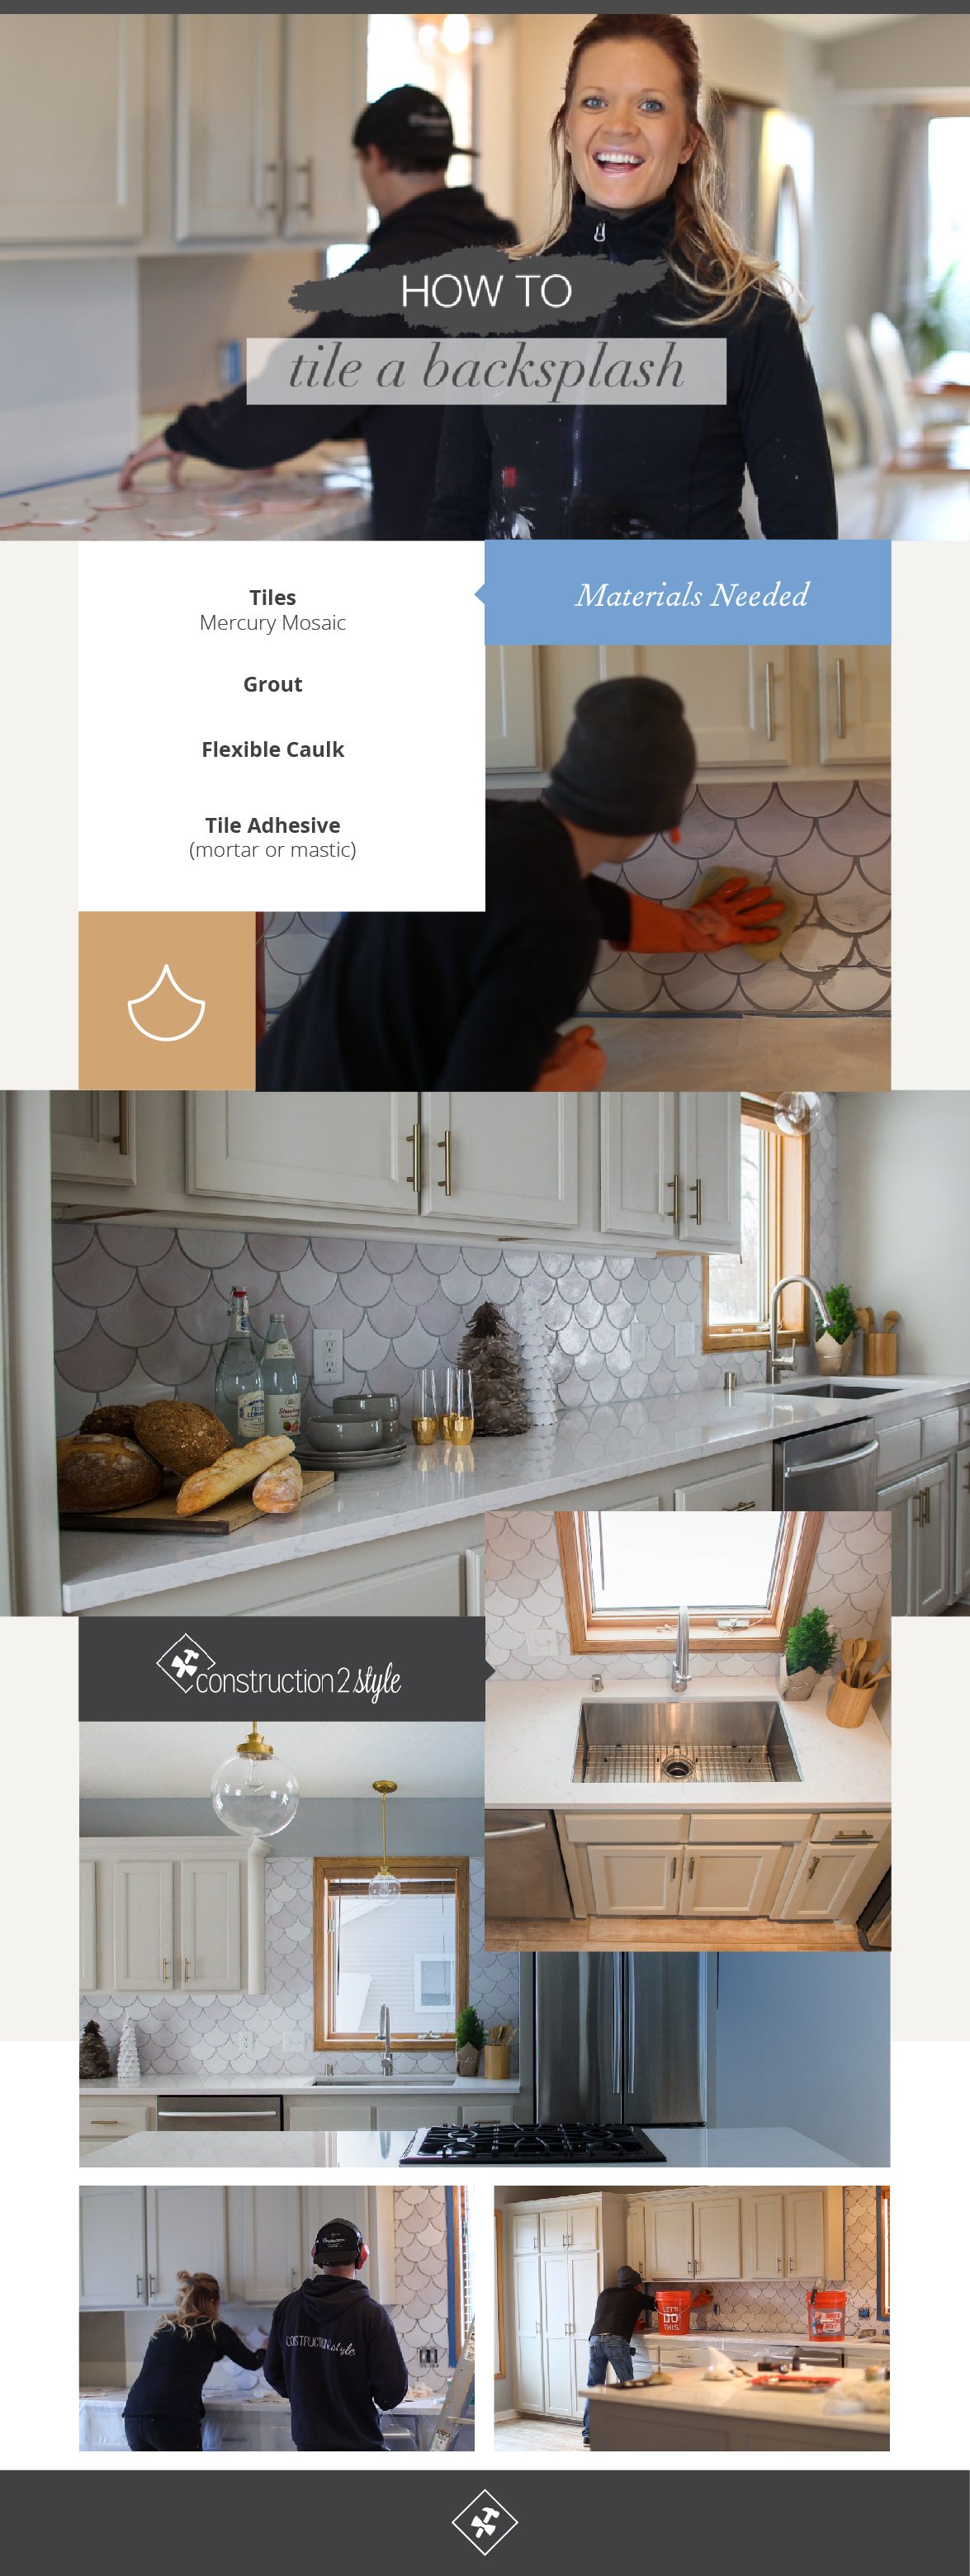
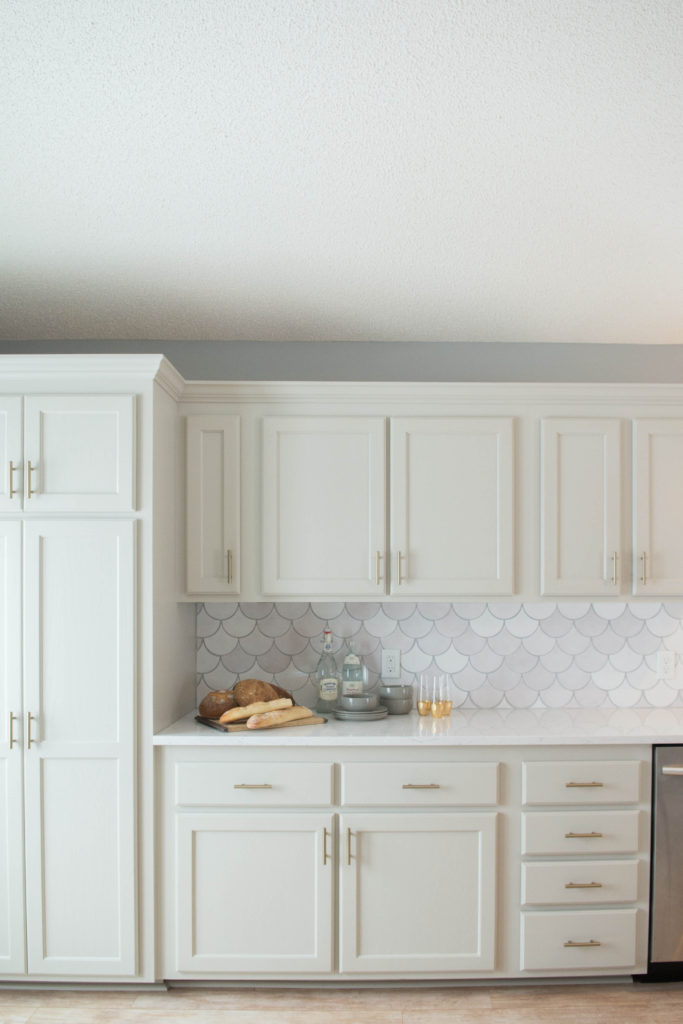
Well, we recently used their white Moroccan Fish Scale Tiles within a kitchen design and remodel for a backsplash and are so excited to show you guys today how we created the look so you can too. Remember that mermaid blue bathroom we did with those fish scale tiles?
Yep, these are the same brand and fish scale tiles just in a different color and a whole new space. I mean, how gorgeous are these?!
I wish the hubby would let me do them in every room of our new house! I’m obsessed.
Since we’re talking backsplash tutorial today, if you are looking to tile these same fish scale tiles within your bathroom, you can check out our tutorial HERE.
How to Lay Fish Scale Tiles
Laying tile can be a little bit nerve-wracking, especially when it is a new shape you’re not used to working with like these Moroccan fish scale tiles. Today we wanted to provide you with a step-by-step tutorial on how we tiled the backsplash in our recent client kitchen renovation so you can DIY!
And we even got it all down into a nice little video for you to watch too.
This entire backsplash took us about 10 hours from start to finish and 8 of those hours were us doing it together, so if you’re solo, plan a little extra time. We worked those 10 hours within a 4-day time span.
Doing the prep work one day, laying the tile the next day, grouting the following, and finally sealing the last.
1. Buy Tools and Materials
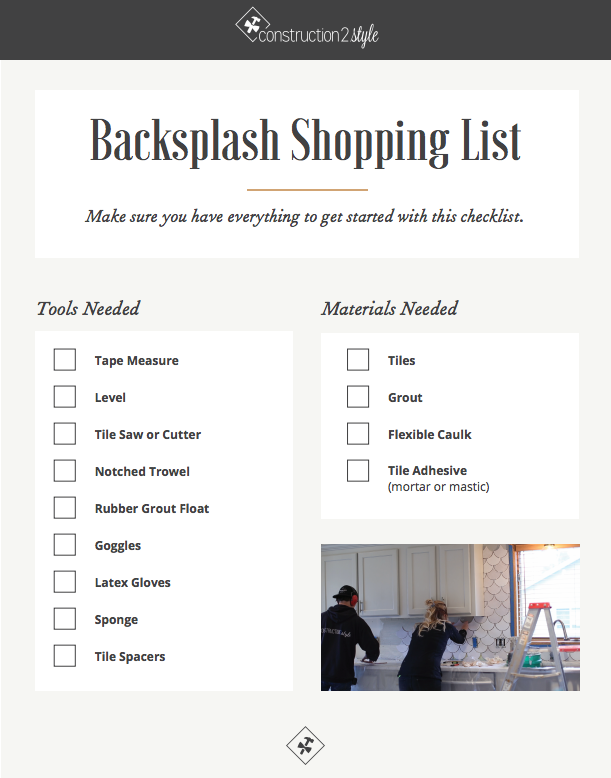
The first step is getting all of your tools and materials in order. Here’s your list for what you’ll need! Or you can click –> HERE <– to download our PDF guide (shown below) and print it for your run to the store, so you don’t forget one thing.
Tools Needed:
- Tape Measure
- Level
- Tile Saw or Cutter
- Notched Trowel
- Rubber Grout Float
- Goggles
- Latex Gloves
- Sponge
- Tile Spacers
Materials Needed:
- Tiles
- Grout
- Flexible Caulk
- Tile Adhesive (mortar or mastic)
2. Preparation
Prep work, the fun stuff. And sometimes what takes the longest! Make sure to remove any old tile from walls and try to ensure your surface is as flat as possible. Remove your switch plate covers, tape off cabinetry, move free-standing appliances away from walls, etc. Make sure your space is clean and cleared away and ready to get messy!
Tip: Remember that preparation is 75% of a successful design and renovation job
3. Inspect Tiles & Find Your Focal Point
The Moroccan Fish Scale tiles are handmade, which means all of the tiles can vary. Handmade or not though we always inspect all of the tiles to ensure there are no cracks, marks or big color discrepancies. As for Mercury Mosaics and their handcrafted tiles, and what I love most about these tiles, it wouldn’t come as a surprise as they are all perfectly imperfect, you just want to make sure that the odd egg isn’t the one that so luckily gets placed in the middle of your design as the focal point.
Most importantly, make sure your measurements are correct so that you have ordered enough tiles with coverage for all the cuts you have to make along the edges. We always make sure we have 10% more material than we need to cover the cutoffs and the “oopsies.” If this is your first time tiling, you might even want to go with 15% to be safe. You can usually always return the extra tiles you don’t use to your supplier.
Tip: Always order 10% more tile than you think you need
4. Dry Layout Design
Find your focal point on the wall, that is going to determine where to start.
You will want to center on that point. If it’s a big area, find the middle. Or if it’s a smaller area like this space we did, find where your eye naturally goes, and that’s where you are going to start your design with the first tile.
For us, it was right around the sink area. You’ll also want to level off your cabinetry to make sure it is level. If the cabinets are off level- make sure the tile is level.
Tip: Lay all of the tiles out before installing them
Measure the area you’re starting with up on the backsplash and measure that same amount on the floor, then tape off. You’ll want to lay out your tiles before you place them to ensure a smooth process.
We don’t usually but if this is your first time tiling you’ll probably want to use spacers for your dry run as well to make sure those measurements are accurate.
5. Lay Mortar & Tile
Select a thin-set mortar at your local hardware shop. Make sure you have a good mixing paddle to prepare it and just follow the mixing instructions on the packaging.
You want to be sure the mix is a good consistency, like cake batter.
We never mix more mortar than we can get onto the wall and tile at a time because it dries quickly. If you’re working solo, you’ll probably only want to make enough for 30 minutes of work.
Otherwise, it will dry, and you won’t be able to spread it on the wall and the tiles won’t adhere to the dry glue.
Tip: Have a helper cut the tiles for you
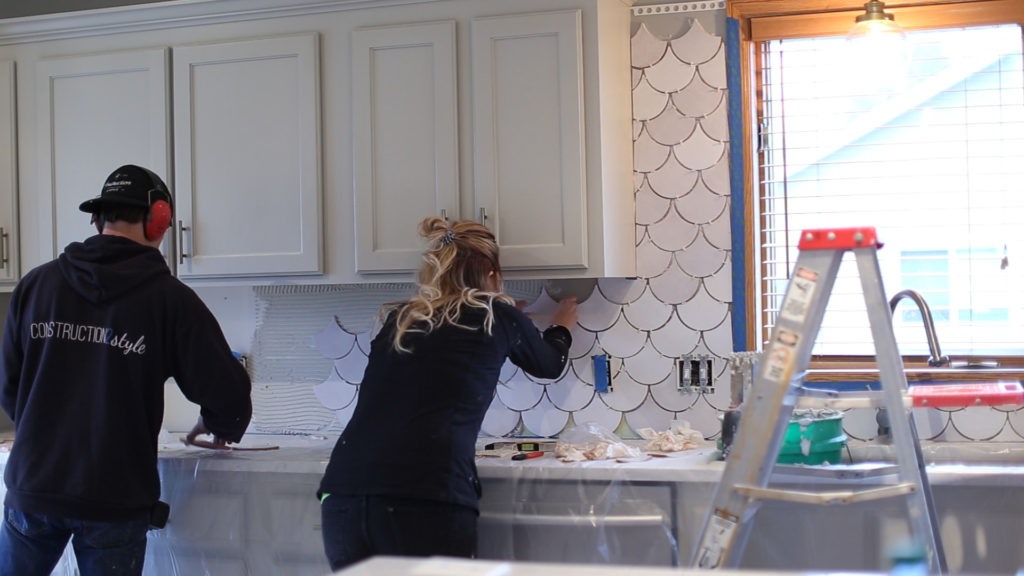
Once it’s all mixed up, you’ll use the flat side of your trowel and spread your mortar onto the backer board. Then flip your trowel over and use the notched edge to make the nice little ridges.
For this particular job, we used a 1/4″ x 1/4″ notched trowel. Once you have a good area covered in mortar, you can pick your tiles up from your dry run and start putting them into place with the mortar.
When getting close to the edges to cut the tiles, we always wait to cut the tiles until we are actually setting them, to ensure accuracy and then do a handful at a time because I am throwing them all up on the wall within minutes while Jamie is cutting more.
Use a tile pen, and mark the spots on the tile where you need the clean-cut lines.
Tip: Always make sure to use your level periodically to ensure each row is straight.
6. Grout
We have a love/hate relationship with grout.
It makes us so mad but so happy at the same time. ha! It’s so much fun to watch your project look complete by my-lanta…it takes about five washes to get those babies clean!
Just like mortar, there is a ton of different grout options as well. Mercury recommends using a sanded grout for these fish scale tiles.
The recommended type with 1/8″ or larger grout lines. Before you begin, make sure that your mortar and tile has had long enough to dry and set before grouting.
If not, you increase the chance of your tiles shifting, which would be really bad.
Tip: Let the tile dry for 24 hours before grouting
Follow the mixing instructions on the back of the packaging of the grout you bought. Apply enough grout to fill all the small areas of your tile.
Using a rubber trowel, you will want to make a sweeping motion over your tiles and at times at a 45-degree angle to make sure you have it nicely packed in. And you’ll want to make sure you don’t have any air bubbles in your grouted areas.
Move along your tiles and into the spaces.
Again, if you’re working solo, you’ll have to move quickly as the grout dries fast. Jamie and I usually work as a team throughout the tiling process.
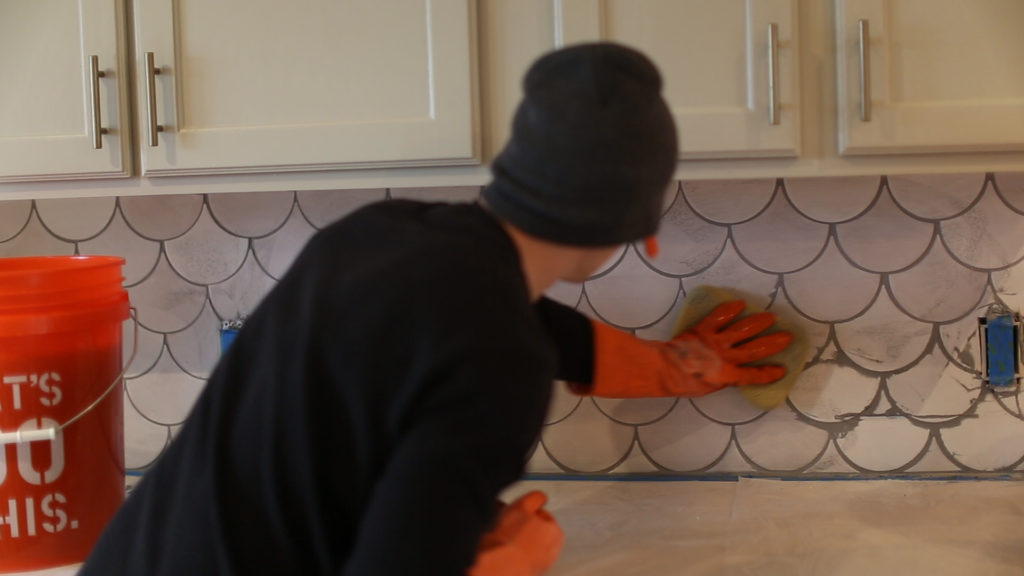
One of us is grouting as the other is following not too far behind cleaning the grout off of the tiles. If the grout dried on the tiles, you are in trouble as it is really hard to get dried grout off of tiles.
To wipe off the grout, we have a five-gallon bucket of water and a large sponge. We use the sponge to wipe the tiles down and lightly brush over the grouted areas.
We typically need to wipe the tiles off a minimum of two to three times, followed by a dry rag to get the dried grout dust off.
7. Seal
A few days or even a week after you’ve grouted your backsplash it’s time for the sealer. The packaging of the grout you use will have instructions on how long you should wait before sealing.
Adding sealer to your grout will help protect it from staining and help in the cleaning process.
The sealer we use always has a nice little paint brush for the top of the bottle and you just simply paint all the grout lines. I actually find this step pretty relaxing, it brings me back to my art class days, haha!
And that’s it. Sealing is the last step to your tiling project. Now step back, give yourself a pat on the back and enjoy all the hard work you just did!
Congrats!!
And make sure to tag us in your photos at construction2style so we can see your completed masterpiece! You are going to kill it. We love seeing your fish scale tiles!
And if you’re looking for all of the details behind this kitchen remodel, we have the resources listed for you in this blog post: Our Latest Contemporary Kitchen Remodel
