Two weeks ago, we were at the Pinner’s Conference where we taught two workshops, including how to make a tile trivet and it was such a blast. If you’re wanting to learn more about how to tile a backplash and painting tips, we’ll be sharing it all for you as well!
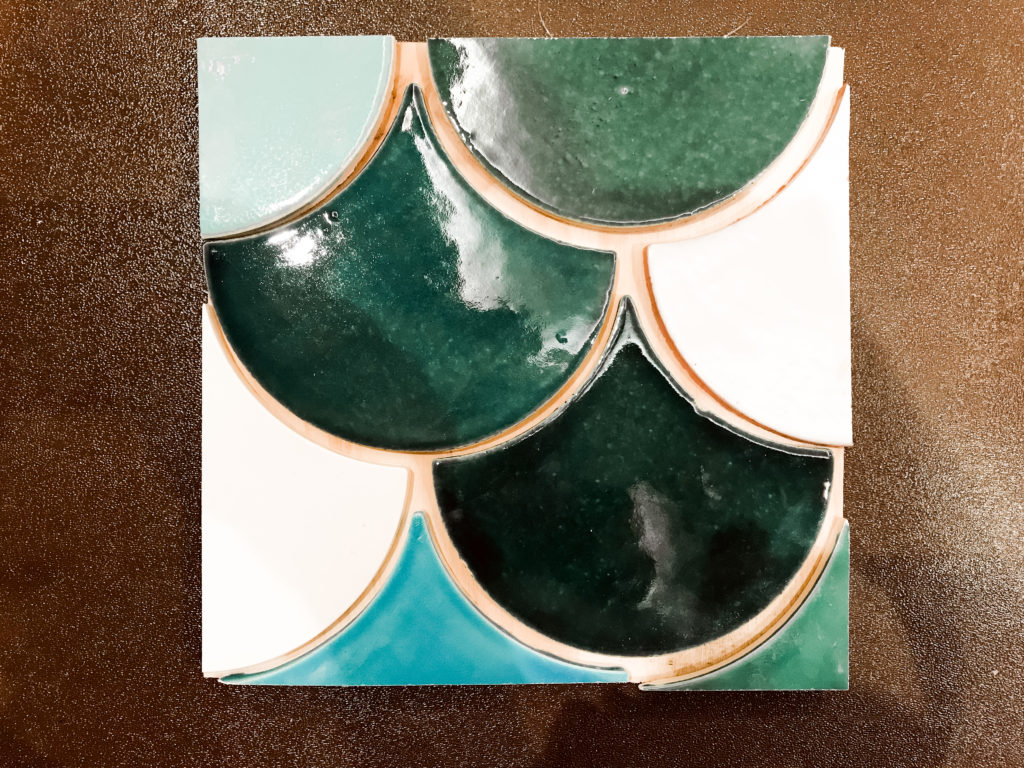
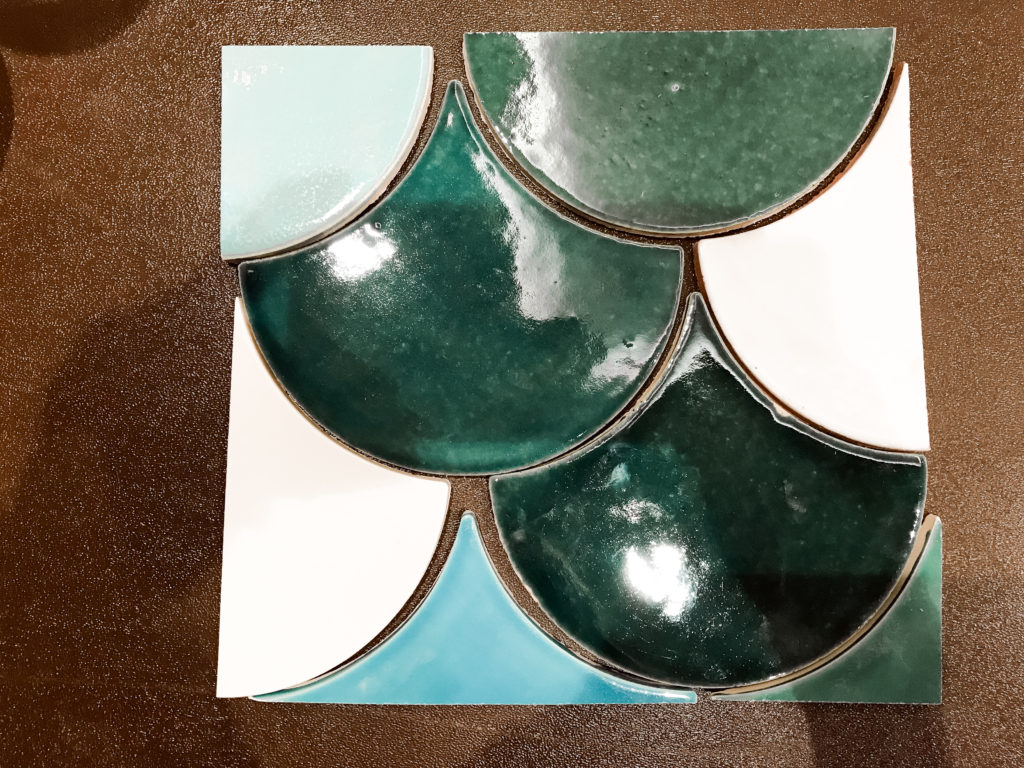
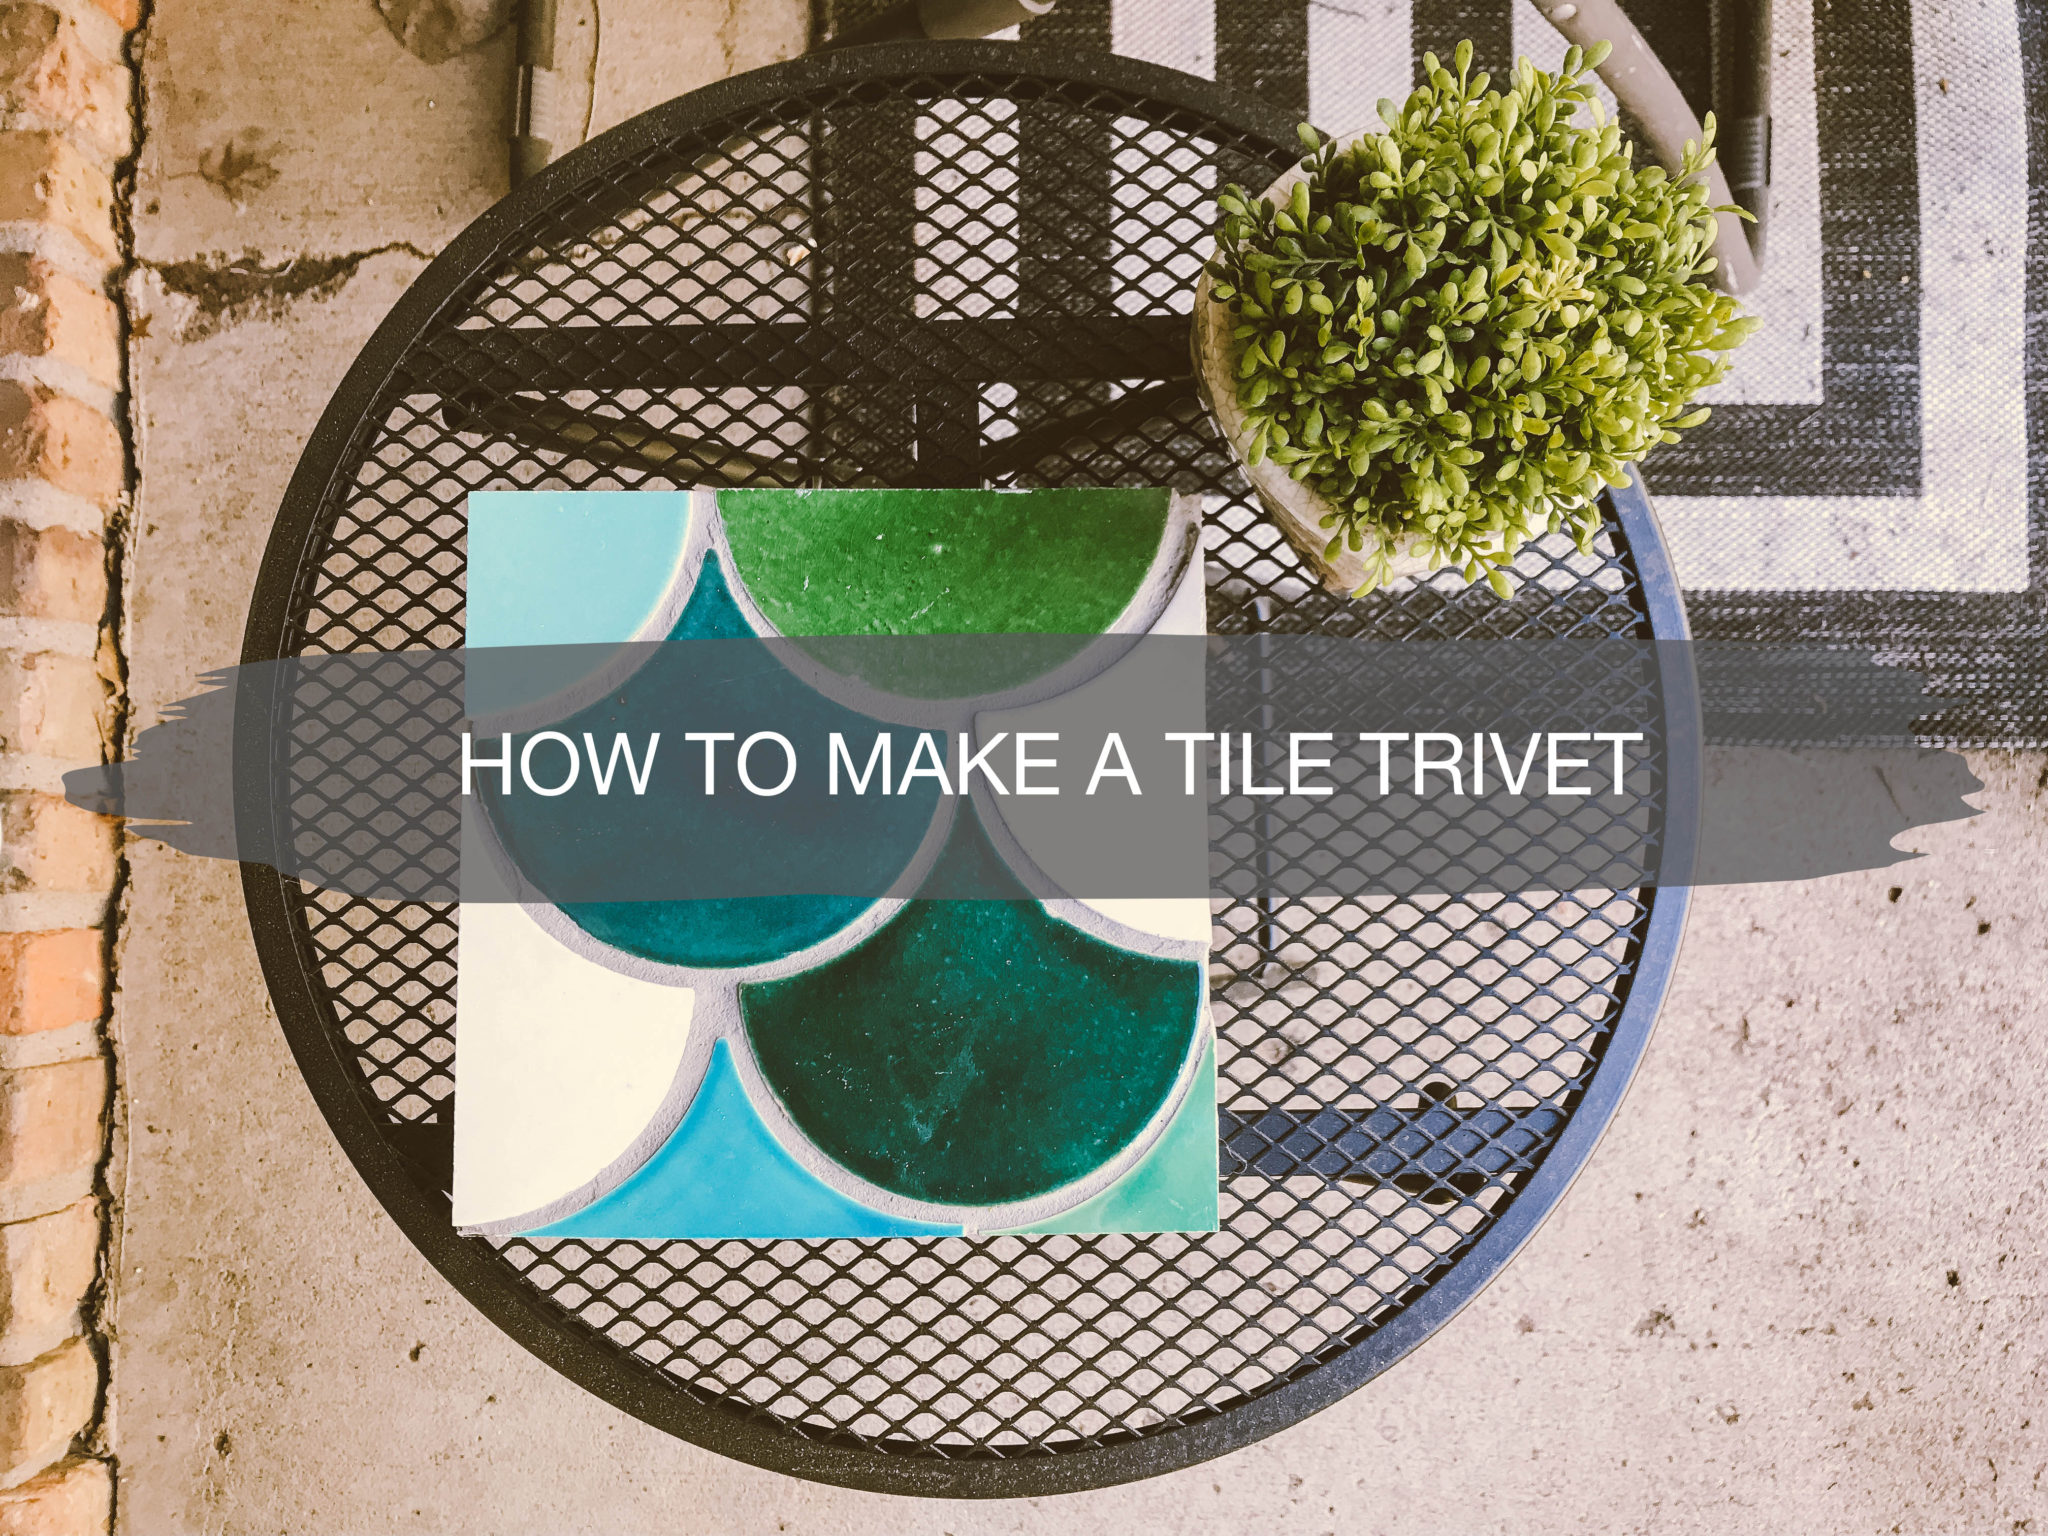
At the tile workshop, we taught everyone how to tile by having them make their own trivet with Mercury Mosaics tile. These trivets can be used in your kitchen as decor, for hot pots and pans, or as a base for planters or pots on your patio.
Step One: Get your Materials + Tools
Getting your materials prepped and ready to go before you start is always an important step.
Here’s what you’ll need:
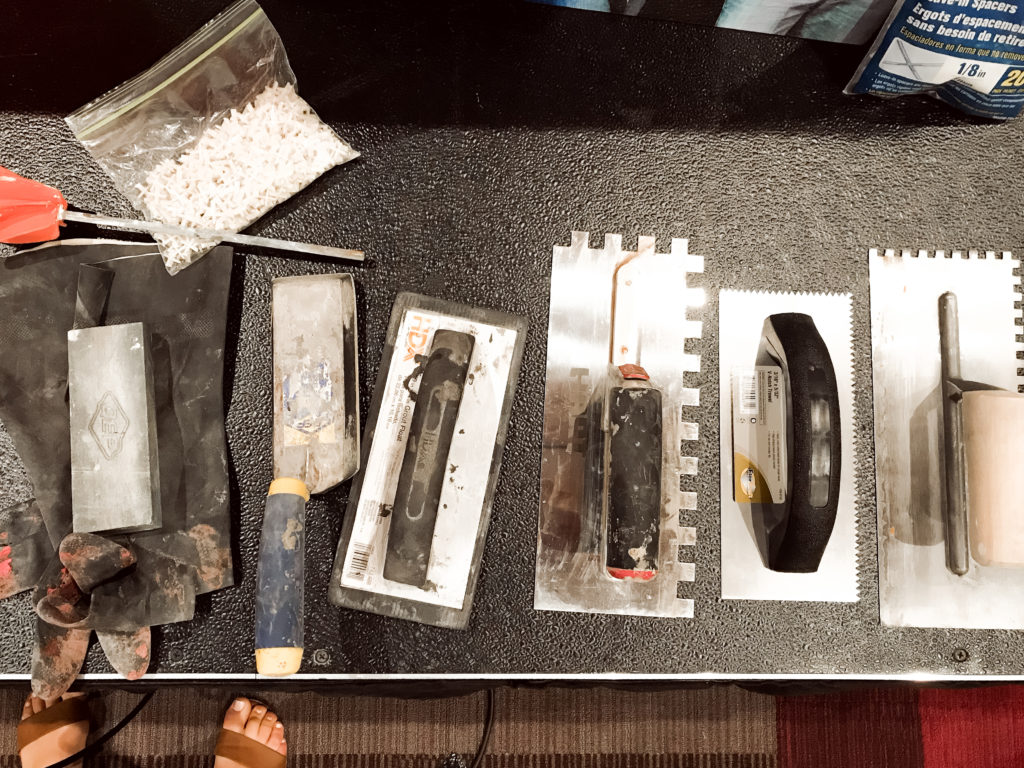
- 8×8 inch plywood board
- Precut tile
- Tile saw if you need to cut your tile
- Notched trowel
- Tile adhesive (mortar or mastic)
- Grout
- Sponge
- Bucket of water
Step Two: Pick your Tile
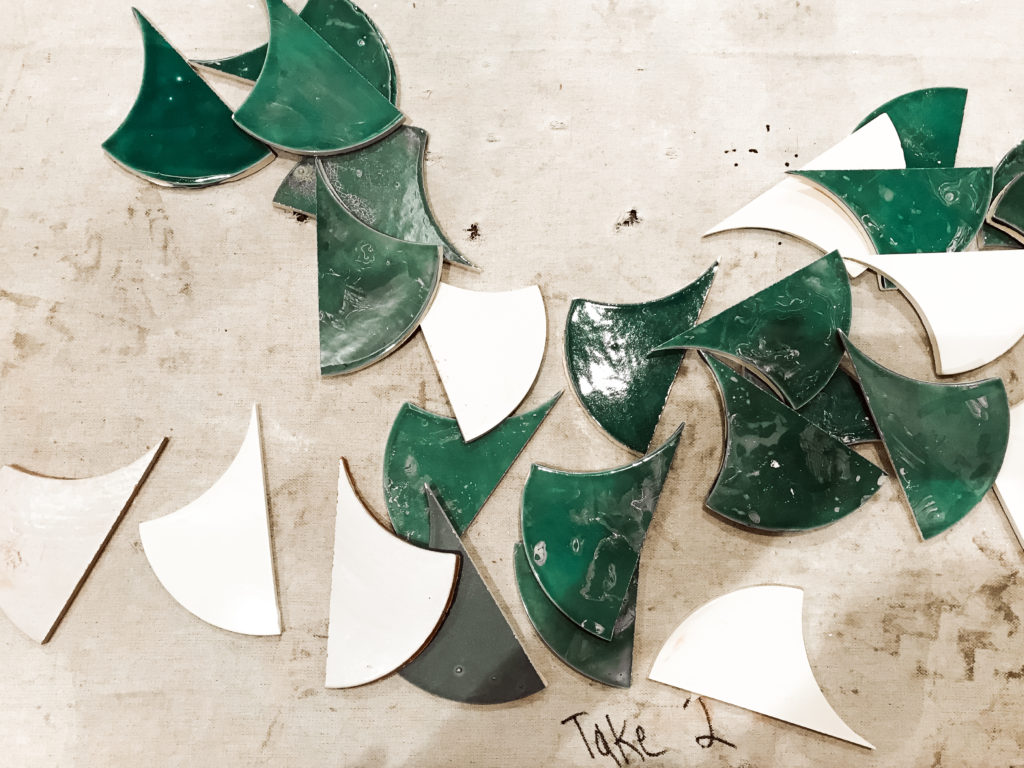
The fun part about making your trivet is that you can choose the color and design that goes with your kitchen and home! At the workshop, we had precut tile fish scale tile from Mercury Mosaic and each attendant chose the colors they liked for their trivet.
Step Three: Dry Layout Design
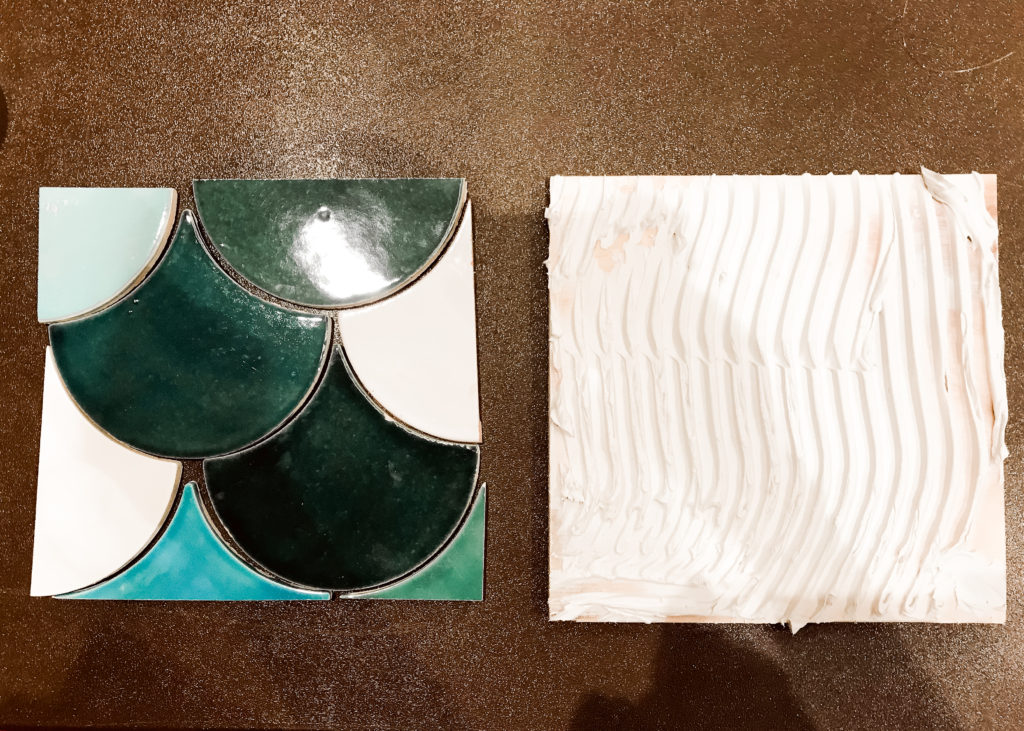
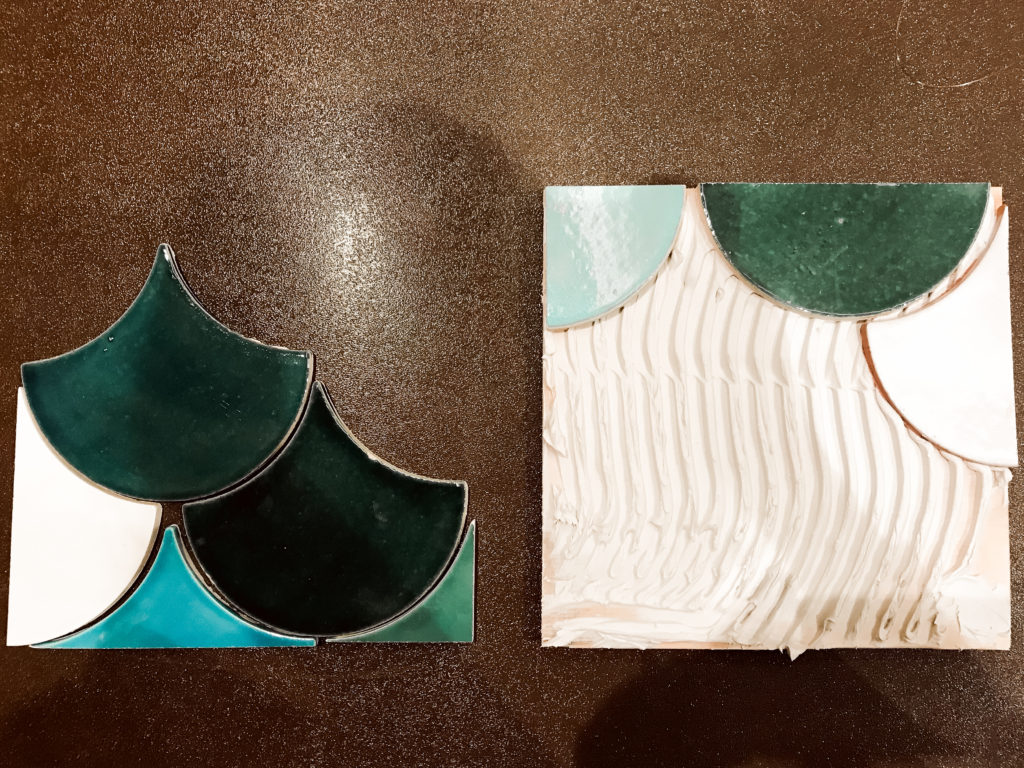
Before laying your tile on the plywood board with the adhesive, be sure to do a dry layout on the board so you can get the look you’re going for. This will ensure that you know where each tile piece will go on the board and how it will all fit together.
Once you have the dry layout set, take the tile pieces off the board and lay them on the table. When you go to apply the tile adhesive to your board, you’ll have the layout ready to go for installation without wondering how you had it laid out in the first place.
Step Four: Apply Mortar to Backer Board
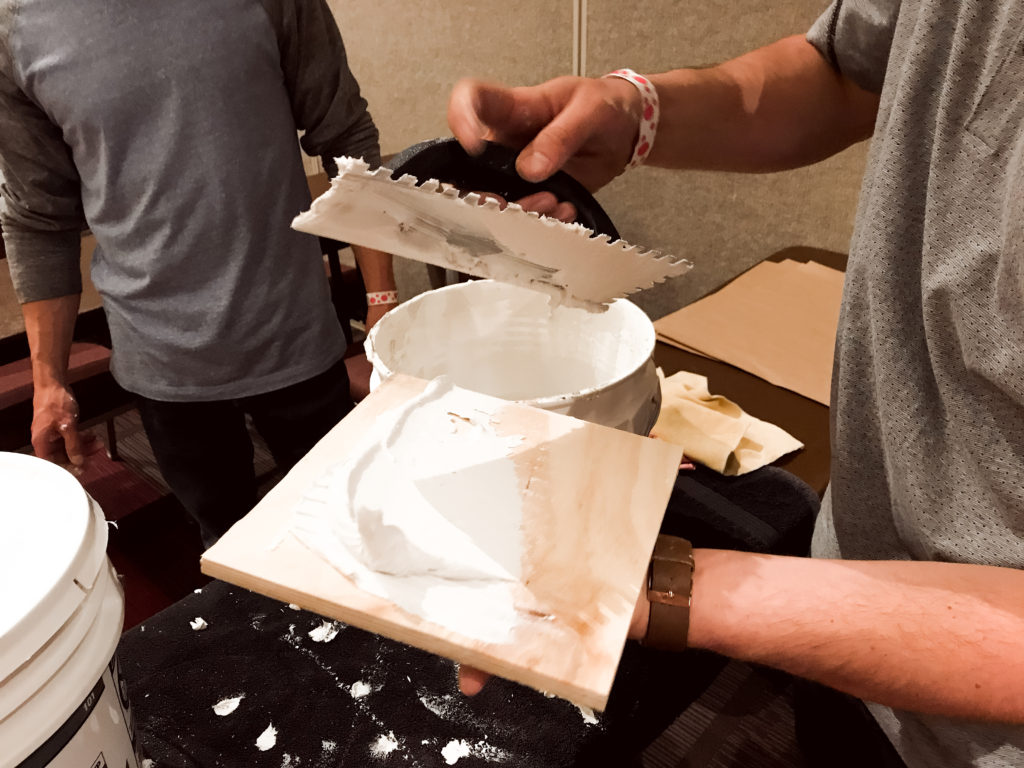
Using mortar or mastic, apply the tile adhesive to the plywood board with a notched trowel. For these trivets, we used the 1/4″ trowel to spread the adhesive.
You’ll want it spread it evenly and make a thick layer on the board.
Step Five: Lay Tile
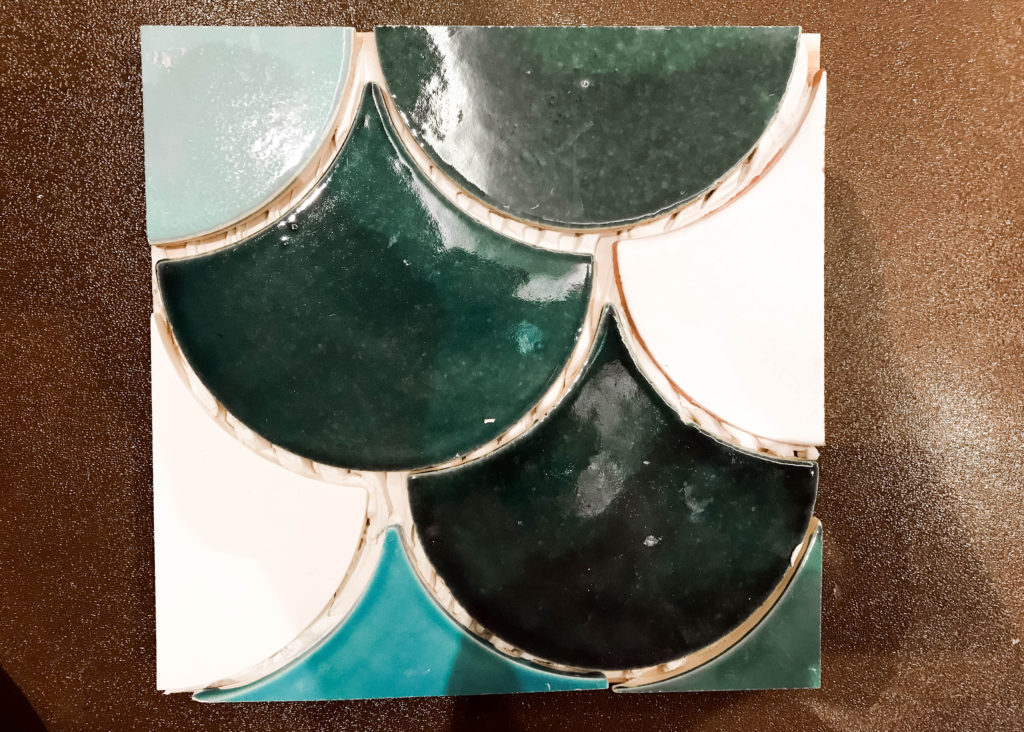
Now that you have your adhesive on the board, take the individual tile pieces from your dry layout and begin to lay them on the board. Line the tile pieces up with the corners to ensure a finished look.
With handmade tiles like Mercury Mosaics, every tile is perfectly imperfect, so the spacing may not be 100% the same, but that all adds to the design. You don’t need to press down on the tile in order for it to stick to the adhesive and it’s good for the grooves to be under the tile for adhering it properly.
Step Six: Apply Grout
Finally, once your tile has been on the plywood board and the adhesive had set for 36-48 hours, you’re ready to grout. Follow the mixing instructions on the back of the packaging of the grout you bought.
Apply enough grout to fill all the small areas of your tile. Using a sponge or paper towel, make a sweeping motion over your tile at a 45-degree angle to make sure that the grout fills all of the spaces.
Once the grout is in all of the grooves, use a wet paper towel to wipe off the tiles. Then go back over it with a dry towel to get all the dust particles off.
And just like that, you’ve learned how to tile! If you made a tile trivet of your own, we’d love to see it.
Tag us @construction2style with your tile creation!
