Disclosure: This post was sponsored by ProCore®. All opinions and content are our own, and we stand behind and use all brands and products we endorse on our site.
We’re back chatting about the Tonka Townline project, and we have an update for you – the luxury vinyl flooring has been installed! This project also happens to be my momma’s house.
When my mom bought this home in Tonka on Townline a few years back she knew it was going to need some major updates. But the location was perfect, after having lived in the same home her entire adult married life 7 hours north (Roseau, MN), she was ready to make the move down to the Twin Cities to be closer to her kids.
The location was perfect, the Tonka school district was great – as she’s a teacher, and just miles down the street from my brother. But she knew eventually this home would need a good remodel.
My mom’s not one that usually spends a lot of money on herself so we couldn’t wait to help her create a home for herself, finally, something for her. It’s been one of our easiest clients and we’re basically designing it like it’s our own yet keeping her traditional style in mind.
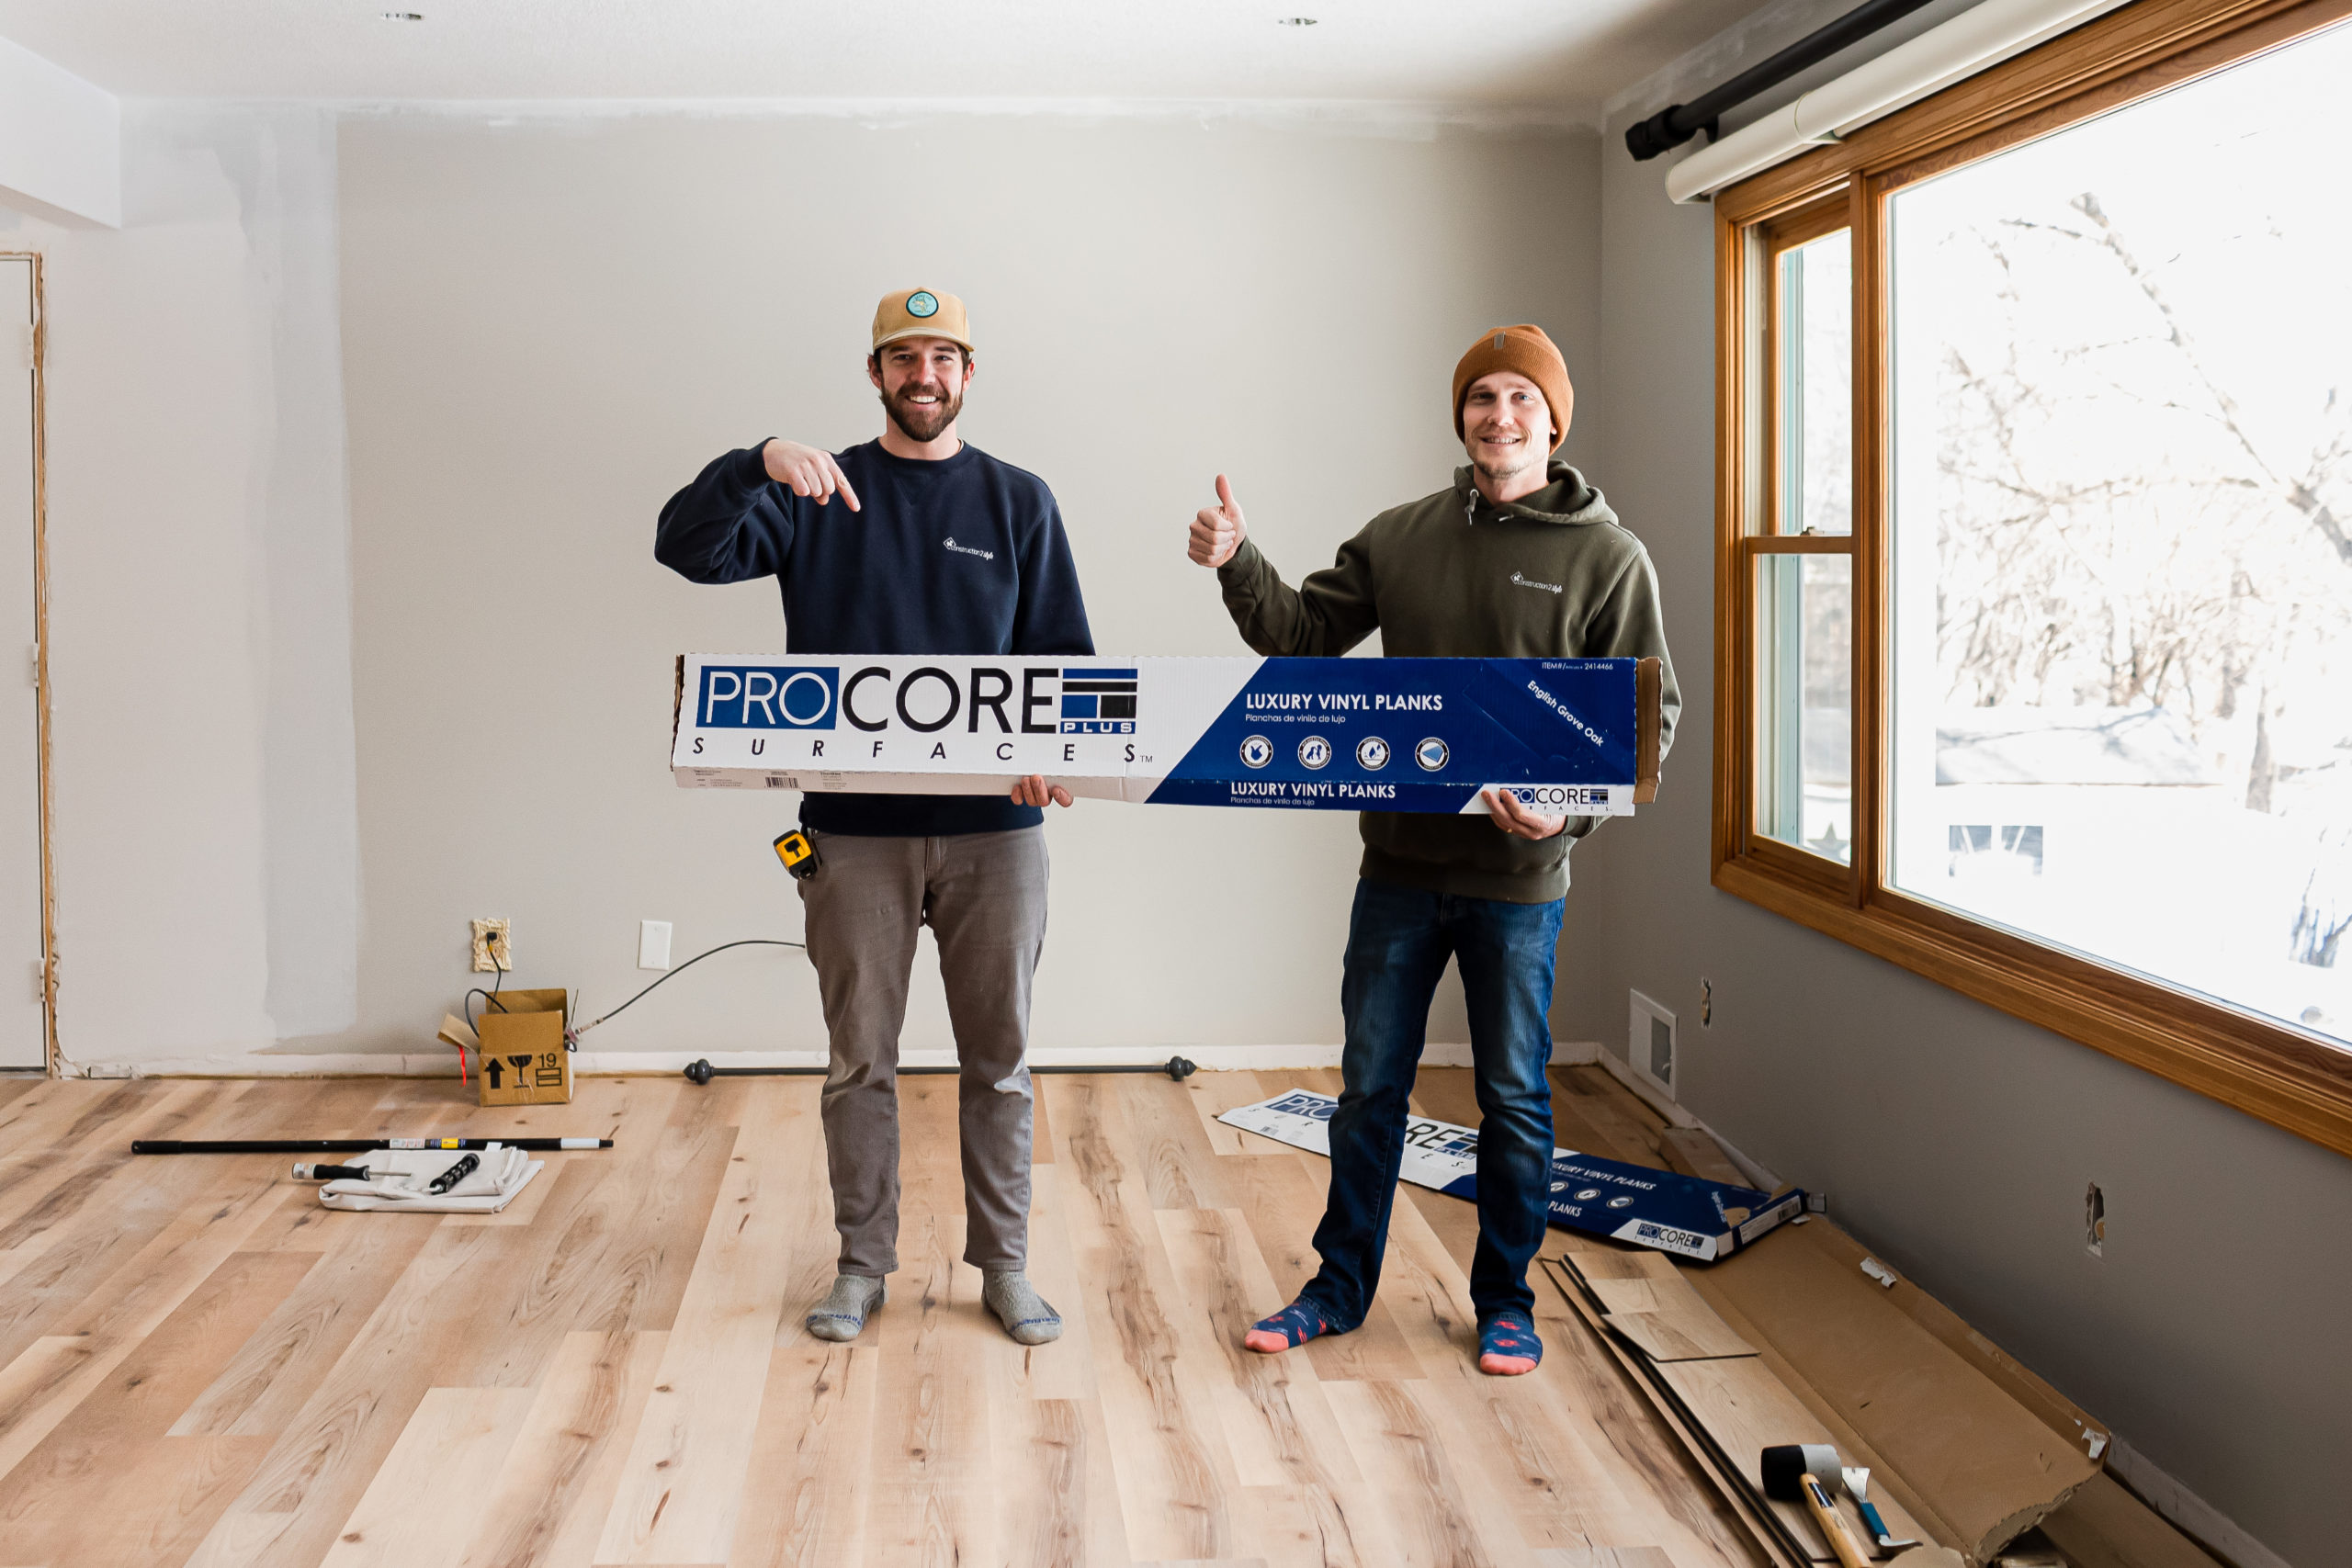
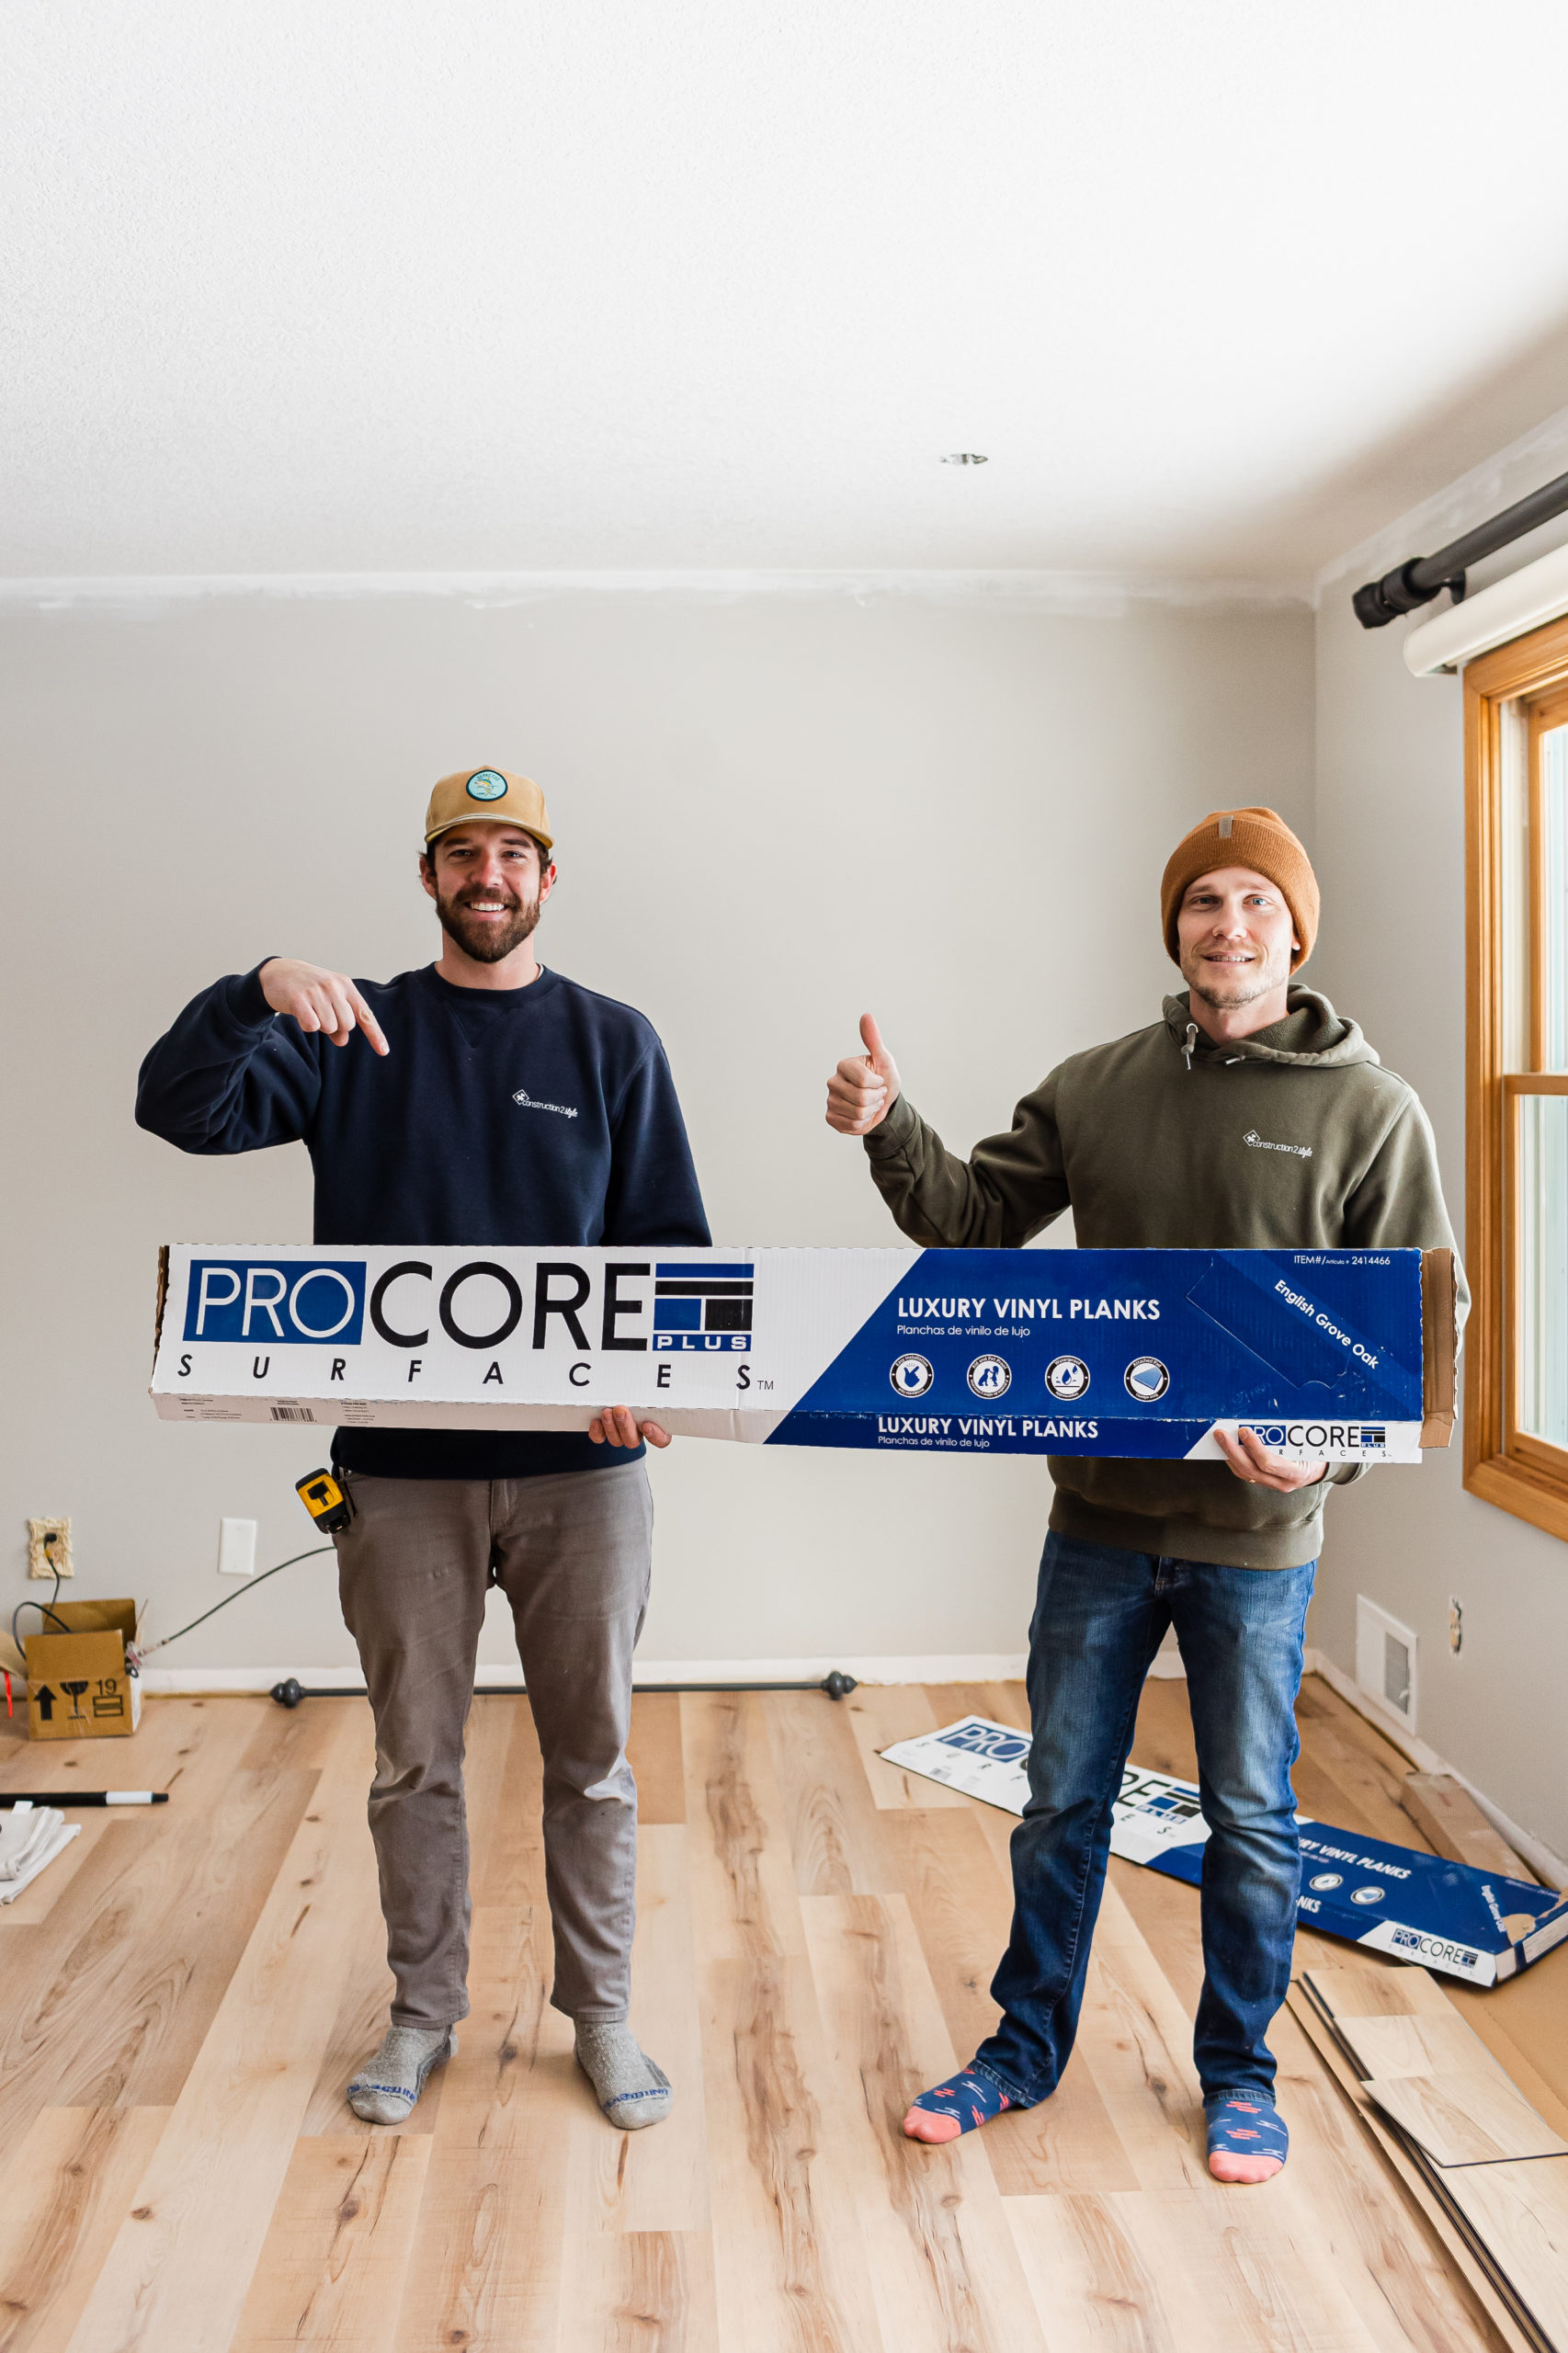
When it came to the flooring and I saw English Grove Oak from ProCore® I knew my mom was going to be in love! And after she came home from getting them installed she texted me immediately telling me how happy she was! So let’s chat about luxury vinyl flooring.
Tonka Townline Before
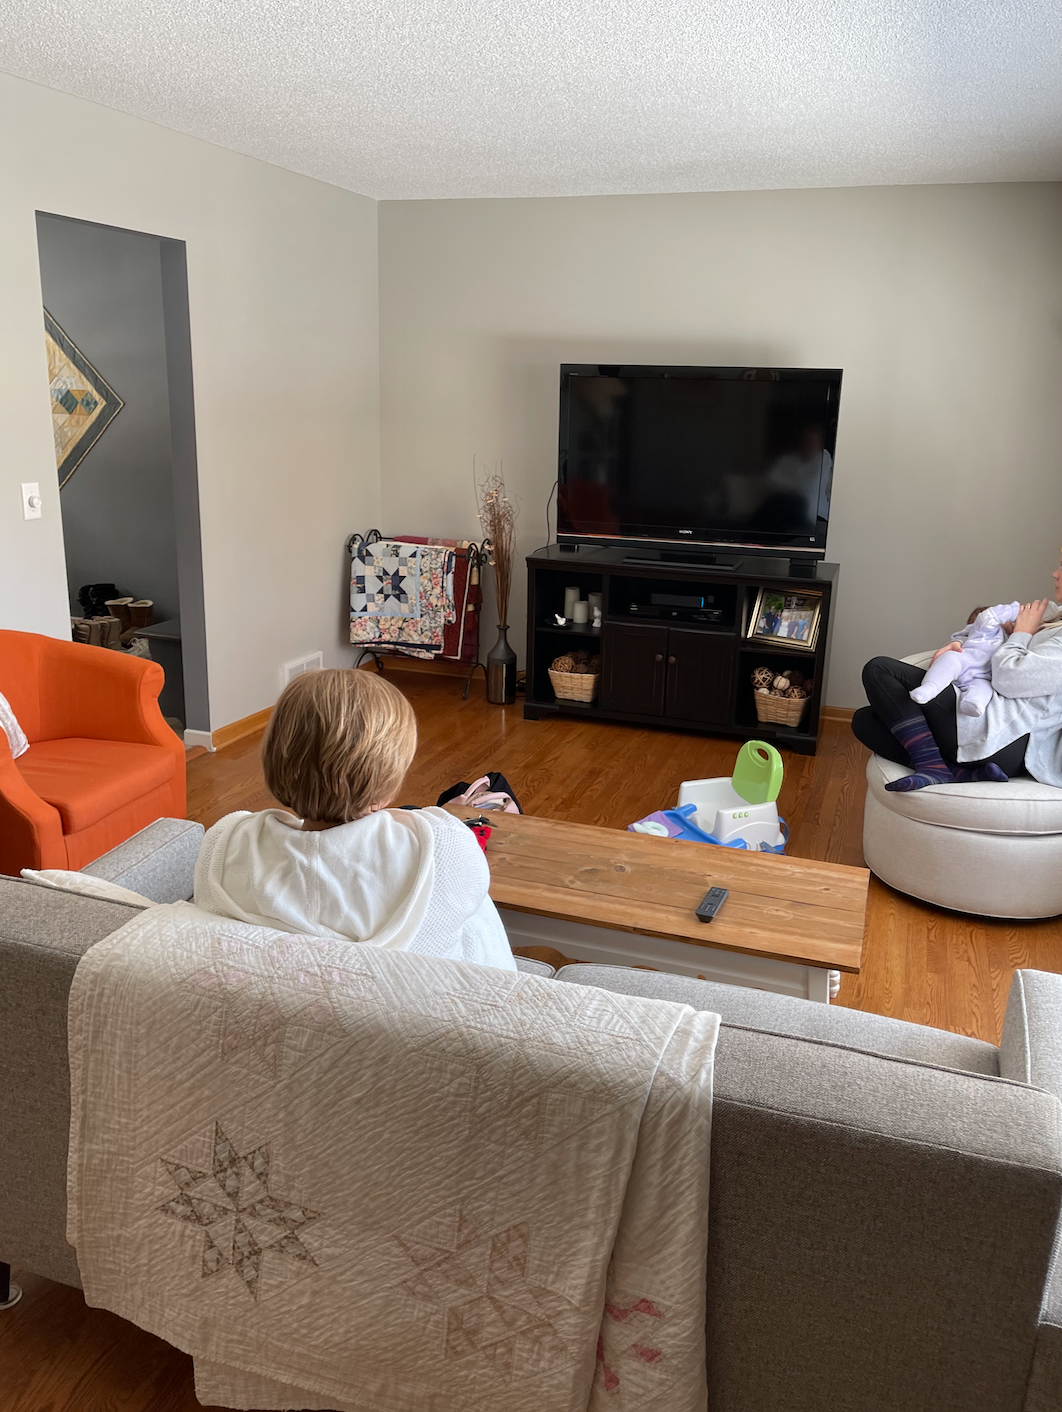
But first, let’s rewind back to them before. There is a lot of different flooring throughout the home. Here’s a snap of the living room…
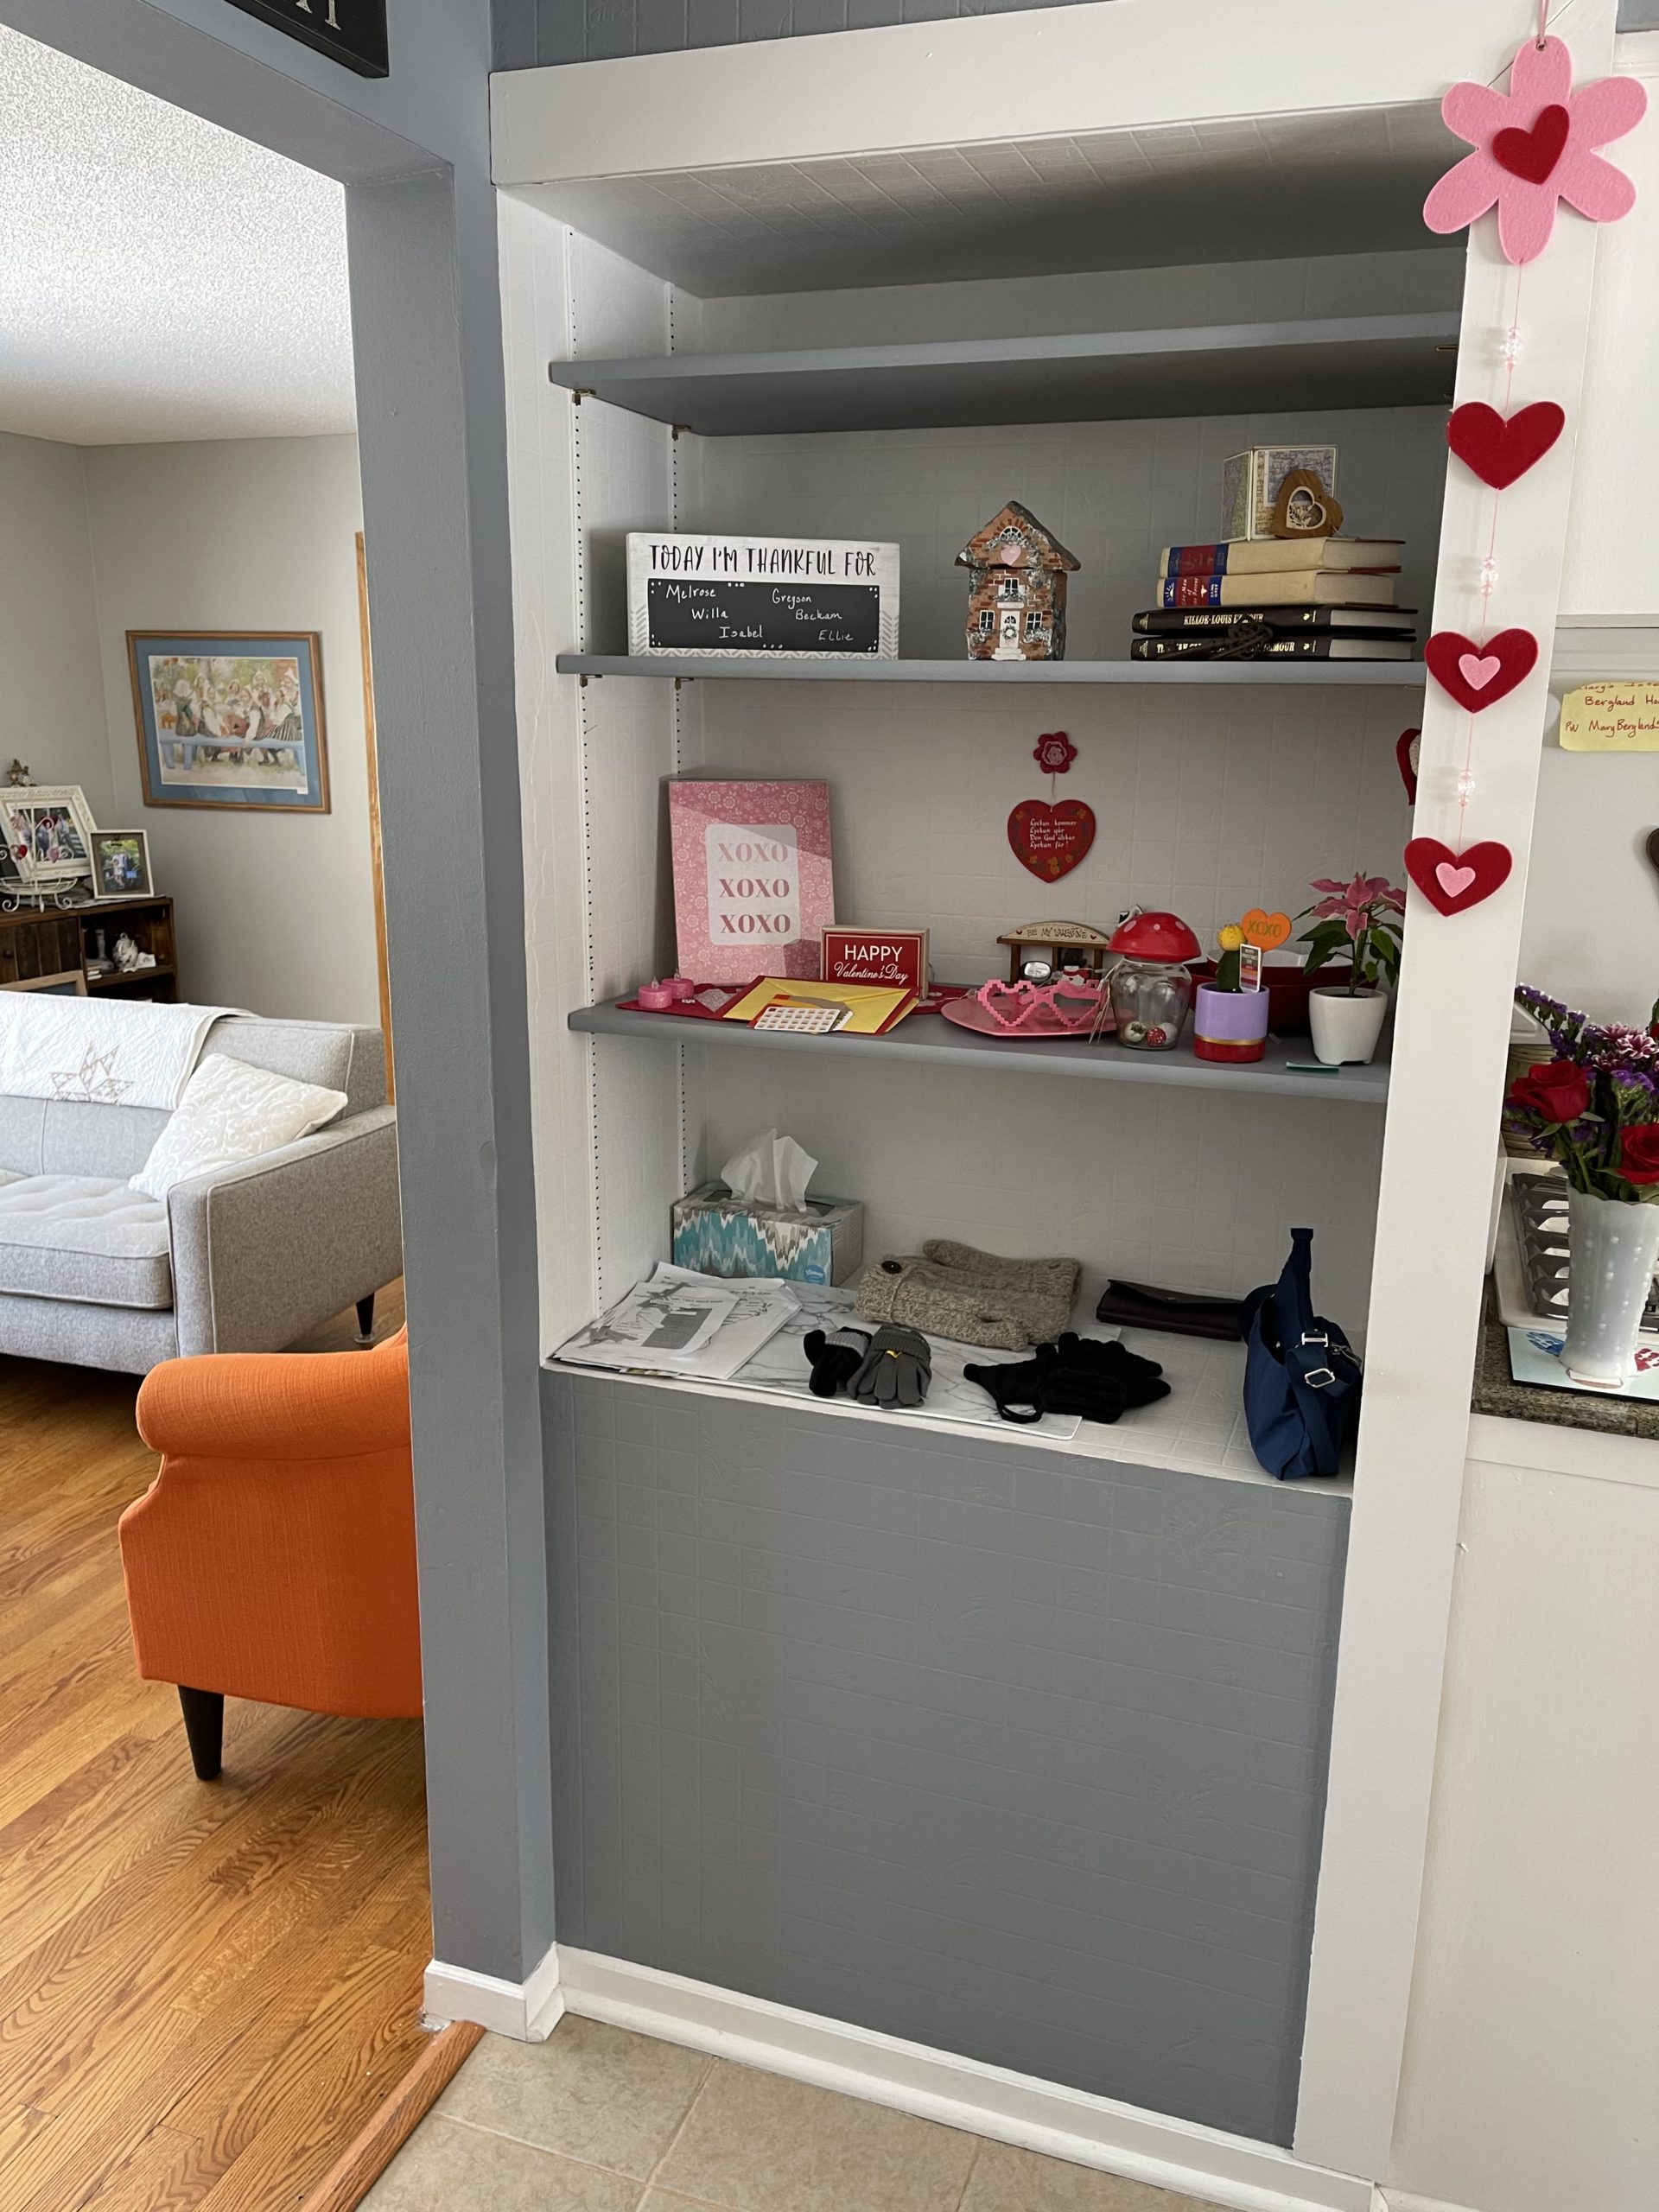
With two different transitions from wood to tile in the kitchen alone …
Once the guys started taking up the flooring they were quick to discover 2-3 other layers of flooring underneath it all. They had their work cut out for them on demo day!
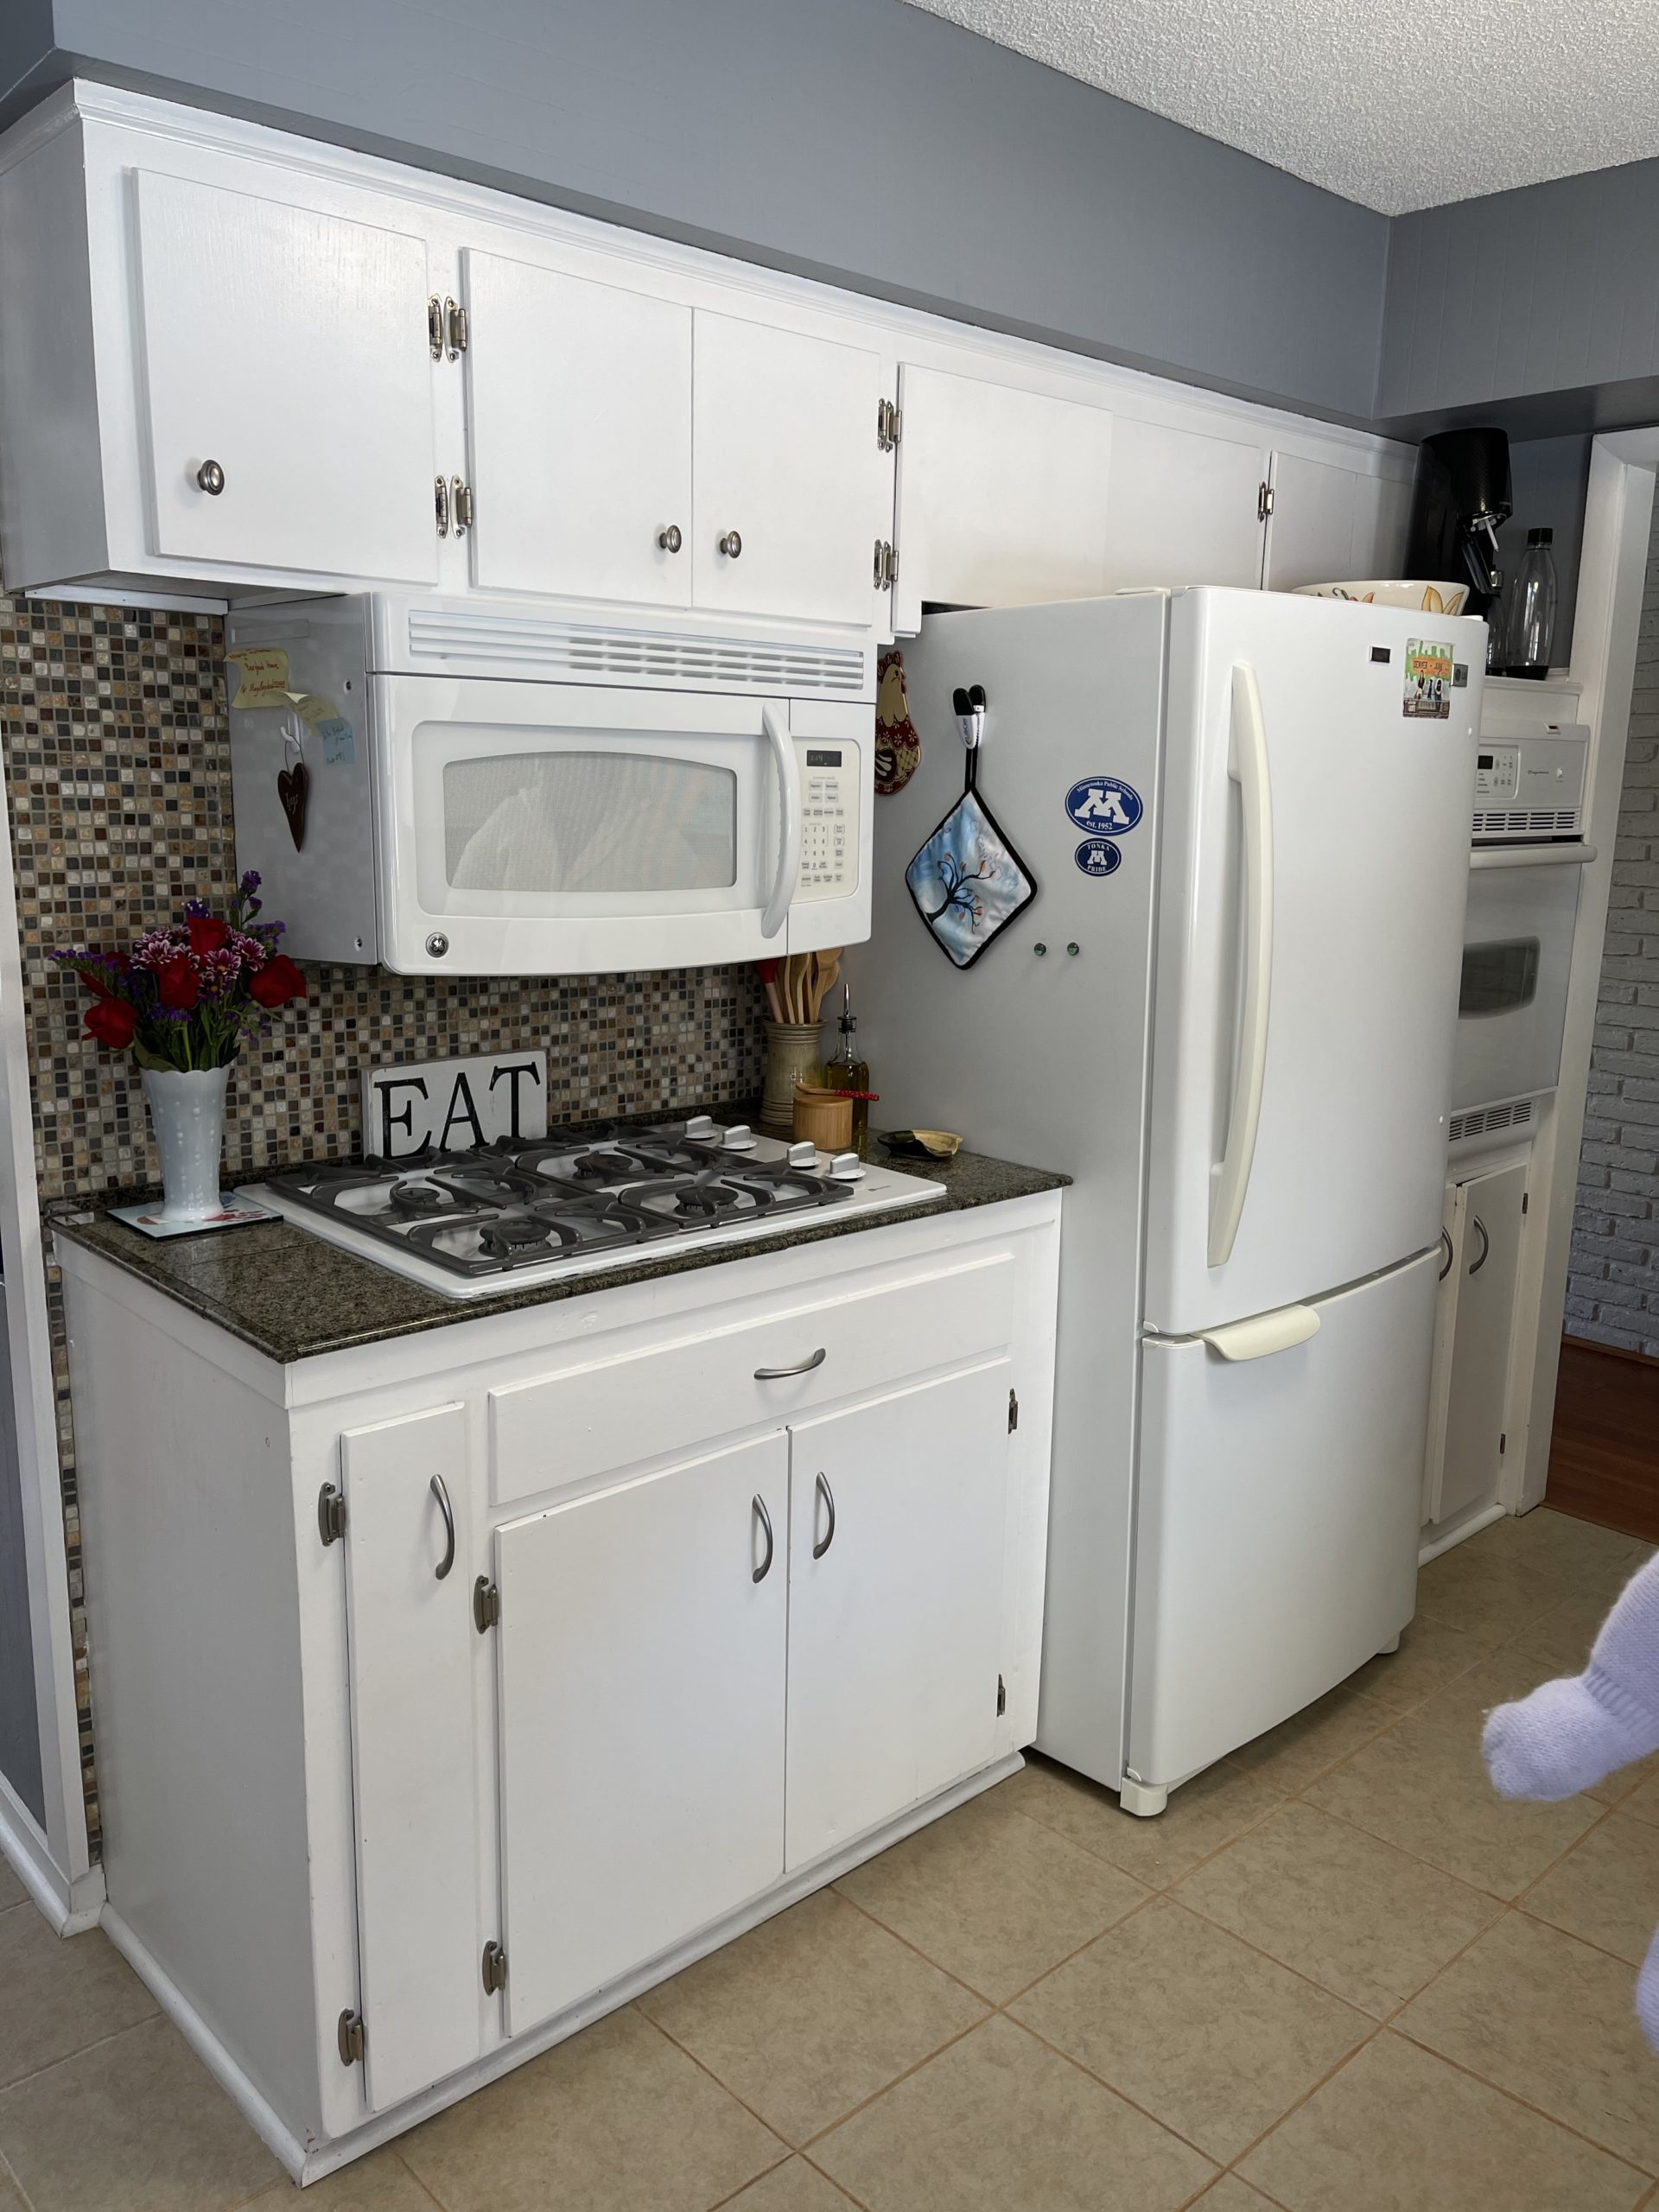
Also, can we just take a moment to check out this microwave placement … ha! My mom couldn’t even get a soup pot on her cooktop.
Tonka Townline Designs
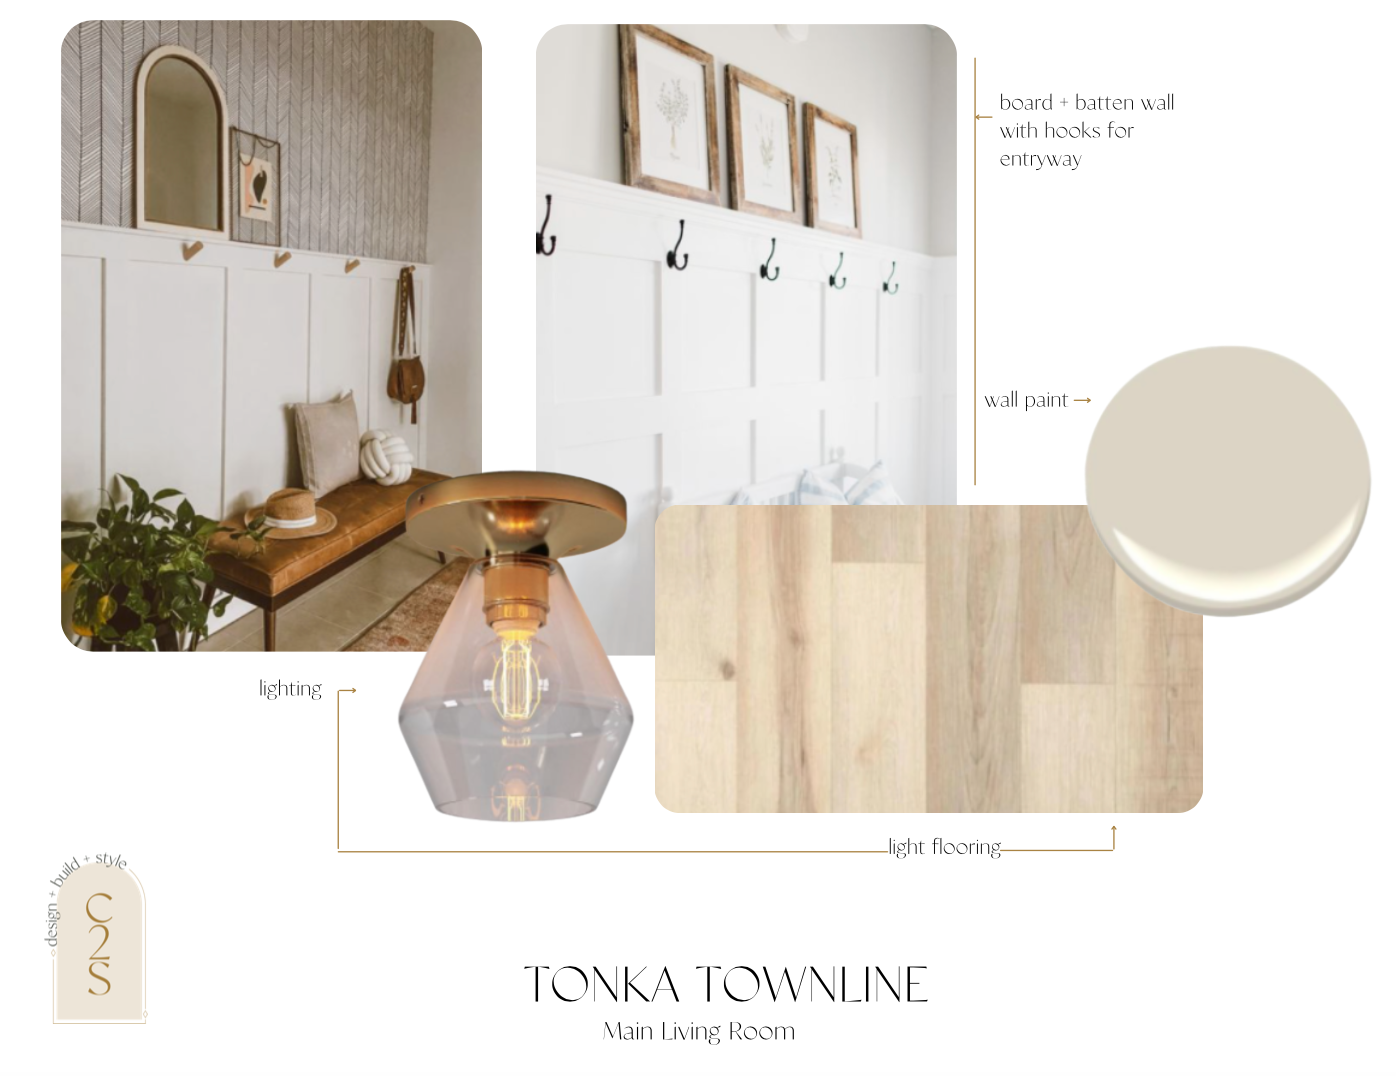
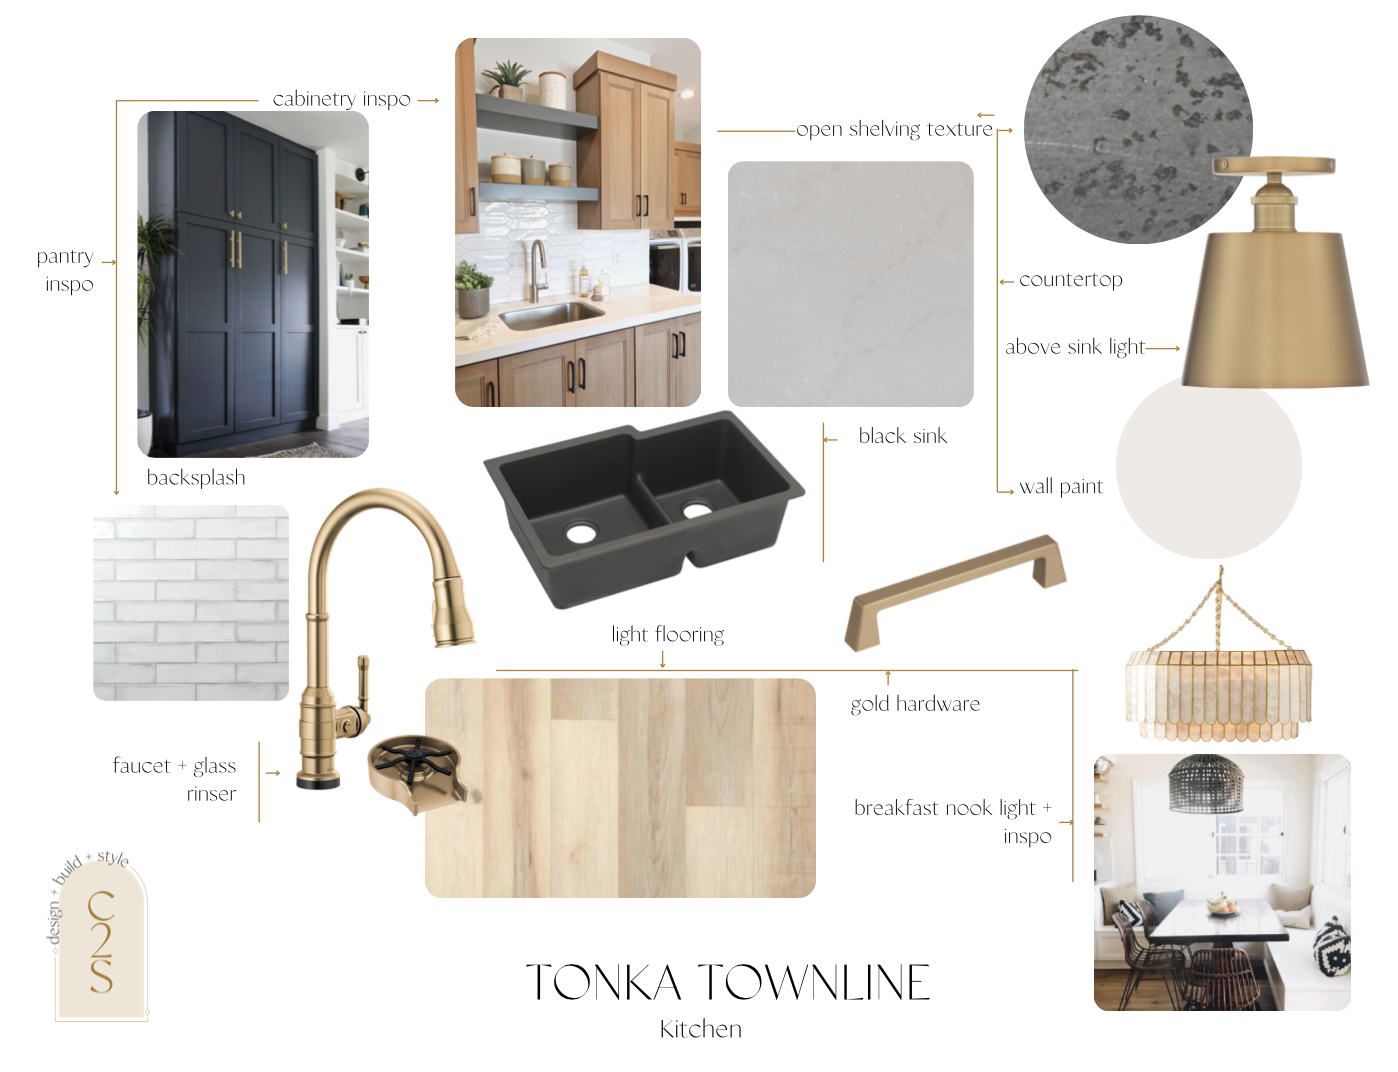
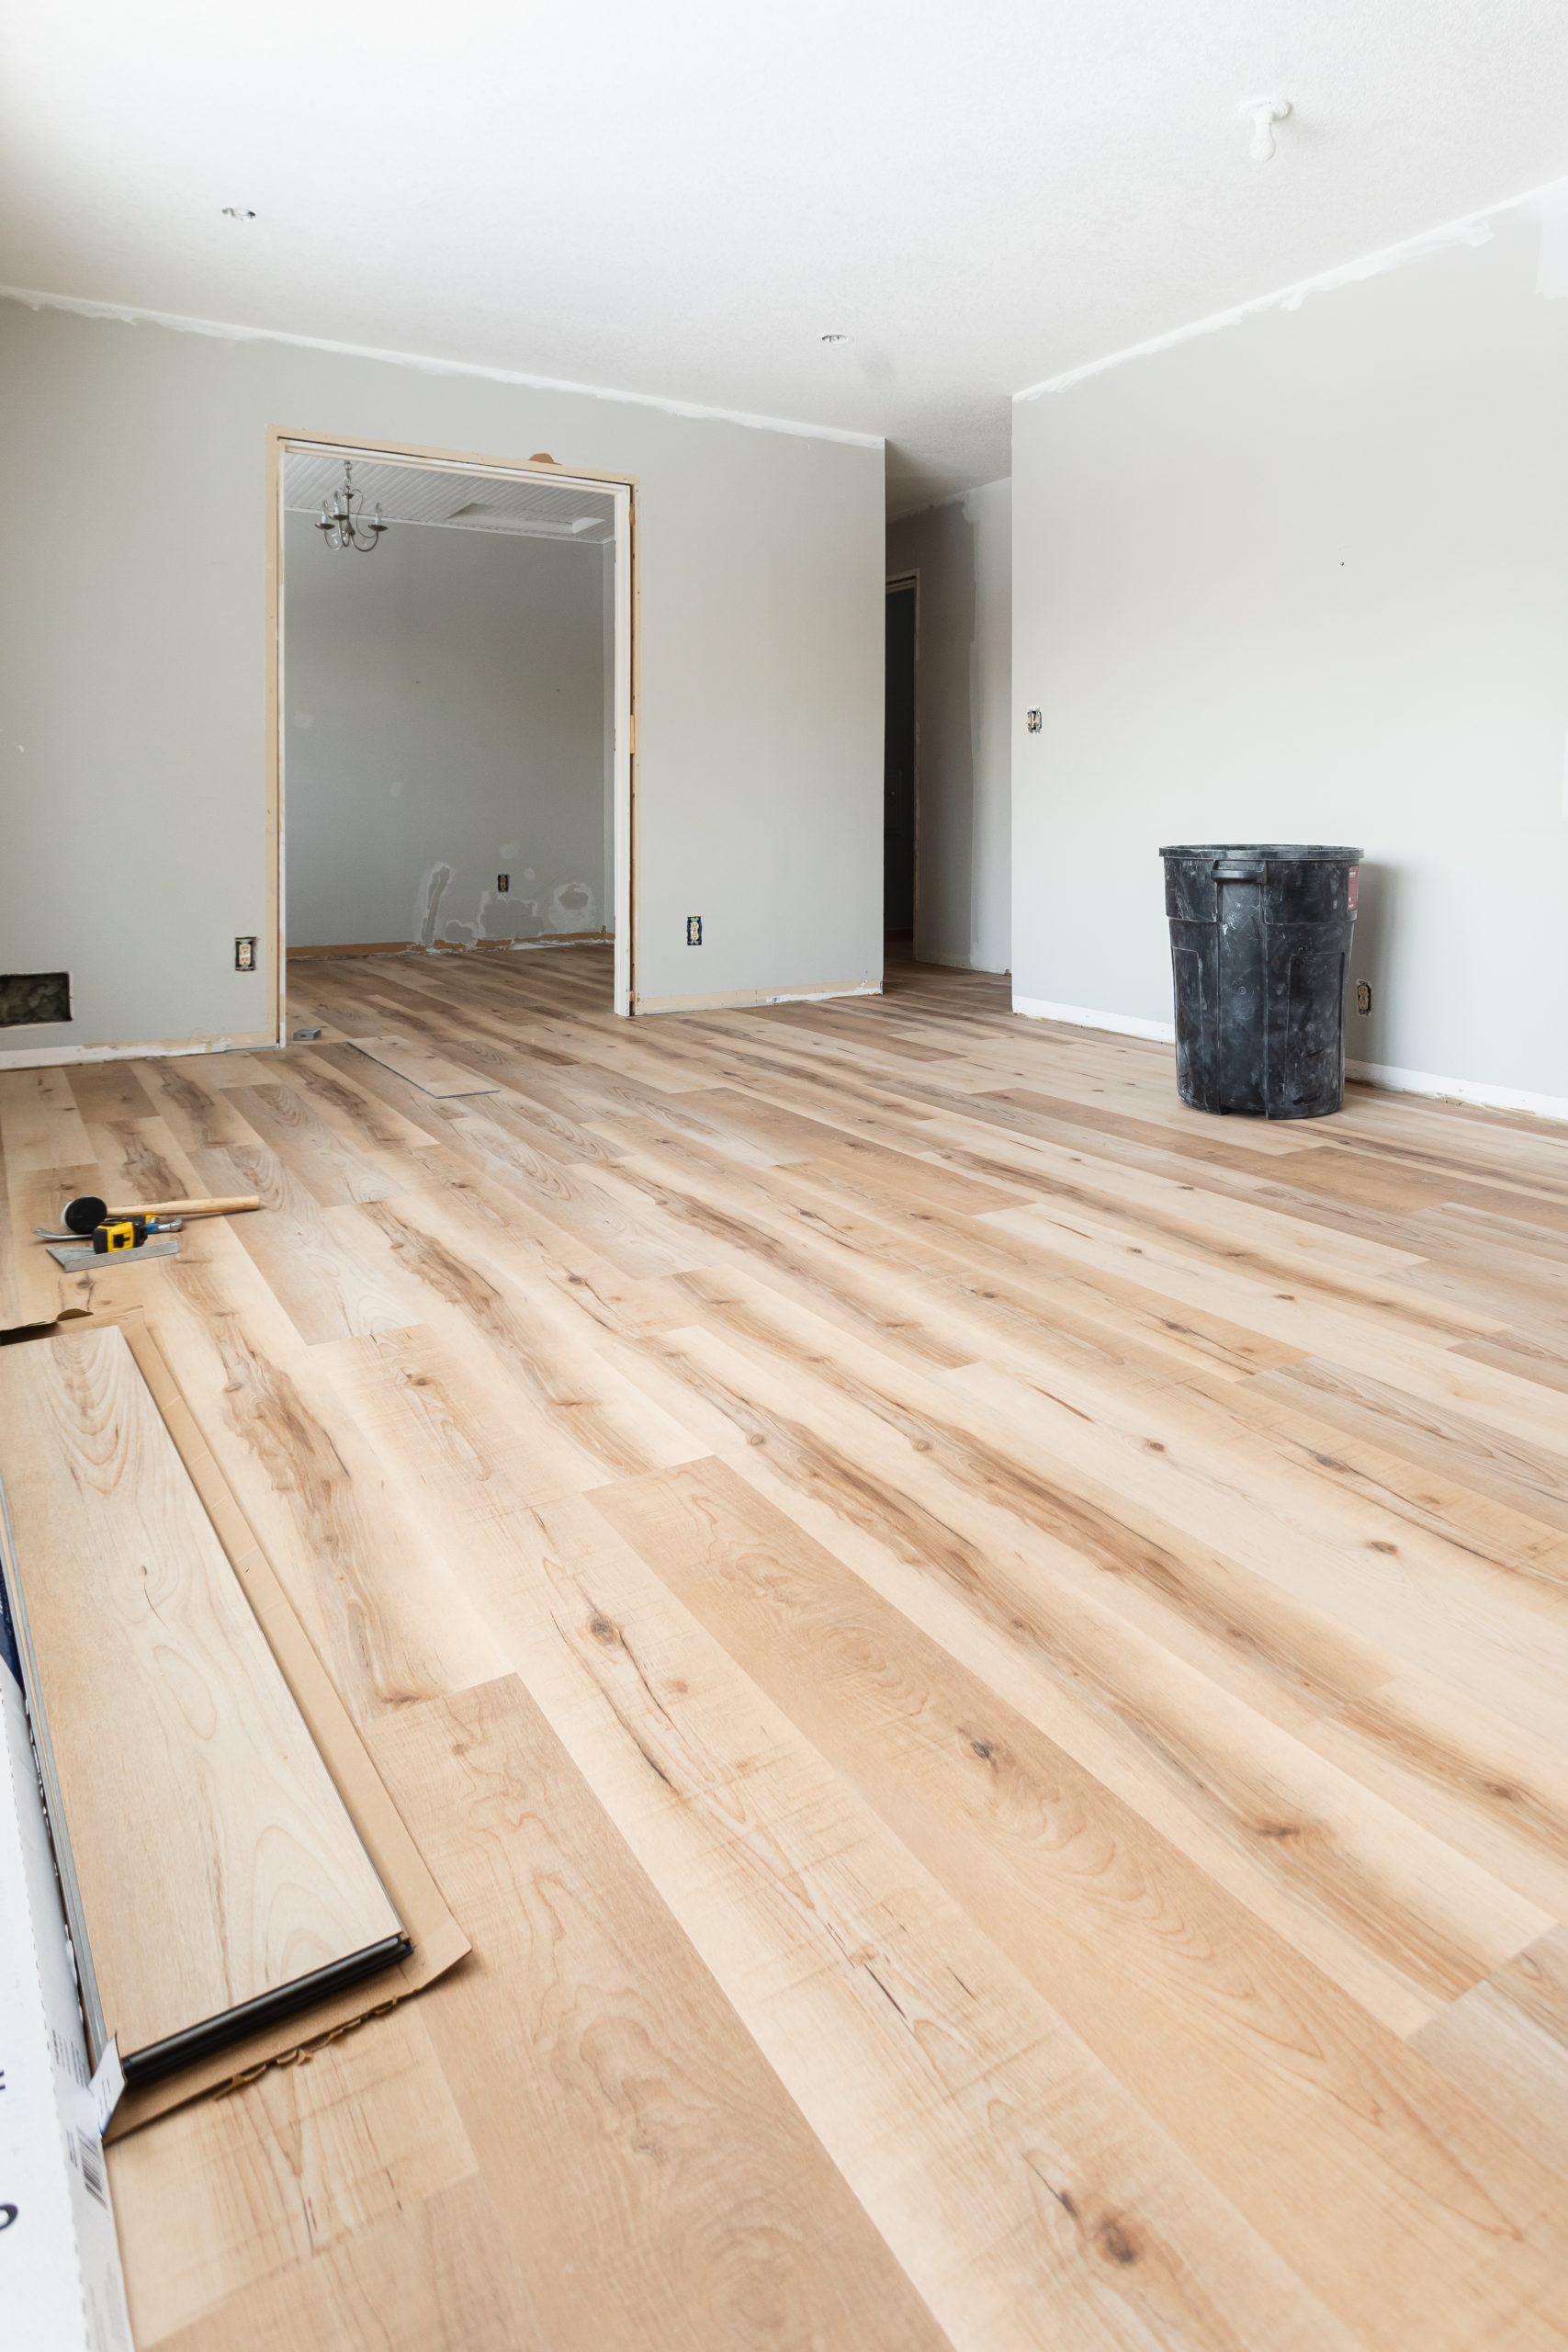
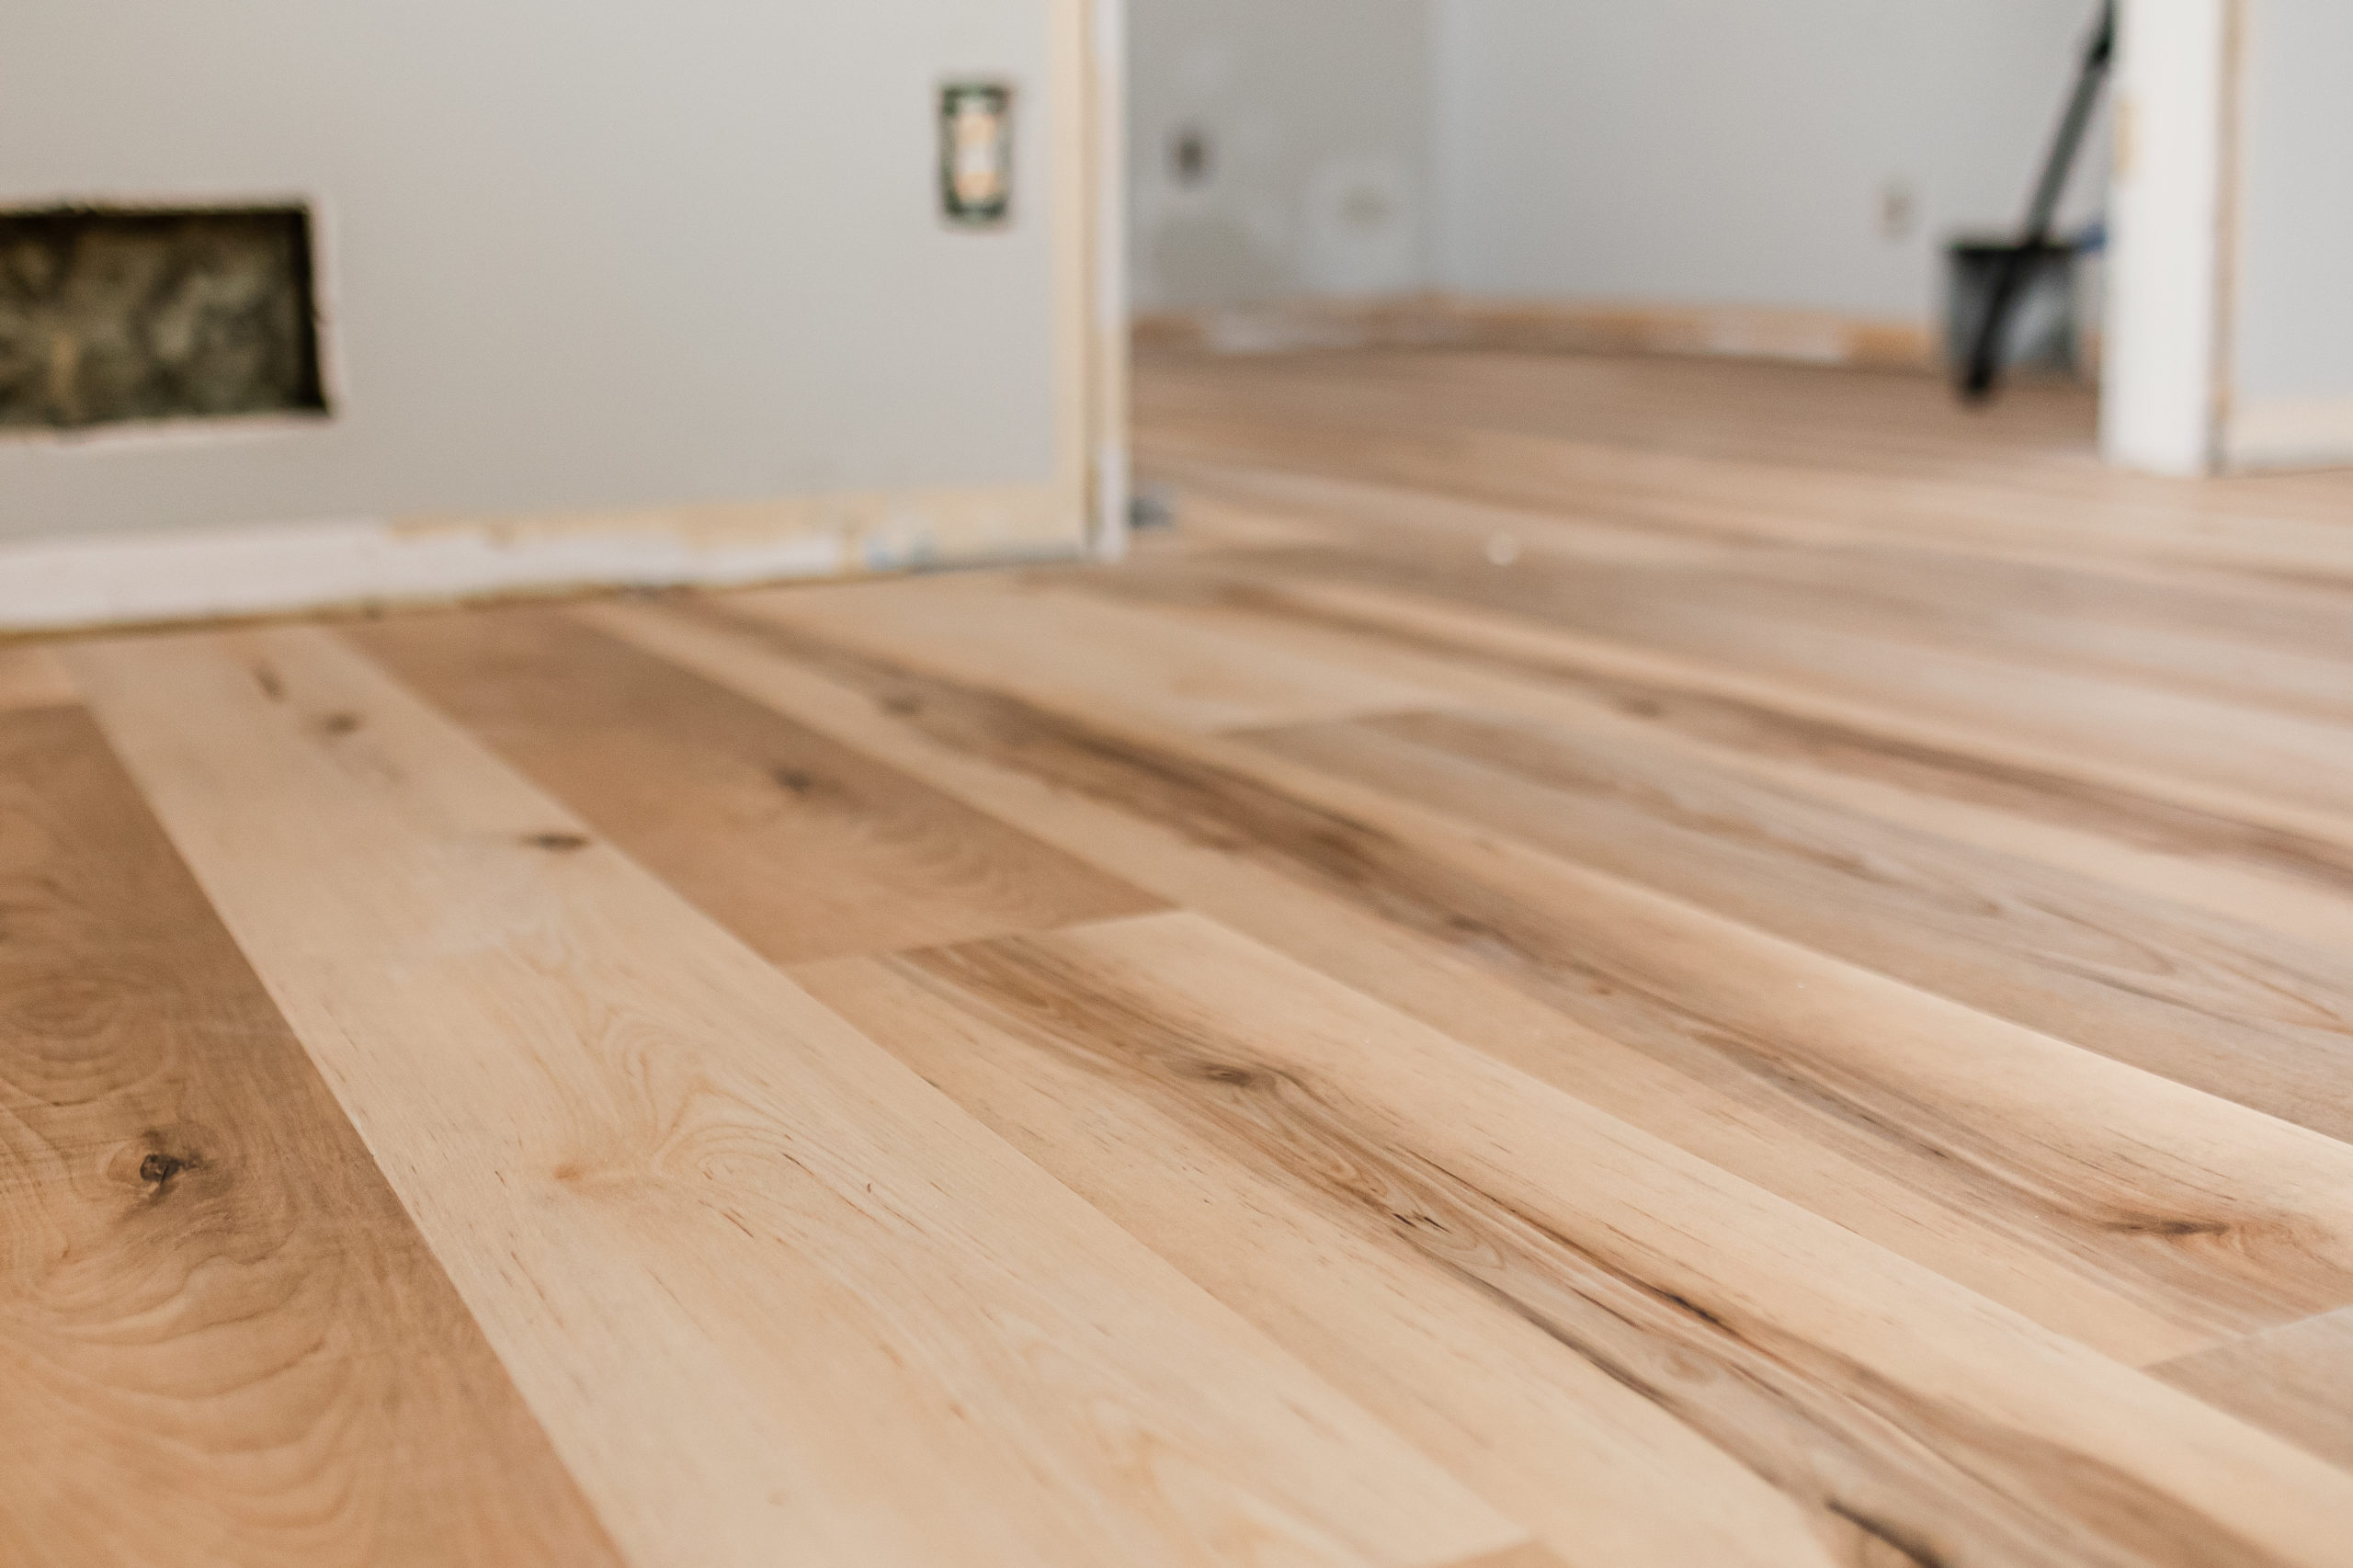
We wrote a full blog all about the design behind this project that you can dive into here if interested. My mom wanted an updated modern feel, while still maintaining a traditional vibe. Light and bright yet still having light oak wood vibes. English Grove Oak from ProCore® for flooring was an easy sell. The wood tones throughout give the perfect mixture of the white oak yet have some graining and some darker wood tones without being overbearing.
Tonka Townline Luxury Flooring Install
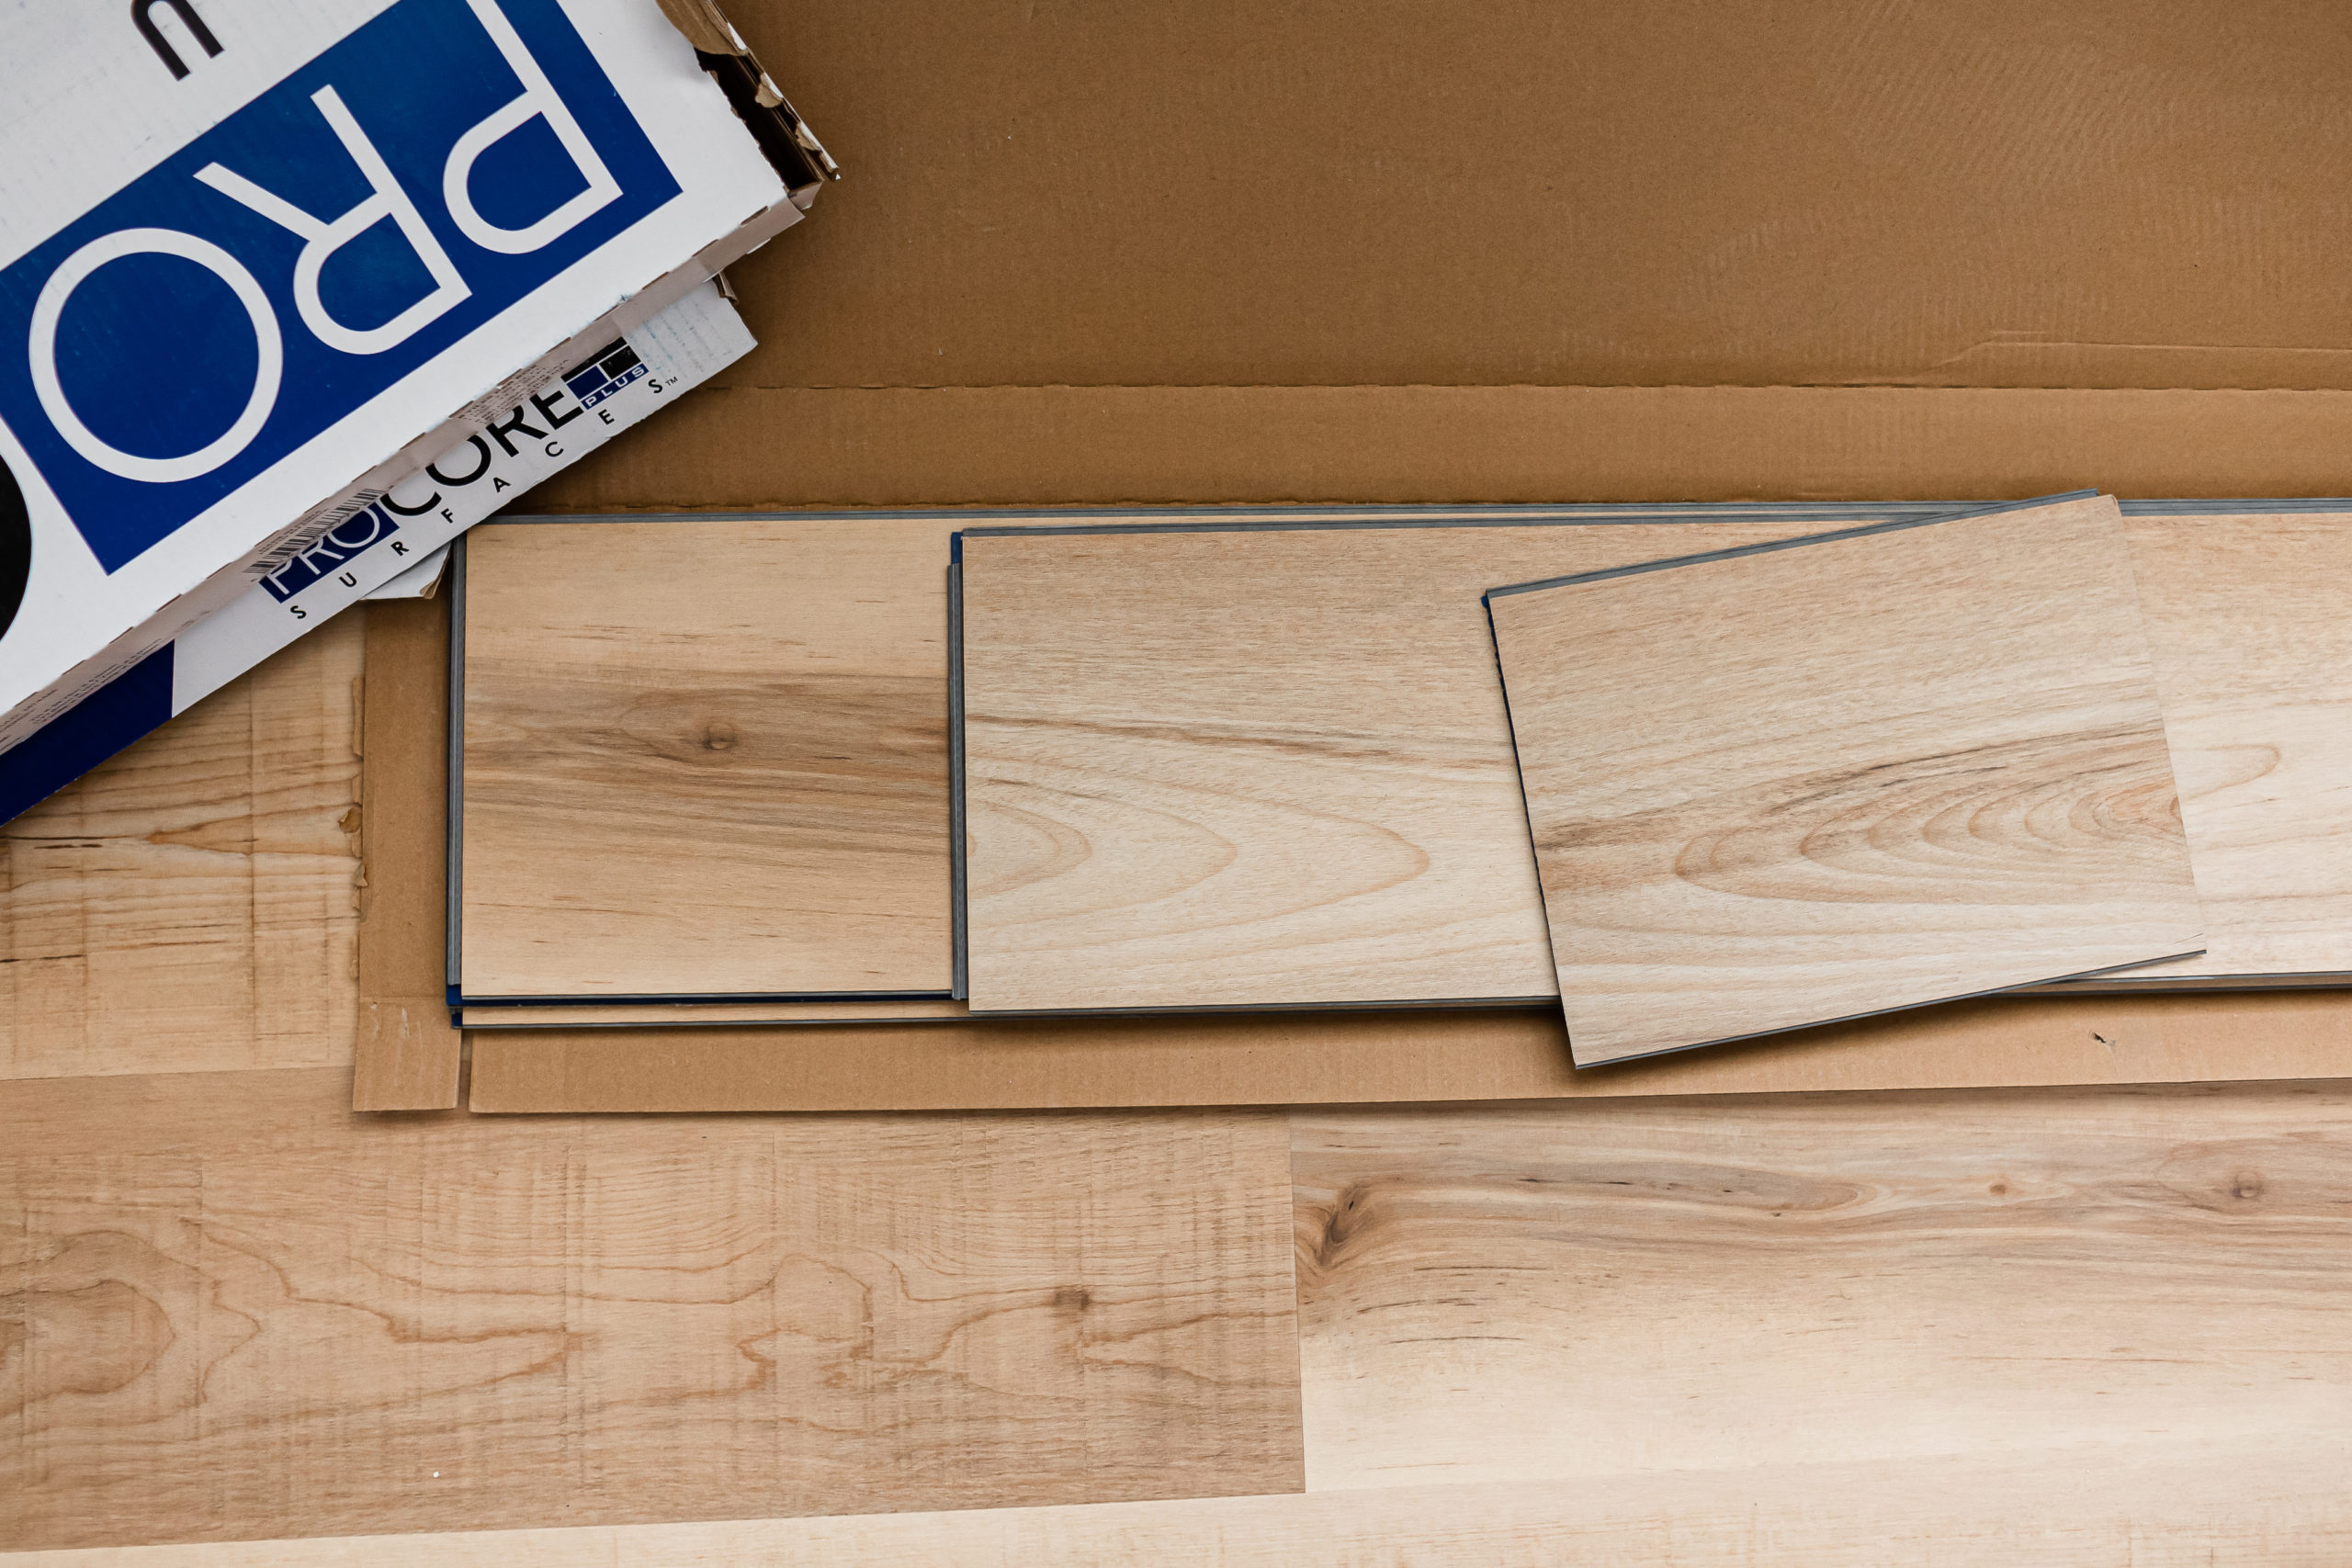
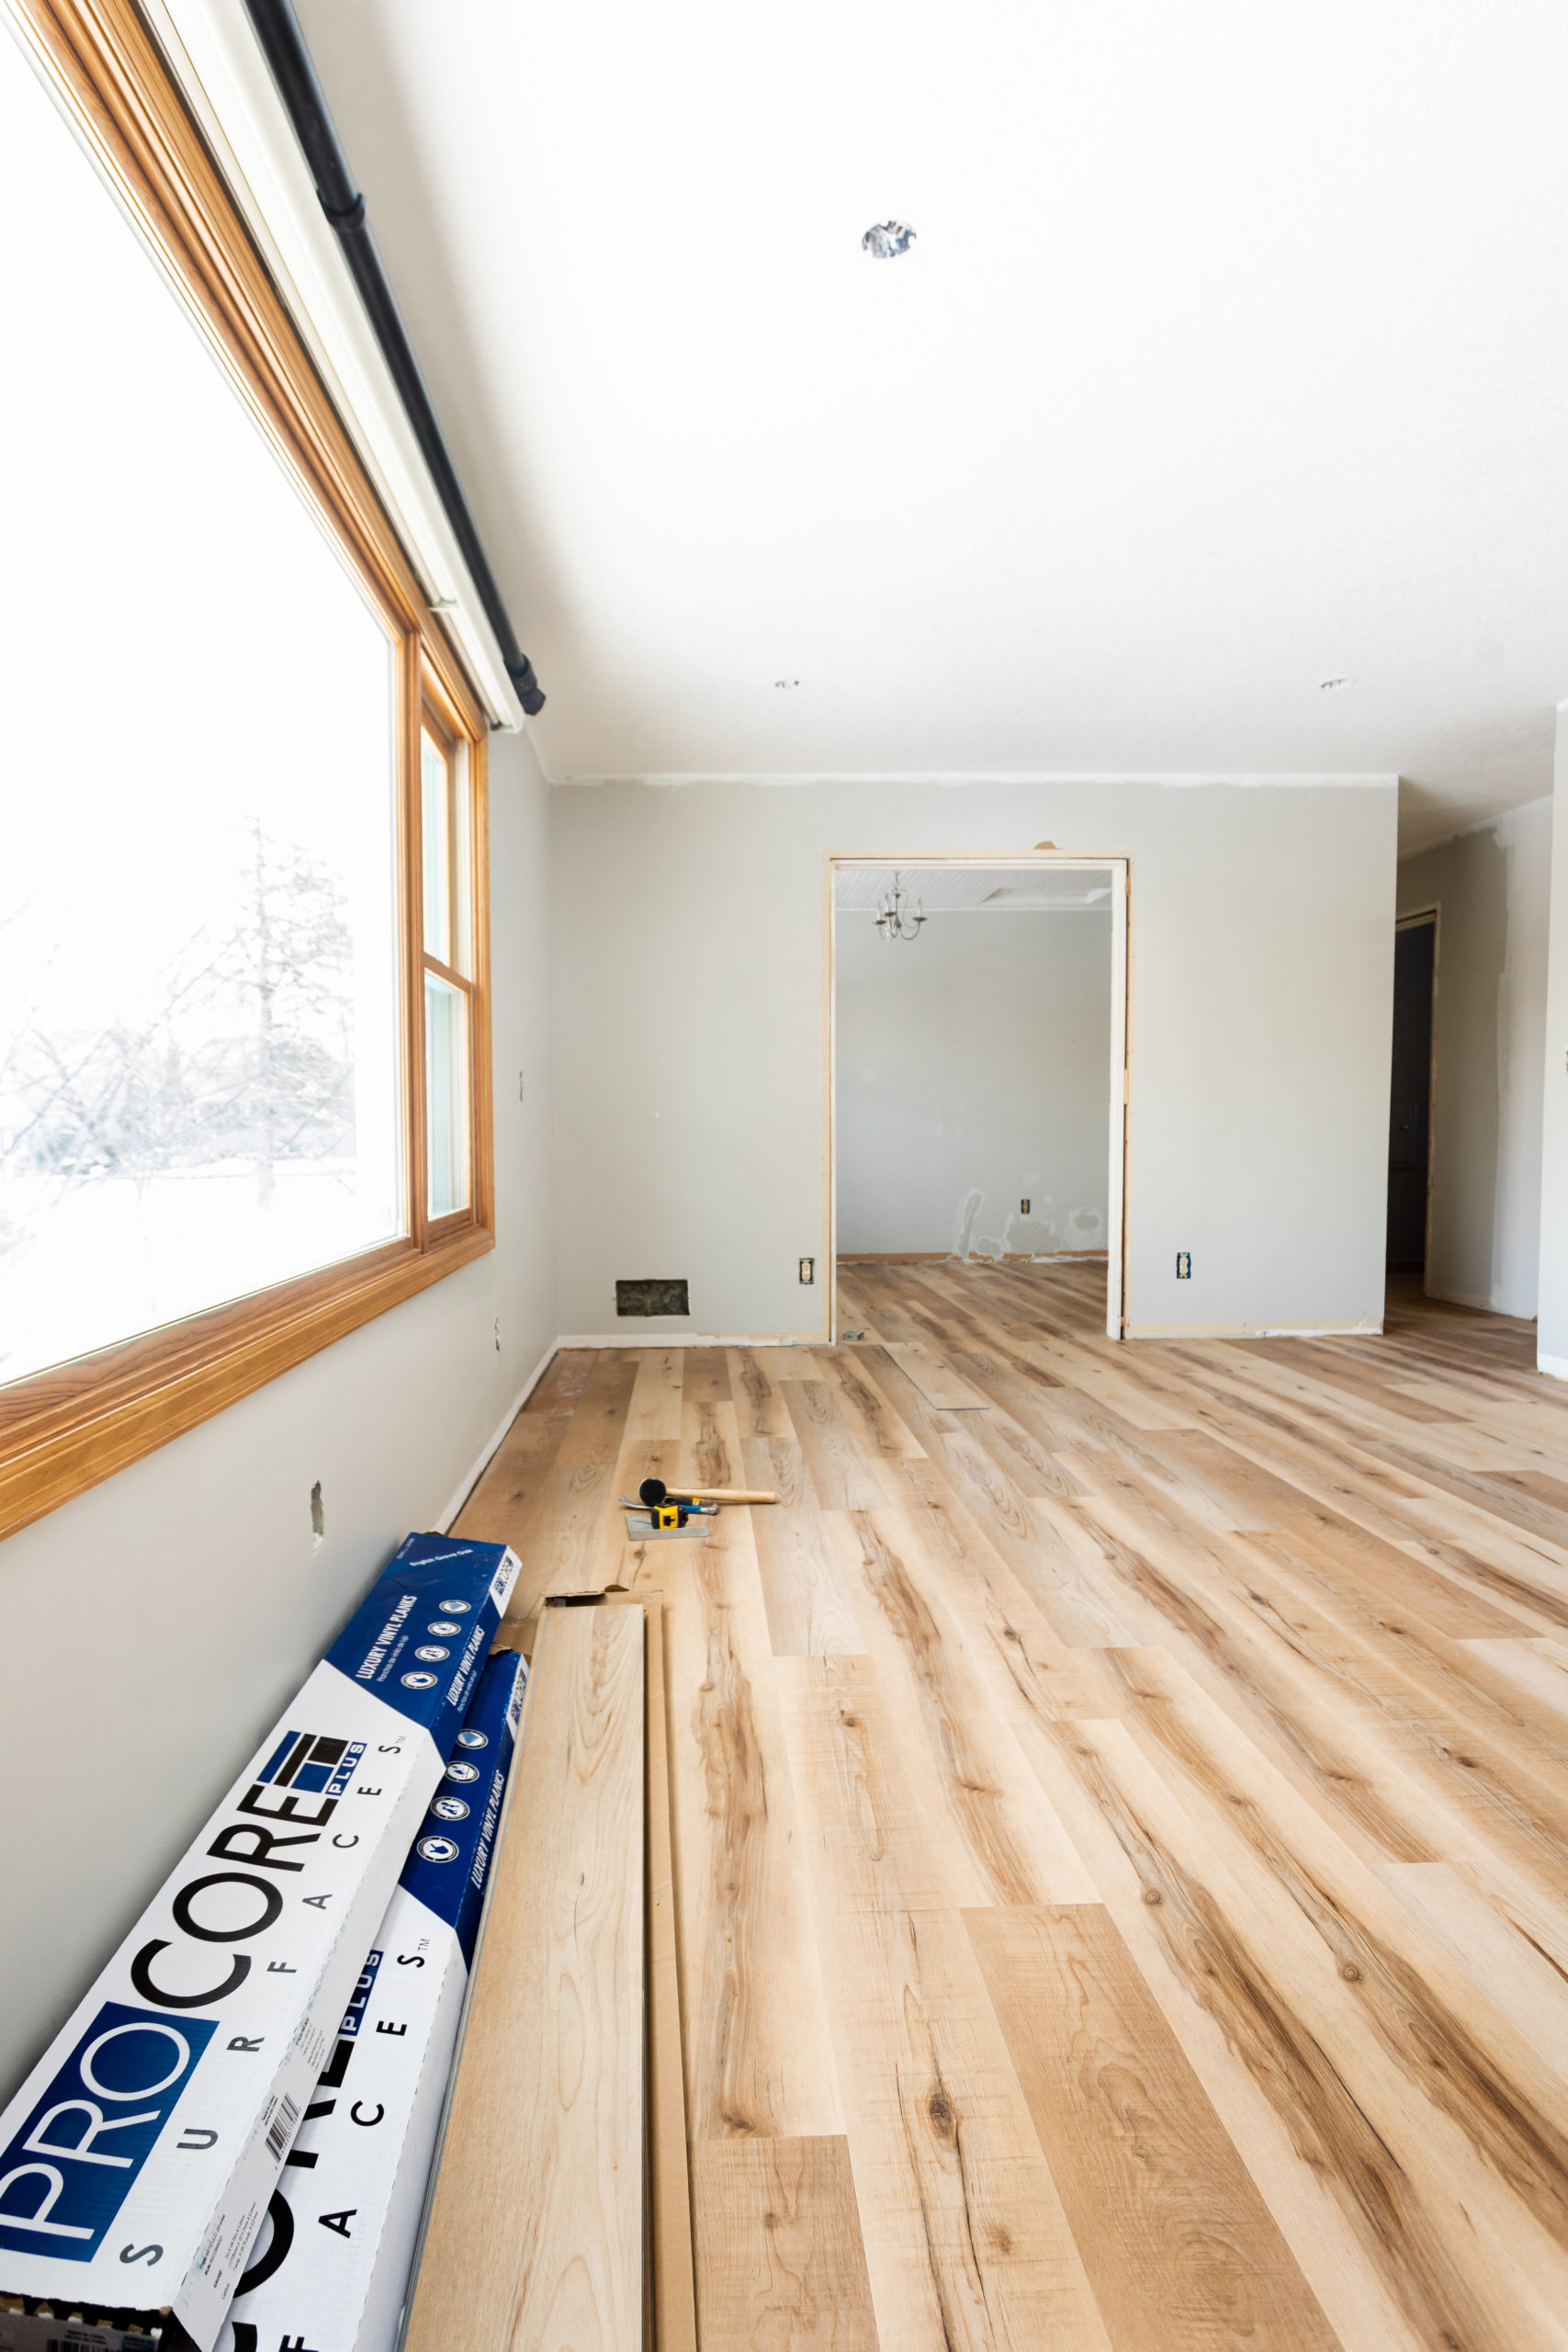
For this project, we chose ProCore® luxury vinyl planks (LVP) in the English Grove Oak design. The biggest reason why we love this vinyl plank is that these floors are waterproof.
They’re also very easy to clean, low maintenance, and durable. You can find this product online at Lowe’s.com and it is very affordable.
If you ask me – it looks just as good as engineered hardwood. We install LVP quite often, as it’s the perfect price-point for our clients’ budgets and gives each space a great look! On average, most LVP is around $2 per sq ft.
Tools Needed for Install
- PPE- gloves, safety glasses, and a dust mask
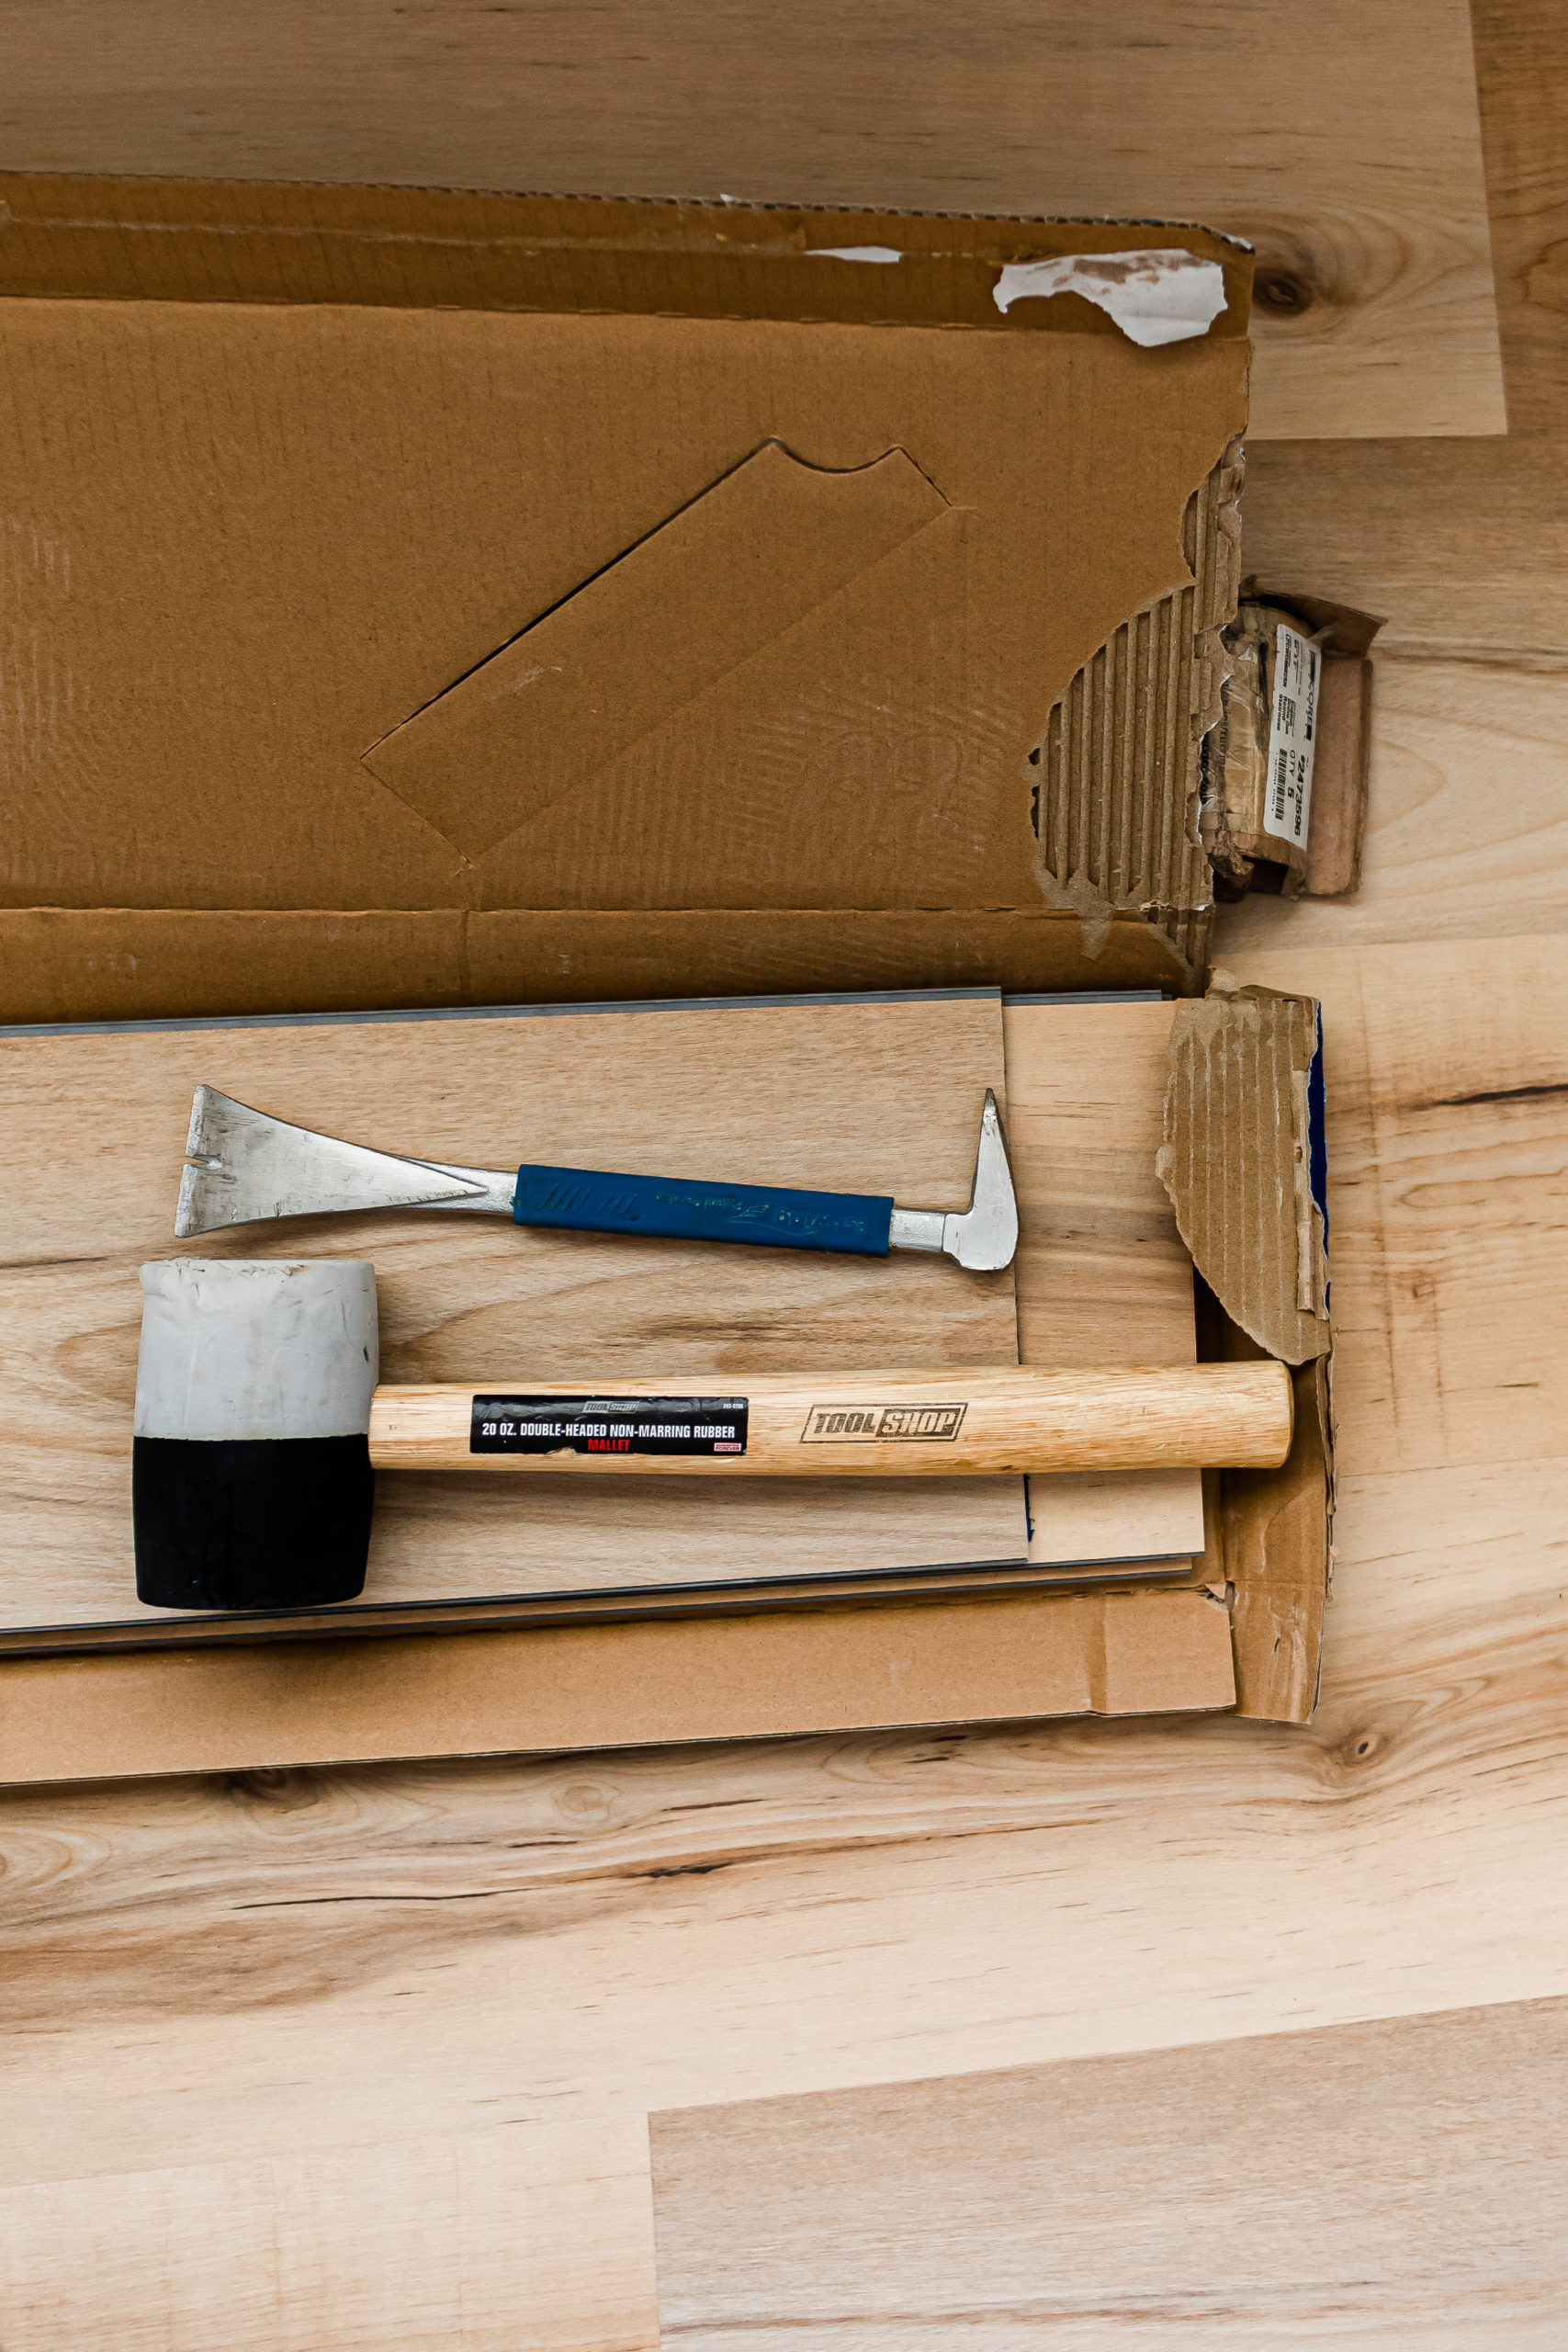
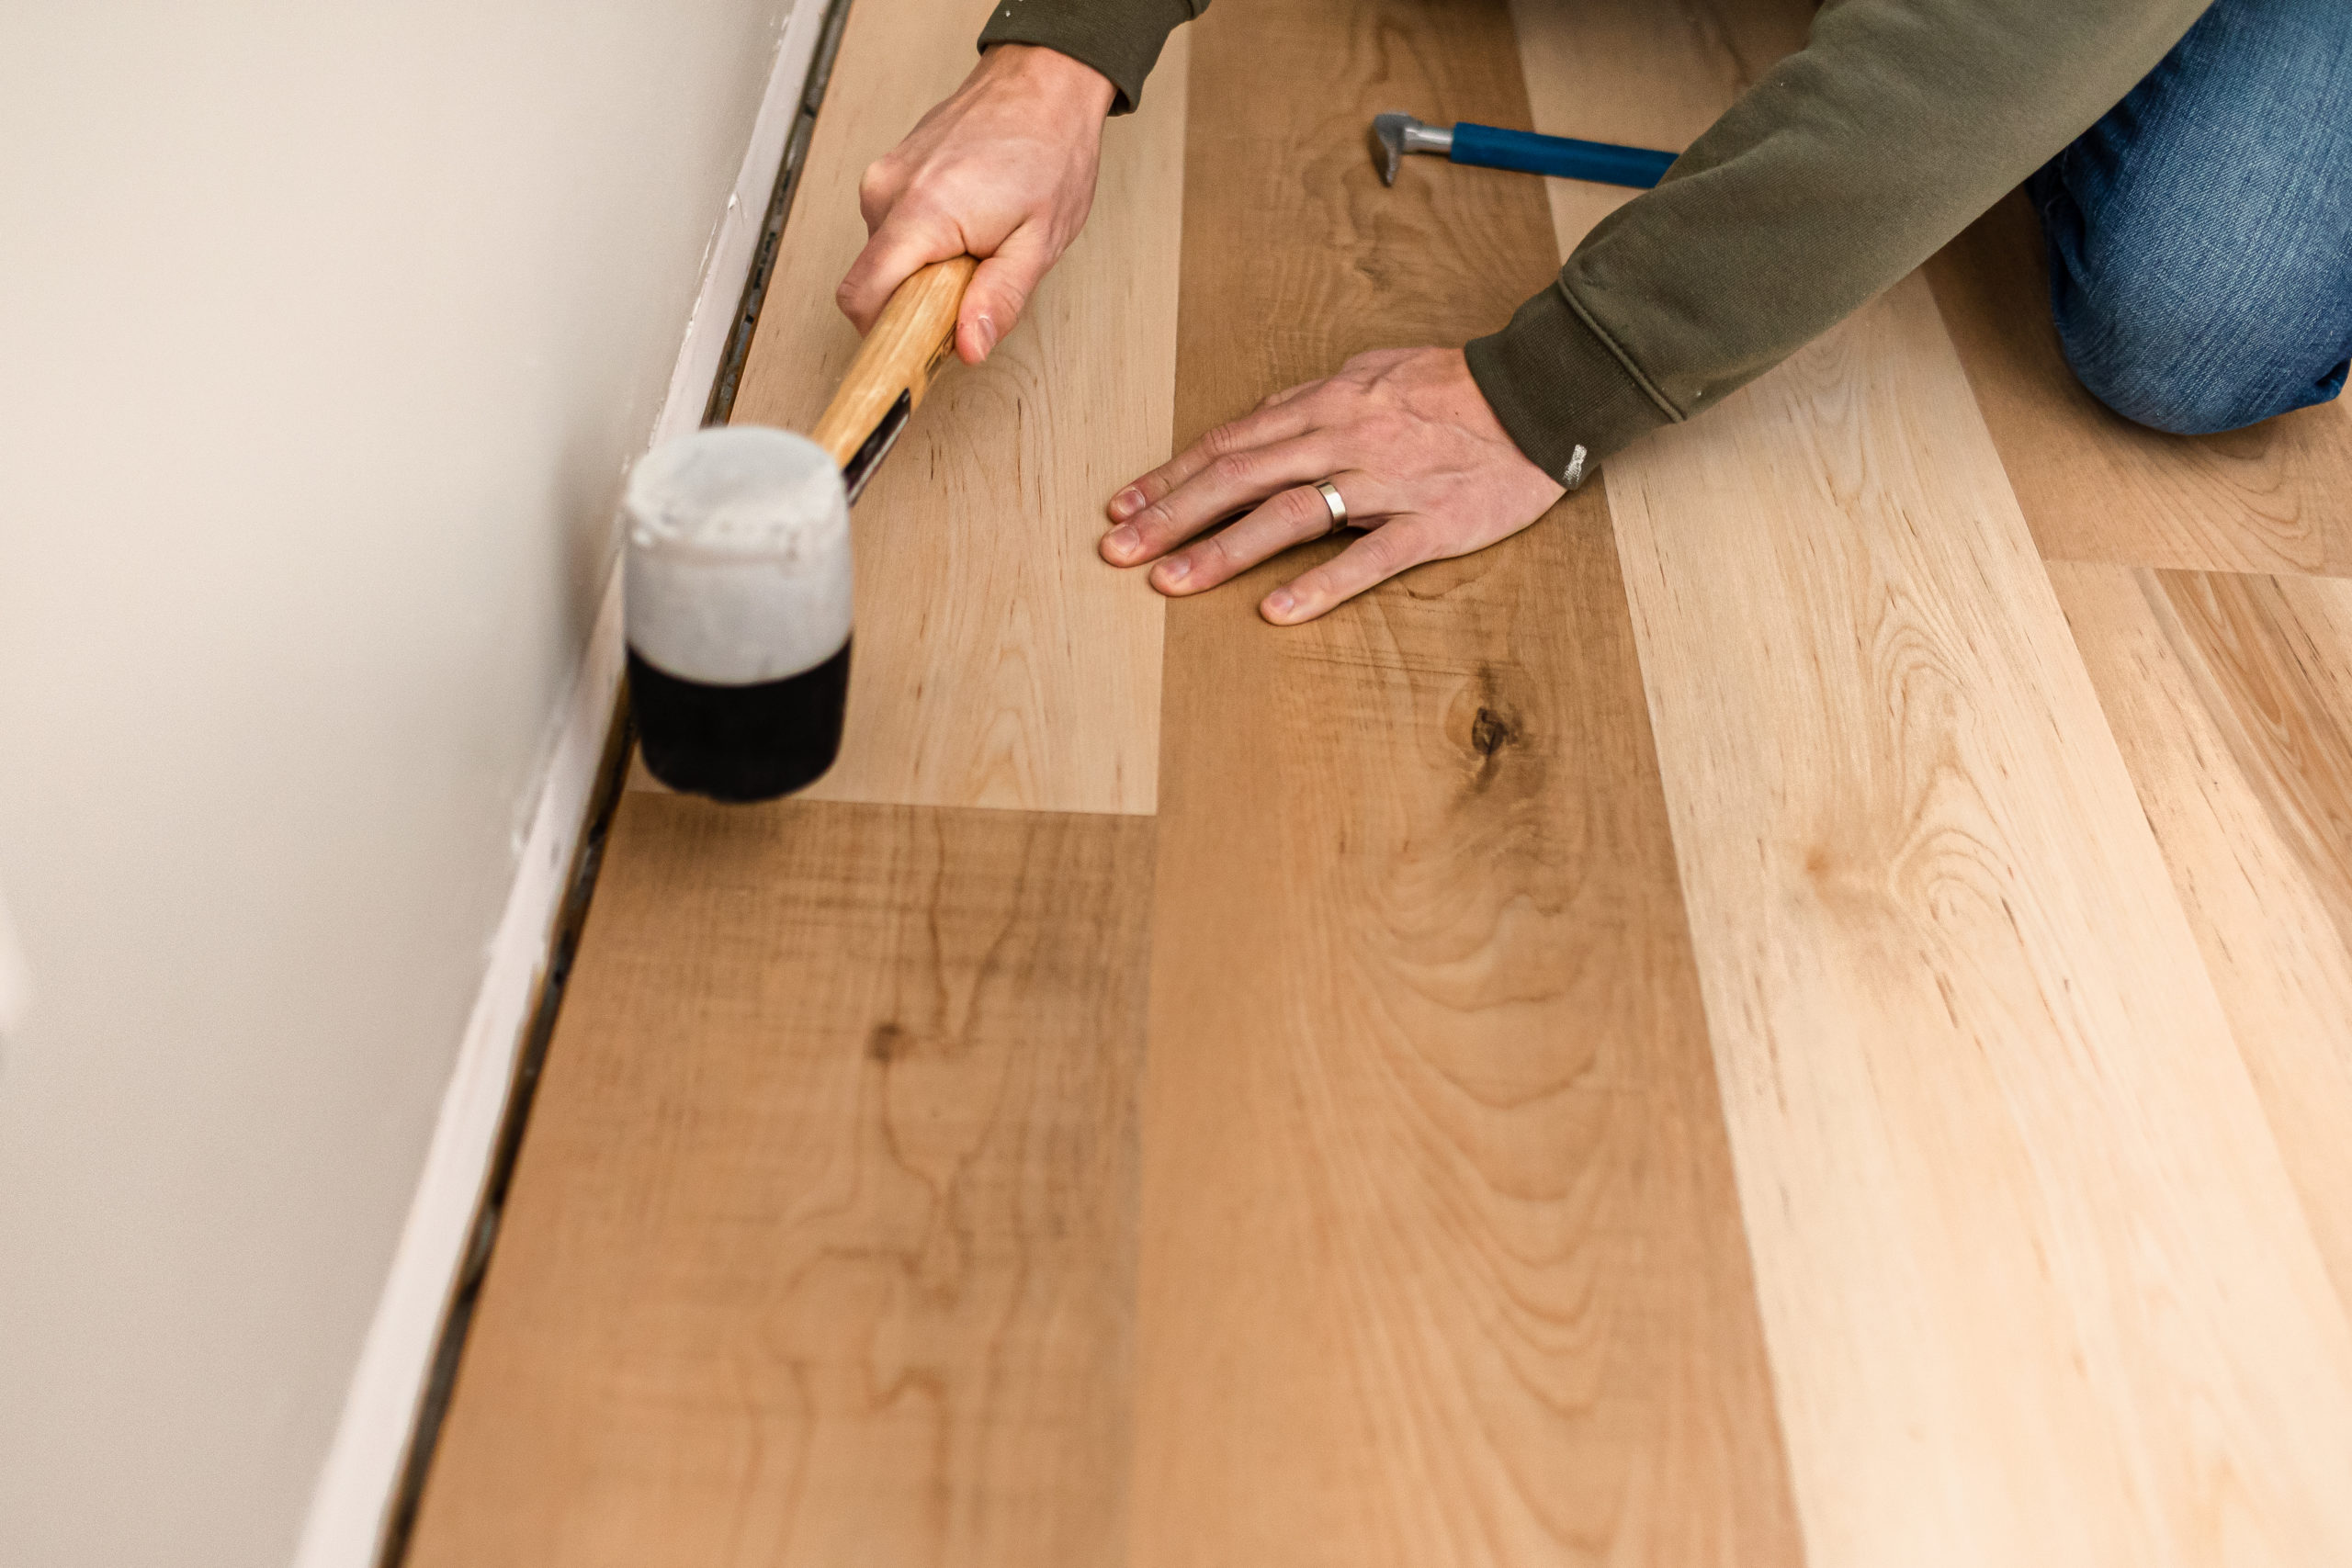
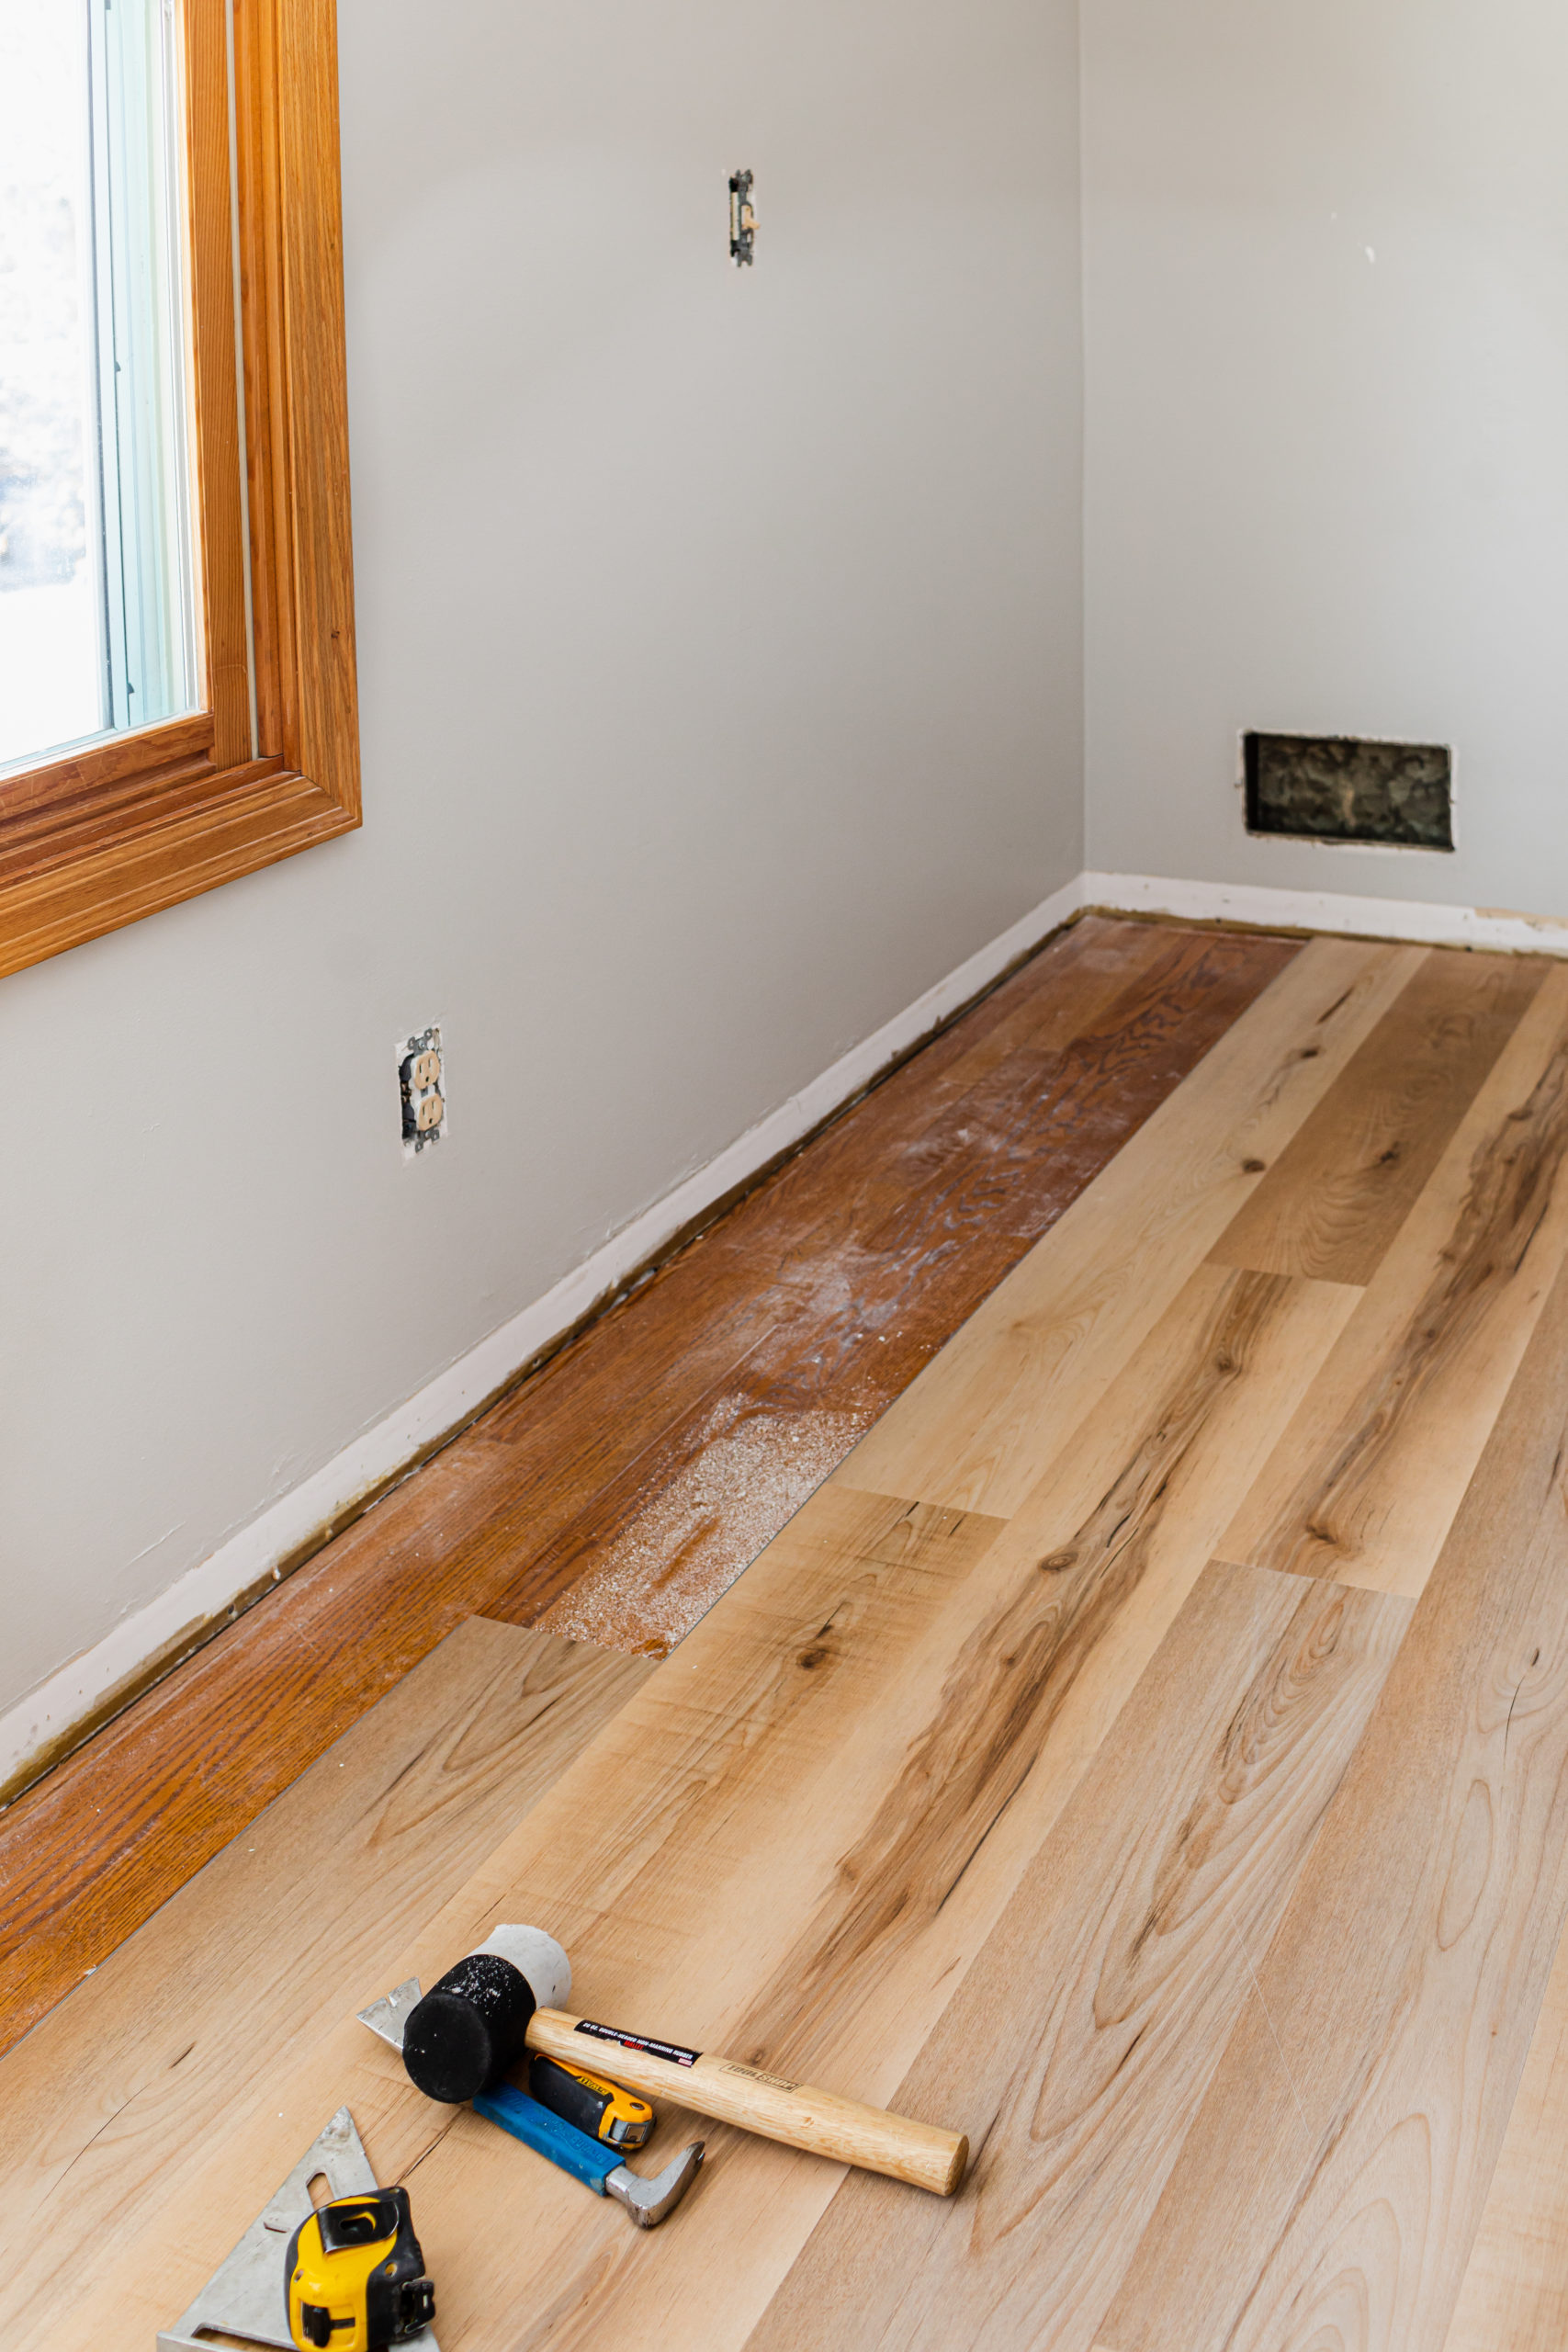
- 2 lb. dead-blow hammer or white rubber mallet (a black mallet may leave marks behind that need to be cleaned up later)
- 6-ft and 1-ft Level
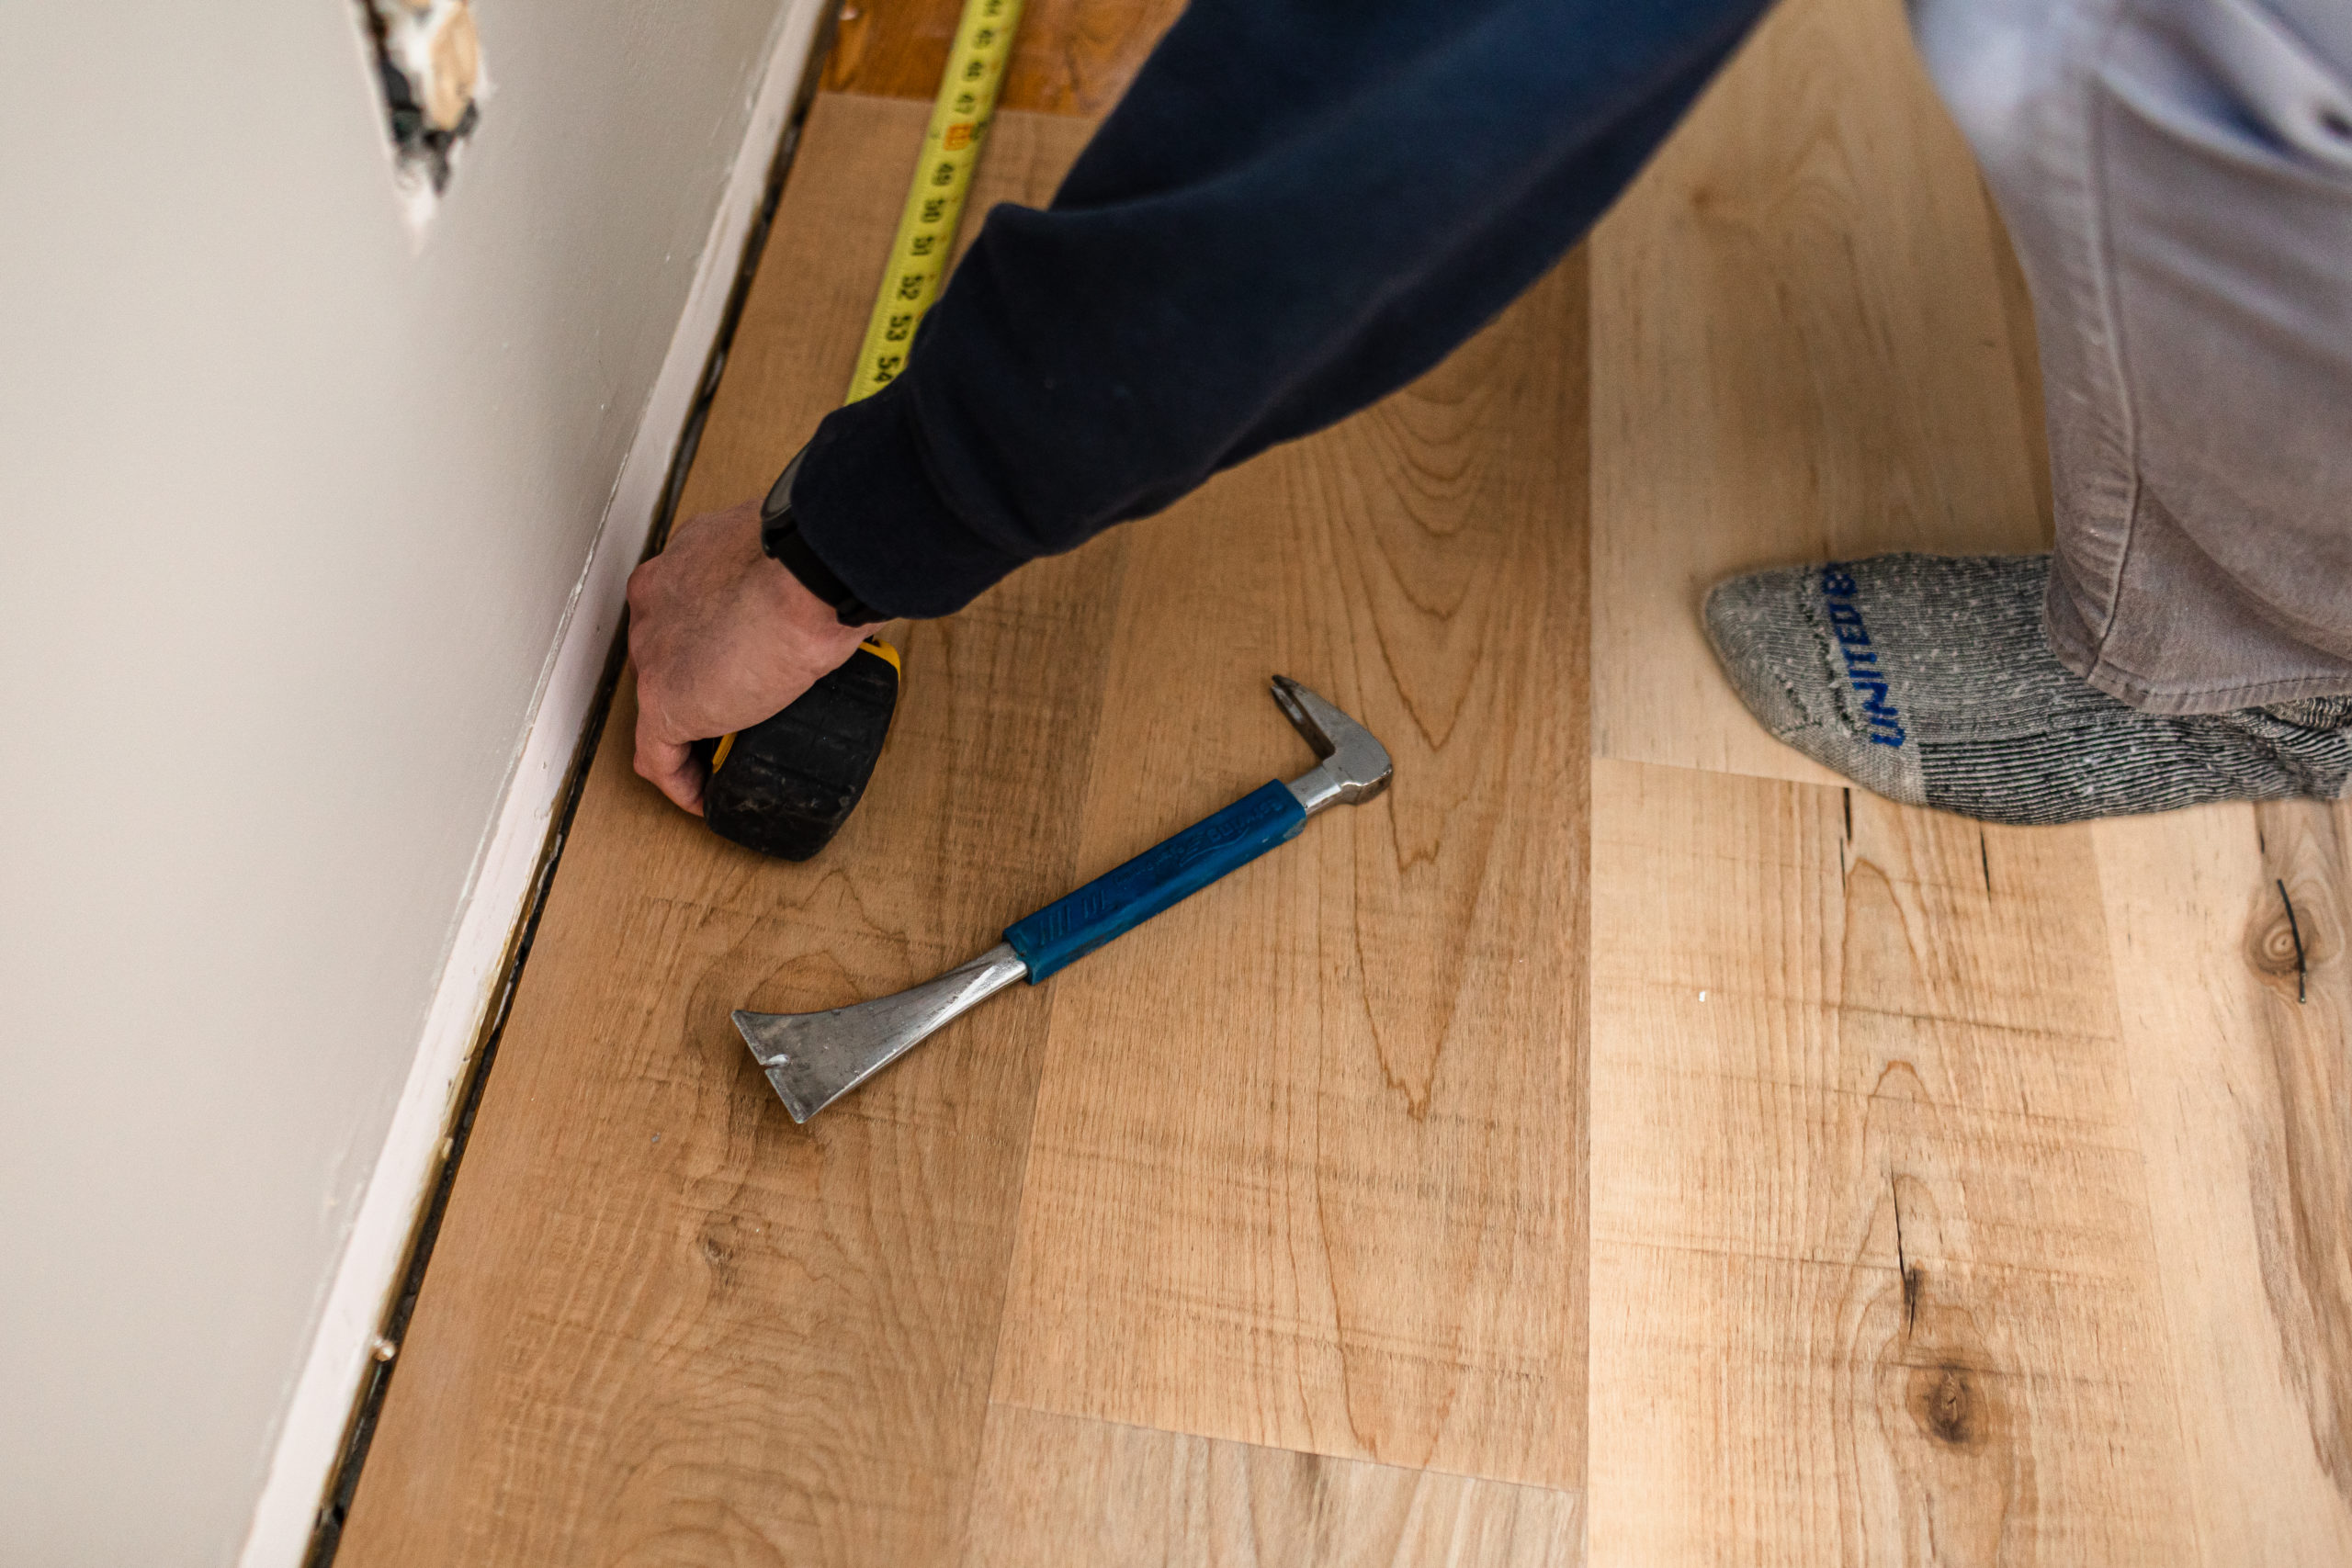
- Tape Measure
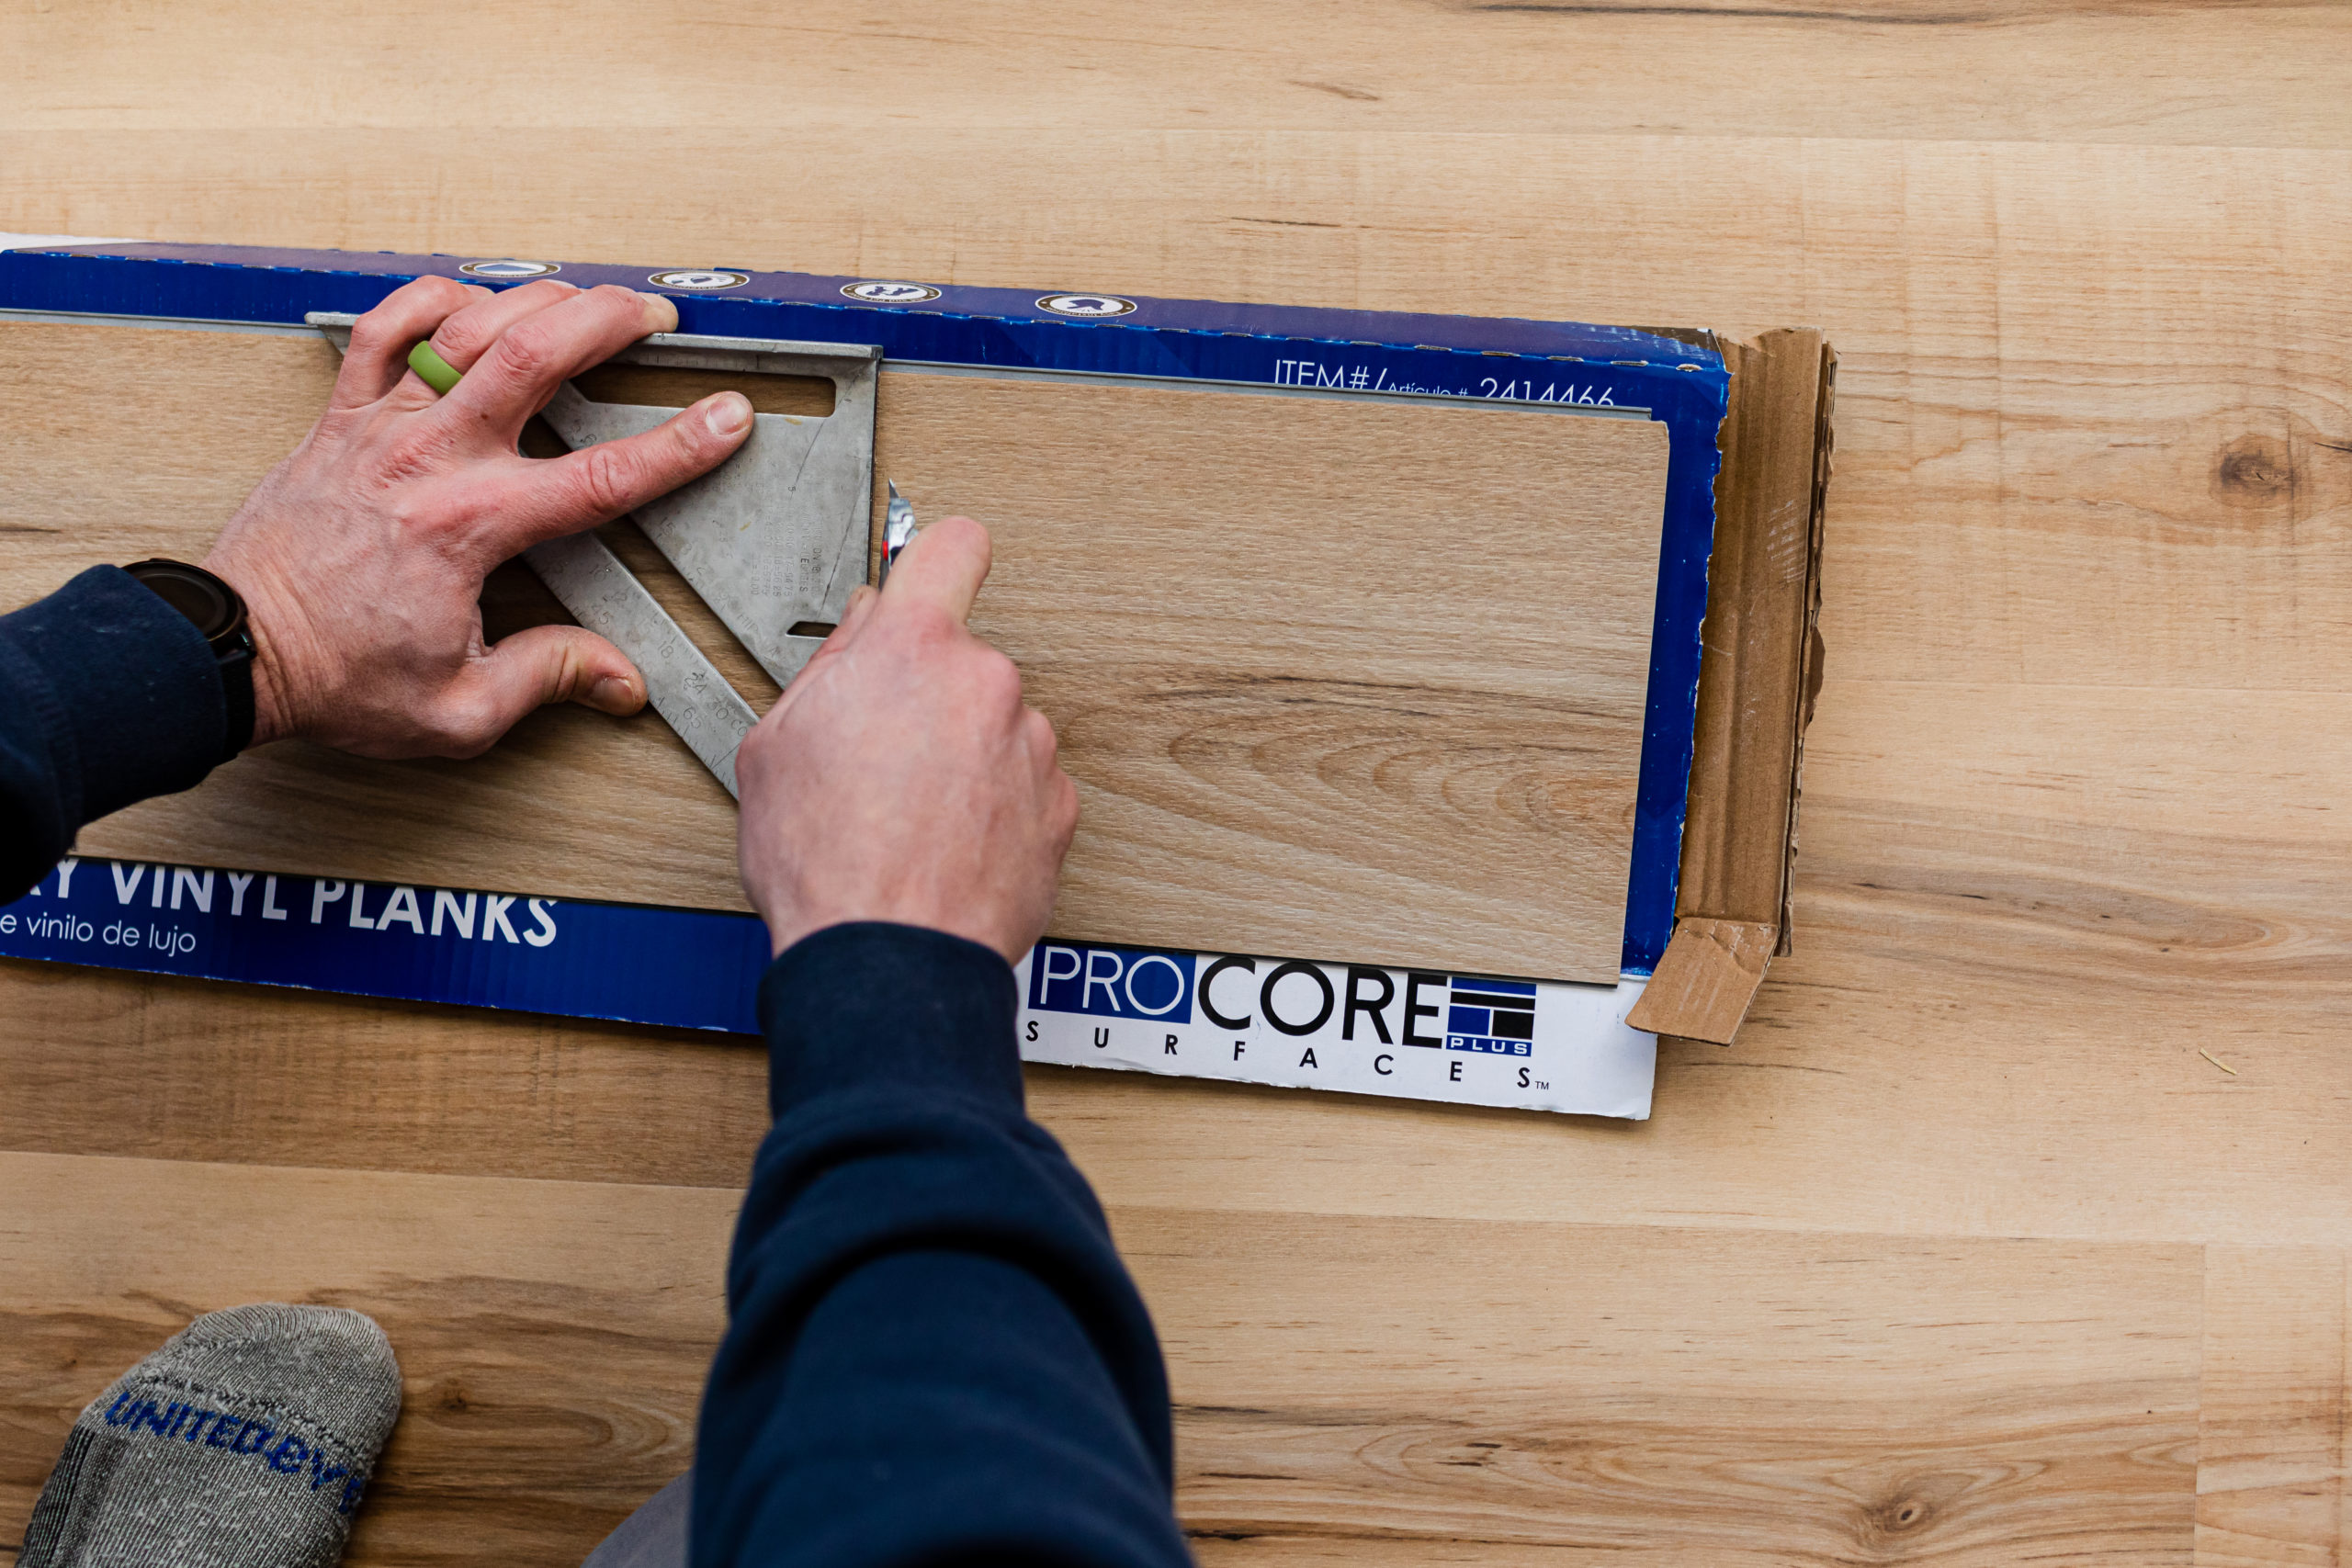
- Framing Square or any Square Tool
- Pencil
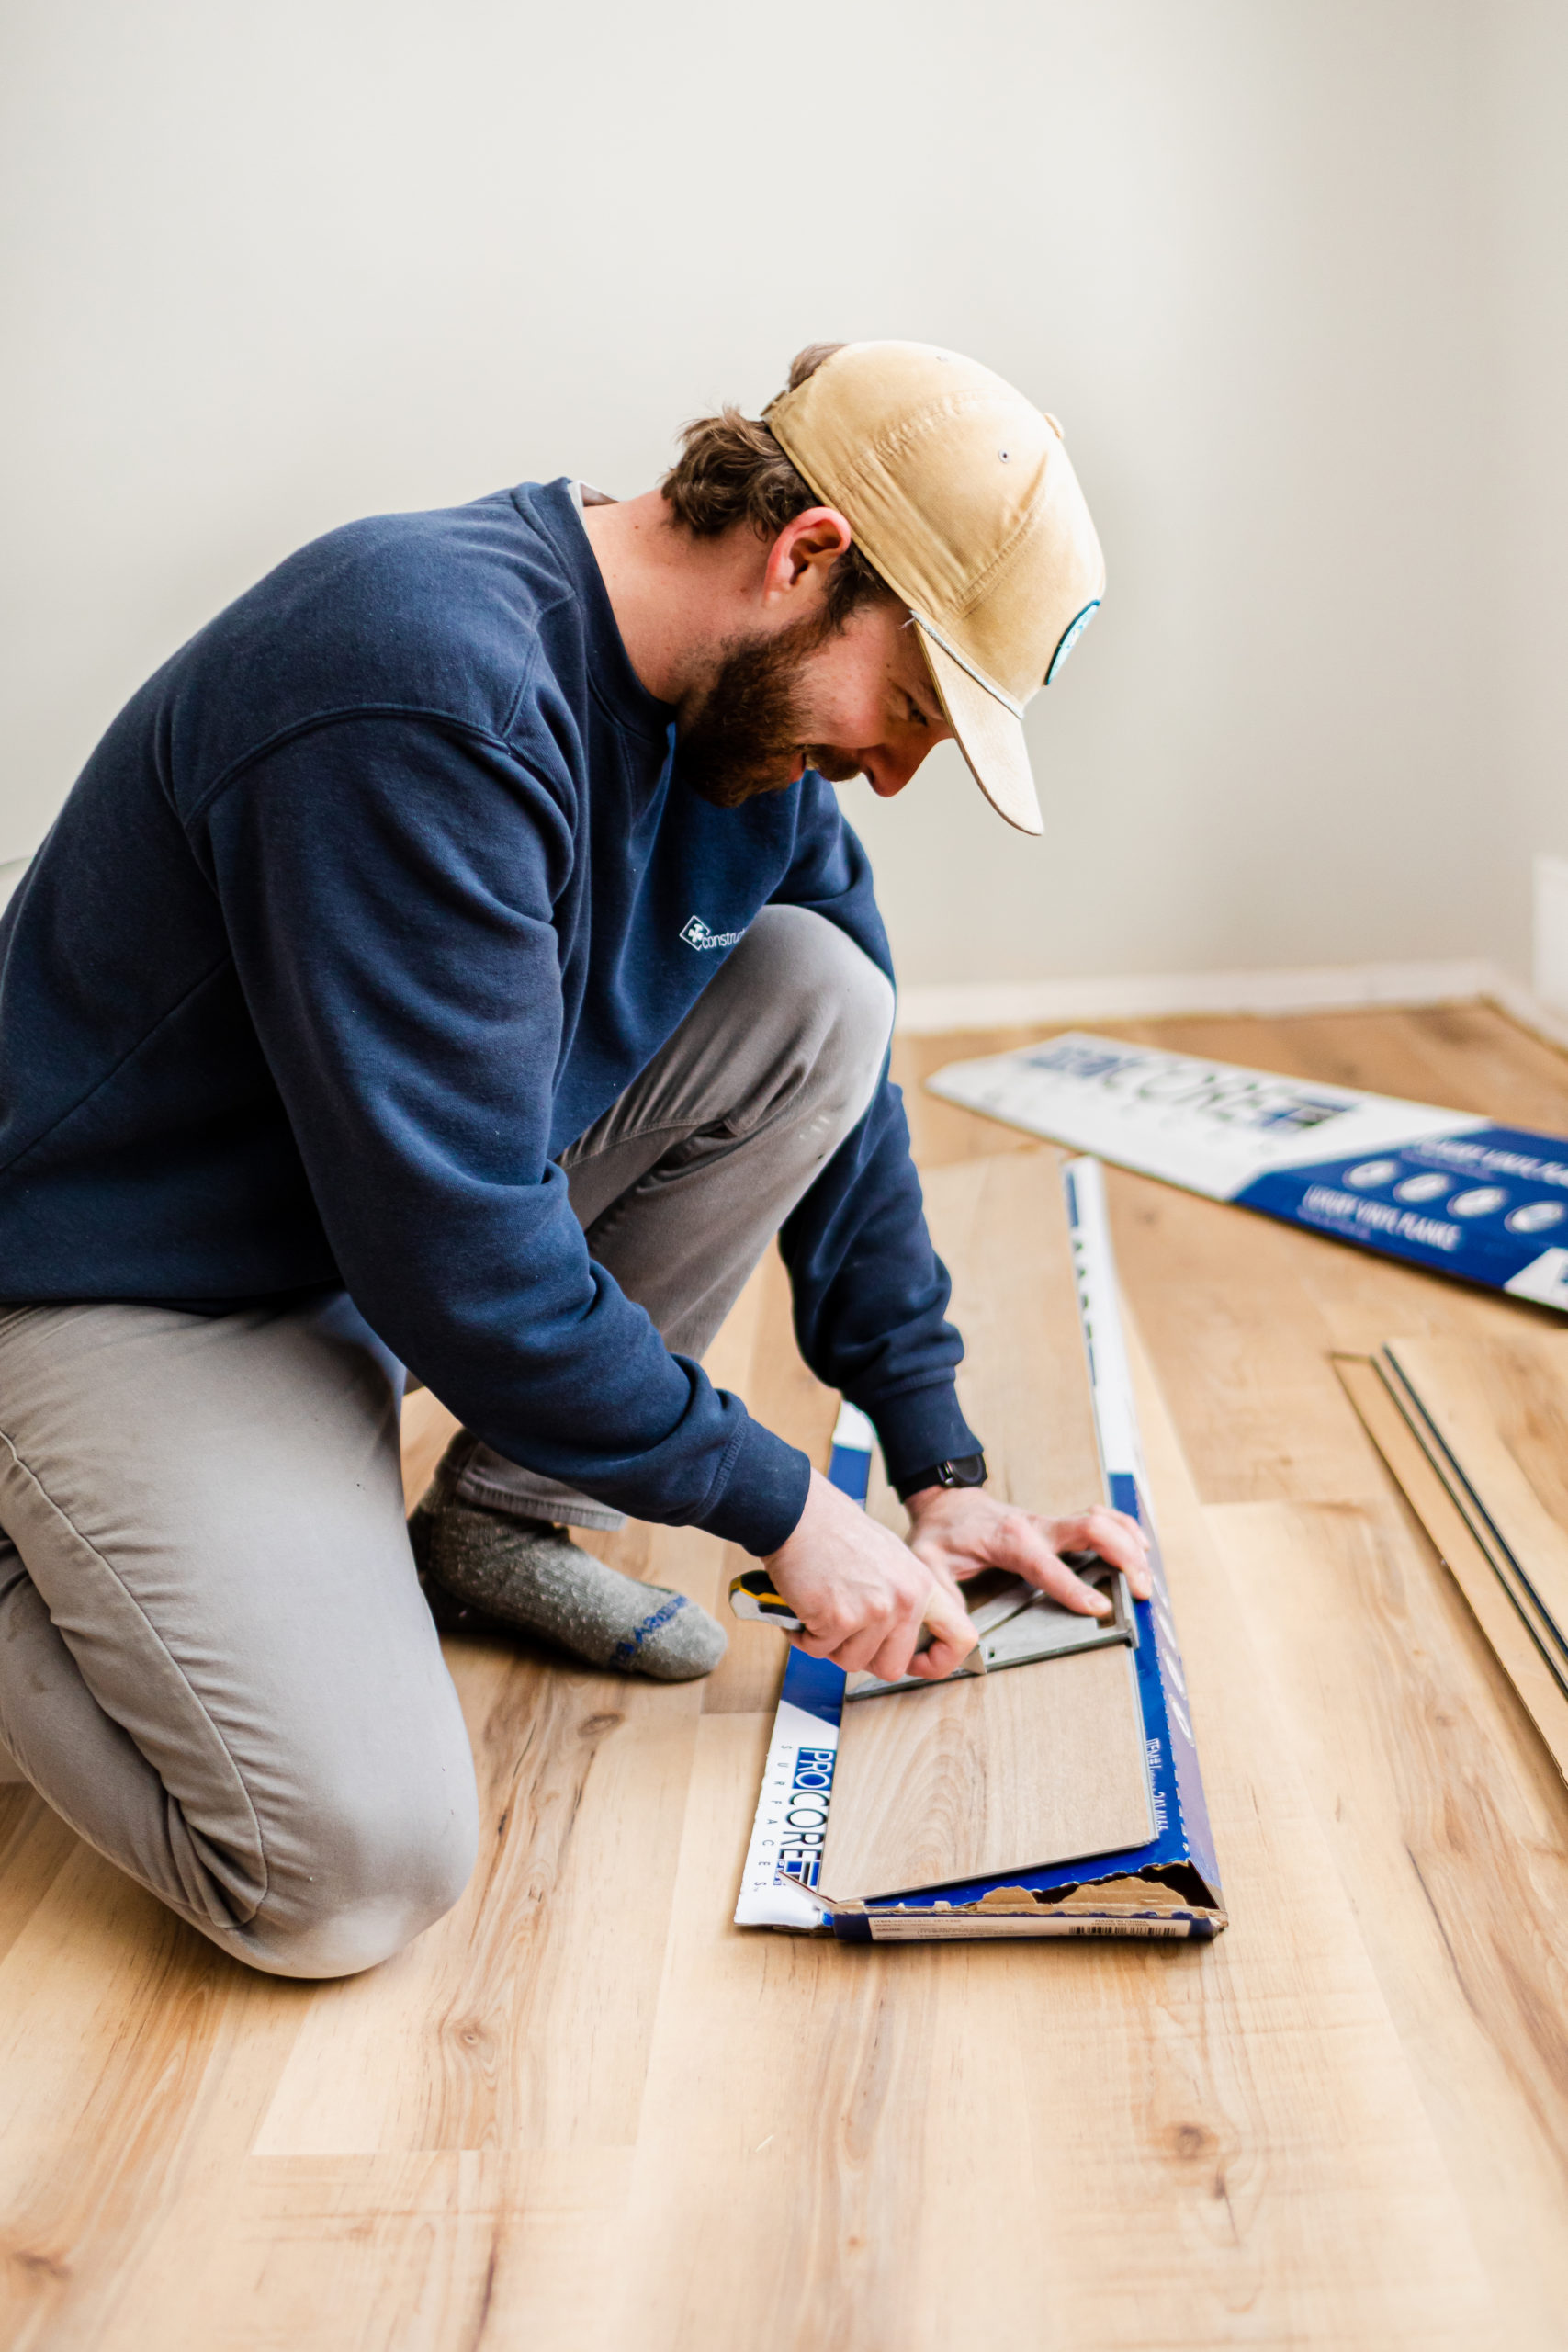
- Utility Knife
- Broom
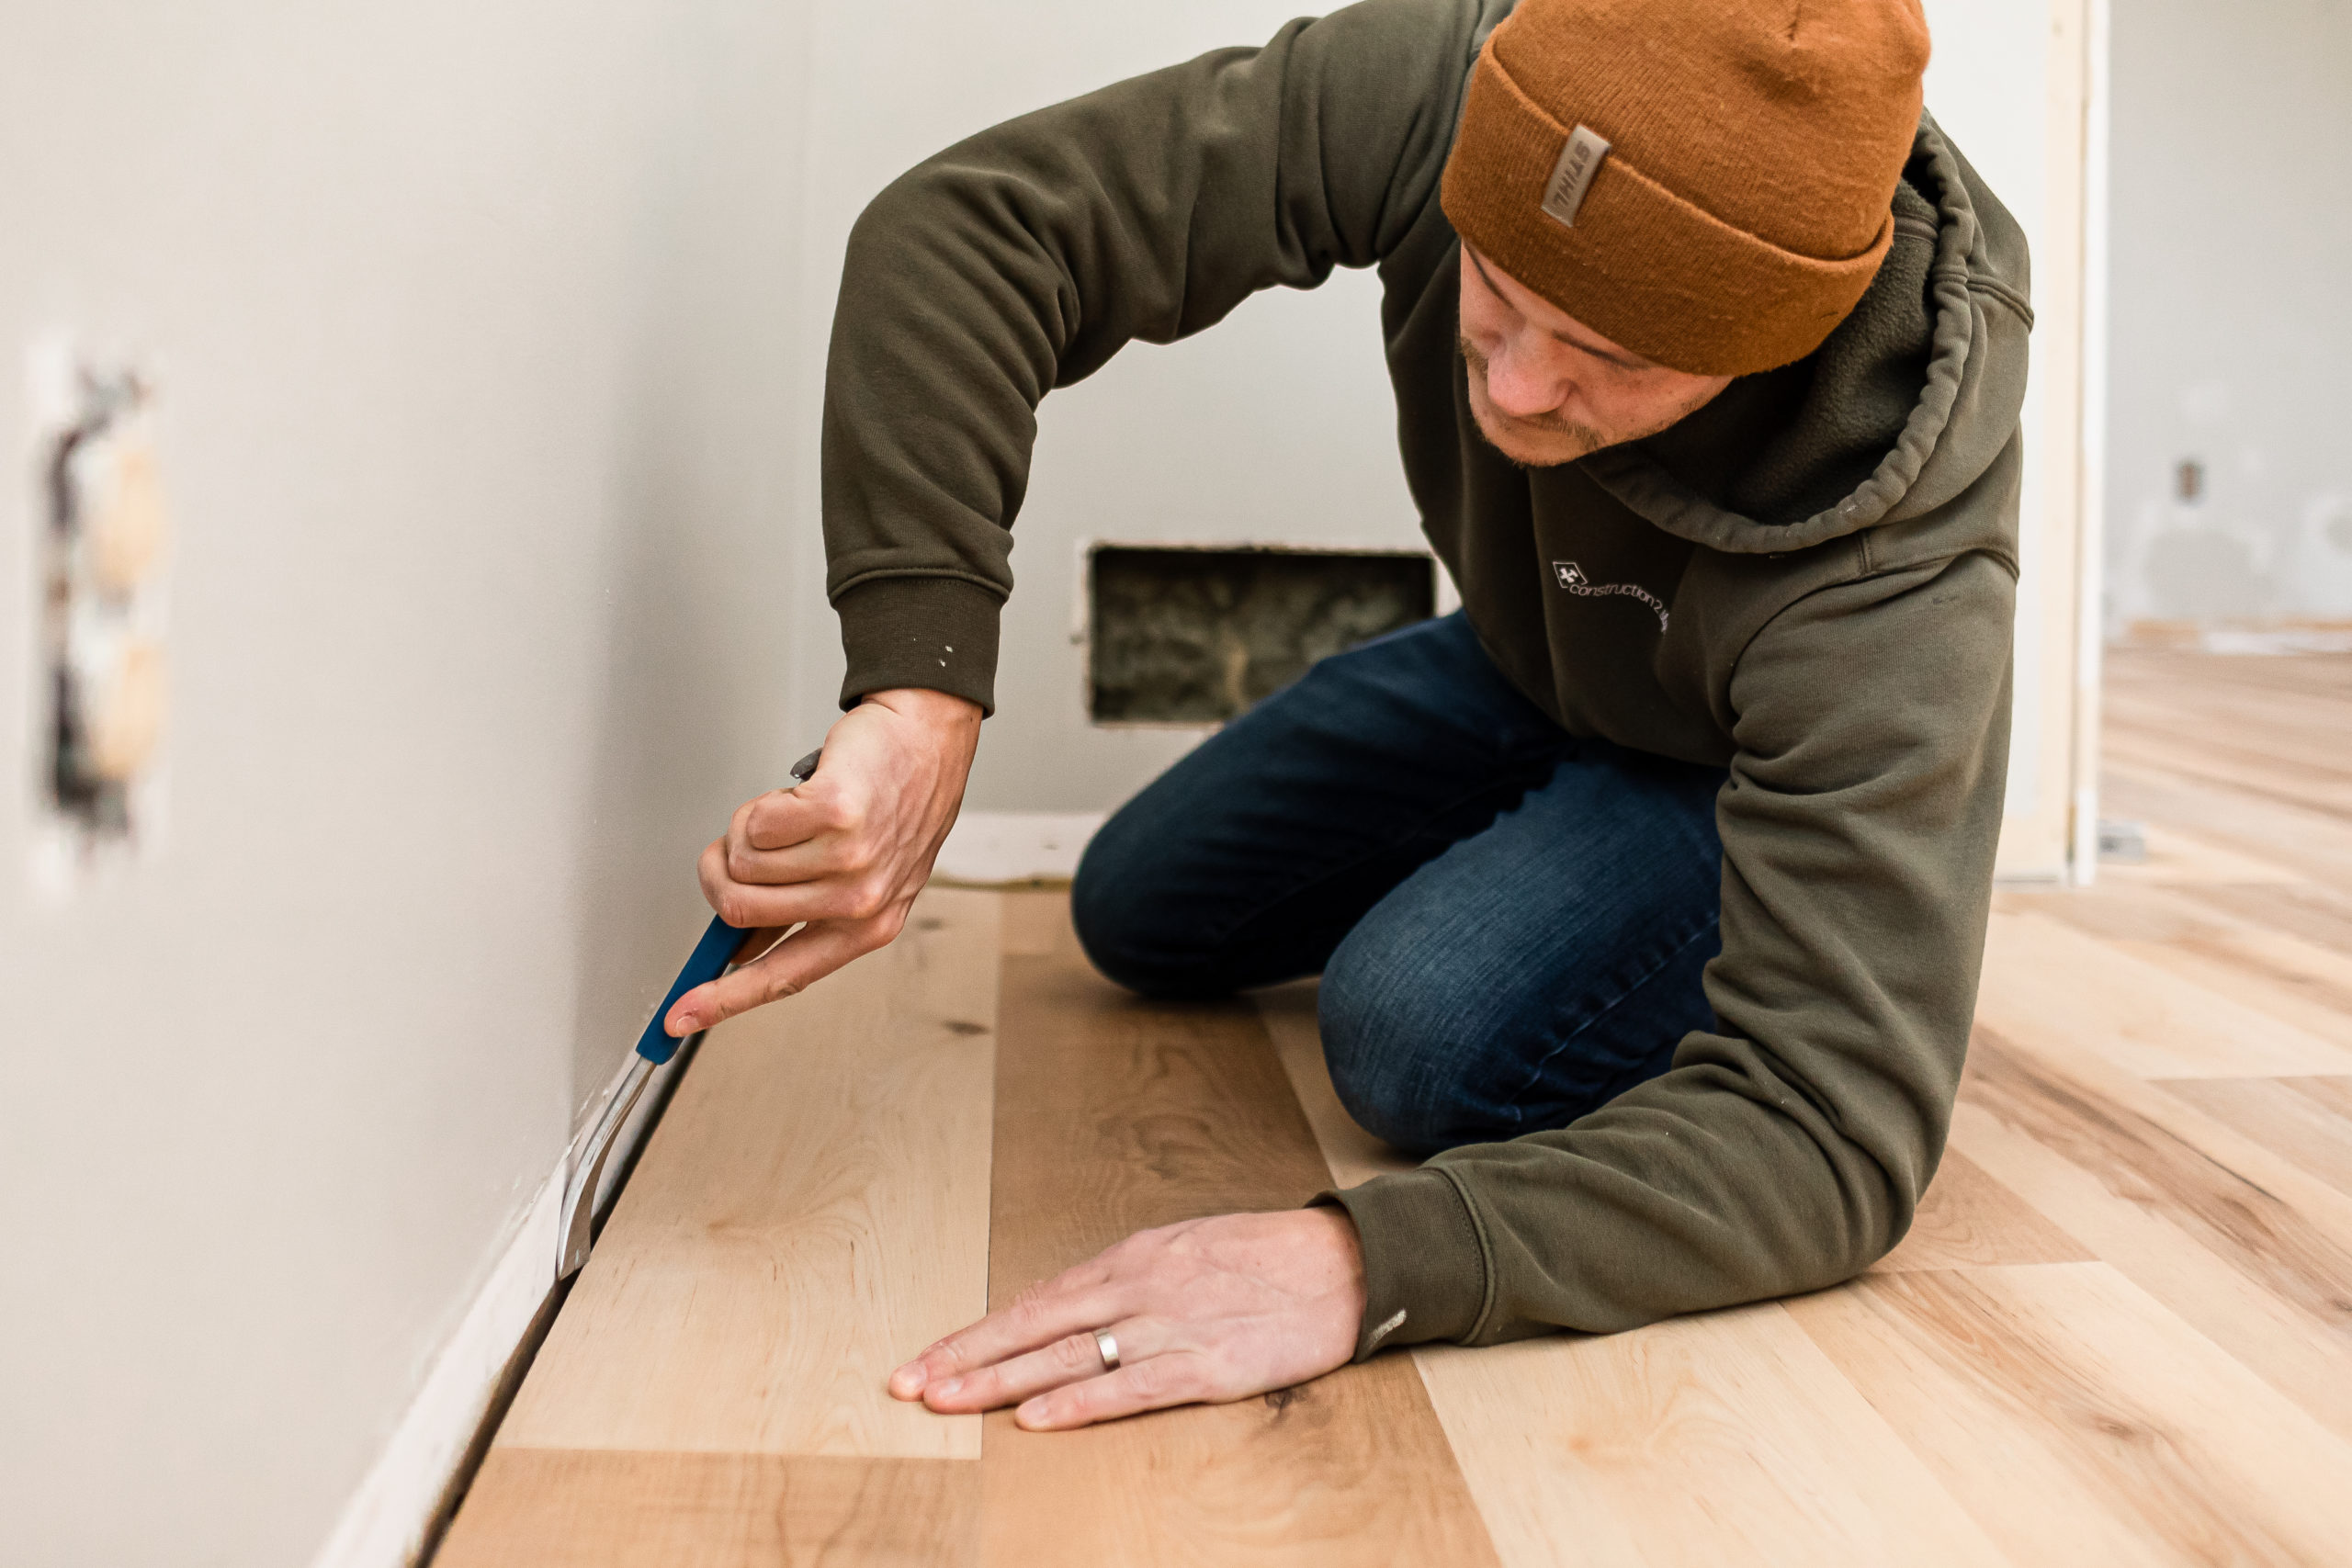
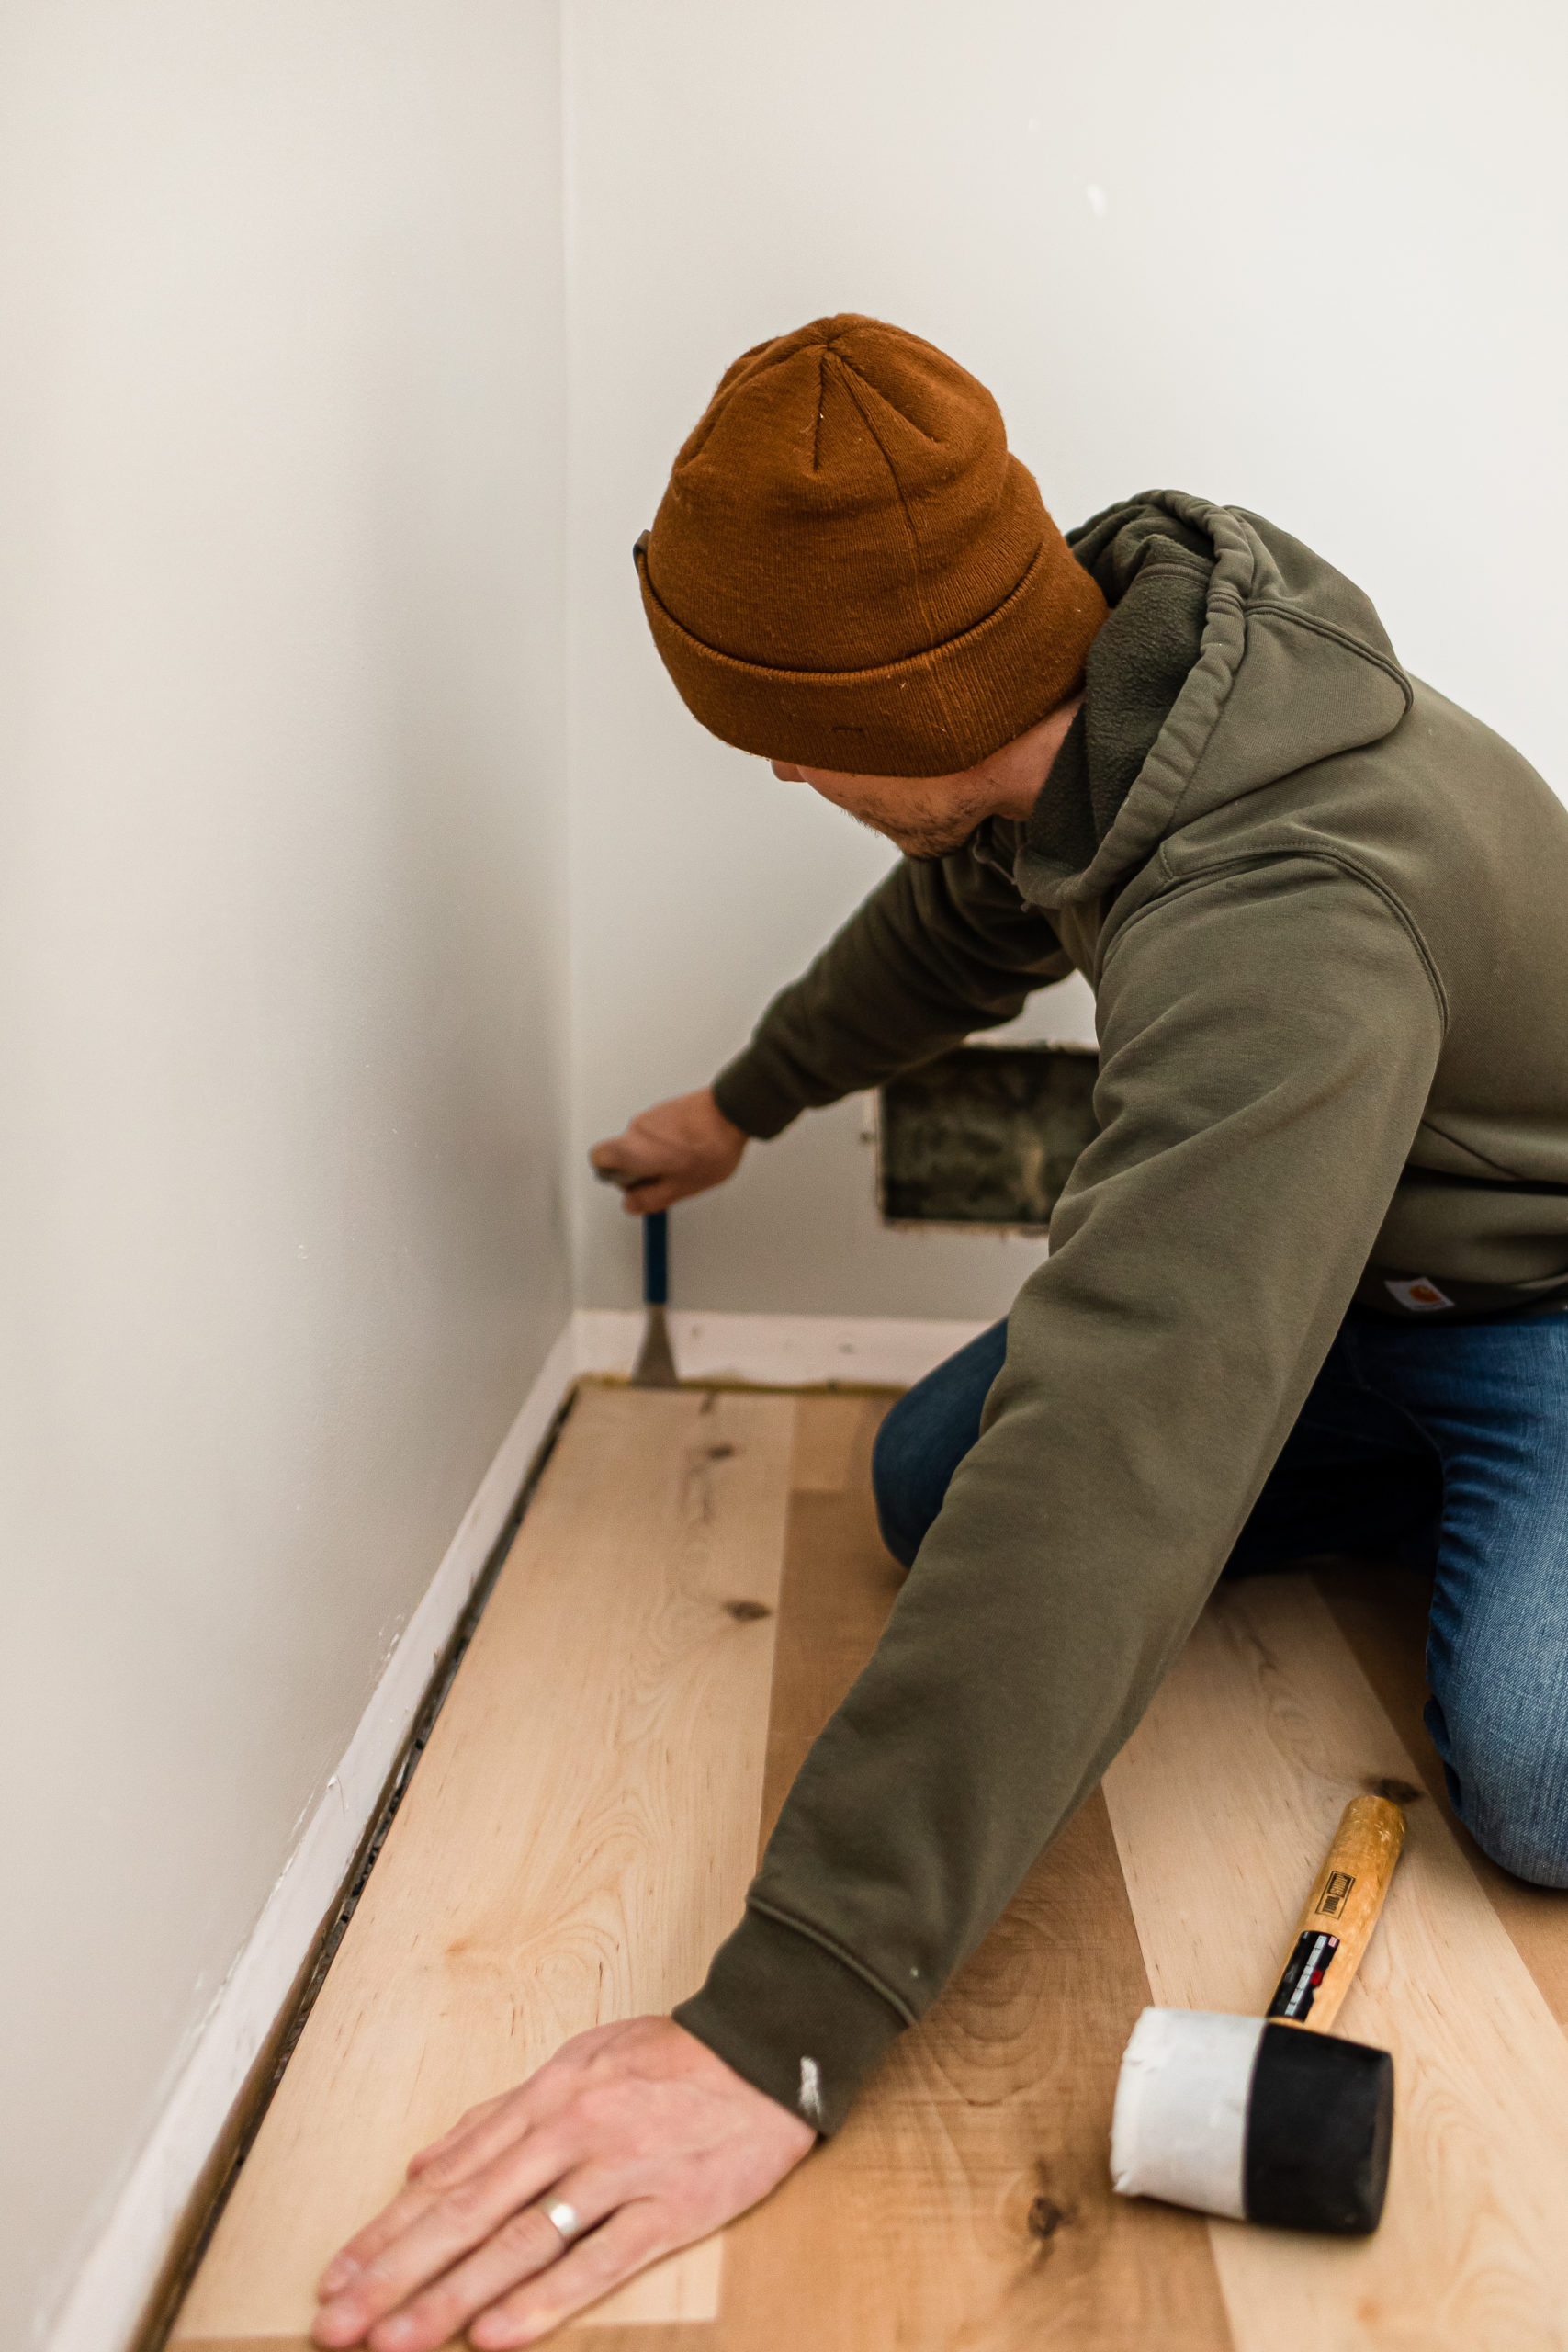
- Pull Bar
- Chalk Line
- Oscillating Multi-Tool
- Wedge spacers
- Knee Pads
Tonka Townline Flooring Installation Tips
First, you want to make sure the floor surface that you are installing on is cleaned up and the floors are relatively level (< 1/8-in. gap, about two US quarters over 6-ft. area and ≤ 1/16-in. gap, about 1 x US quarter, over 1-ft. area.
You can check out the complete technical instructions for installation on the ProCore website, including what to do if your floors aren’t level.) The subfloor should be also smooth, dry, and free of any dust or debris.
Once that is taken care of, you’ll want to plan your layout. We typically lay out the flooring so that when you walk into the room, the boards run the length of the room.
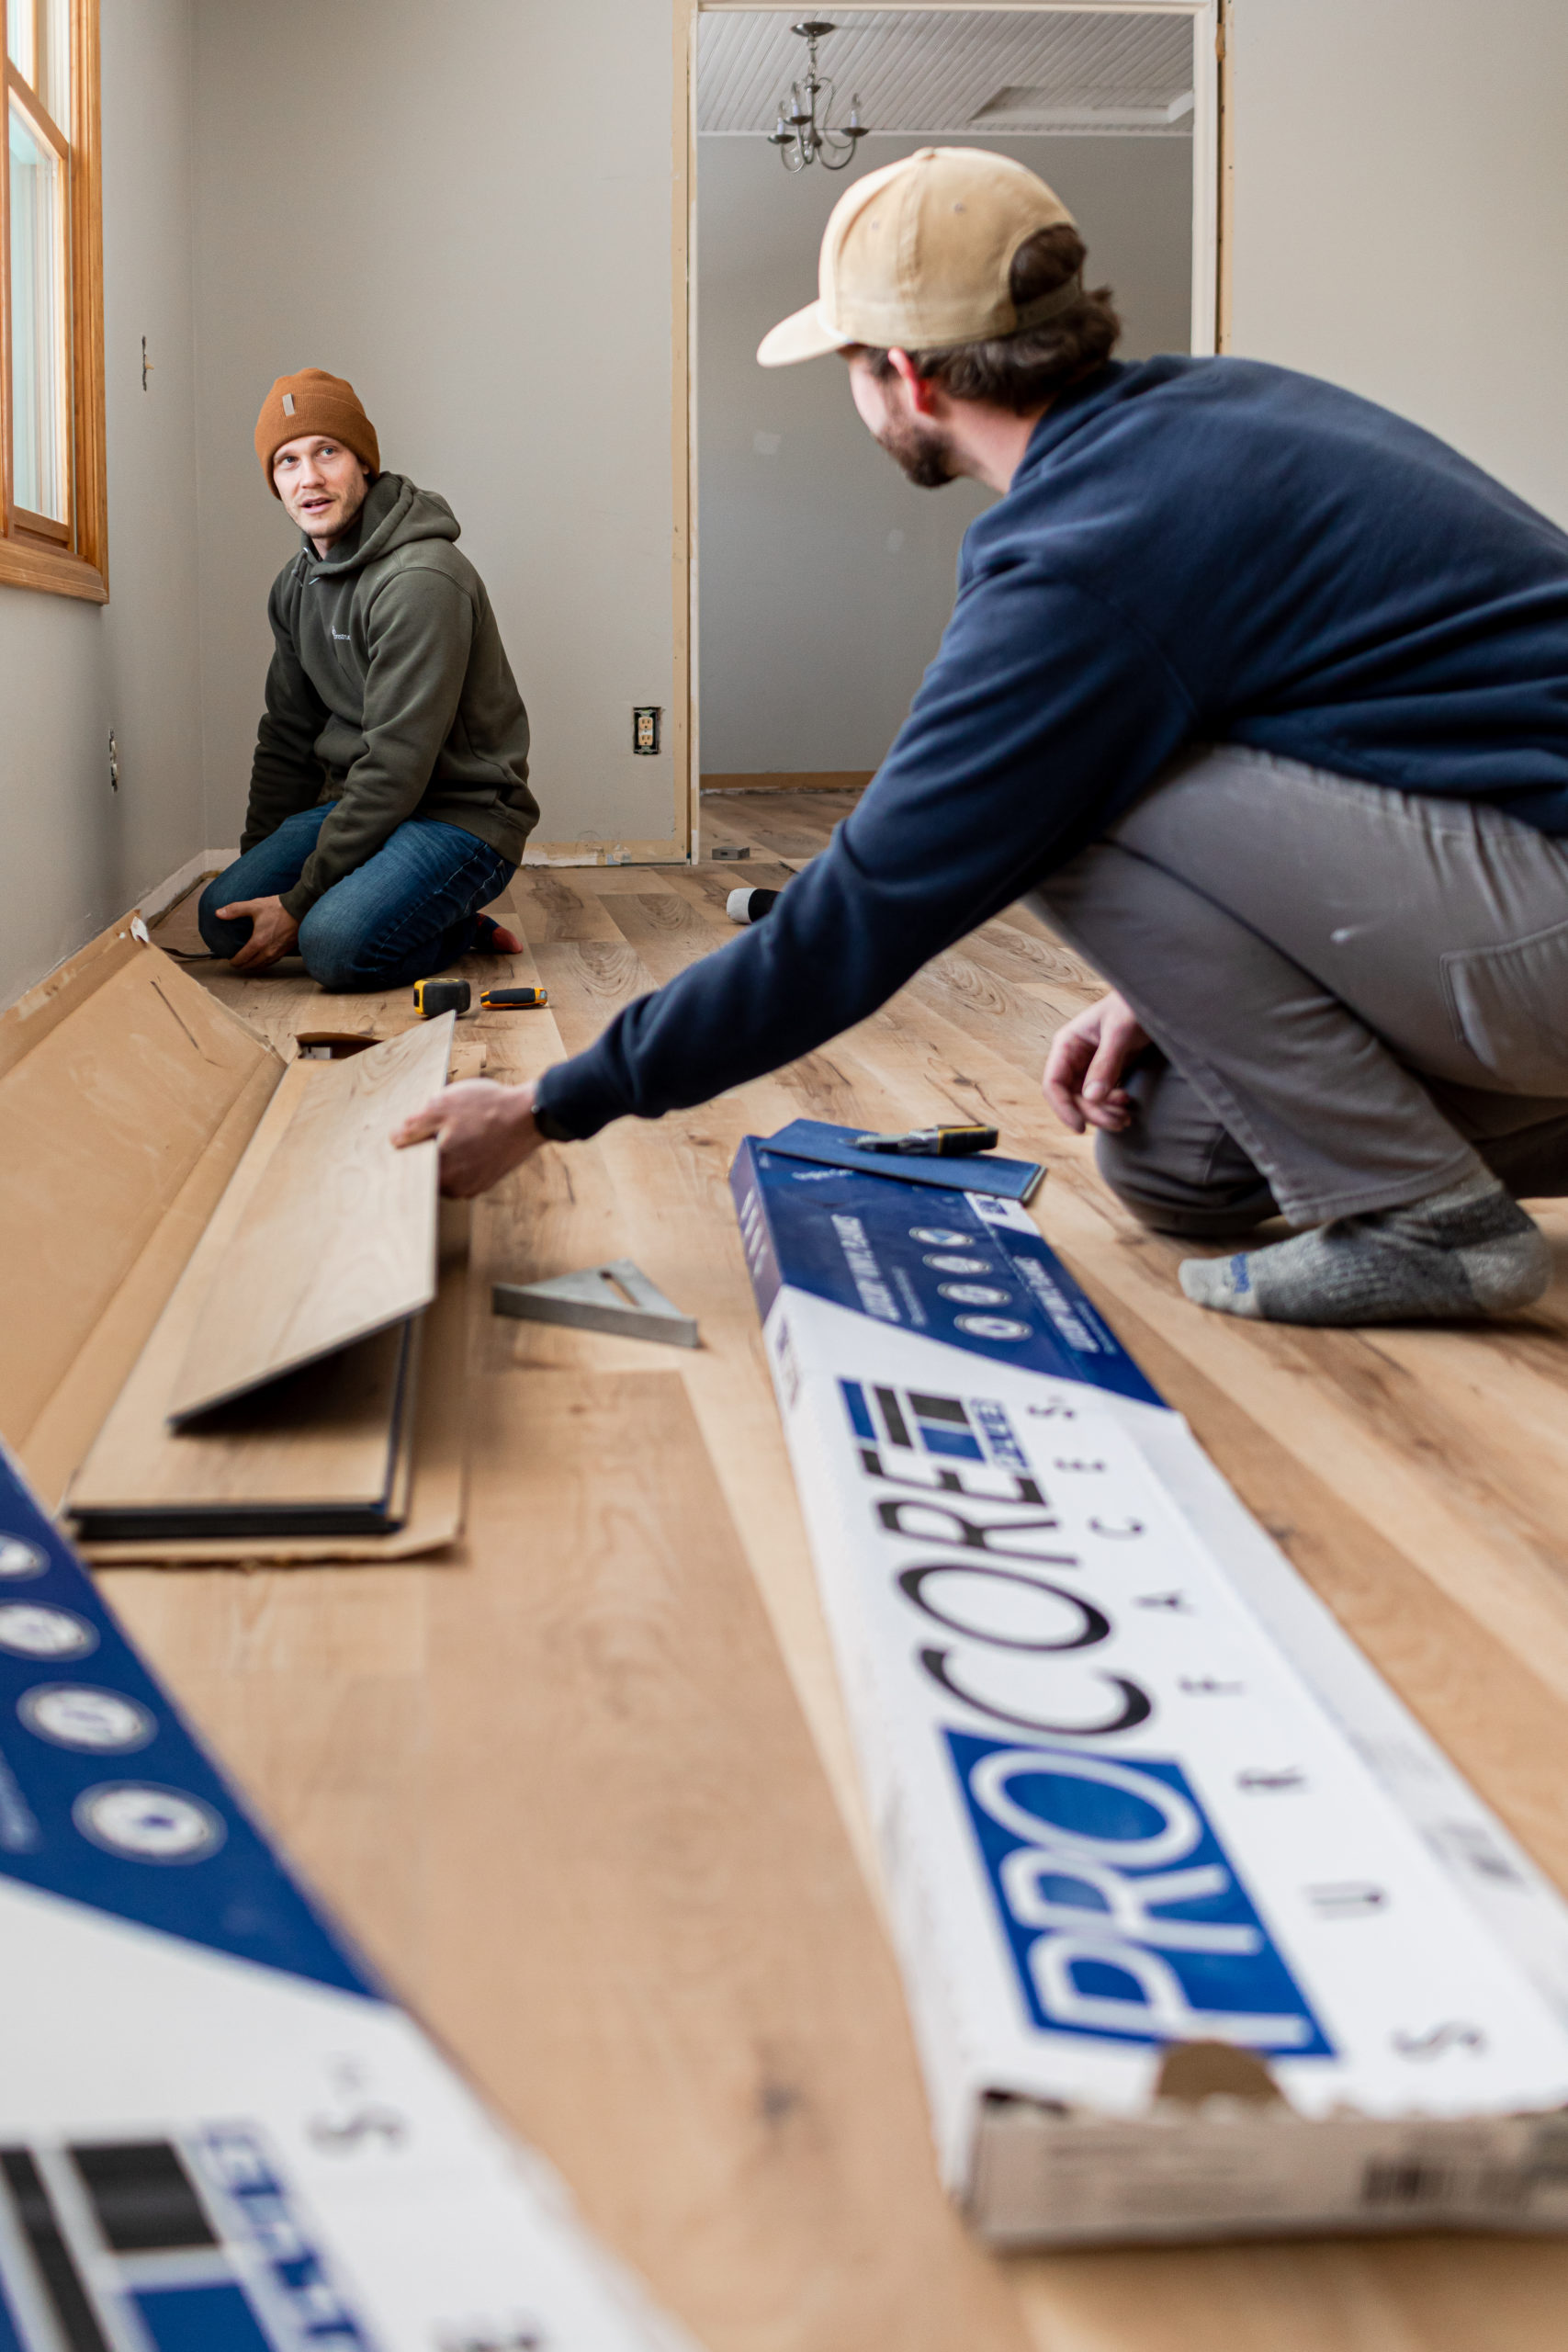
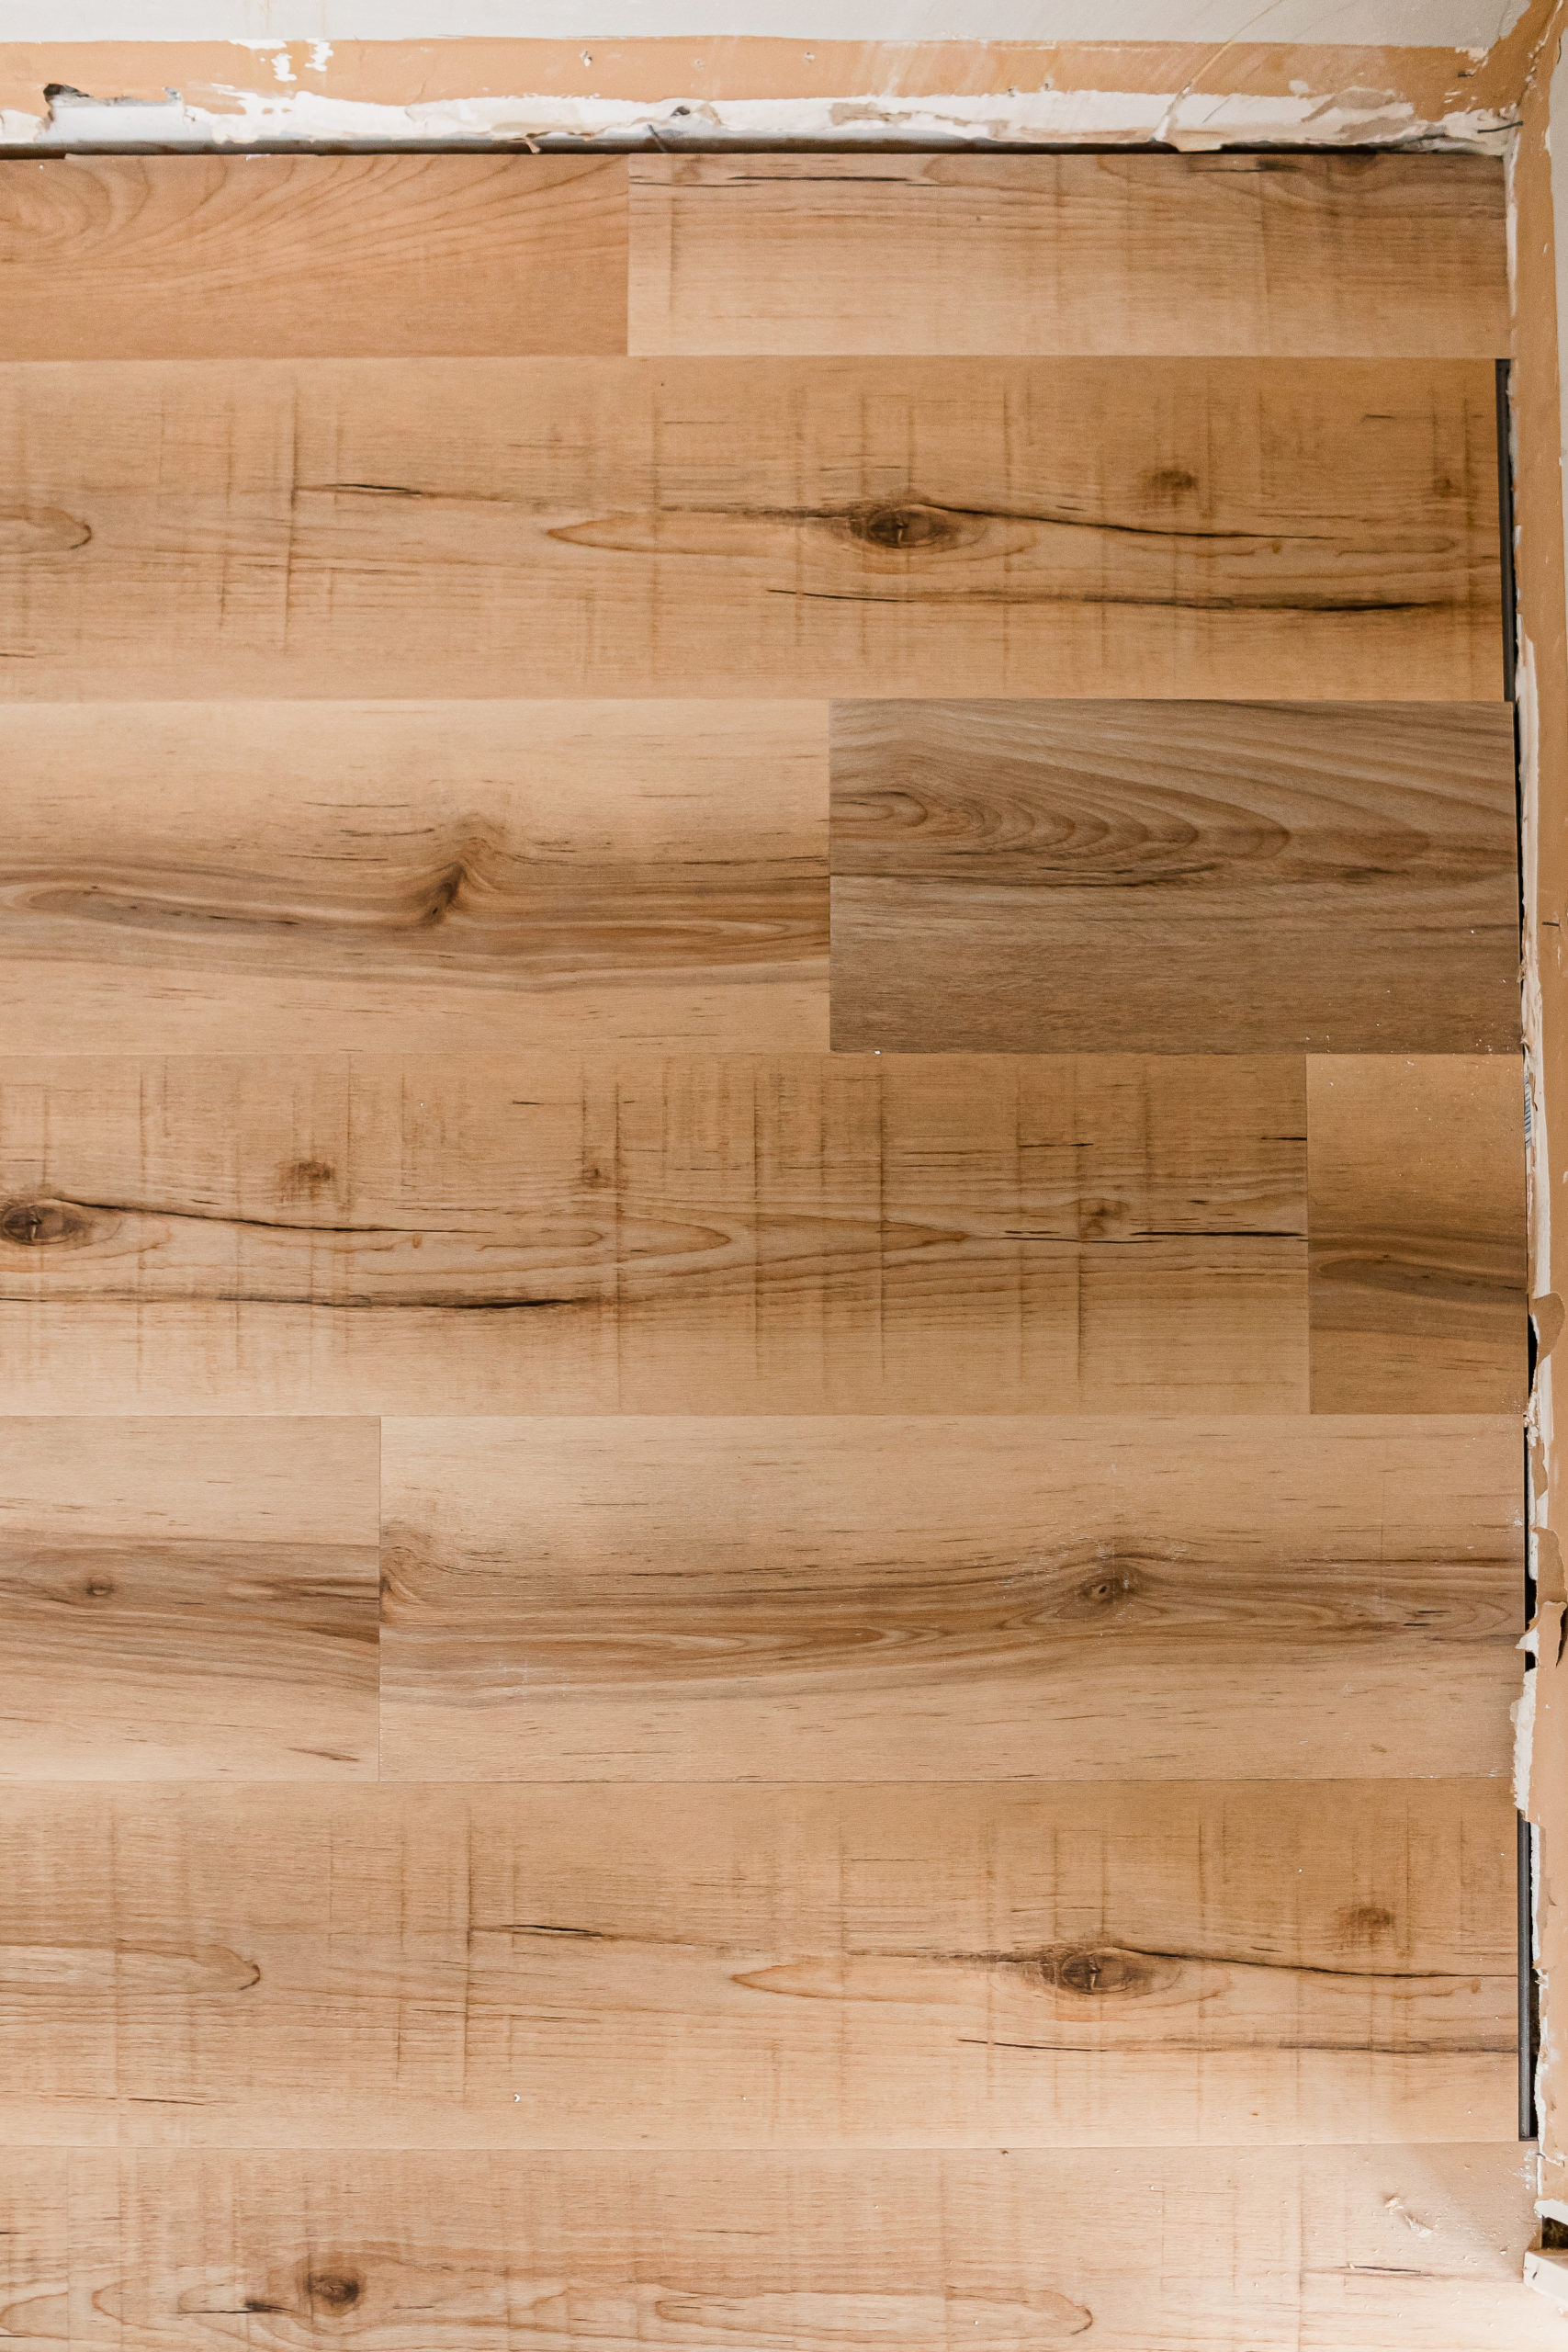
Before installing, be sure to remove all of the boards from the boxes first. You can sort them by pattern to make it easier to randomly select planks for a more natural, professional appearance.
Once you have the floor cleaned up and you know your layout, remove all baseboards and undercut any door jambs.
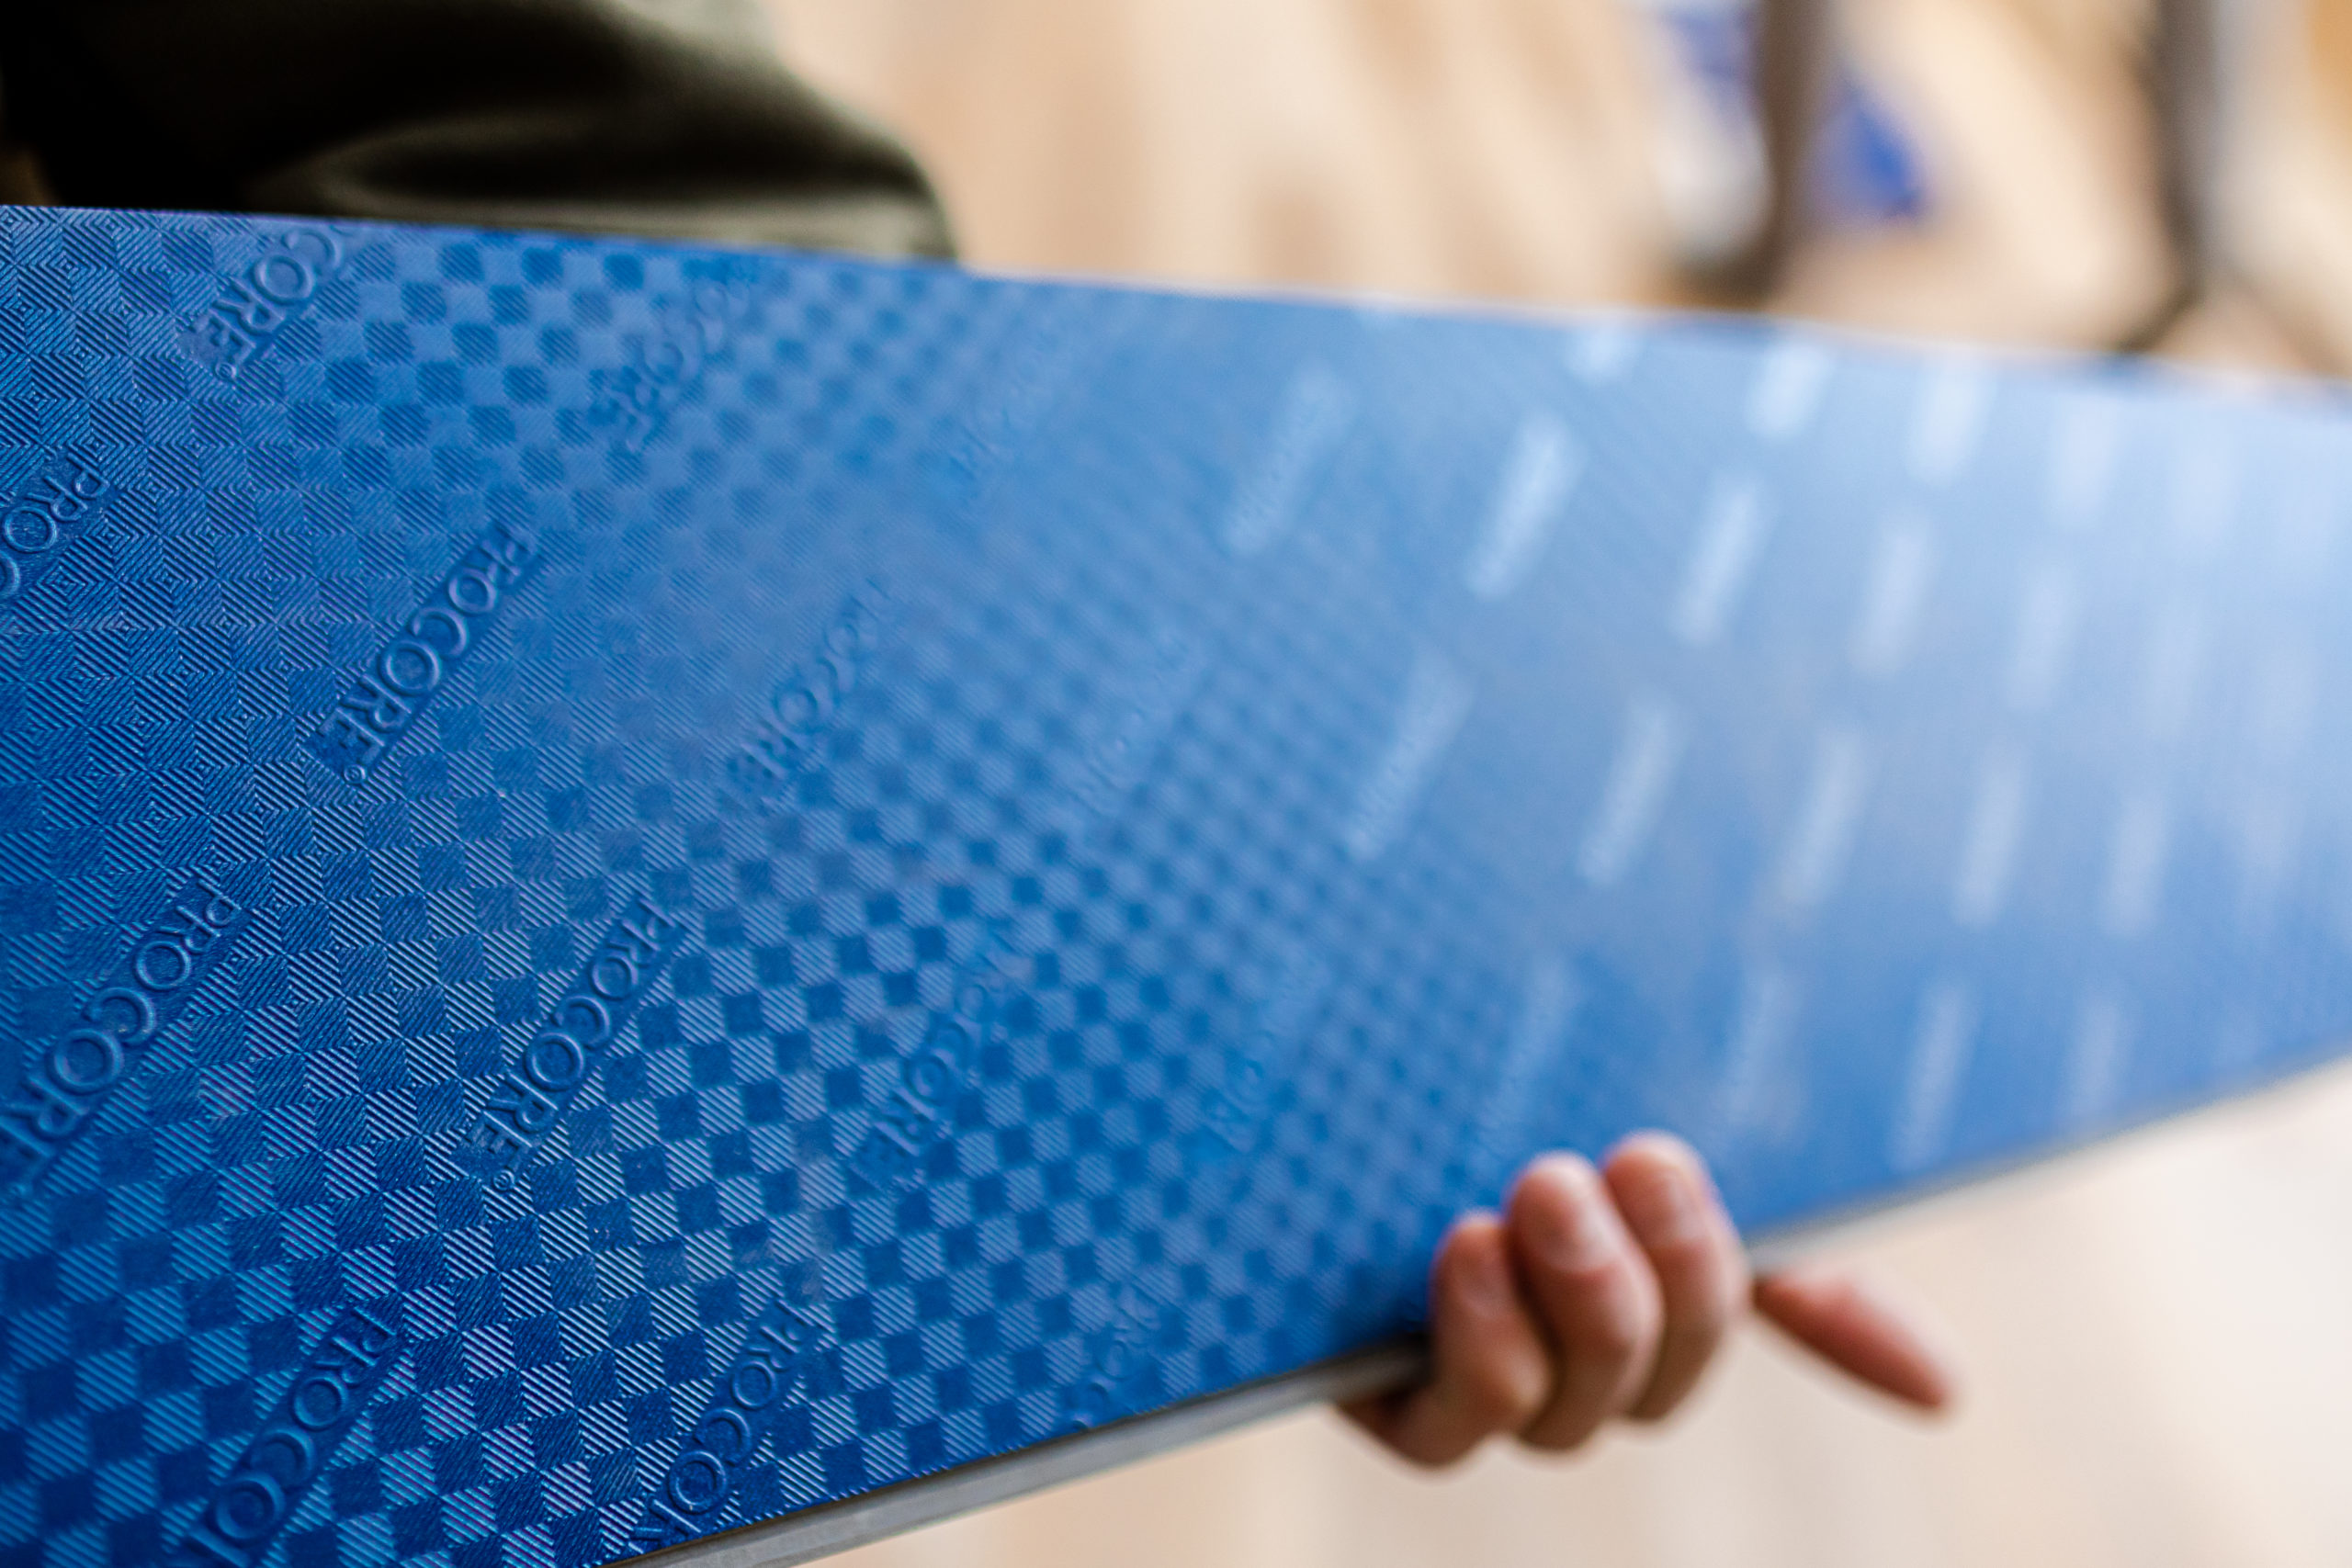
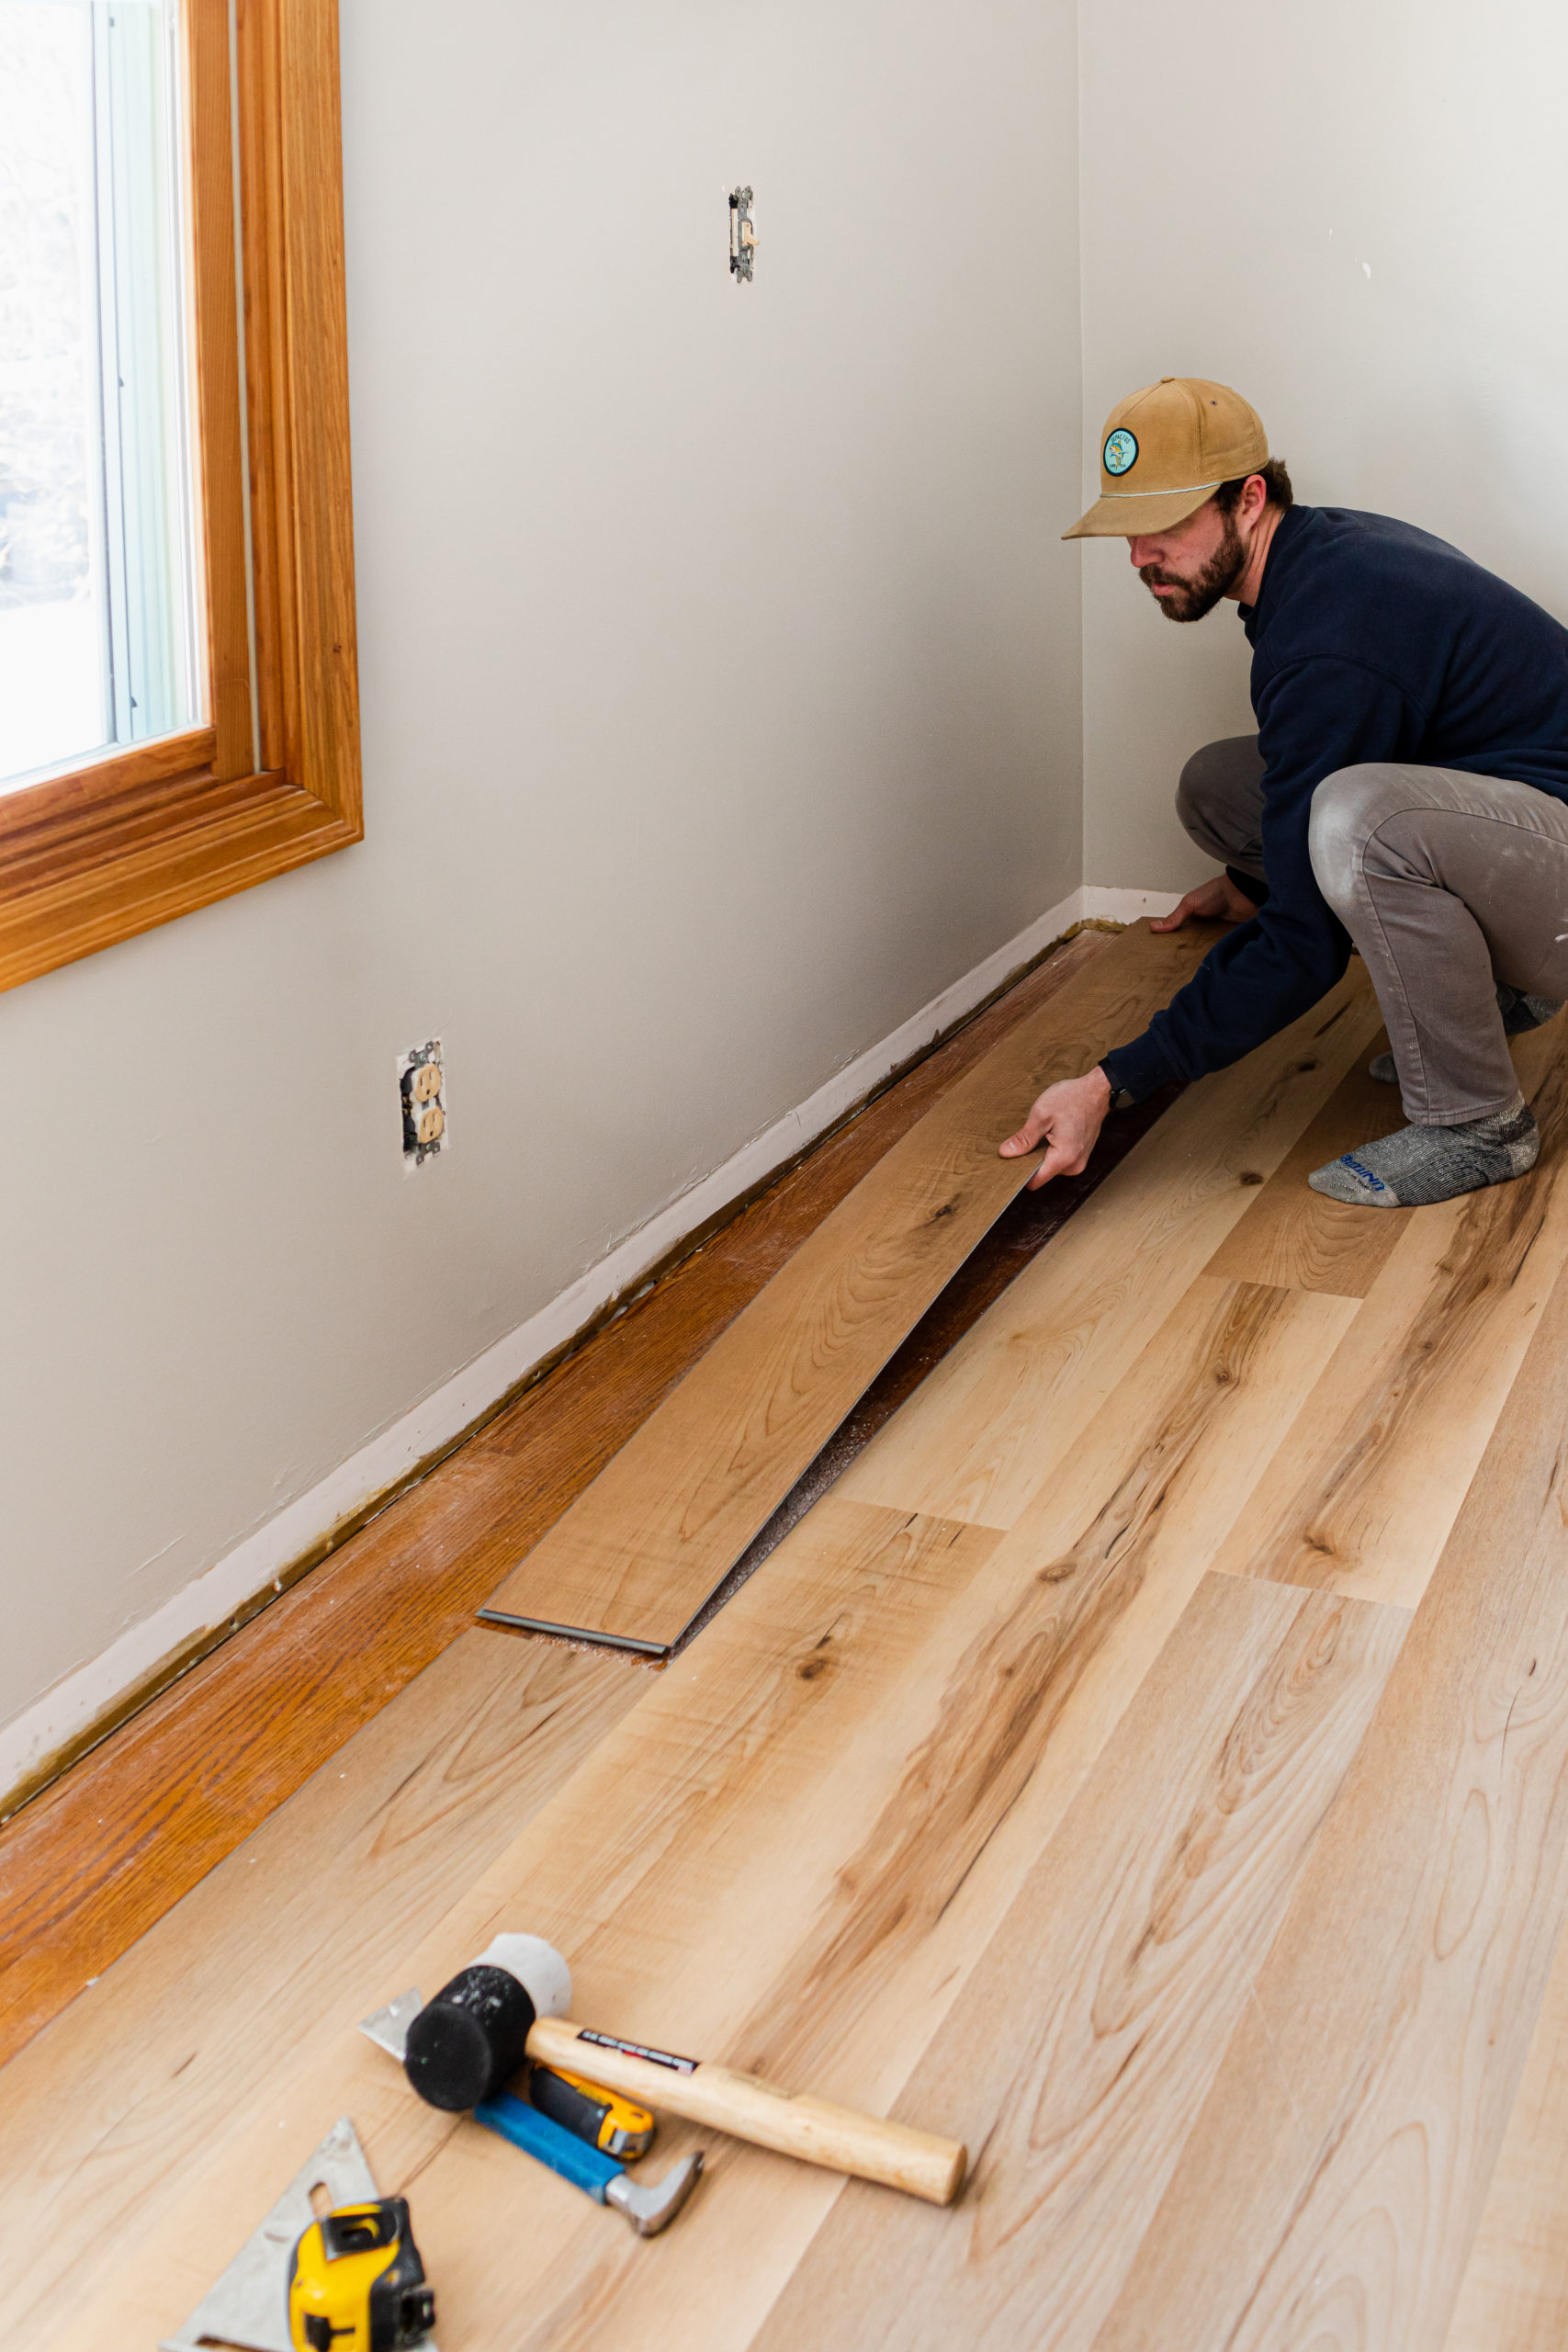
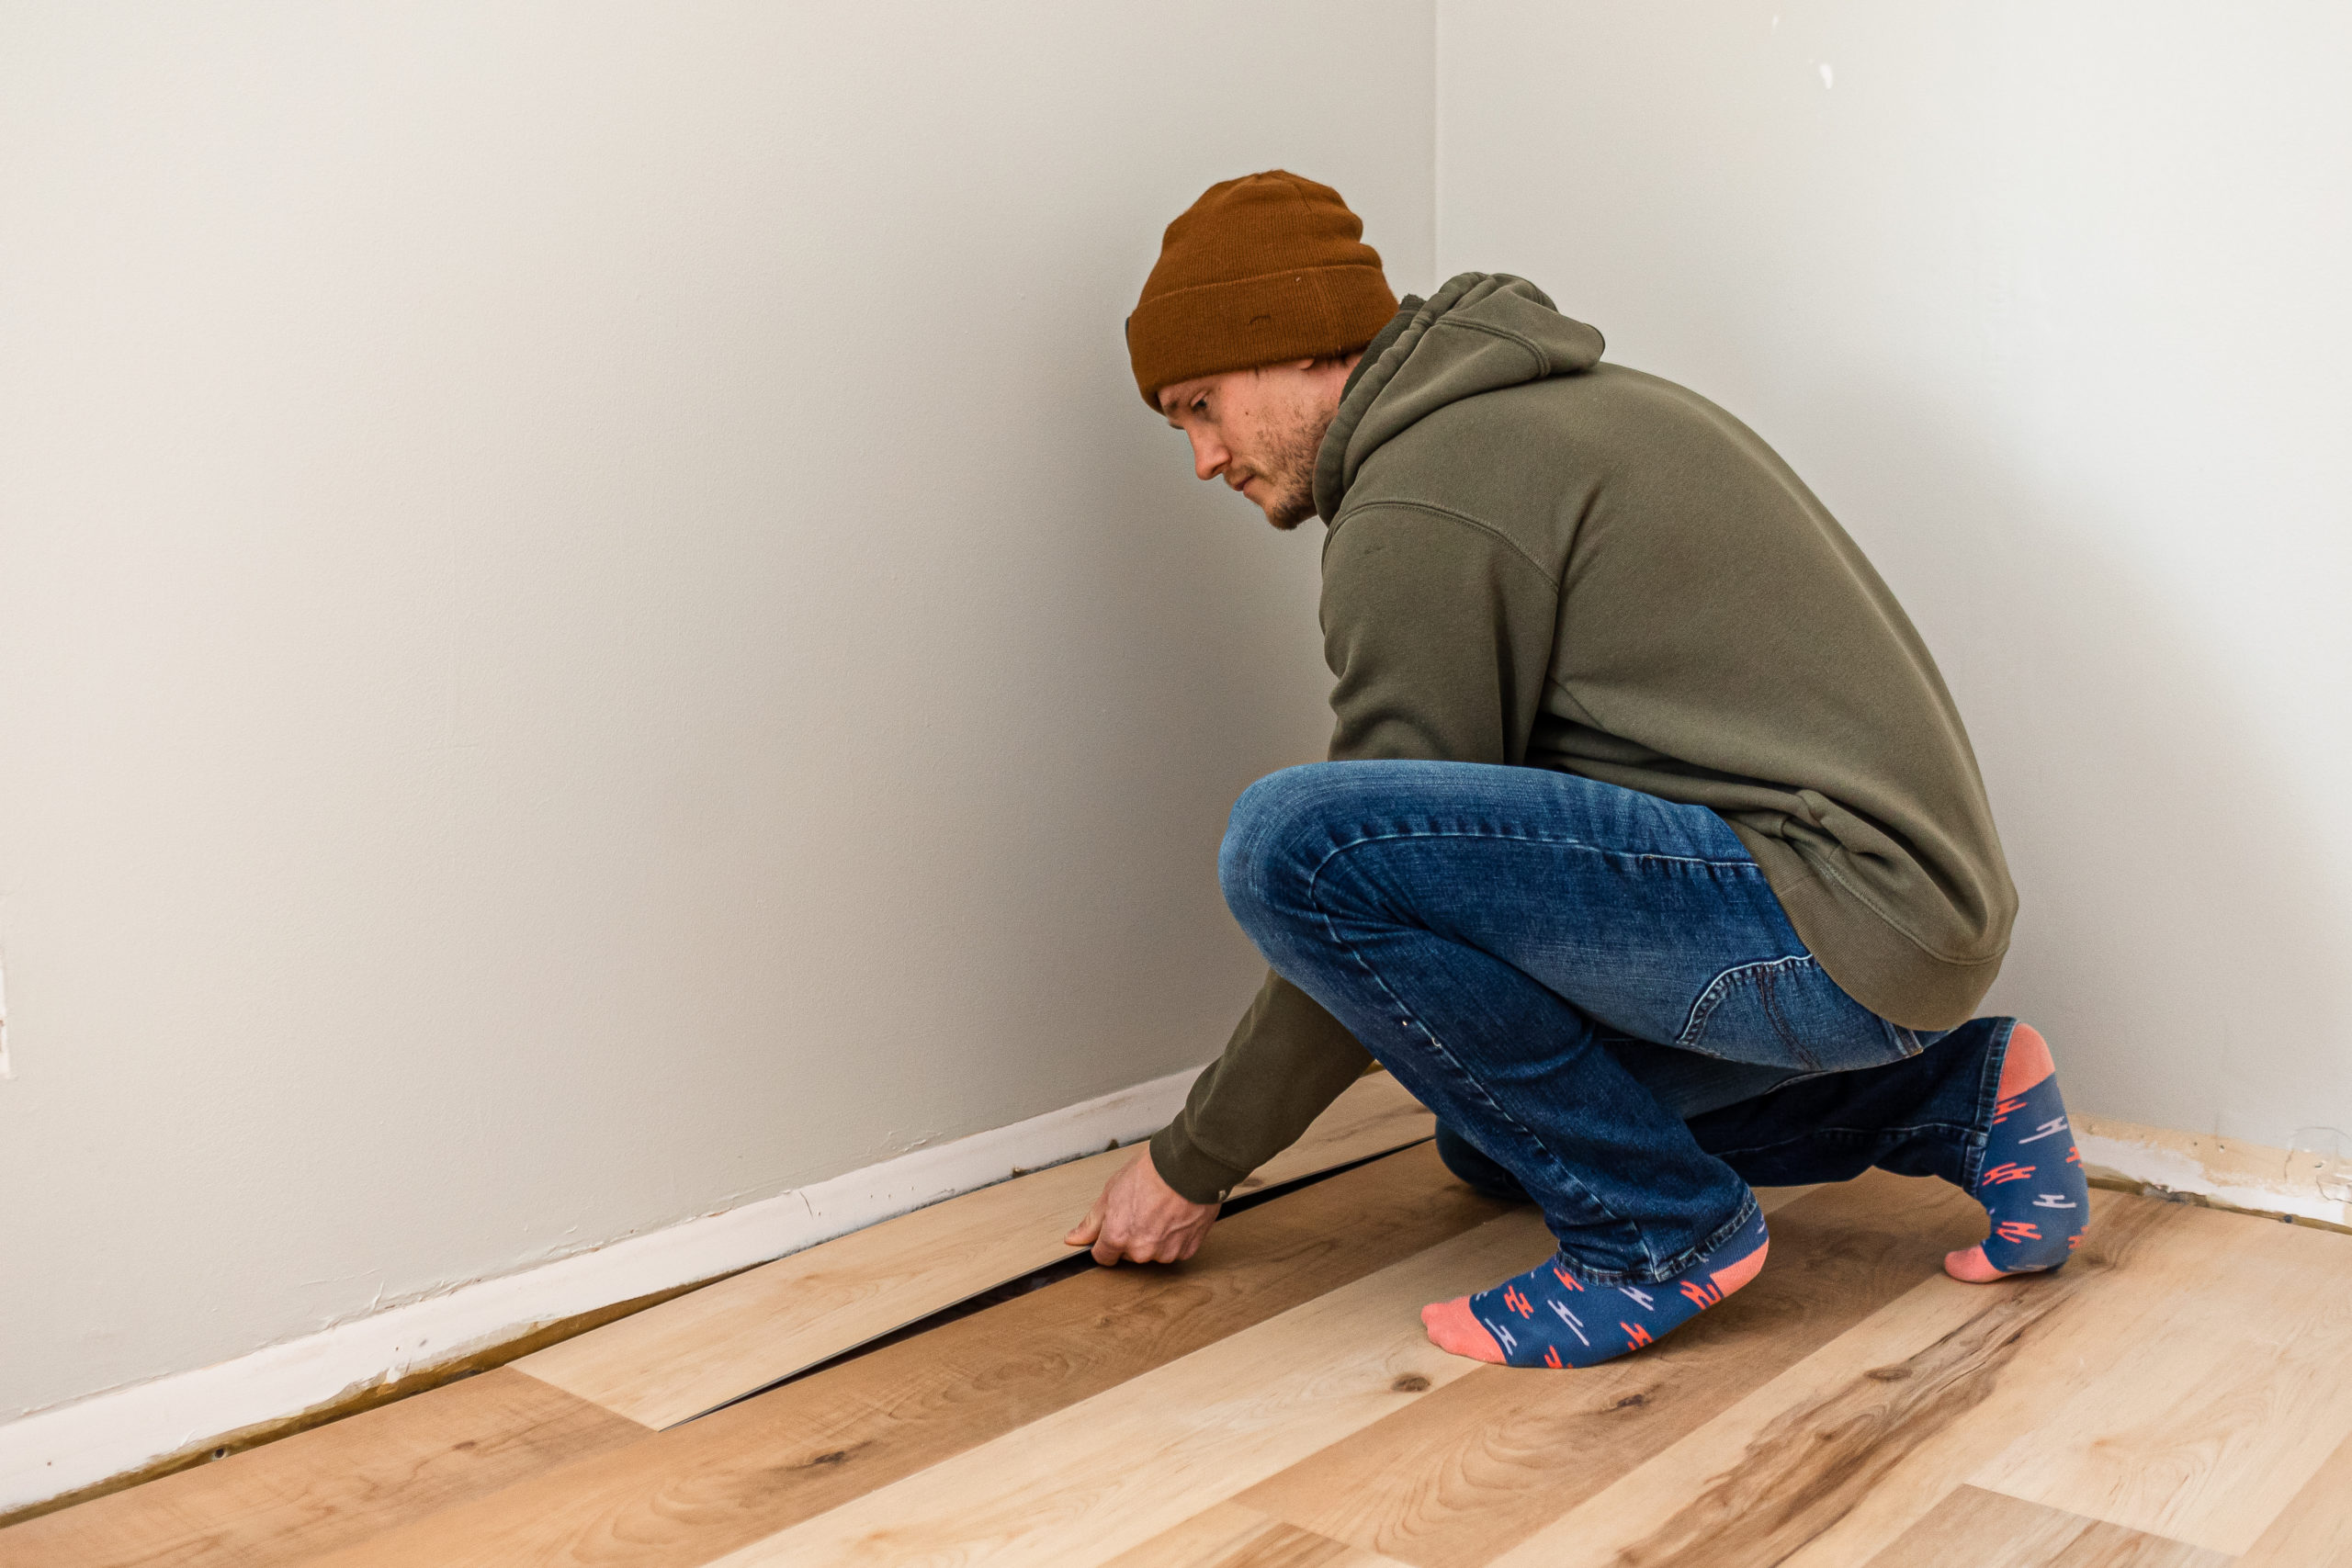
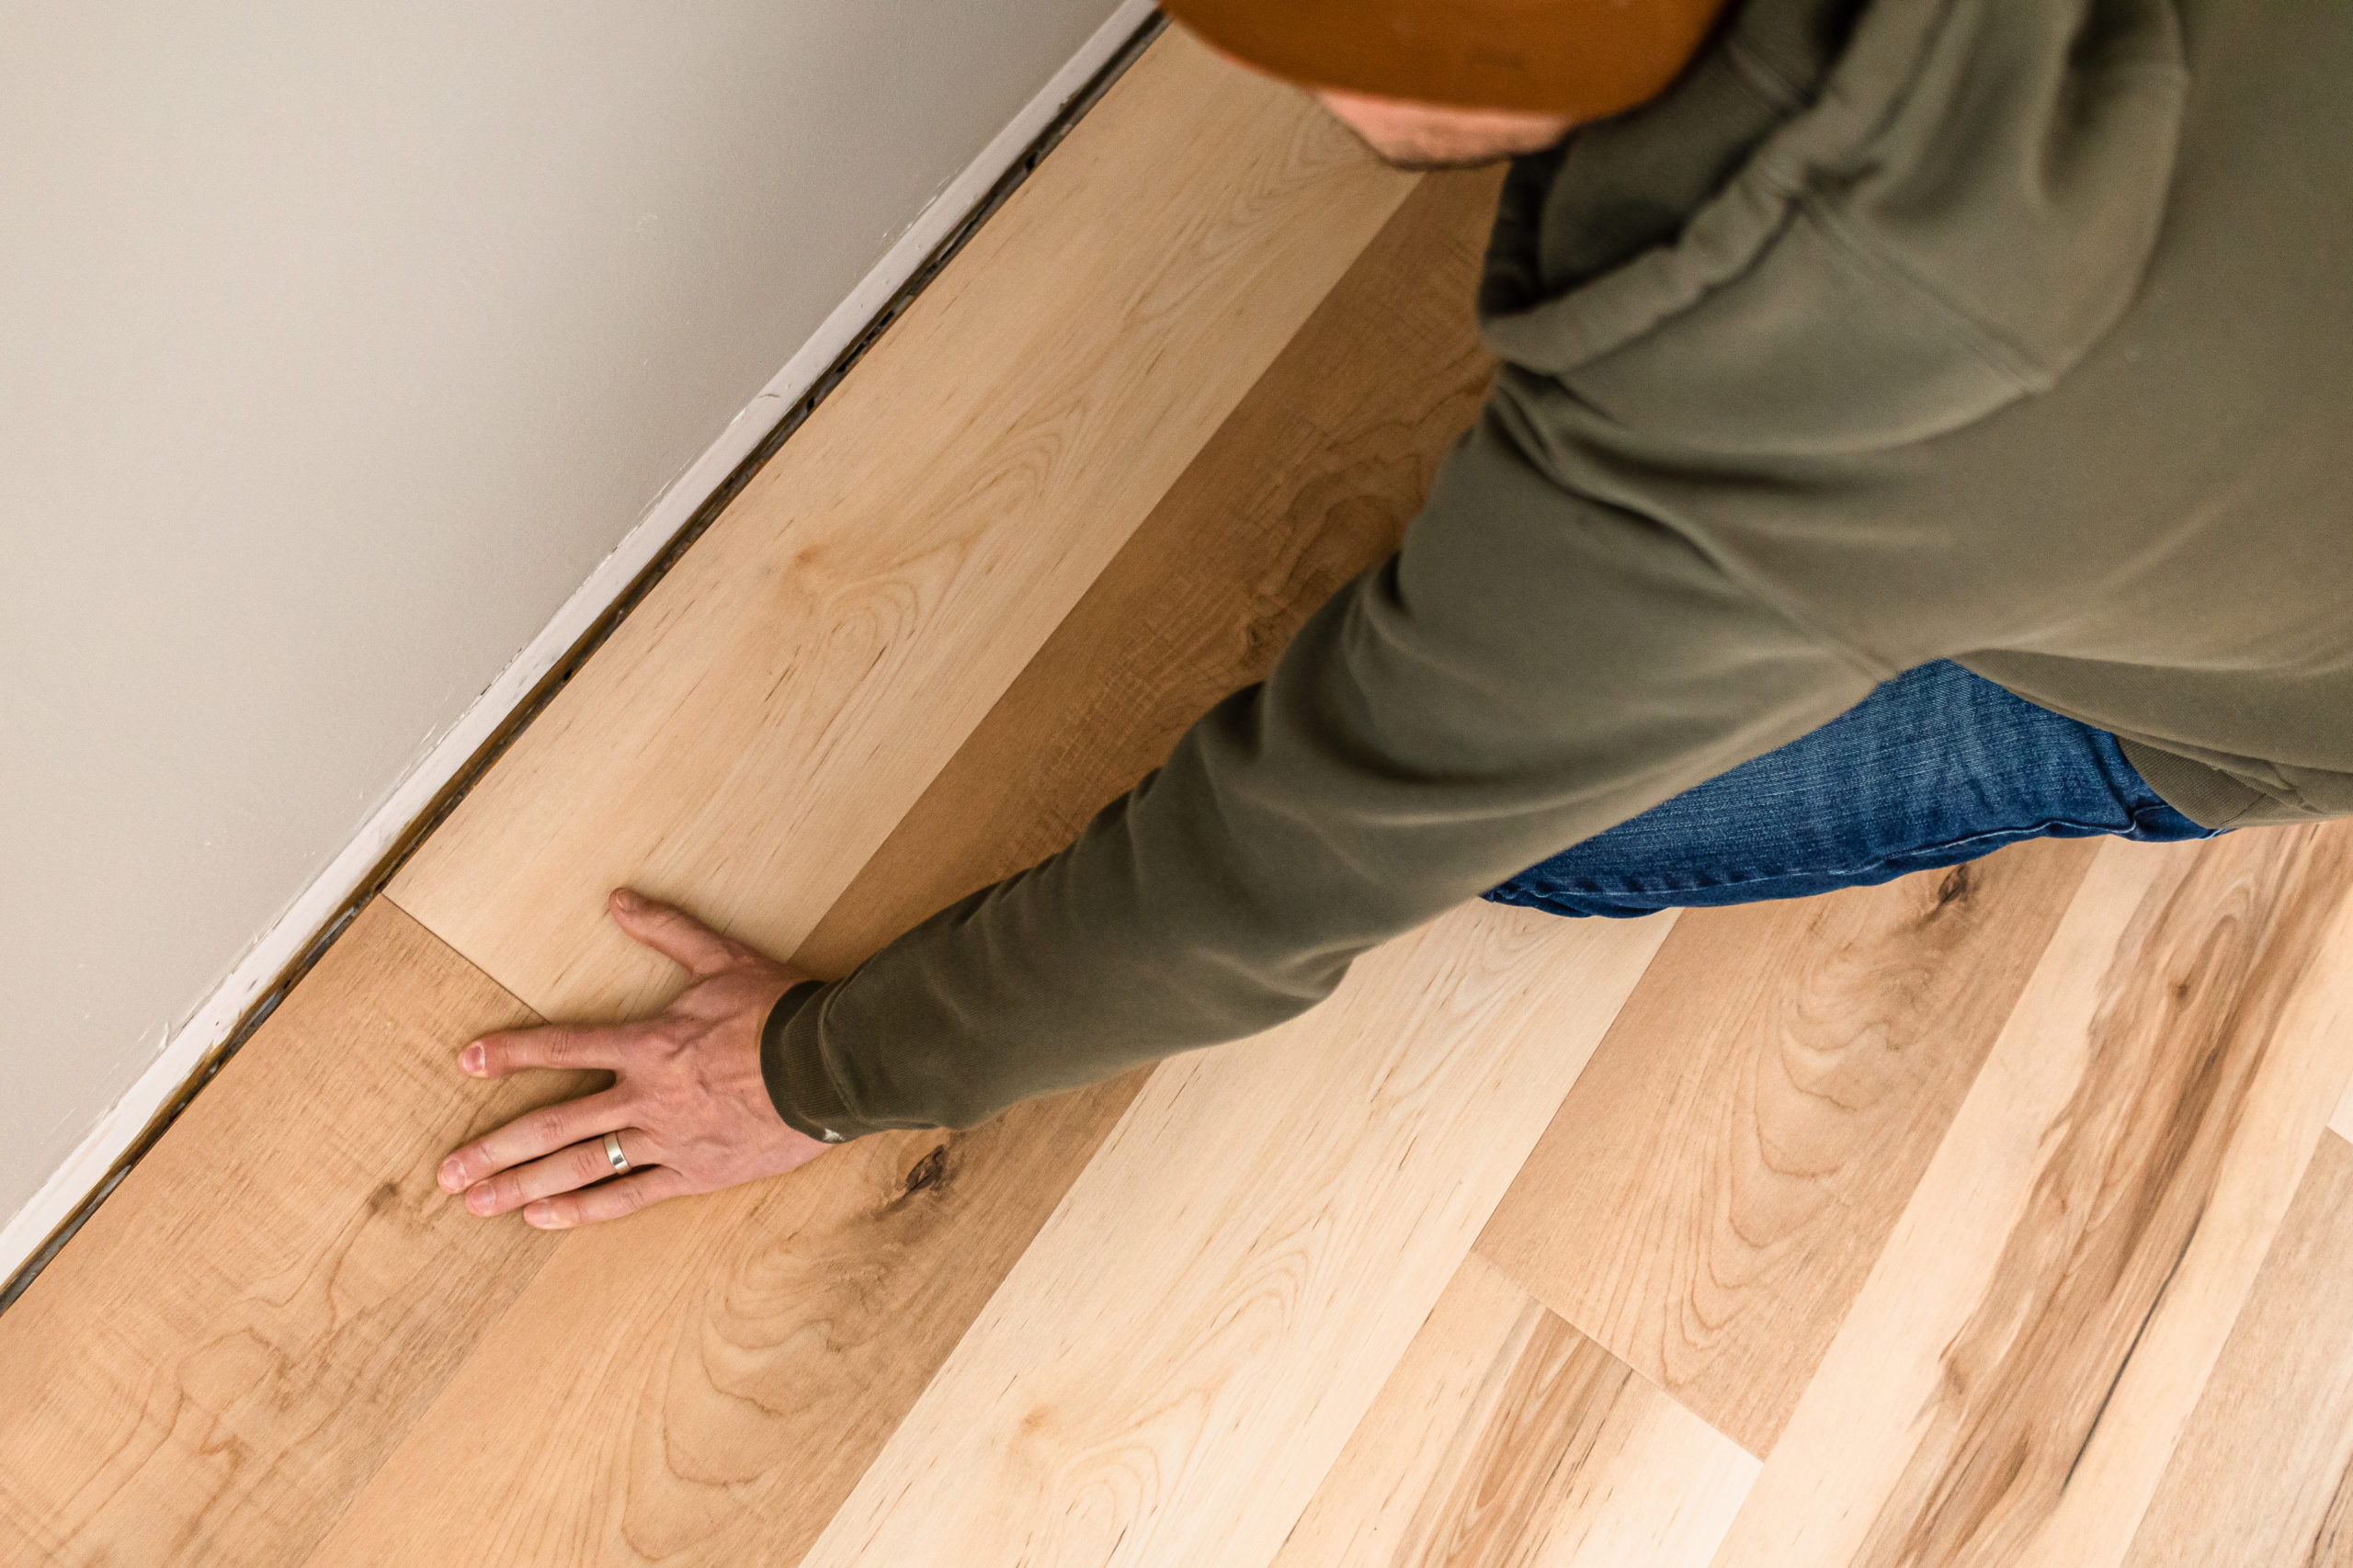
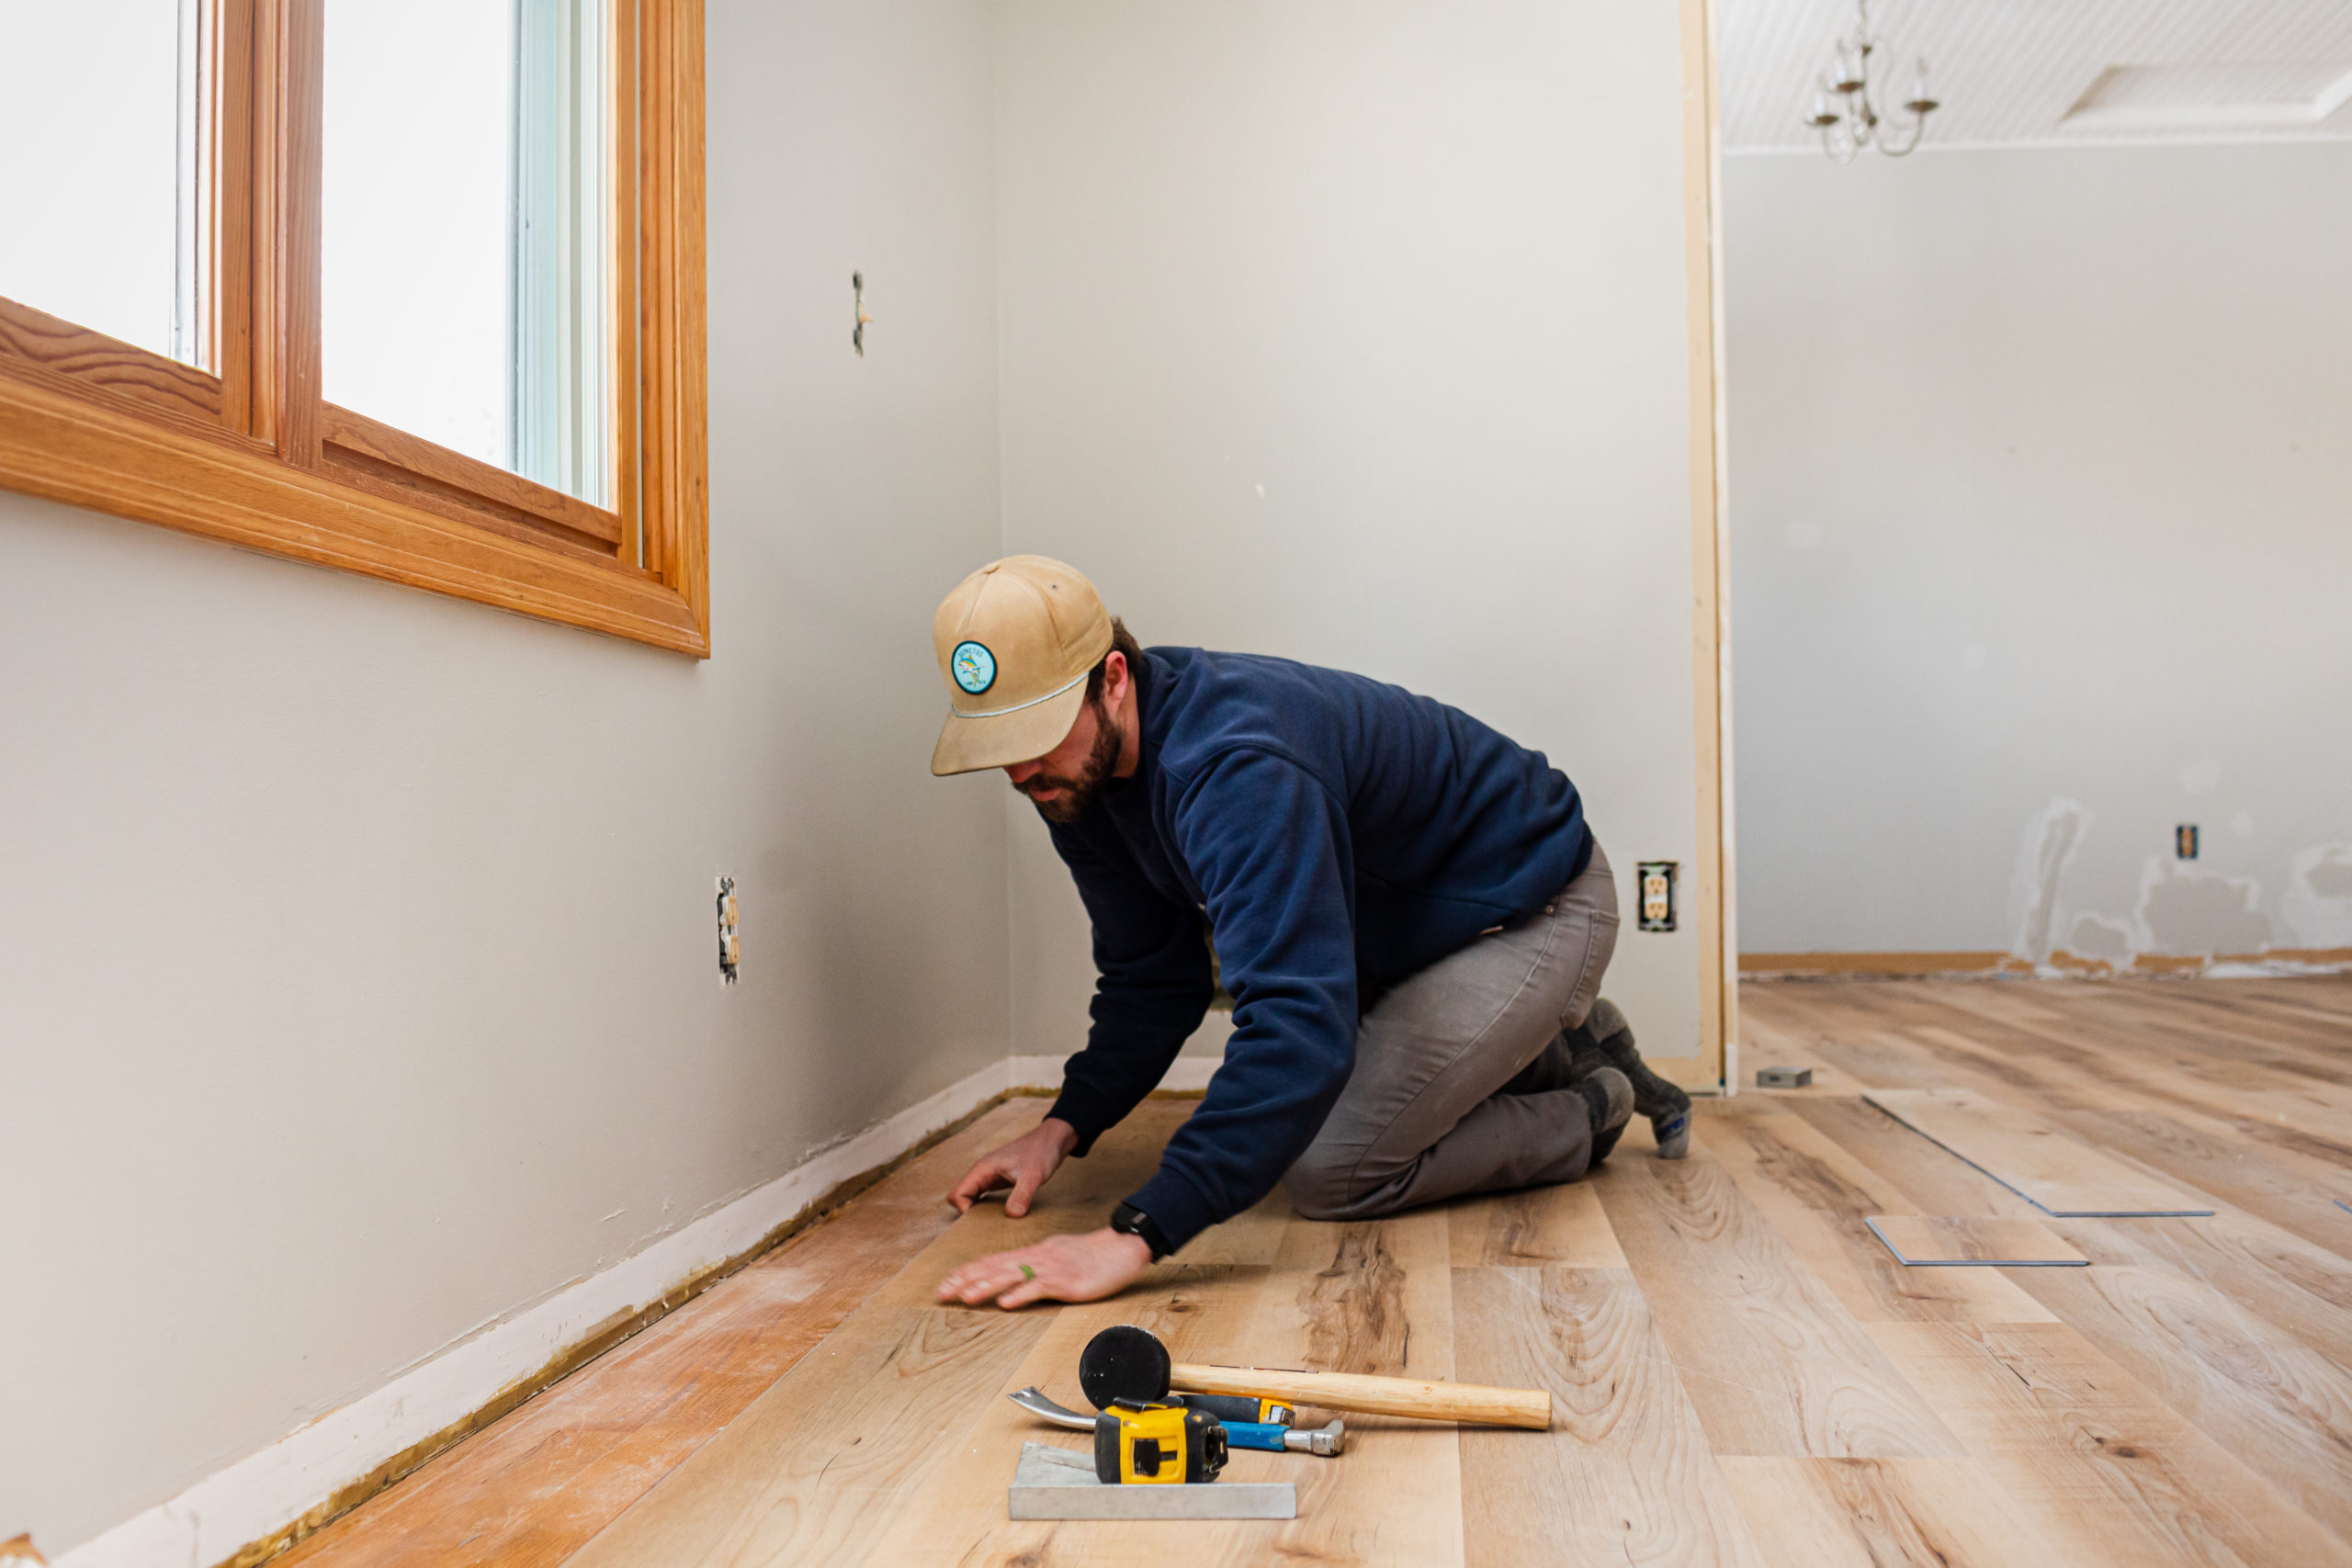
Then it’s time to lay the flooring! This type of LVP is a pretty simple install process, as you just have to snap the planks together. No nail guns or glue are needed.
Once you have your first row down, you then take the tongue of the first plank on the second row into the groove of the first row at an angle and snap it down into place using your dead-blow hammer or mallet.
This video showing how to install ProCore LVP is really helpful! You’ll want to stagger the seams of the boards from one row to the next so that they don’t land matching up with the seam in the previous row.
We like to keep them anywhere from 6 – 8″ apart from one another. If you find that they are going to meet up, you can cut the board down and/or find another size board.
This is where the rubber mallet comes in handy – if there is any gapping, make sure to hammer the boards down or into place to ensure a tight fit.
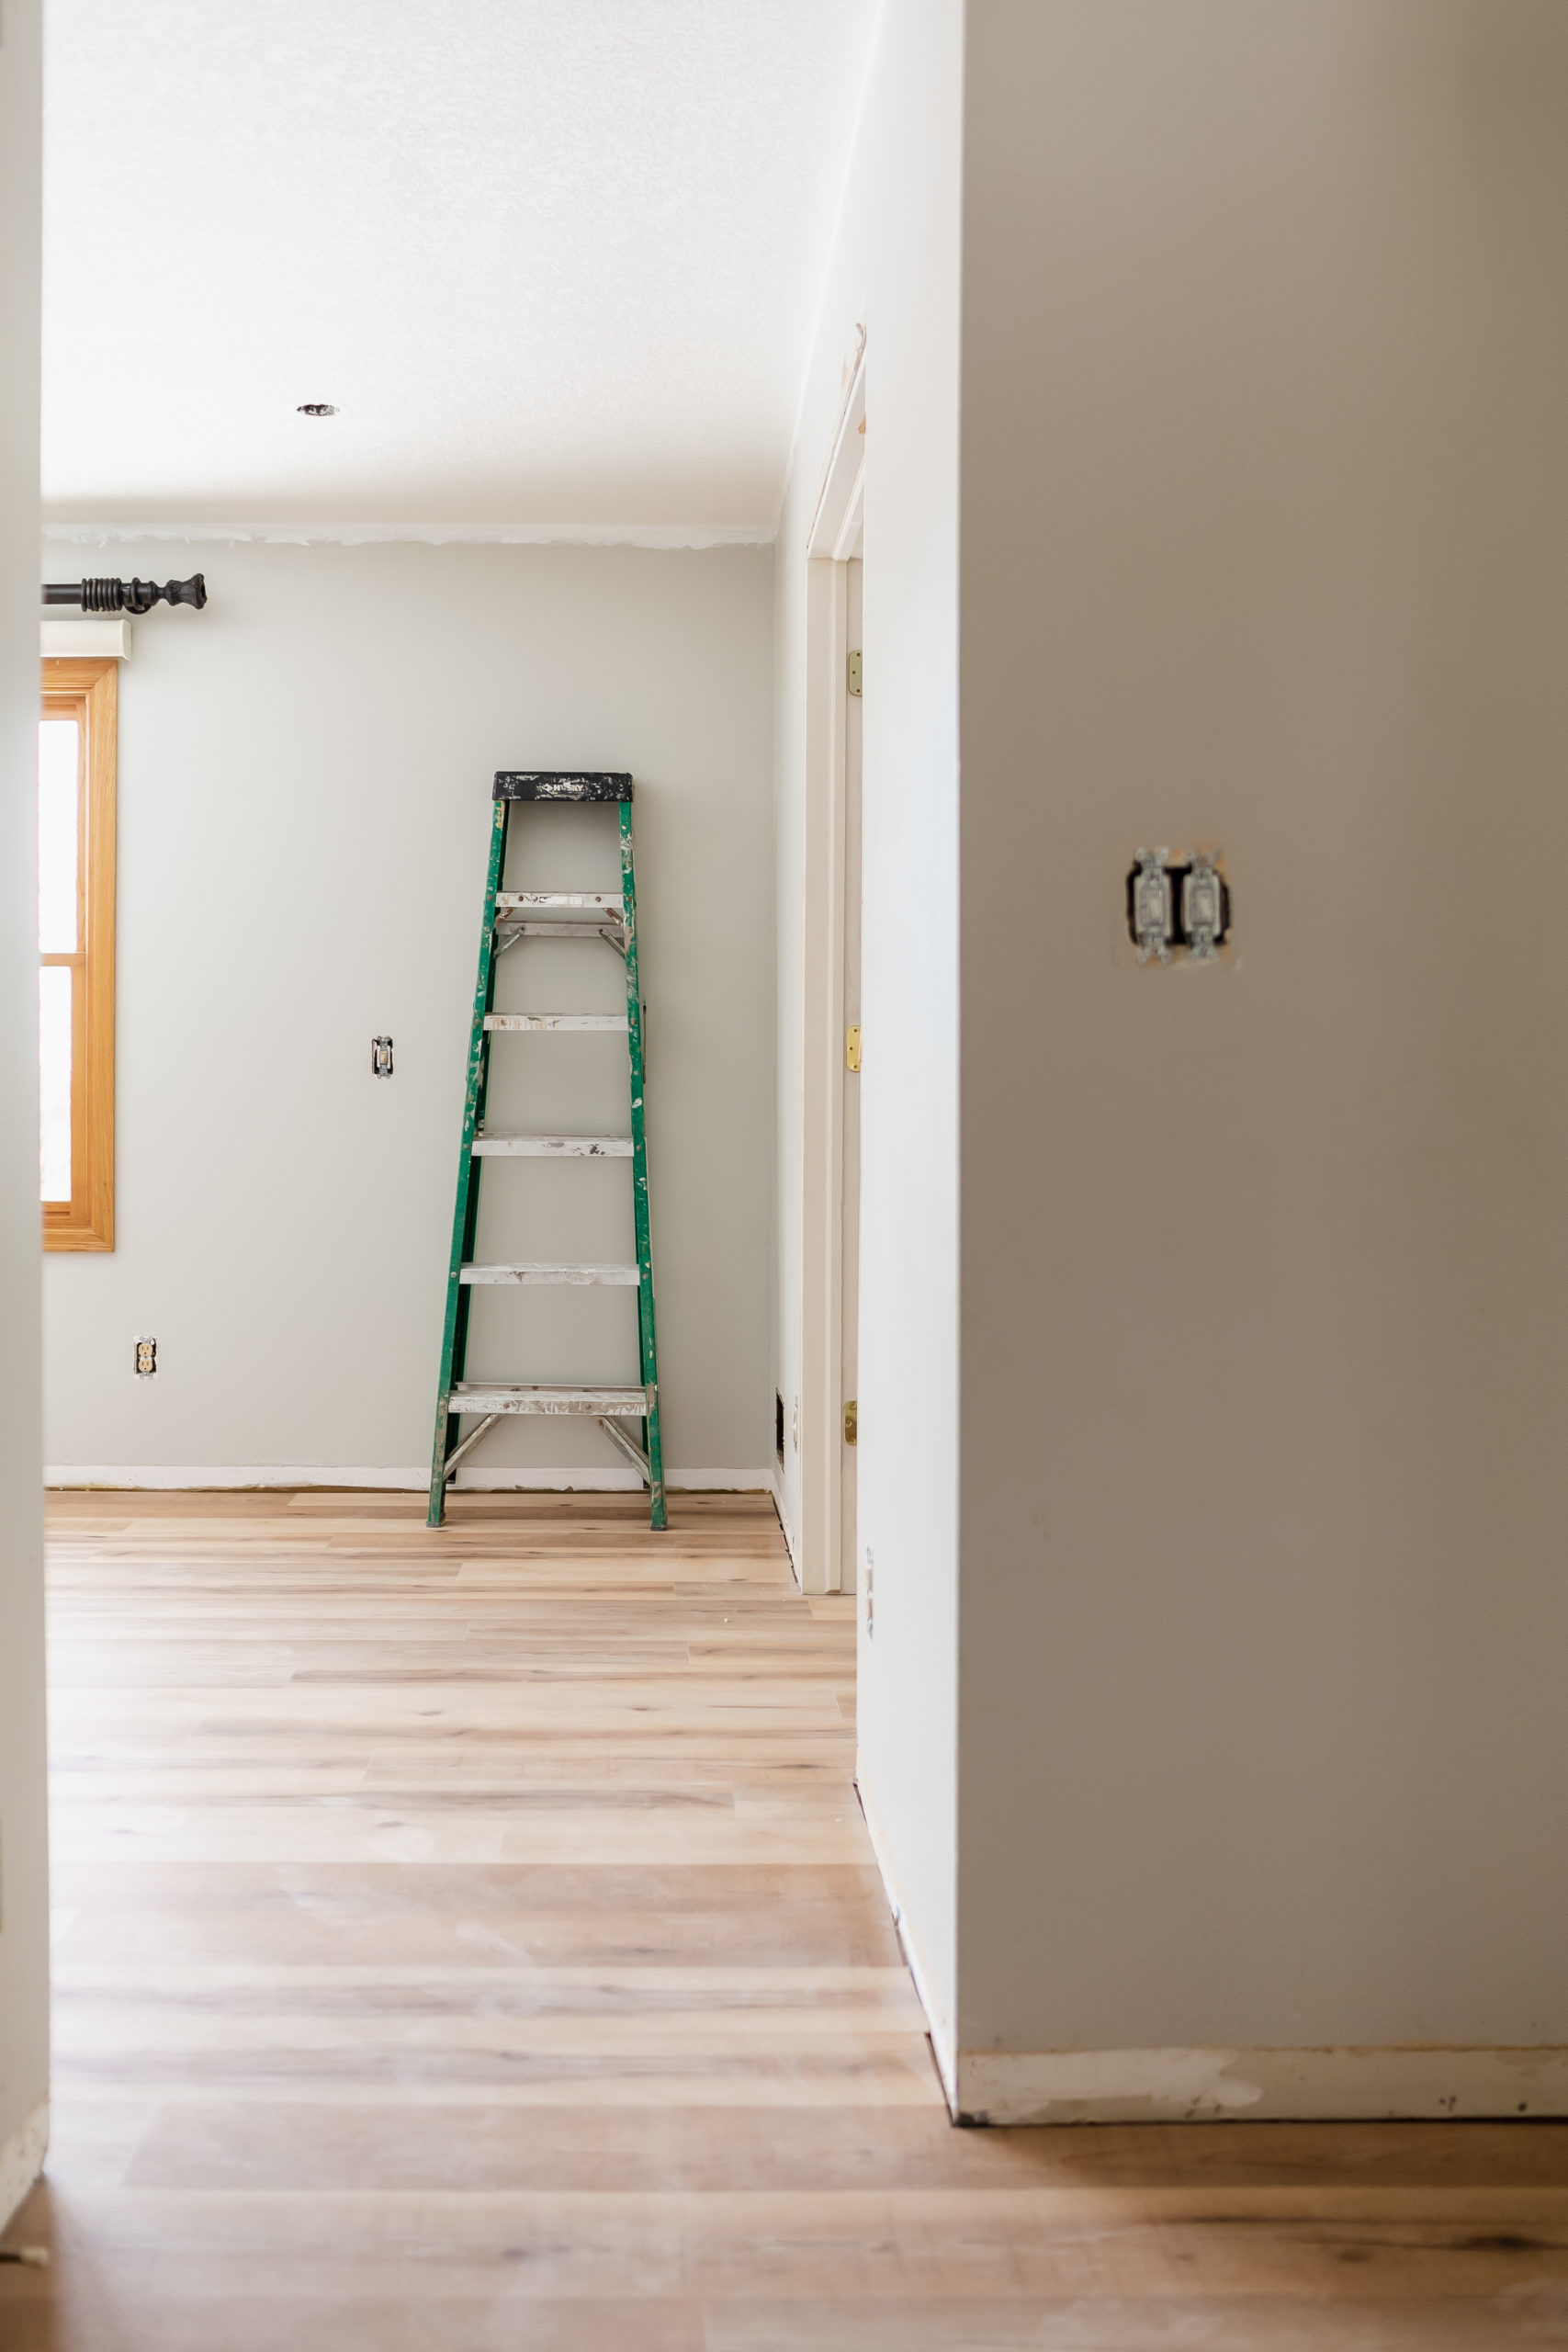
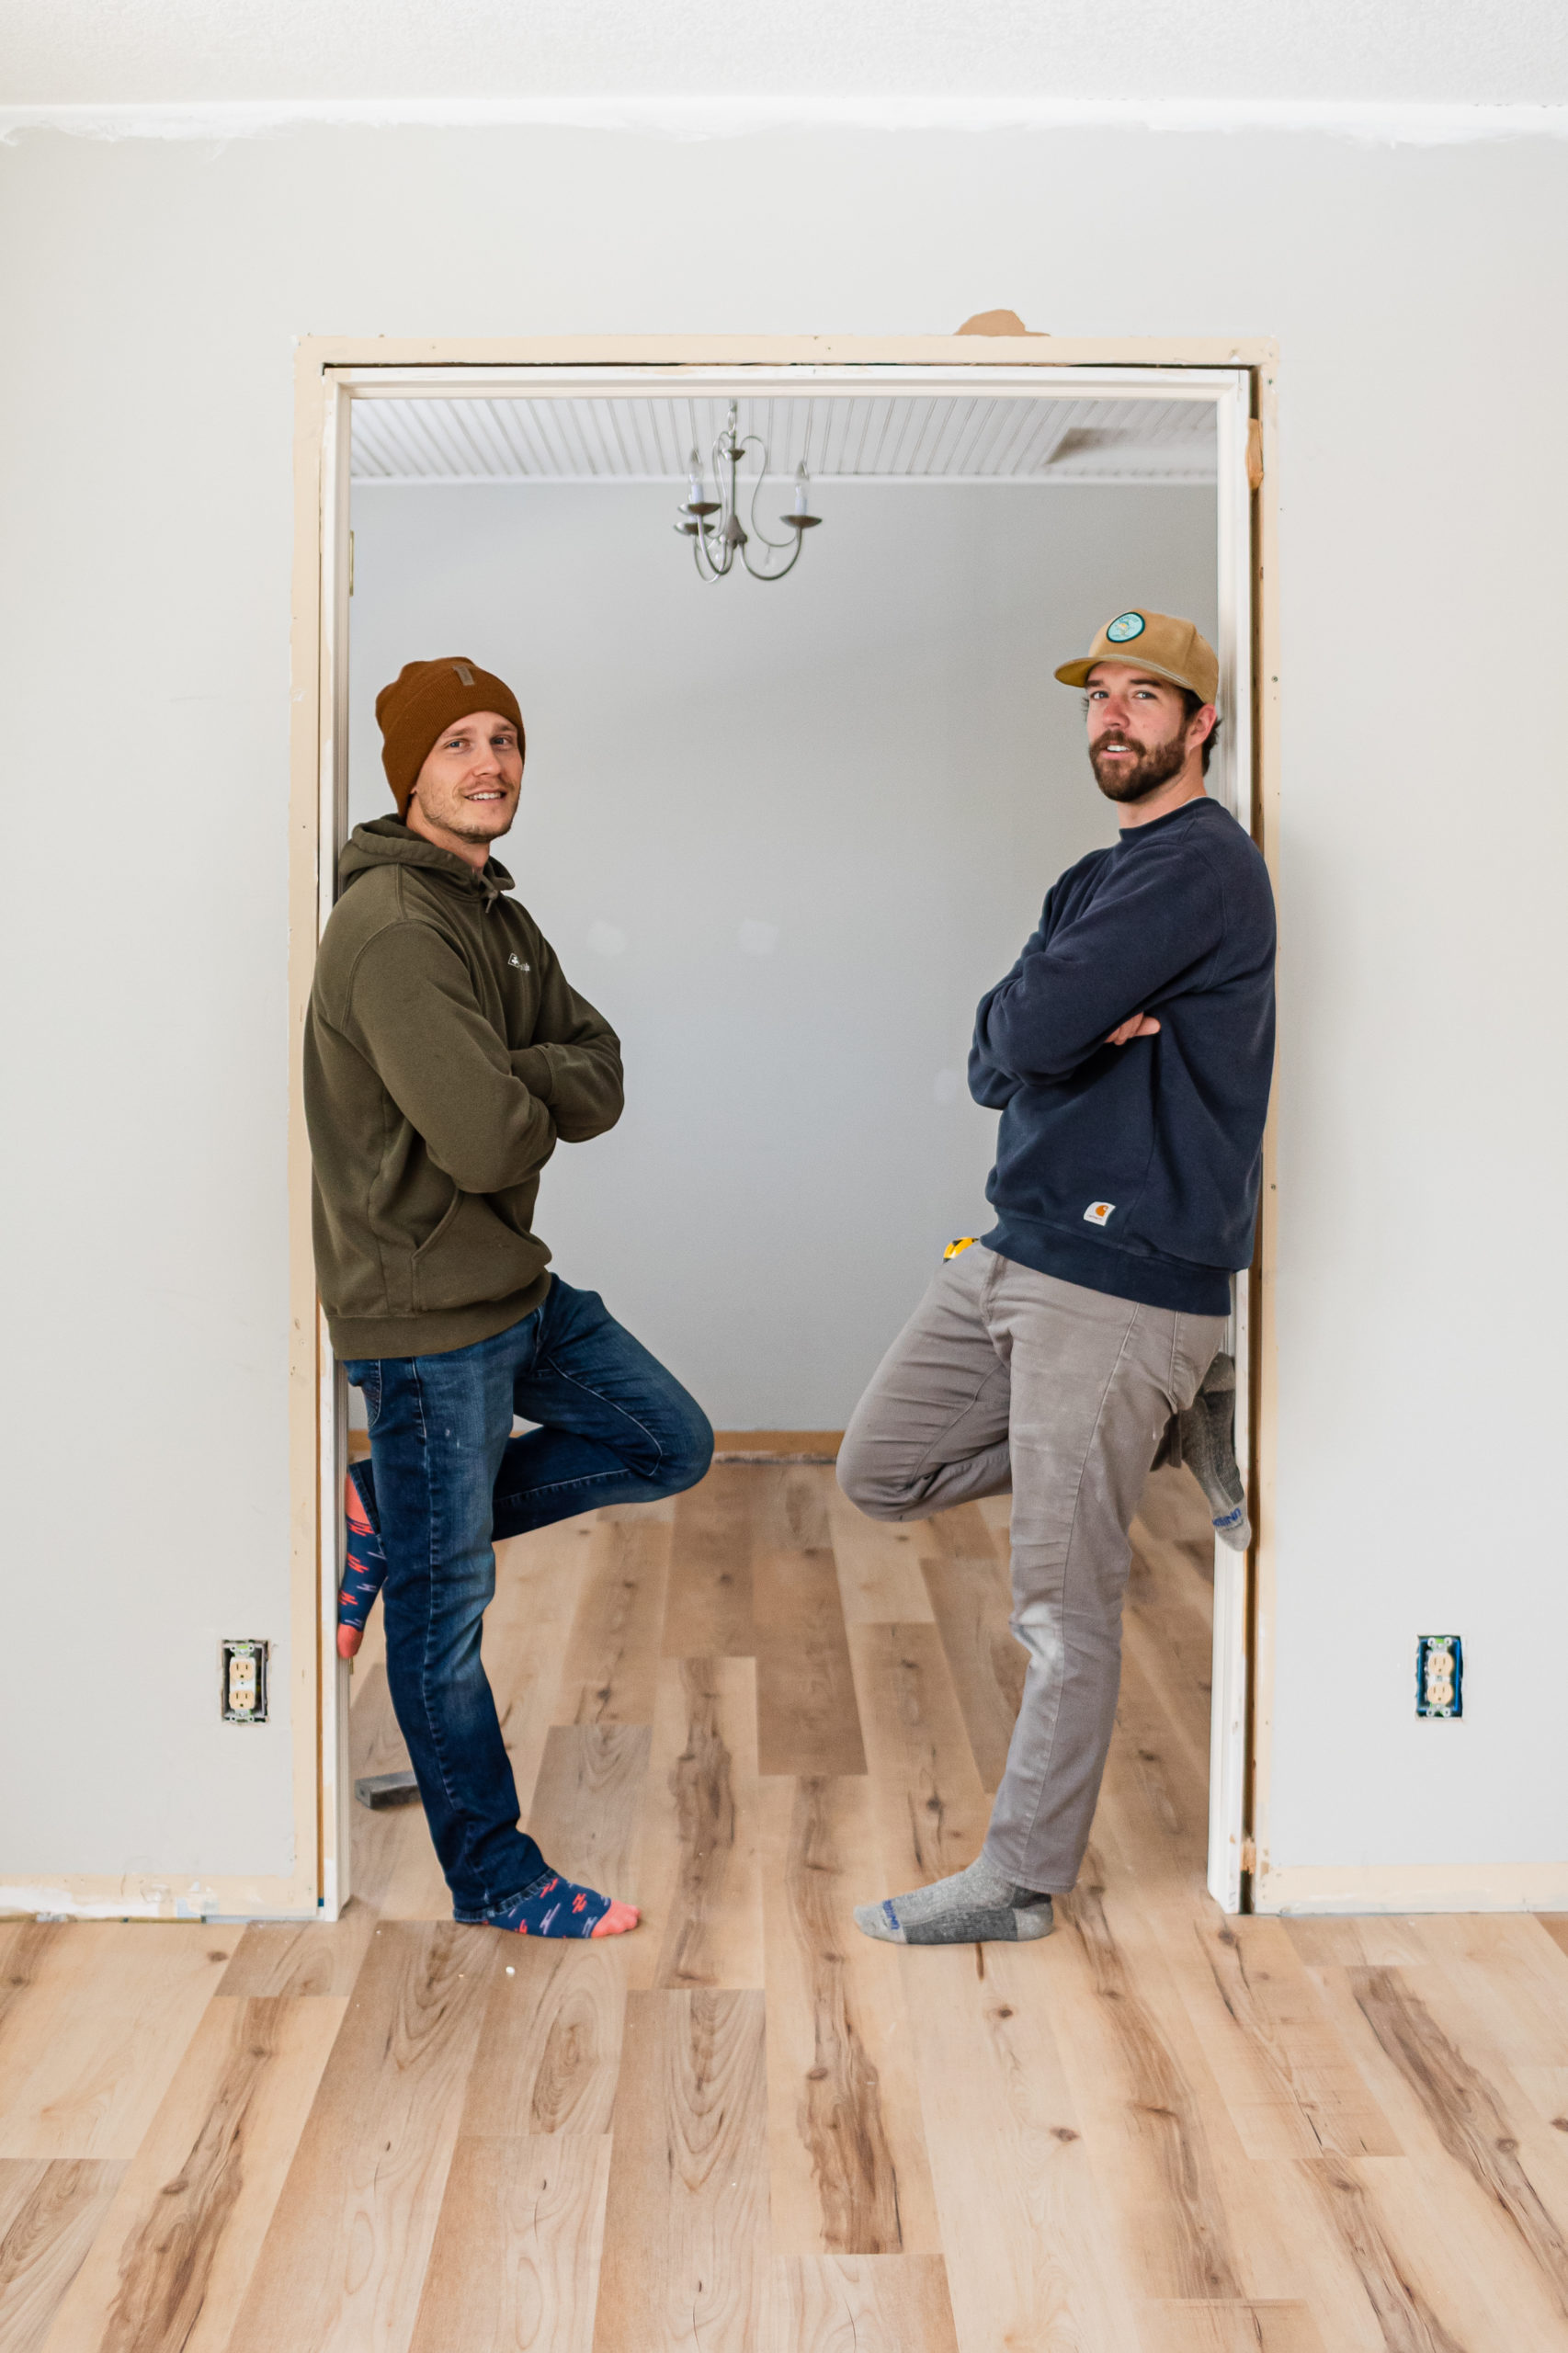
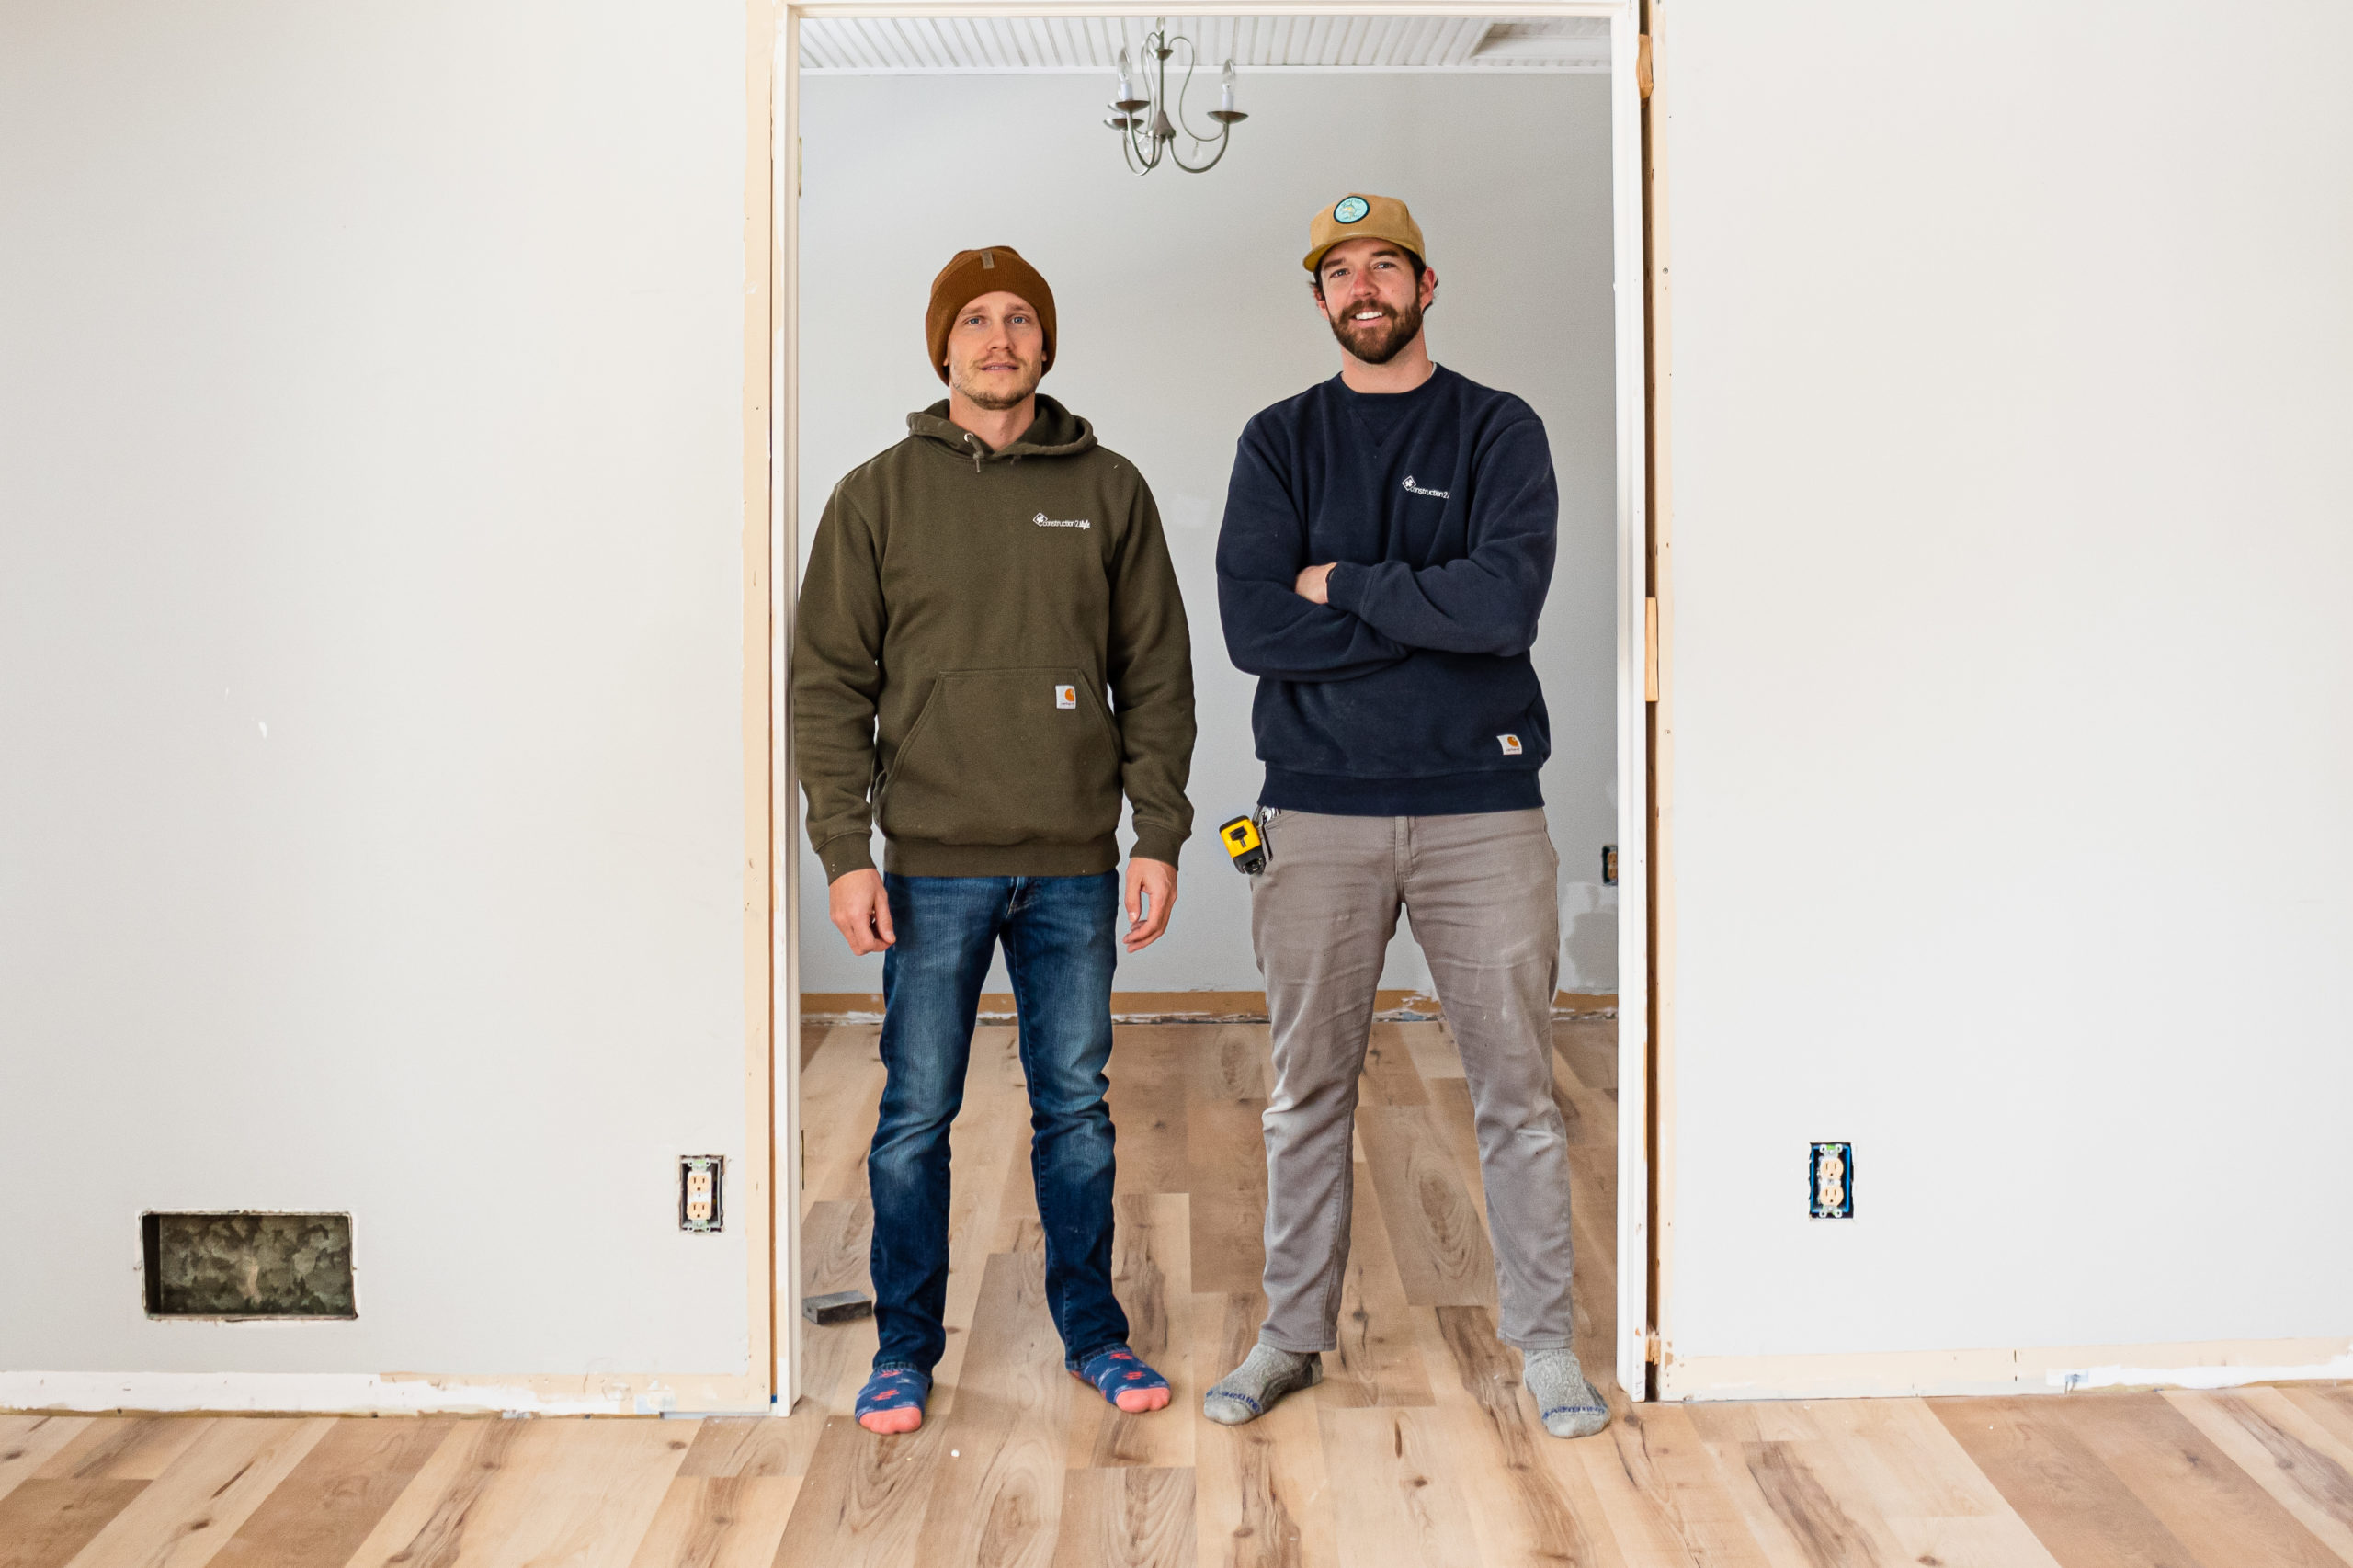
How much better does this look?! Brightened up the room so much!
Now, time to get the base trim on and doors in! Cabinets just got installed this past week, countertops go in next week, and we’ll be cruising to the finish line on this project!
We hope you enjoyed our post featuring the Tonka Townline luxury vinyl flooring install process, sponsored by ProCore®. Stay tuned for the final reveal.


Thanks for sharing this informative article about home. This luxurious vinyl flooring is the perfect option for your home or office. With its durable and easy-to-clean surface, it is suitable for any room of your home.