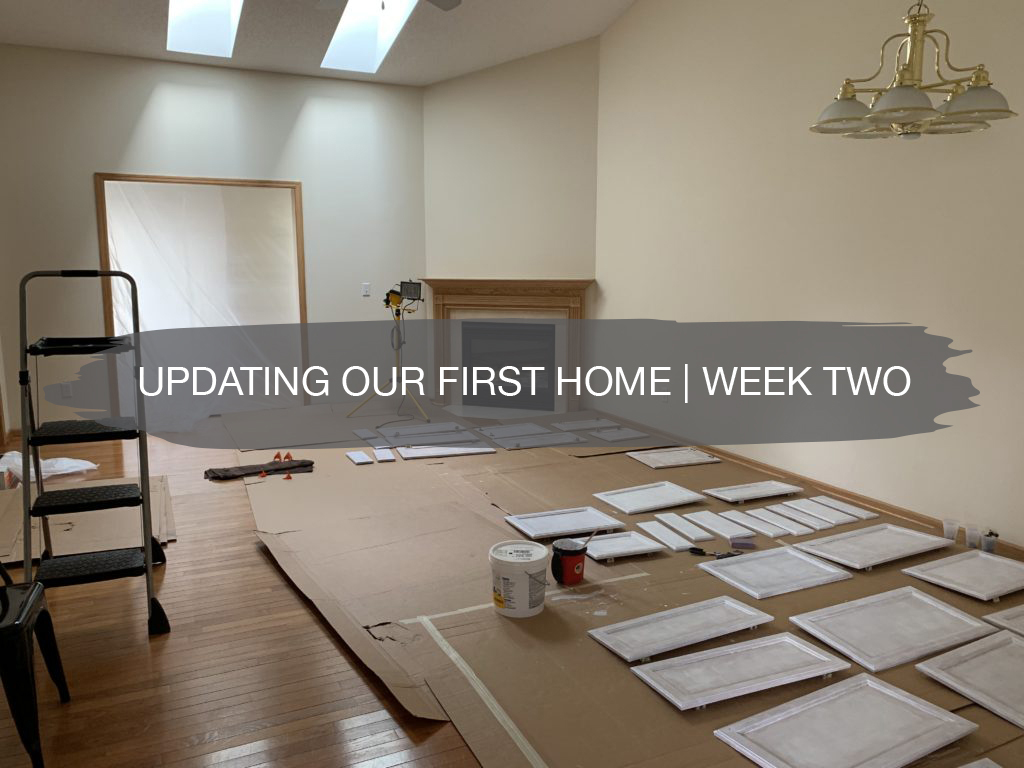
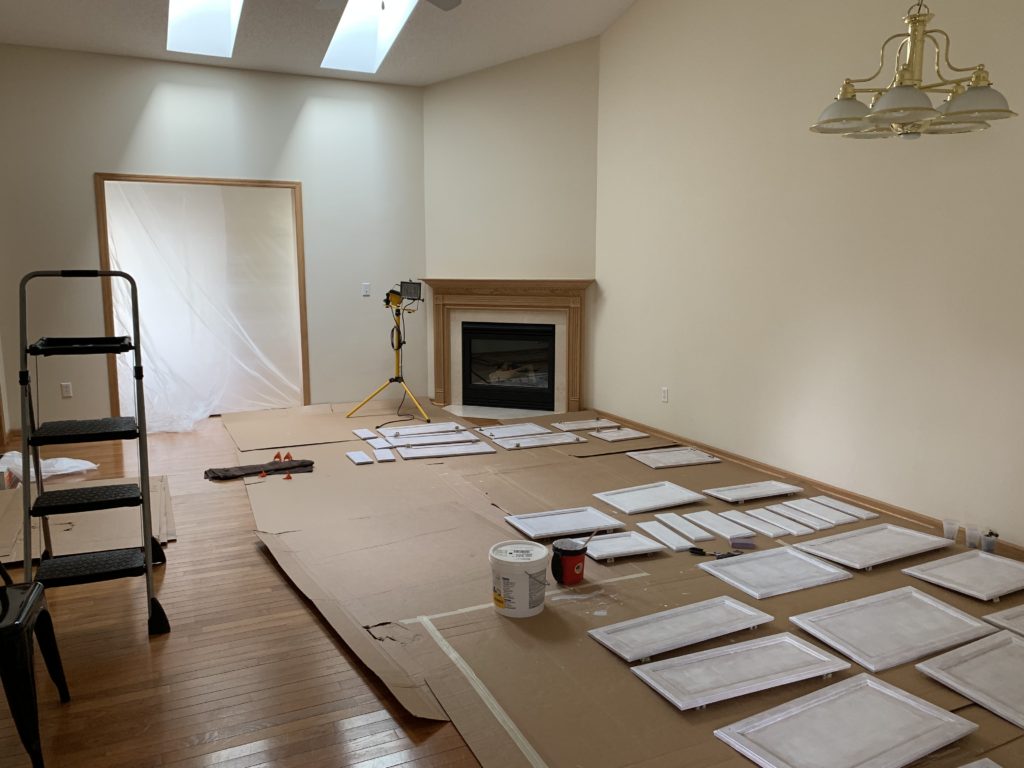
It’s been 2 weeks since we closed on our first home and we’ve been working away! In the midst of weddings and a family vacation, we’ve been at the house as much as we can and it’s been fun starting to see some progress. The beginning part of the week was spent taping for painting, getting the rooms all prepped, and making sure we had all of our supplies. Then we got started on painting!
Painting the Master Bedroom
During the weekend, we decided to change a few things up. The changes included going green with our kitchen cabinets, rather than black & white, which meant that we wanted to do something different for our master bathroom. Originally, we were going to go with Muted Sage, but it was too similar to the green for the kitchen cabinets.
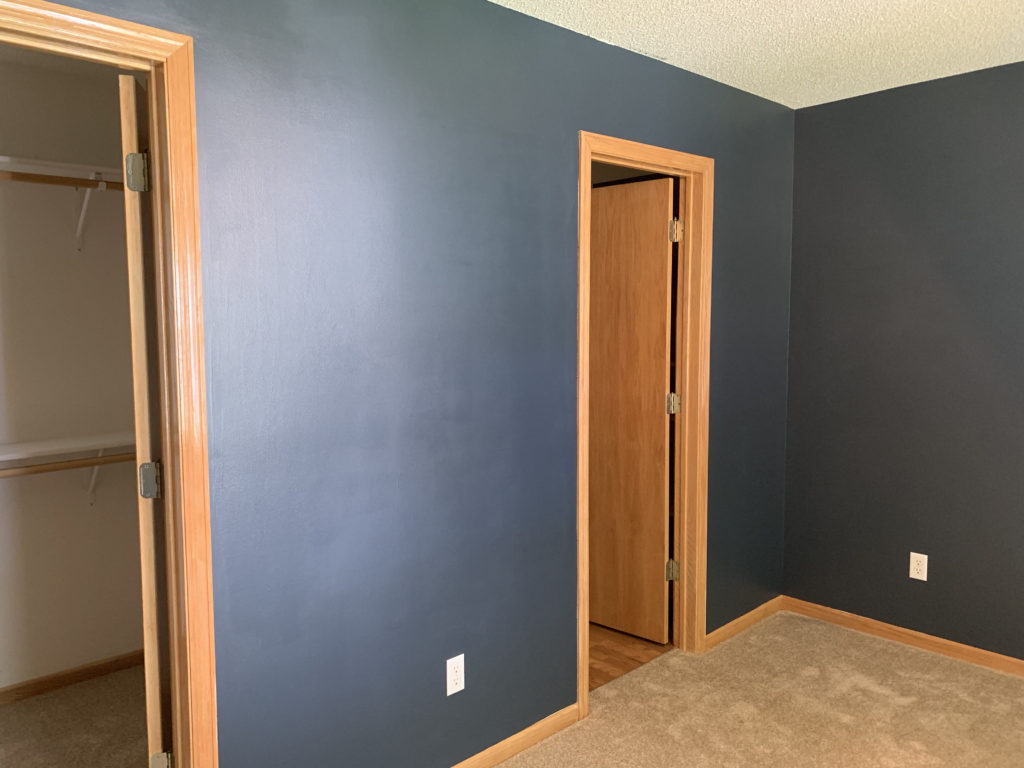
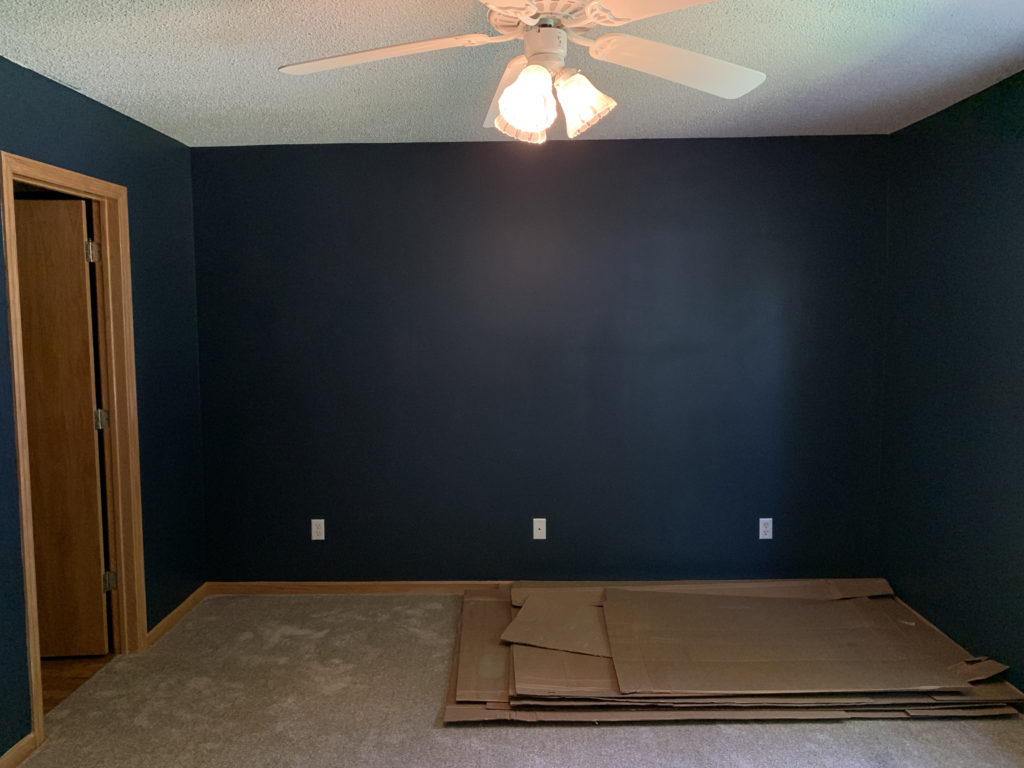
After looking up some paint colors, including c2s’s 25 of our favorite paint colors for home interiors, we decided on Midnight Blue by Behr. When we were painting it on Sunday, I was a little hesitant because it looked black and super dark. After the second coat was on and the paint was fully dry, the blue tones came through and it looks beautiful. We also love how it turned out with the wood trim, which we will be keeping.
Priming the Cabinets
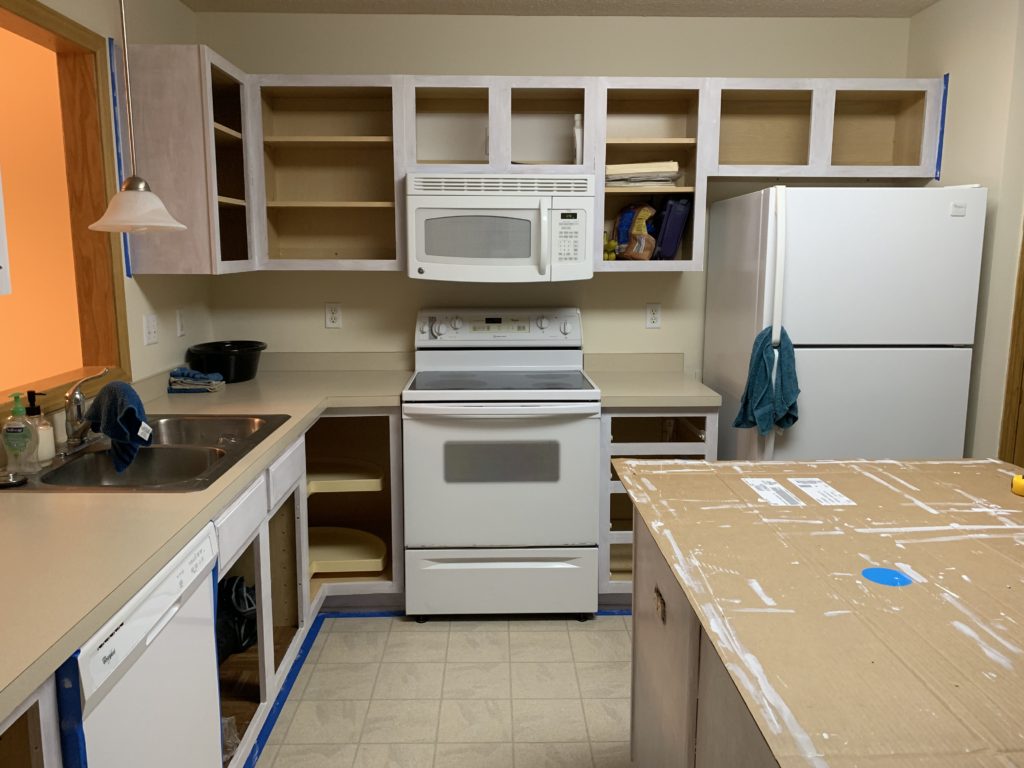
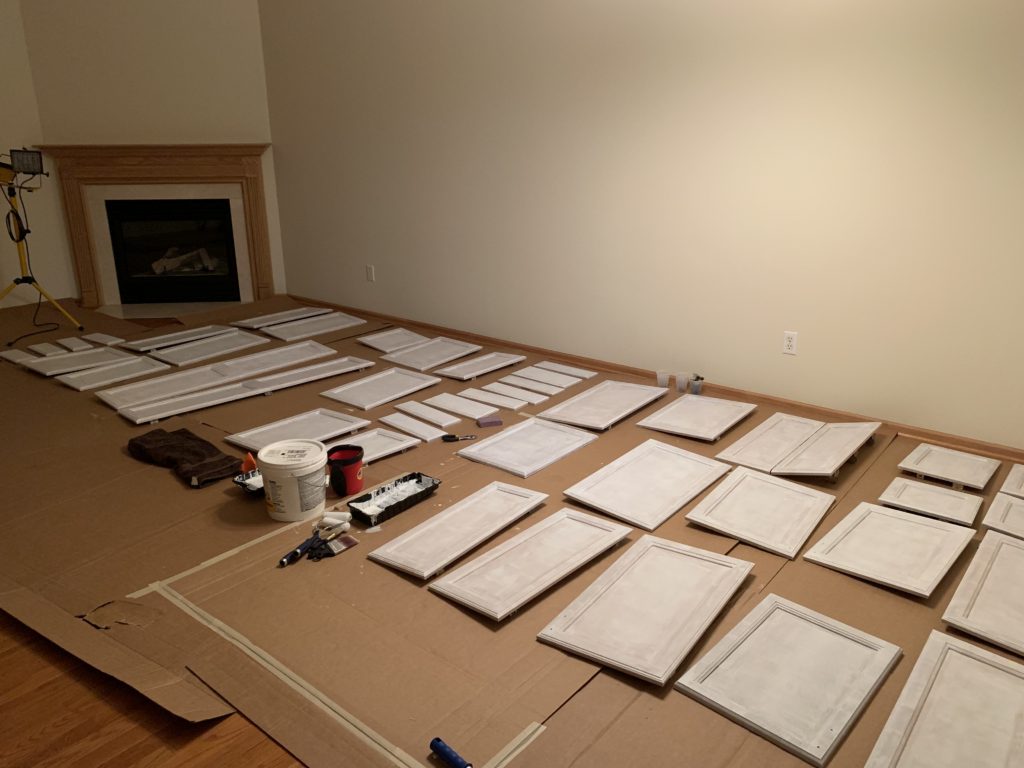
My mom came up to help us with the house Monday through Wednesday and she was a rockstar! She got all of the cabinets primed, while I got the face frames primed. With the primer we used, we had to apply two coats. At first, we thought one coat would do it, but the second coat made all the difference. In between coats of primer, we sanded down the cabinets to ensure that there weren’t any buildups or drips before the next coat.
Painting the Vanity Cabinets
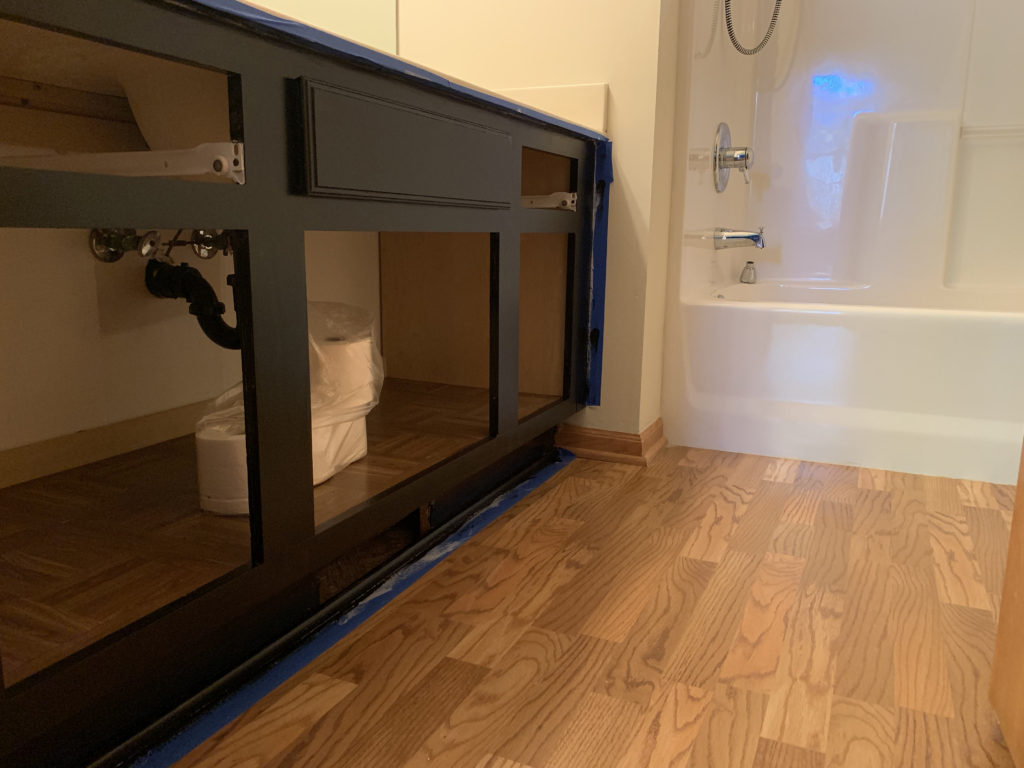
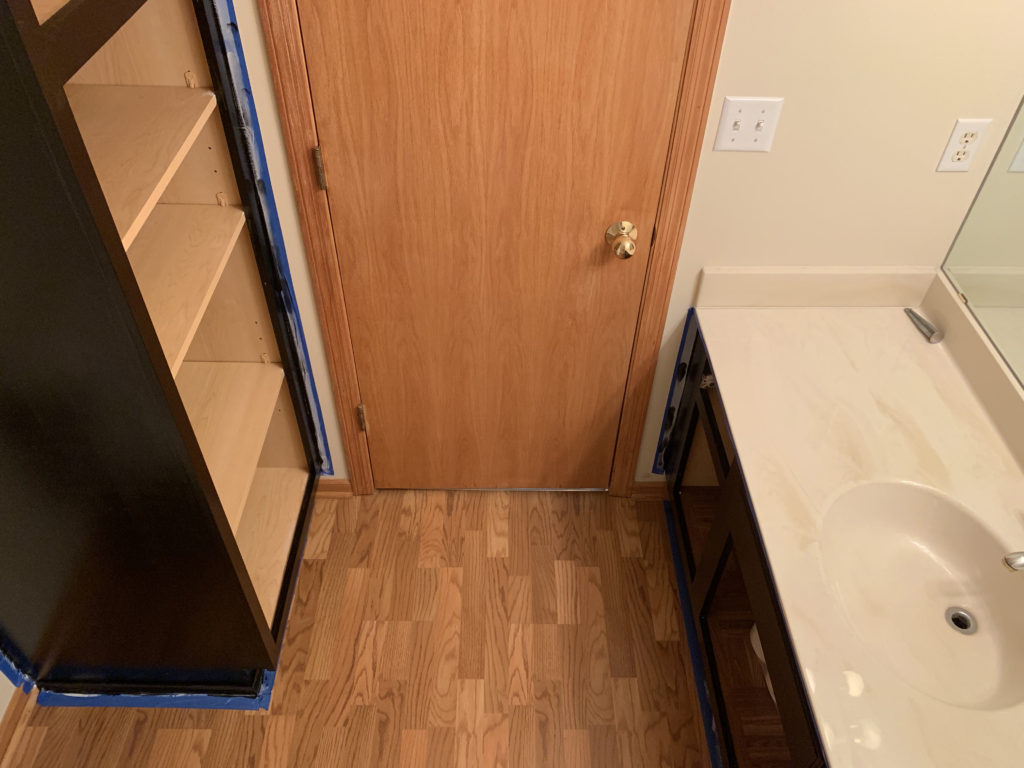
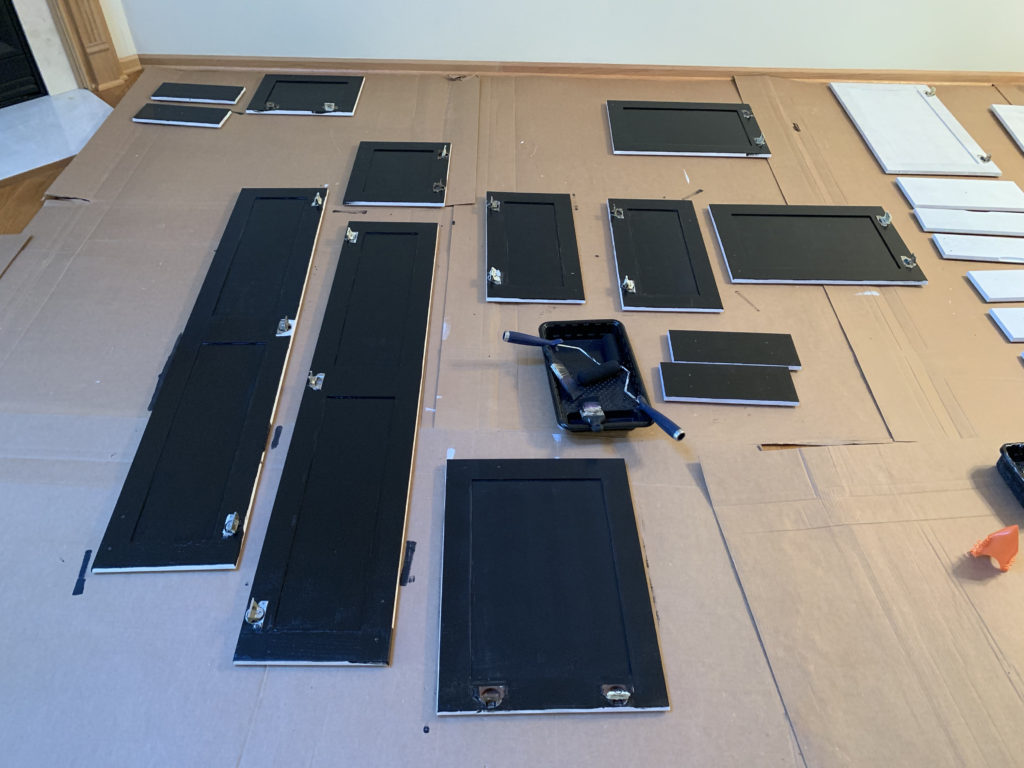
On Wednesday, we got started on painting the bathroom vanity cabinets. We went with Pure Black by Behr for the guest and master bathroom vanities and we love it! For the cabinets, we have been using a 1″ roller and angled brush for the corners, which has worked well. These vanities got 2 coats and the coverage of the Urethane Alkyd Semi-Gloss Enamel Interior/Exterior Paint is awesome for cabinetry. With the help of my new sister-in-law, we had these done in no time!
We got one coat on the back of the vanity cabinets, so we just need a light second coat and then will flip them over to the fronts after they are fully dry.
Removing the Popcorn Ceilings
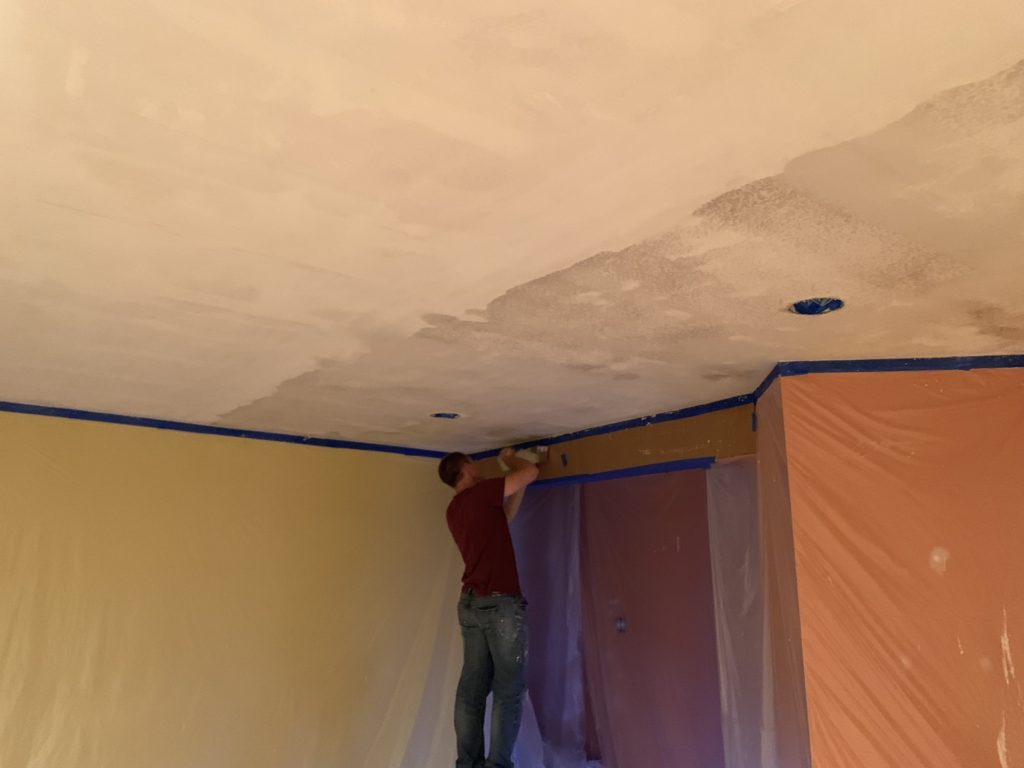
Another big part of this week was starting to remove the popcorn ceilings. Matt had done a lot of research on the best way to do this, the tools he needed, and read c2s’s tutorial on how to scrape popcorn ceilings. In the basement, he prepped all of the walls with the plastic sheeting and tape to make sure none of the water or texture got on them.
By Tuesday, he had all of the basement done, which included the large family room and a smaller workout room. On Wednesday, he conquered the sunroom and guest bedroom with the help of his brother. We learned that having two people for removing popcorn ceilings is key. One person can spray, while the other scrapes.
Next week, we are going to start applying knockdown texture.
Thanks for following along with us! Here are some of the materials and tools we used this week:
Material & Tools:
- Primer
- Angled Brush
- Sanding Sponge
- Plastic Sheeting
- Wood Putty
- Behr Pure Black Cabinet Paint
- Behr Midnight Blue Paint
2 thoughts on “Updating Our First Home | Week Two”
Comments are closed.