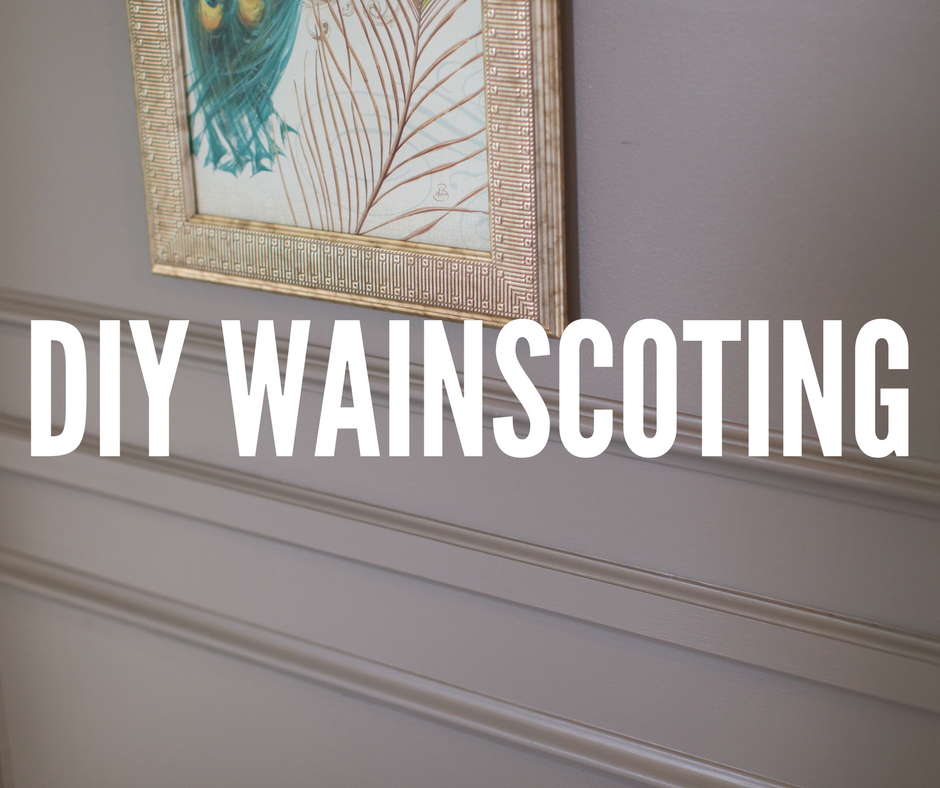
Wainscoting offers decorative and functional benefits. We’ve had it within our homes in the entries, dining rooms, living rooms, and bedrooms. We love how the simplicity of wainscoting can add so much character to a room. Within this tutorial that we’re sharing with you today, the client came to us as they wanted to spruce up their dining room space without a total overhaul. We recommended wainscoting and they were sold! You can click here to check out another wainscoting installation tutorial.
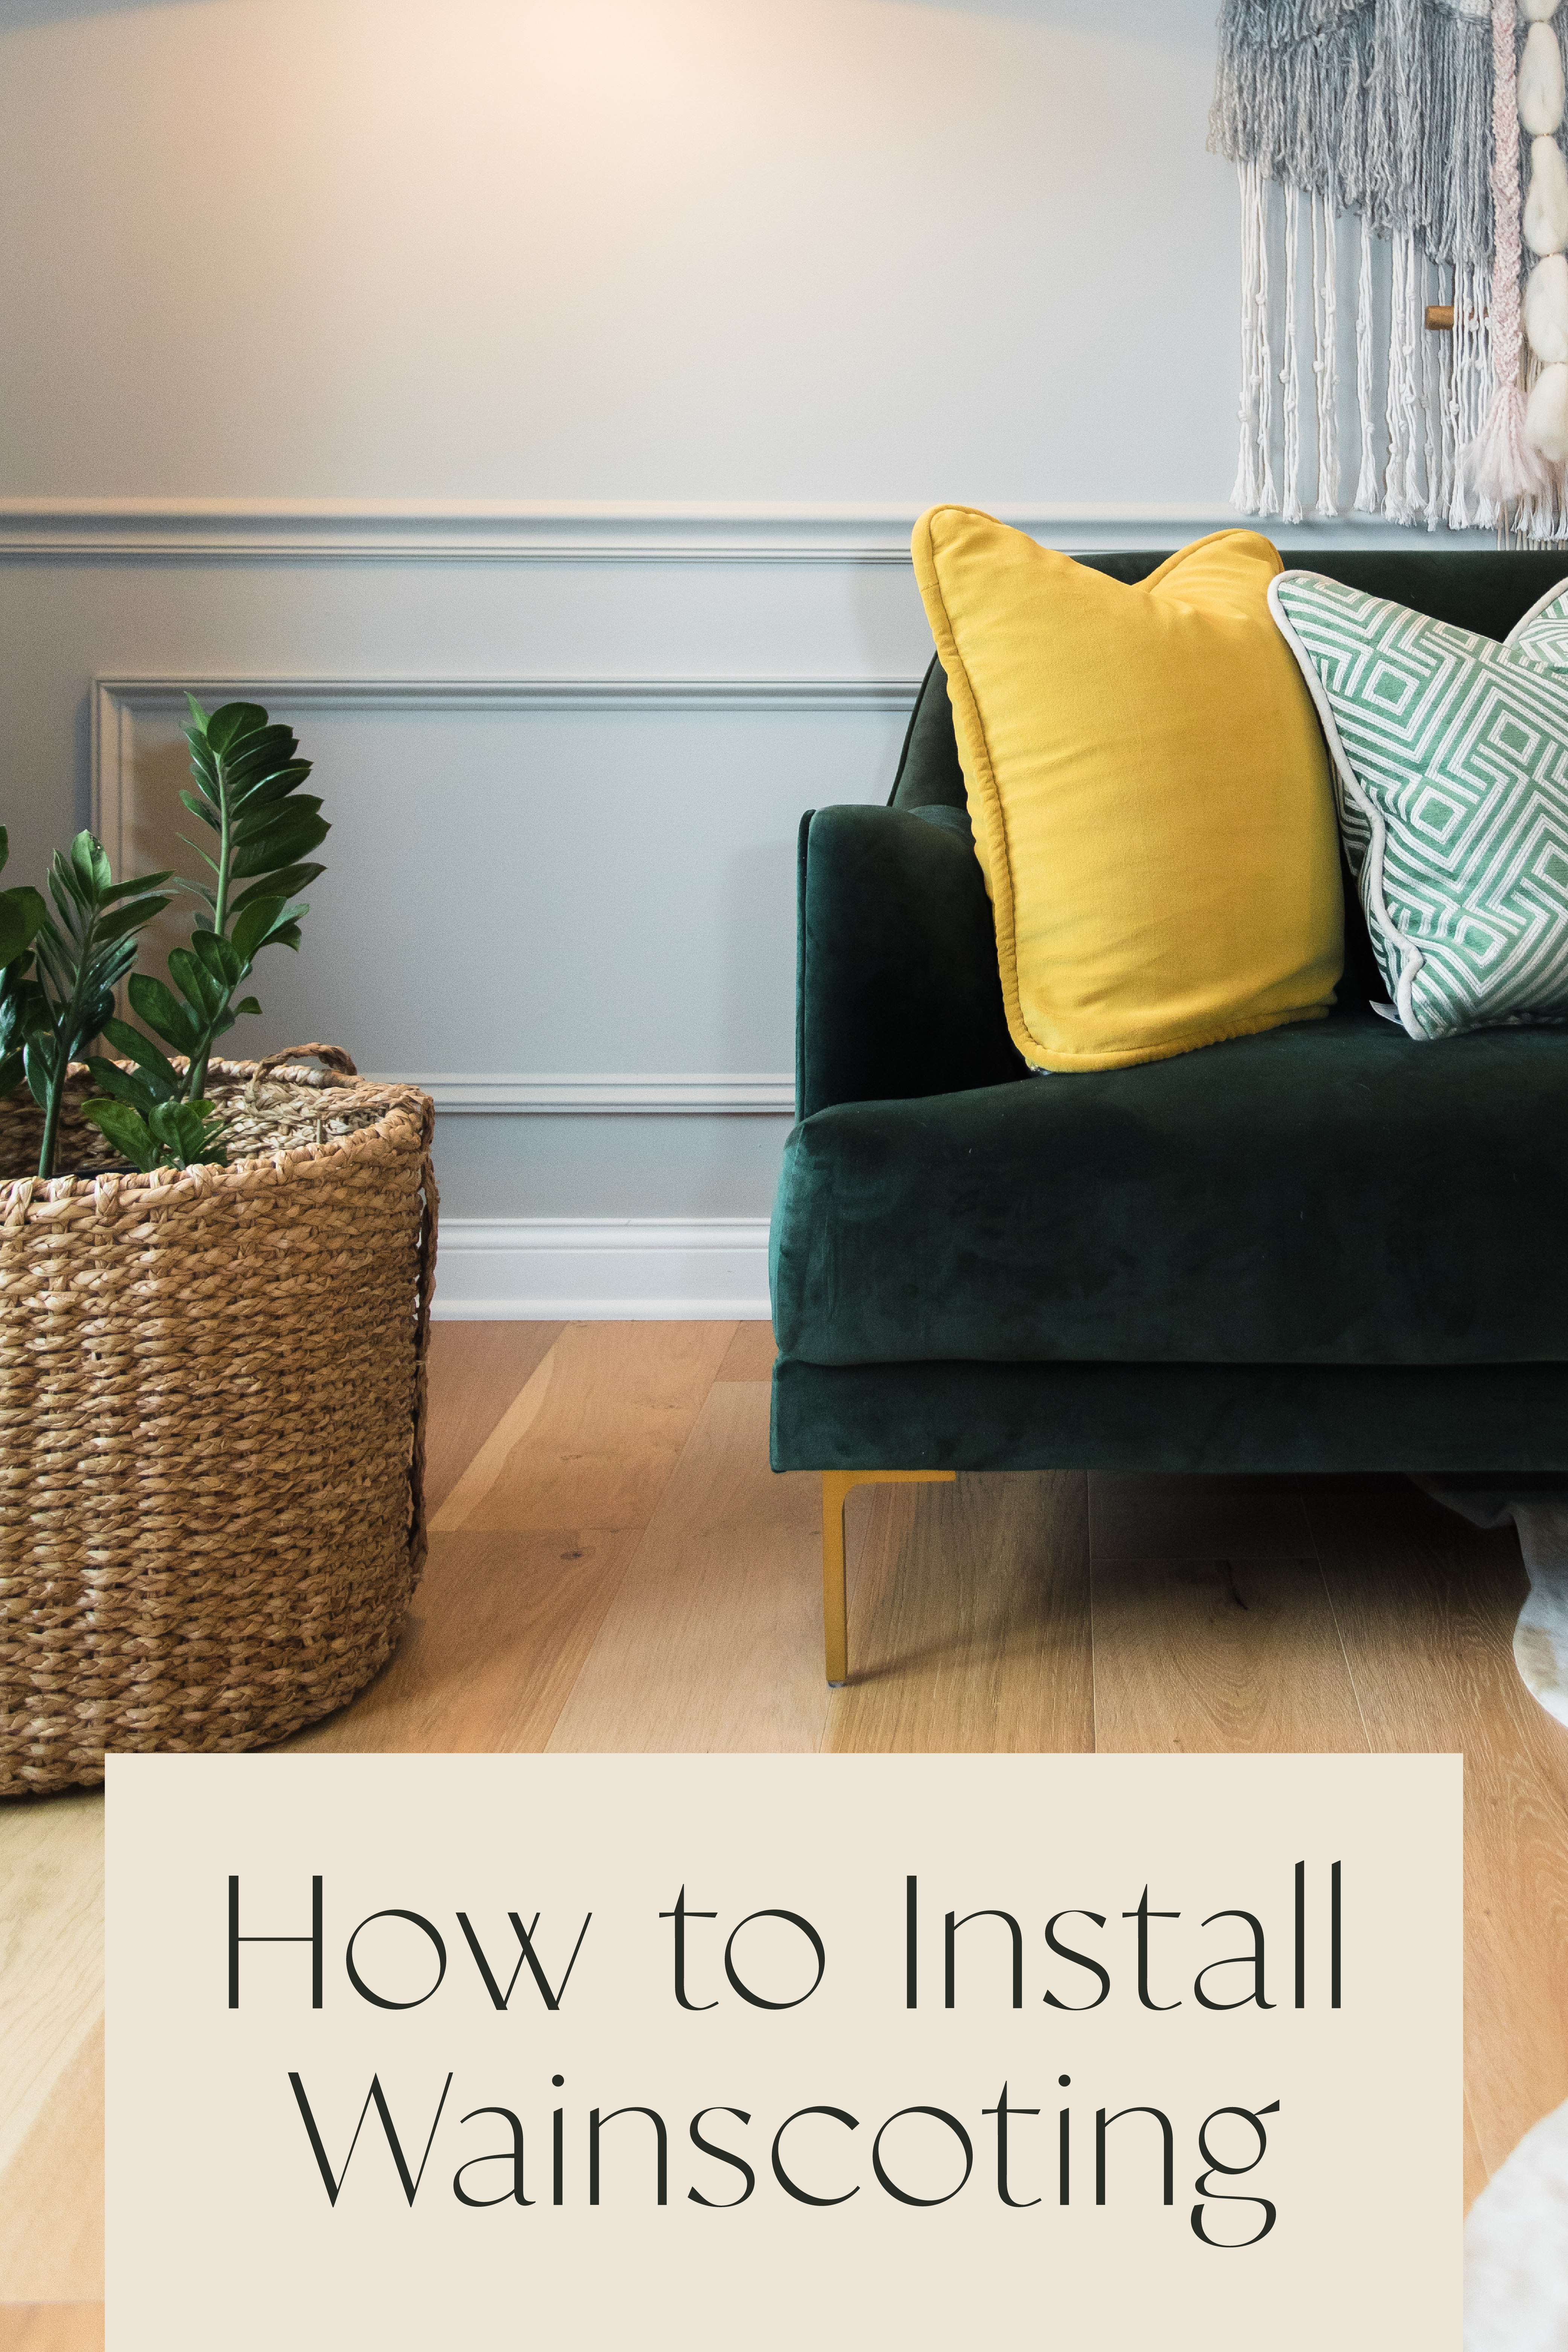
Wainscoting is a combination of decorative boards or panels and moldings that extend on a wall. It is one of the classic looks that can improve the atmosphere of your room or hallway through the use of paneling and textures. The detail and structure of your room can be greatly enhanced through the use of architectural accents that bring out the best of your home.
Traditionally saved for hallways, entryways, or larger rooms, wainscoting can have several styles and fashions. Some of these can lend a rustic or antique design to the interior of your home, and others can look rather modern and give any hallway a certain flair.
When you want to take advantage of wainscoting to improve the look of your home, here are just a few ideas on how to apply this unique styling in a classic do-it-yourself fashion, or you can hire us to do it for you. Finding the ultimate way to add an interesting element to your walls, you can use any of these methods to renovate the interior of your home.
Expansion
Wainscoting can improve the structure and the design of any room or wall by splitting the wall into sections. By applying section of moldings and wall sections, you can expand the look of your room and help fill walls. Proper wainscoting can help your room seem bigger than it really is, giving it a dimension that’s hard to replicate.
Blemishes
The use of wainscoting can also help you cover up some of your home’s imperfections. This can also be used to setup the arrangement of furniture or cover up outlets and quirks of your home that you would rather not be seen.
Wainscoting can also be used in conjunction with décor to really set off a room or wall the way you intend it.
Installation Basics
Before you plan any interior renovation, careful planning is always a vital part of your project. Before you remove your base caps and lay out your walls, you must know what panels and where to install them.
Once you’ve installed the panels in question, you will need to re-install the top rail and install your stiles to prevent curling and keep the look of your room clean. When planning your room layout, make sure that you cut your existing trim for a flush installation.
Baseboards can often be the most difficult part of installing wainscoting and when you are trimming your baseboards, make sure to use a scribe to keep your installation clean.
DIY Wainscoting Tutorial
Since we love Wainscoting so much, we’re excited to show you our latest wainscoting project and just how you can do it yourself!
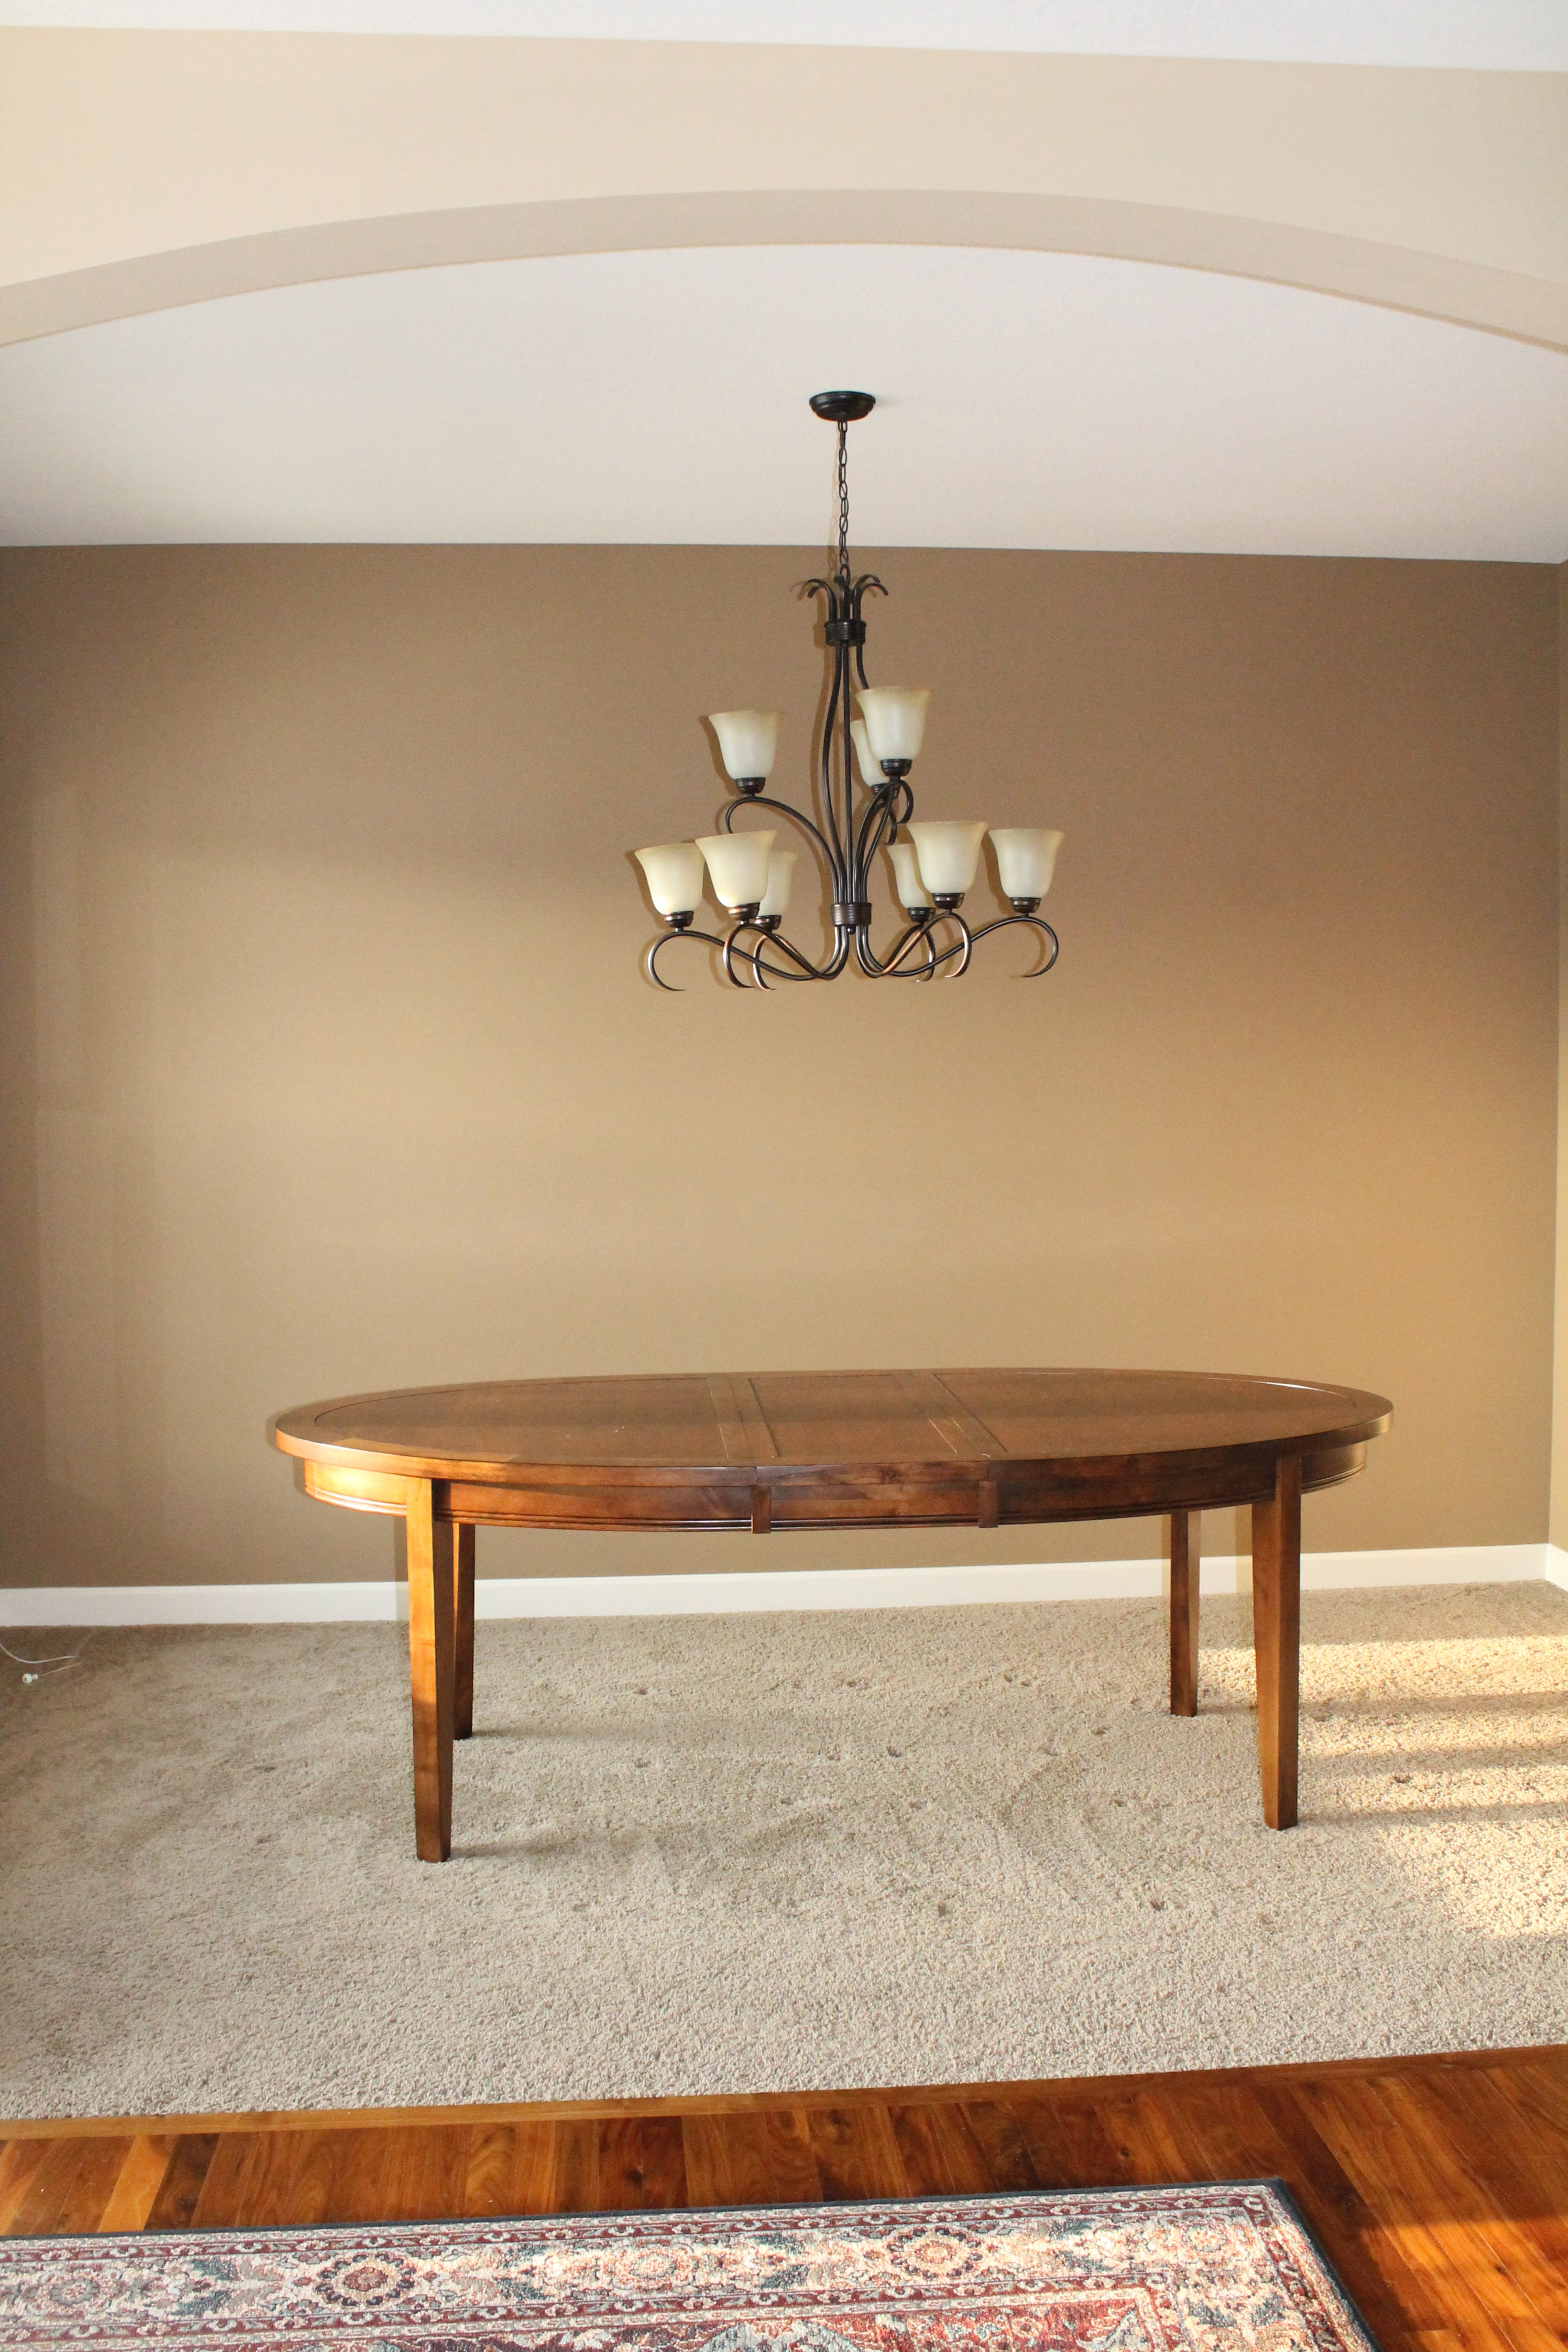
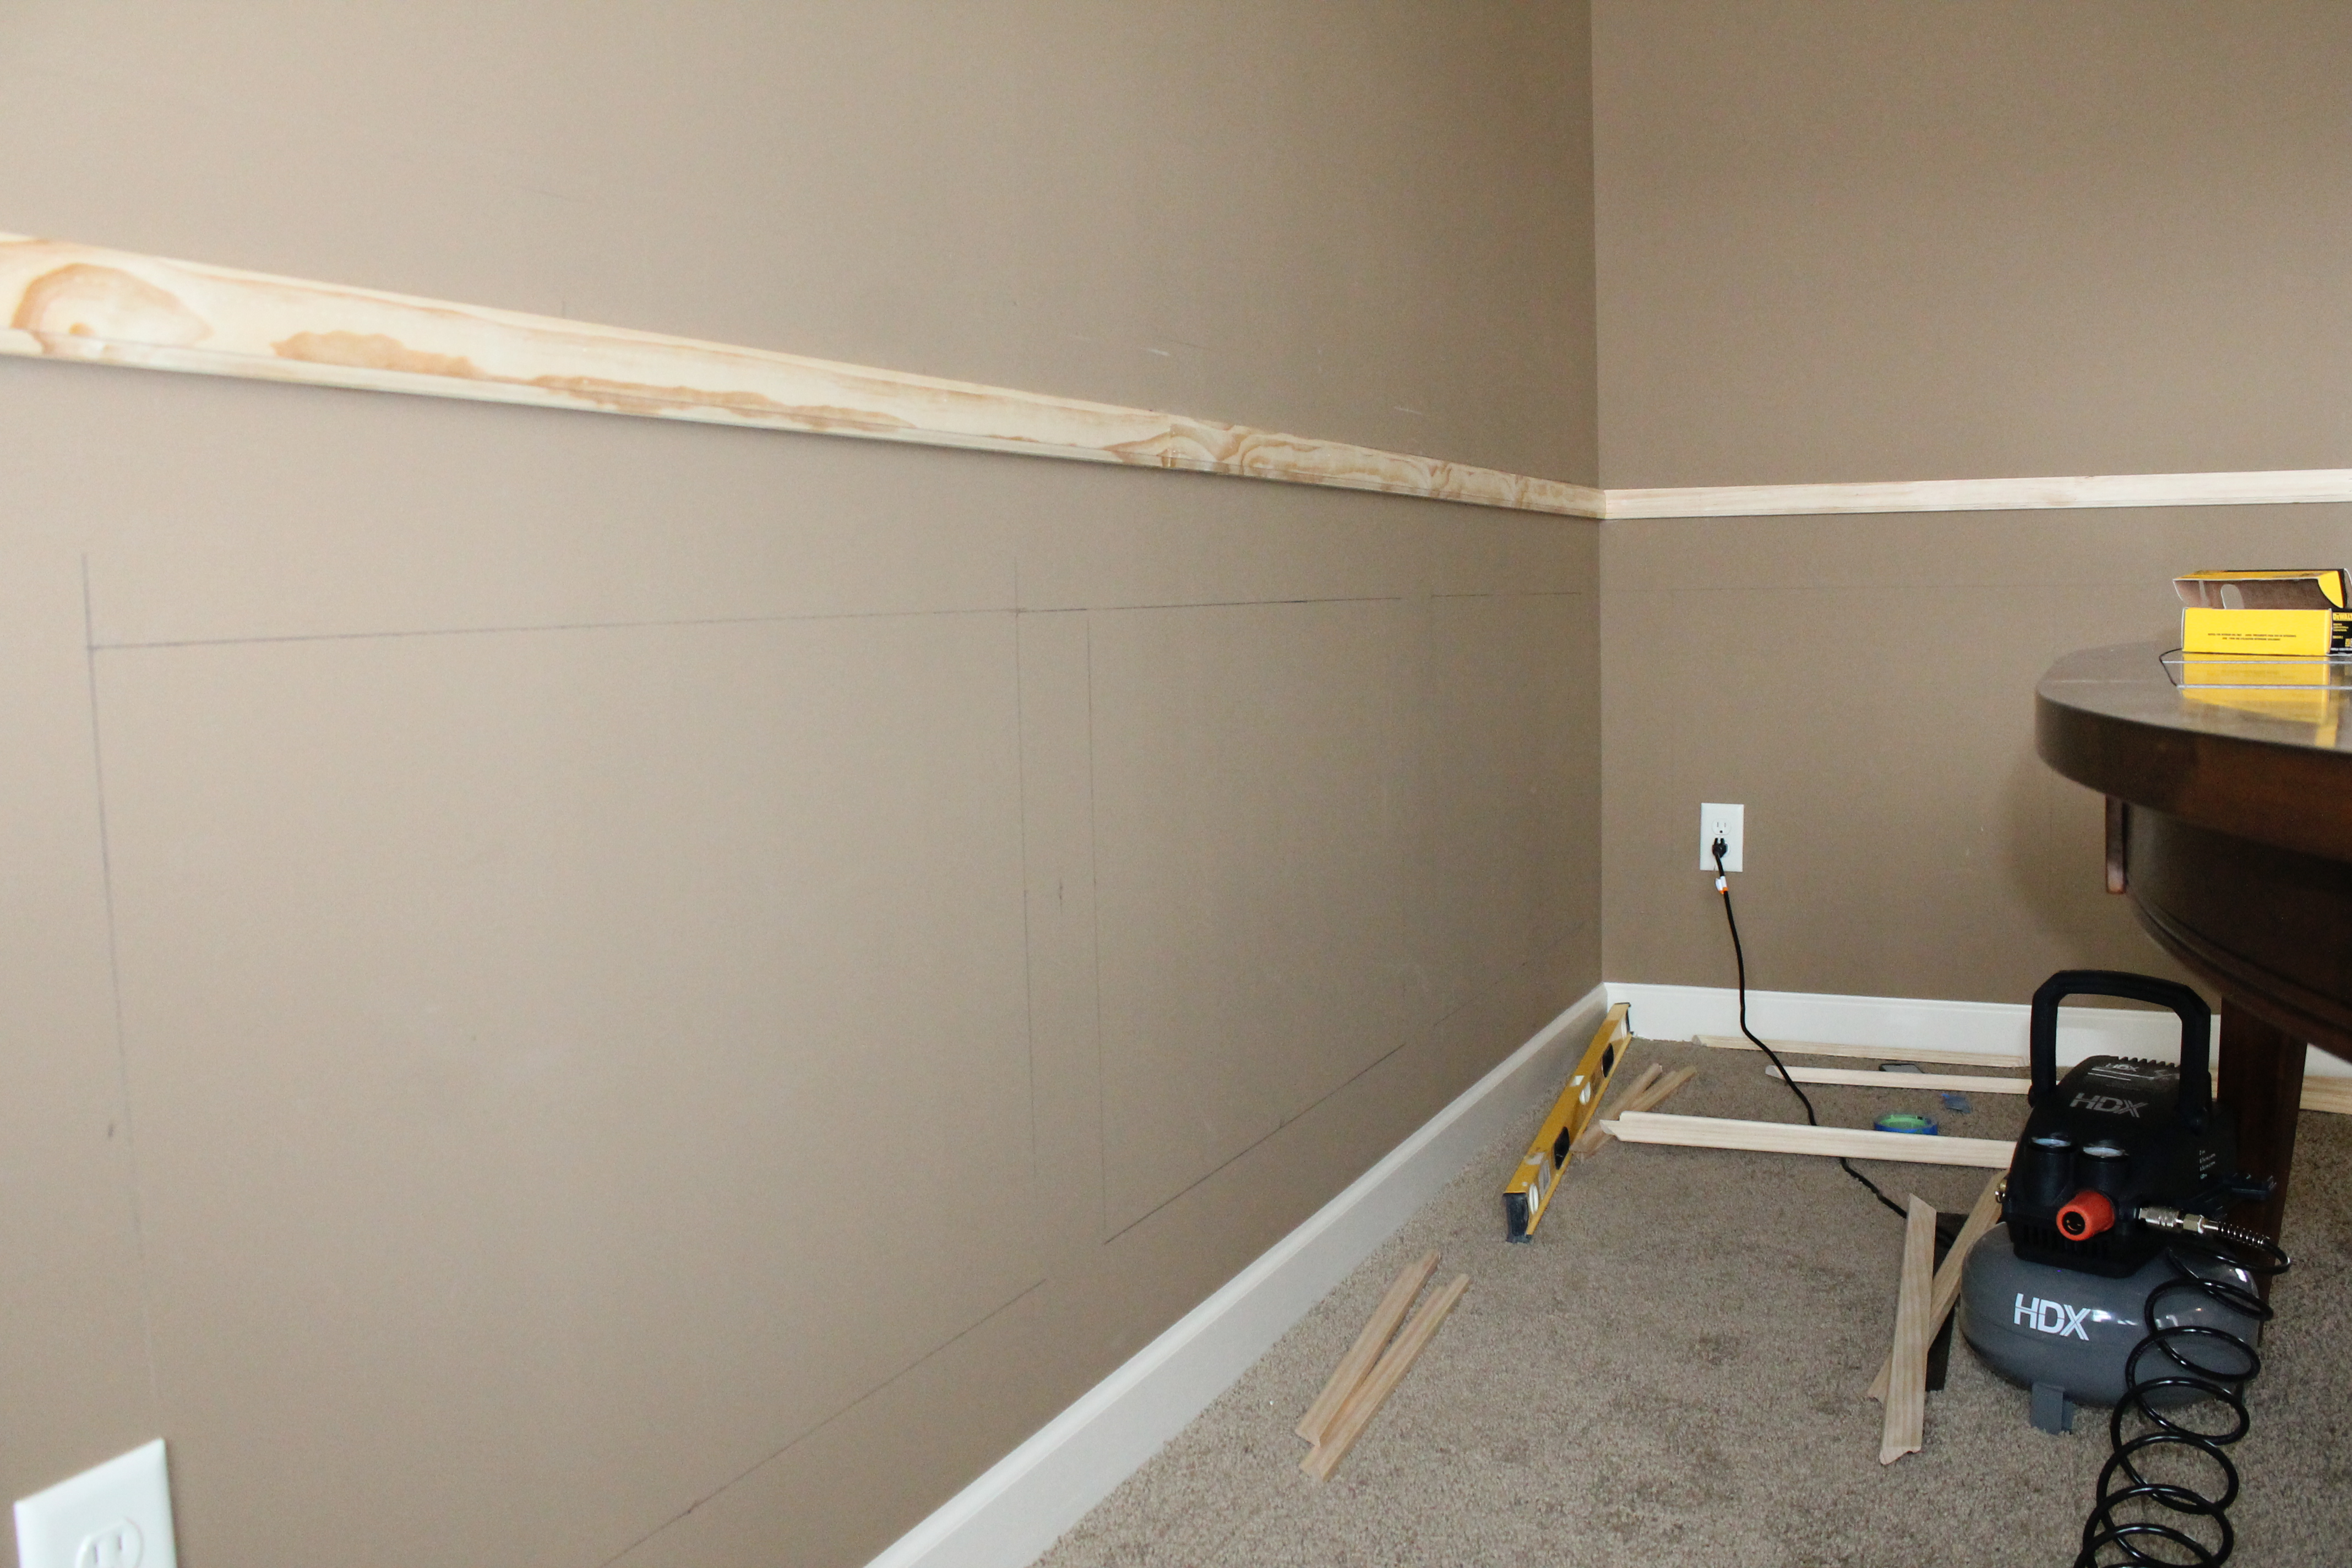
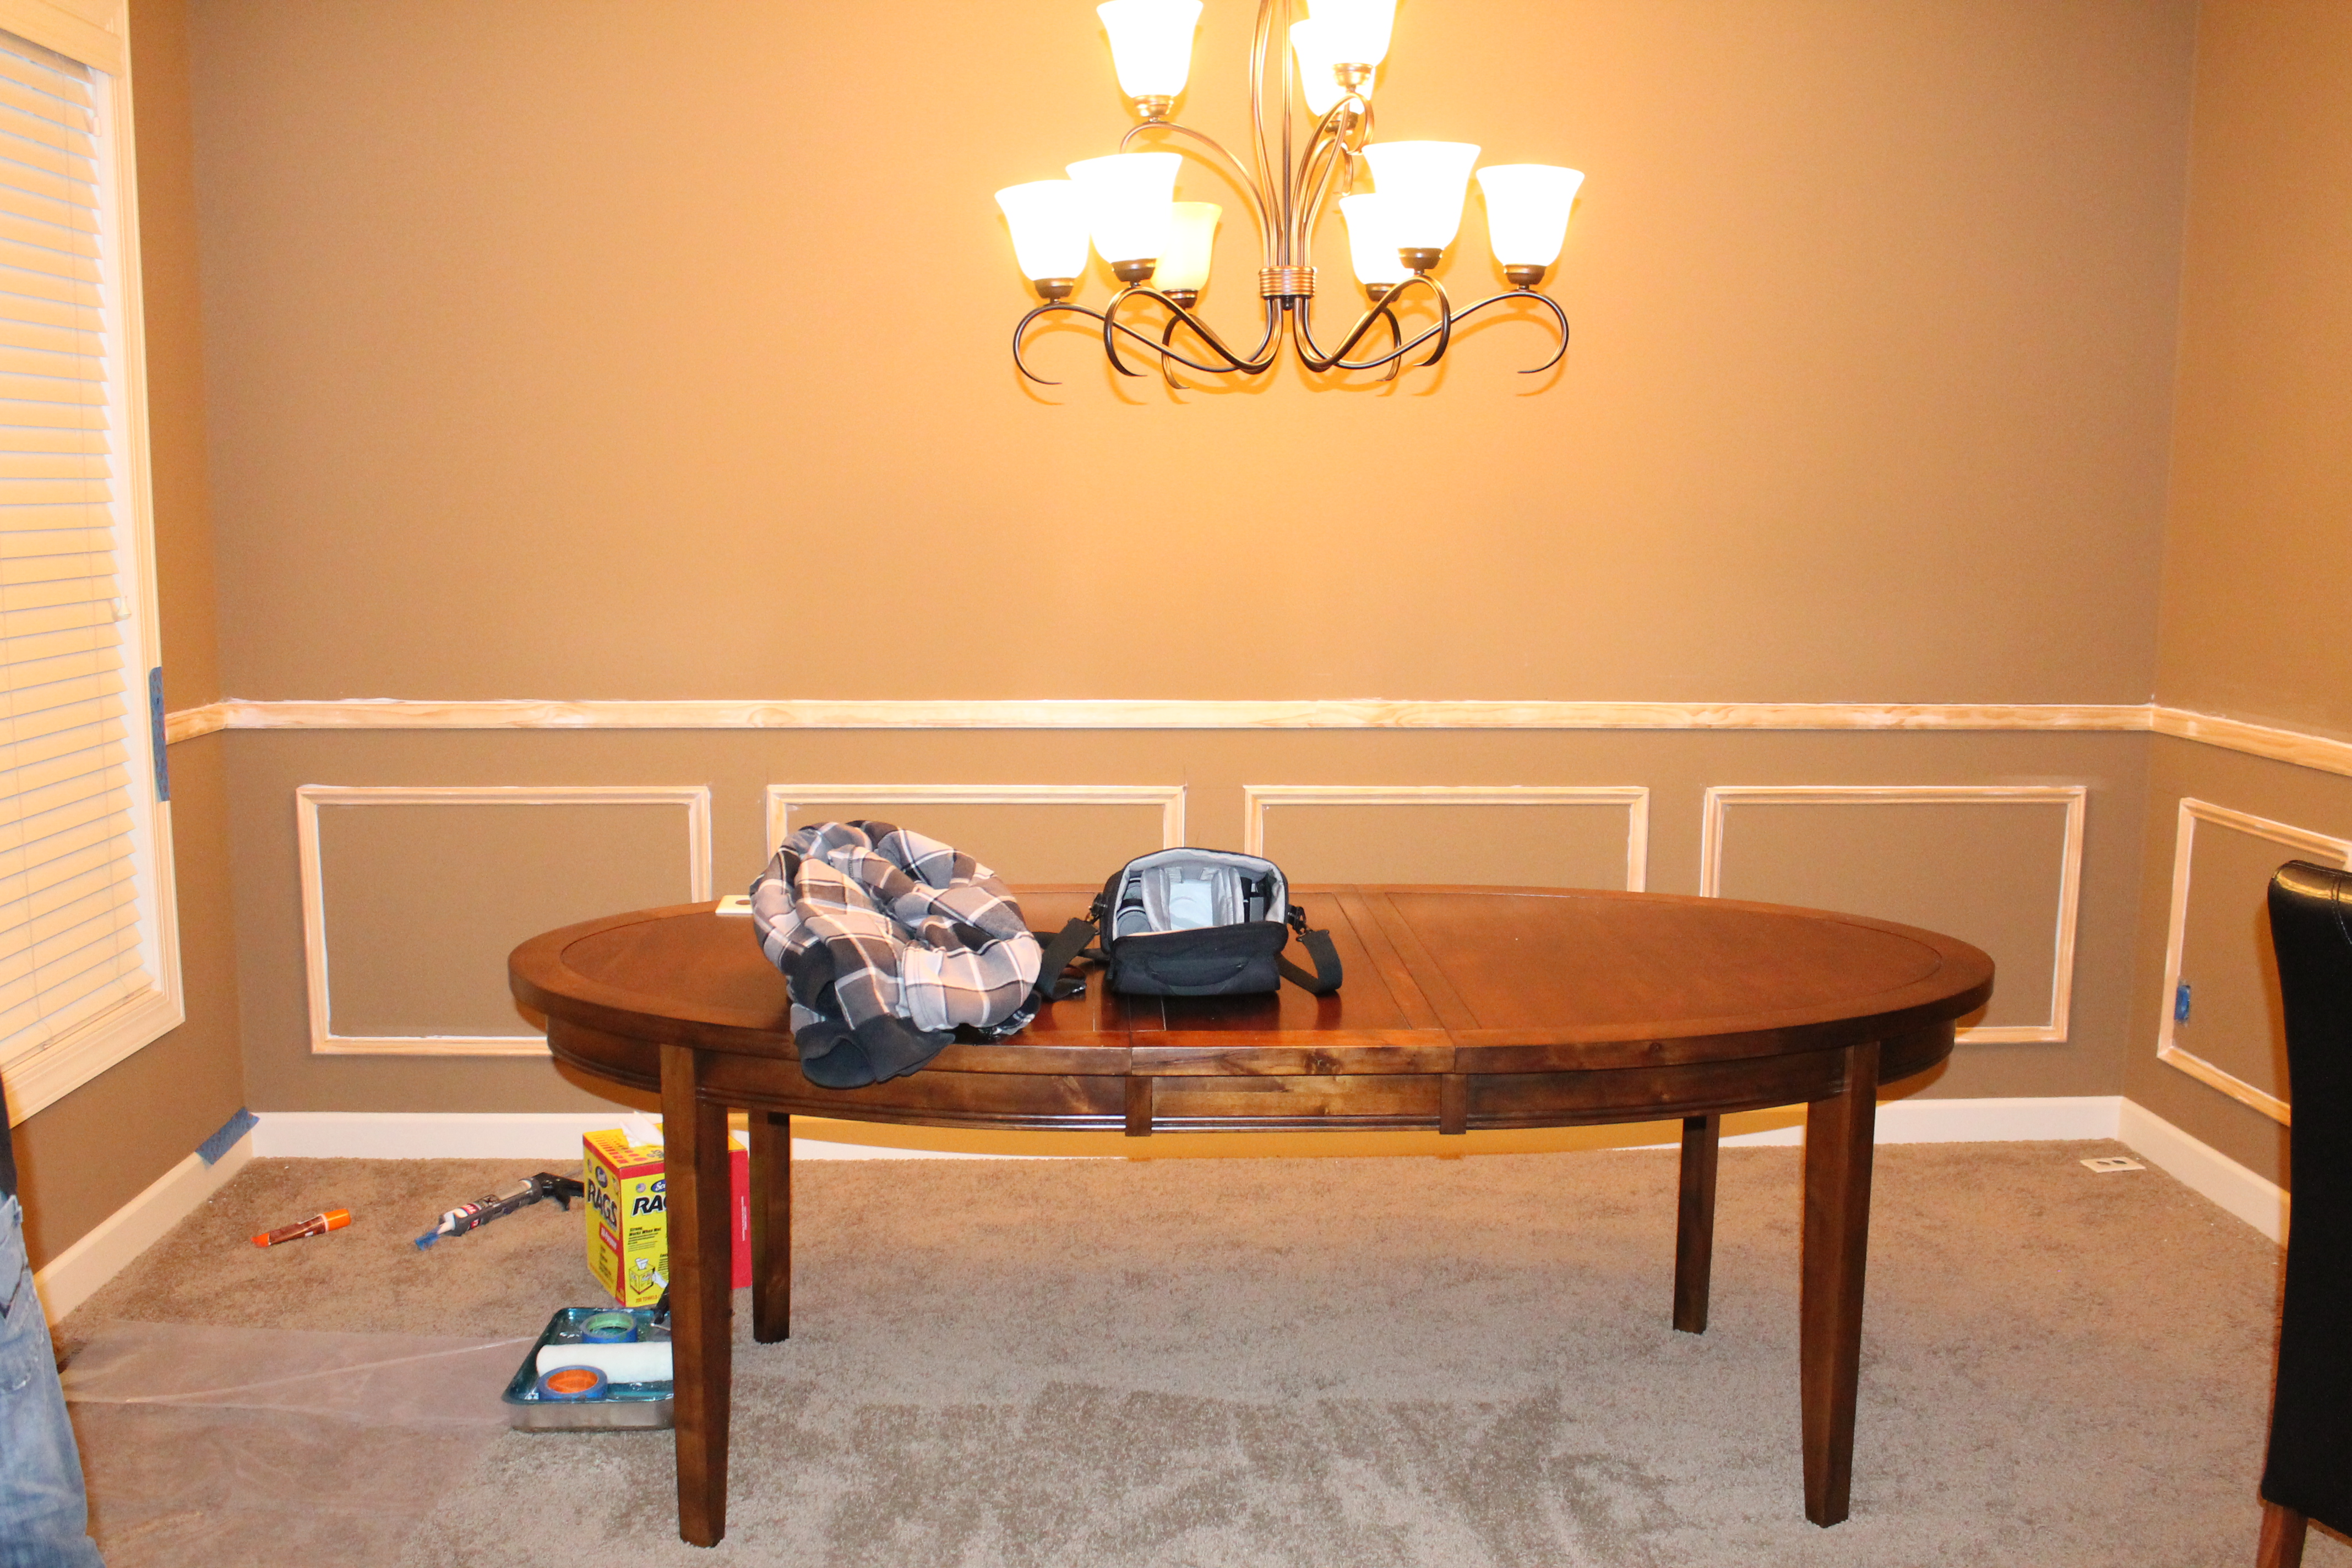
Before
Materials Needed
- Finish Nailer
- Miter Saw
- Glue
- Level
- Pencil
- Tape Measure
- Molding Pieces
- Paint
Step One: Choose Material
The first step is determining your materials. Chair rail and wainscoting molding is available at any of your home improvement stores in all materials, shapes, and styles. And to be honest, we have done three wainscoting projects and each time we have bought different material. We walk up and down the aisles at Home Depot and grab a couple different pieces that we think would look best within the style of the room. We have always gotten a very plain style for the chair rail with no decorative border and then for the inner panels we always choose one with more character.
Step Two: Plan Layout
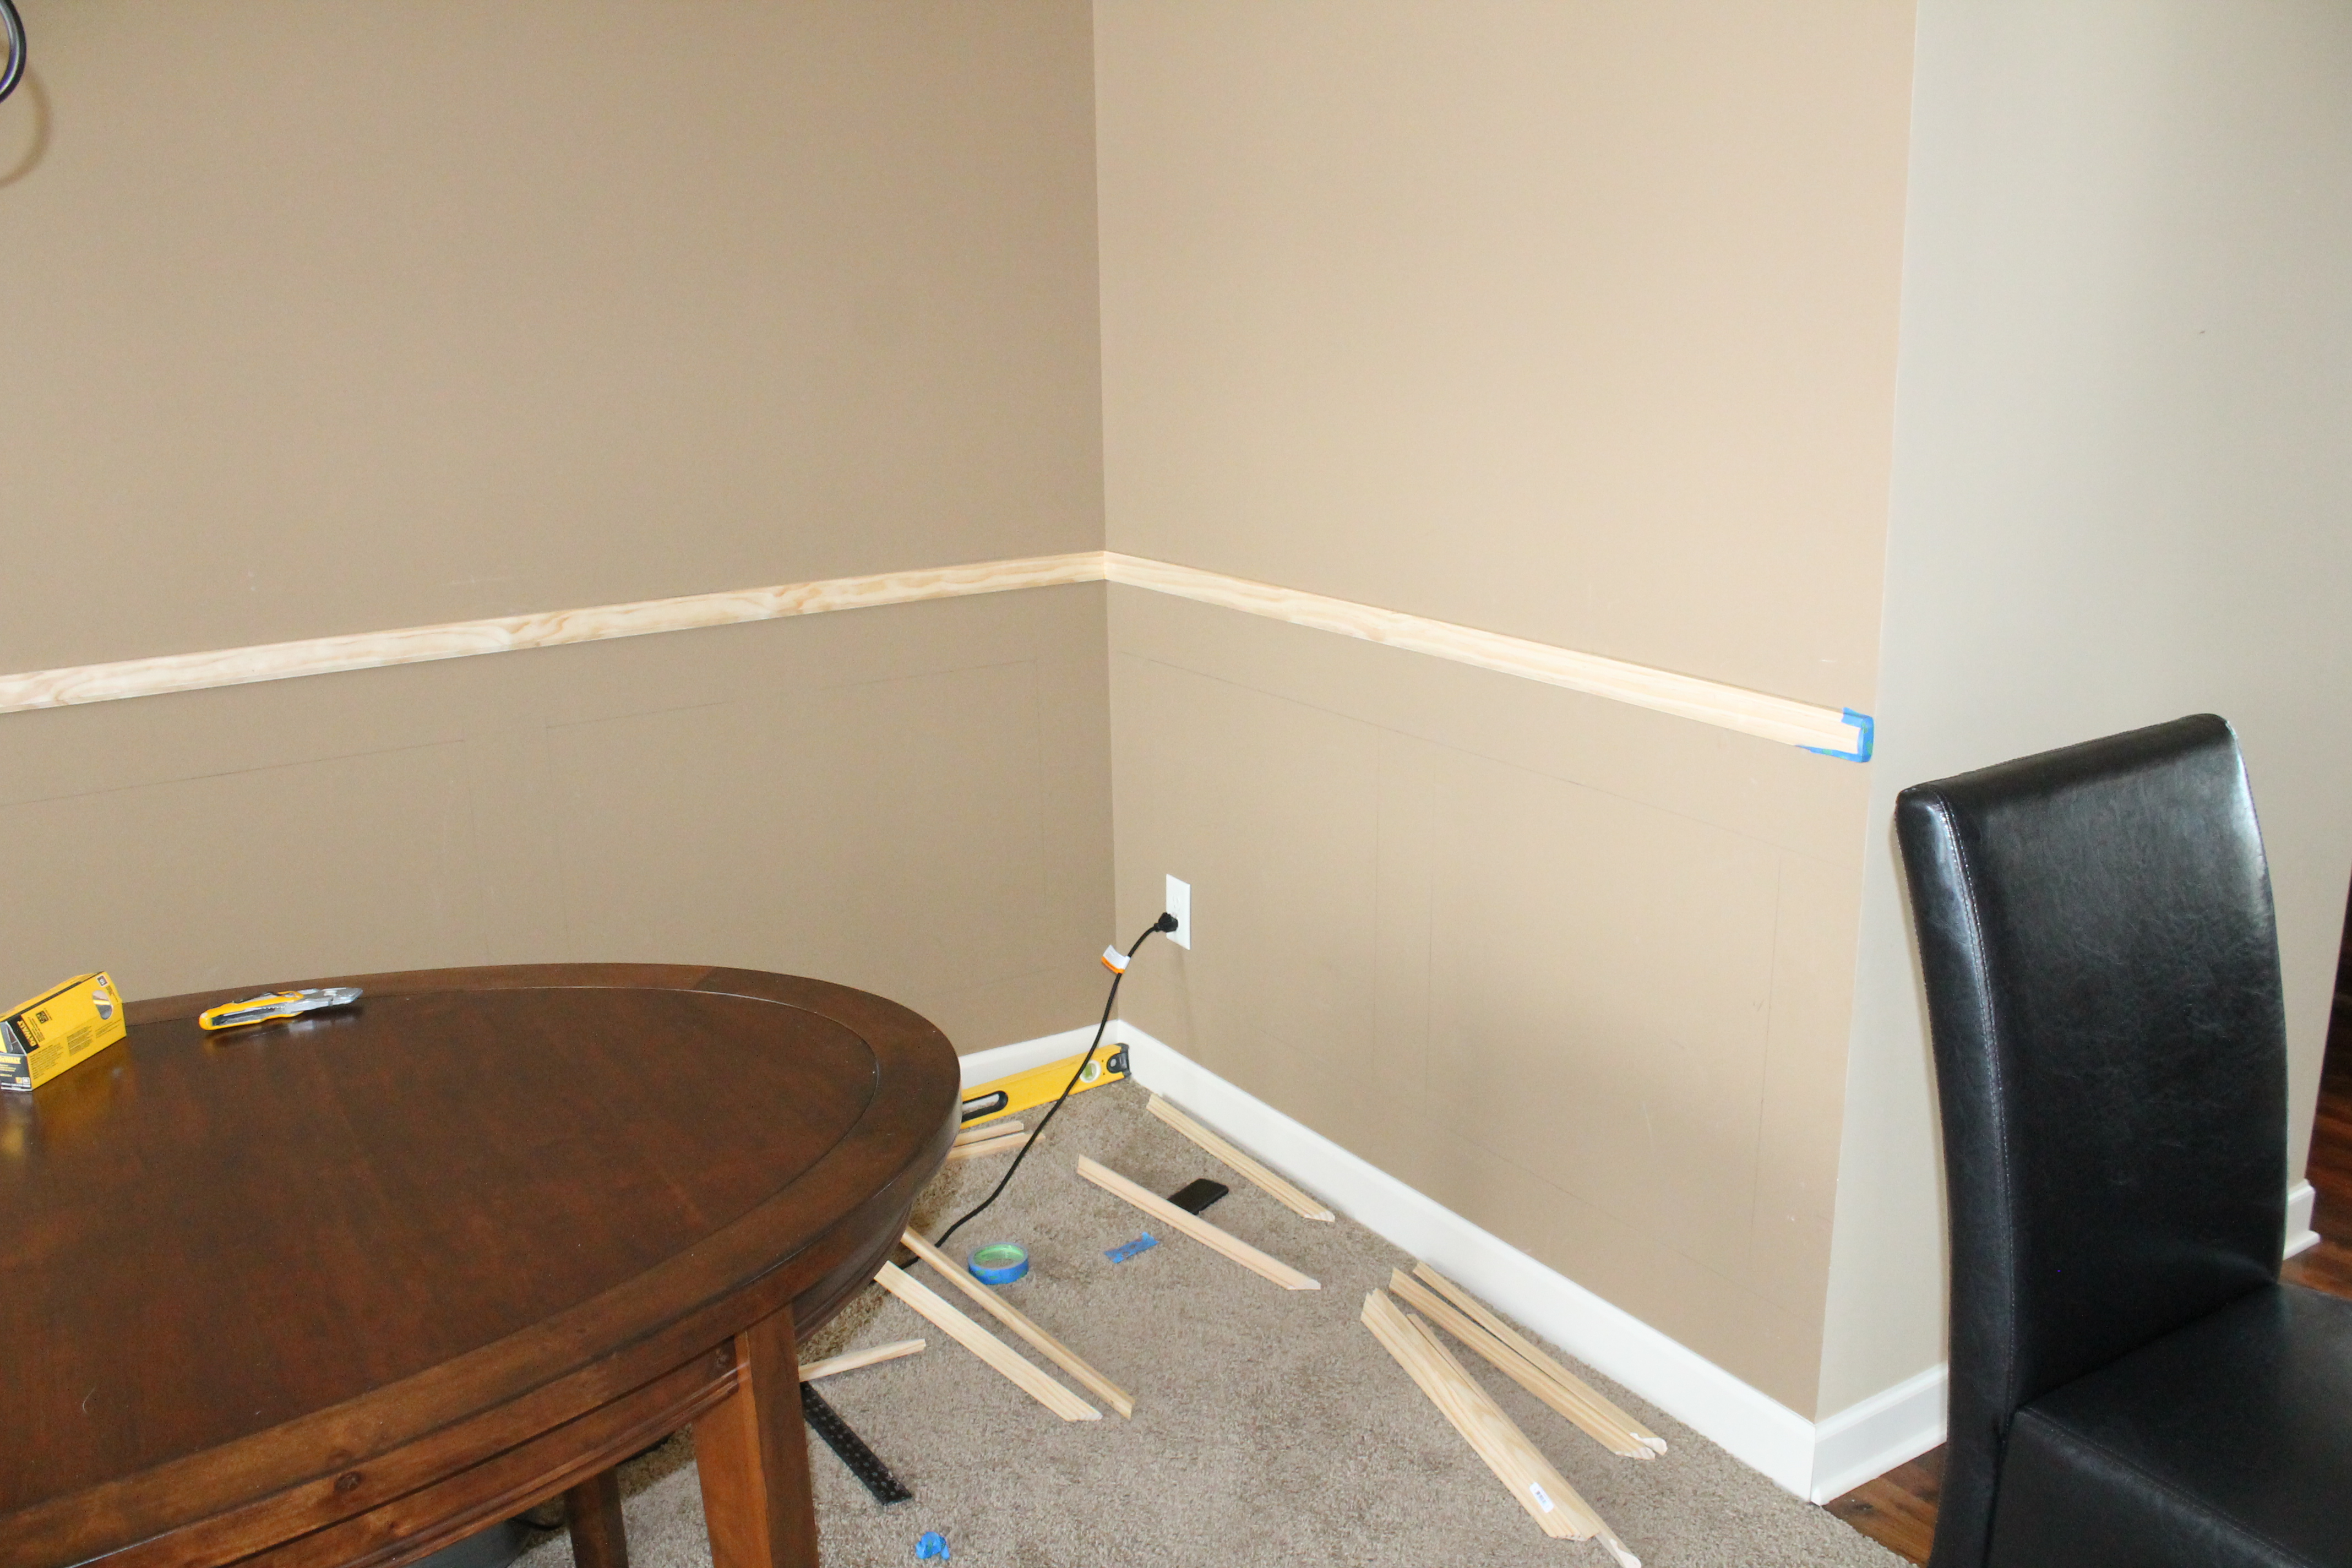
Once you have your materials, the next step is to determine how big you want your panels to be. This will help you determine how much material you should buy. You should aim to keep each panel section the same height on one wall, but not all the panel widths in the room need to be the exact same size. However, we always like to try to keep them all within an inch or two. We always measure and pencil in our layout directly onto the wall. We kept about 4″ in between the boxes.
Step Three: Place Chair Rail
Starting with the longest wall in the room determine the height to place the chair rail. We determined our height from the chairs in the room. We wanted the ledge to be right at the height of the chairs. Experts say to place the chair rails at 1/3 of the height from the ceiling. With a standard 8 foot room, the chair rail would be placed at 32″ from the floor.
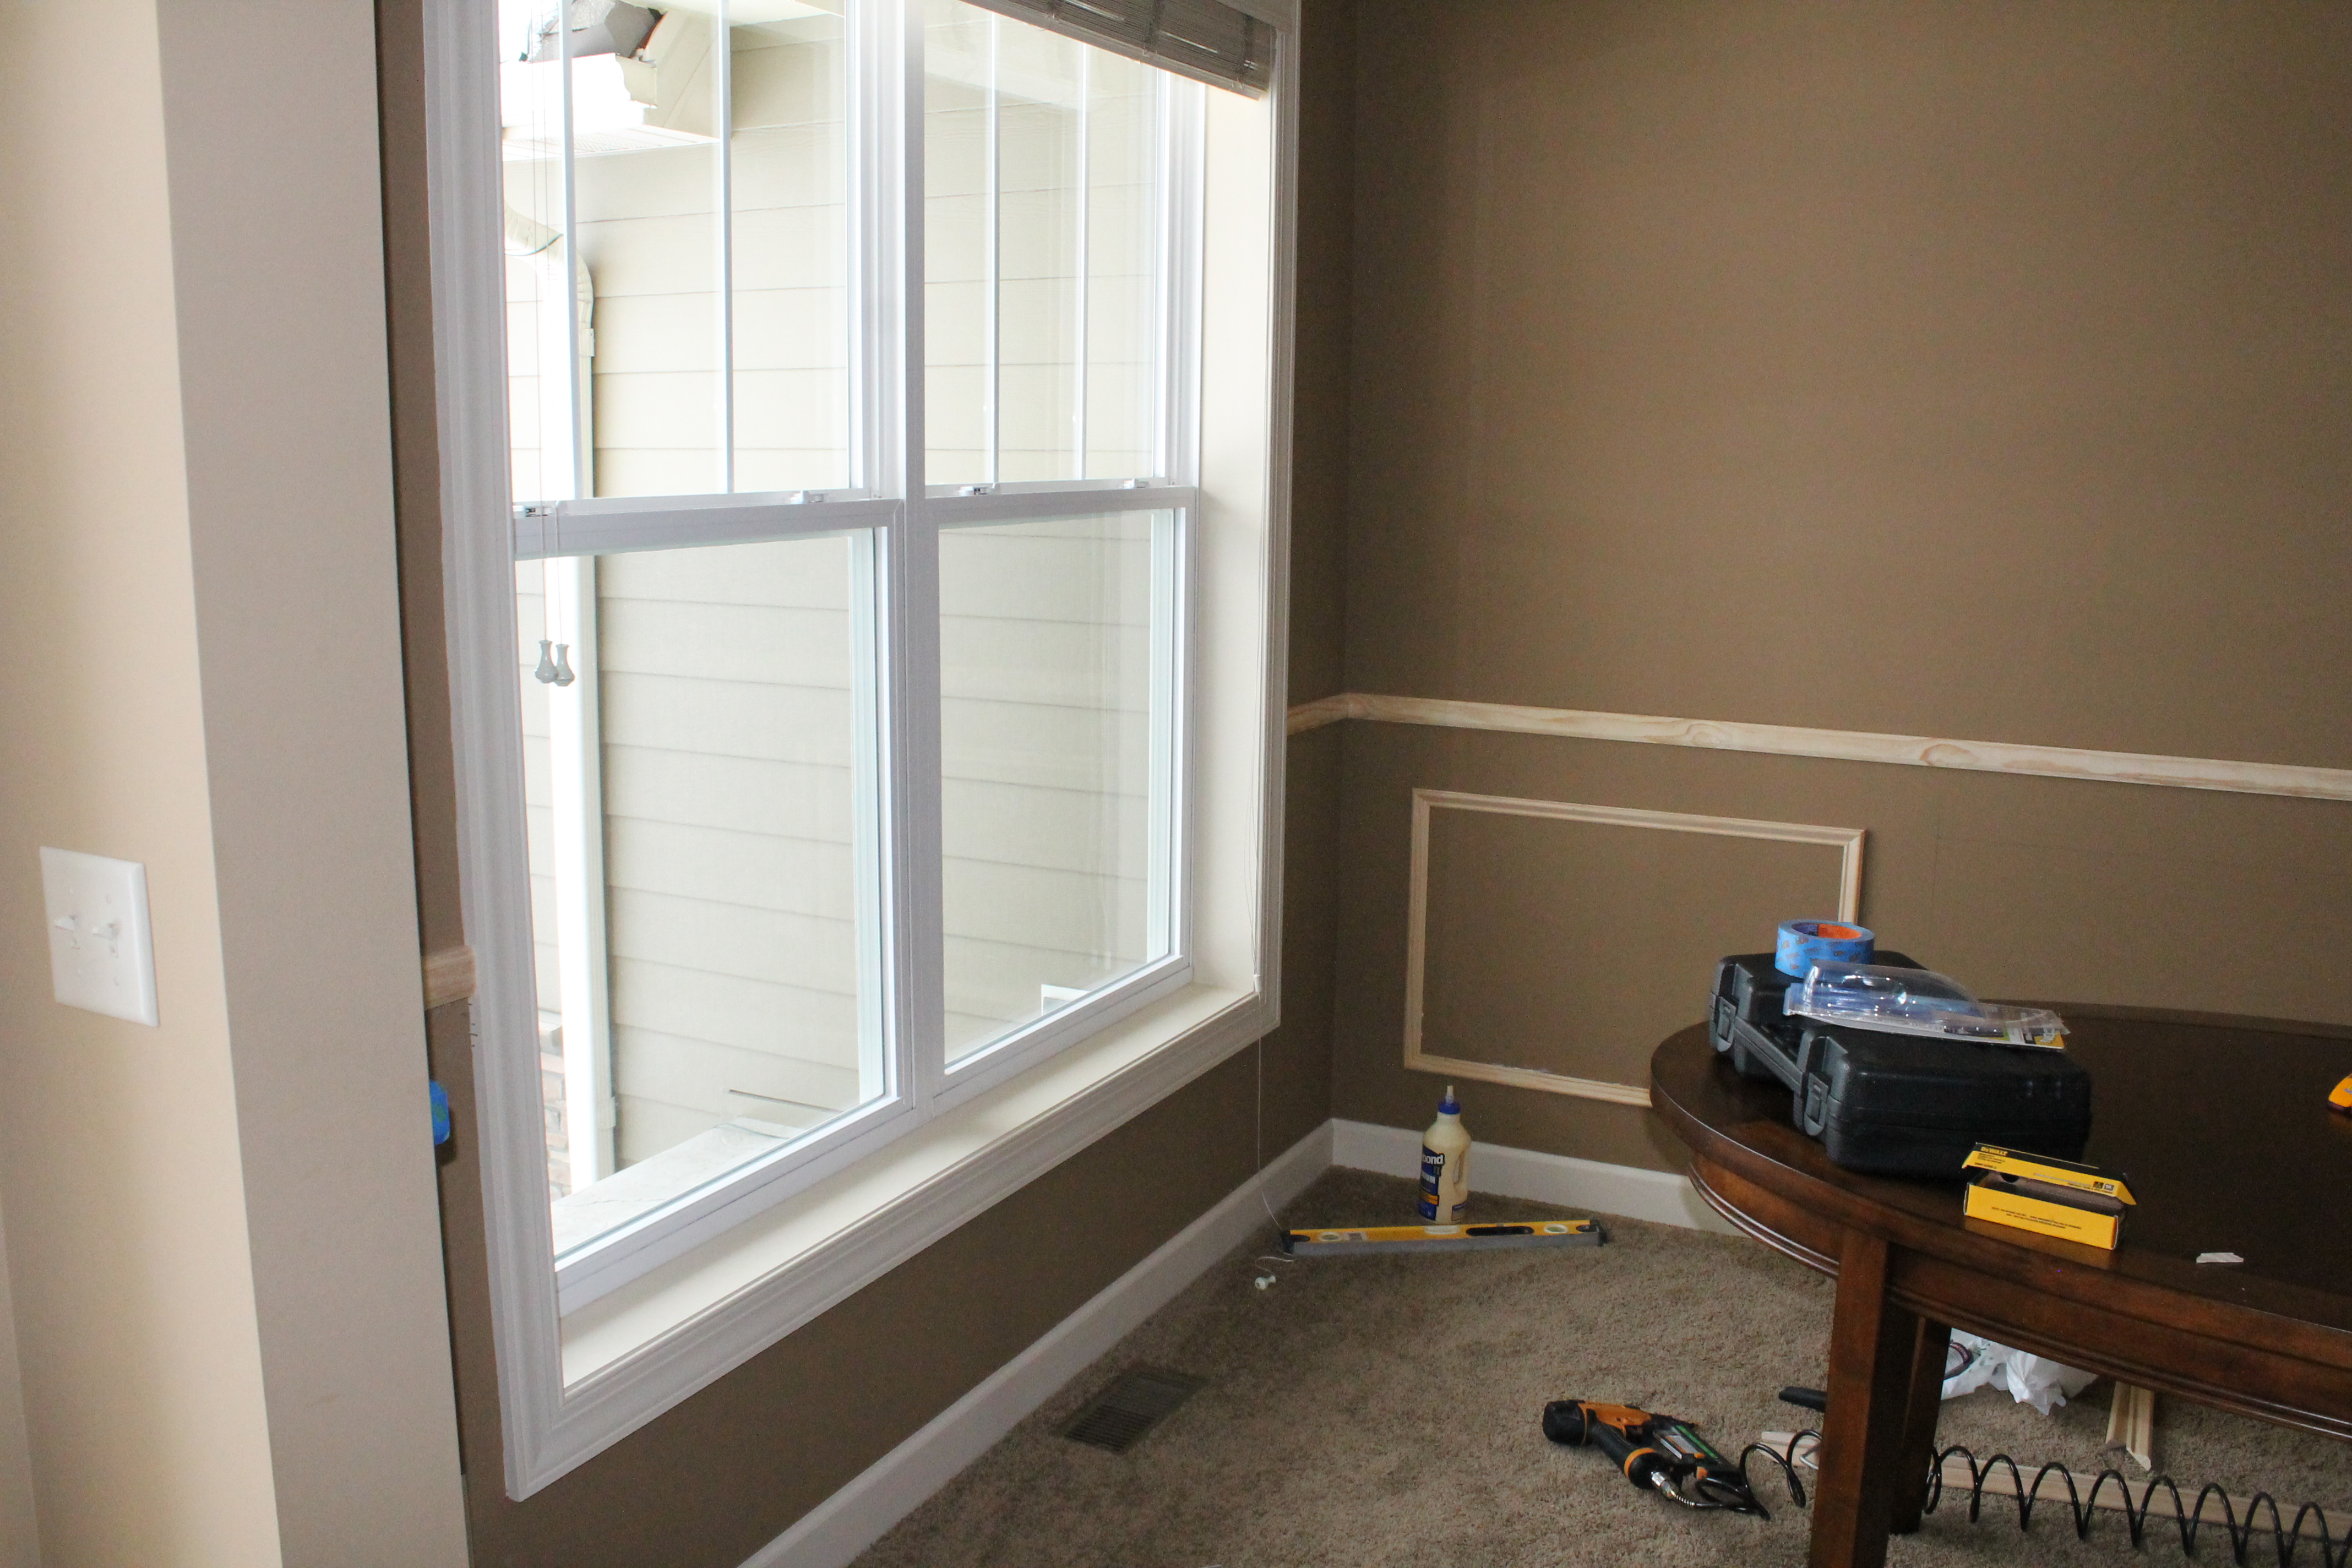
Step Four: Glue Panels
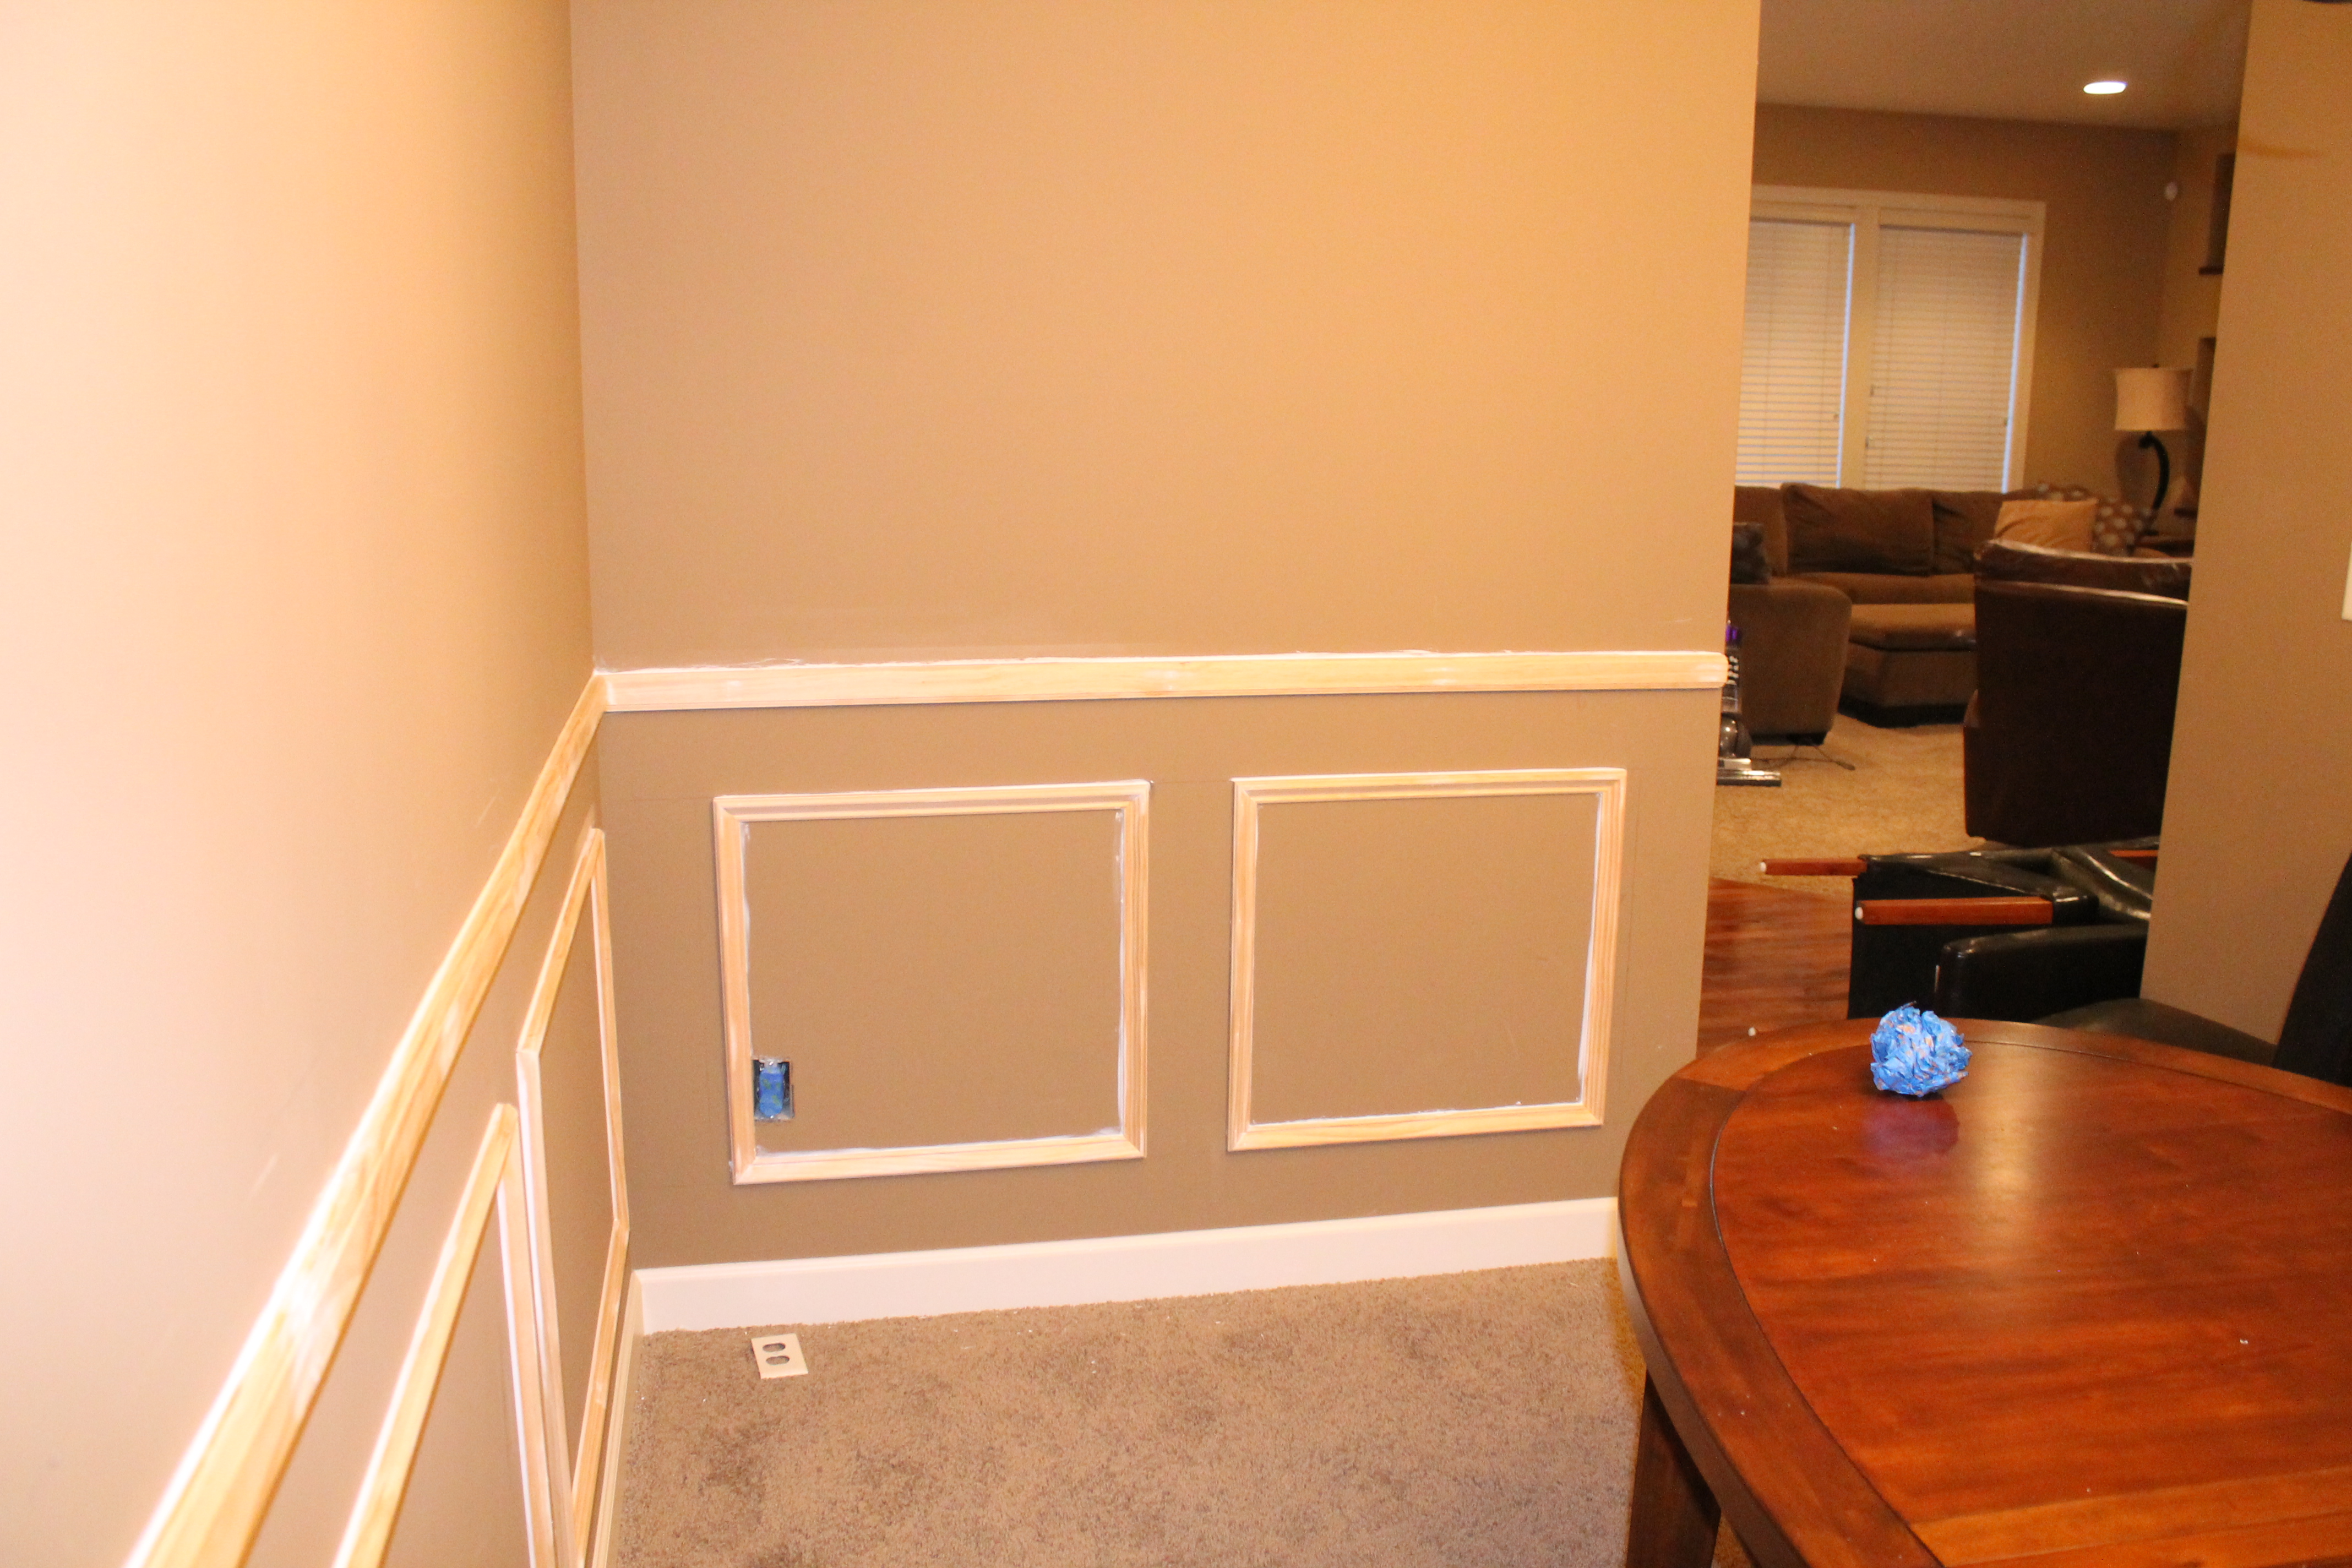
Once you have your chair rails glued and nailed to the wall the next step will be to glue and nail up your inner panels. Knowing how to cut 45 angels is key to making sure each of your corners all line up with one another to create a perfect square.
Step Five: Wood Fill & Sand
Once all of your boxes are glued into place make sure you cover all nail holes with wood filler. Once the wood filler is dry, make sure to sand them all down before you paint!
Step Six: Paint!
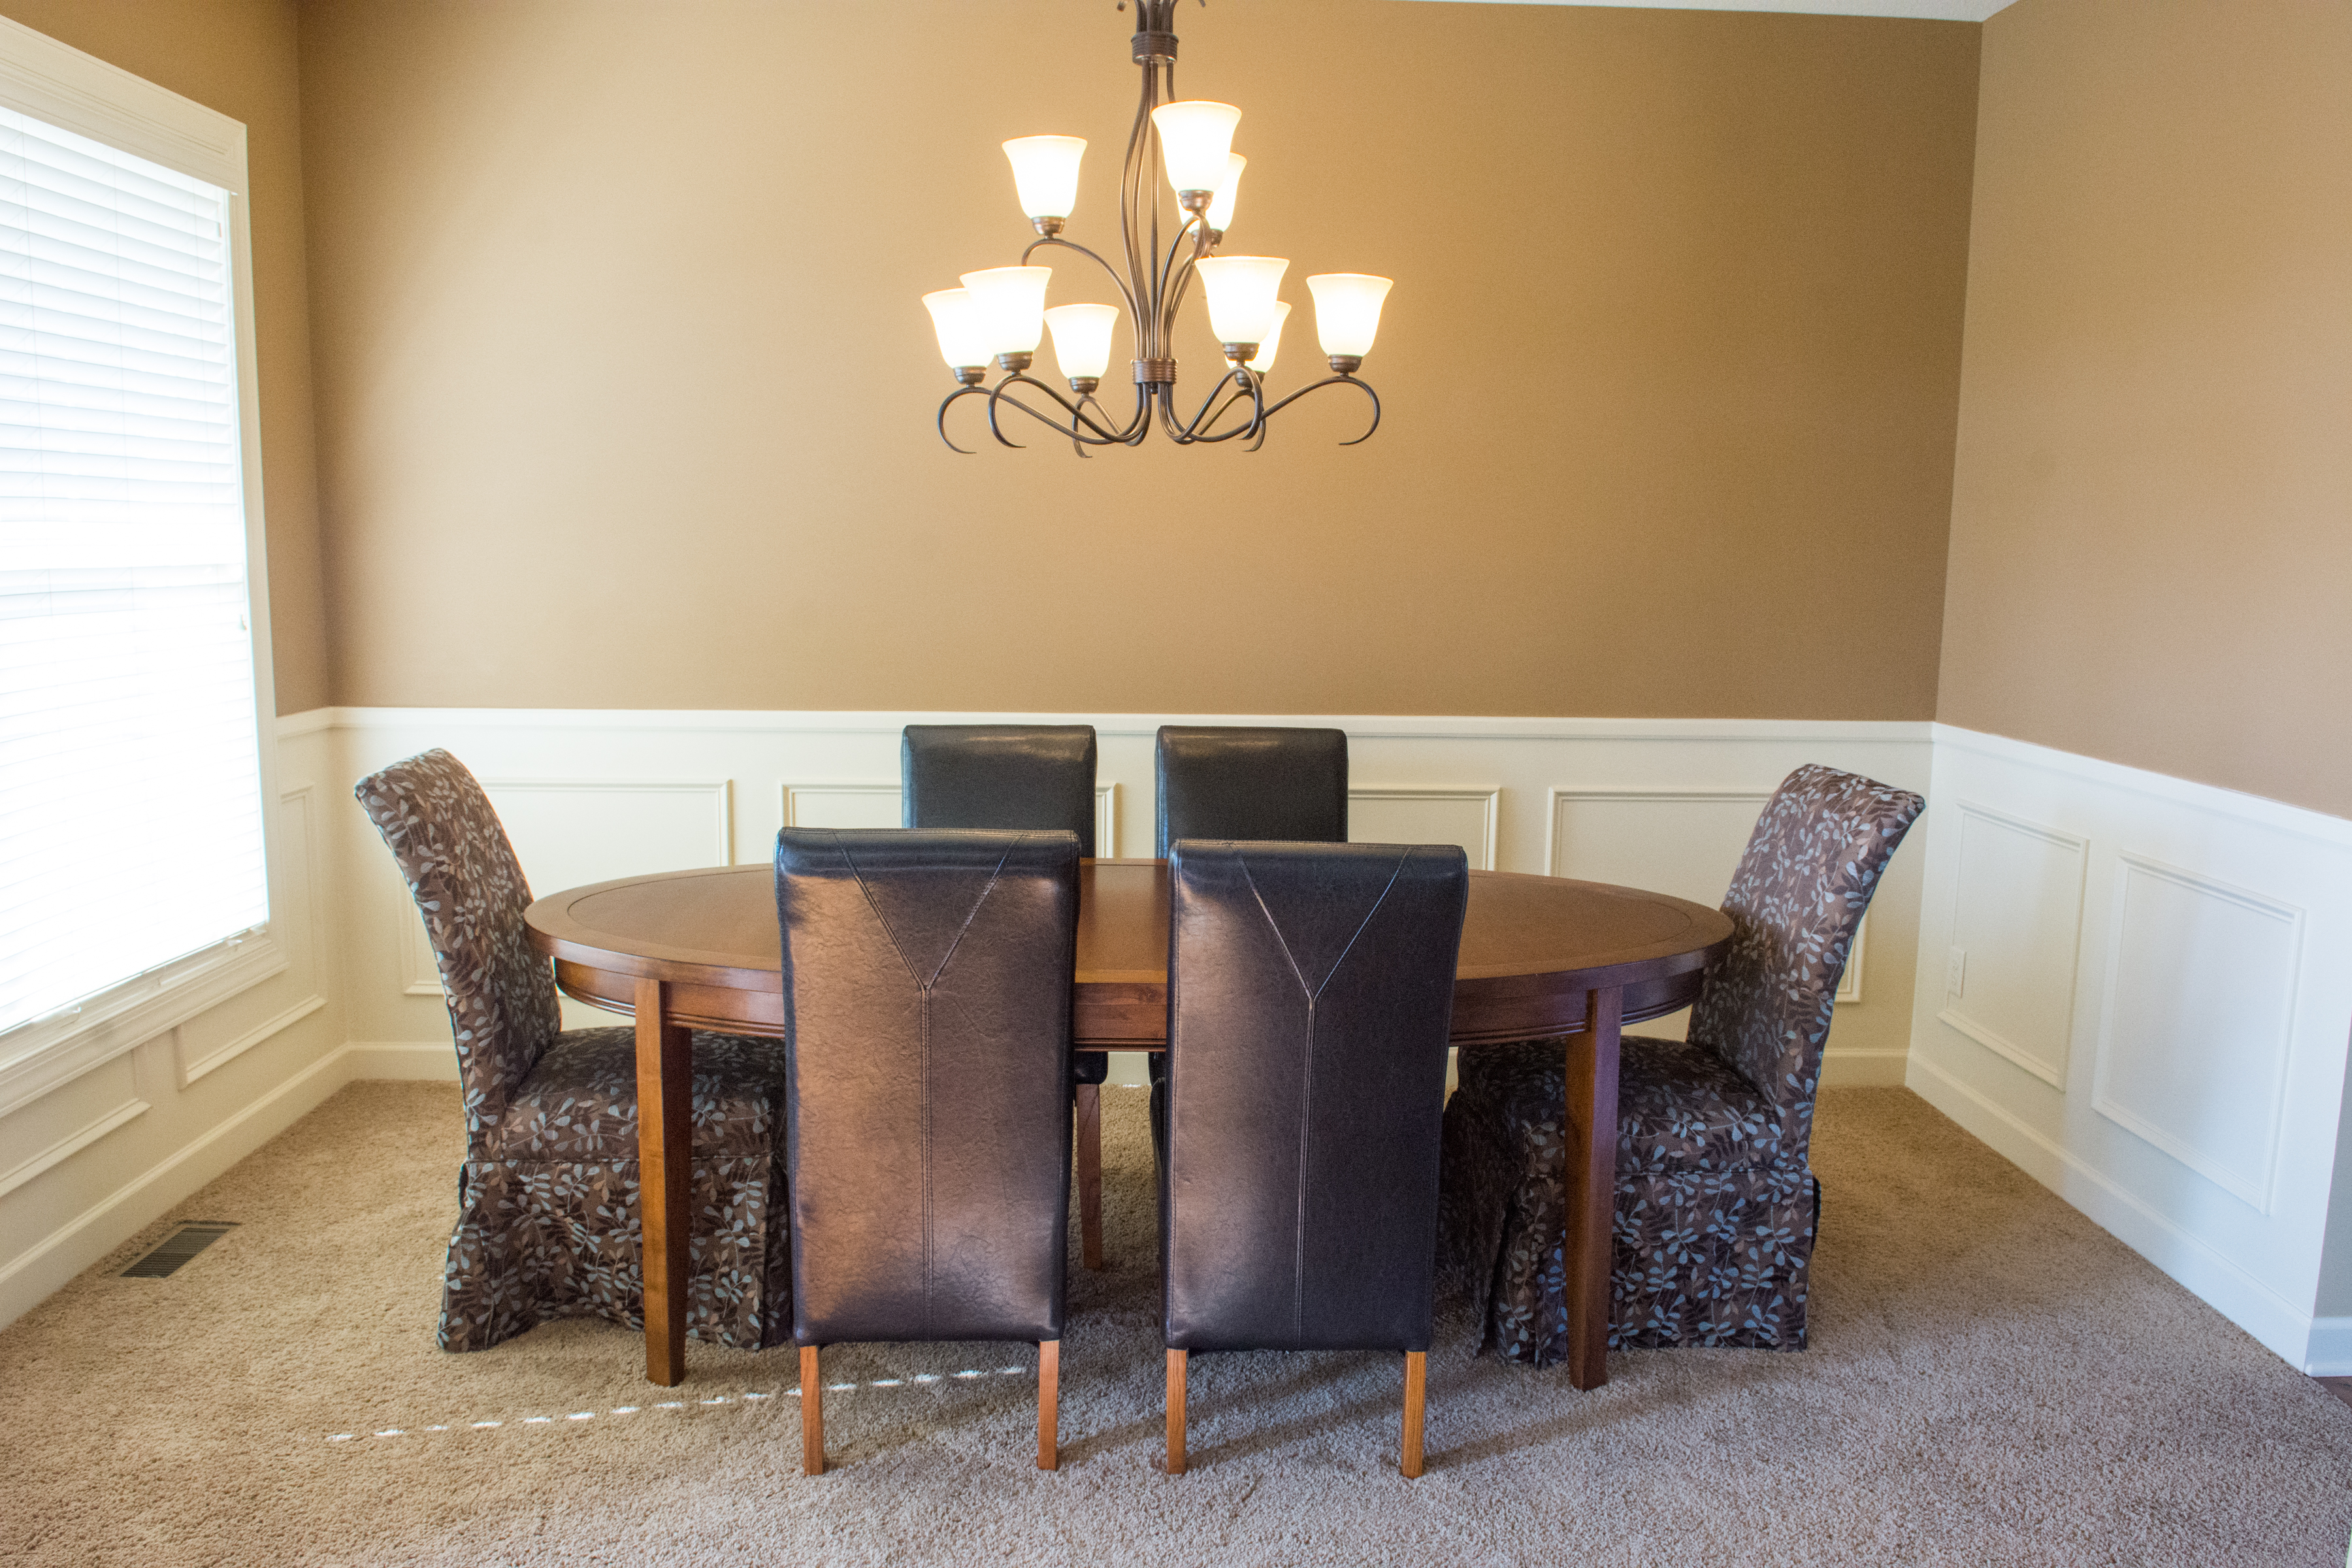
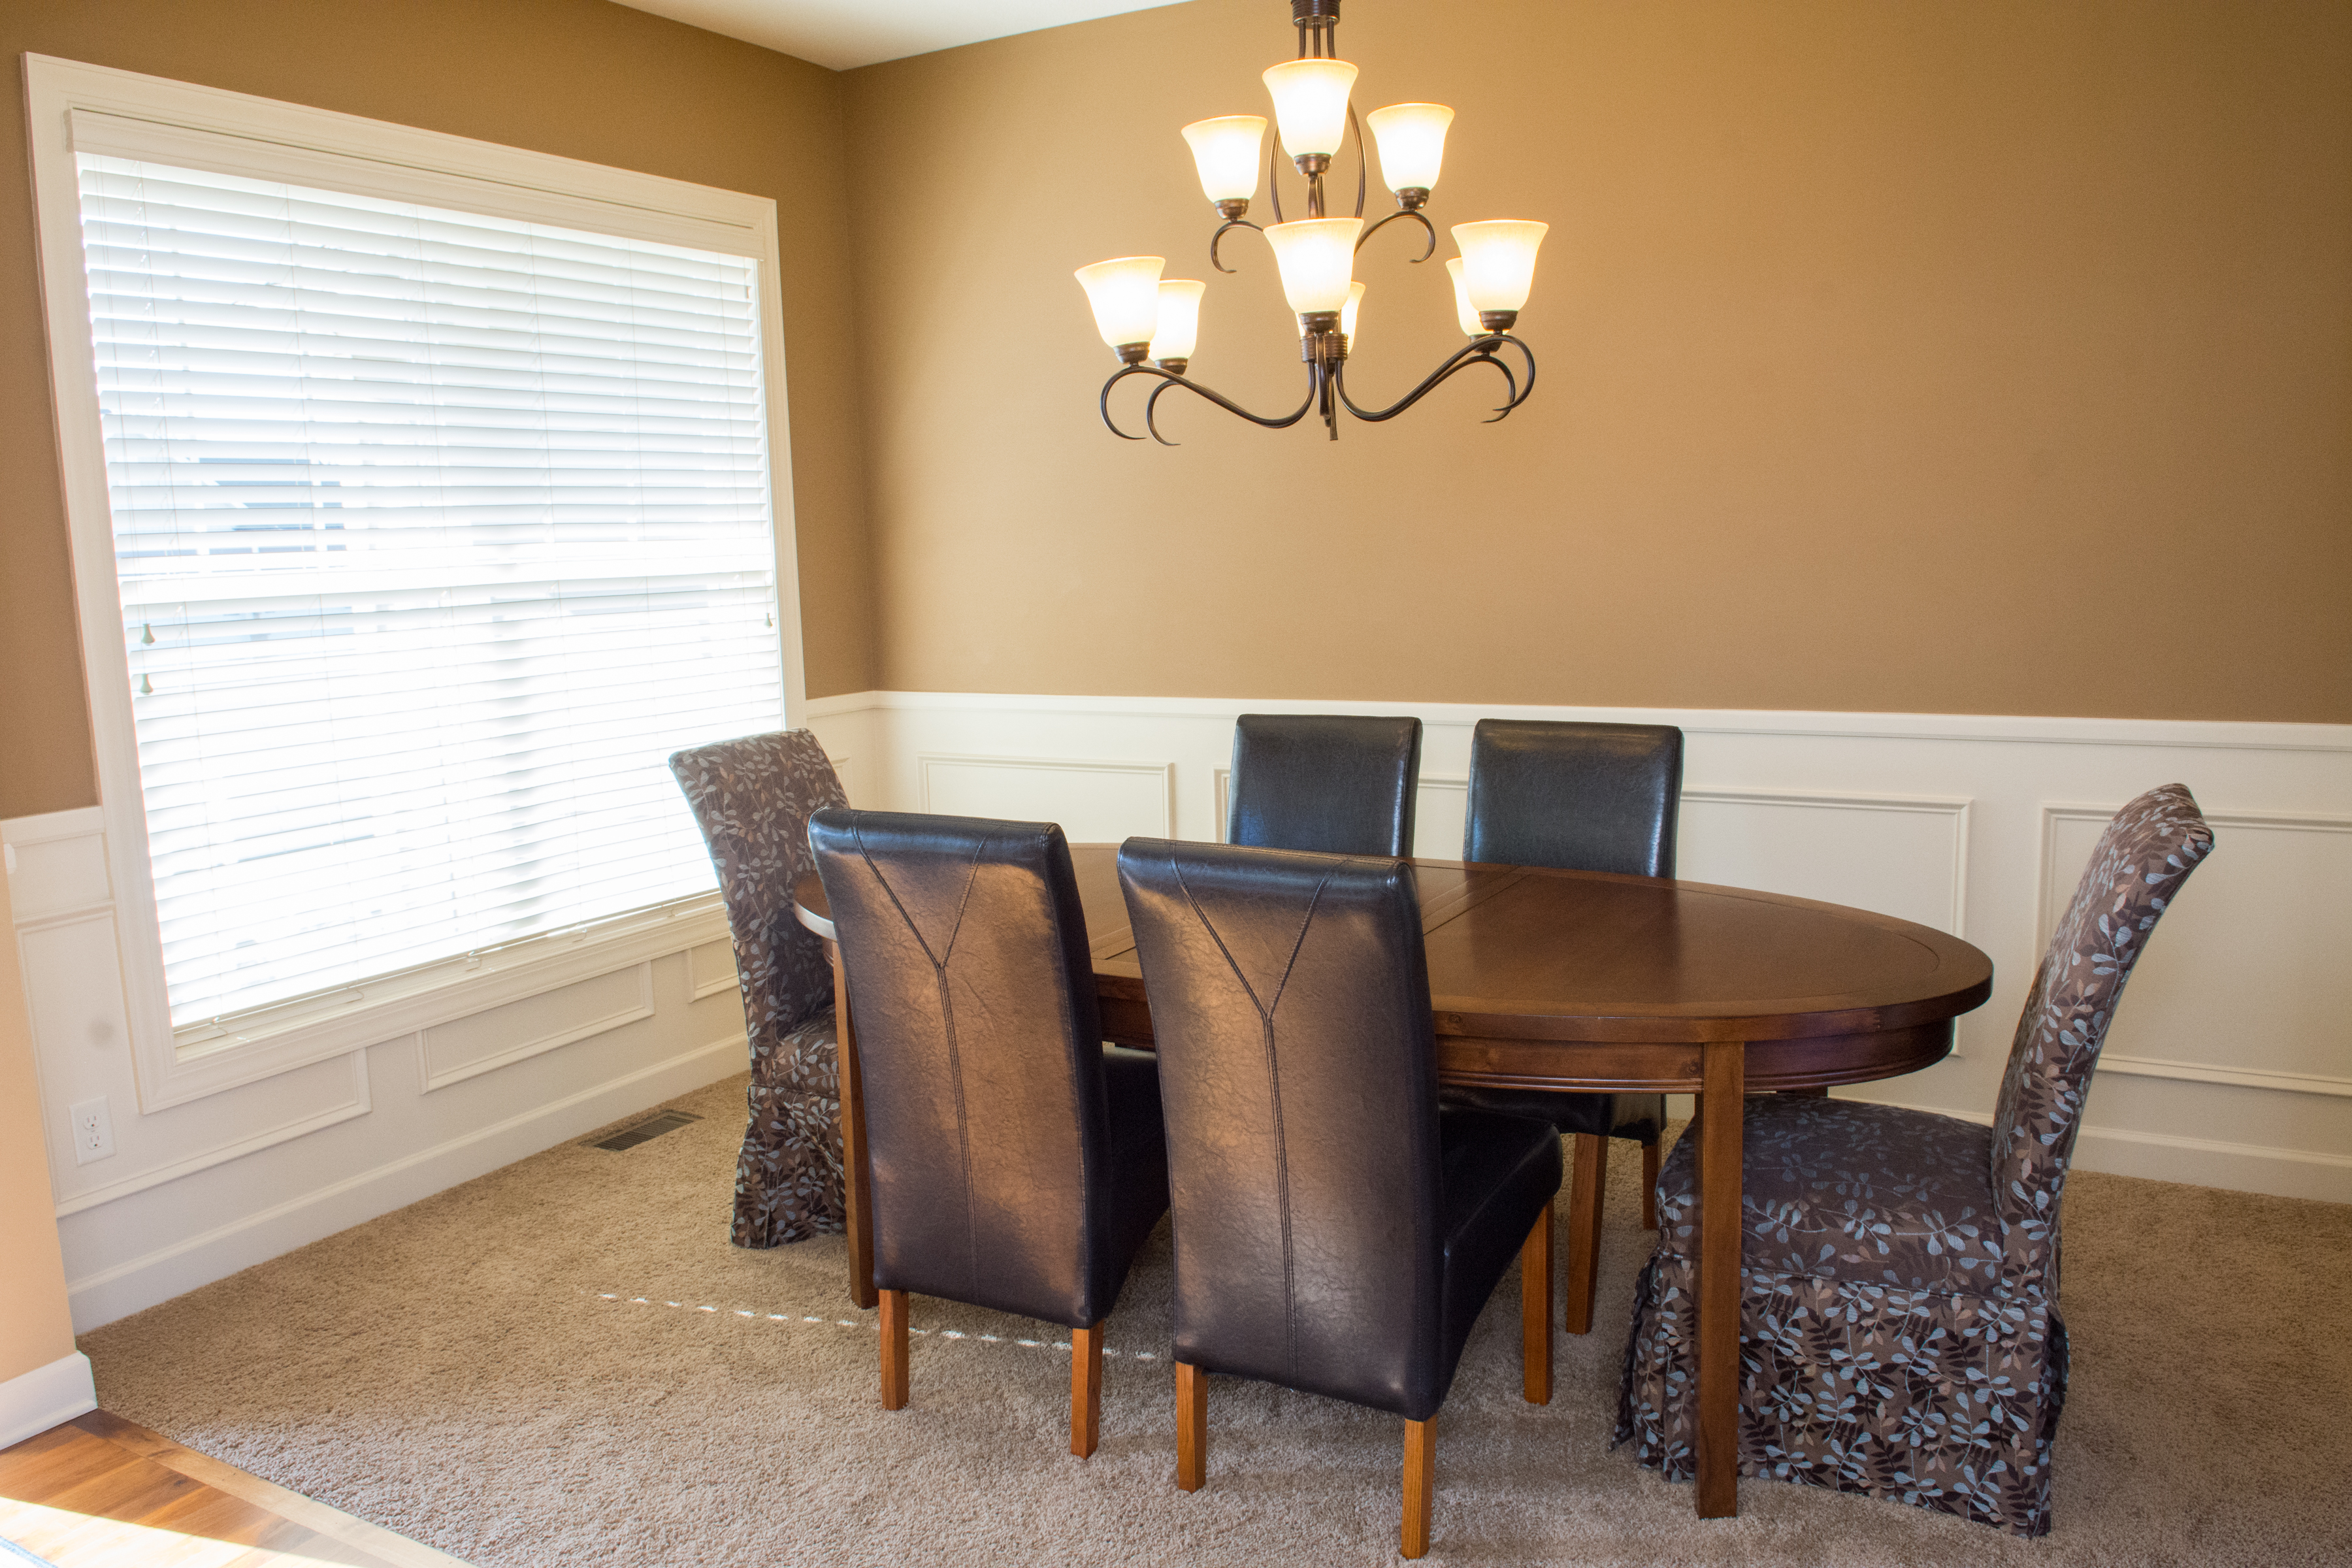
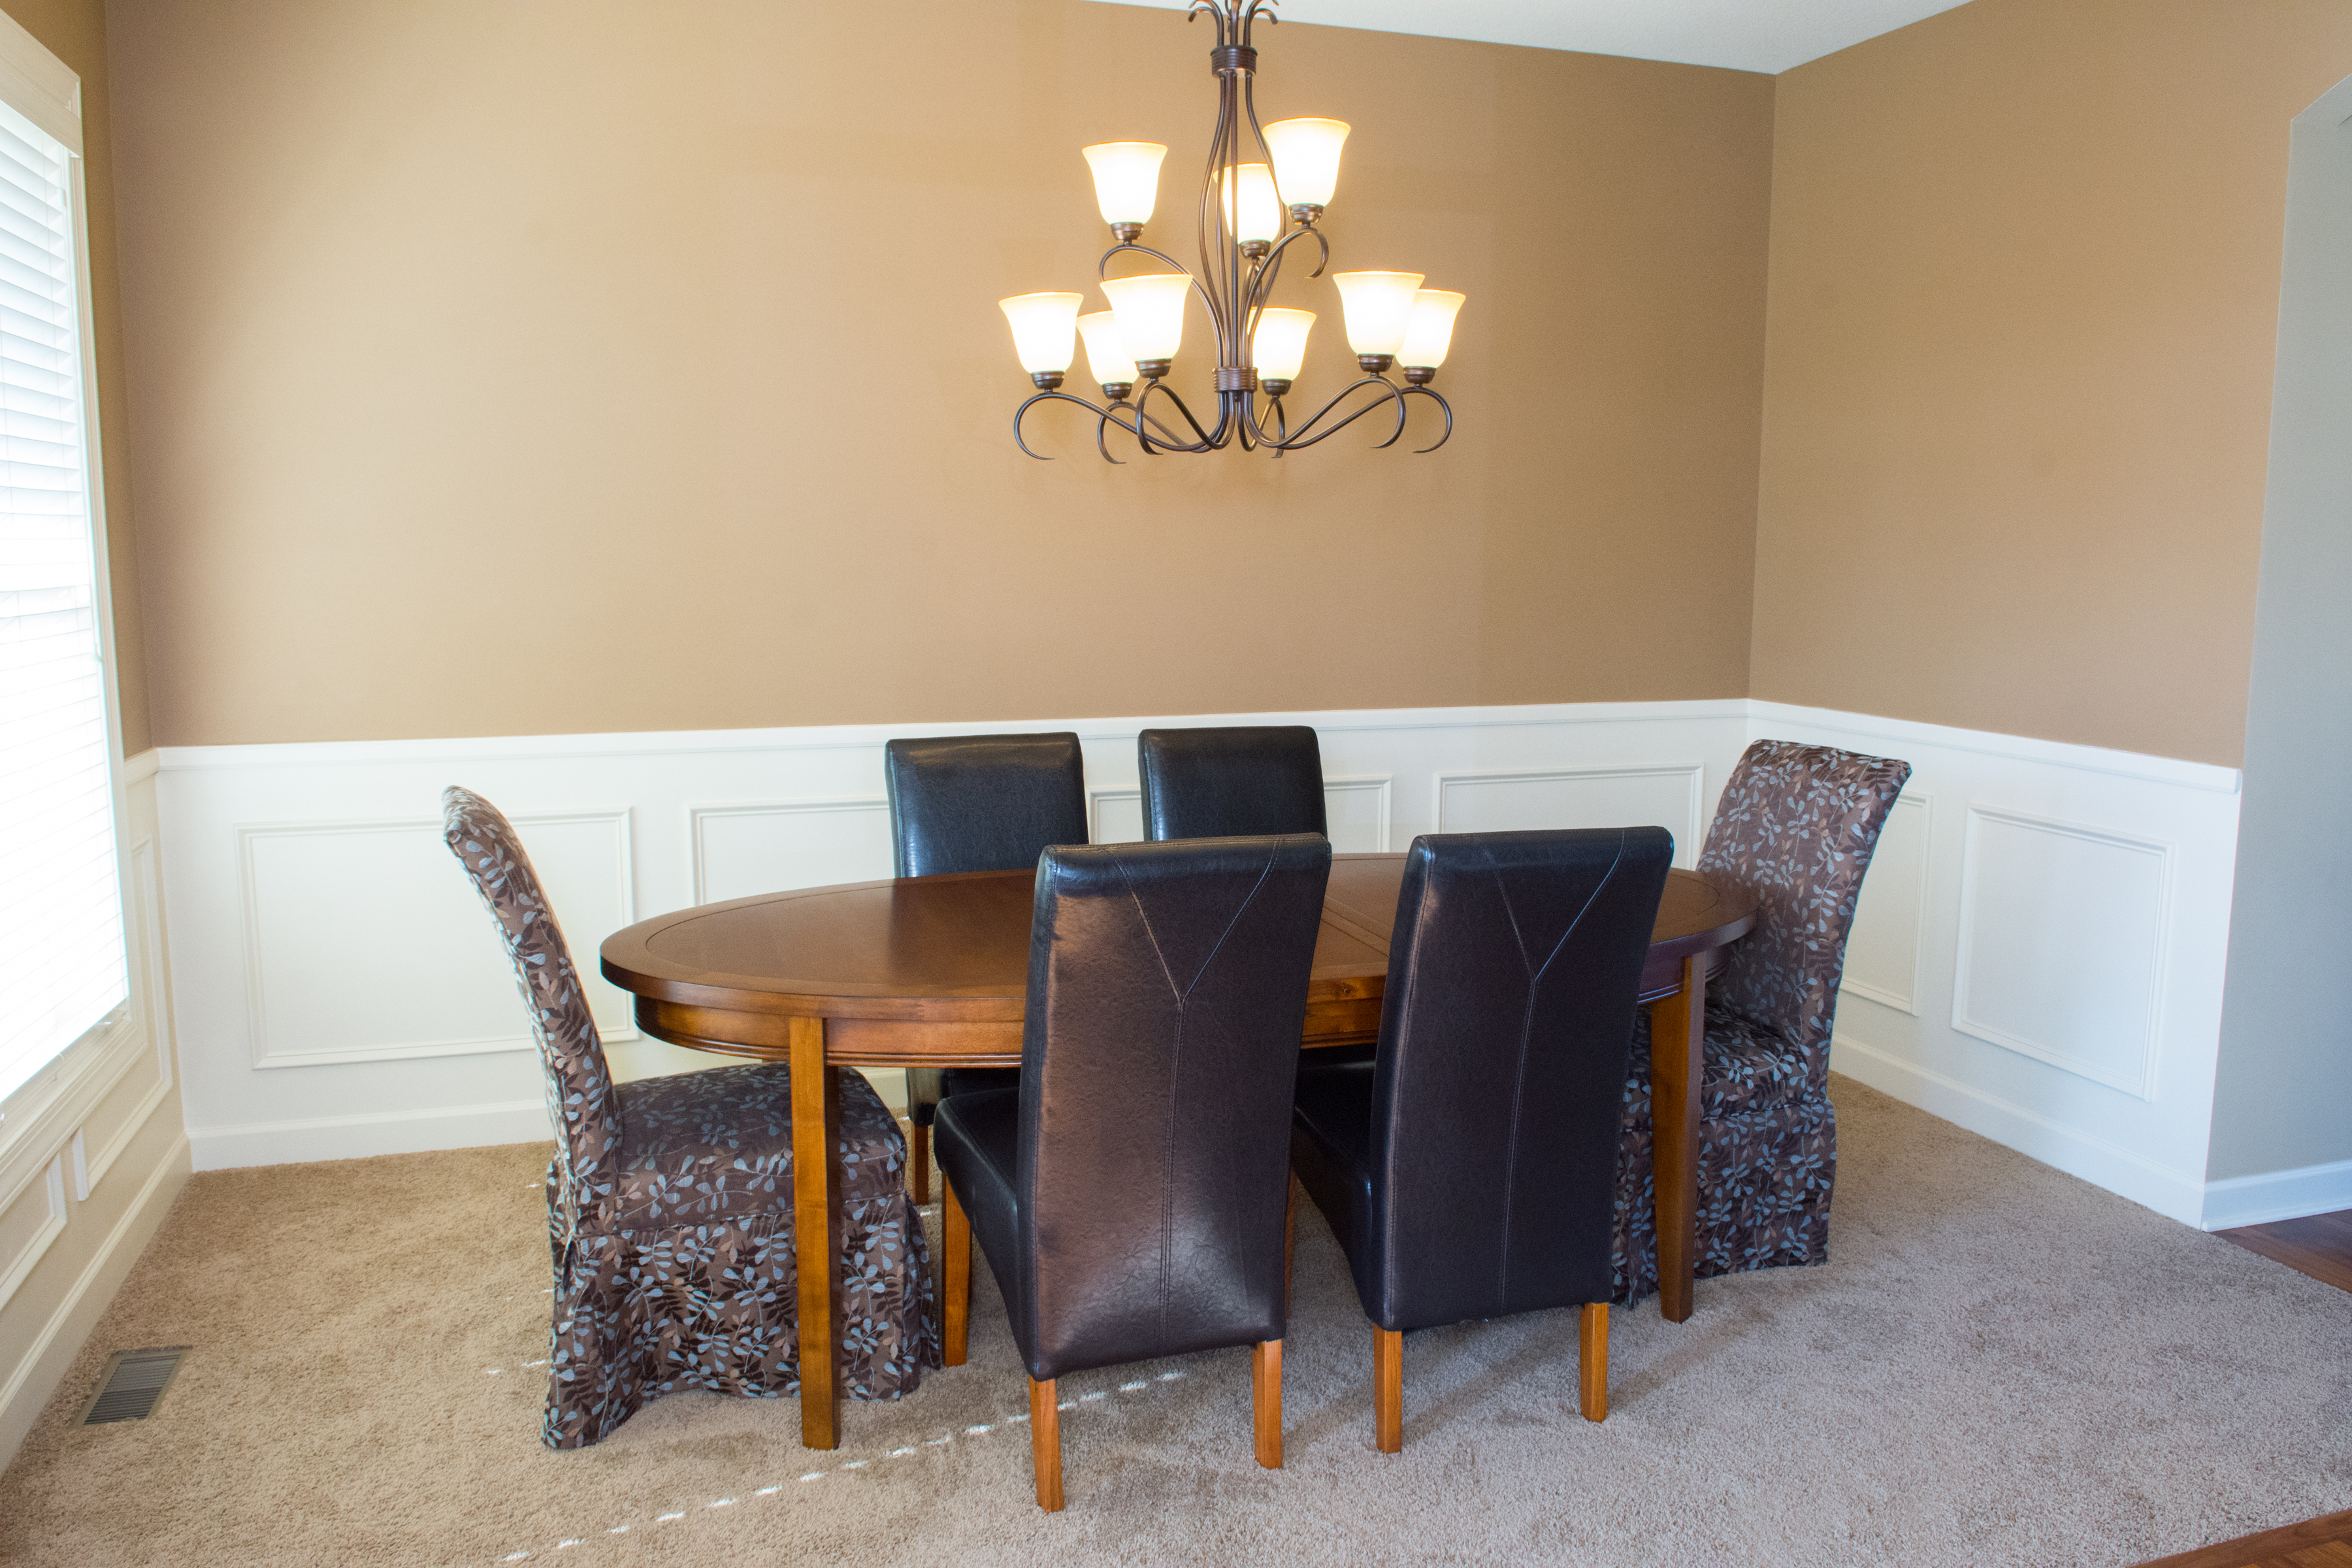
The fun part, watching your project all come together! The homeowner for this project at first wasn’t certain if she wanted the white bottom panelling or to match it all of the same color with the beige wall. We first painted a few panels beige to see if she liked it but in the end, we decided on the white base. We chose White Dove by Benjamin Moore for this project. And we couldn’t have been happier with the way it turned out!
Now it’s your turn! You can do this! We can’t wait to see your projects. Make sure to tag us on Instagram so we can show ya some love.

Wow amazing!! Thanks for sharing the tips and end result. Wainscoting is fairly new to me but I am taking on the project for my clients 🙂
Check out how we did it in our dining room reveal https://construction2style.com/our-finally-finished-dining-room-reveal/ Here we used both smaller and larger wainscoting, depending on how much room we had. The spacing in between is probably the most important factor.
What about windows? My windows are such that they have enough space under them for either small ones or create then with cut outs. Does this make sense?
HAHA! WE love YOU Zoe! Wish you were closer to MN so we could have coffee or wine. 🙂
It turned out great! Well done, guys!
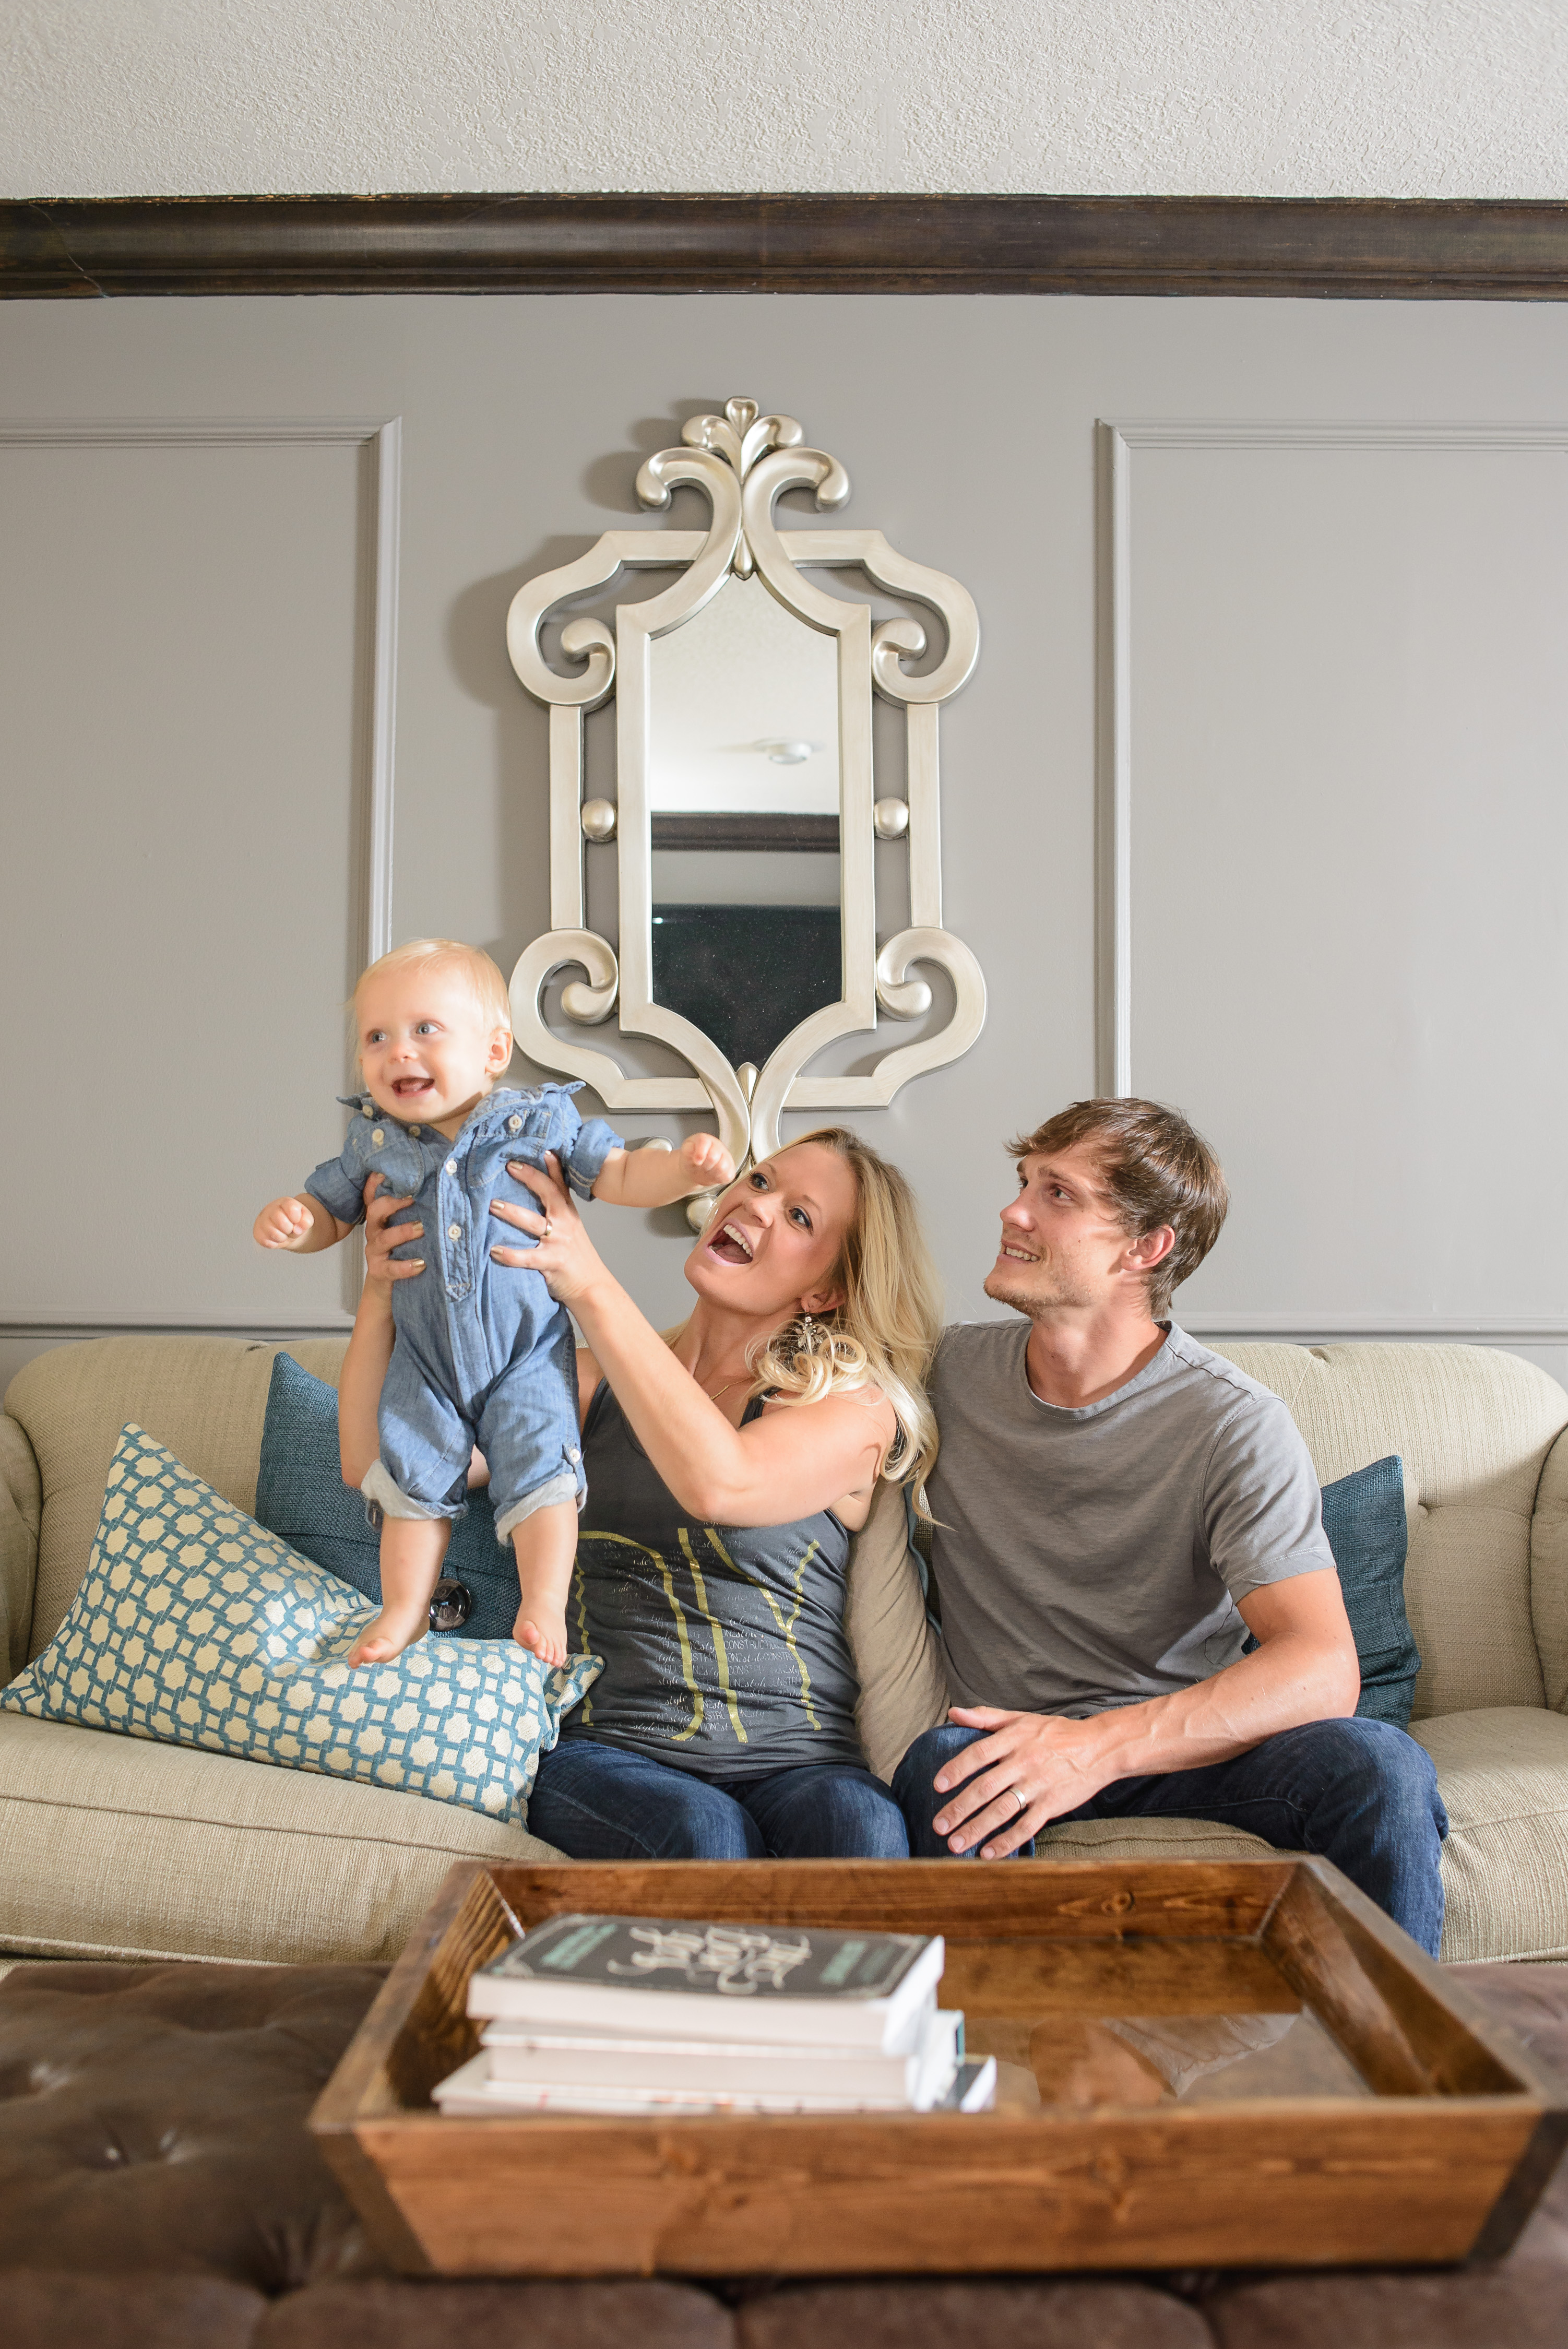
P.S. What a sweet photo, you three look adorable!