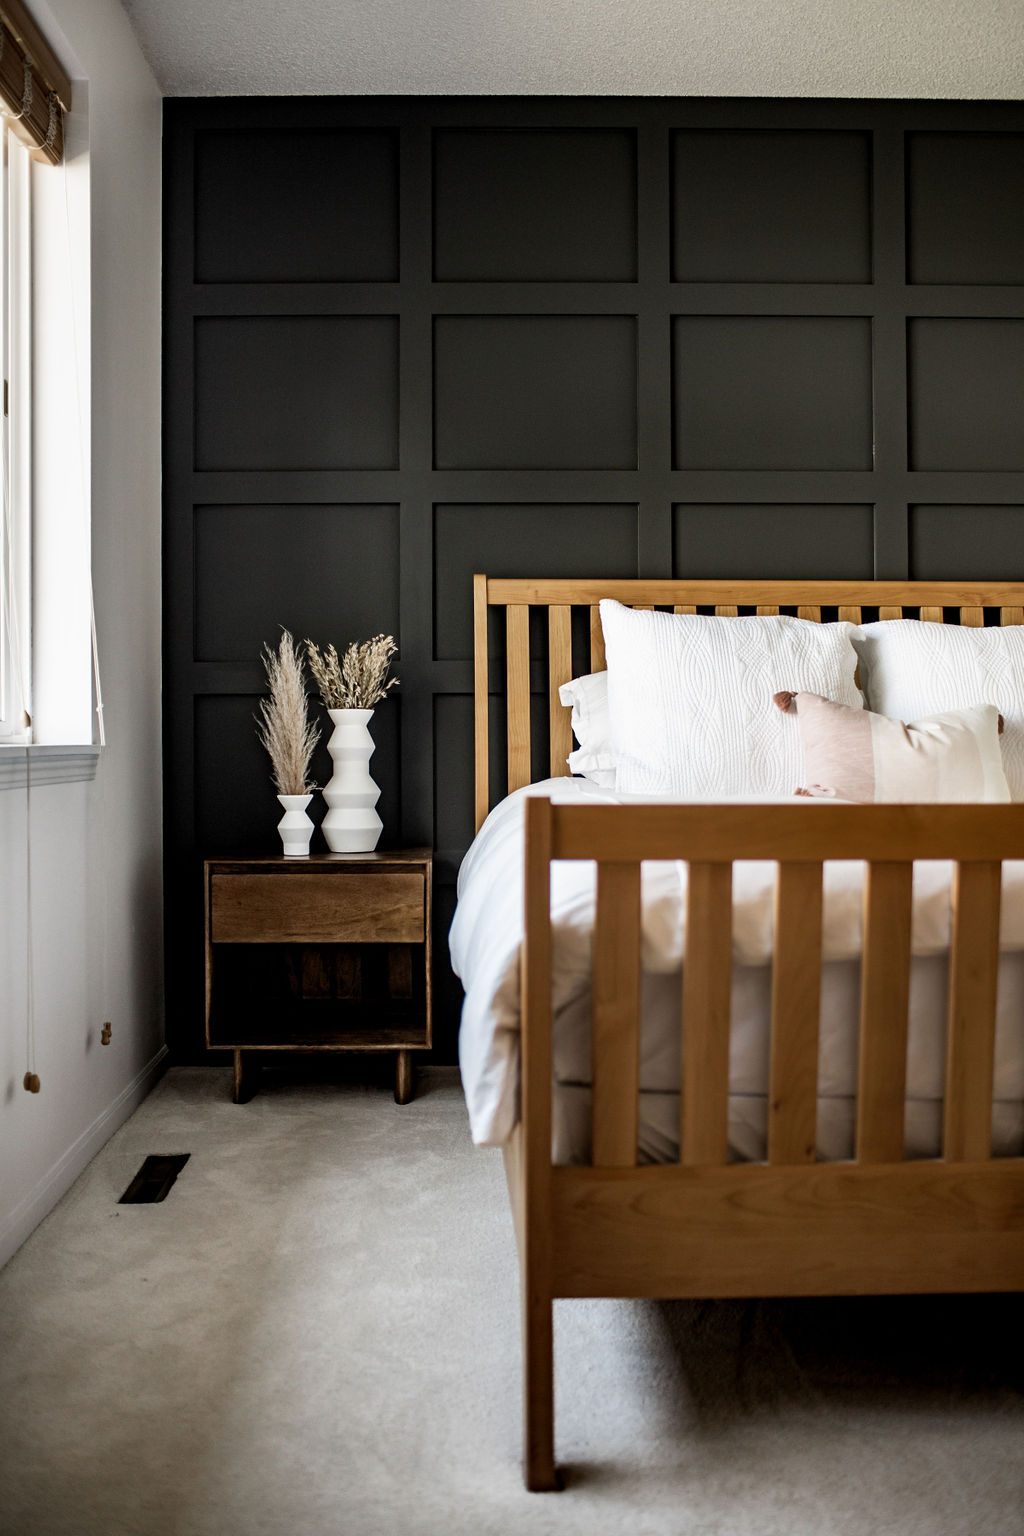
Wallpaper, shiplap, wainscoting, board and batten, or paint…we’re all about the accent walls, and whatever you choose to do they are sure to make a statement, and they’re all pretty easy to DIY as well.
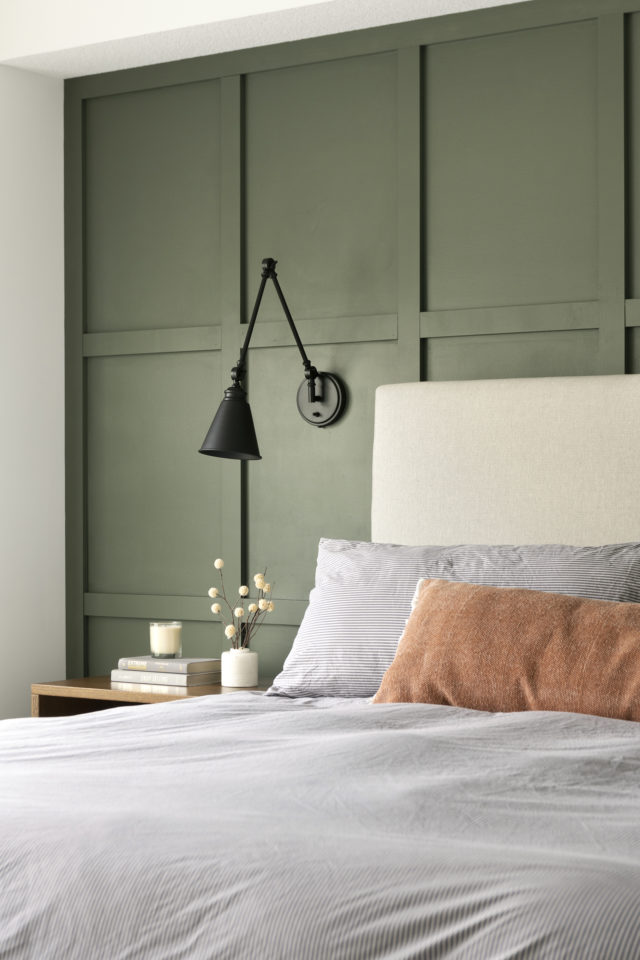
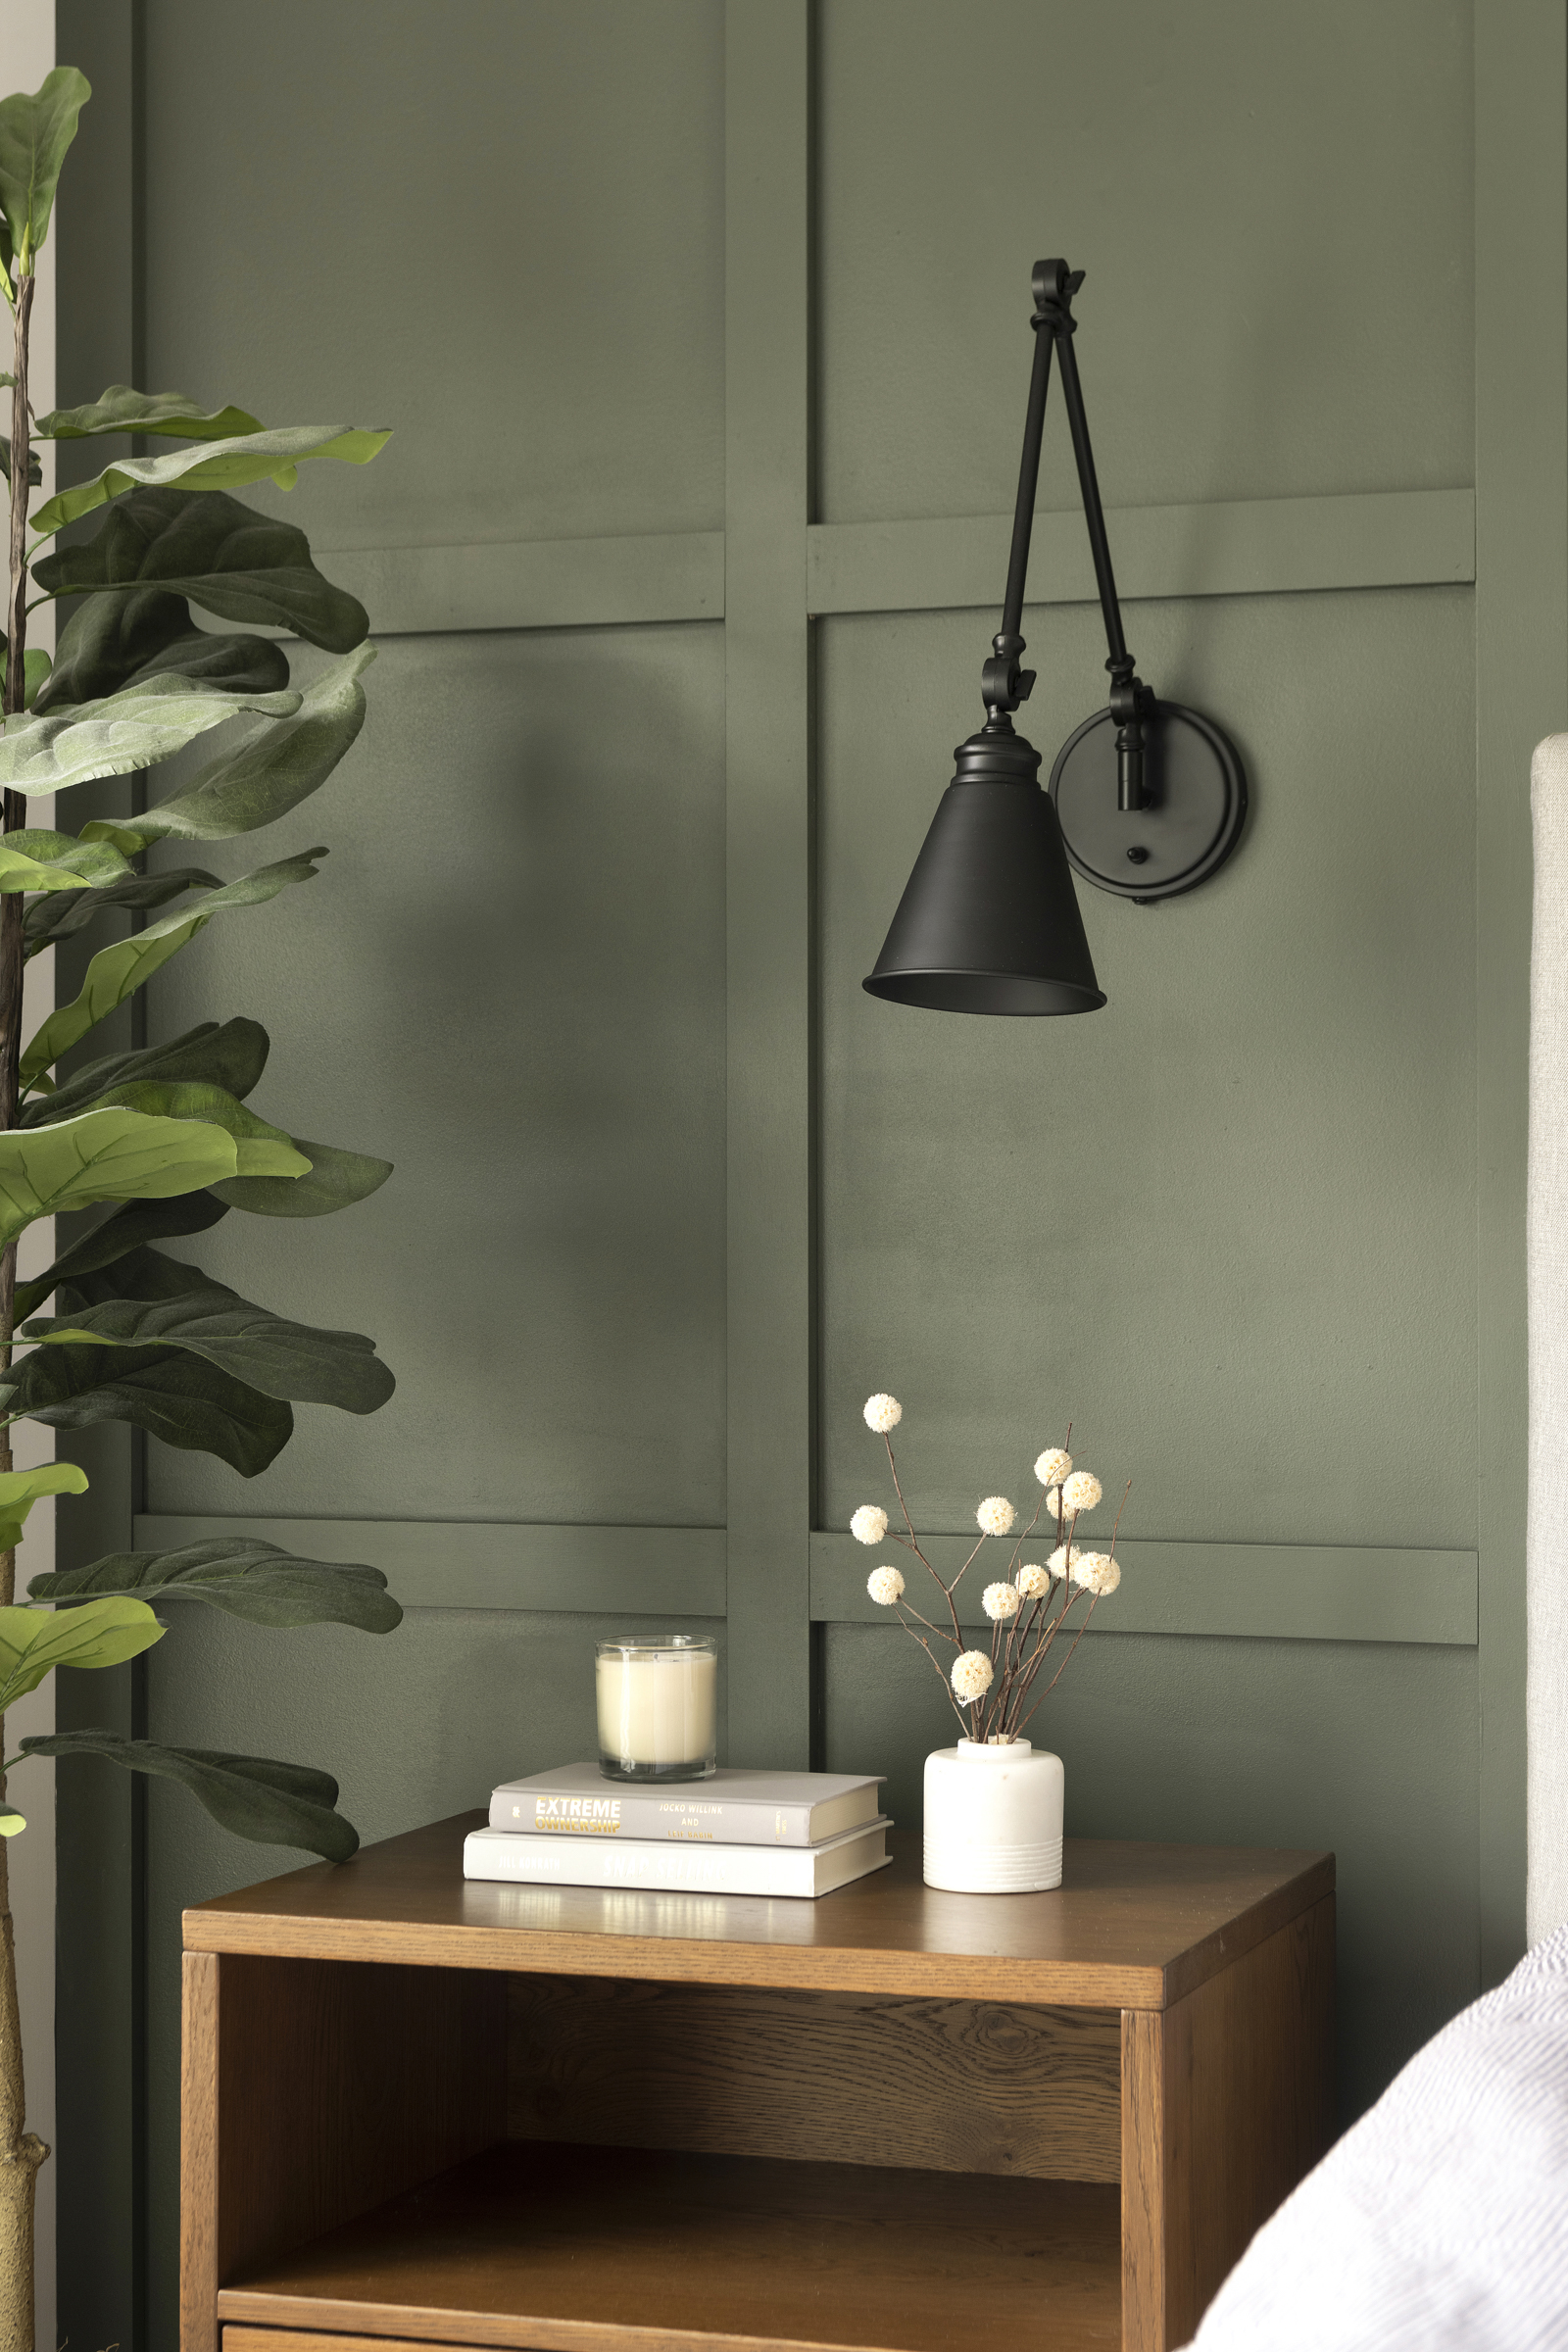
This is a twist on a board and batten, which basically means putting wood strips on your wall in a pattern or design! But we did it in a shaker style. It’s an affordable way to give character to your home, add a focal point, and elevate your space.
We’re all about adding wood paneling and elements to your rooms whether that is adding wood plank ceilings, wainscoting, or this right here we’re about to show you. And we have tutorials for all!
This was such a fun, quick and easy project and we’re excited to share the how-to behind the full process so you can DIY it too.
We’ve done a board and batten wall at a few of our current projects. Many of our clients saw the “original” coffered wall when we first created this tutorial of the Running Brooke board and batten wall, and we love being able to tweak it each time to fit the client’s needs.
Video Step by Step Tutorial
Written Tutorial
1. Gather Tools & Materials
First, you’ll want to make sure you have all of the right tools and materials to do this project.
- 1 x 4 Select Pine (10 pcs at 12′)
- Finish nailer
- Miter Saw
- Level
- Caulk
- Wood glue
- Power sander
- Measuring tape
- Paint
- Paintbrush
- Paint roller
- Painter’s tape
- Drop Cloth
2. Measure Walls
Then you’ll want to choose which wall you’re doing your accent piece on and measure the wall so you can figure out your full wall design. Measure your walls from side to side and top to bottom.
When doing the shaker style design, the goal is to have every box perfectly square and all of the boxes measure the same.
3.Create your Design Plan
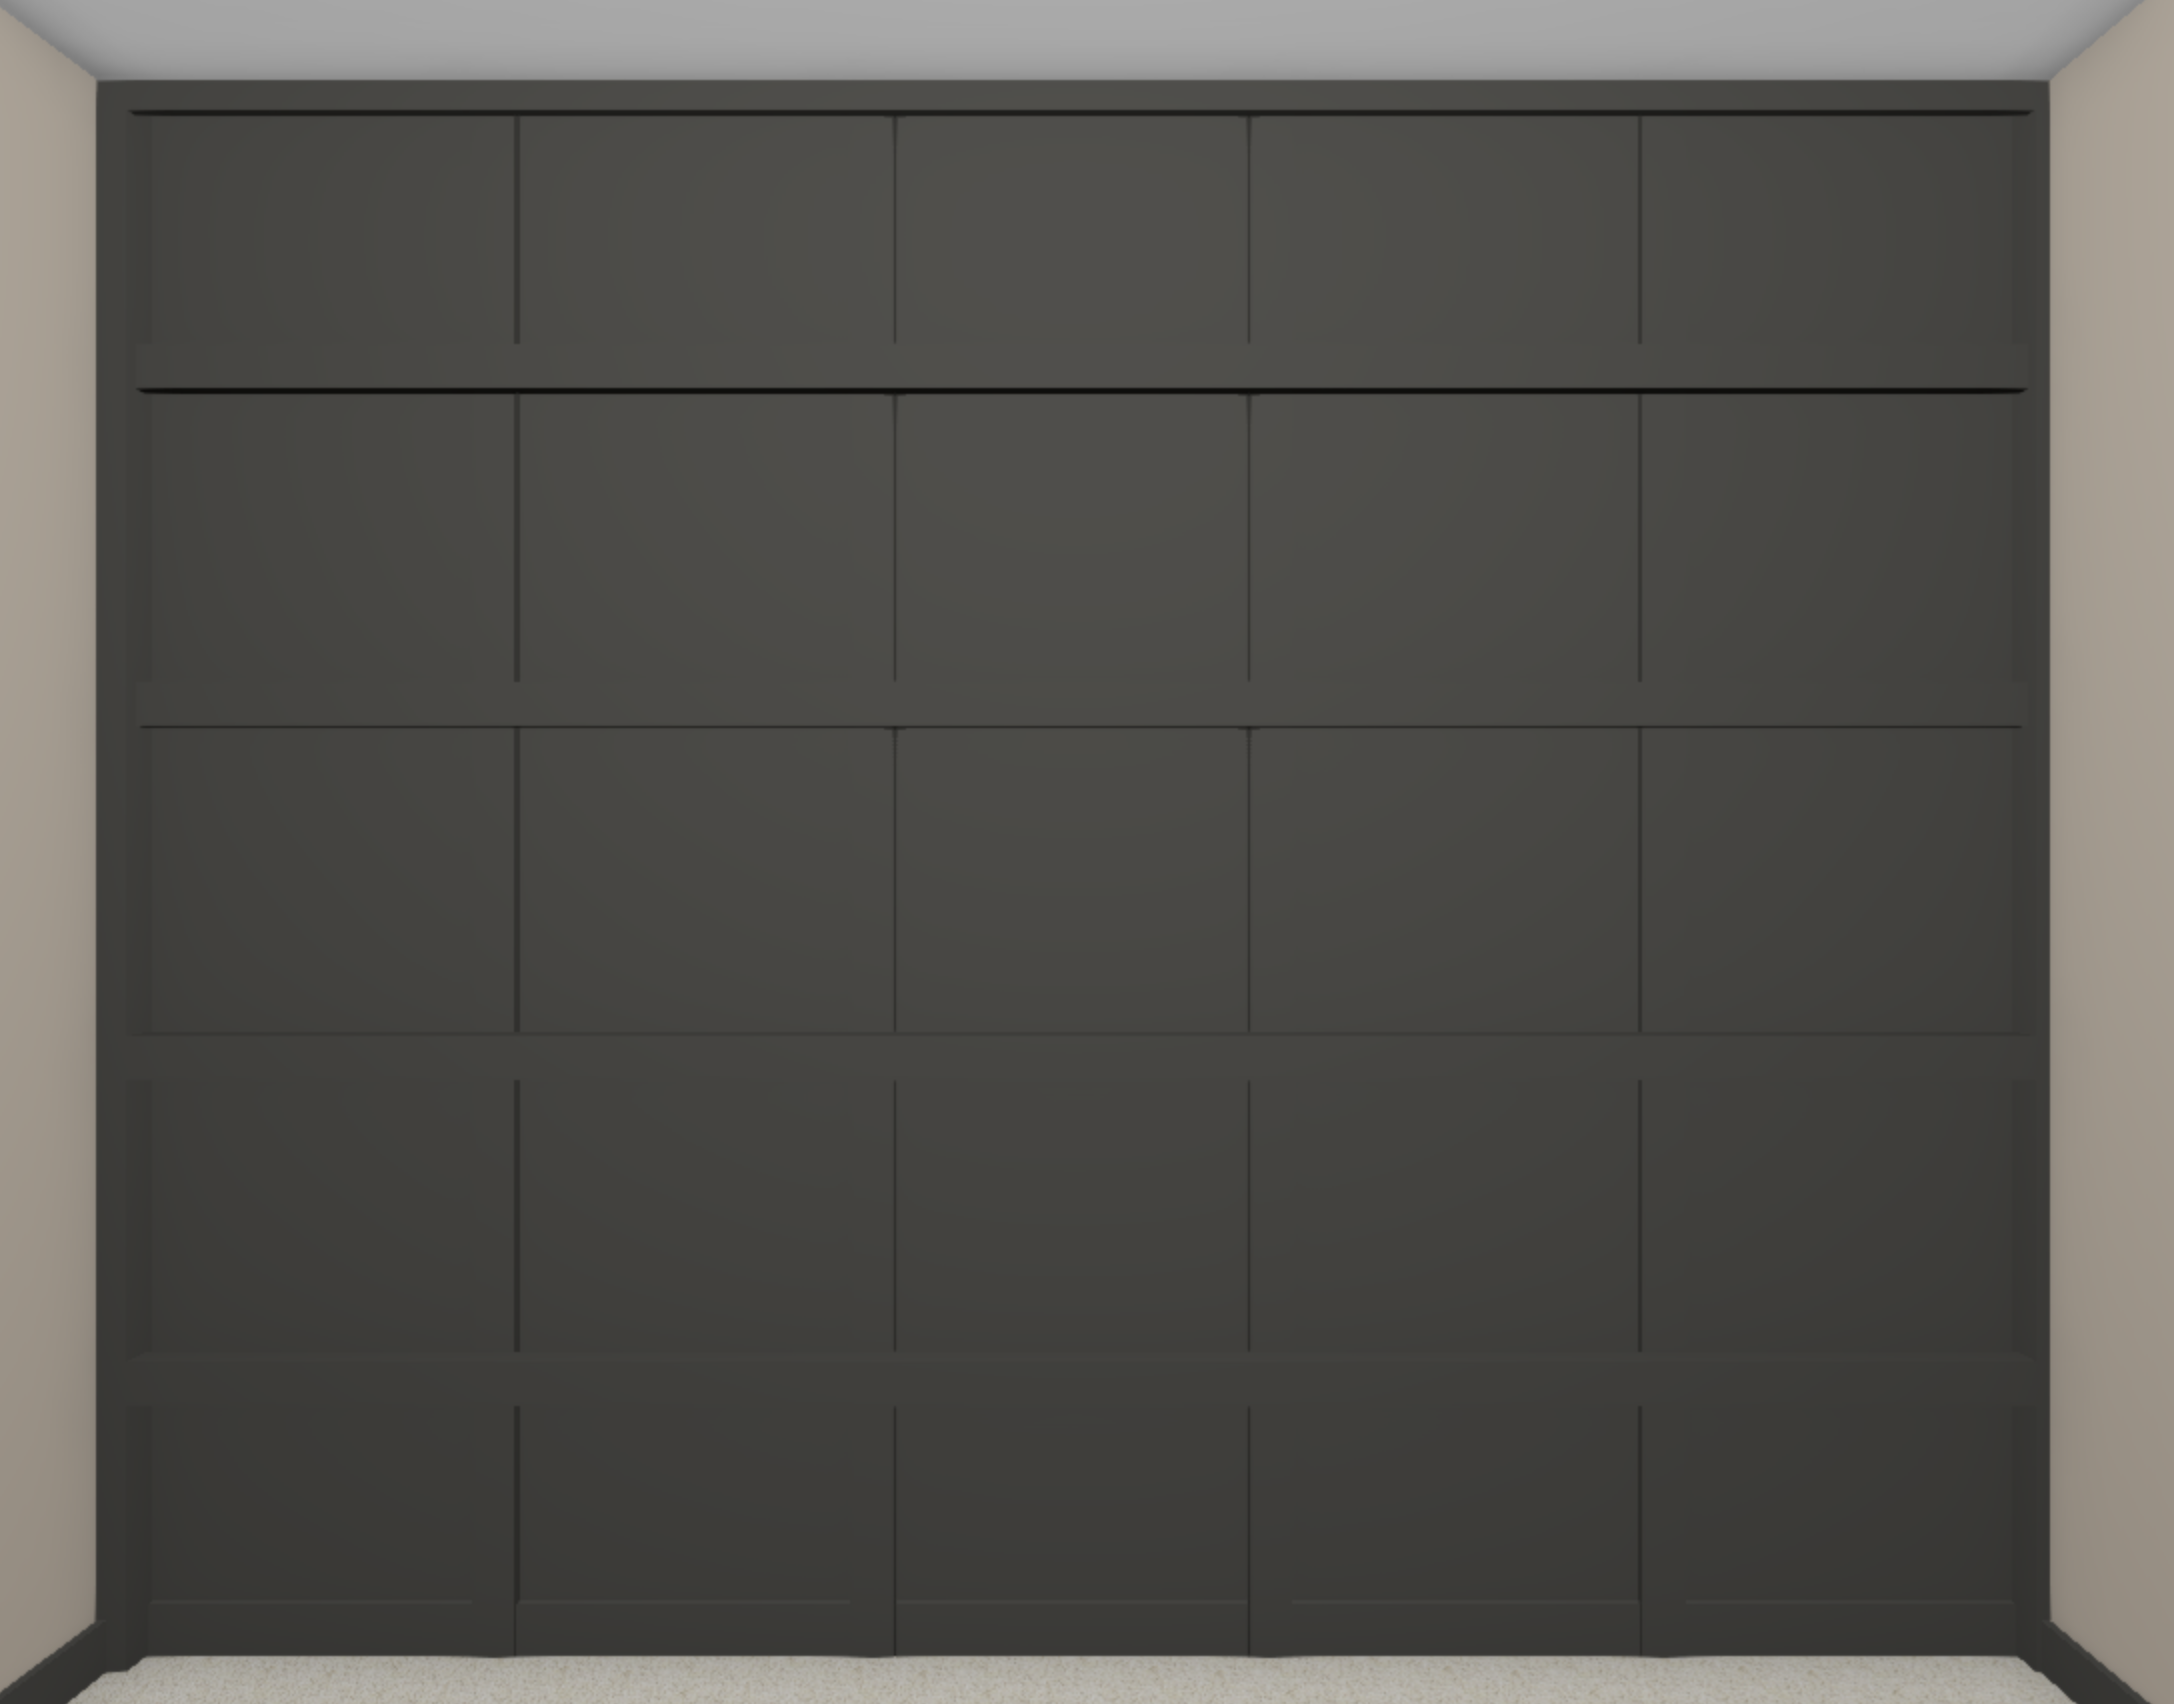
Once you know your measurements, it’s time to make your design plan. And if you’re a visual person like us, you can also use SketchUp or Illustrator to mock up your design. Otherwise, a hand sketch will do just fine.
You can download the PDF of this plan HERE.
We did 5 squares by 5 squares. This wall was 133″ wide and 108″ tall. If your walls aren’t as tall or as wide or are even larger, the number of horizontal boxes and the number of vertical boxes do not have to be the same.
Here are the measurements for our wall design.
To figure out spacing we took 133″-21″= 112″/5= 23.2″ each space
- 133″ is the overall width
- 21″ is the 6 vertical boards multiplied by 3.5 (1×4 is really 3.5″ wide)
- 5 is the number of spaces we will have
Make sense? Comment below if not and we’ll help you out.
4. Level & Plan
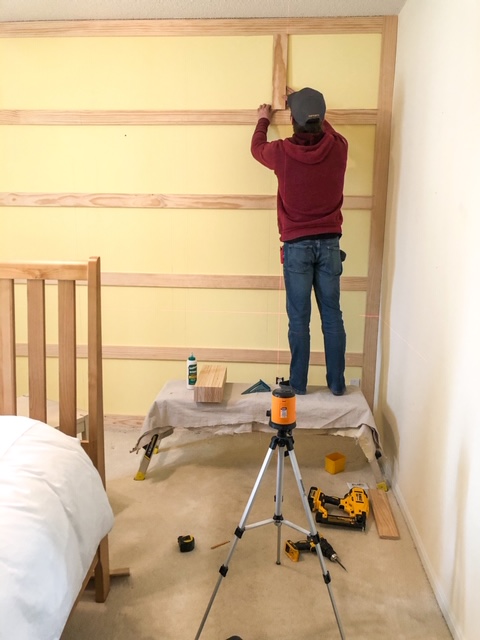
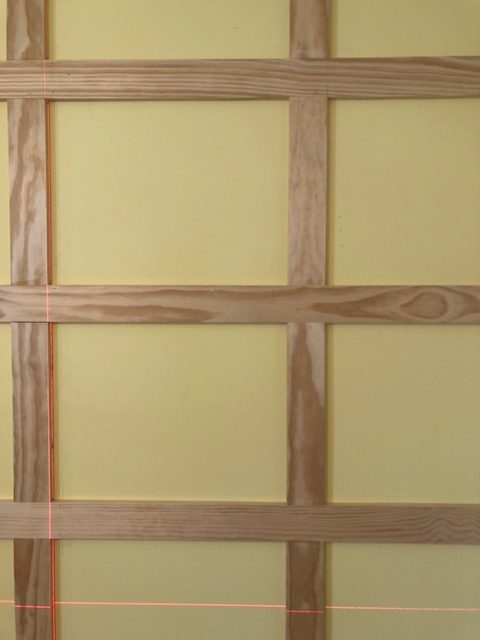
Get your level out and pencil in your design. Jamie uses a laser level so he can see the light and follow it perfectly along for a straight line. He also uses a hand level to pencil the lines in as he traces along.
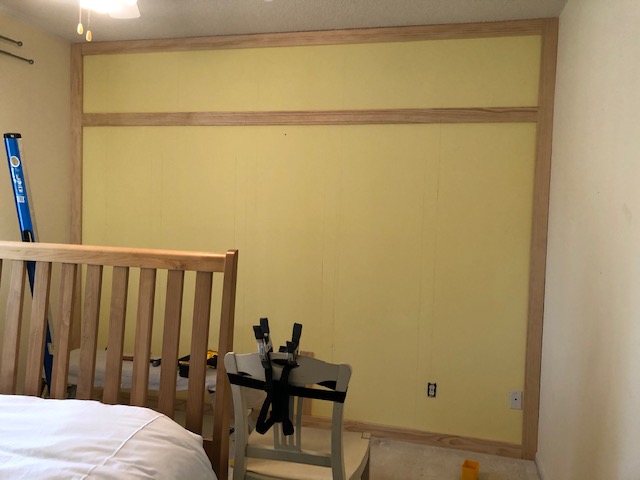
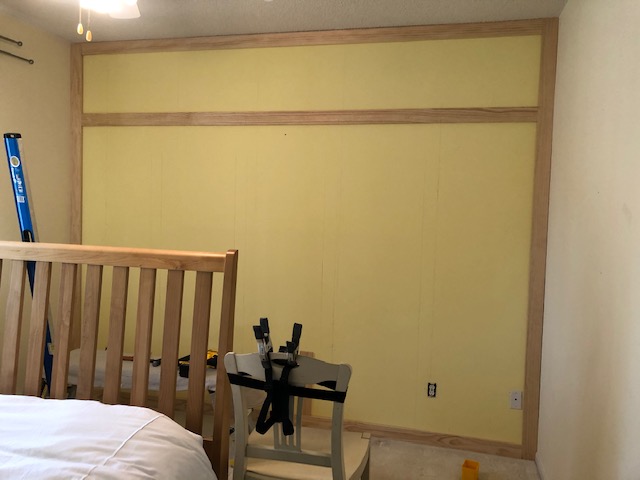
5. Border Edges
Then, you’ll want to border your edges with the wood. The sides, bottom, and top are probably not going to be perfectly straight or level/plum.
To get your’s level and plum, you can scrib the boards to the wall or ceiling. Or if the gaps are too big then use caulk to fill the gaps.
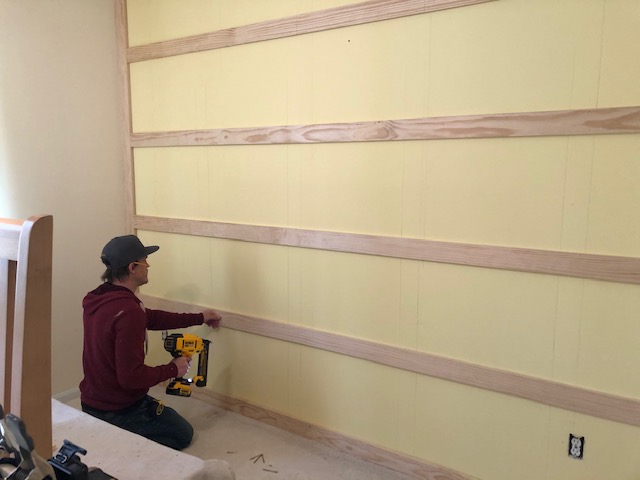
6. Secure Horizontal Boards in Place
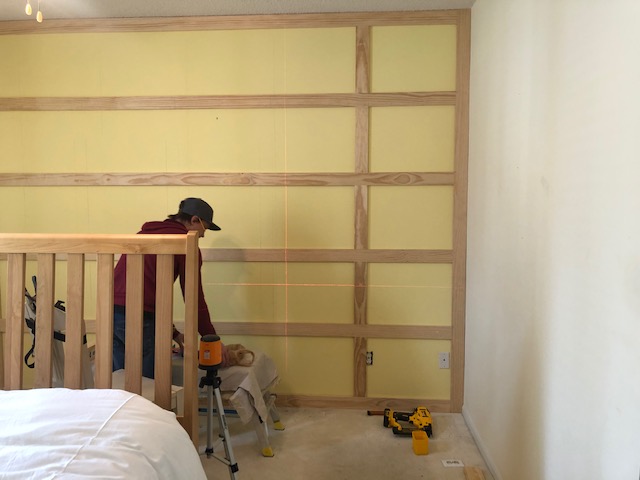
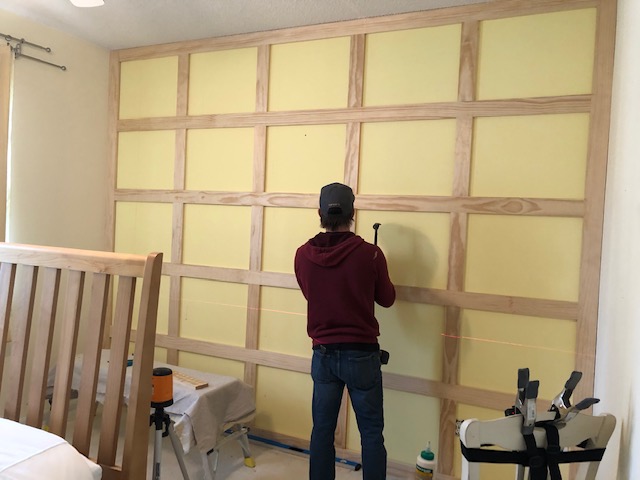
Once your border edges are nailed in place it’s time to hang all of your horizontal boards. Follow your pencil markings and hang and nail them into place.
Locate studs and nail into them if possible for a more secure installation.
We also placed wood glue on the ends and adhesive on the backs of all of the boards to help hold it into place as Jamie moved and nailed along. He was a one-man show when doing this part of the process.
7. Nail your Vertical Boards in Place
Once the horizontal boards were all in place, he moved on to cut, fill, and nail the vertical boards into place. Going off of the design plan, he knew the accurate measurement of the length of each board should be cut too.
However, he measured twice before running out into the garage, on the job site, to cut before putting it into place. And even though he still had his pencil lines to follow the design, he also had his laser level on to ensure accuracy.
8. Sand
Once all of the boards are in place it’s time to sand using an electric power sander. This ensures a smooth to-the-touch finish.
9. Caulk
Once you’re done sanding it’s time to caulk. Caulk around every square inside and out.
Wherever the wood touches the wall you’ll want to fill in that space. This fills in any gapping and will make the painting process a lot easier.
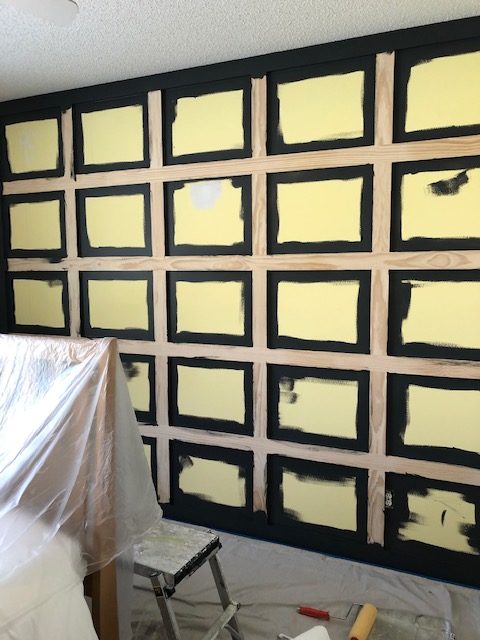
10.Paint
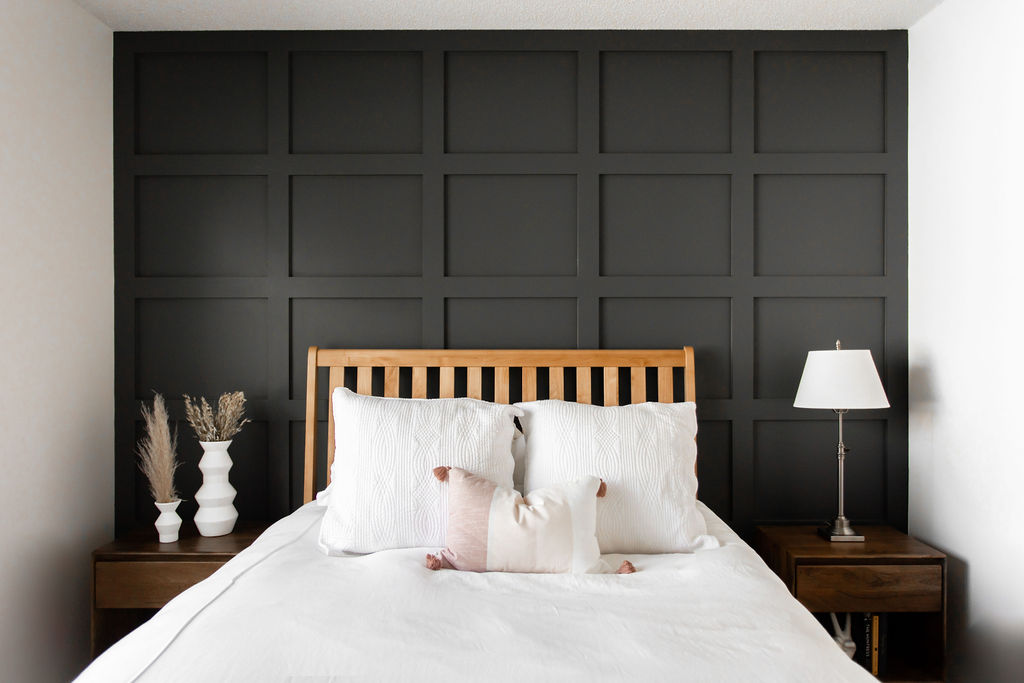
And then get your painting on! For this statement wall, we painted it in Graphic Charcoal by Behr.
We also have a few painting hacks, tutorials, guides, and all things paint for you on c2s.
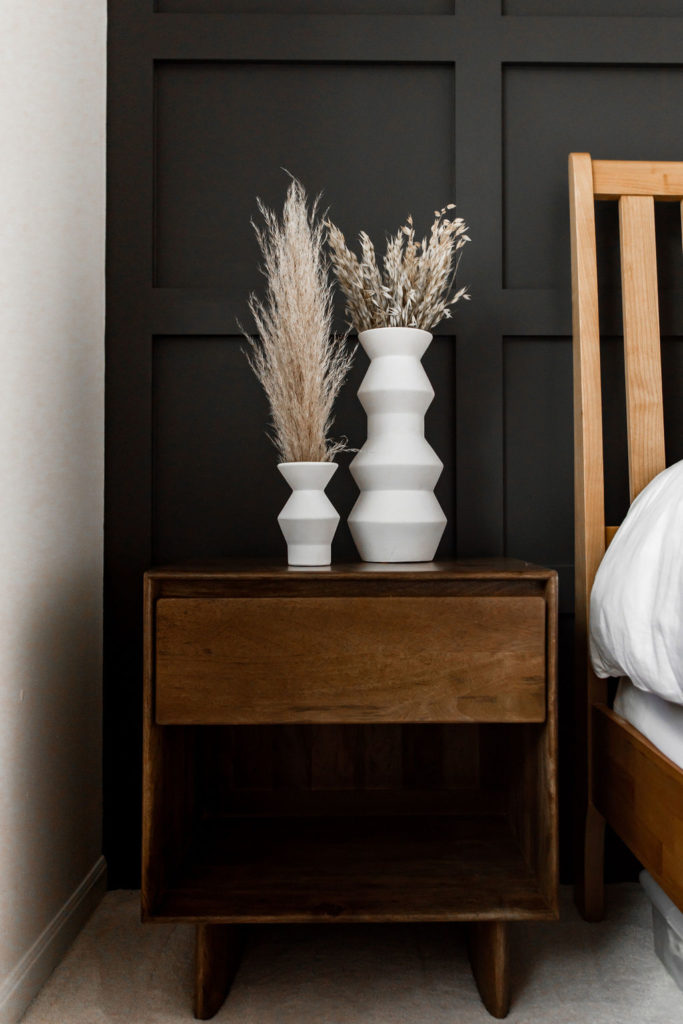
And ta-da, we have a board & batten wall!! So much better than before! Such a simple and perfect way to make a BIG difference and statement in any space.
We can’t wait to see what you all come up with. Make sure to tag @construction2style so we can see your awesome work and show you some love!Additional Accent Wall Design Inspiration
construction2style Home Slat Wall Tutorial
Styled Press, Vertical Shiplap
The Trista
Heritage Valley Home
2 thoughts on “DIY a Board and Batten Wall | Amazingly Easy-to-Follow Steps”
Comments are closed.