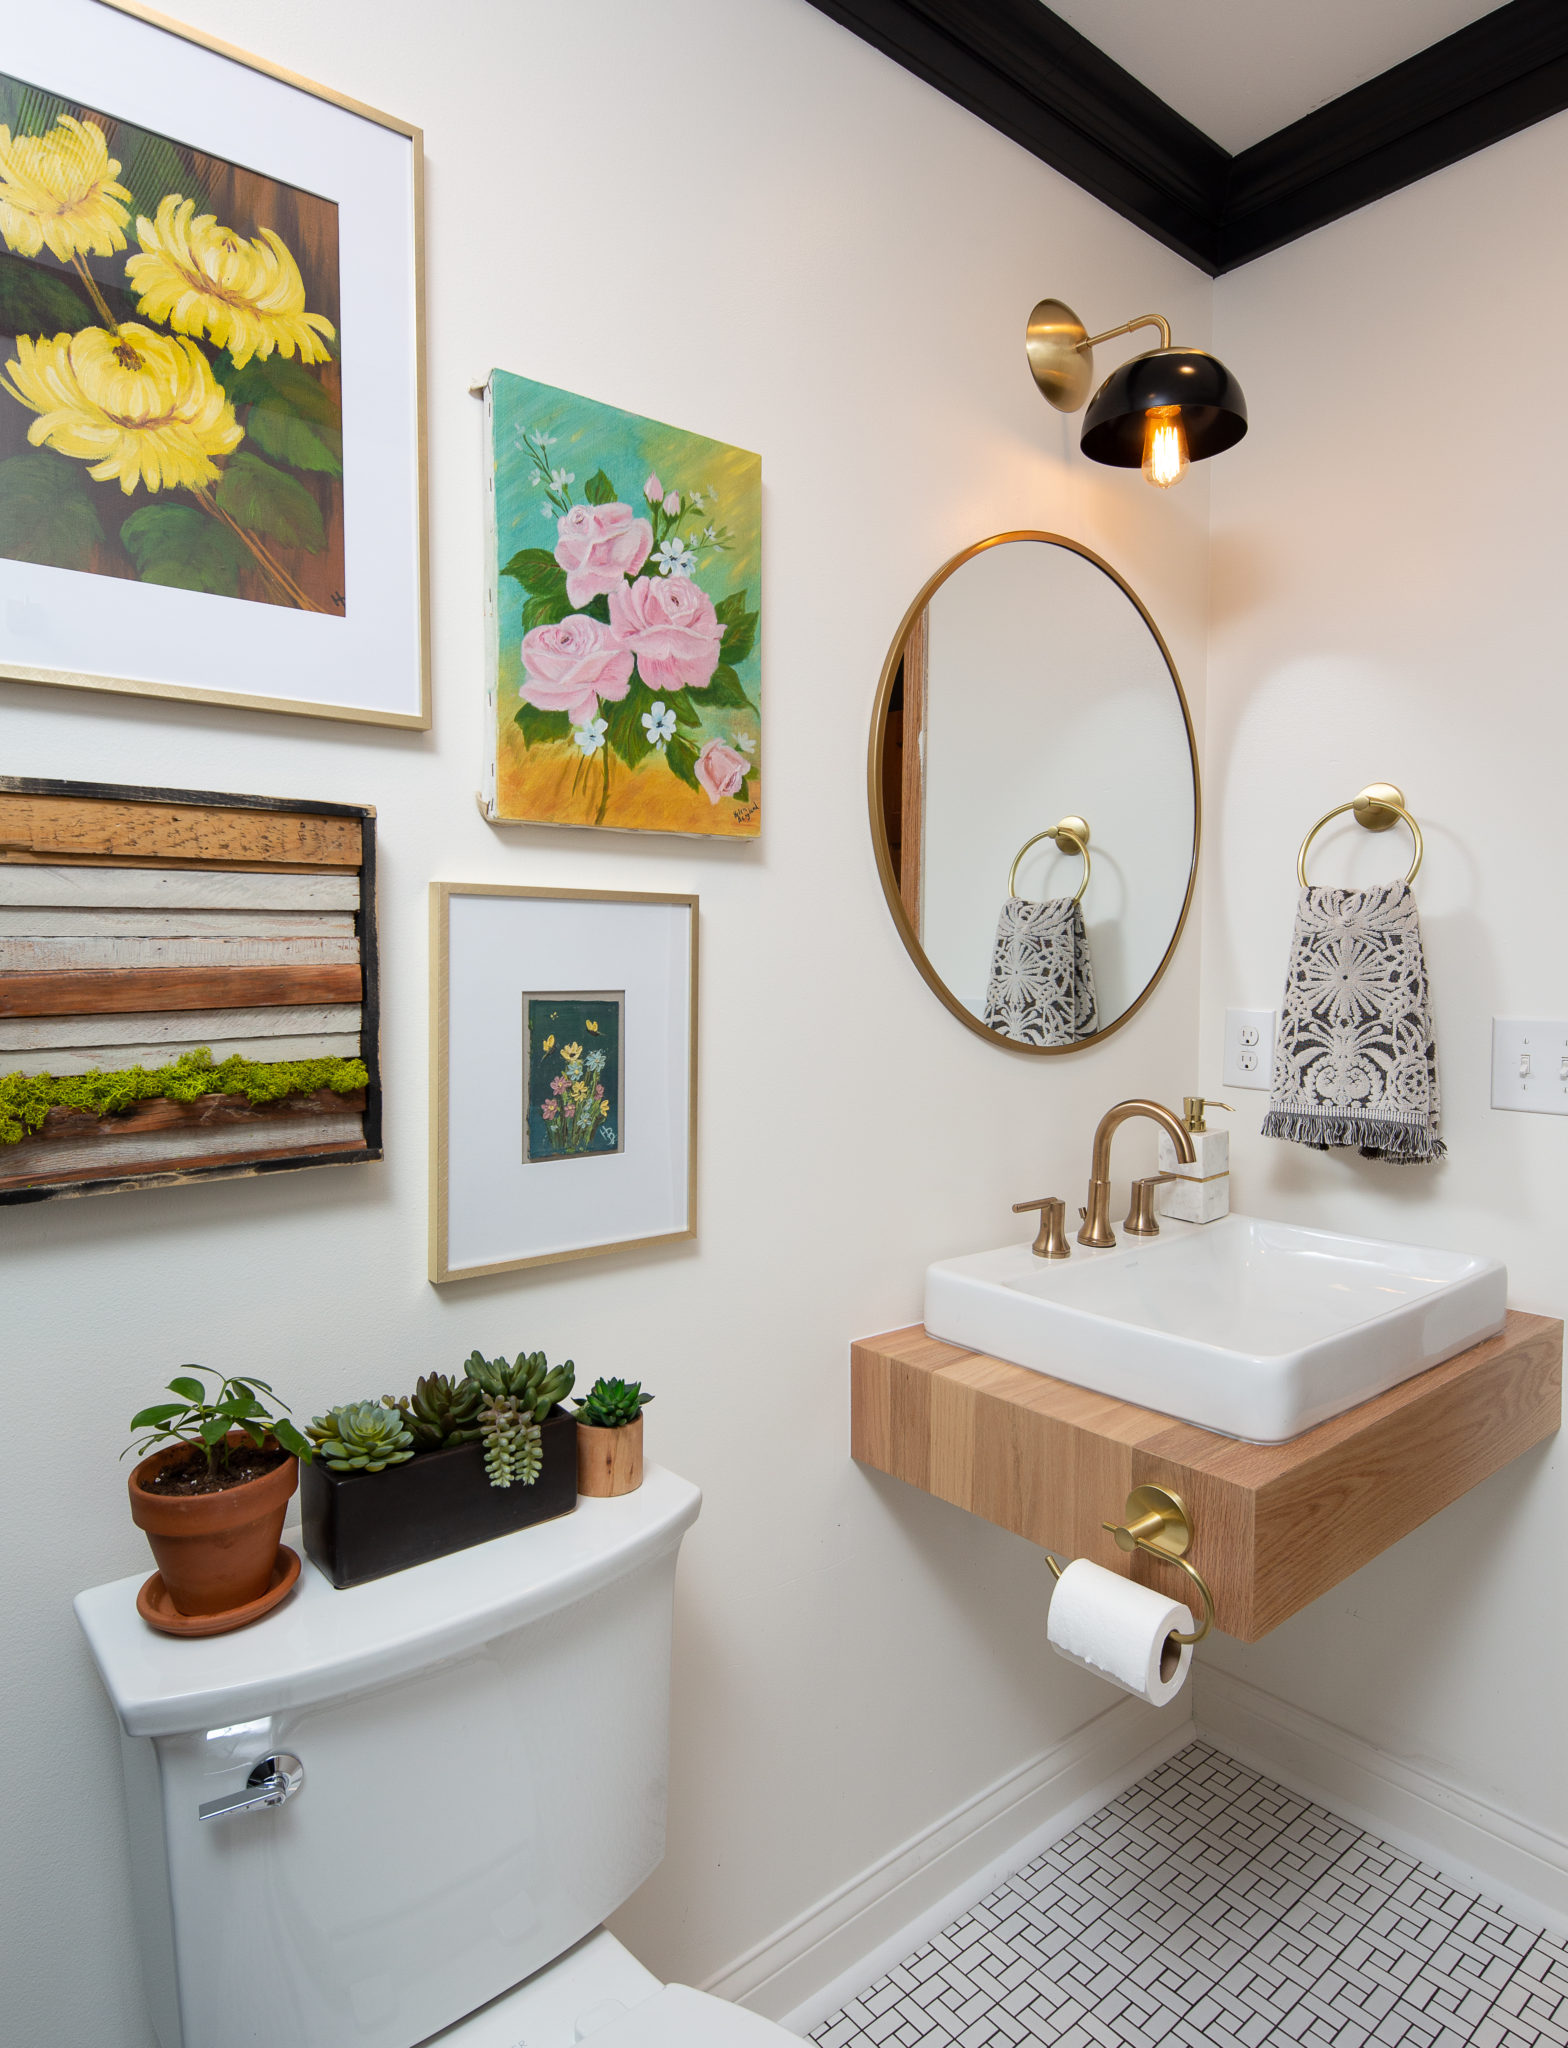
Guest Bath
We’re back at it with the Jeffrey Court Renovation Challenge, and it’s getting close to reveal day, with two weeks to go, so basically, we’re not going to sleep these last couple of weeks. Ha!
Slowly but surely we’ve been making progress, and one of the things we’re most excited to show you is our DIY floating oak vanity!!
We’ve done this style of vanity for a couple of clients’ homes now, and we always get asked where we bought it. The dilemma is that this kind of vanity is hard to find and then once you do, it’s usually pretty expensive.
We always recommend either working through a custom carpenter to build your perfect look or DIY your floating vanity. Today we wanted to show you step by step how we built our custom DIY floating oak vanity.
Step One: Define Design and Size
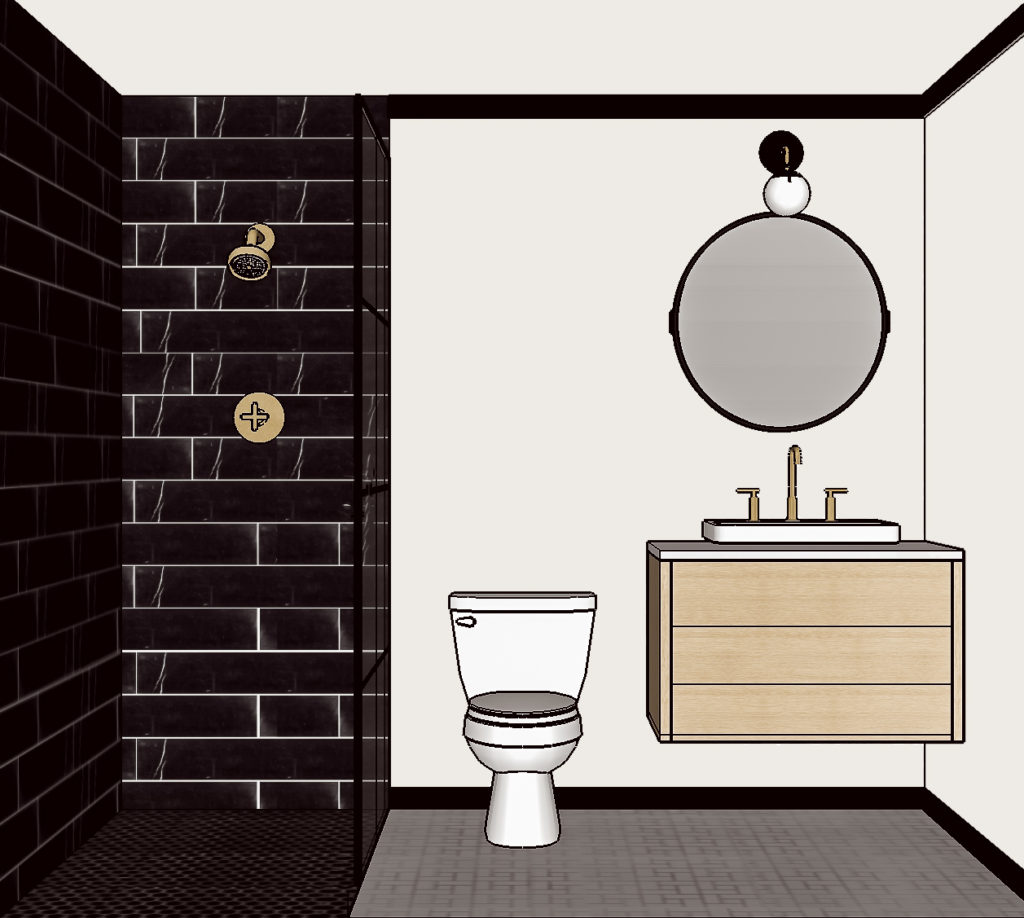
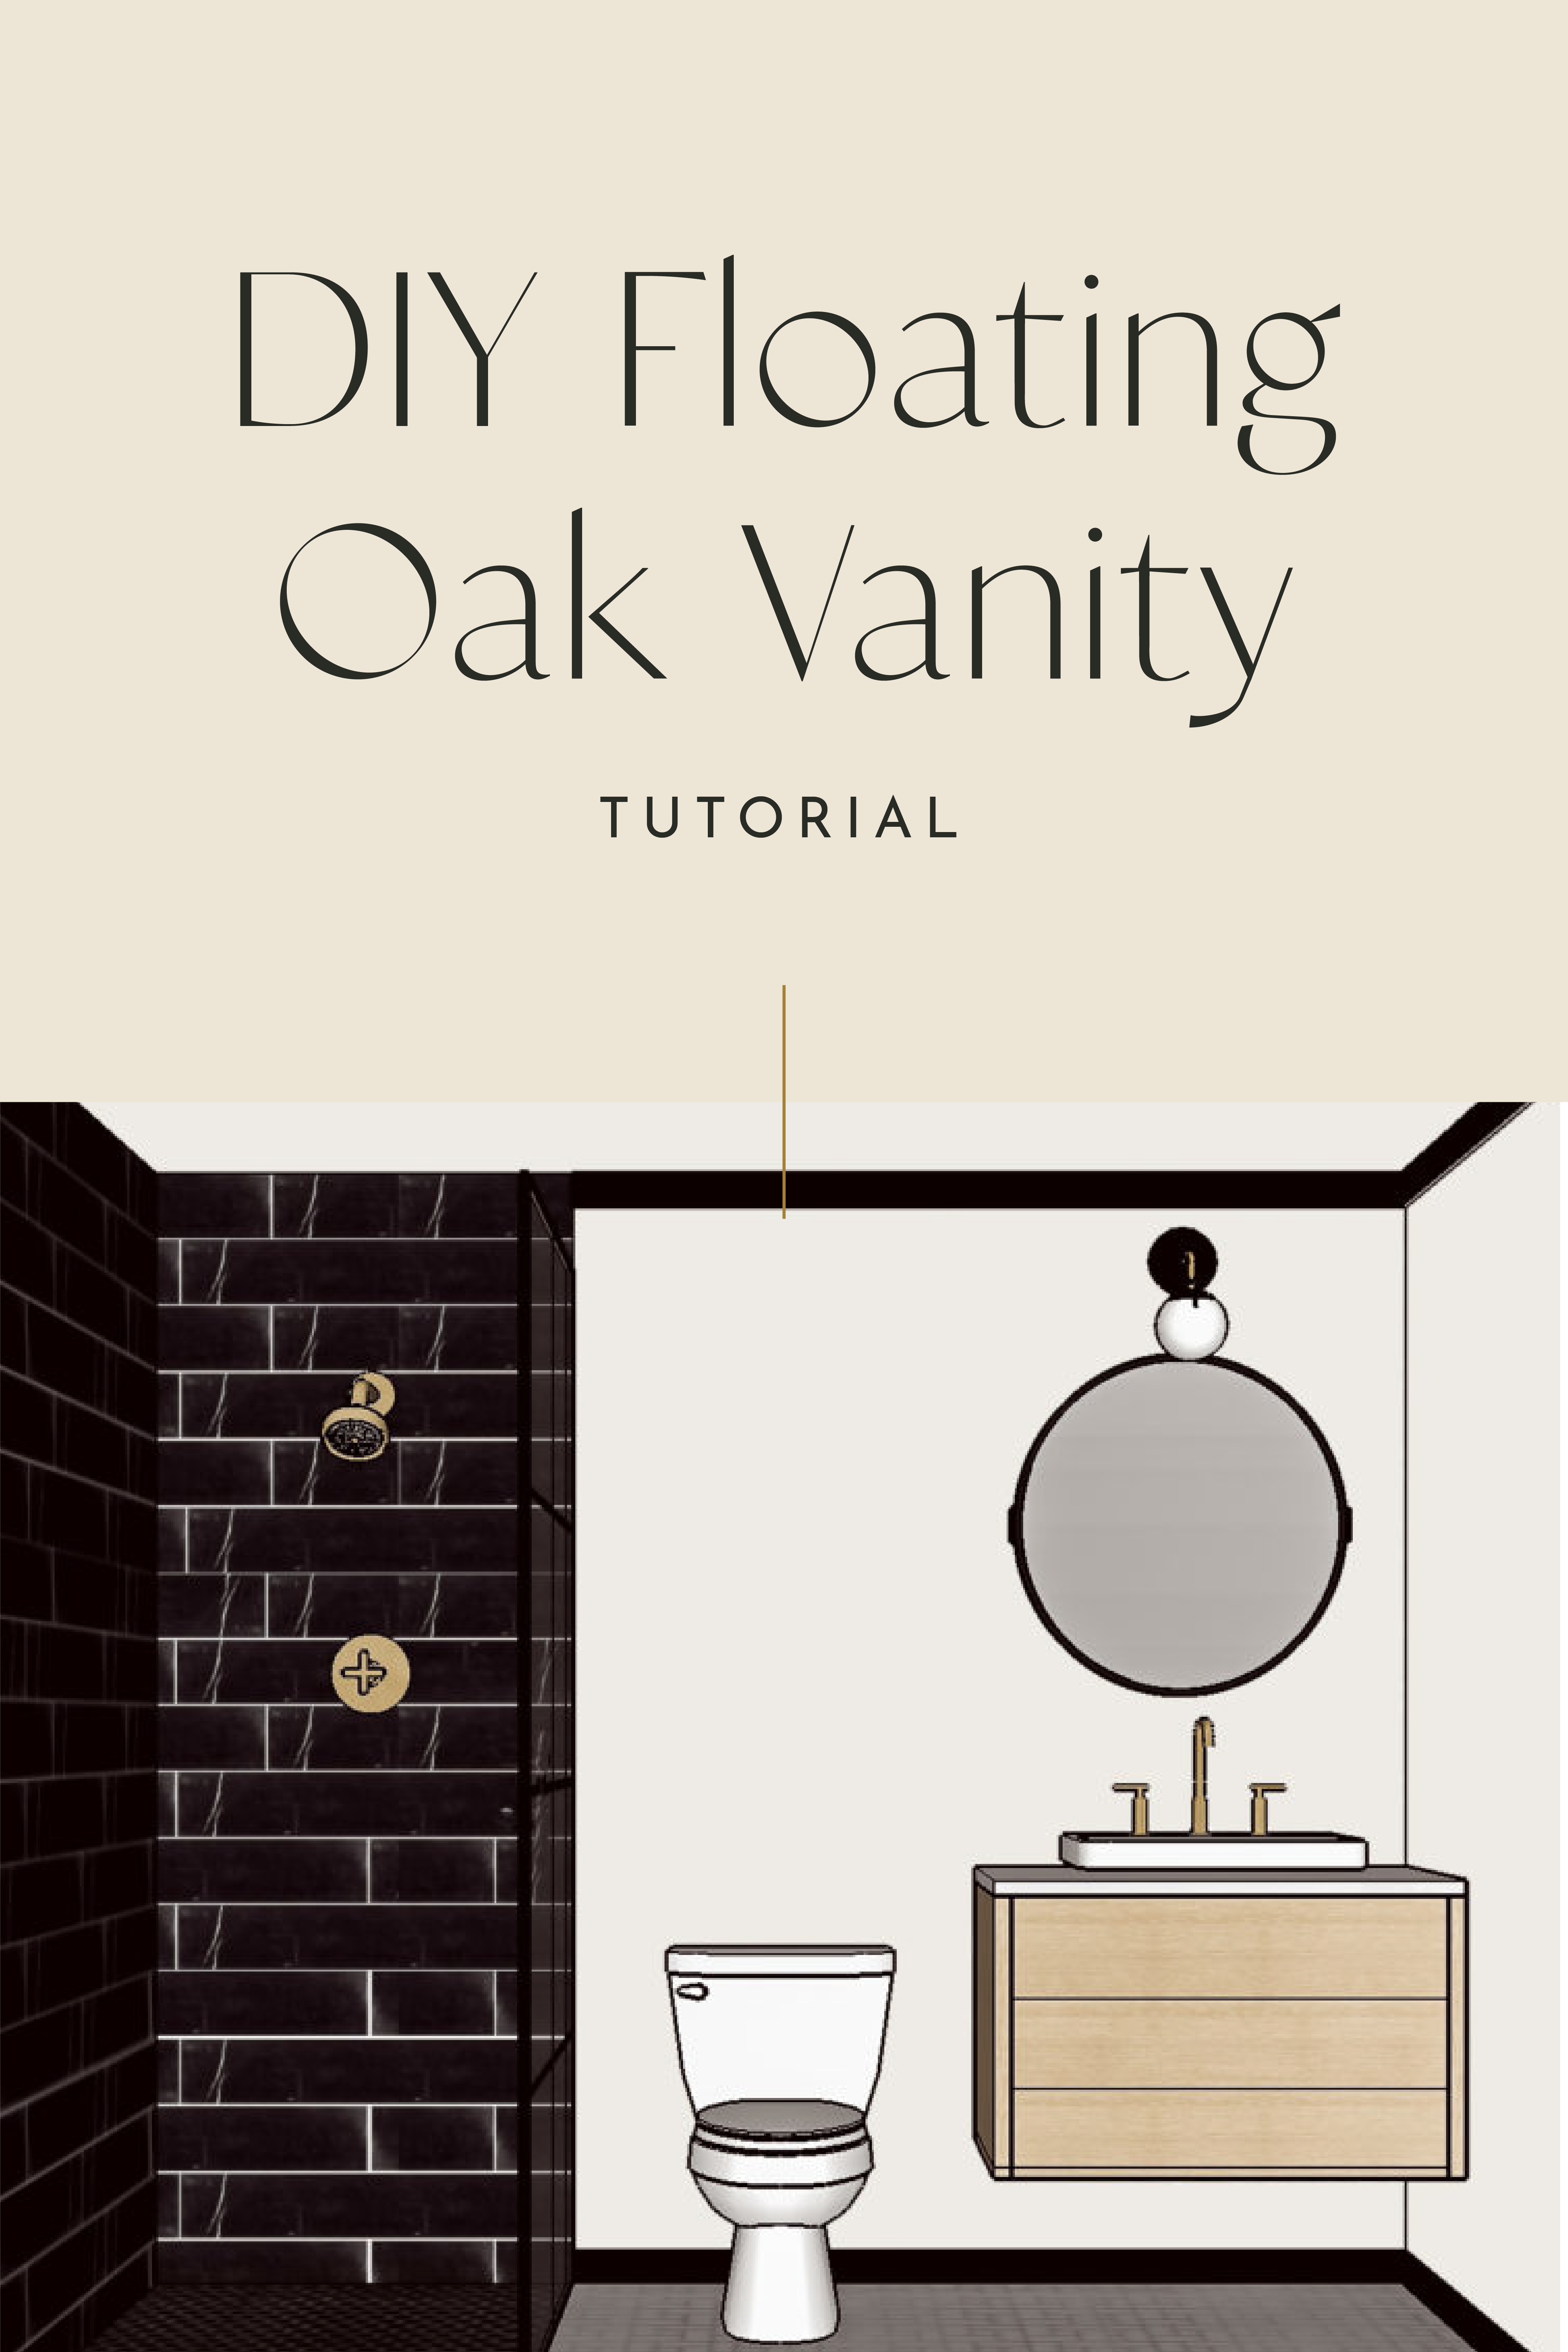
Before you run to the store and buy your materials, you need to determine the design you’re going for, so you know how much wood to buy. Our design changed a bit from when we first sketched it out when we were planning.
We were going back and forth on if we wanted to have drawers or not, but in the end decided to go with a flat panel, for the sake of time on this renovation challenge.
Then, we were going back and forth on if we’d need to have a support or not and how we were going to design that out. Since we have the two supporting walls, we found a way to have hidden support on the left-hand side that we’ll share in step 10.
You’ll also want to determine the size of your countertop and how big or small you want to make it. Make sure your measurements are correct and will work in your space and with your sink and faucet.
For ours, we decided on a 30″ x 20″ size, leaving a 3-6″ on each side of the sink since we’re working with a smaller space, we didn’t want the vanity to overtake the room. And since this is a guest bath, we knew we didn’t need a lot of countertop space.
Step Two: Gather Tools & Materials
Checklist:
- 1 x 6 x 3′ solid oak
- 1 x 20 x 4′ solid oak board
- clamps
- wood glue
- screws
- drill
- masking tape
- sander
- nail gun
- measuring tape
- circular saw
- Kreg jig for pocket holes
There’s a lot of cool wood to choose from, but here’s exactly what we bought to make it super simple: 1 x 20 x 4′ solid oak (right-hand side) for our vanity countertop and a 1 x 6 x 3′ (left) solid oak board for the two sides. We also chose to get one flat board for the time, so we didn’t have to glue any boards together.
Step Three: Rip the Sides to 45 degree Angles
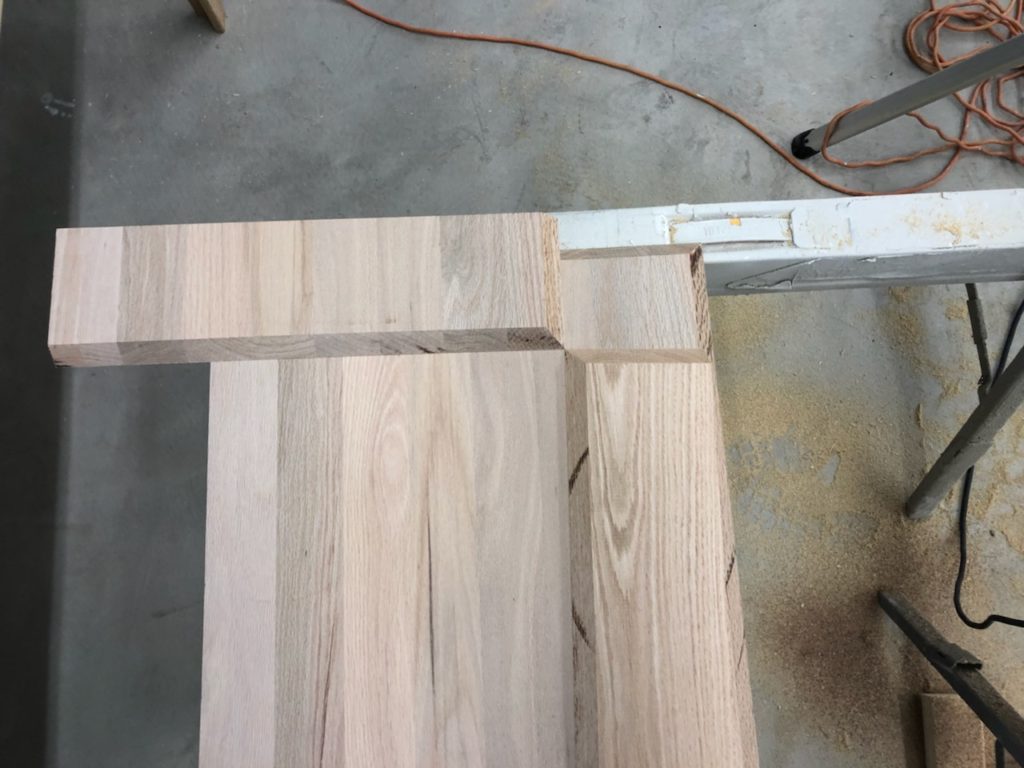
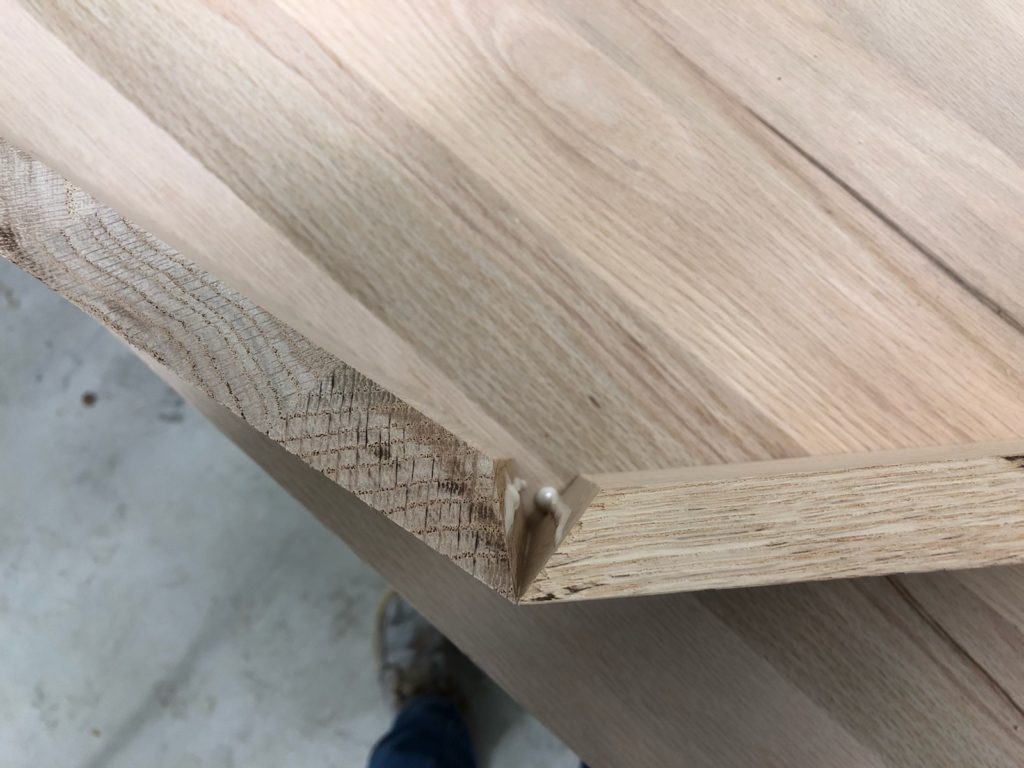
As you know, we’re using a 1 x 20 x 4′ solid oak board for the top of our vanity and a 1 x 6 x 3′ solid oak for the two sides. Once you’ve determined your top and sideboards, take each end and rip them down to 45-degree angles to butt into one another to get a clean line.
We used our table saw to rip cut these angles, but a miter saw will do the trick too if you don’t have access to a table saw.
Here’s an example of how we cut down the edges and how they lined perfectly up.
Step Four: Glue Boards Together
Once your boards are ripped down, it’s time to glue them together to create your vanity. Before you do that, this is where your Kreg jig will come into play!
You’ll want to use your Kreg jig and cut your holes out for where you’ll secure with screws after you glue in step six. Drill these holes on the inside where no one can see them.
Drill 3/4″ holes around where your two edges meet and place the 1 1/4″ screws inside after you glue the boards together.
Once the holes are formed, glue your boards together using a strong wood glue – Tightbond wood glue is our go-to favorite.
Step Five: Clamp to Hold
Once the glue is in place, put clamps onto your boards and let the glue set for 30 minutes. This glue dries really fast so you’ll need to work fast.
Make sure as soon as you put your boards together that you make sure all of your joints match up perfectly before you get too crazy with the clamps.
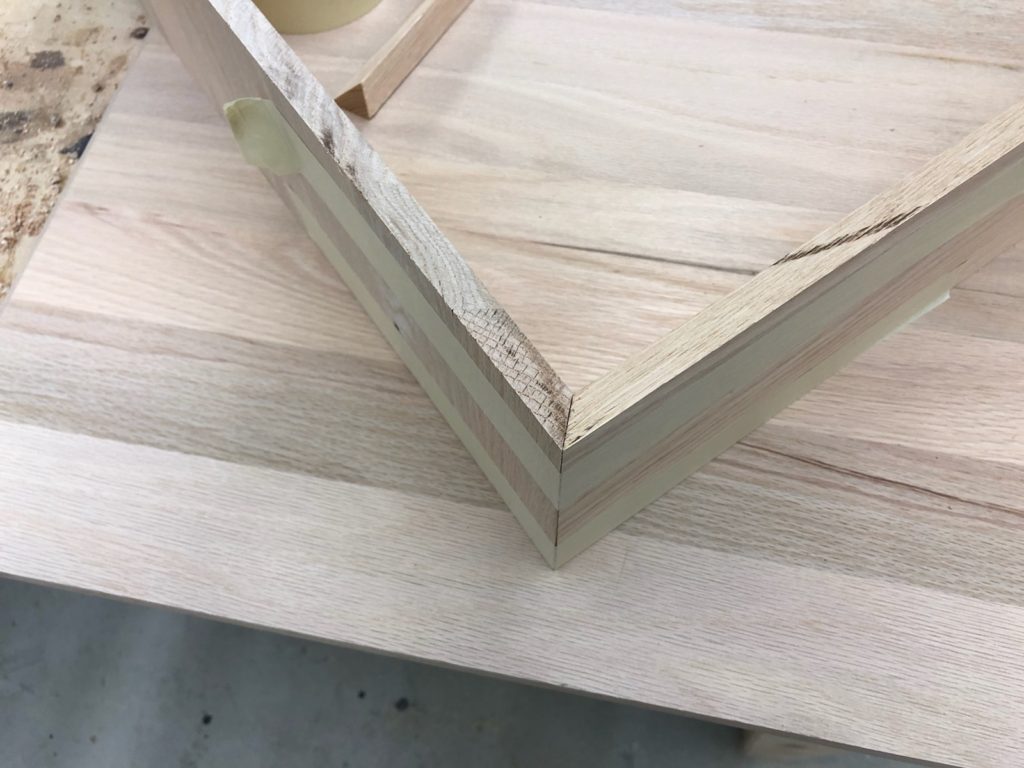
Before you clamp it, we always enforce it with tape so it’s easier to hold it together in perfect place and then add the clamps.
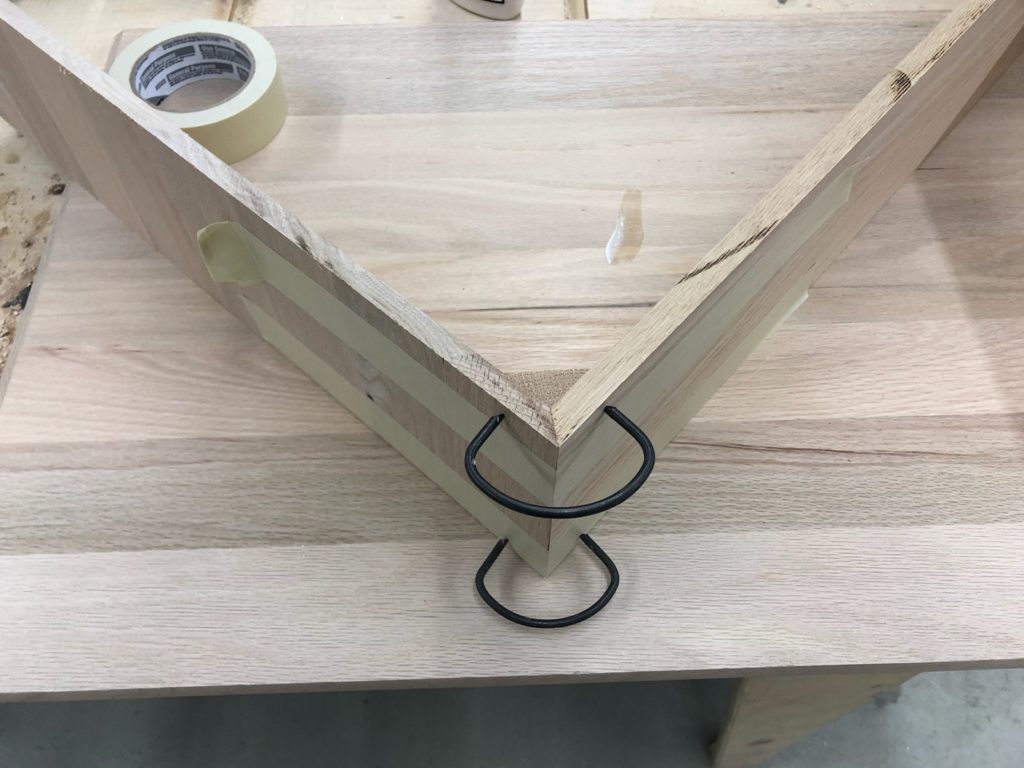
And then, load up the clamps so that you have clamped areas on every angle to ensure the miters stay tight.
Step Six: Enforce with Pocket Screws
For added security, we enforced the inside with pocket holes and screws. You should have drilled these holes in step four before you glued the boards together so now you’ll reinforce with screws.
Put the holes anywhere the wood aligns with one another for adding reinforcement. Like we mentioned, drill the holes on the inside where no one can see them.
In step four, you will have already drilled your 3/4″ holes around where your two edges meet, and now you’ll place 1 1/4″ screws inside your holes. Before you drill, make sure all of your boards are clamped perfectly flush together.
Step Seven: Cut for Sink
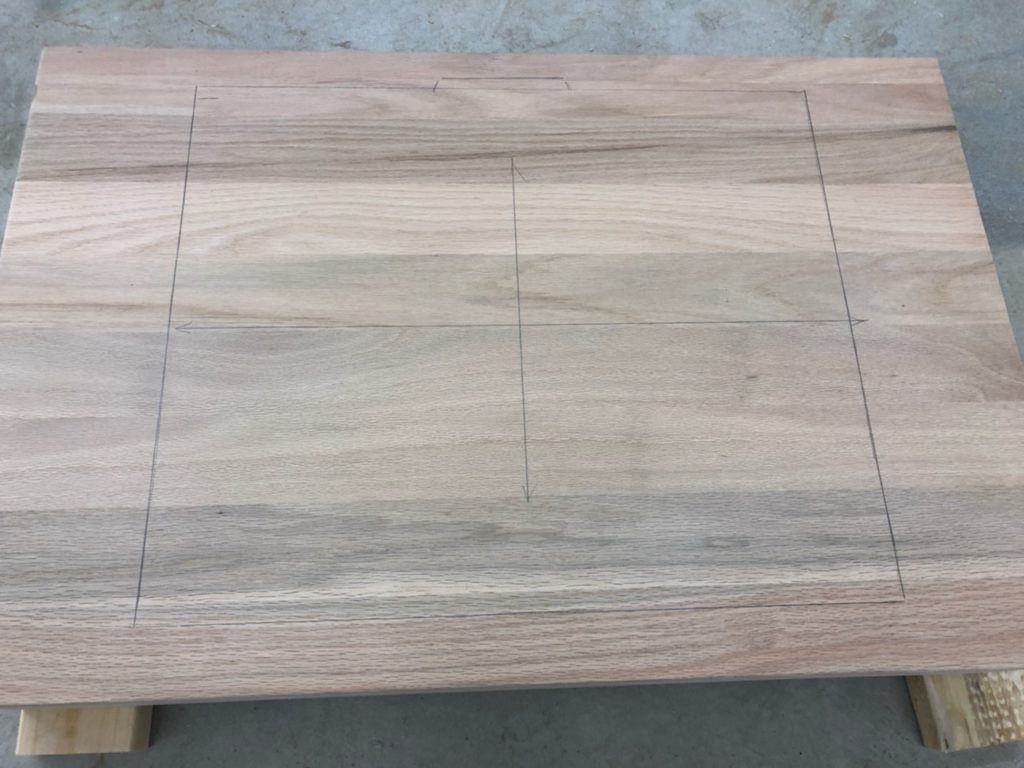
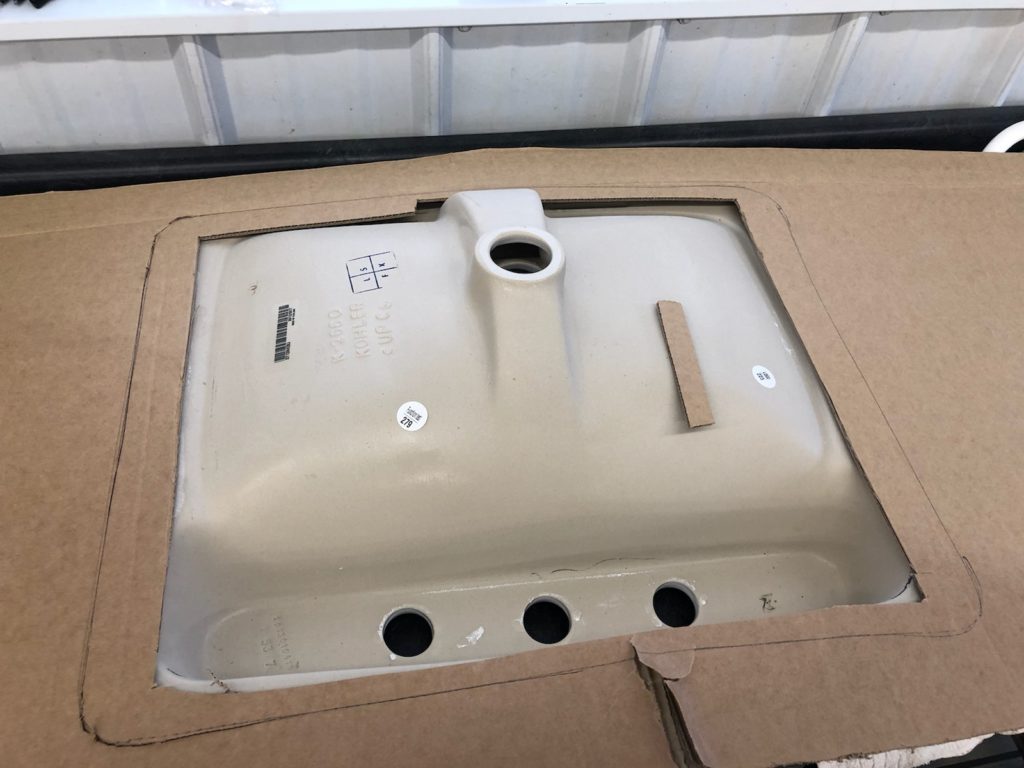
One of the last steps is to make sure you have a cut out for your sink. You can either make a sink template of your own with cardboard, as we did or use the template that comes with the sink.
We created a template with cardboard and traced it onto the top of the vanity and cut the area out with a circular saw.
Ta-da!
Even though it’s a vessel sink, it doesn’t sit perfectly flat which is why we have to have a cut-out.
Step Eight: Fill Gaps and Sand
Before you’re ready for your finish, fill any gaps if needed and then sand down to give a smooth finish. I like to break, or ease, the edges with a quick hand sand, so they aren’t sharp 90 corners.
Step Nine: Clean, Poly, Paint or Stain
Next, clean up any dust in the install space, as well as the vanity itself, before staining this masterpiece you’ve made. Even if you aren’t sawing or working at the time of finishing, that construction dust from what you just created will find its way to your stain or poly and cause bumps in your finish.
We’re doing a clear poly on ours so that it stays a true white oak!
Step Ten: Install
Last step, wahoo, install!
If you don’t have support walls, you’ll need to install support if needed like we’re doing here. Then install the floating vanity.
This support beam will be placed and secured right inside of the left-hand side of vanity so that it won’t be shown.
Typically we do this style of floating vanity in between two walls, so the walls are our support, and this added support isn’t needed.
For this support we’re showing you, we used a leftover piece of butcher block and lagged it to a stud, using a lot of caulk. Let it dry overnight, and then we jumped on it the next day to make sure it wasn’t ever coming loose!
And ta-da!
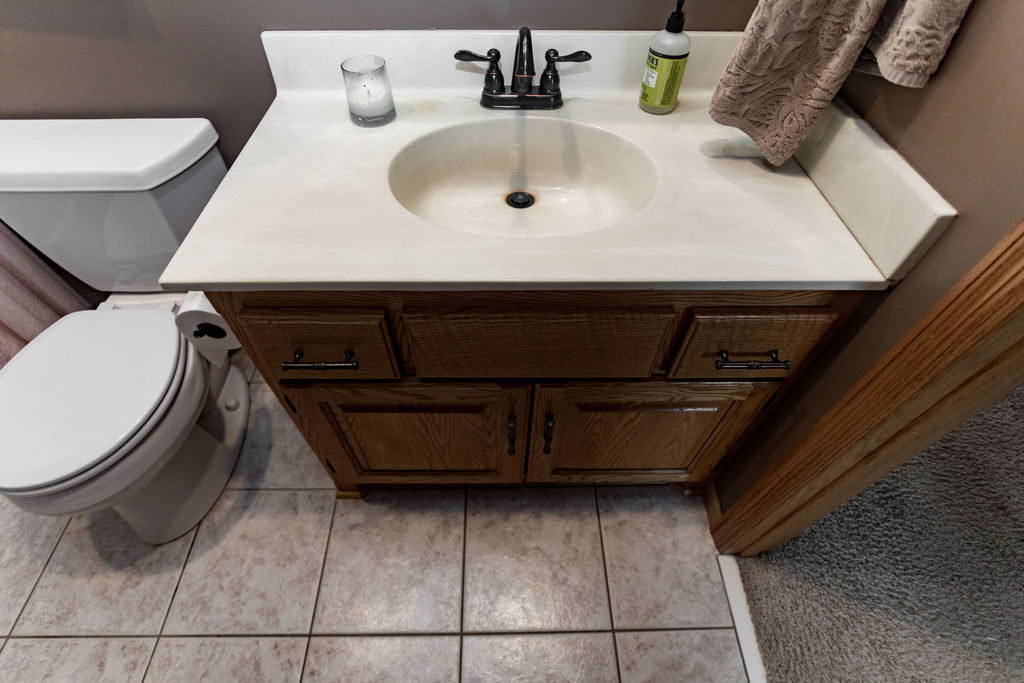
Do you remember what the vanity looked like before?
Bye, bye, bye!
Looks so much cleaner and opens the room up to make it feel like a larger space! We can’t wait to show you how it all looks once we’re finished.
Two more weeks to go before the big reveal and we still need your help. Click here to cast your vote.










I love it!! Thank you!!
This is great! **exactly** our situation with only one supporting side wall! For now we’ve decided to just keep our existing vanity but I definitely want to do this in the future! Saving the link, for sure.