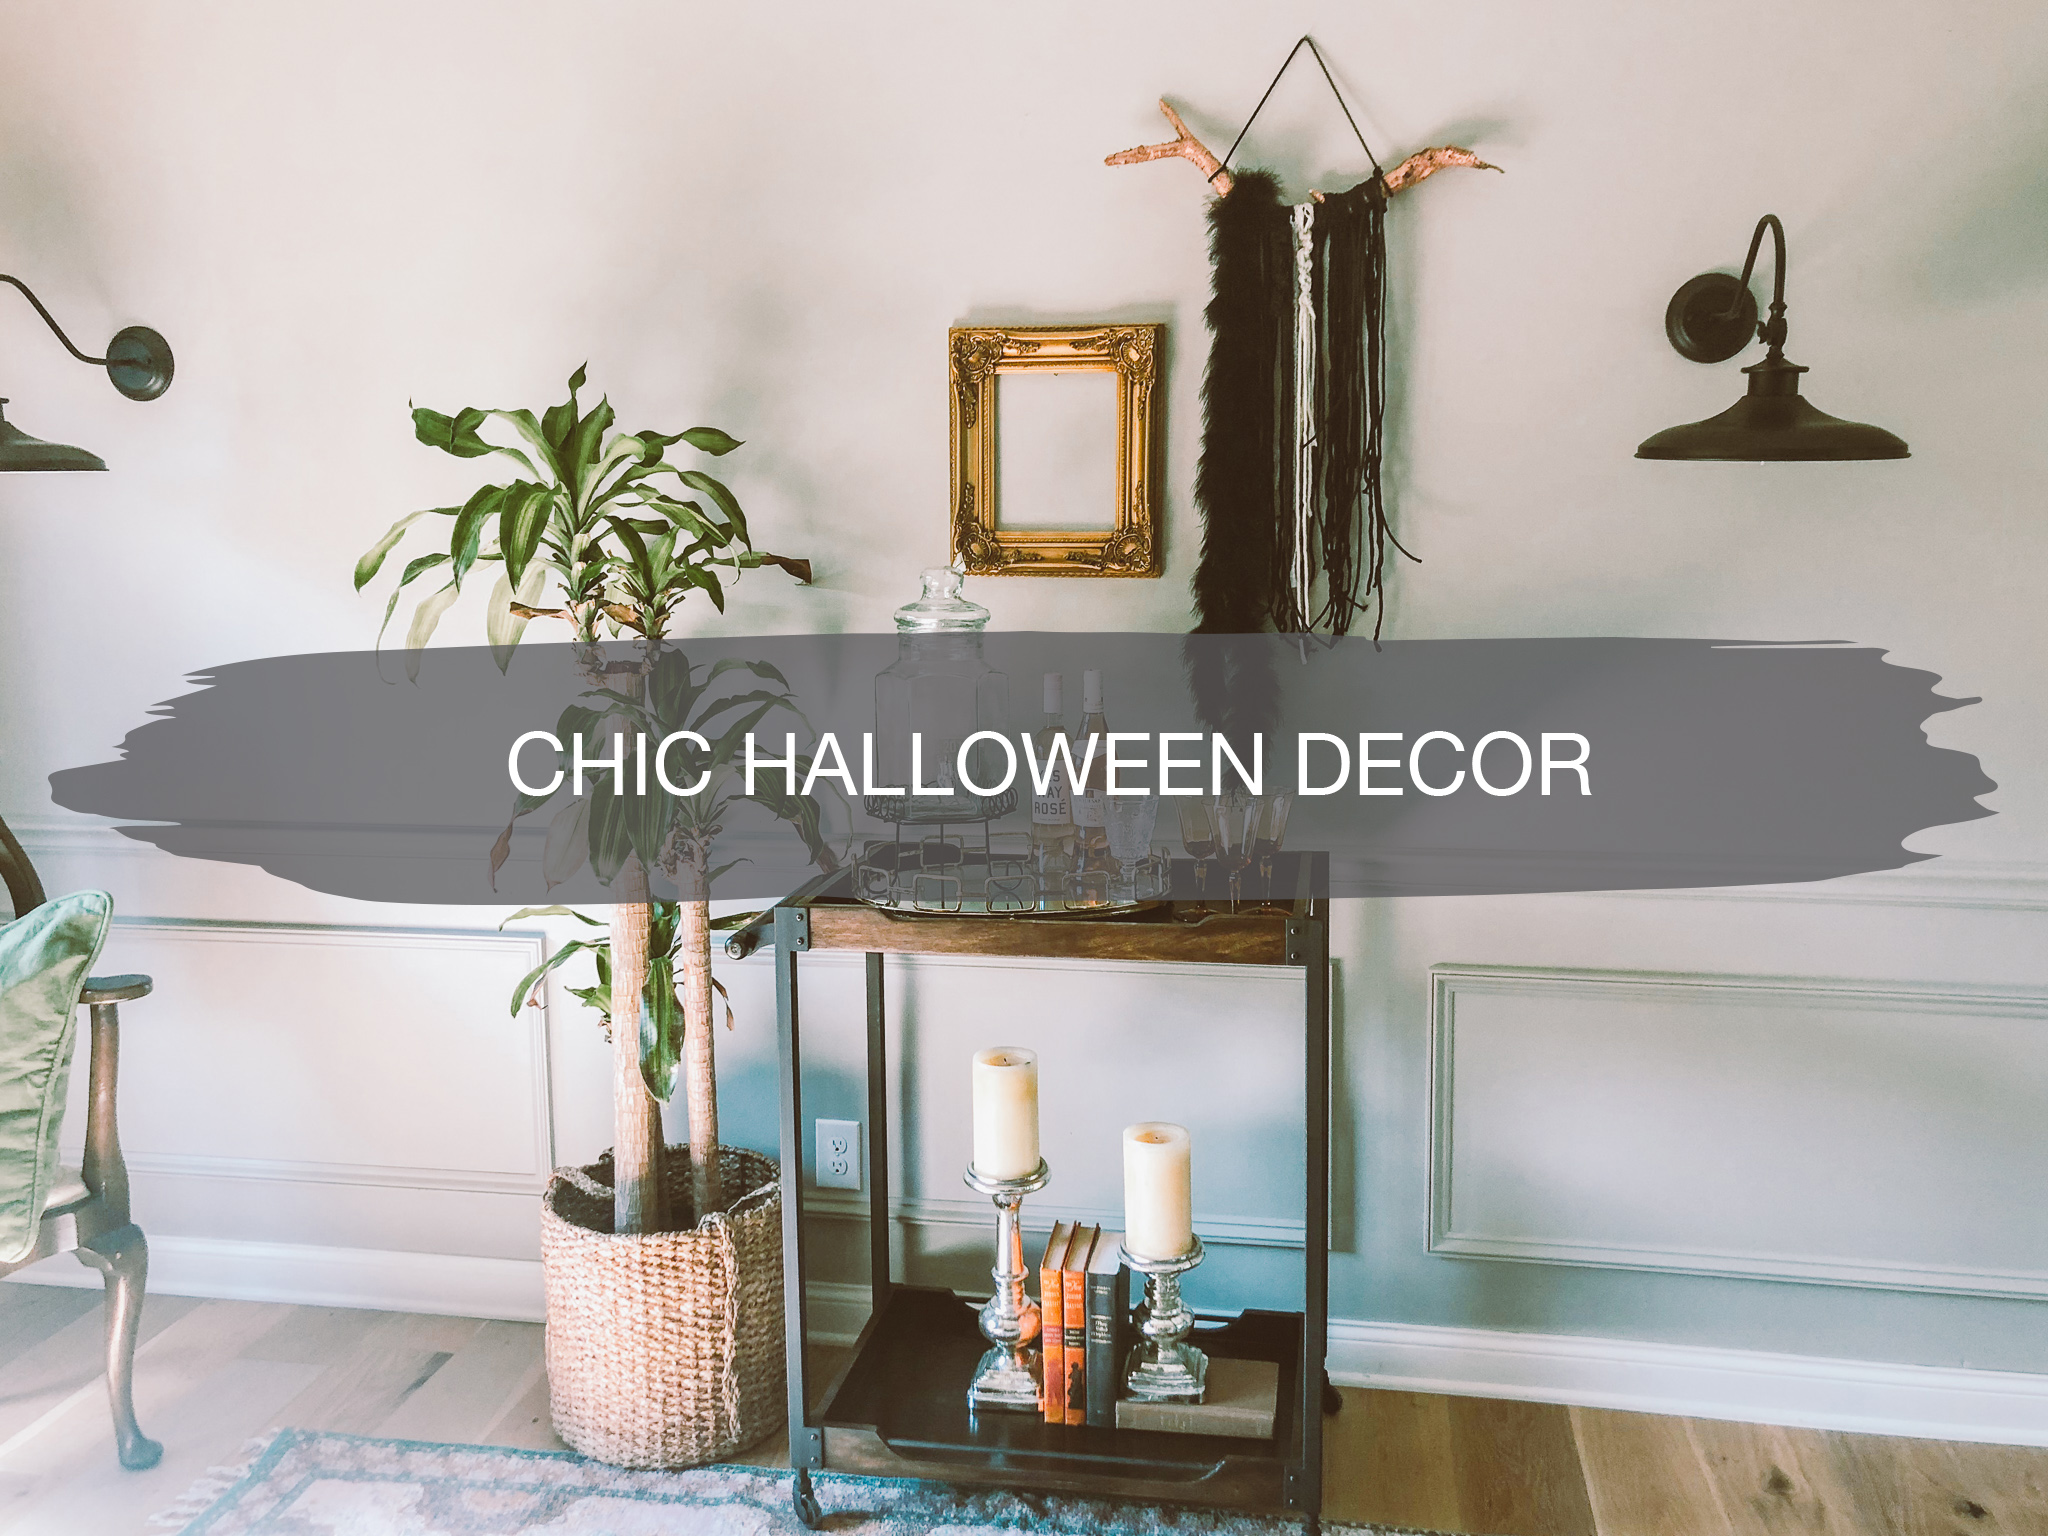
How to make a Witchy Macramé
Halloween is right around the corner and fall is here, so it’s time to bring out some new fresh decor. I try to decorate for the holidays that can last throughout the season.
I love every holiday so always want to decorate for them all, but at the same time, I want them to last throughout the season otherwise costs add up way too fast in my book. I also don’t like to re-buy decorations every year, because that too gets expensive!
So I’m all about the DIY chic crafts. We’re super excited to be looping up with a group of DIY bloggers and to put together a handful of posts for you today to DIY your Halloween decor, hosted by Remodelaholic.
This fall and Halloween season, we’re all about black and white with pops of orange. I’ve also been creepily obsessed with buying and making witchy macramés.
I can’t get enough of them! Anyone else? I feel like an old grandma, but I absolutely love the style. I hope it never goes out.
So today we’re totally making Halloween macrame’s that we can use throughout the fall season and we want to show you how to DIY one too.
This is my favorite thing about making macramés… you don’t need to be good at DIY to rock this!
If you know how to tie your shoes, you’re gonna kill it!
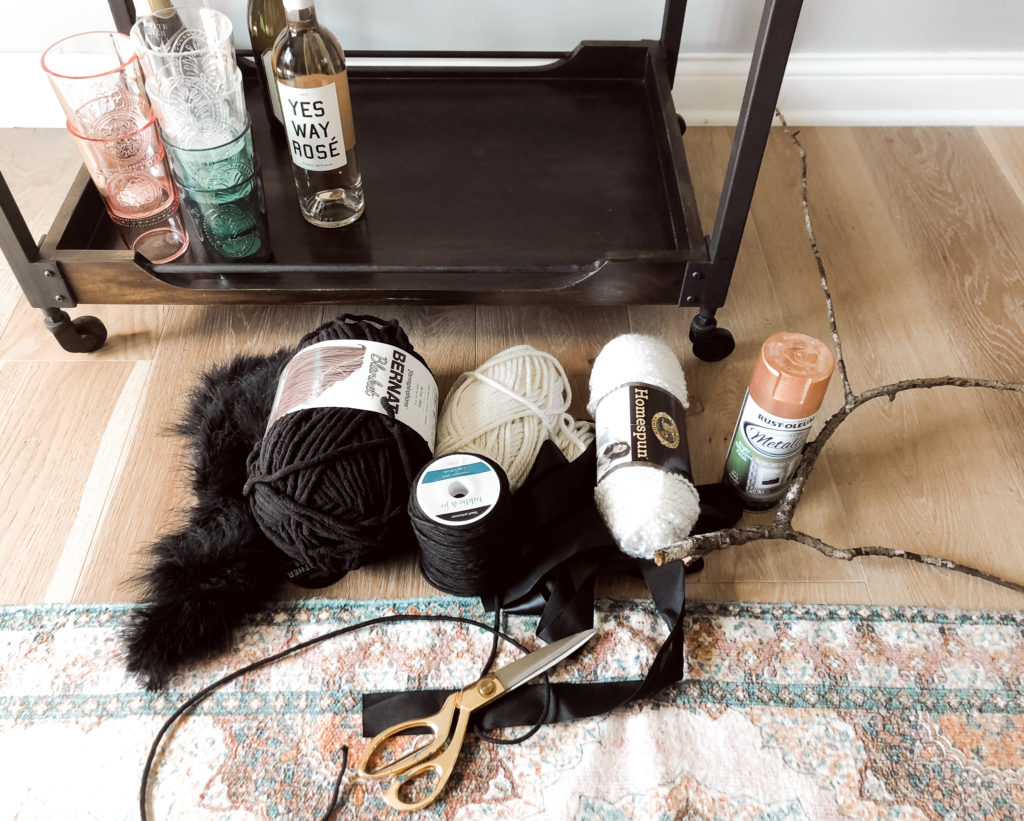
Step One: Gather tools and materials
Tools & Materials:
- Stick
- Spray Paint
- Scissors
- Ribbon, cord, rope, yarn, string
Step Two: Spray paint your stick
I’m all about nature. Find a stick in your yard, big small, whichever you prefer, and spray paint it your favorite color.
This is what your macramé is going to be hanging from. I love to bring as much metallic color in as I can so to give it more of a fall vibe, I spray painted our stick metallic champagne bronze.
Step Three: Loop and Thread
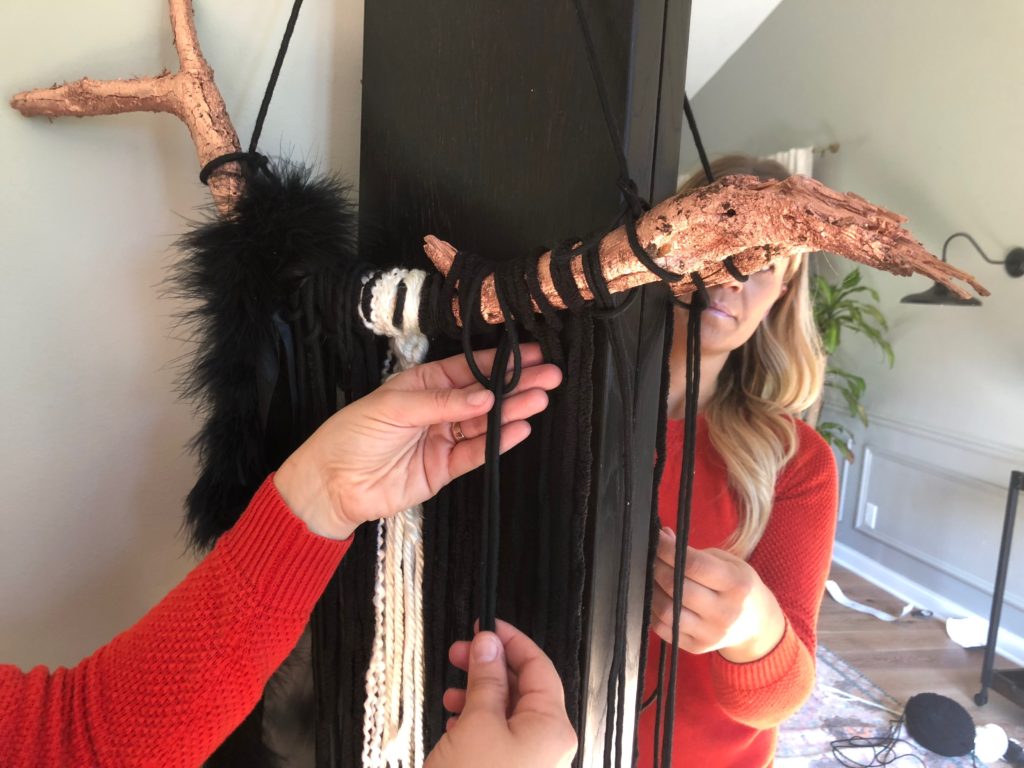
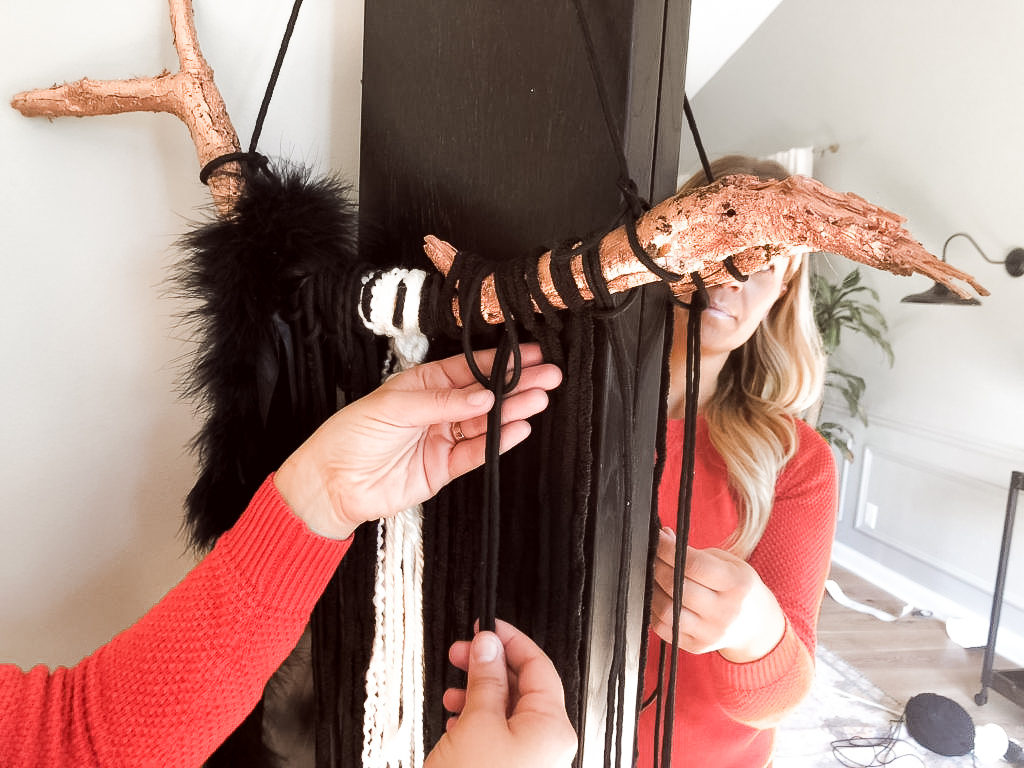
Make a larks head knot around your stick. Taking your ribbon, strings, or cords bring the two ends together- making a loop with your cord dividing it in half.
Then talk the loop side and lay it down on a table vertically. Then lay your stick horizontally across.
Next, push the bottom half of your string over the stick and string through the loop. And you’ve just created your Larks head knot.
Continue doing this down the stick varying the different colored ribbons, cords, rope, or strings.
Step Four: Knot it up! macramé
There are a lot of cool knots out there and once you can then do to the different strings. to really make your macramé go wild! But for this witchy chic macramé look, I’m going for this year, I wanted to keep it simple.
Make it a little more broomy if you will. The best part about keeping it plain is if you get sick of it, you can take all your ribbons off and use them for Christmas gifts!
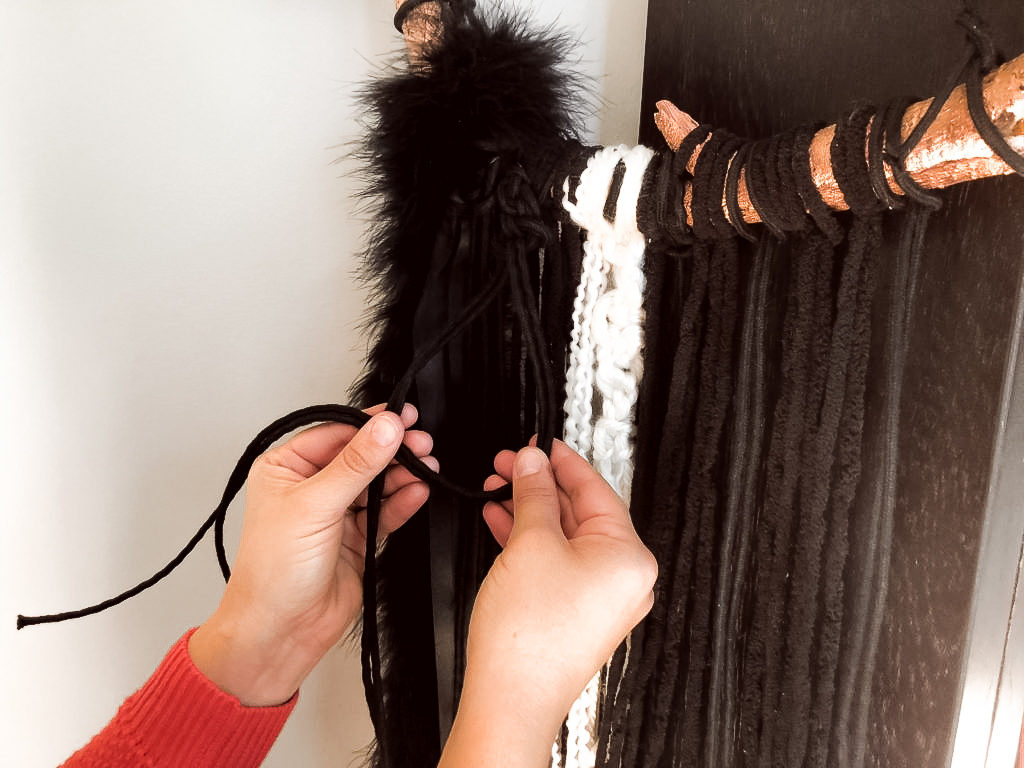
I decided to only knot up three chunkier ones and leave the rest hanging straight down. I kept the beefier ones all hanging from the left side, and also added in a feather bow.
To create the chunkier knots I took two and two that were next to one another and tied them in a knot, I continued to keep doing the knots in the same direction all the way down, as shown. As you can see, it will just start twisting on its own to create a fun braid.
Step Five: Hang
Then you’ll want to tie a cord to each end of the stick. This will be used to hang your macramé up on the wall.
Step Six: Cut Ends
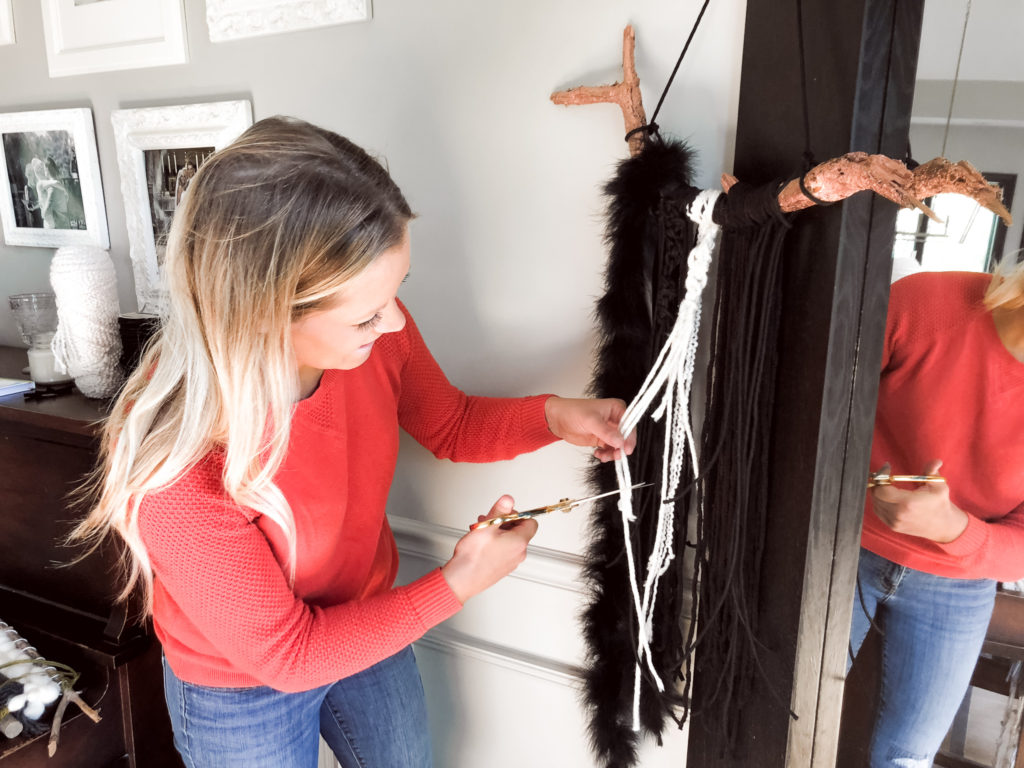
Give your macramé a little haircut. It’s fun to give it an even clean angled cut or straight across. However, for Halloween, I wanted to keep it witchy and have it all uneven, so I just cleaned up the ends.
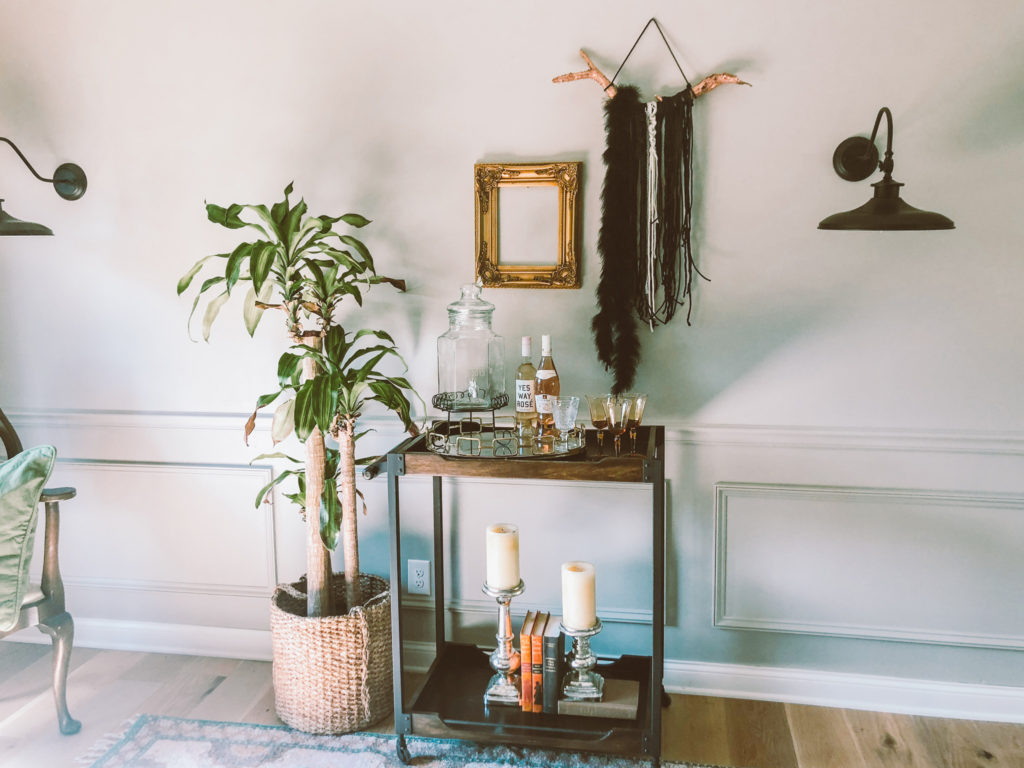
And there you have it! Your very own Halloween Witchy Macramé.
Step Seven: Style
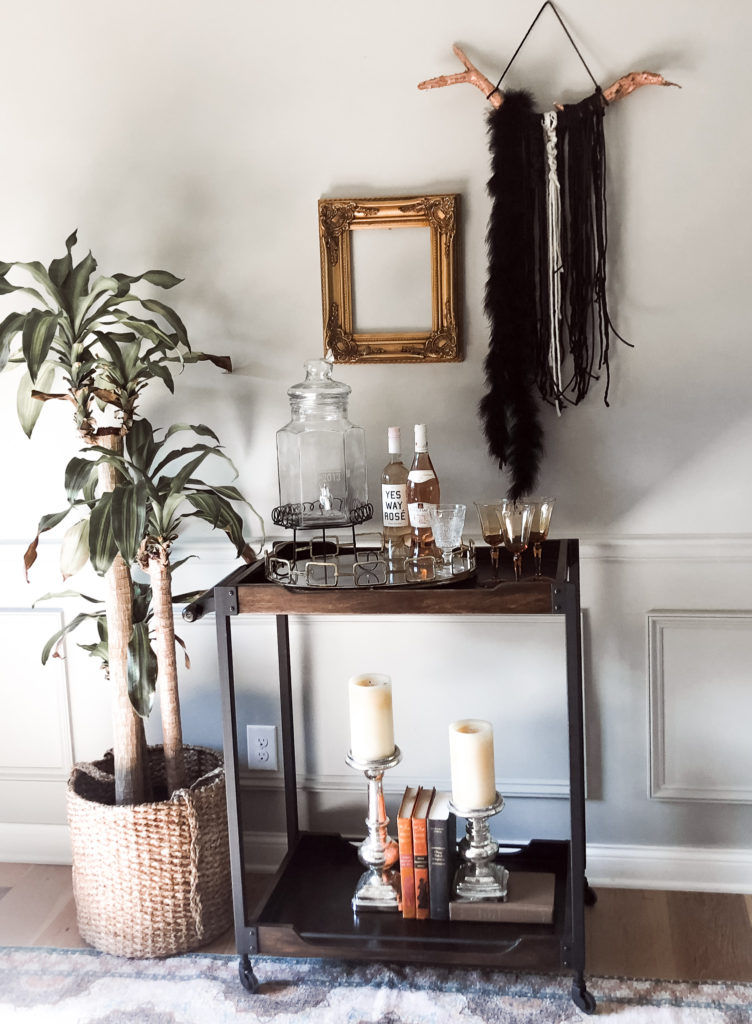
And lastly, find a place to hang your macraméand style it up! I love a good bar cart and think every party needs one. We made a full tutorial on how we style bar carts here –> How to Style Your Bar Cart.
And we found our bar cart goodies for our Halloween decor all at thrift stores for under $10. One of the easiest and most inexpensive ways to bring colorful style for any season is finding the color of the season’s books at 2nd hand stores as we did here with orange, each for under $1. And then the fall tone dishes, all each we scored for under $1 as well.
Thanks to Remodelaholic for creating this Halloween Decor Challenge. Make sure to check out the other bloggers here below that showcase all of the DIY decors you need to help you in decorating your home this Halloween season.
Remodelaholic | Leap of Faith Crafting | Creative Ramblings | The How-To Home | Sustain My Craft Habit | Hertoolbelt | Deeply Southern Home | Smiling Colors | Our Crafty Mom
And our lineup of YouTube Videos!



Comments are closed.