Disclosure: This post was sponsored by Lowe’s. Although we were compensated to write this post, all opinions and content are our own, and we stand behind and use all brands and products we endorse on our site
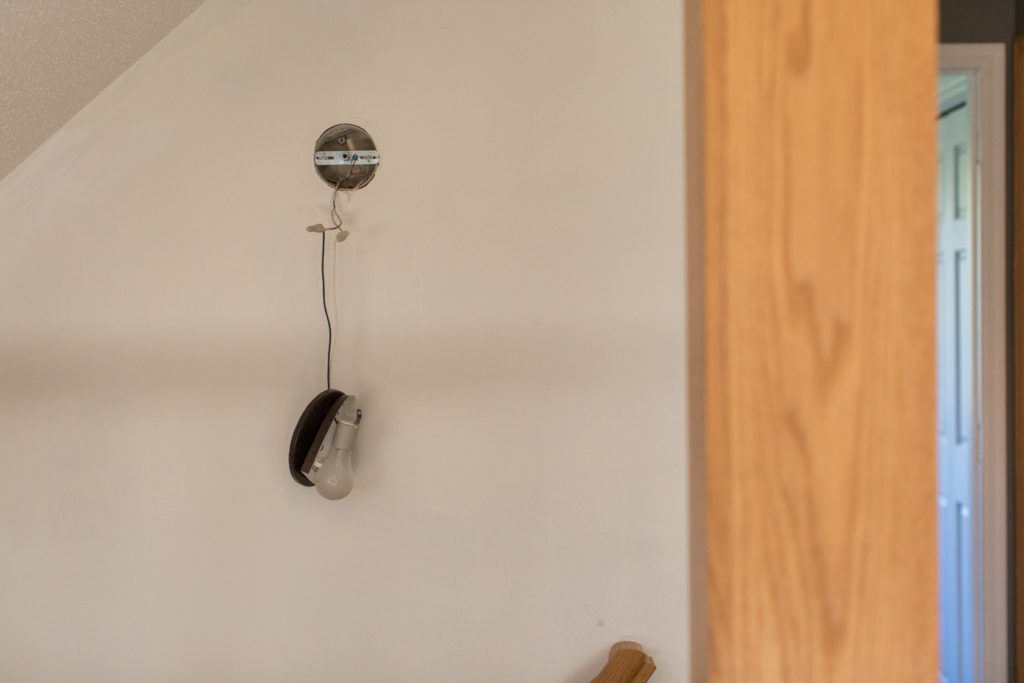
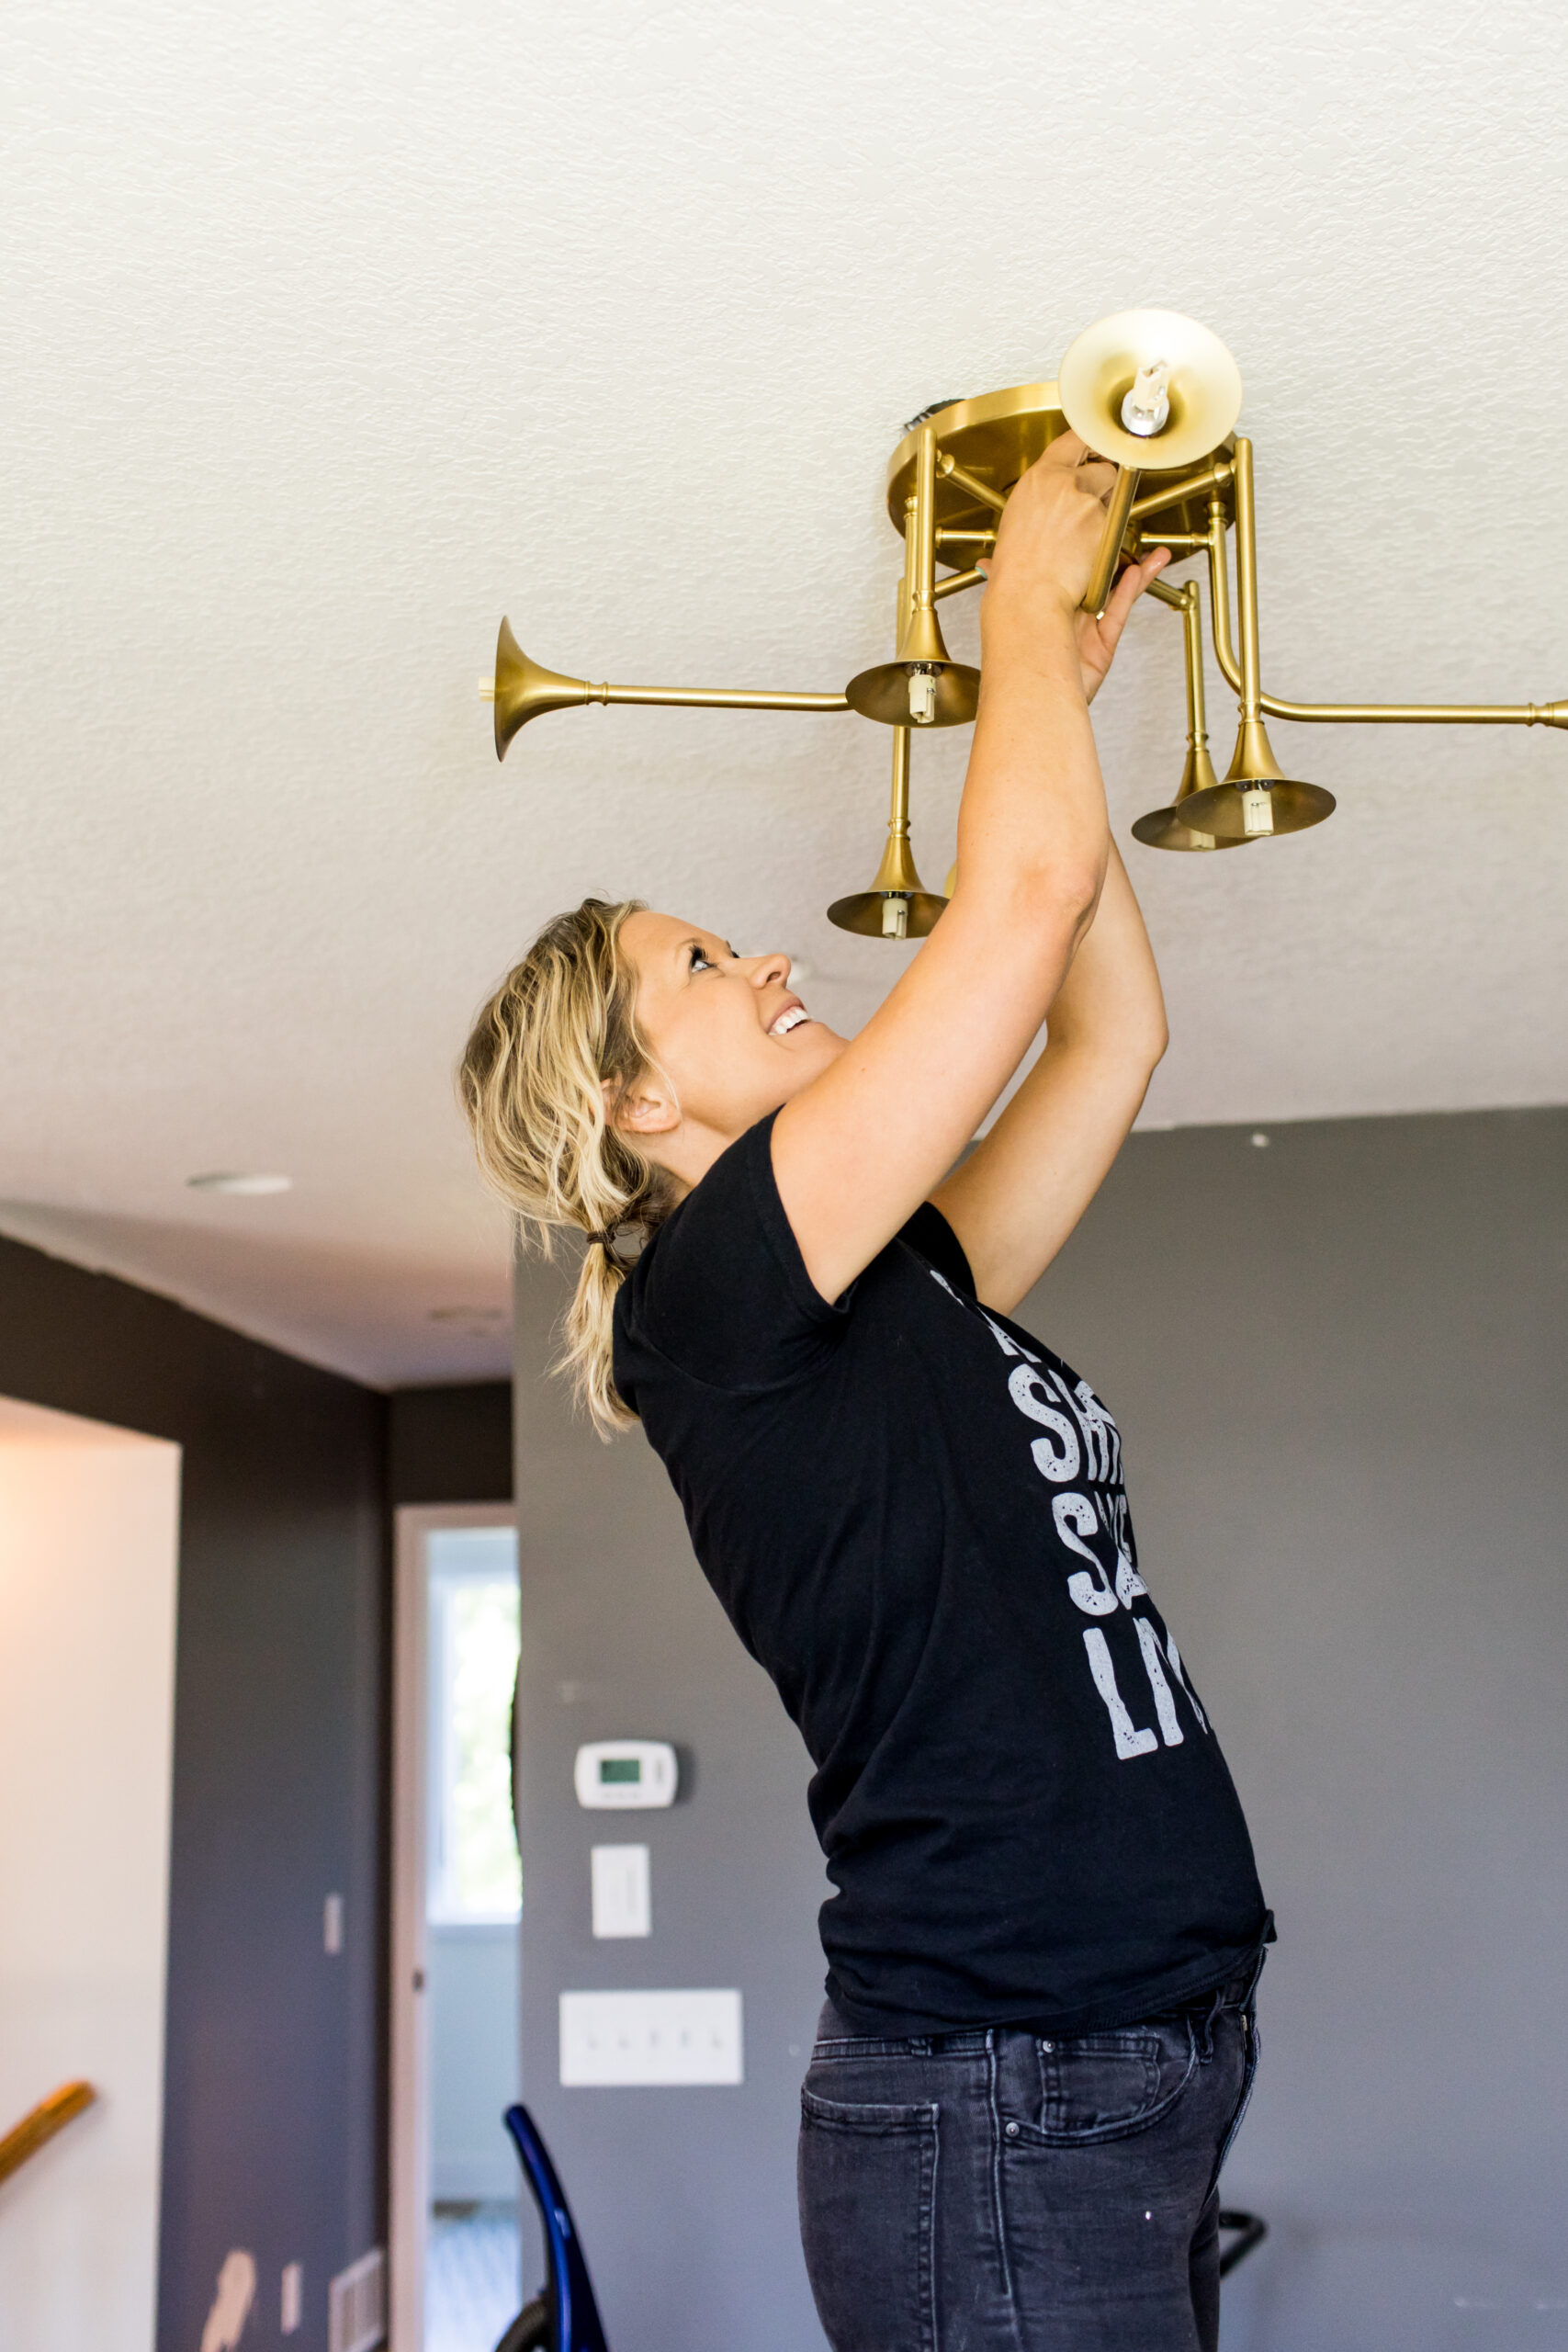
We’re moving back into renovating our basement since we didn’t 100% finish it from this past summer, such as replacing this light or even re-hanging the old one…ha! We’ve been slowly working on this basement for what feels like forever but since the beginner of summer now.
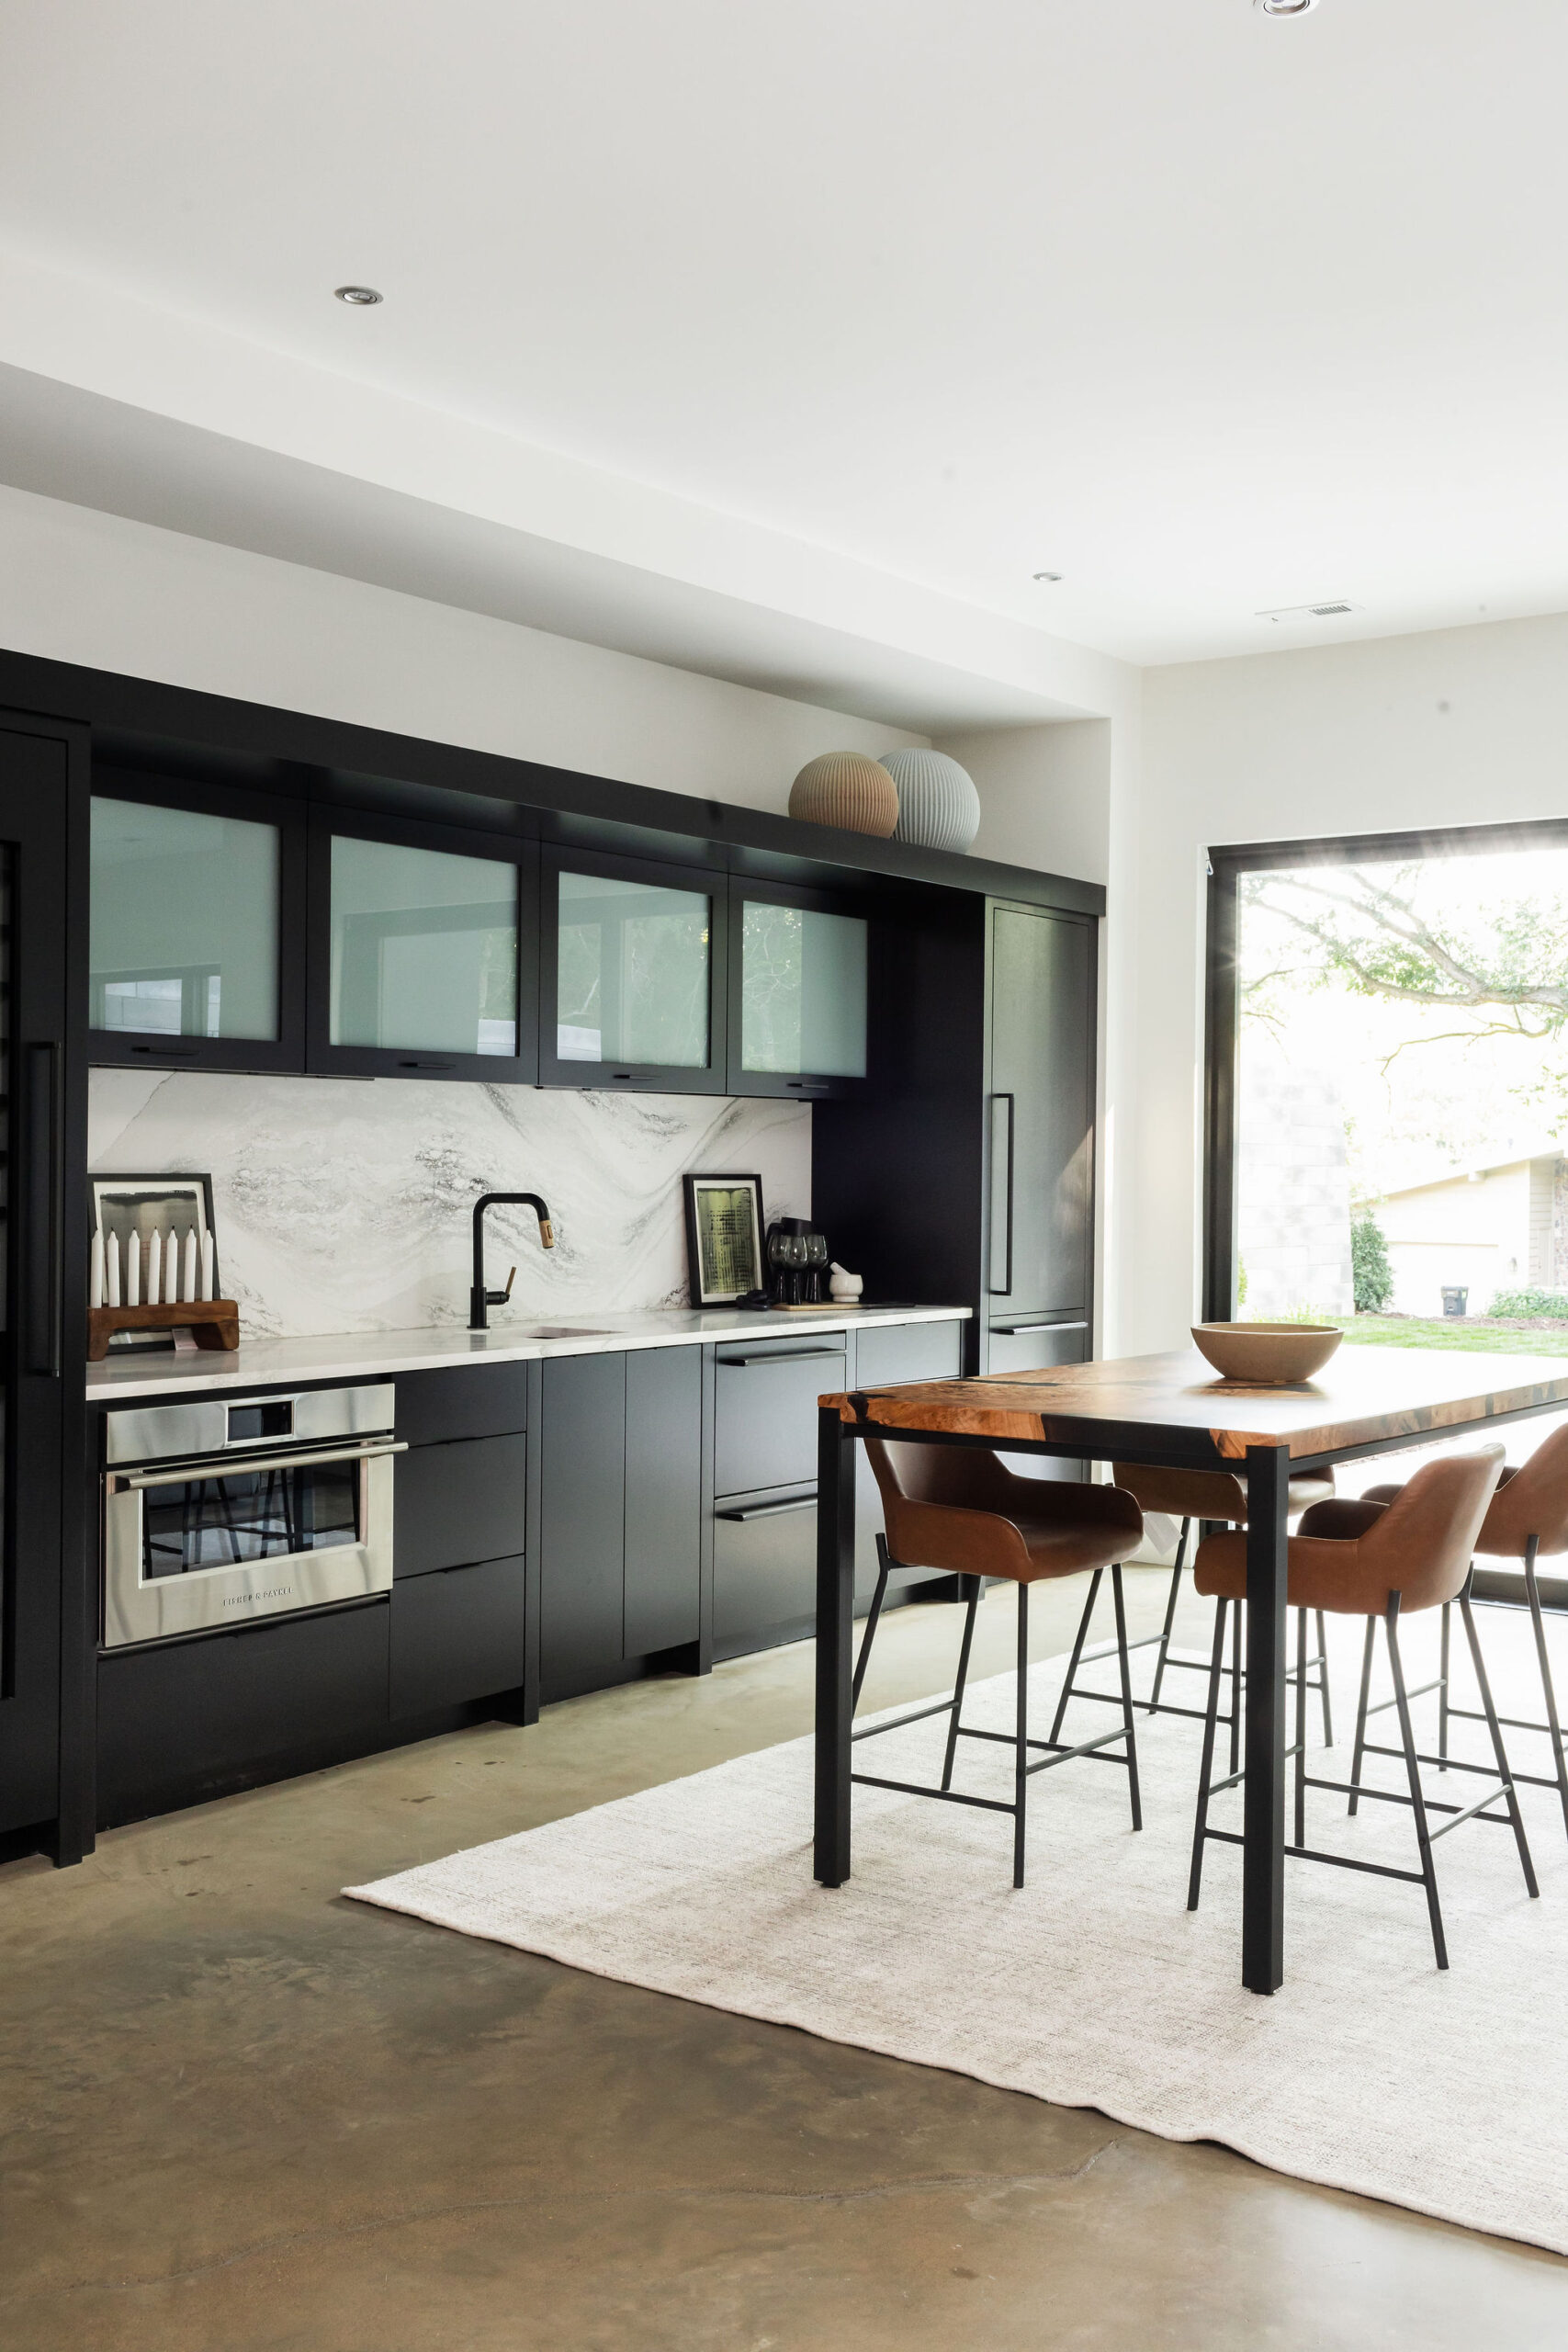
The last major thing to check off our dream wish list in this space was putting in a bar area.
Let’s take a trip back to memory lane and rewind back to the beginning shall we?!
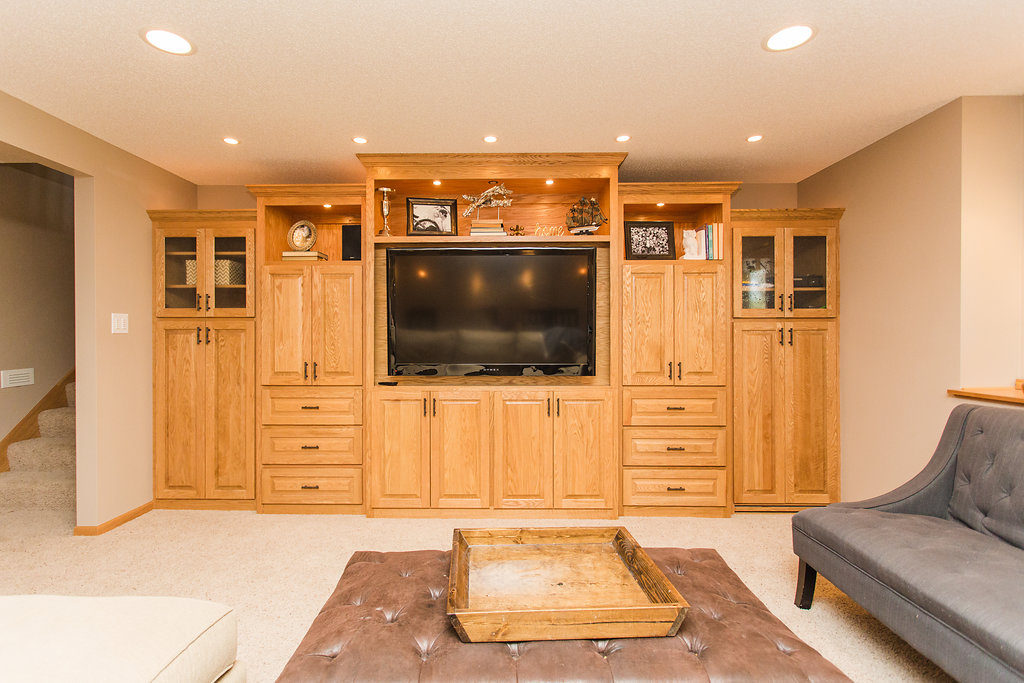
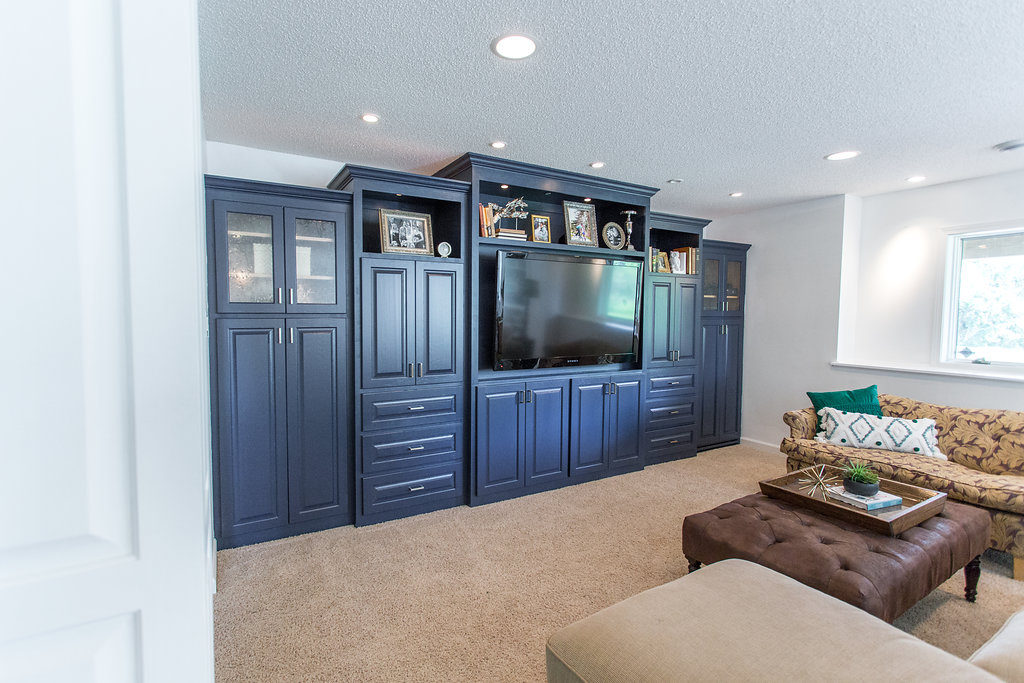
We started by giving our built-in’s a facelift and painting the screaming yellow golden oak cabinets blue.
Much more fun, right?!
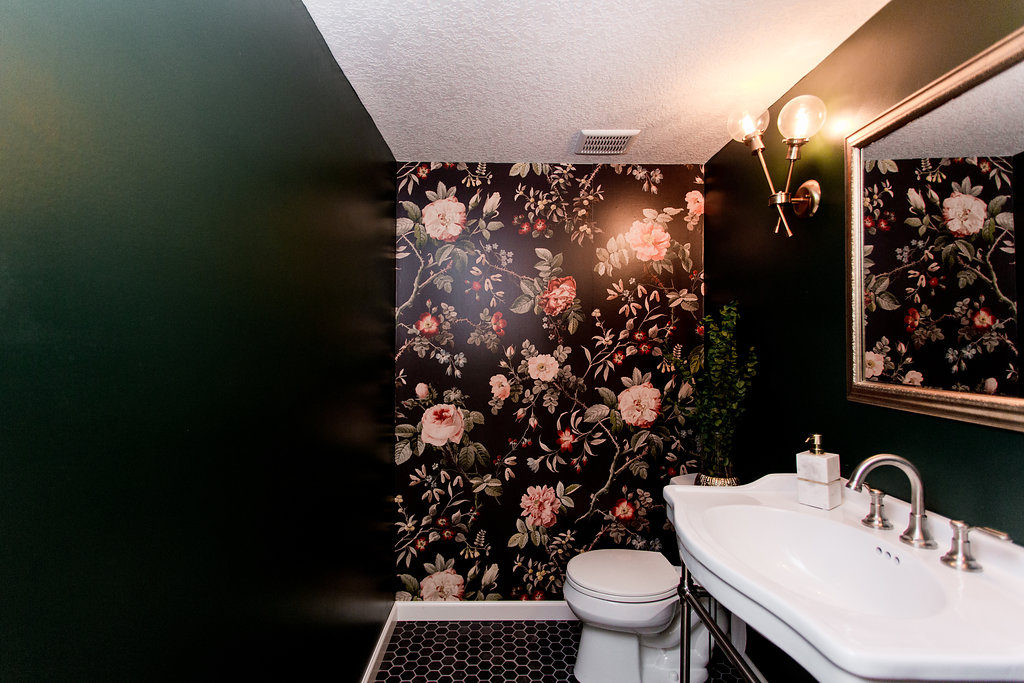
Then we painted all the walls white from beige… replaced with all new trim, and finally added in a powder bathroom.
And now we think this area is screaming for a bar! Don’t you think?
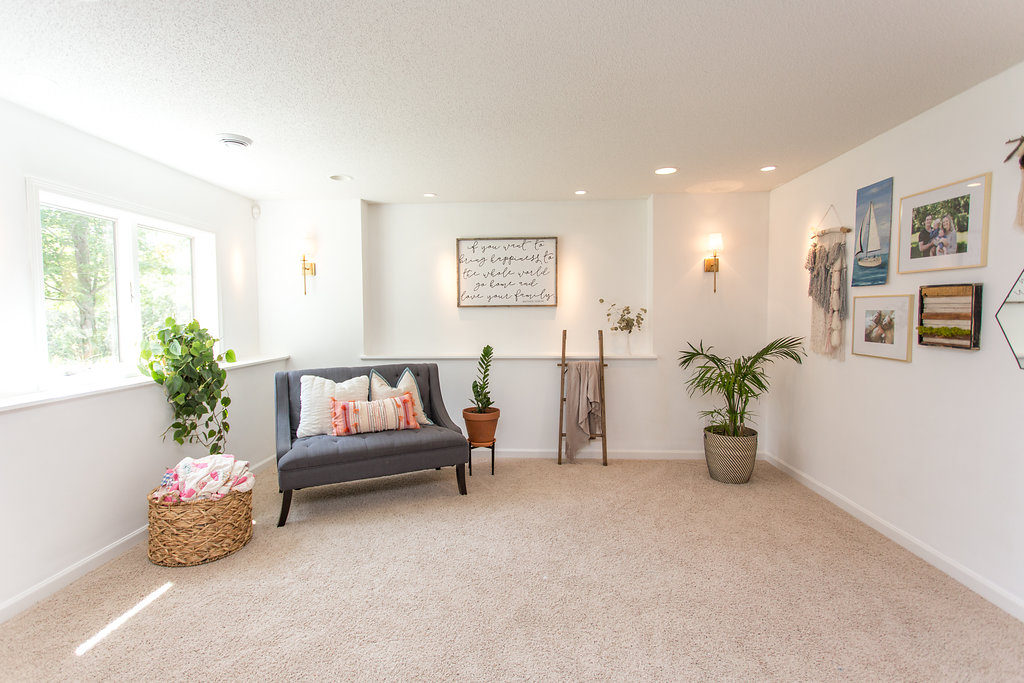
We love to entertain and once winter hits, we’re down in our basement watching the motocross races every weekend. There’s not a whole lot of seating room in this big, empty space and we weren’t quite sure what to do with this area as furniture kind of looked awkward too, but we knew it was in need of something.
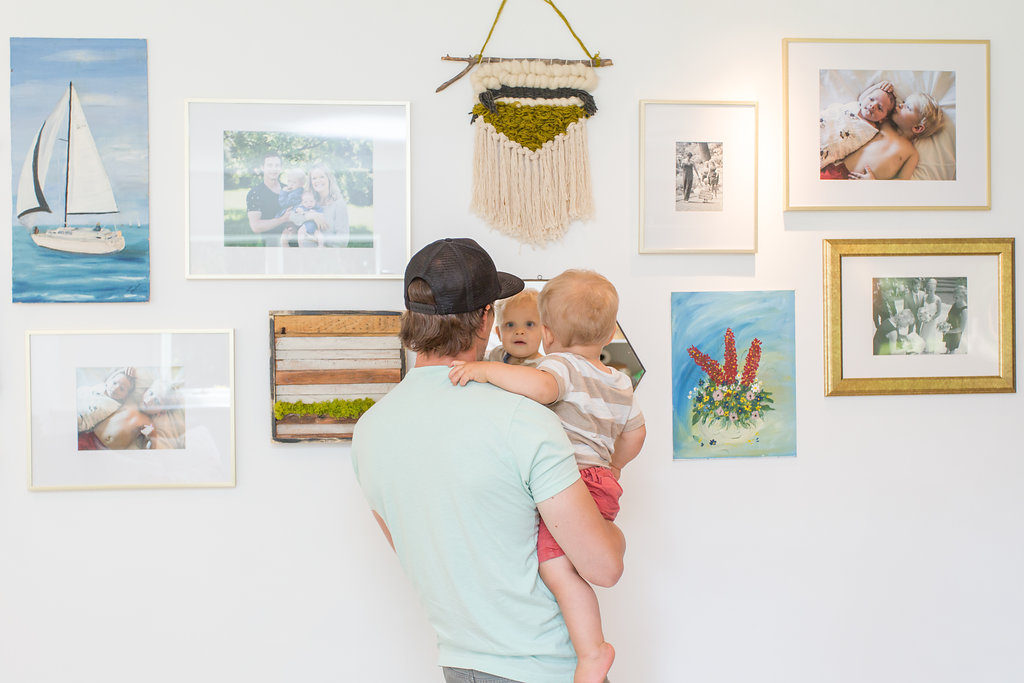
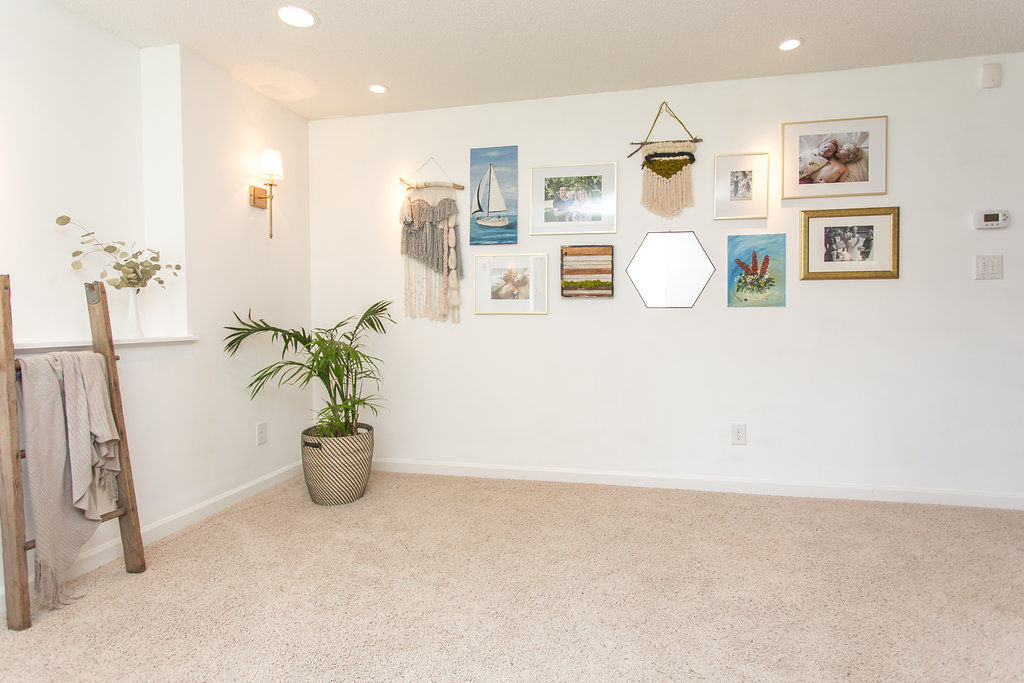
So now this past week, we said goodbye to our gallery wall and awkward area and have been hard at work!
The big question was how we should do the bar layout. We contemplated whether or not to create an island bar in the center of the room, in line with the nook, or put it up against this wall and create a 90 degree angle jetted out peninsula.
In the end, we decided we wanted to be able to utilize the space as much as possible and if we put the bar up against the wall, we would be able to create another hangout area beside it.
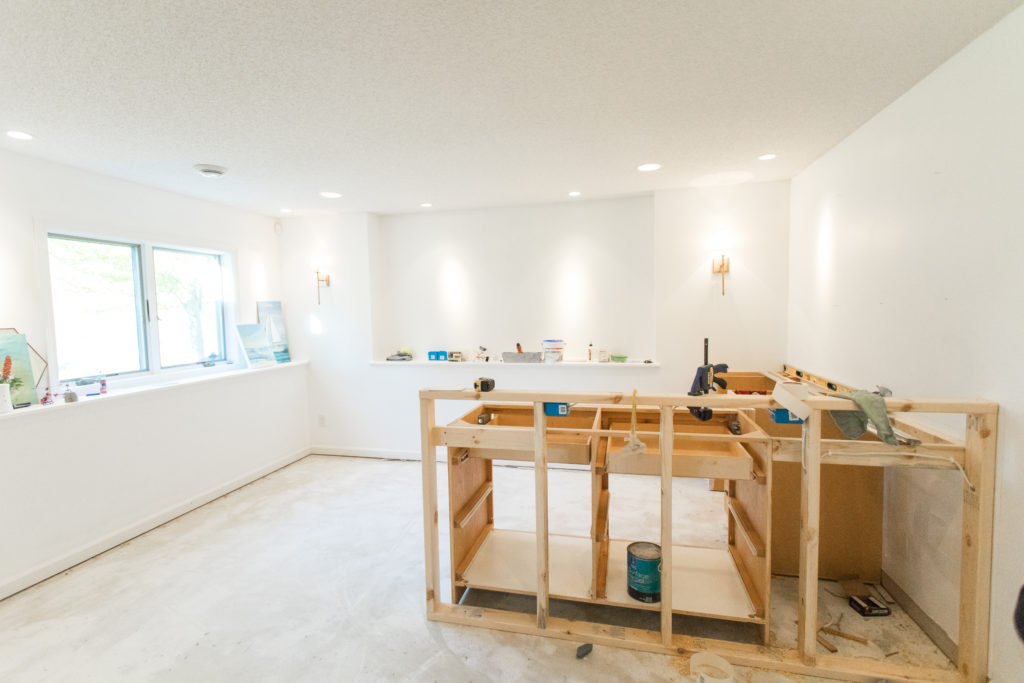
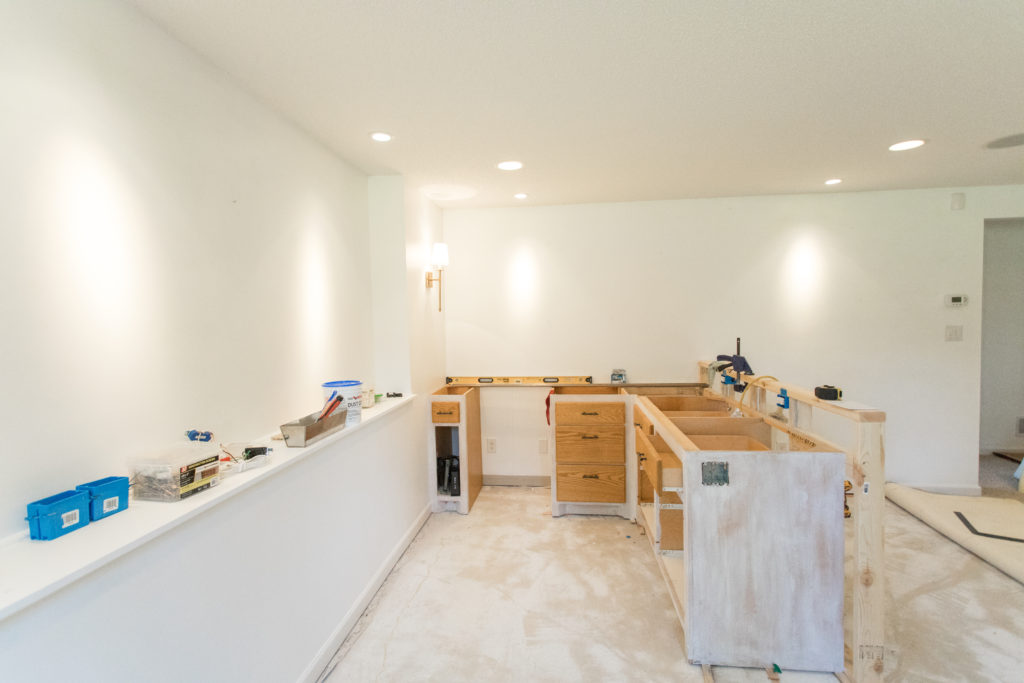
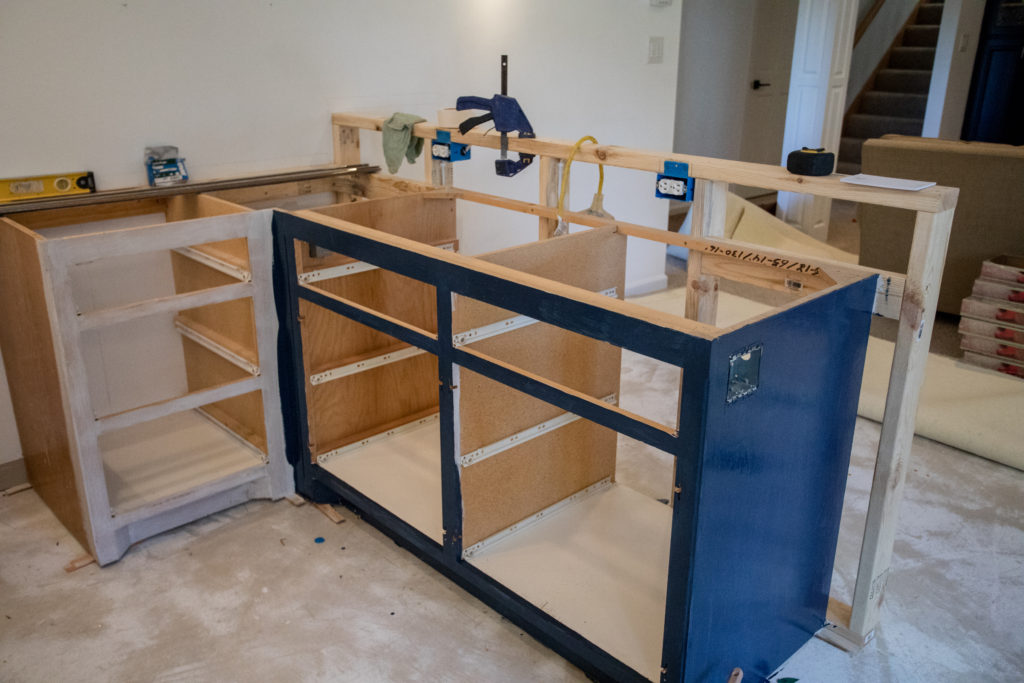
So now after this week of hard work and late nights it’s looking more like this…
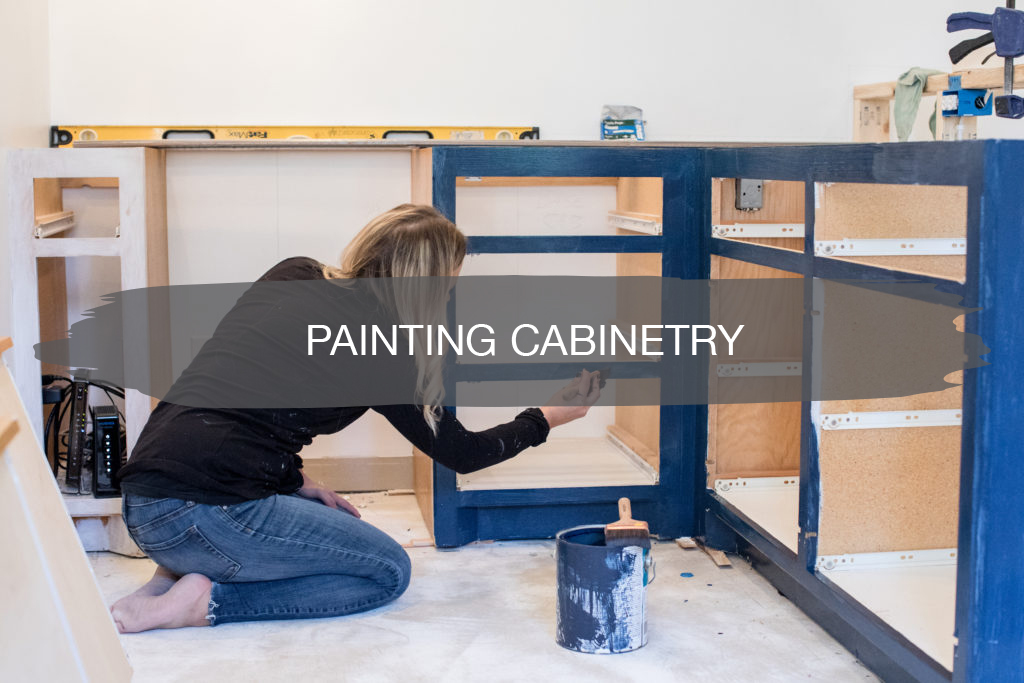
We still had all the leftover cabinetry from our kitchen remodel sitting in our garage, so we were able to scrounge up all the base cabinets to create our new bar, saving us a lot of money. A little fresh paint and a new countertop and this thing will be good as new.
Jamie also wanted a raised bar height so with a few new 2×4’s he was able to build up the ledge.
When we started on this project, we put a post up on Instagram asking you what you wanted to learn from this renovation. The biggest question we got asked was about painting the cabinetry.
Do you sand first?
What paint color are you using?
Is the brush important?
Today we wanted to share our process with you and answer some of your questions.
Painting Cabinetry Q & A:
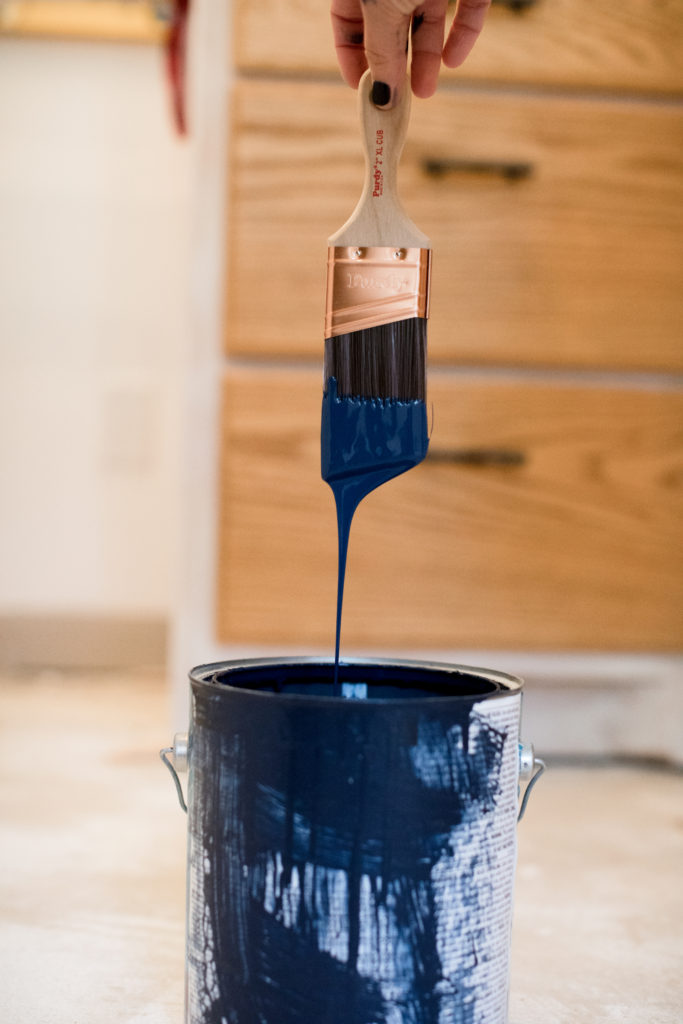
Quality Brushes are the Real Deal
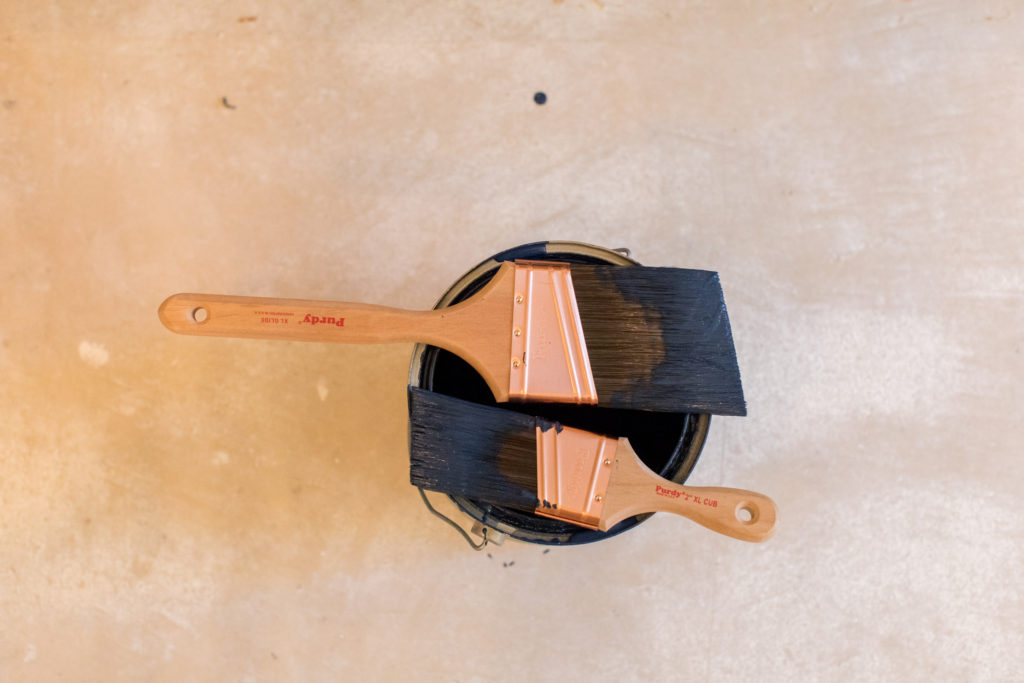
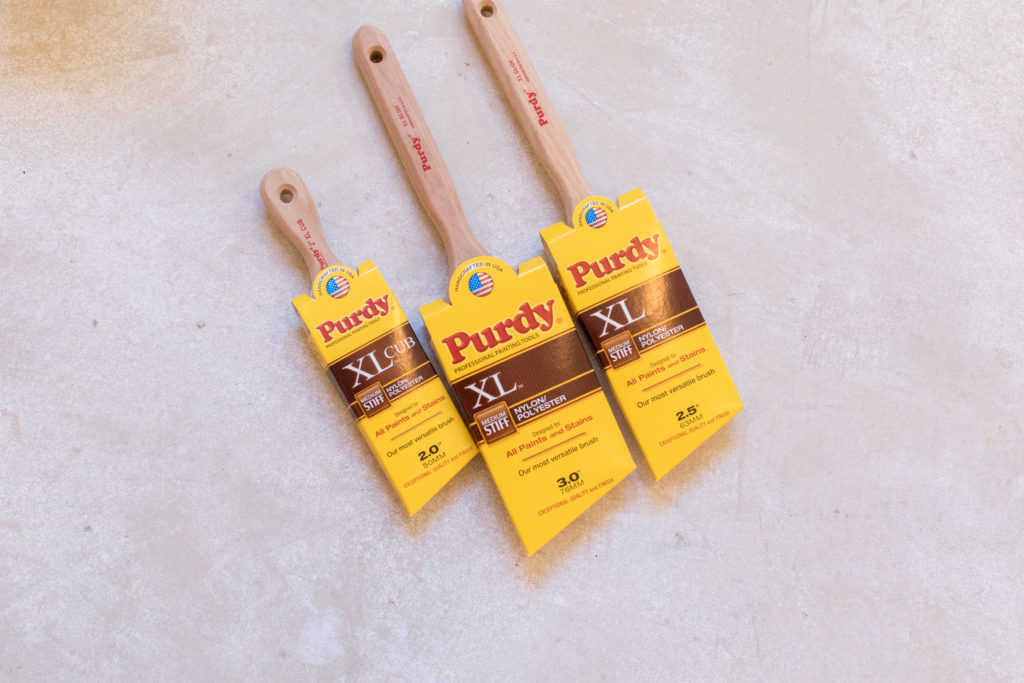
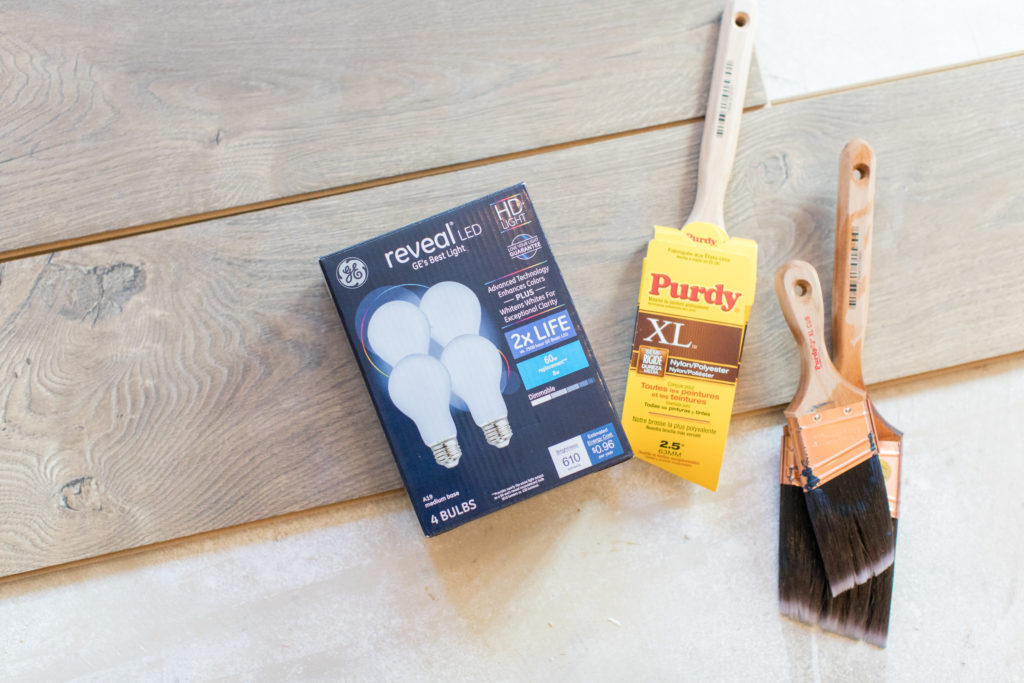
These are the three different brushes we used for this project. The Purdy Pro Extra Glide, angled 2″is one that we use on every painting project, because there are always those hard to reach places or areas where you have to do precise cutting in.
We pick these up at Lowe’s Home Improvement all the time!
Purdy Pro Extra Glide, angled 2″
Purdy Pro Extra Glide, angled 2.5″
Purdy Pro Extra Glide, angled 3″
We usually use a couple different sizes throughout one project, depending on the areas we’re covering. Just like paint, your brushes need to be quality too. We use the smaller brush for those small, hard-to-reach areas and grooves and the larger brushes for the bigger areas. Jamie also prefers the short handle brushes.
Good Lighting
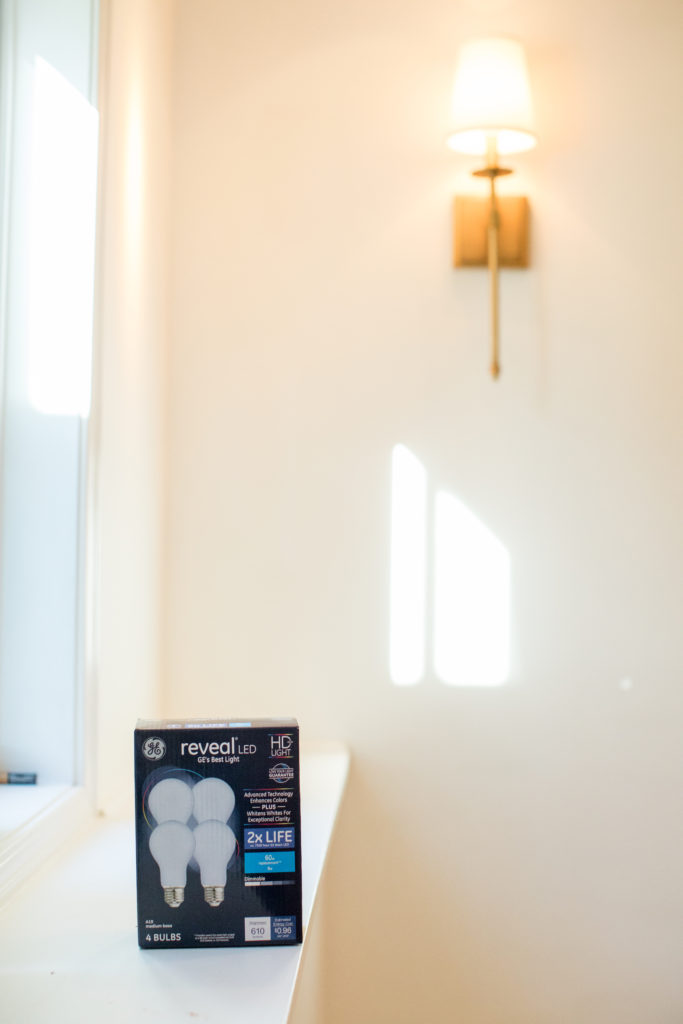
It’s true what they say about good lighting, especially when painting. Painting during the day with natural light is ideal; however, we’ve been forced to work on this project at night, since we’re doing client work non-stop during the day. Getting our cans filled (and finishing putting up our lighting) to get a good light source in our basement was step one for this painting process.
The reveal LED GE lightbulbs are our favorite. We use them throughout our home, under construction or not. They provide a pure and clean white light that enhances the color of your space. These bulbs truly you help you to see vibrant colors and vivid whites. Which is what our basement is all about.
No missed drips at night with these bulbs!
Spraying vs. Rolling
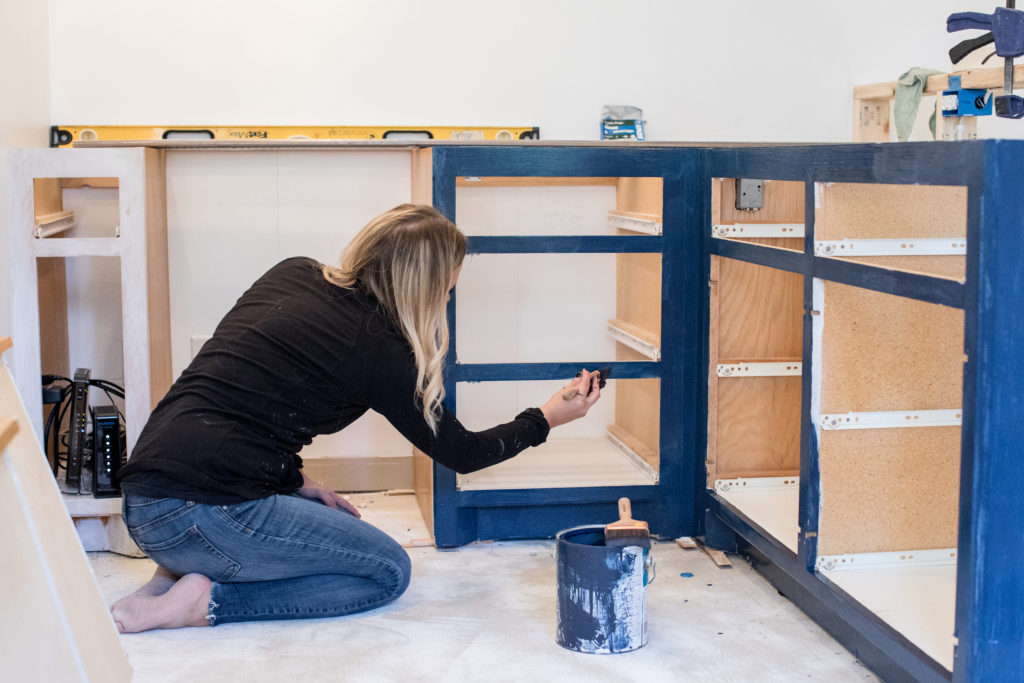
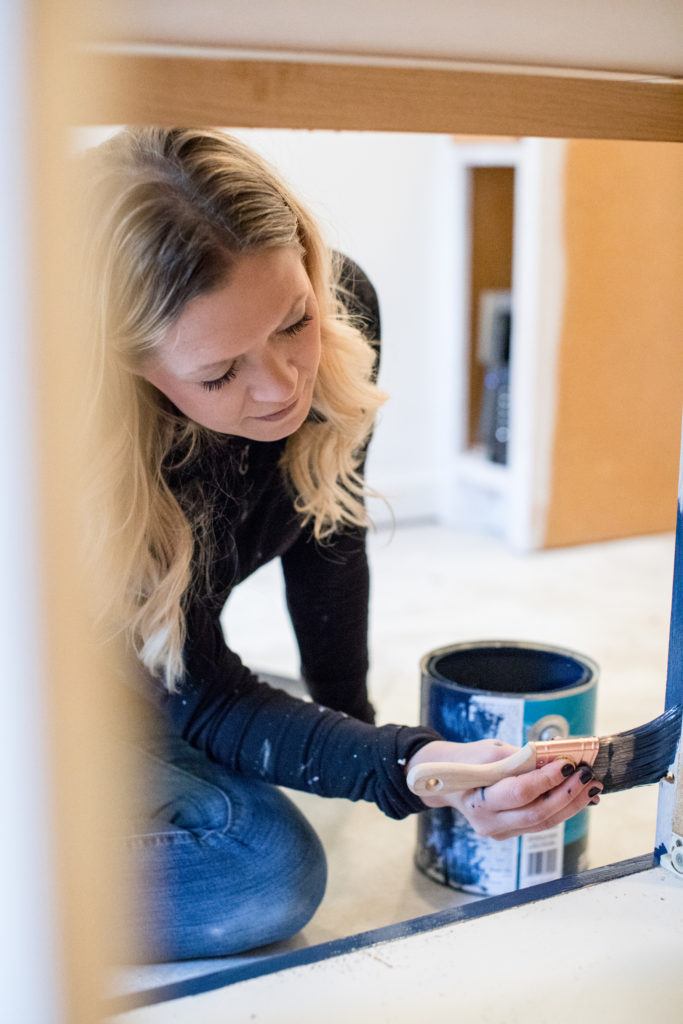
Another big question we get asked and one that’s always up for debate. For any project that we do, I always start by cutting everything in with a brush. If it’s smaller areas like this bar, I always brush and then roll. For larger cabinetry areas, Jamie takes over and sprays. If I’m ever in charge of rolling the doors, then the Purdy 4.5″ mini rollers are our go-to.
Proper Prep!
We’ve made our share of mistakes when it comes to painting cabinetry, but after years of learning hard and quick we officially got this down! Most of the work for painting cabinetry comes in the prep work and quality of products that you use. Don’t make the mistake of sacrificing quality in the products you buy. Because if you do, in the end it will just end up costing you more time and a lot more money. Don’t skip prep steps due to time and especially when it comes to investing in quality brushes and cabinetry paint.
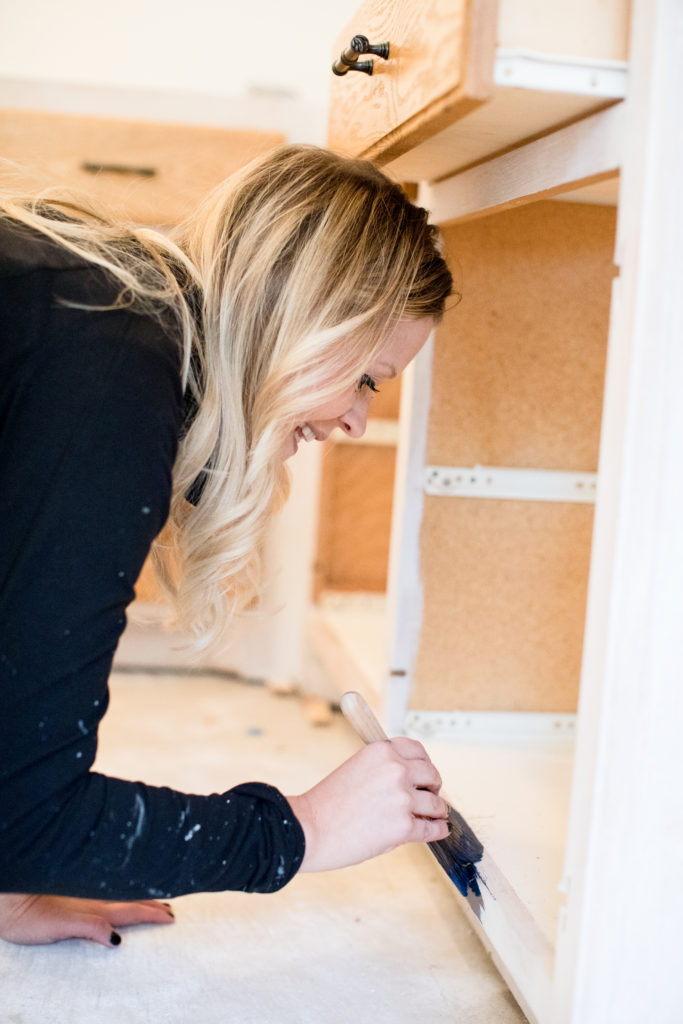
First step when prepping is to to empty your cabinets, do a deep clean, remove doors and drawers and sand down everything.
If you make the mistake of not emptying your cabinets, your food and dishes will be full of dirt and dust from sanding. Perfect time to clean those cabinets out! And get a good degreaser when cleaning to get all of the grease build-up off your cabinetry.
We don’t usually paint the inside but typically just the inside lip, depending on the state of the inside. If you do paint the inside, make sure to get plastic protectant for the shelving to avoid paint chips.
Sanding & Priming
Yes, you need to sand. Yes, you need to prime.
Sanding is a big deal. You’ll want to sand, prime, sand, paint, paint. This will help prevent the paint from chipping. Sanding also helps remove any nicks, scratches or poly and it also creates more of an adhesive for your paint to stick too.
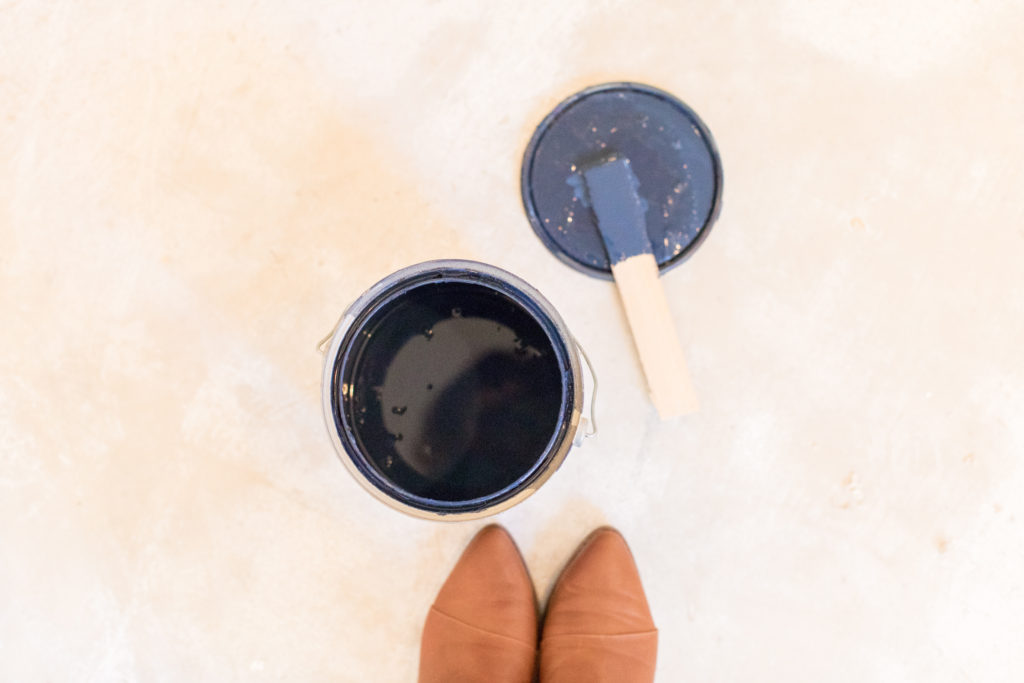
We debated what color to paint the cabinetry, but in the end, Jamie’s vote won, and we matched the paint color to our other basement cabinetry. We’re thinking we’ll offset the dark cabinet color with a light and bright countertop.
Quality Finish
Matte, eggshell, semi-gloss or gloss is always the big question! We would never use matte or even eggshell. You want a finish that you’re able to wipe down and clean. We always go with a semi-gloss finish. Our clients often get nervous as they think it might be too glossy, but we promise it’s not. You’ll be so much happier in the end and best of all, you won’t be repainting one year later.
And invest in cabinetry paint, don’t get the lowest price point. They make cabinetry paint for a reason. If you’re unsure due to the current finish of your cabinetry just talk to the paint department and they’ll be sure to educate you on your best option.
Lowe’s team members pride themselves on serving customers in need of design advice and product guidance. If you’re feeling stuck on your home improvement project just head to Lowe’s and ask a smiling face about where to begin, just look for the red vest.
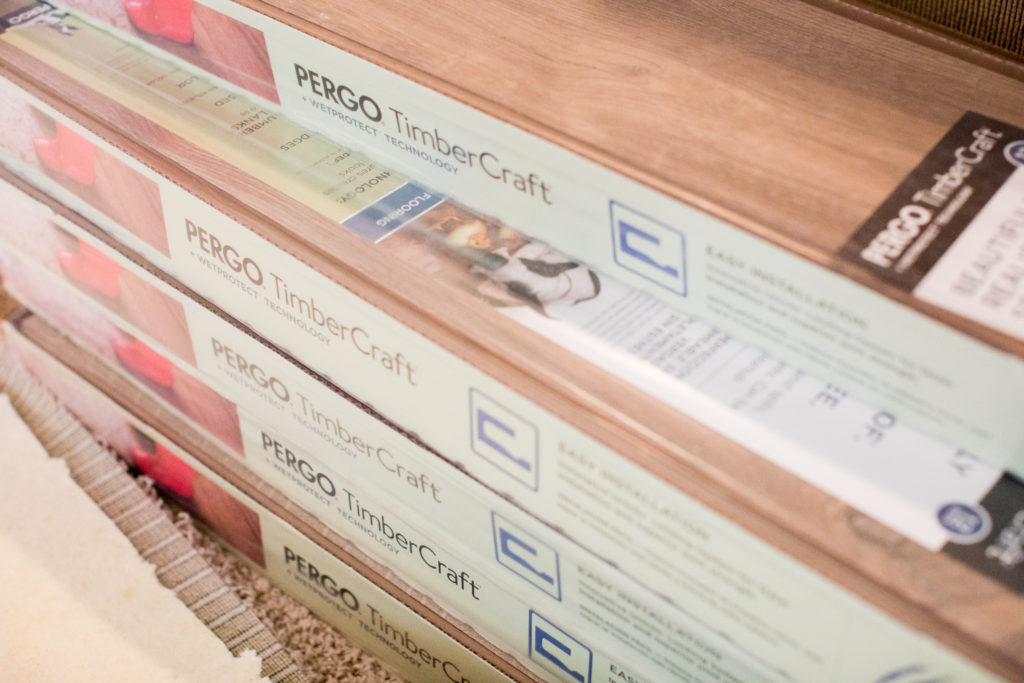
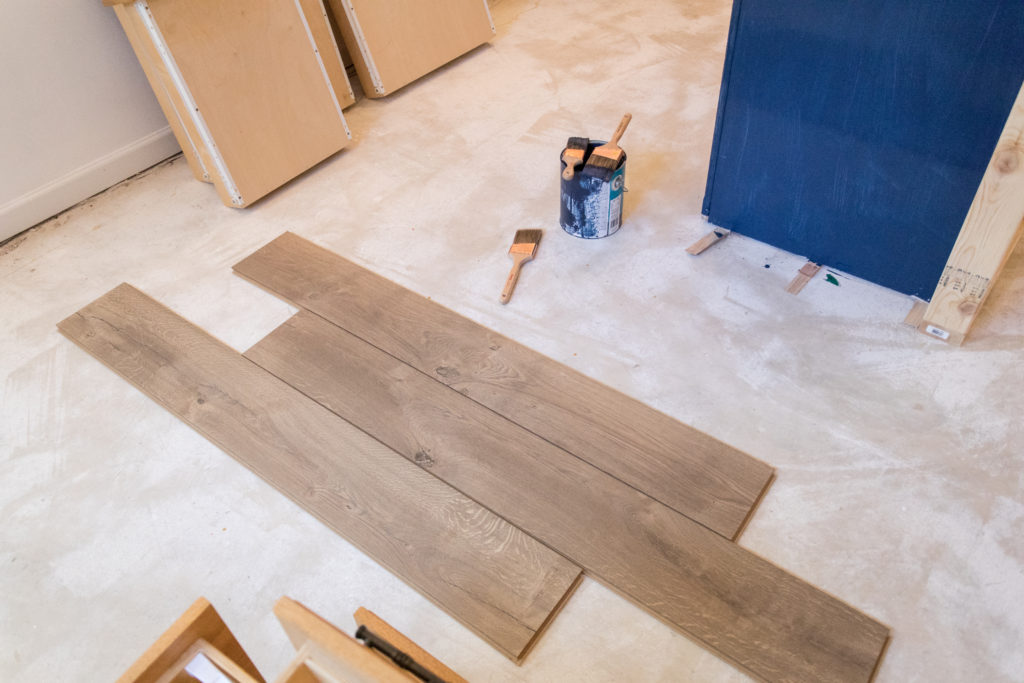
Now that the painting messy painting is done next up, flooring! With two little monsters on our hands, we’ve also not kept our carpet in the best shape, so we decided to tear out the bar area carpet and replace it with Pergo Timbercraft, WetProtect Waterproof Laminate from Lowe’s.
We can hardly wait to share the floor install and final reveal with you from this project next. I’m drooling over this color we chose!
If you have any more painting questions around cabinetry, drop us a question and we’ll be sure to let you know our suggestions.
.
3 thoughts on “Adding a Bar into our Basement”
Comments are closed.