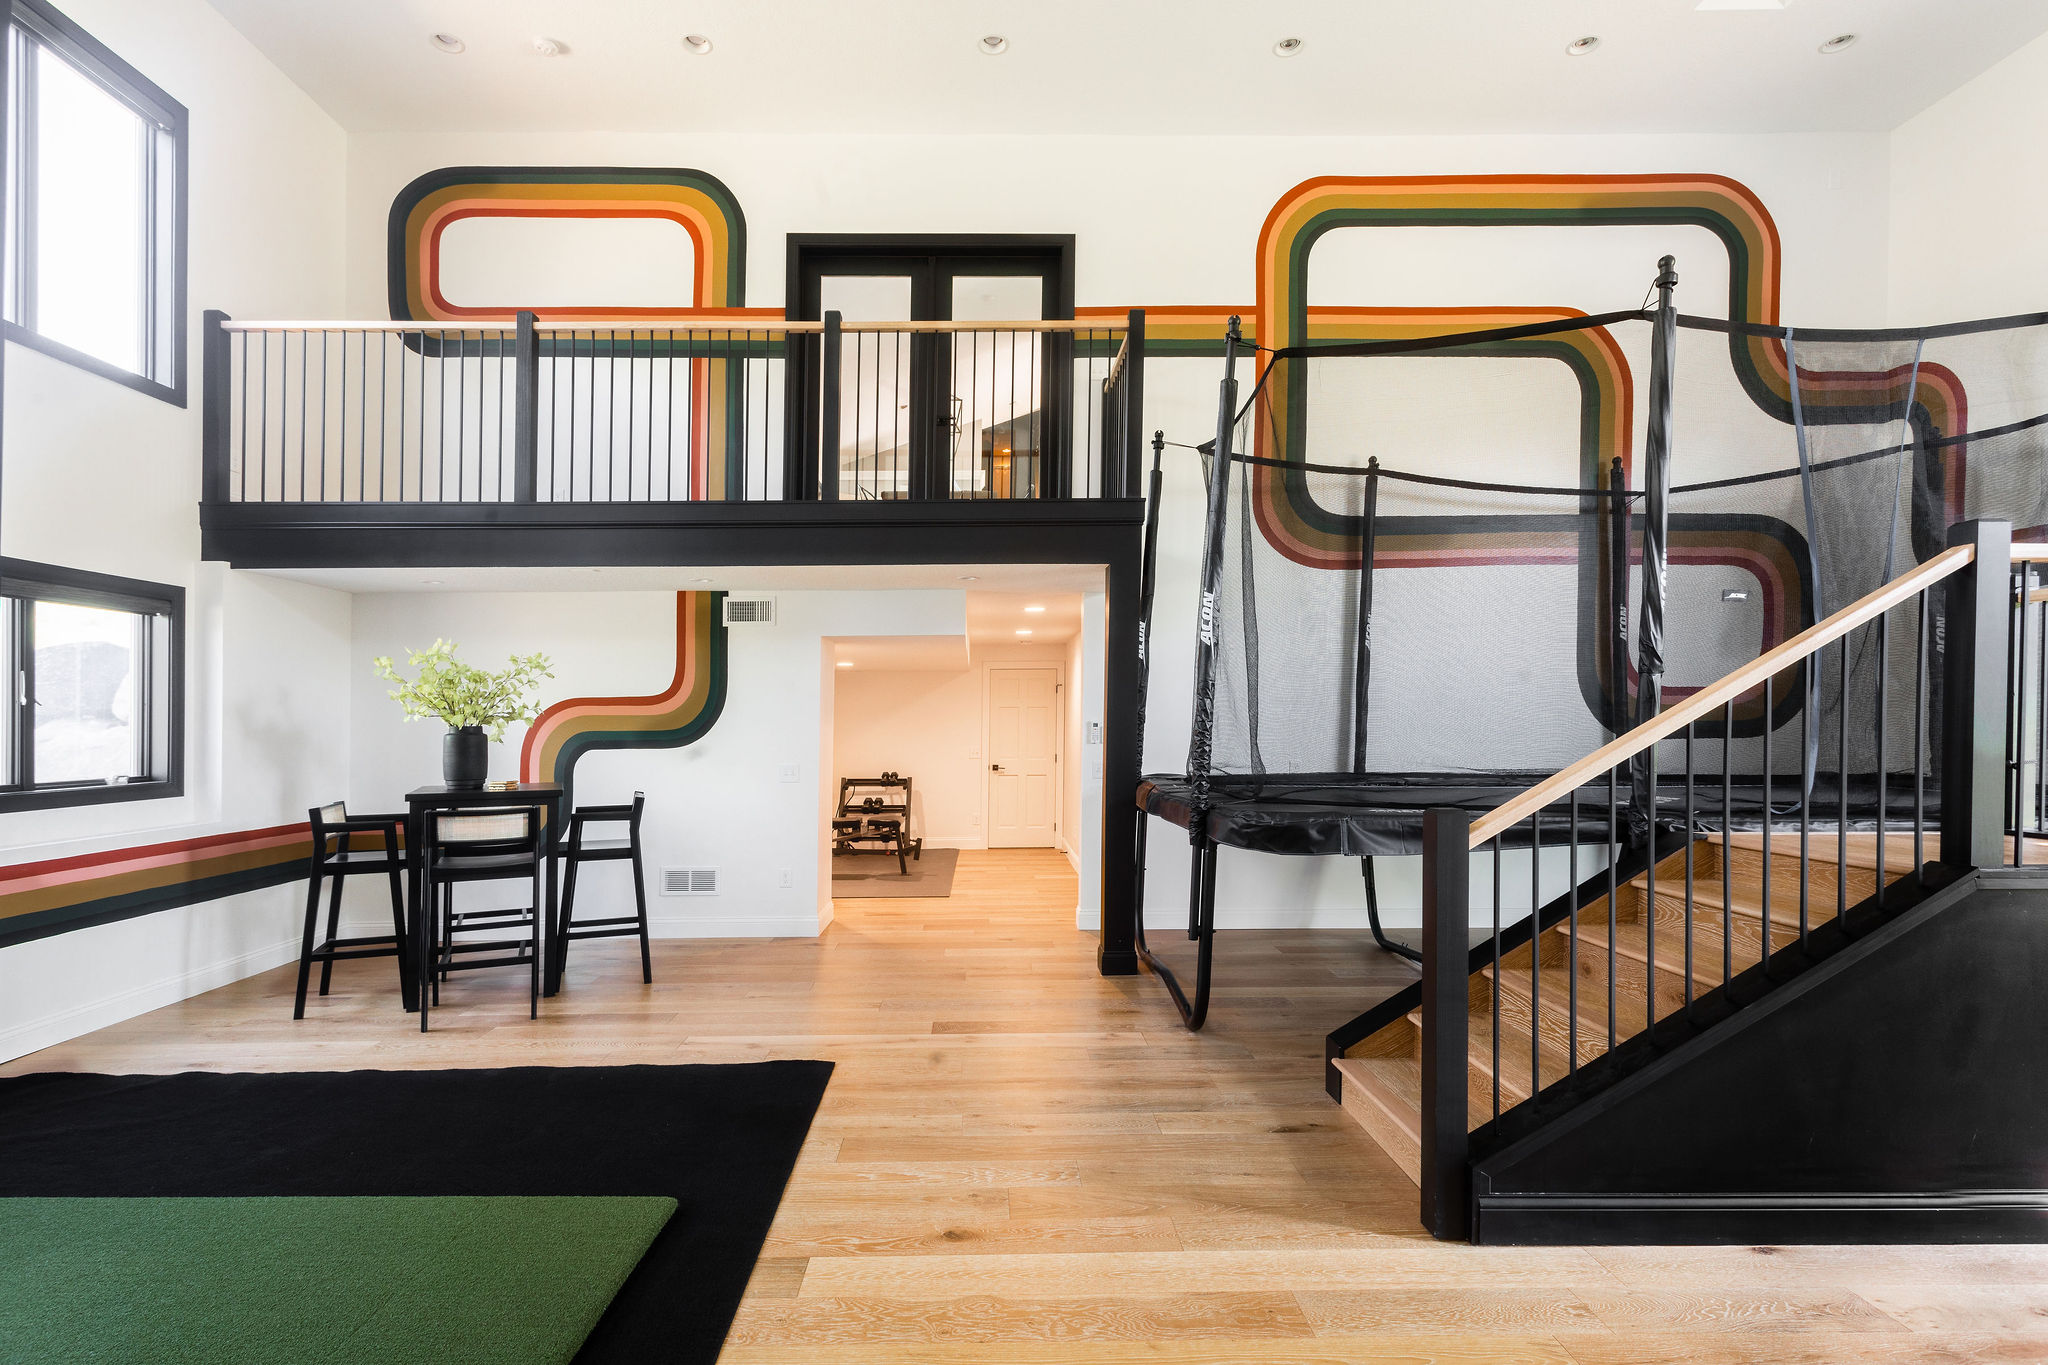
It’s our sports court reveal day! Crazy to think we broke ground one year ago this November. Although we started dreaming, scheming, and planning with our architect long before last year.
And landscaping still needs to be done. This means we’ll probably be closer to the two-year mark once all is said and done. But worth it all!
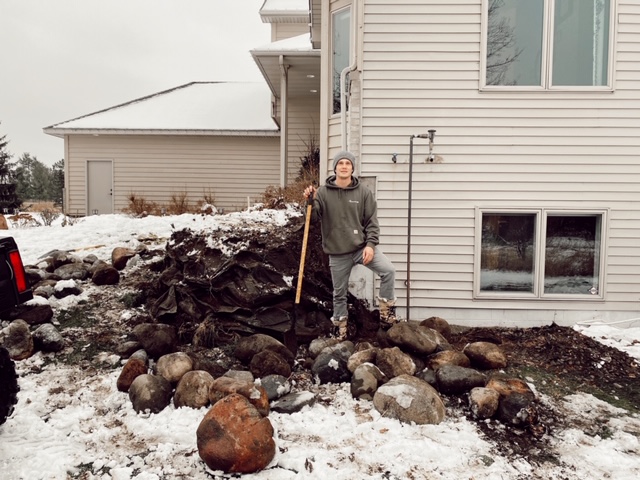
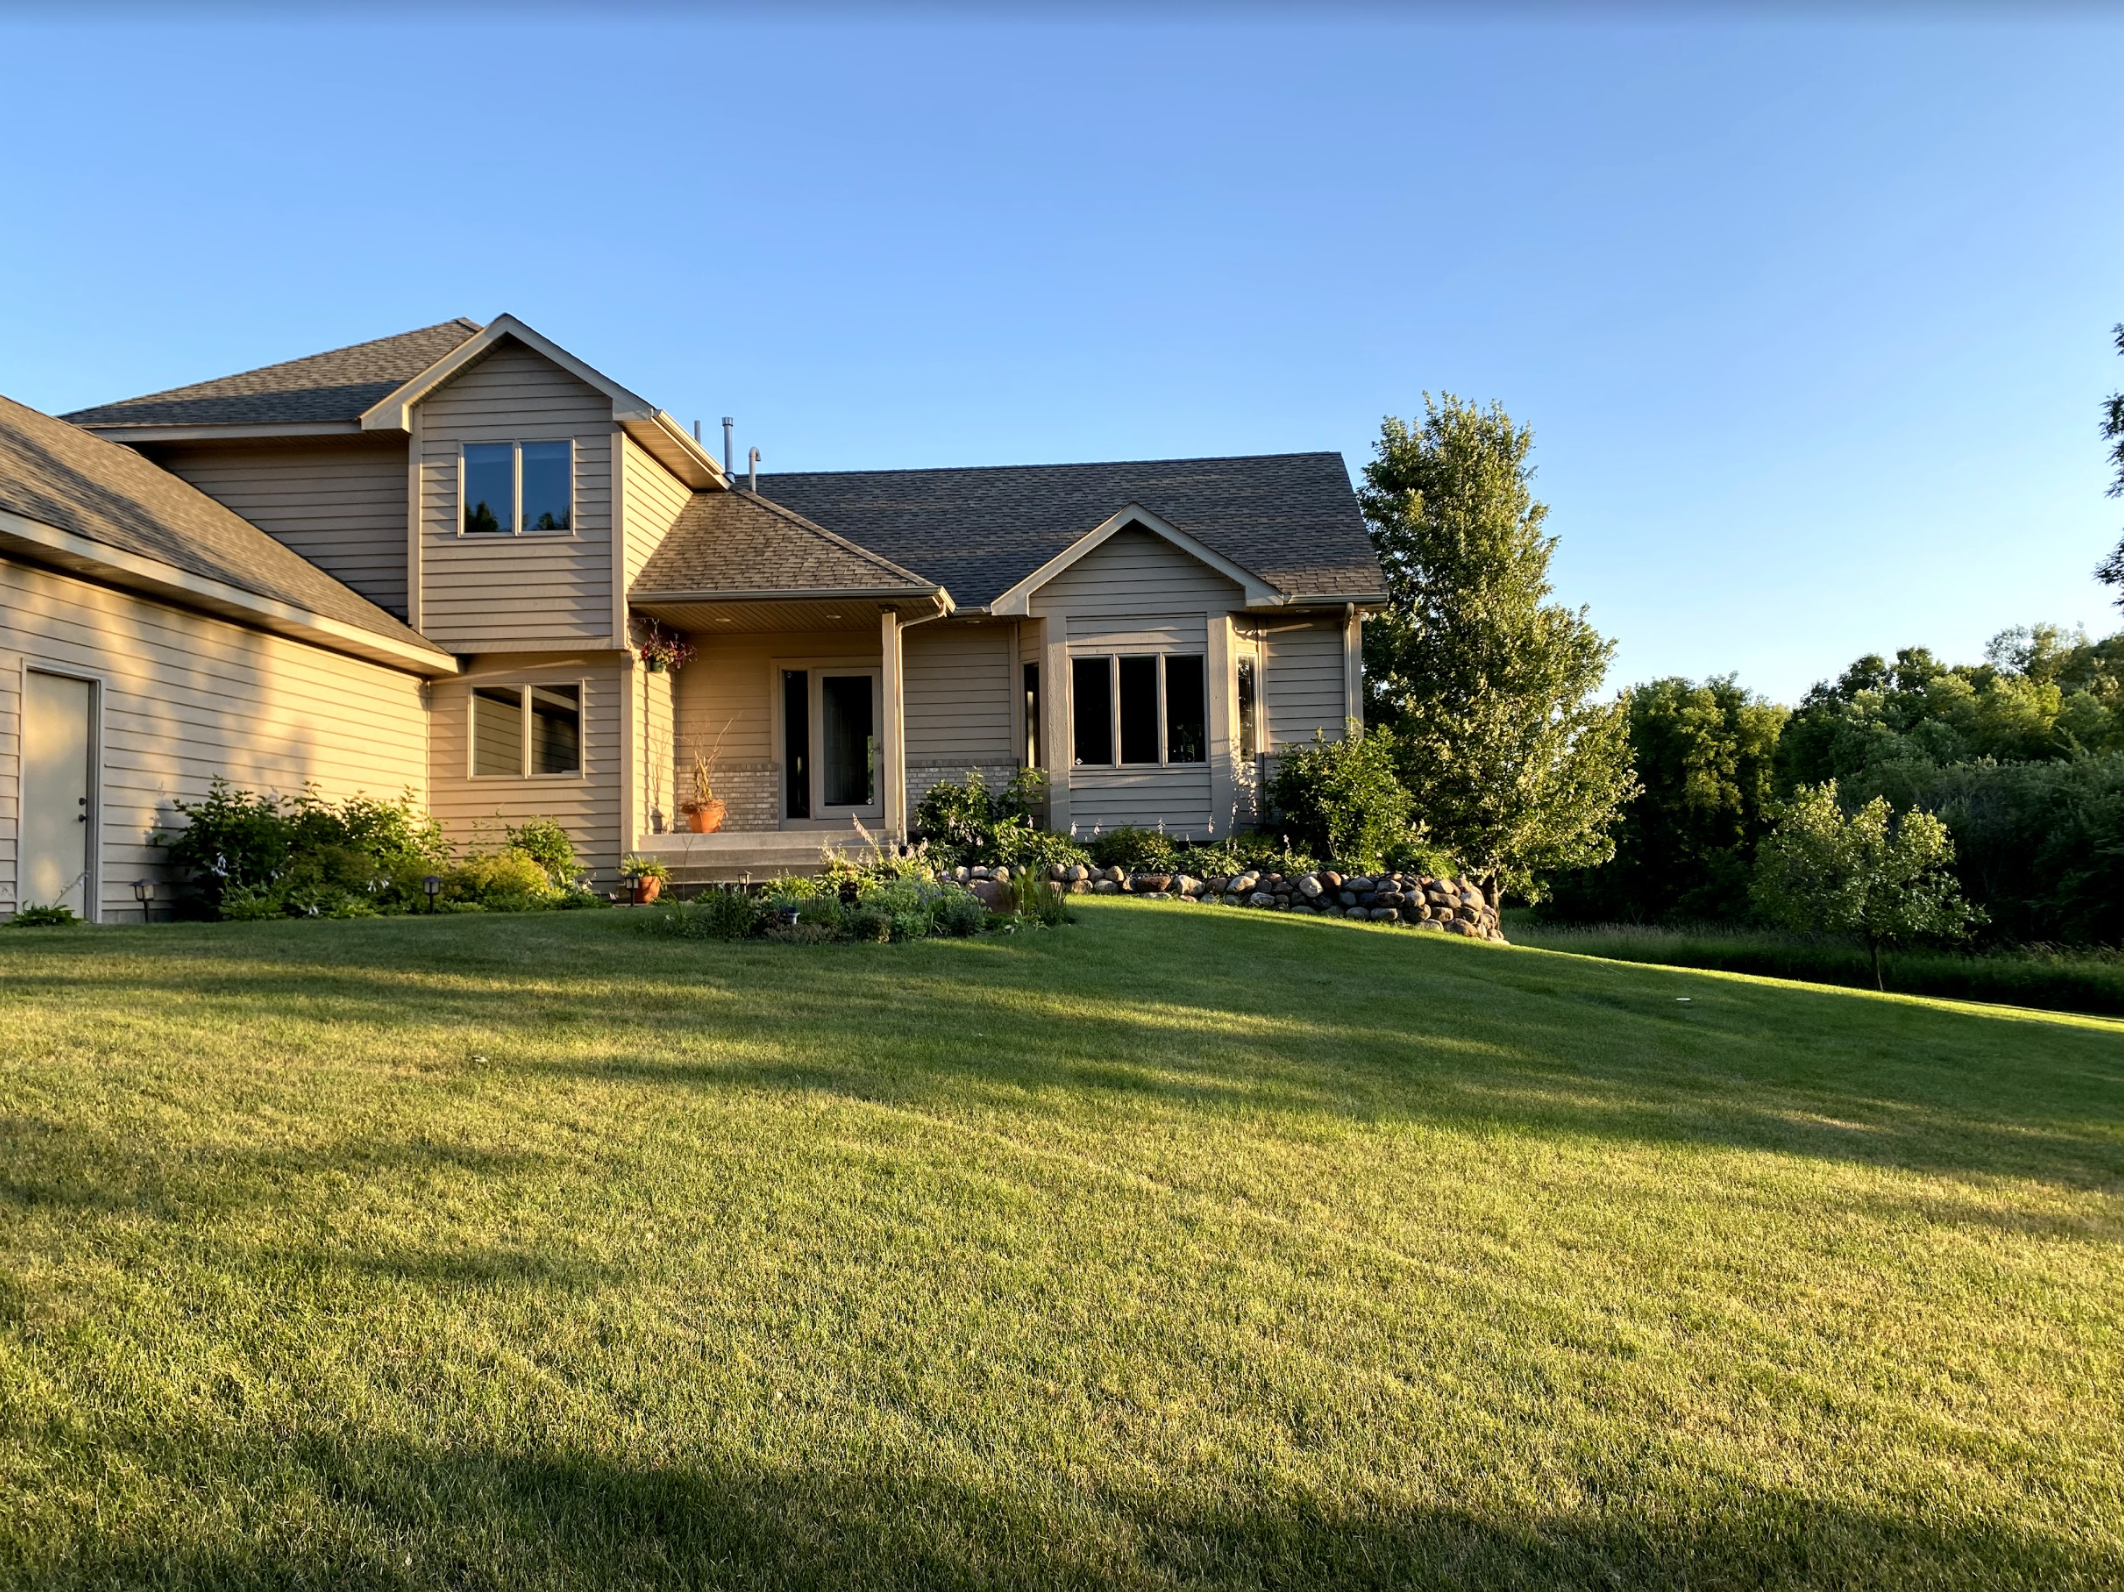
Before
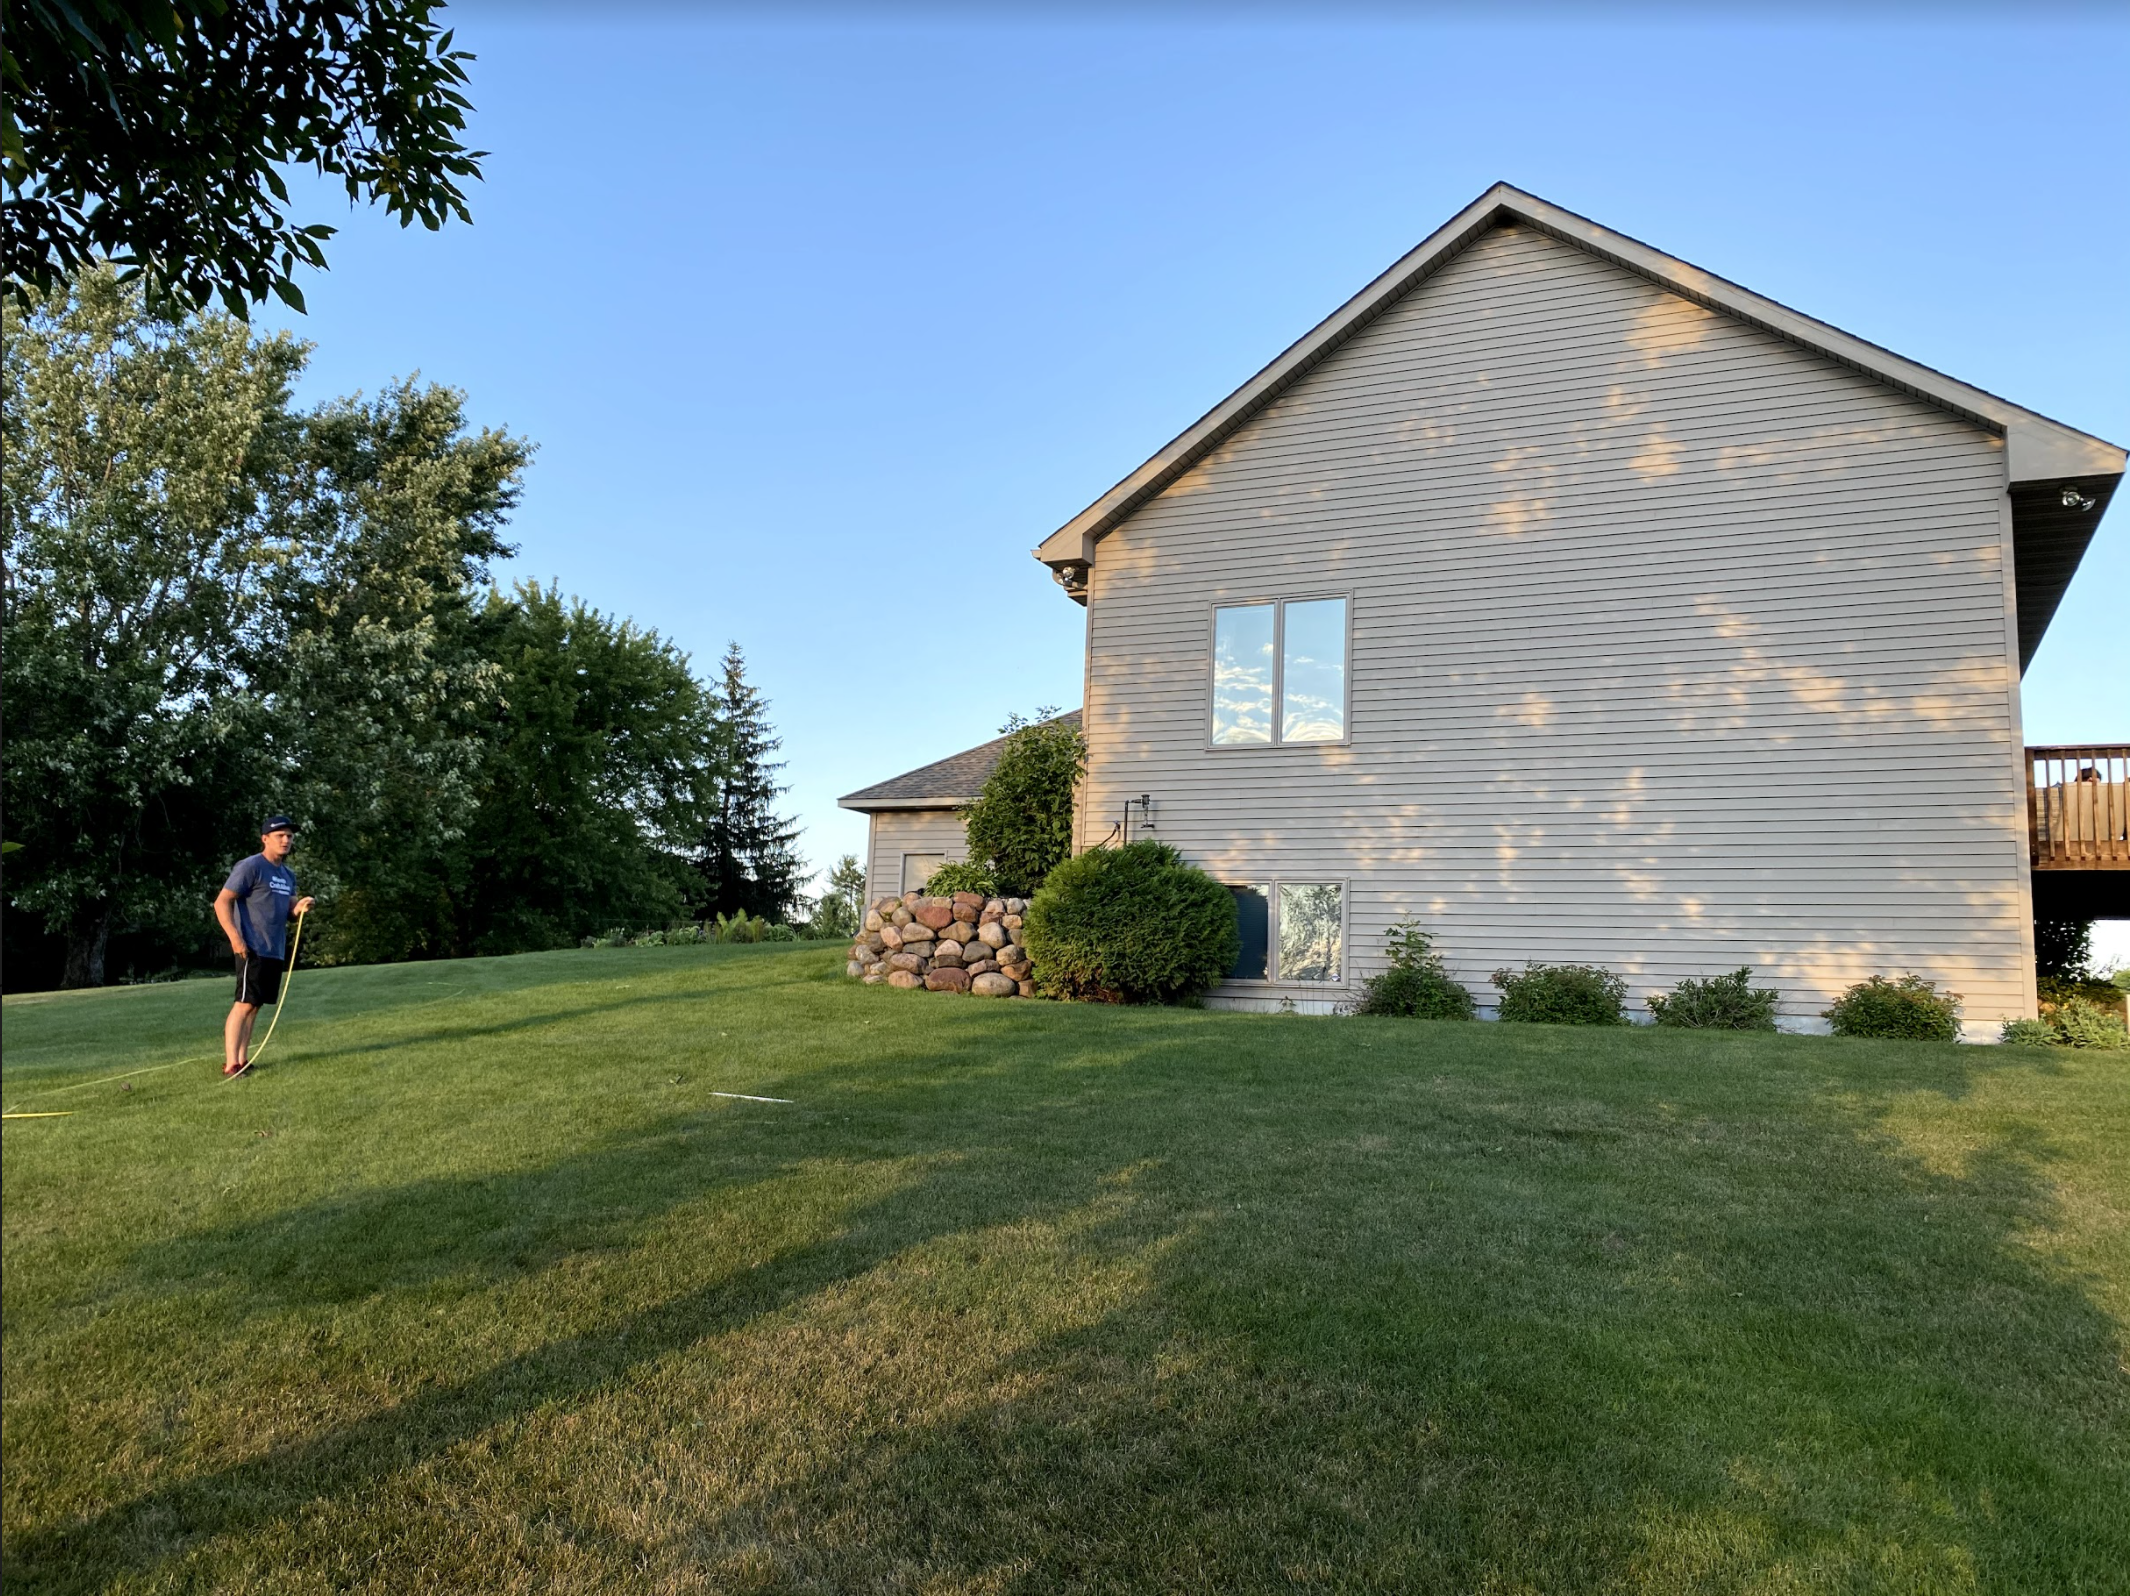
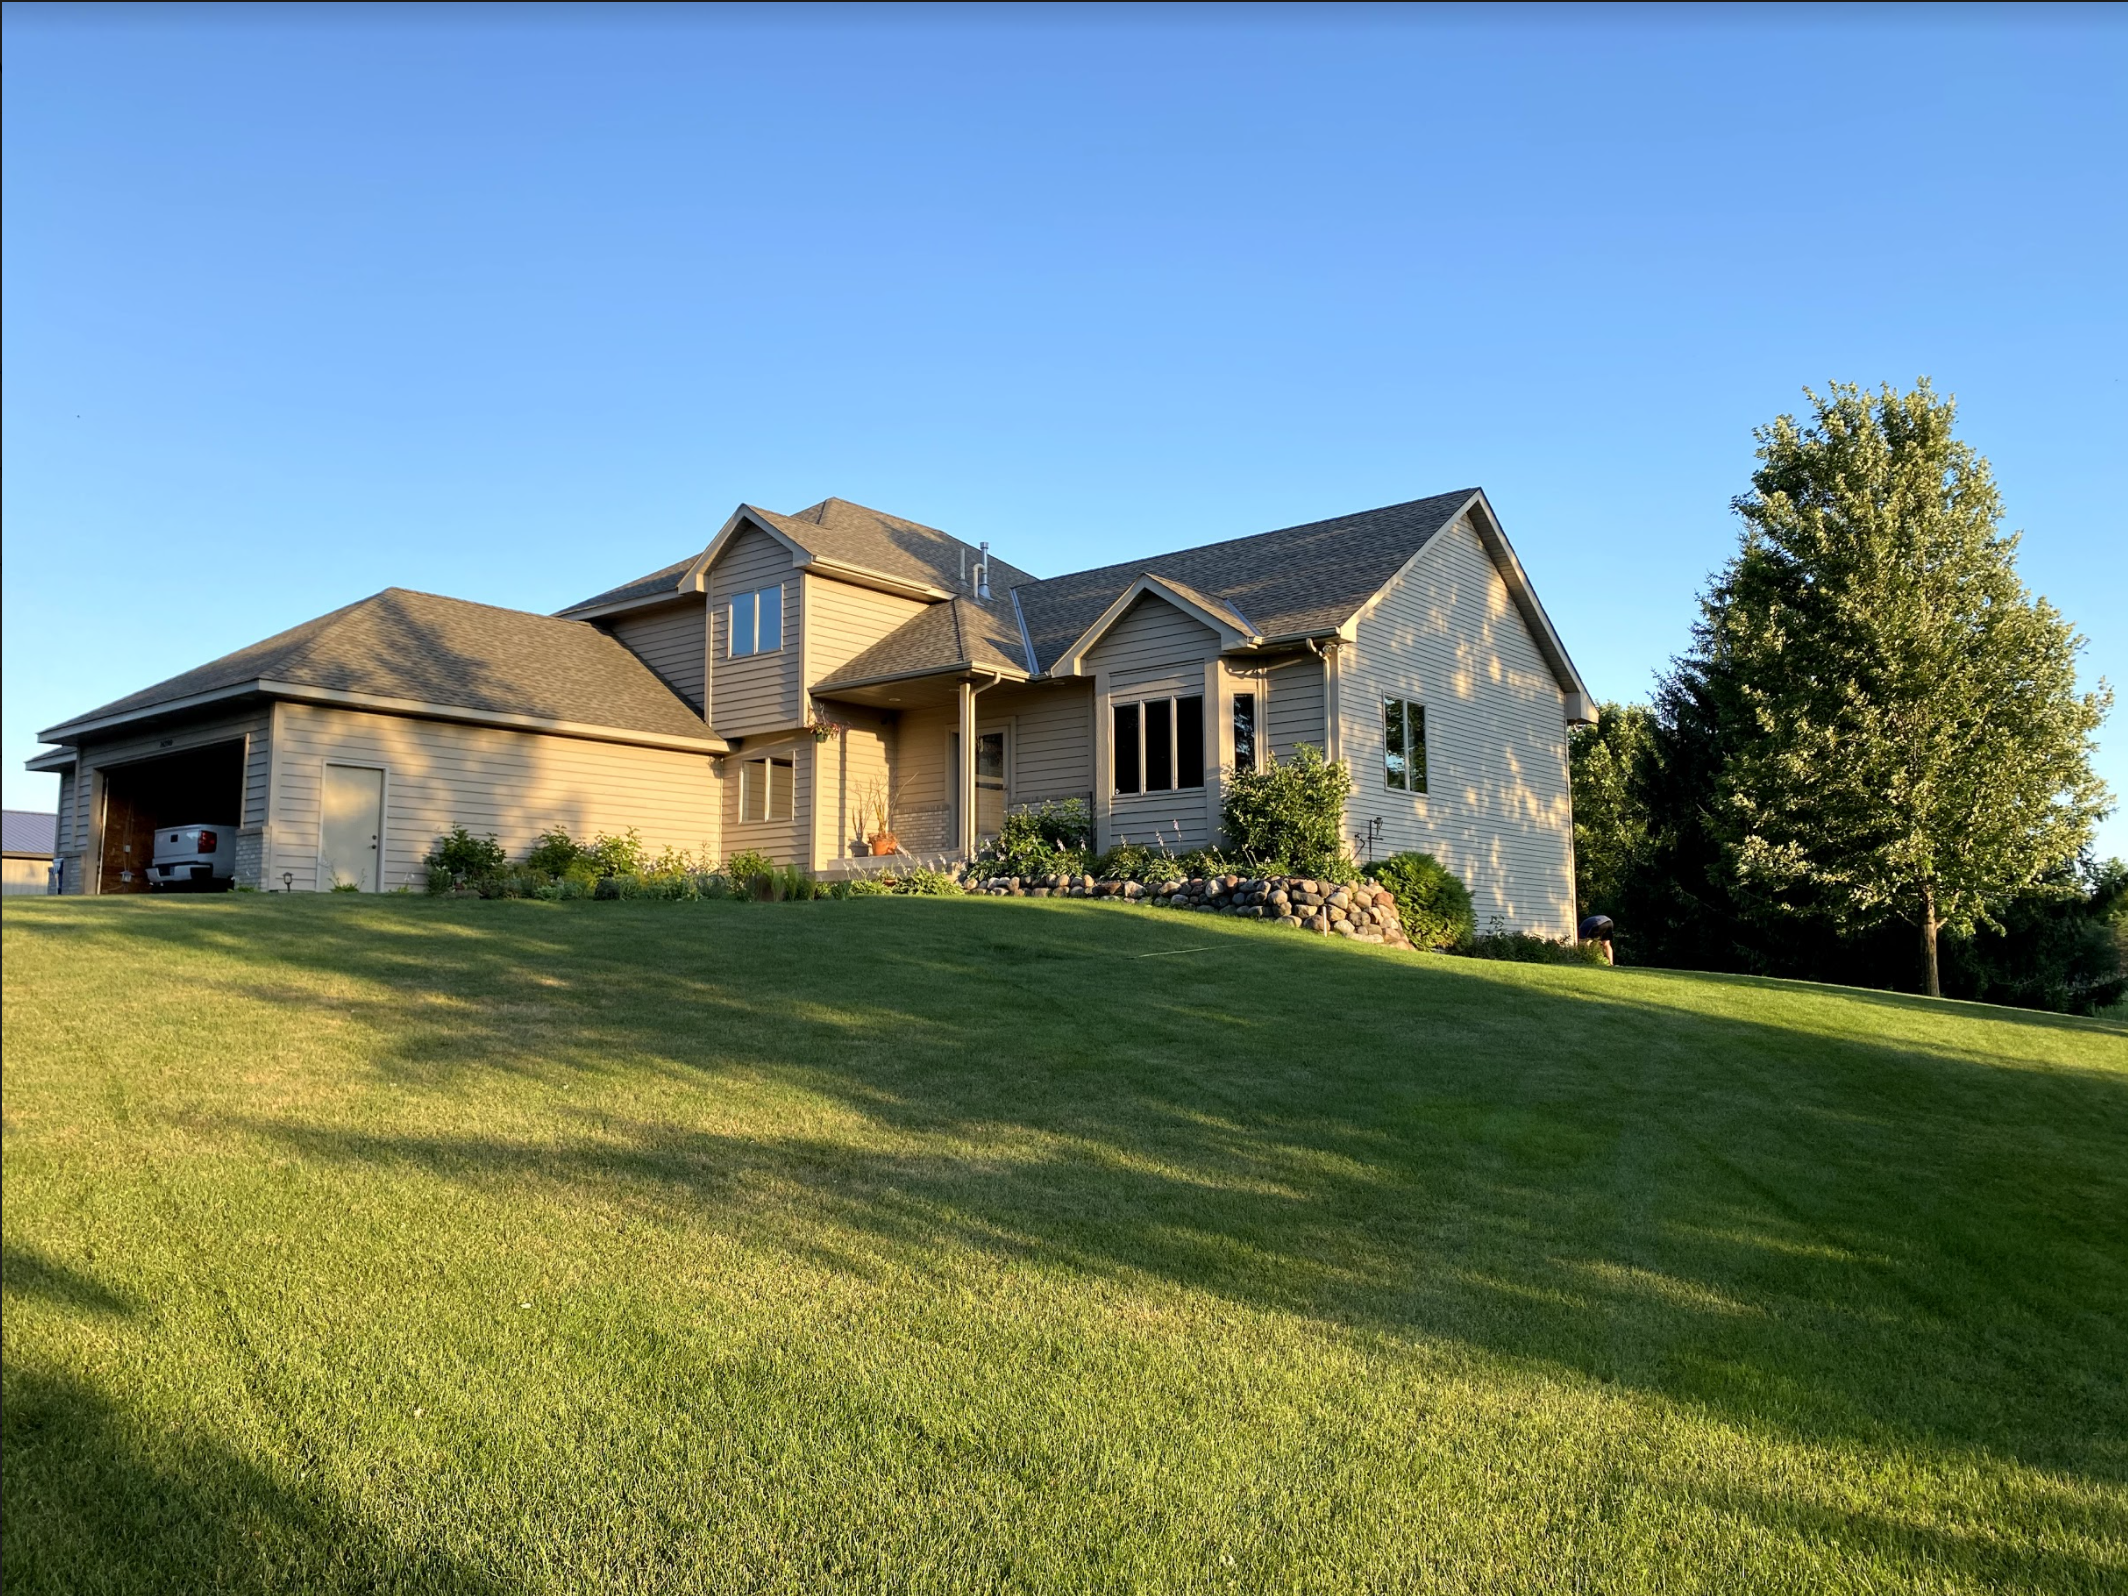
Crazy to look at the before photos because now that the addition is on it seems that the sports court design was meant for this home! On the right-hand side of our home is where we added the sports court addition.
We went back and forth for a long time on where we wanted to add this to our home. And for a while, we were thinking about hiding it in the back off of the garage, and boy are we glad we ended up going in this direction.
It almost felt like it was missing a little something here.
And I’m not quite sure how we lived without the space for so long with our wild and crazy kids. It’s been the perfect addition for our family, our kids are playing in here nonstop and you can find me working from here most days and nights.
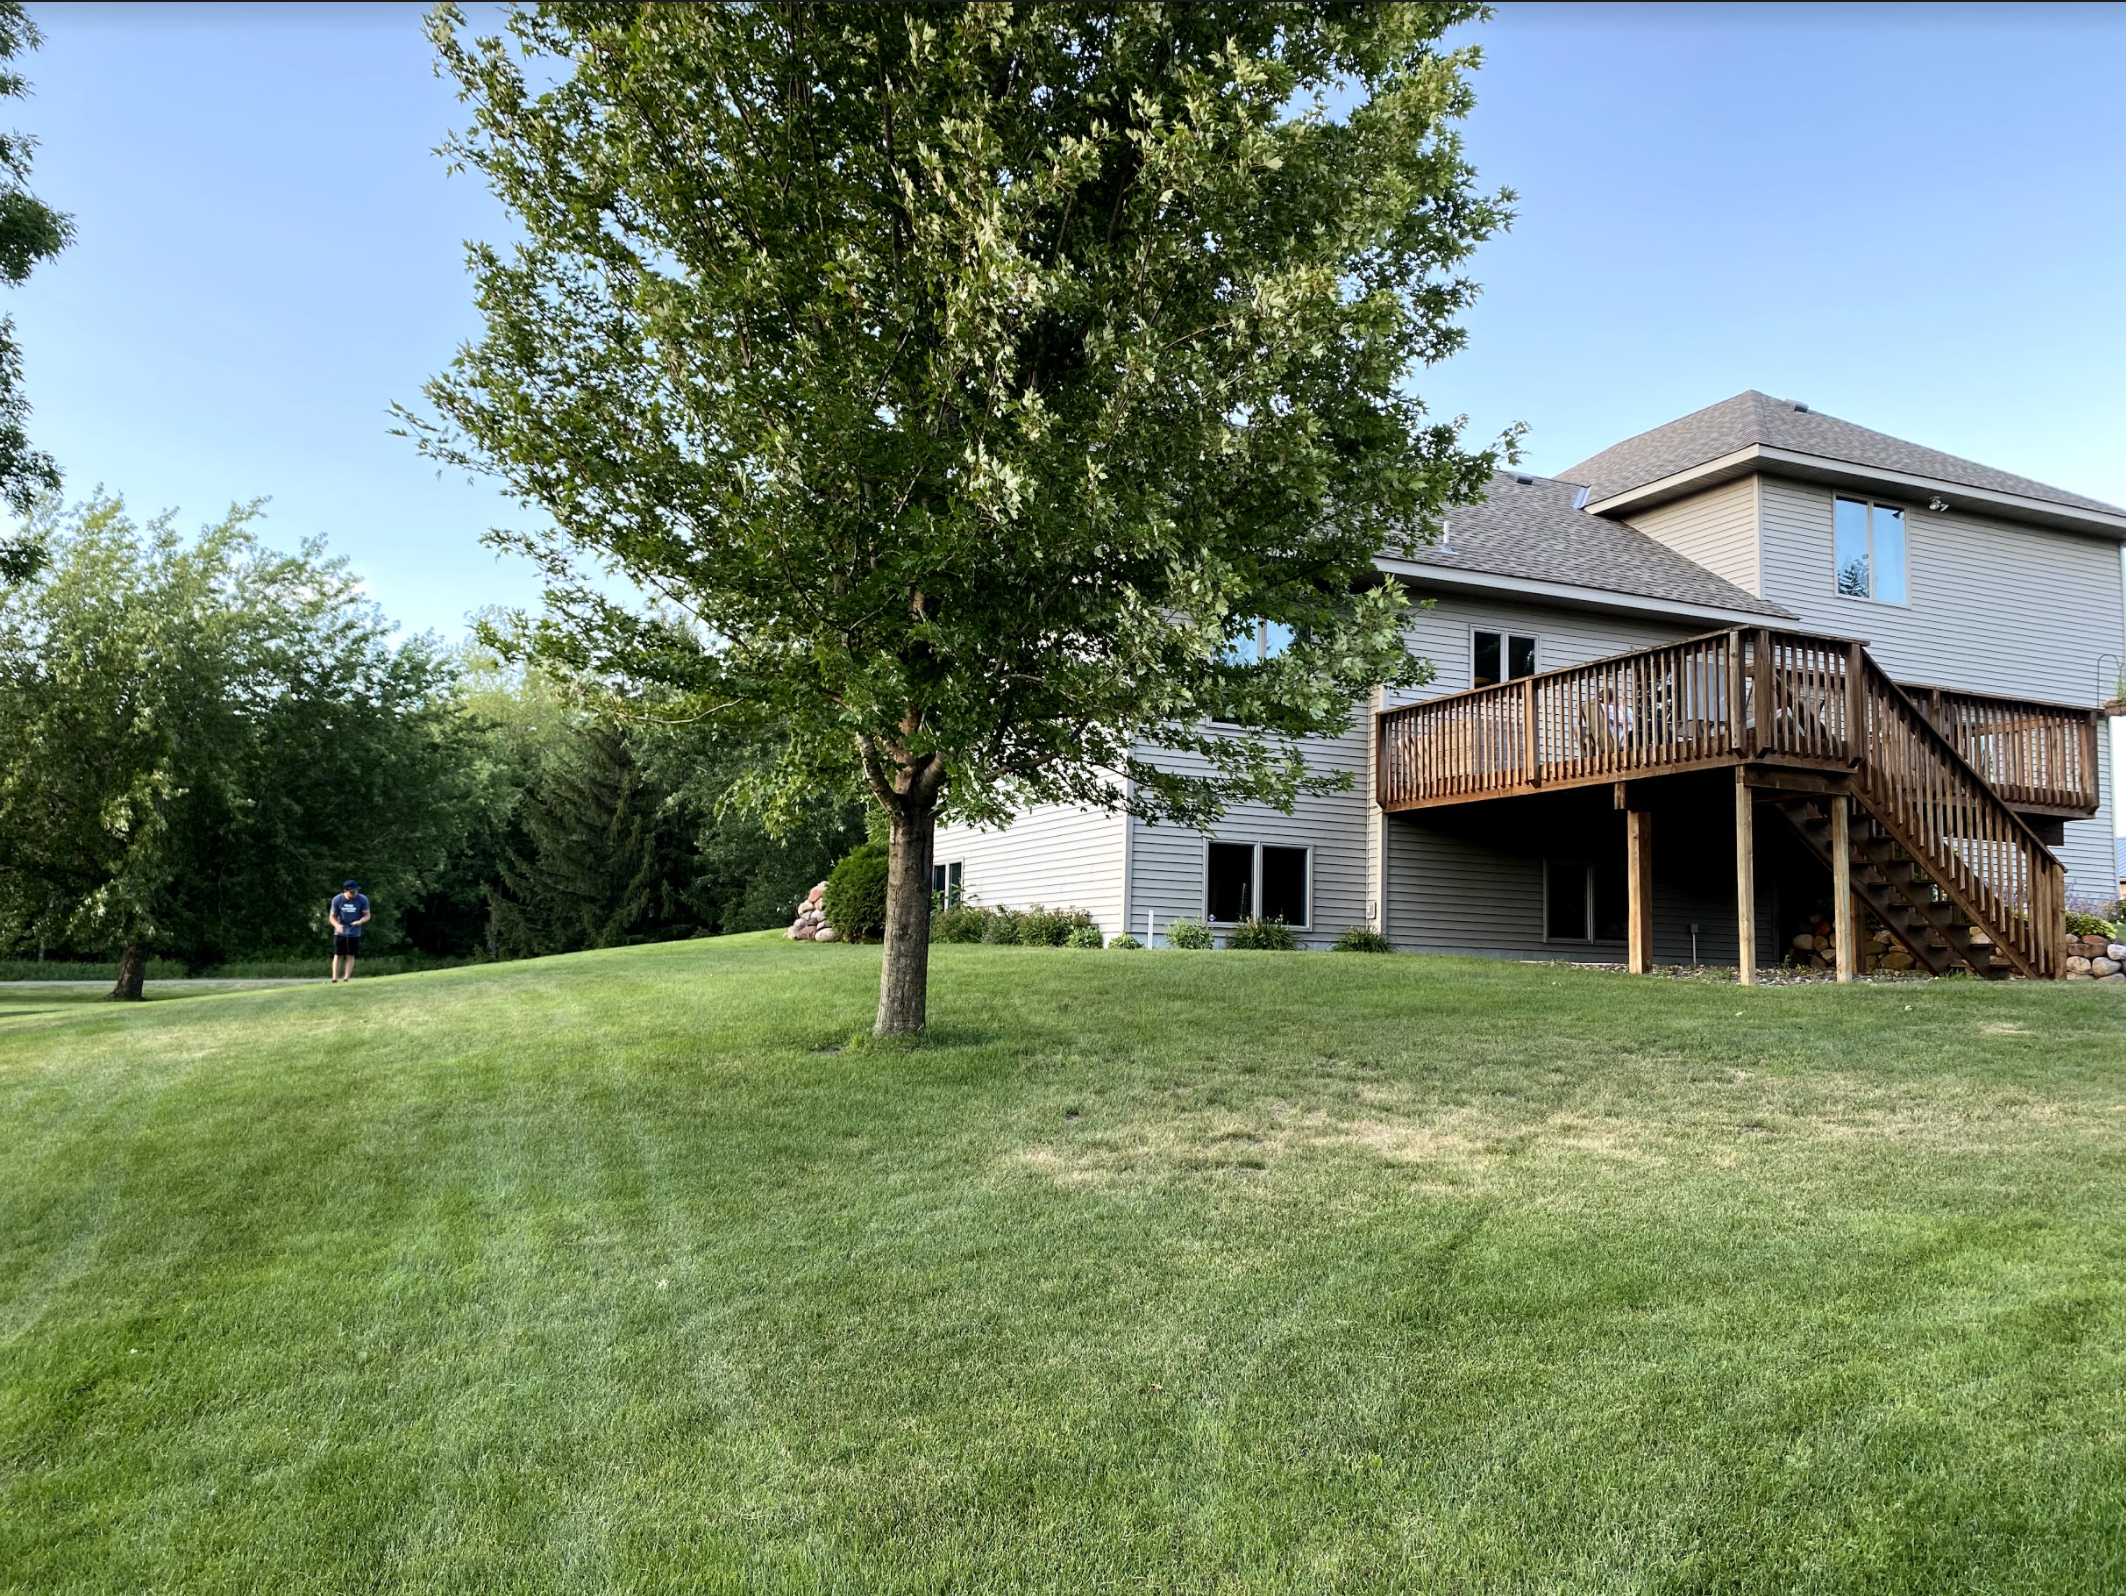
Here’s the back view, and sadly, this tree is now gone, but in happy news – where our outdoor pool now resides.
Another reason why we went with adding the addition onto the west side of our home was that this window always bothered Jamie. He wanted it to be more symmetrical and if we didn’t add onto this side of the home, one day he wanted to add in two additional windows.
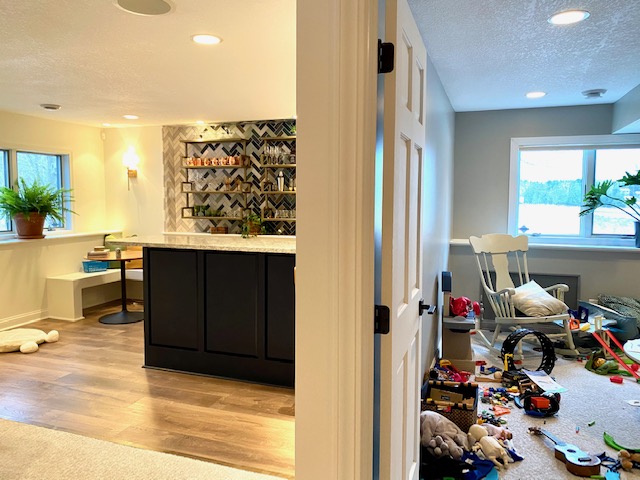
One of the biggest reasons why we were not wanting to add to this side of our home was because we lost a bedroom. Right here to the right was the former bedroom and now this is where you enter the sports court and the bedroom turned into our home gym.
However, this bedroom was used as a toy room and never for people to stay so we also knew we weren’t losing anything we had been utilizing a lot of. We also knew losing a bedroom would decrease the resale value, but we also know we’re not moving anywhere for a very long time and we were increasing the square footage of our home so we thought it’d be just fine!
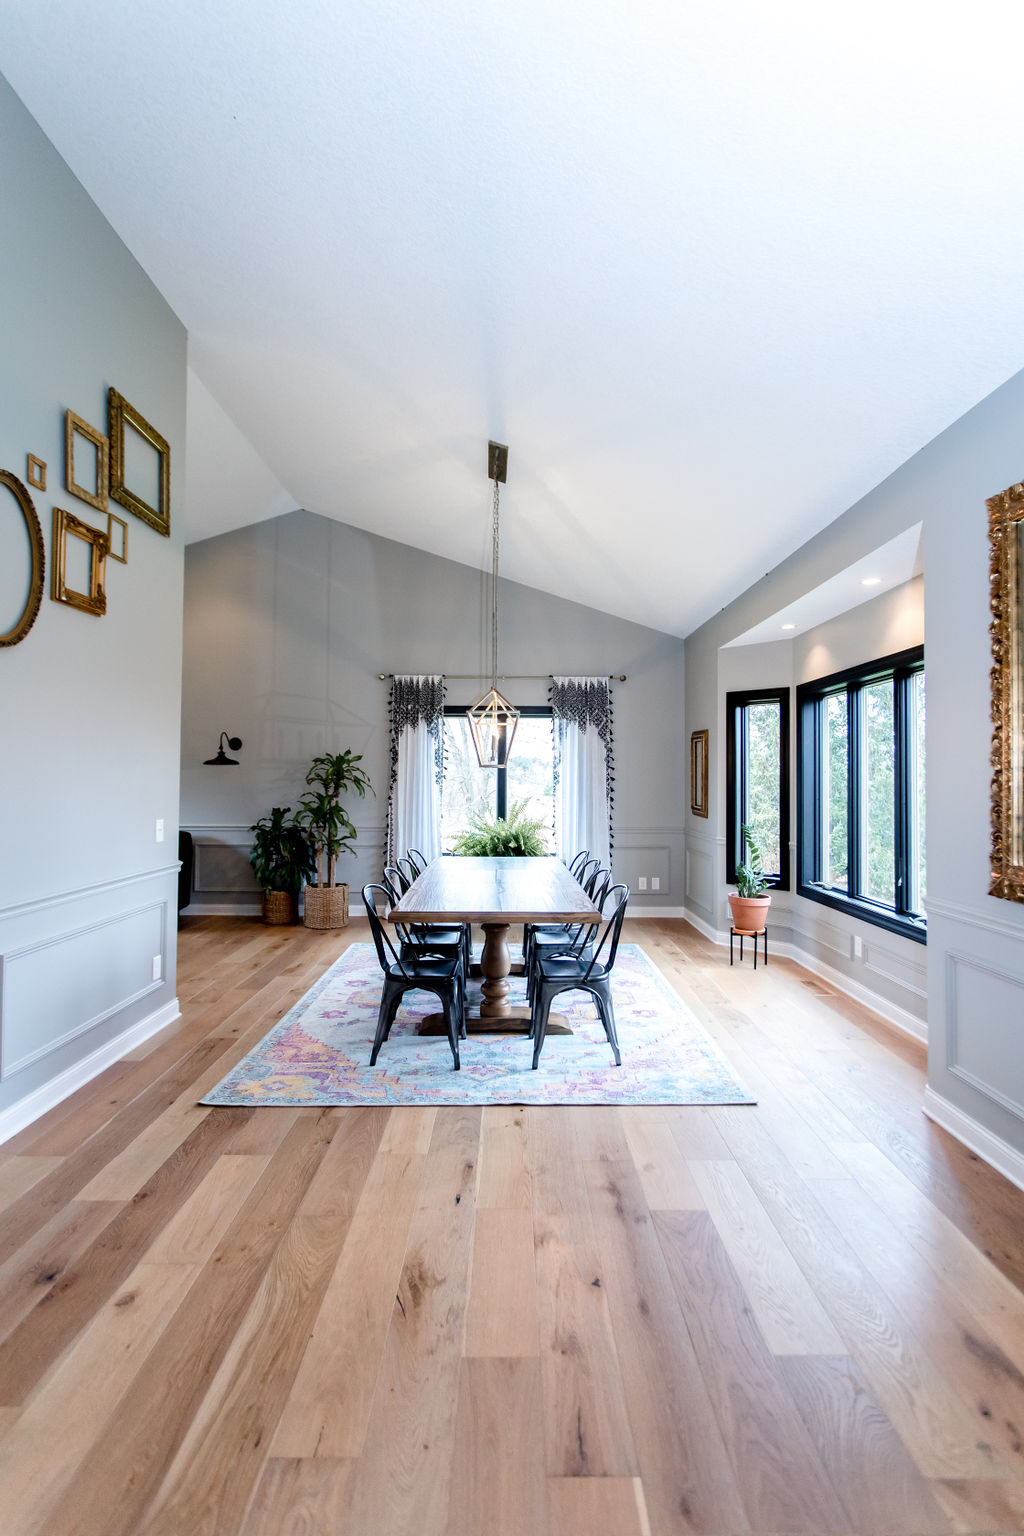
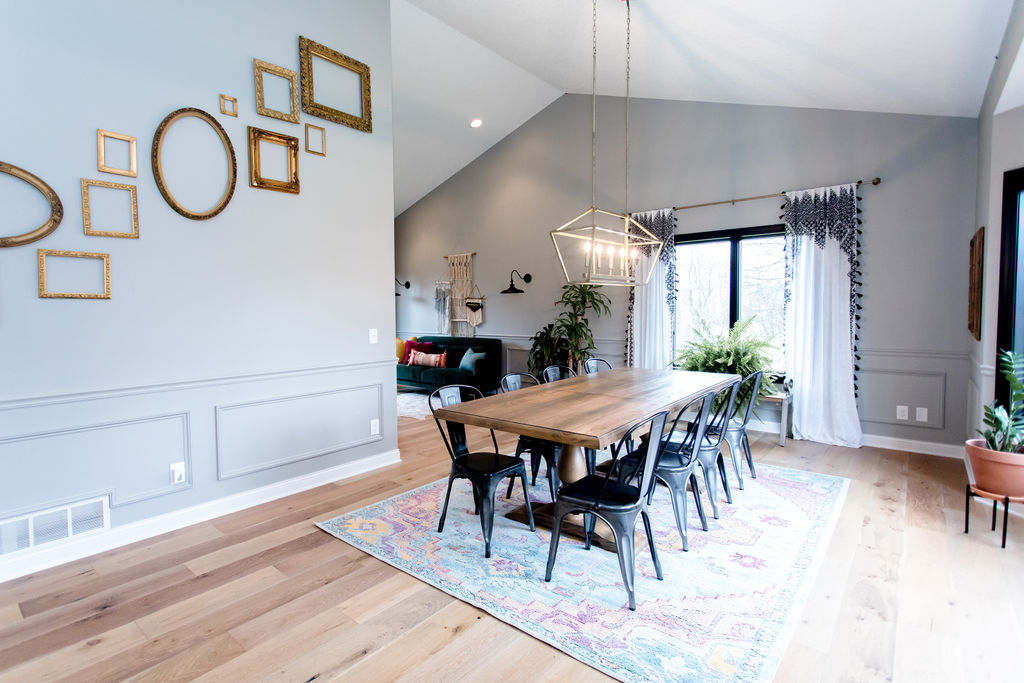
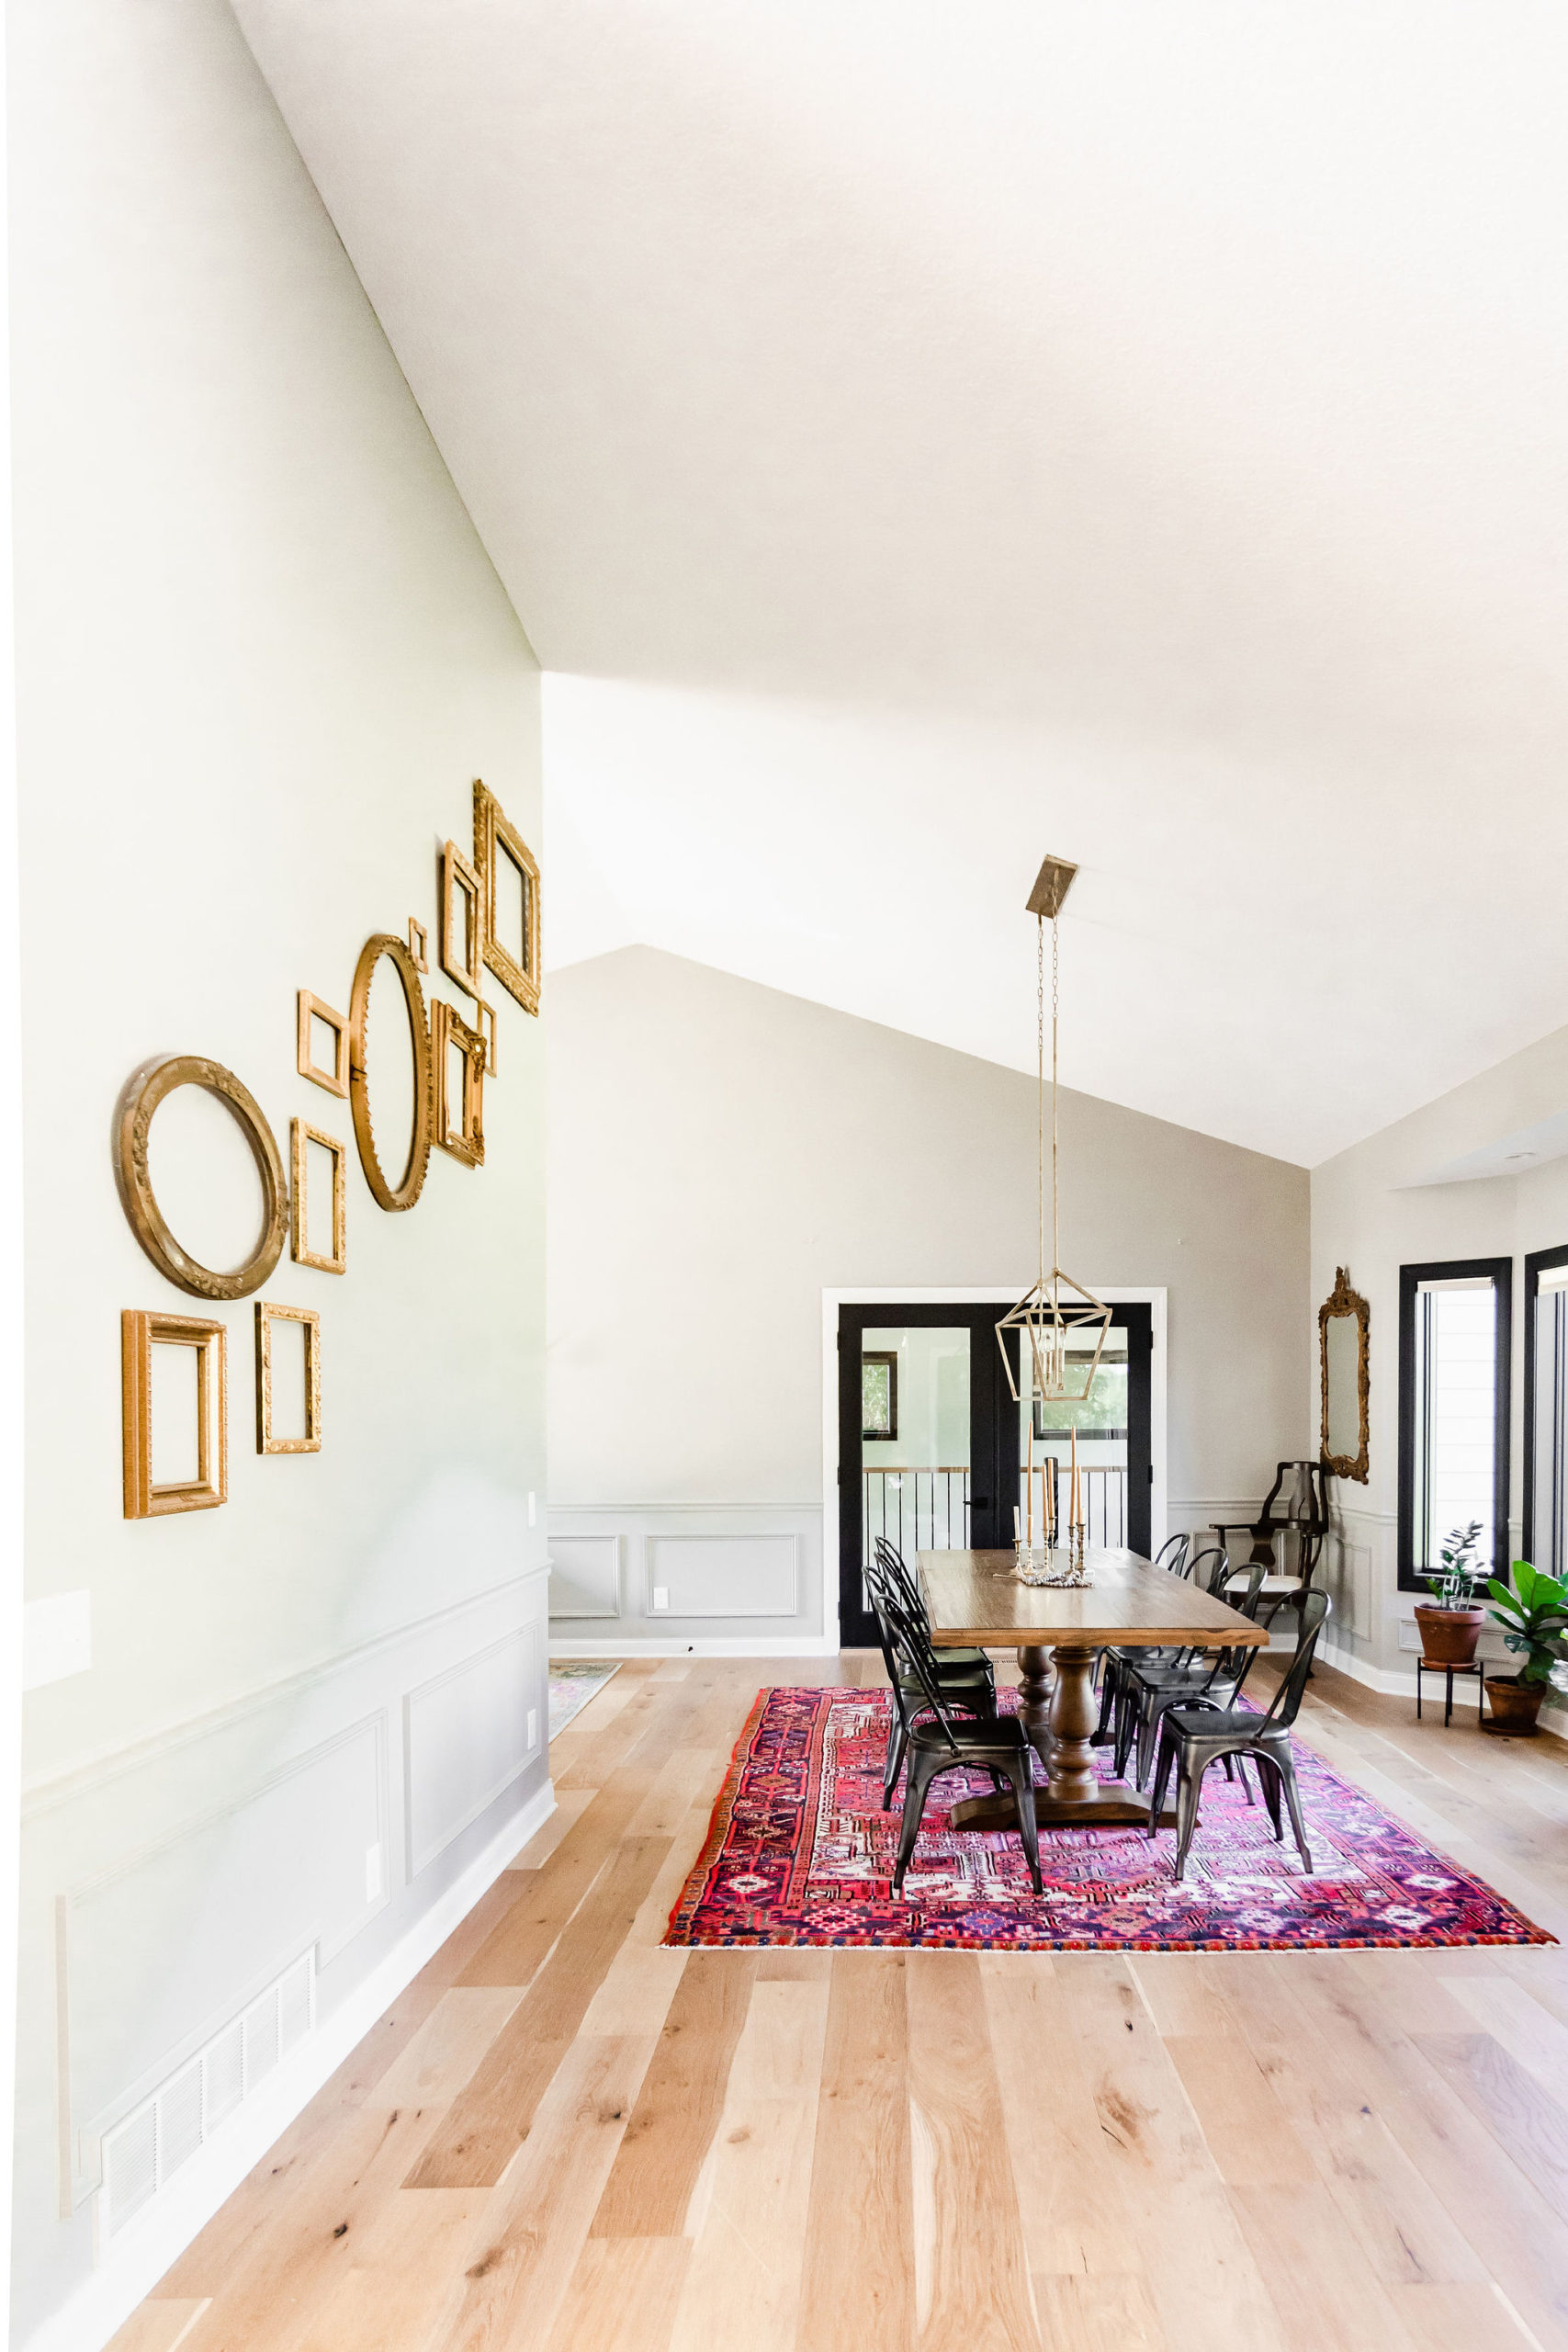
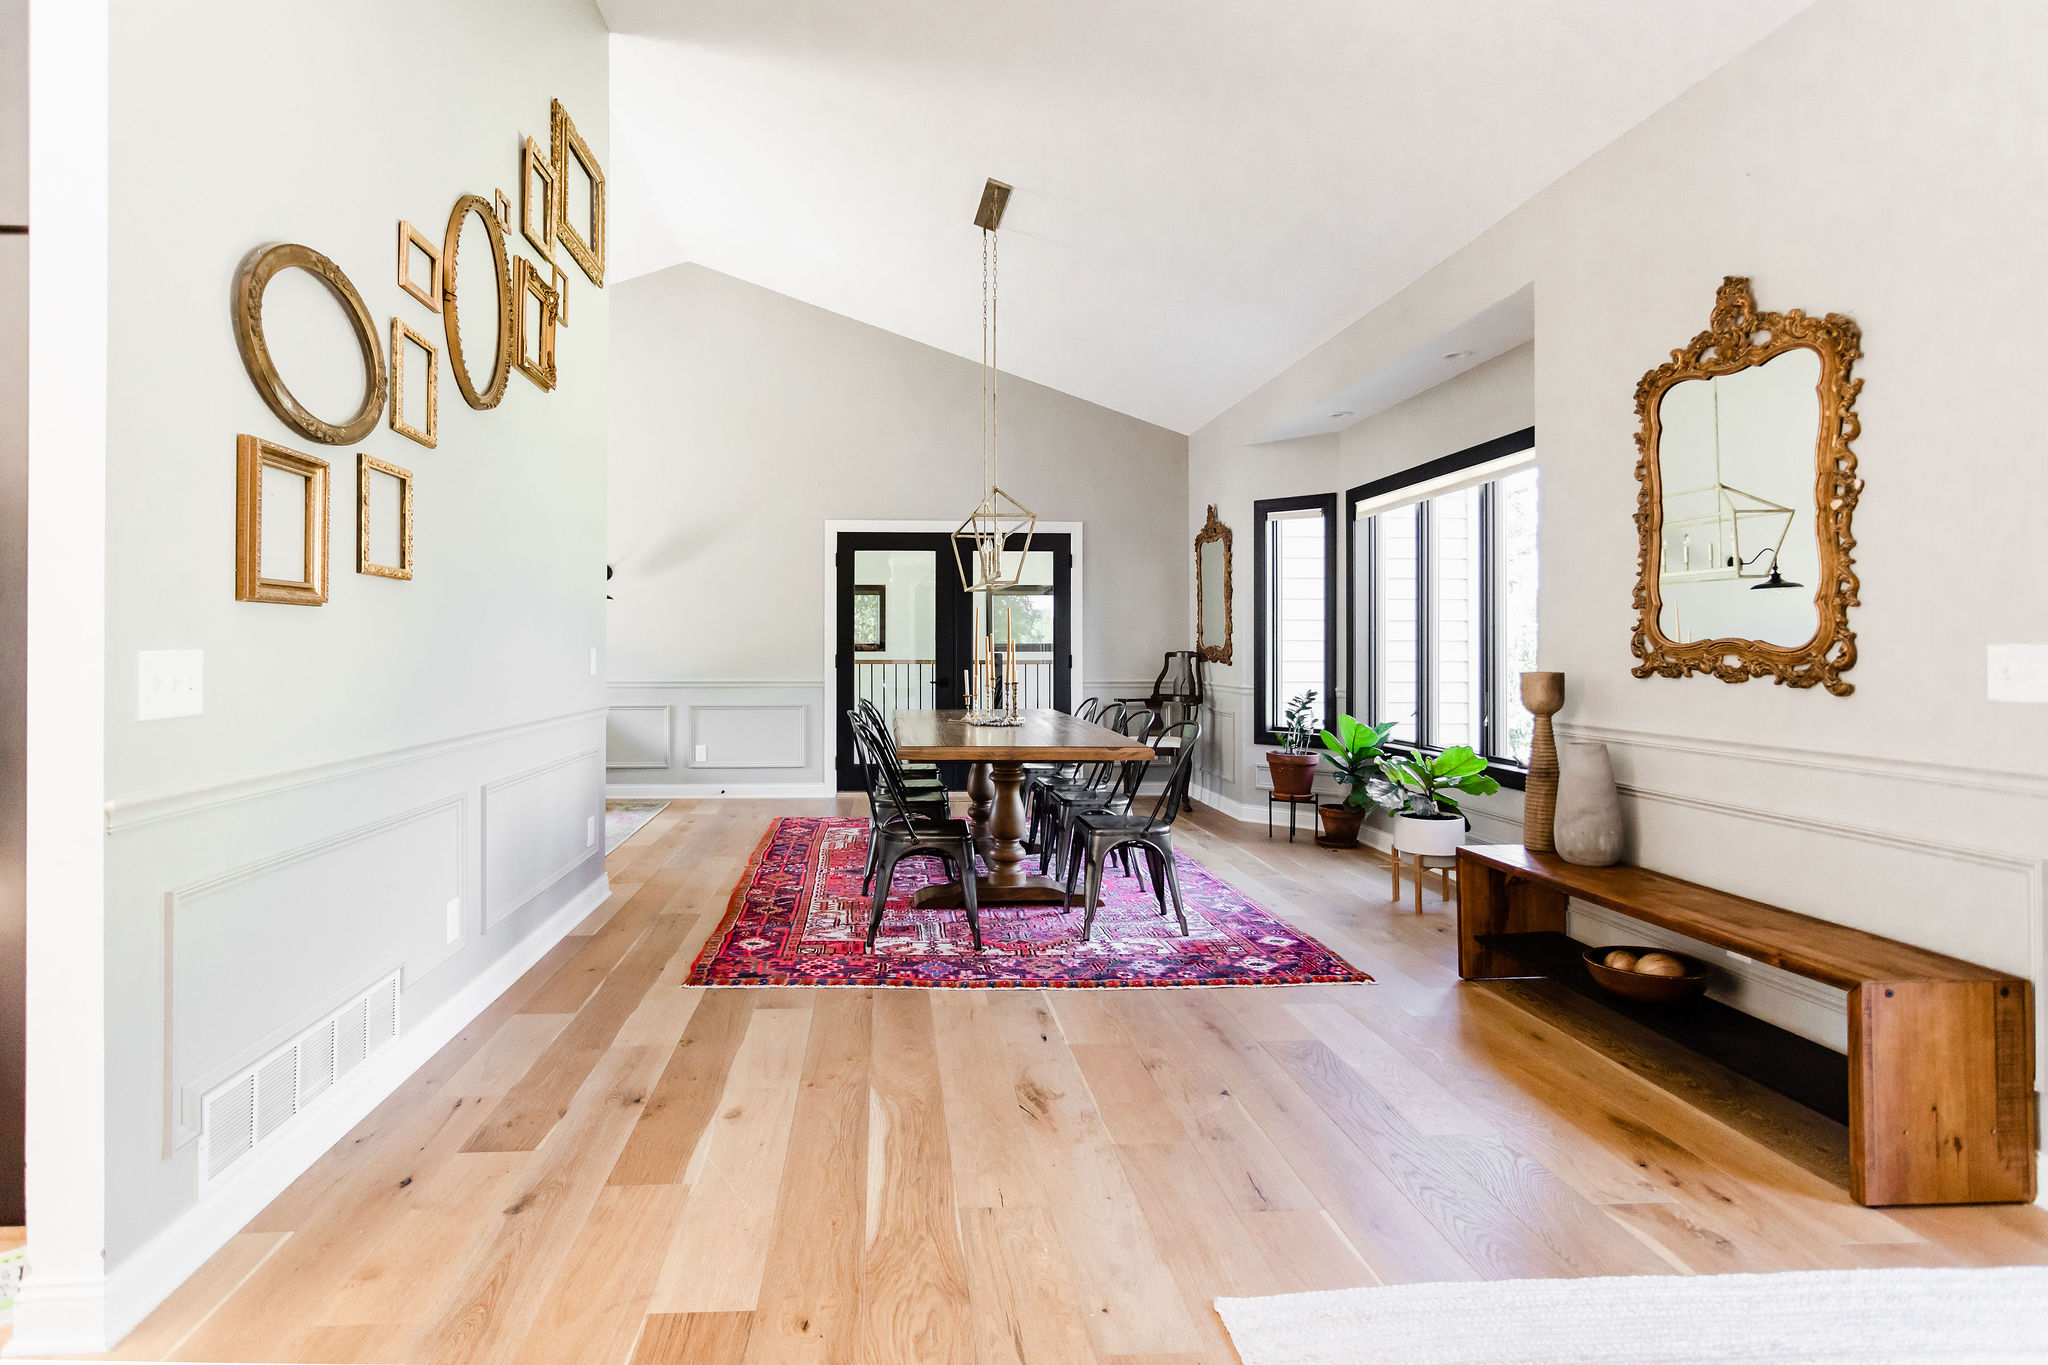
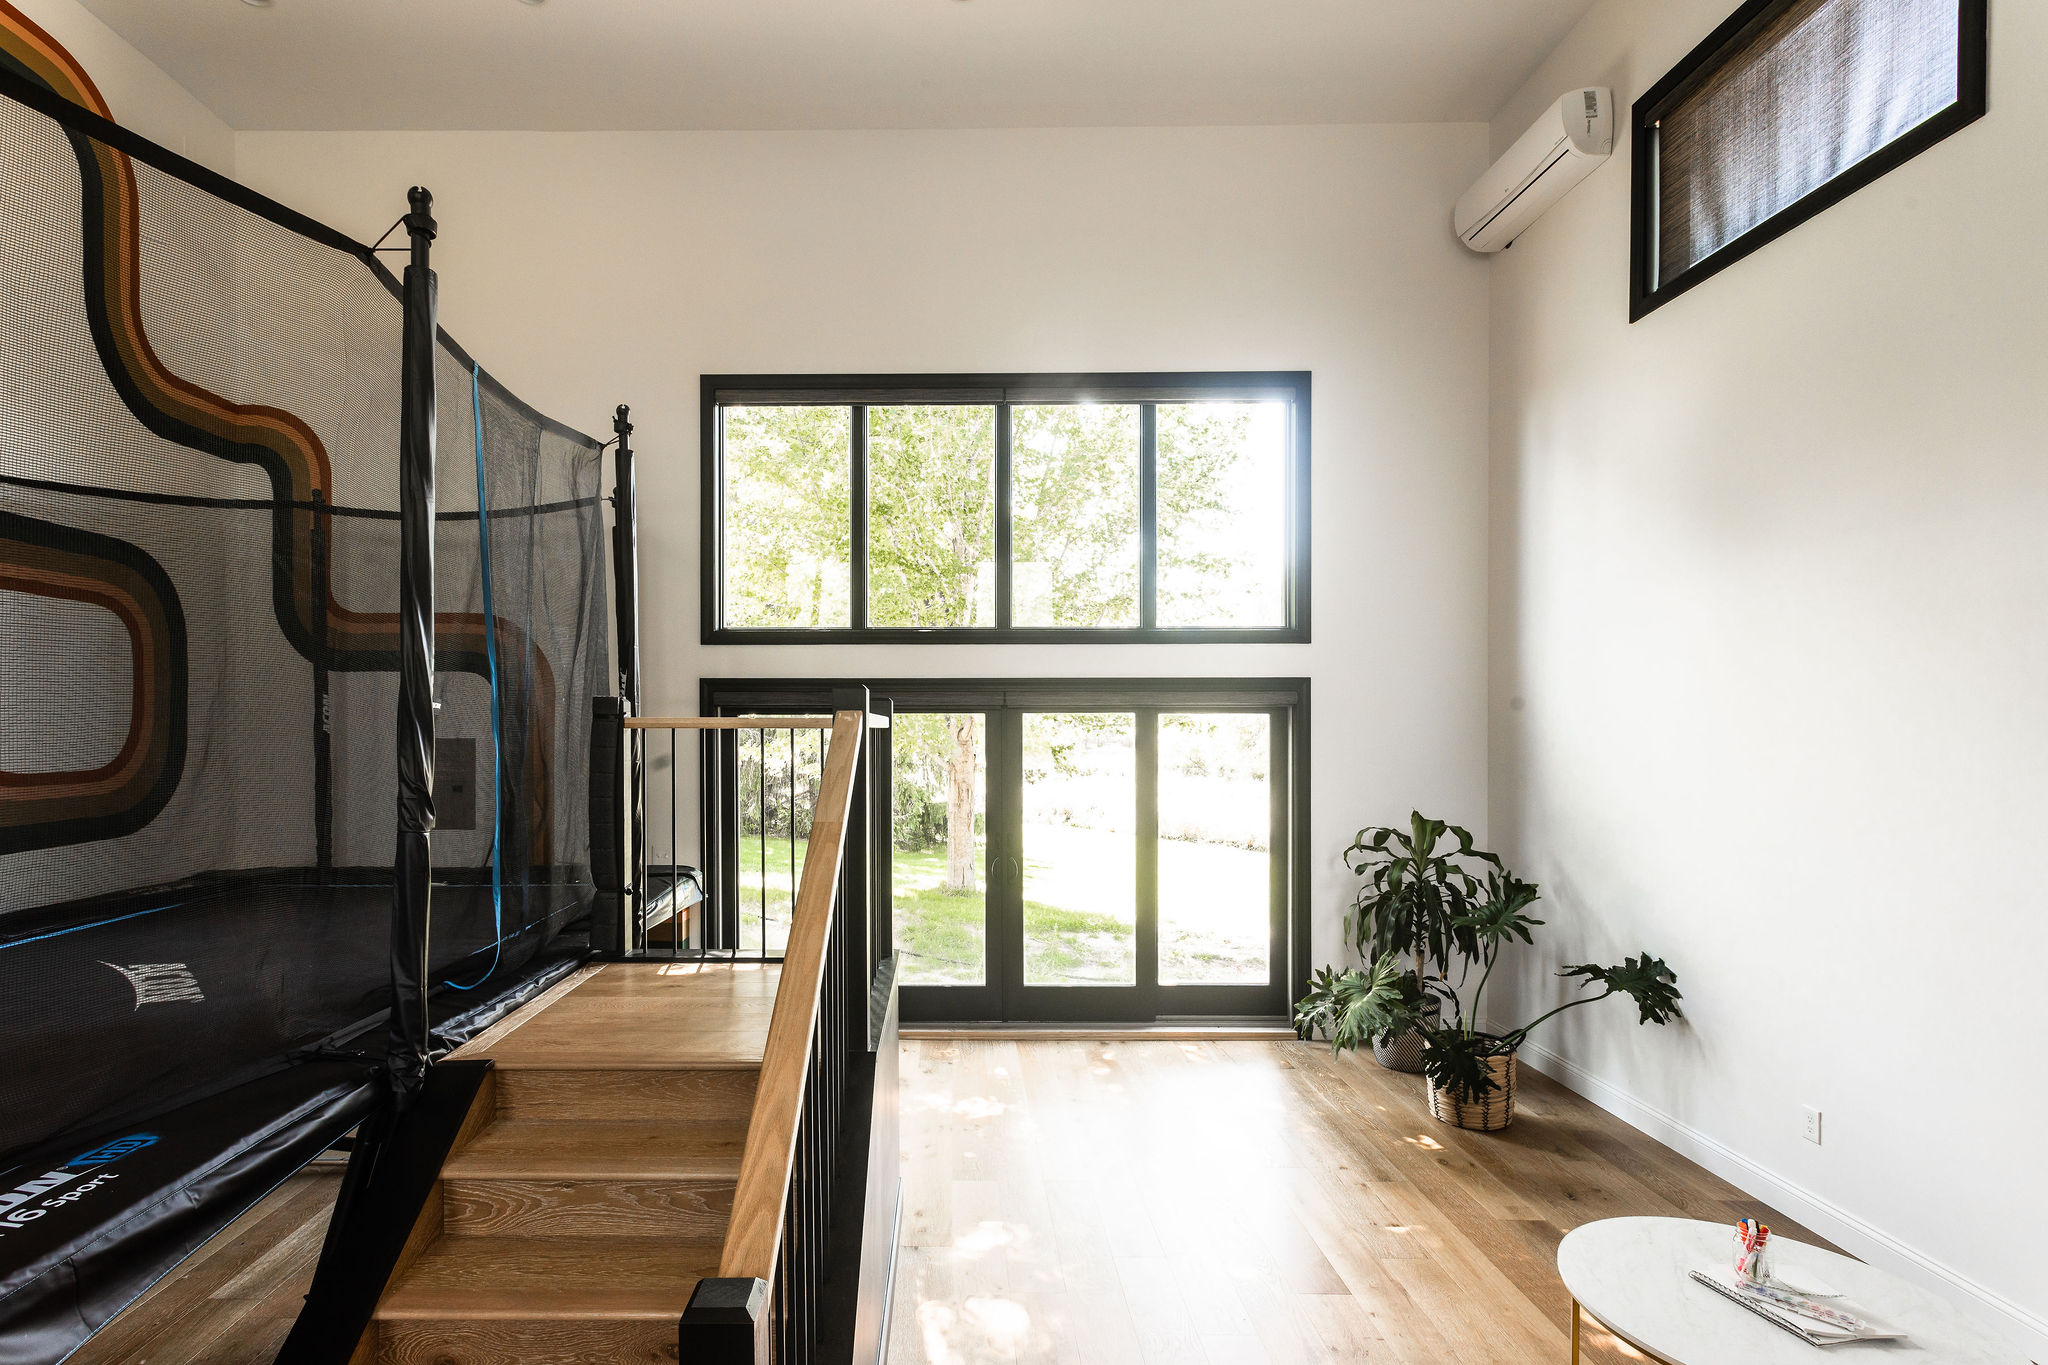
And here’s a view from the upstairs dining room where we removed that window and replaced it with double doors and built a balcony up top so that we could quickly run in and out and keep an eye on our kids. We also debated for a long time on if we should have stairs so that you could run down quickly from upstairs.
In the end, we didn’t want to lose any additional real estate within the sports court as stairs take up a lot of space and we were already getting tight in there with the things we were going to place within it.
When we first bought our home, this space was once a living room. So it’s been quite the transformation over the years. You can find our finally finished dining room reveal and what this space once was in a blog post here.
Plans
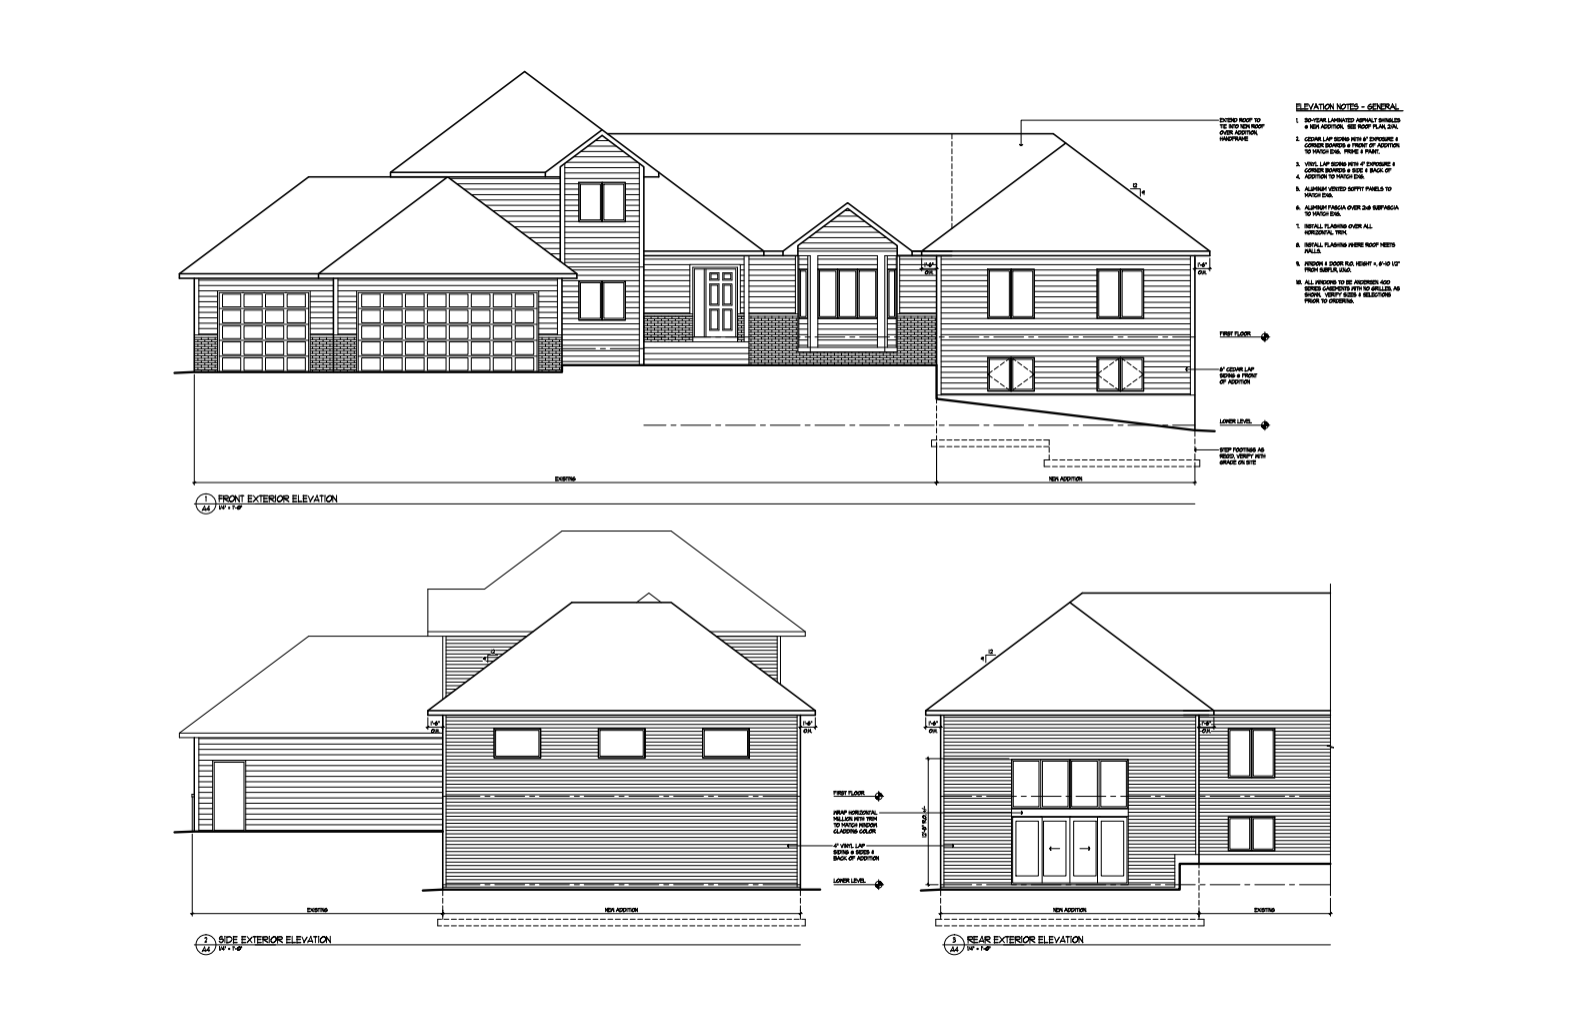
Once we figured out what side of the house we wanted to add the sports court onto, we started working with our architect Jennifer from American Prairie Architects on the plans. We work with Jennifer on most of our client projects so this process was pretty seamless.
As you can see, it was the perfect addition to our home.
A big thing a lot of our Instagram friends were surprised with was the fact that we were adding multiple windows to this space. Typically sports courts have a basketball gym and hoops within them, but being we’re not a basketball family we knew balls such as wouldn’t be flying around and we also wanted lots of natural light and to not make this space such a dungeon.
The kids play hard in this space and since we’ve been enjoying it, not once have the windows been an issue and we’re glad we went in this direction. We also wanted this to not look like an addition to our home, so in order for it to flow and look right, we needed windows to match the existing.
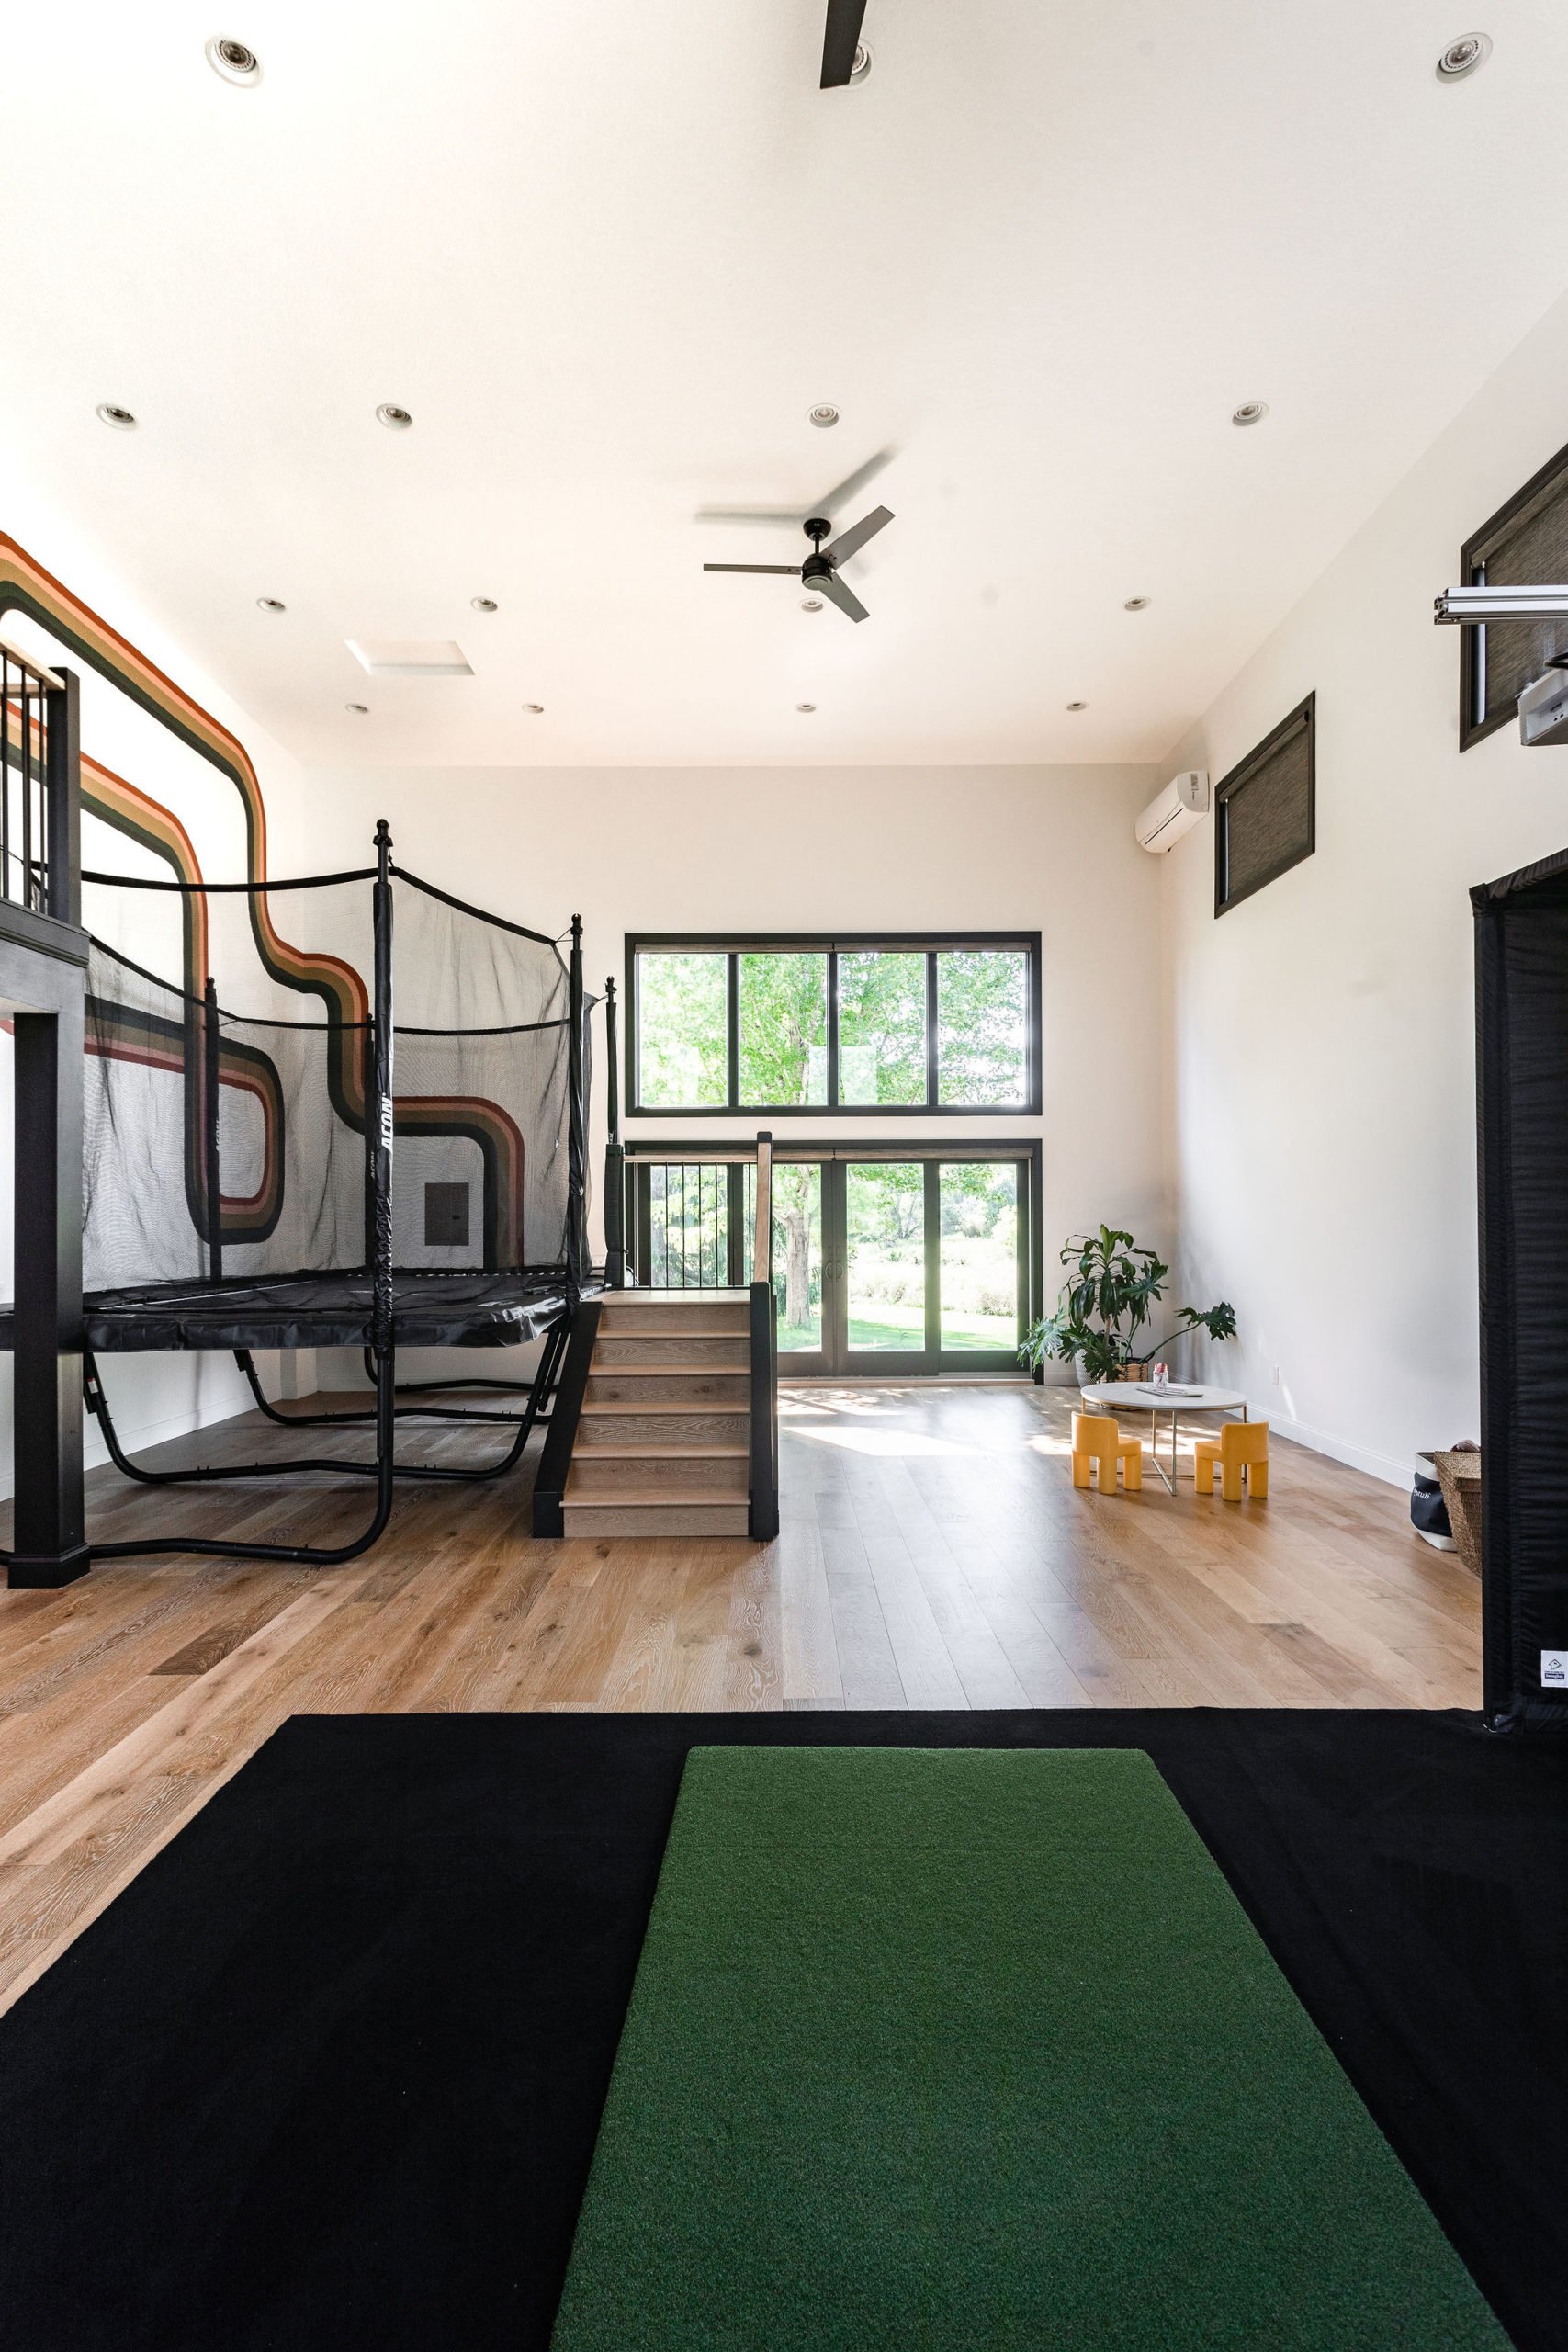
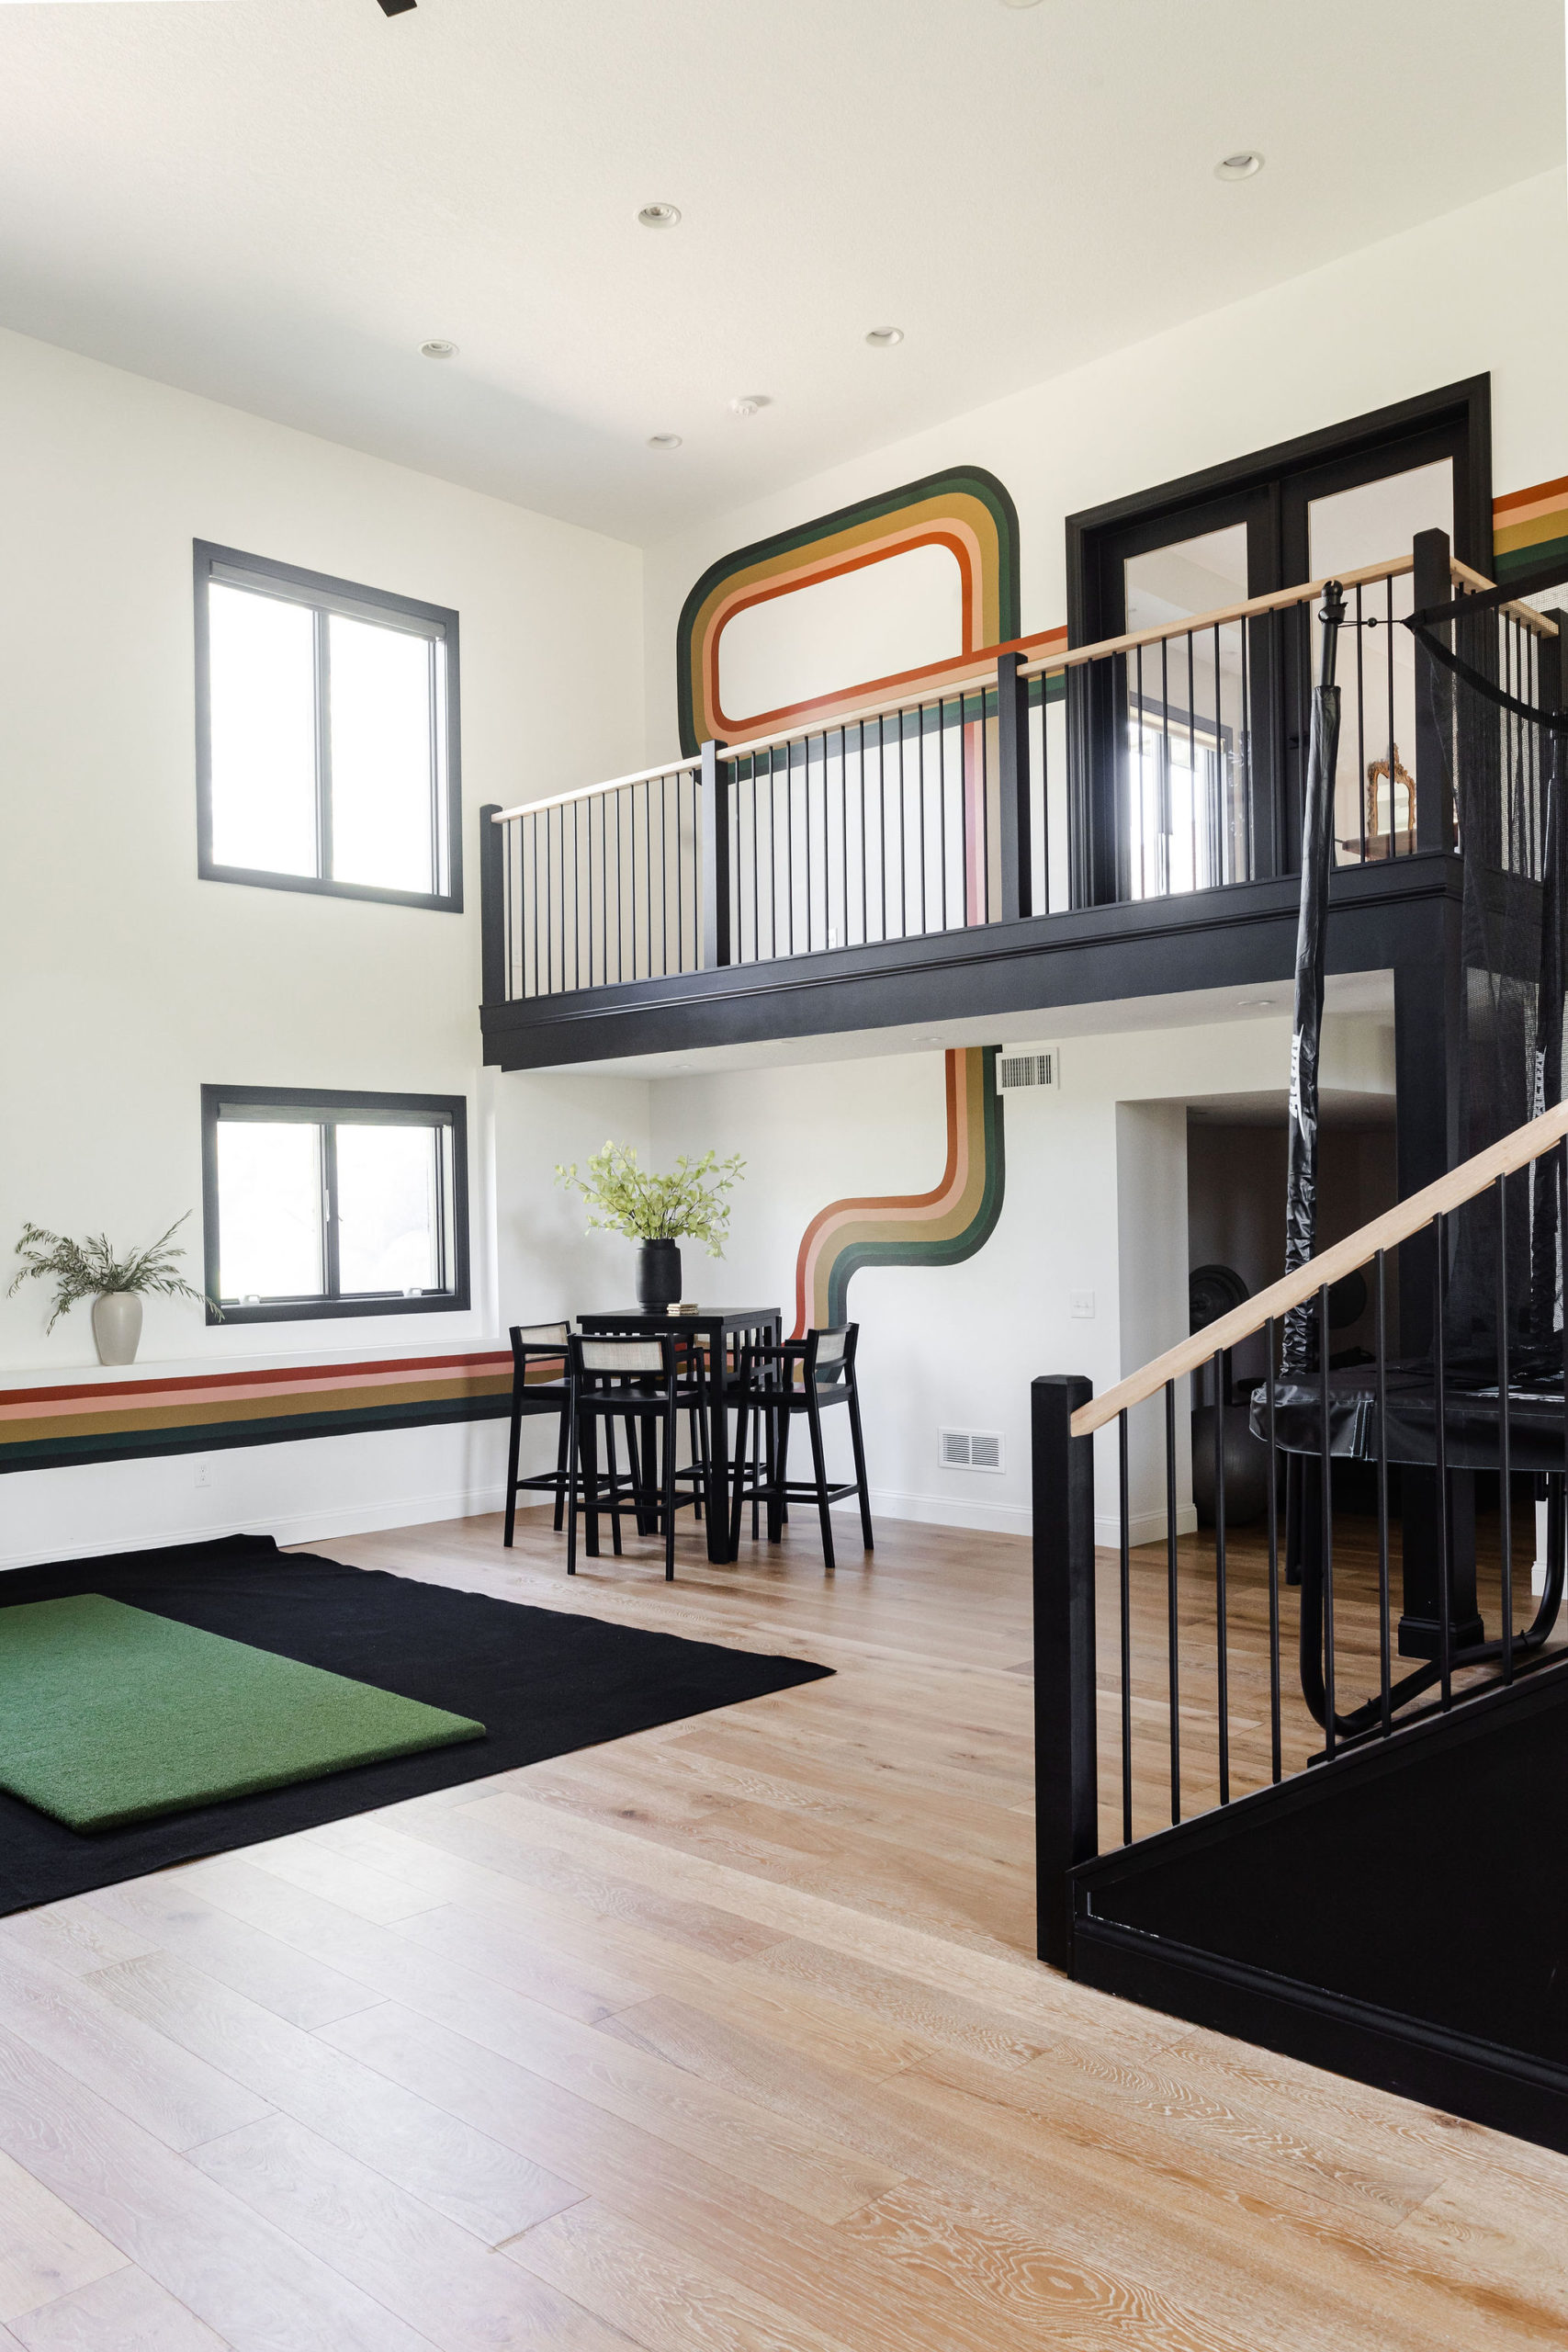
After
And the after! One thing about removing this window and adding the double doors that we were nervous about was losing natural light into our dining room area.
The good news is it feels even lighter and brighter in here now! The light still comes in from the upper windows and because the sports court is such a light and bright space that all flows into our home.
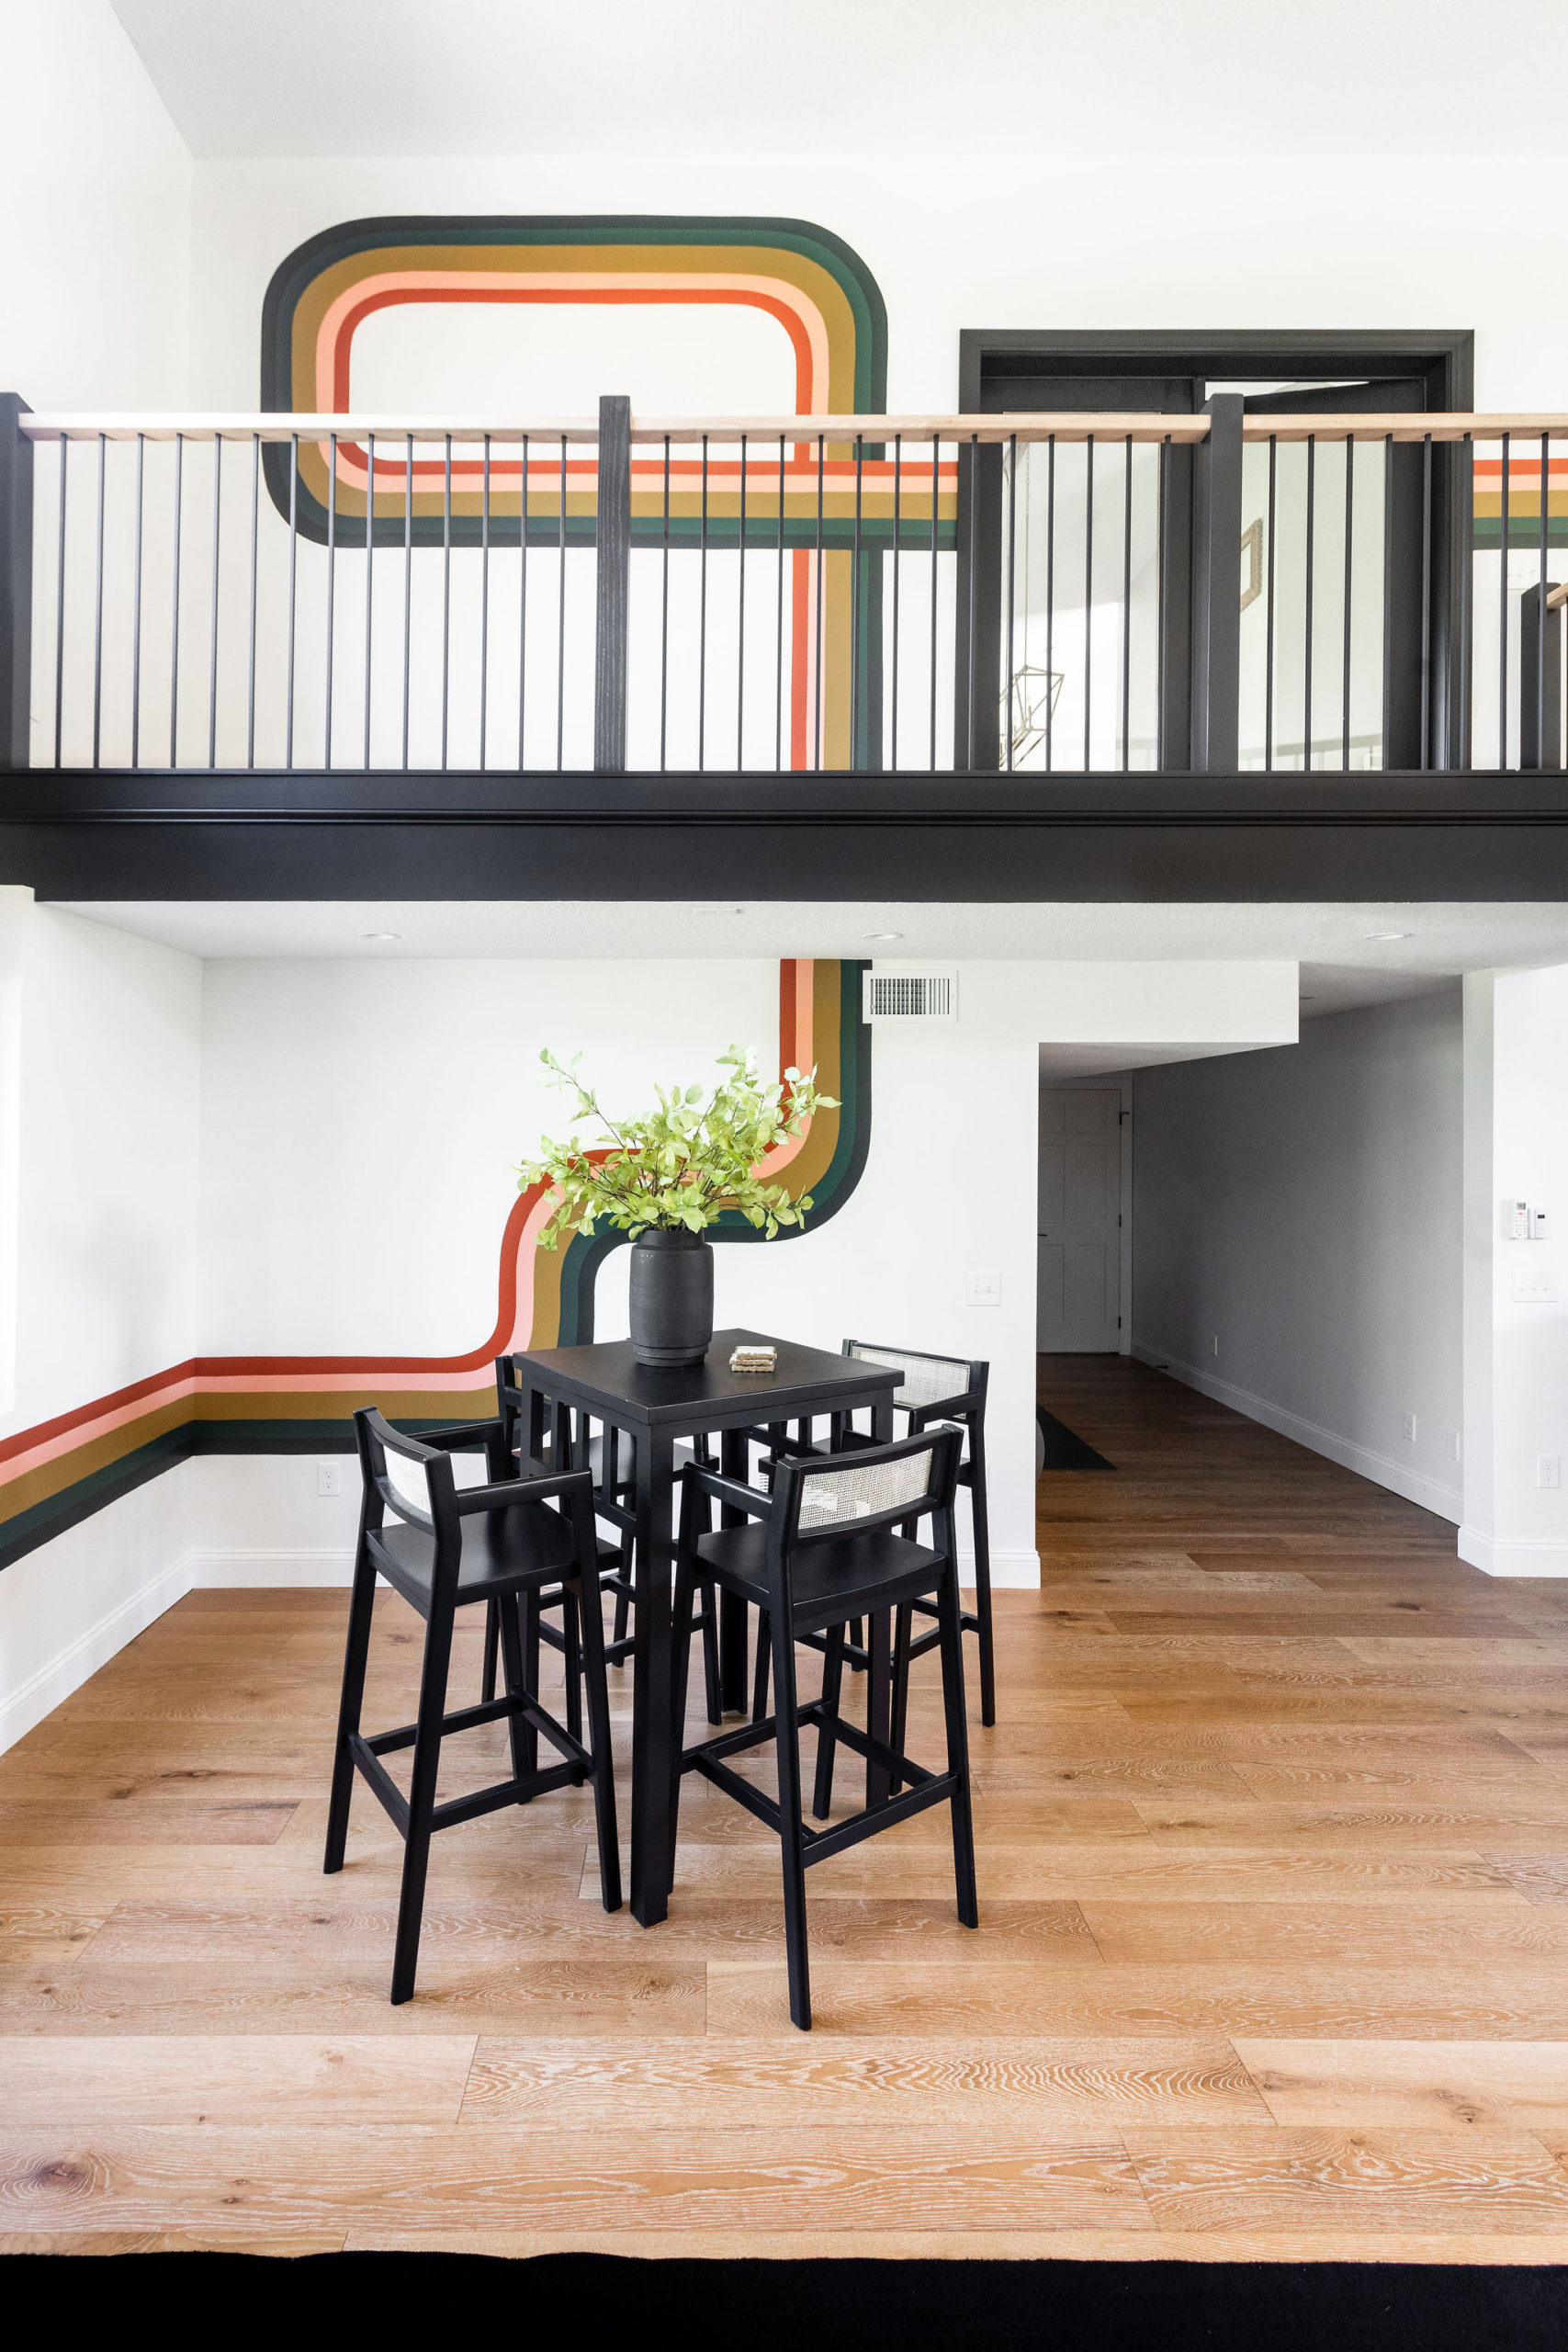
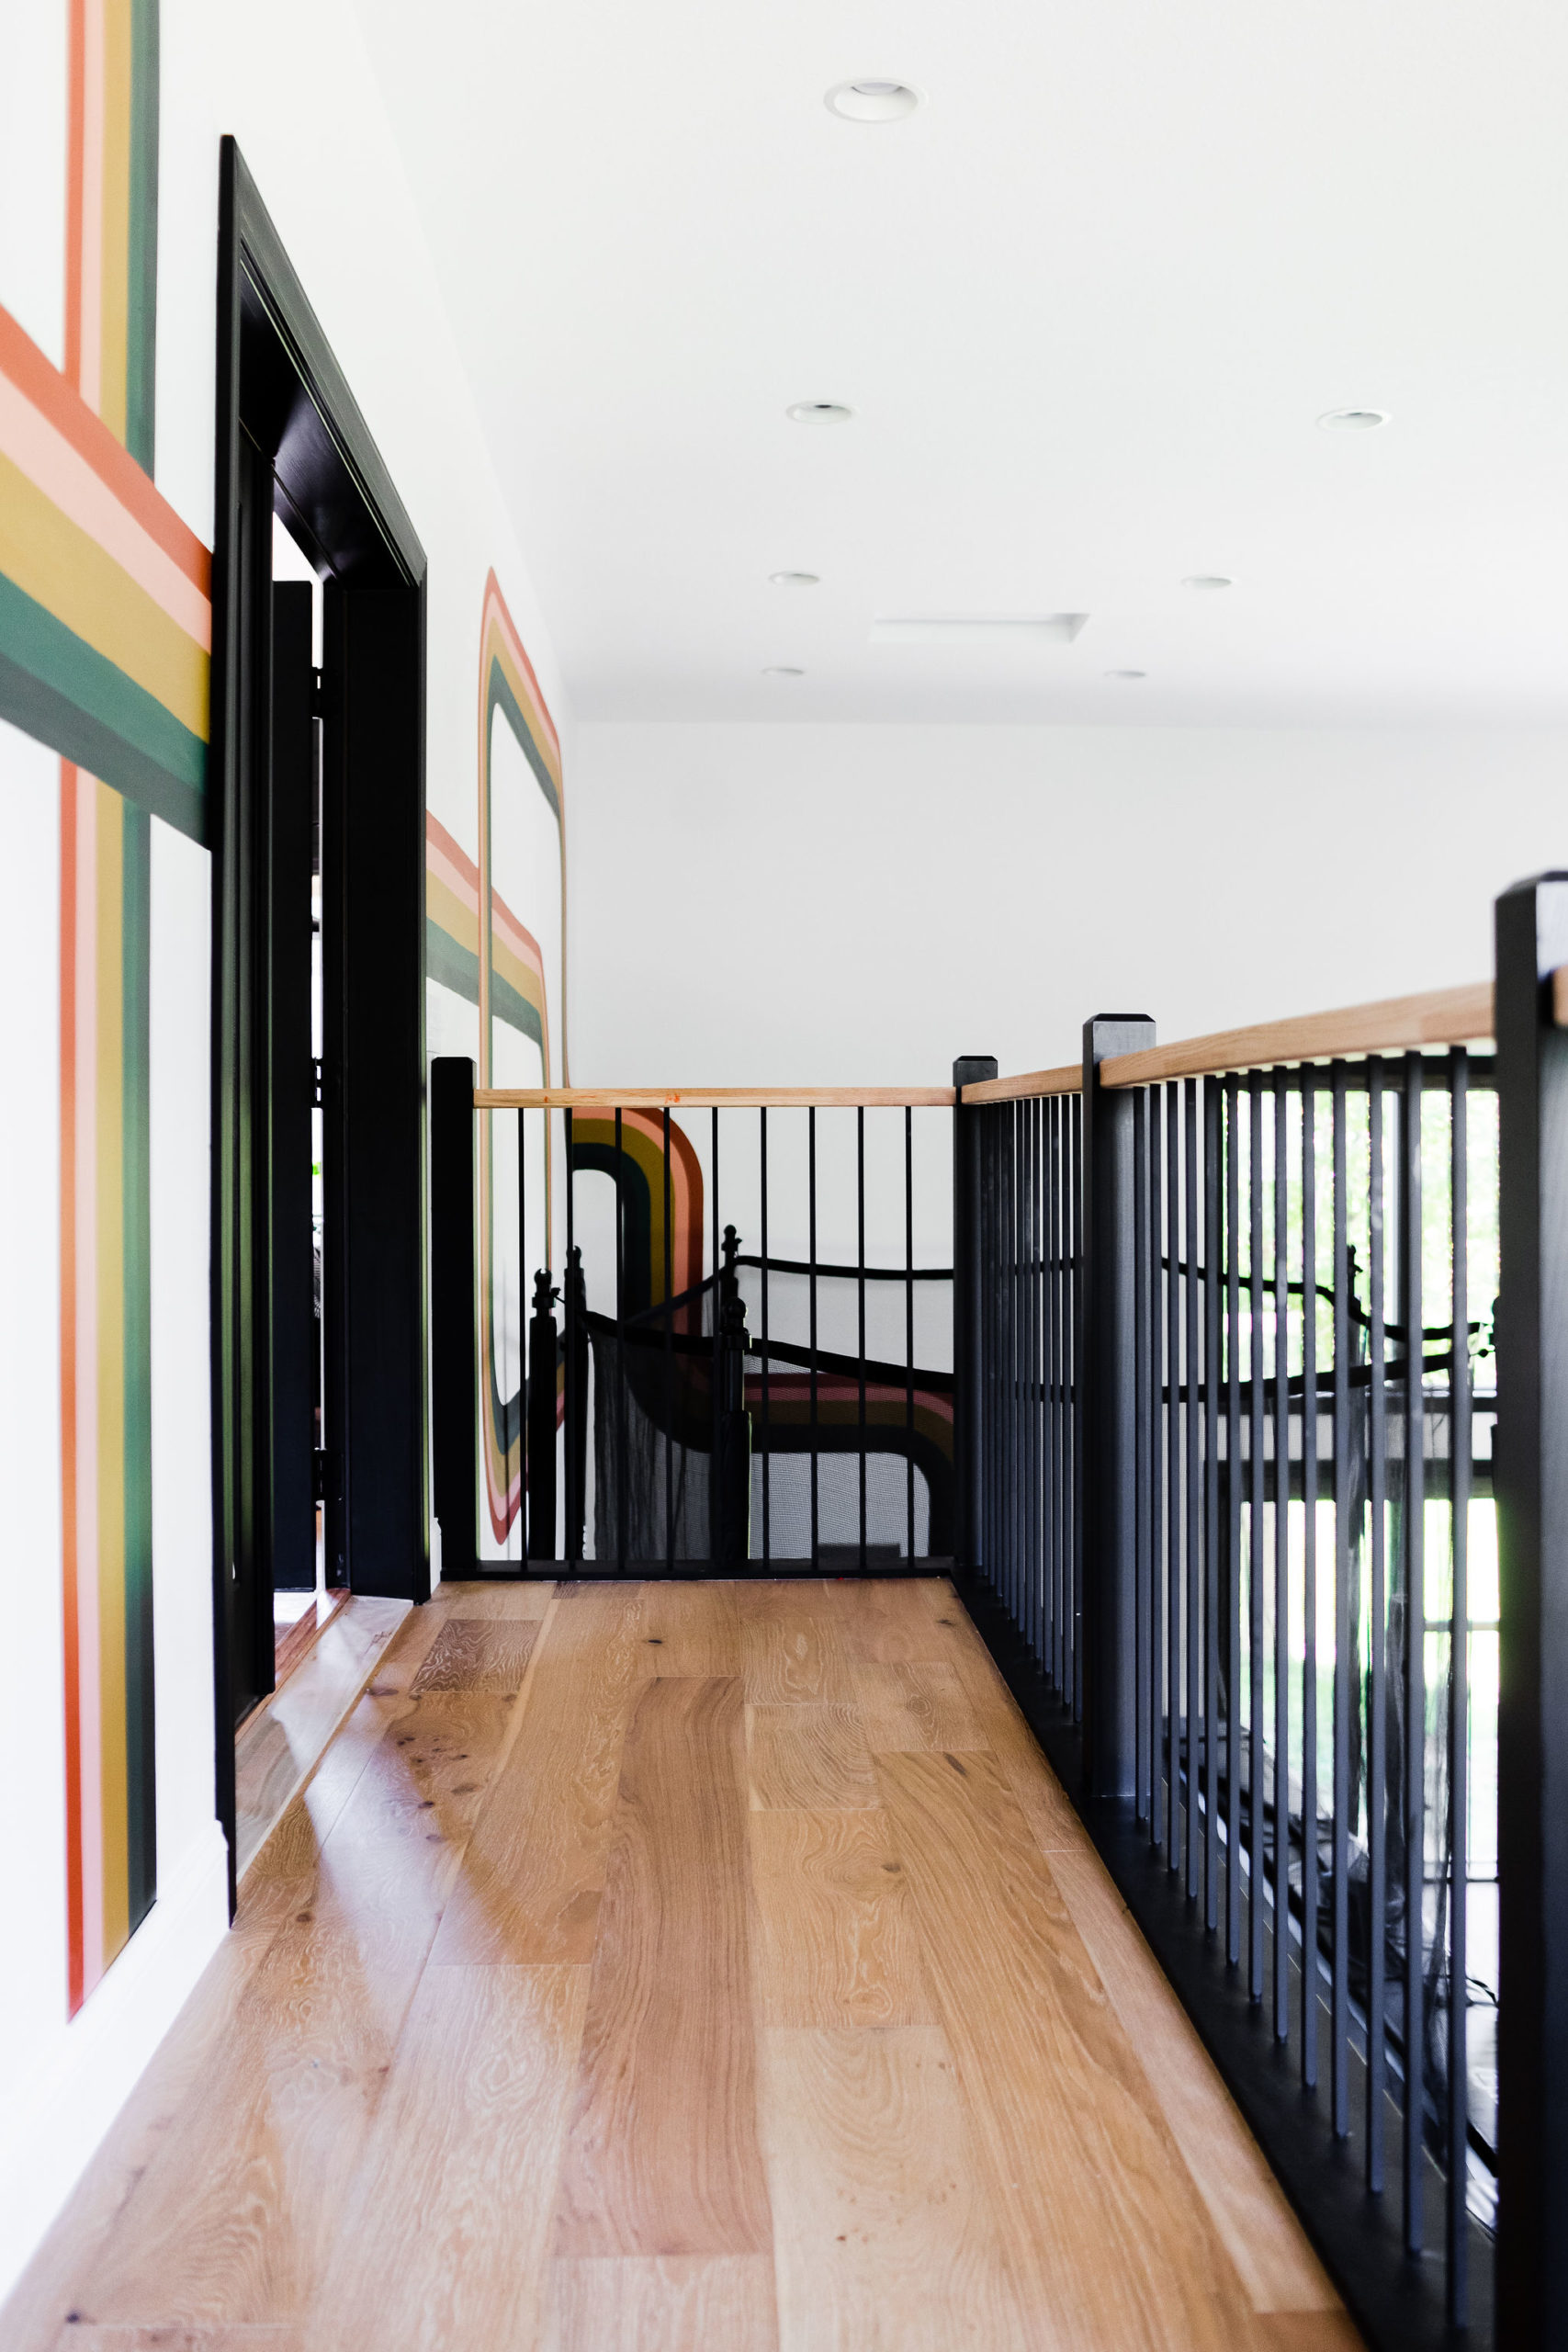
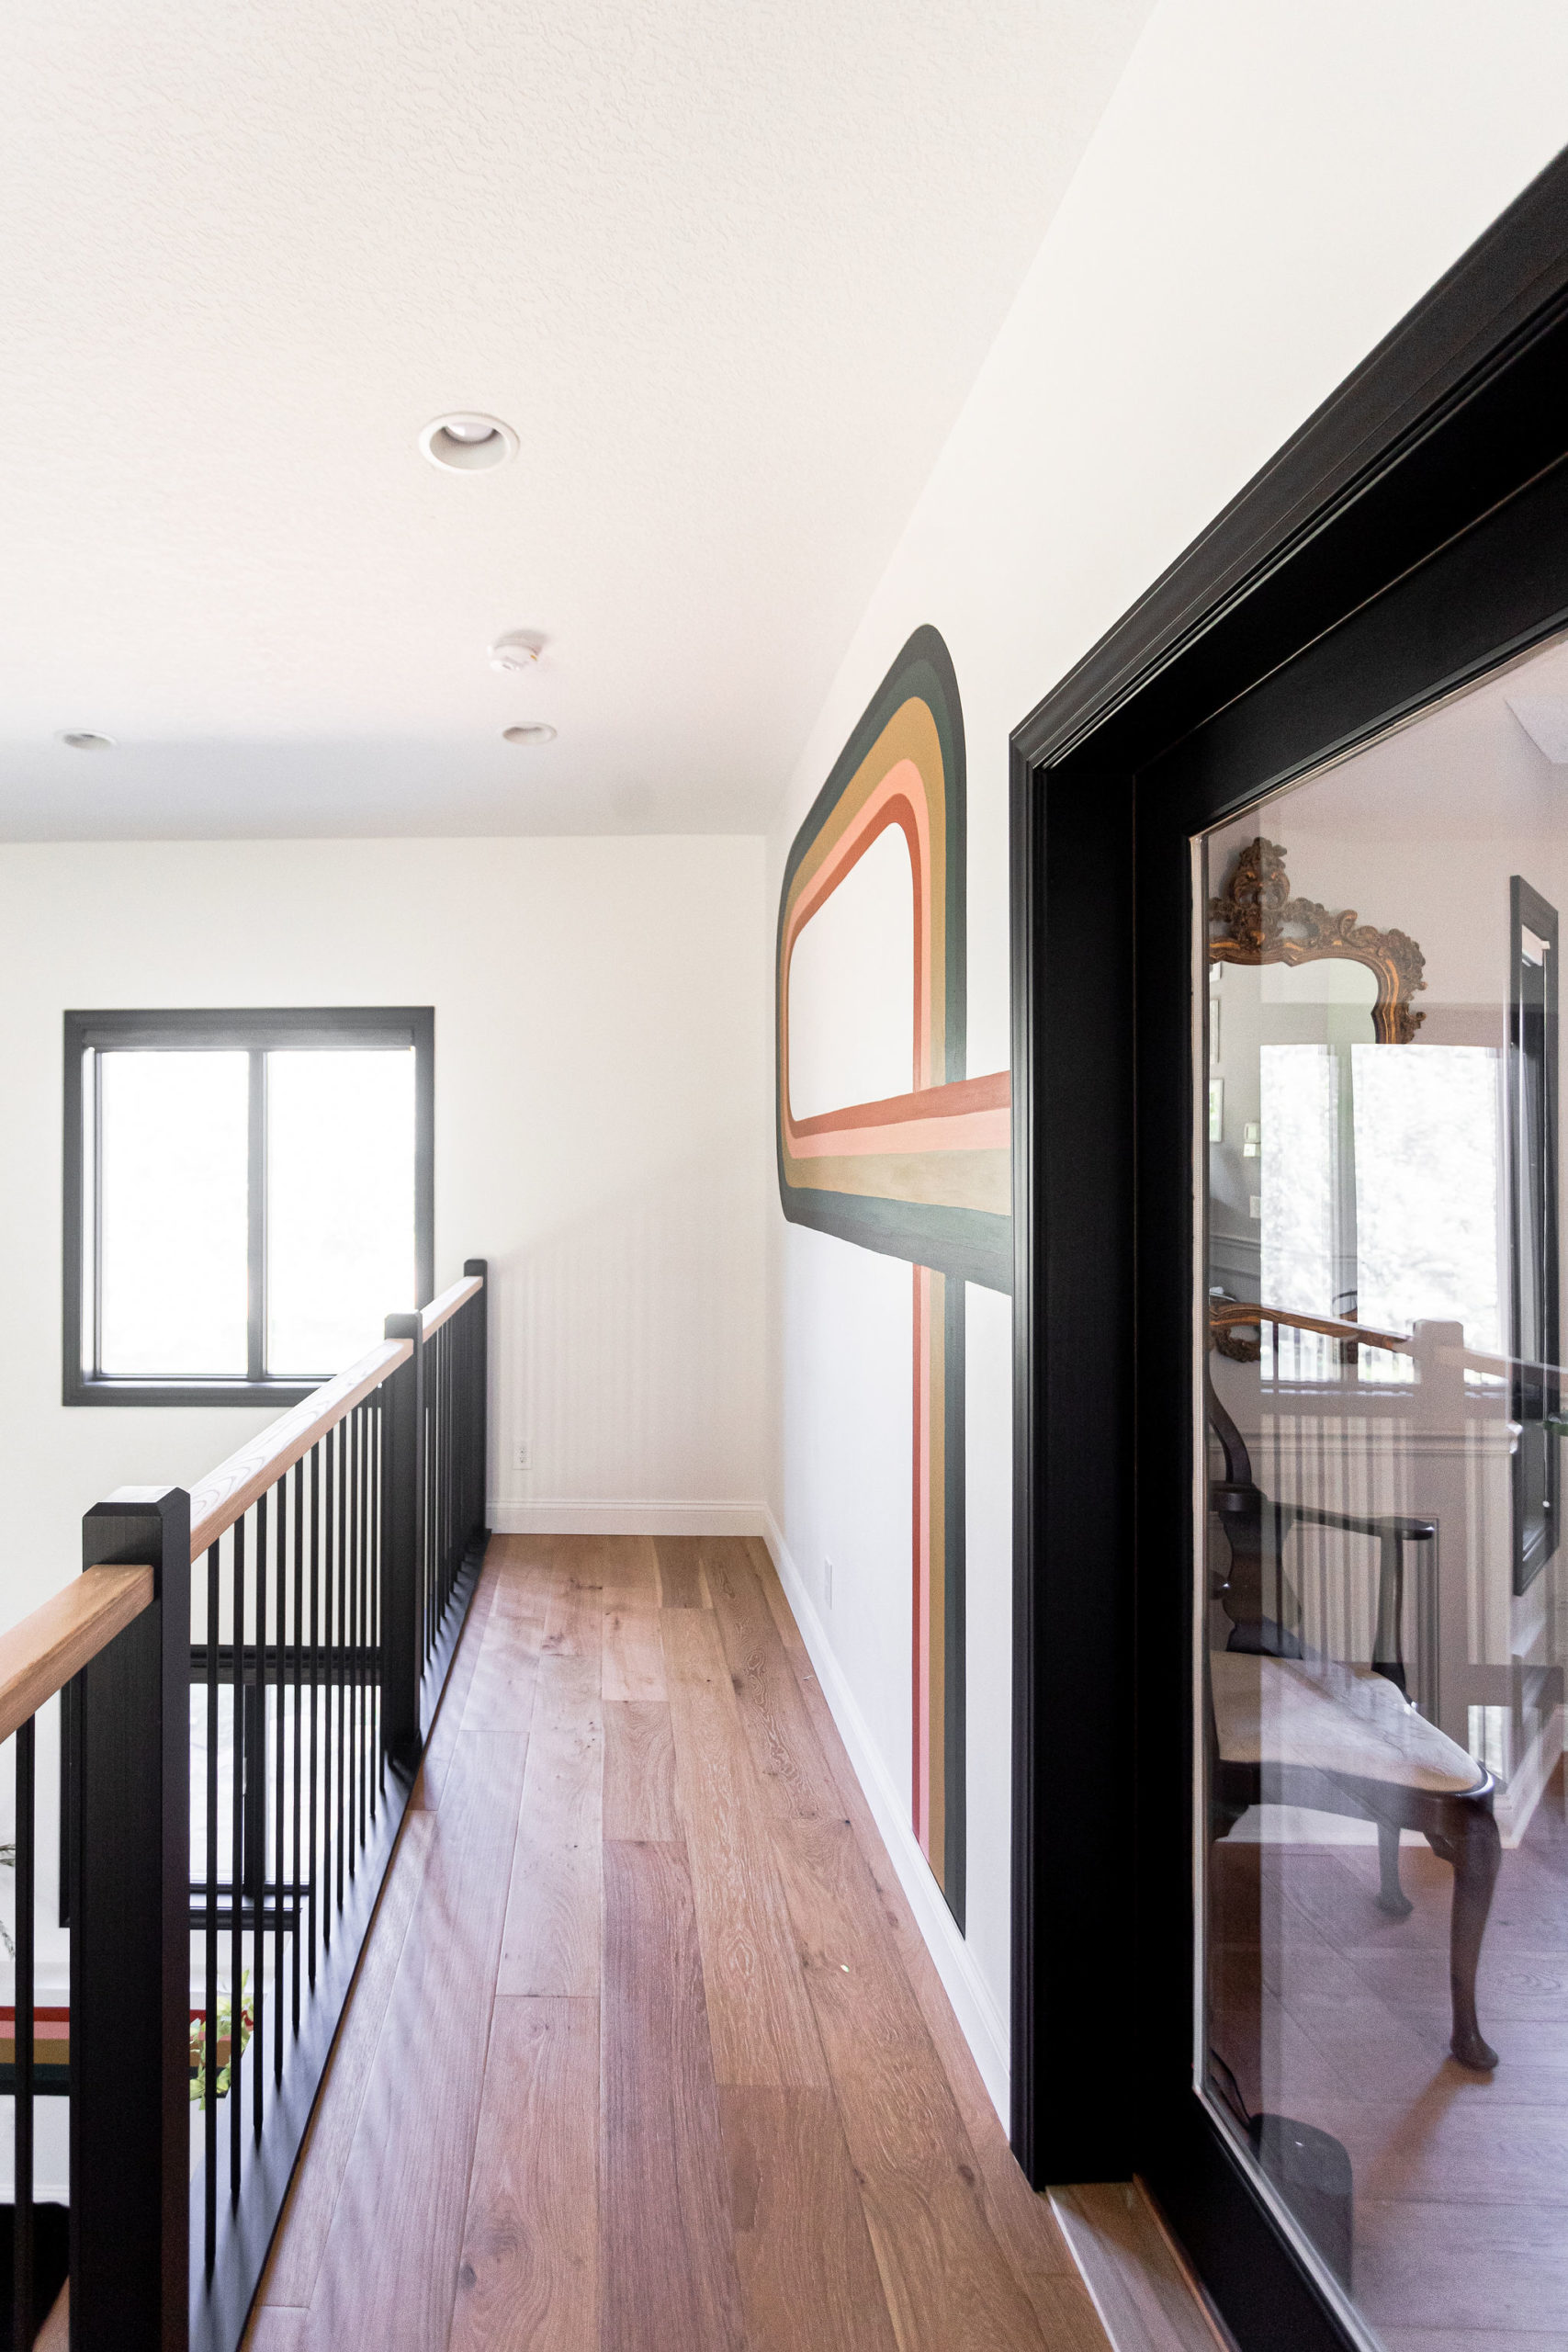
And here’s a view from the other side of the dining room up top, and the former bedroom down below under the balcony. As you can see there wasn’t much real estate space to create stairs to come down without taking up a whole lot of room down below.
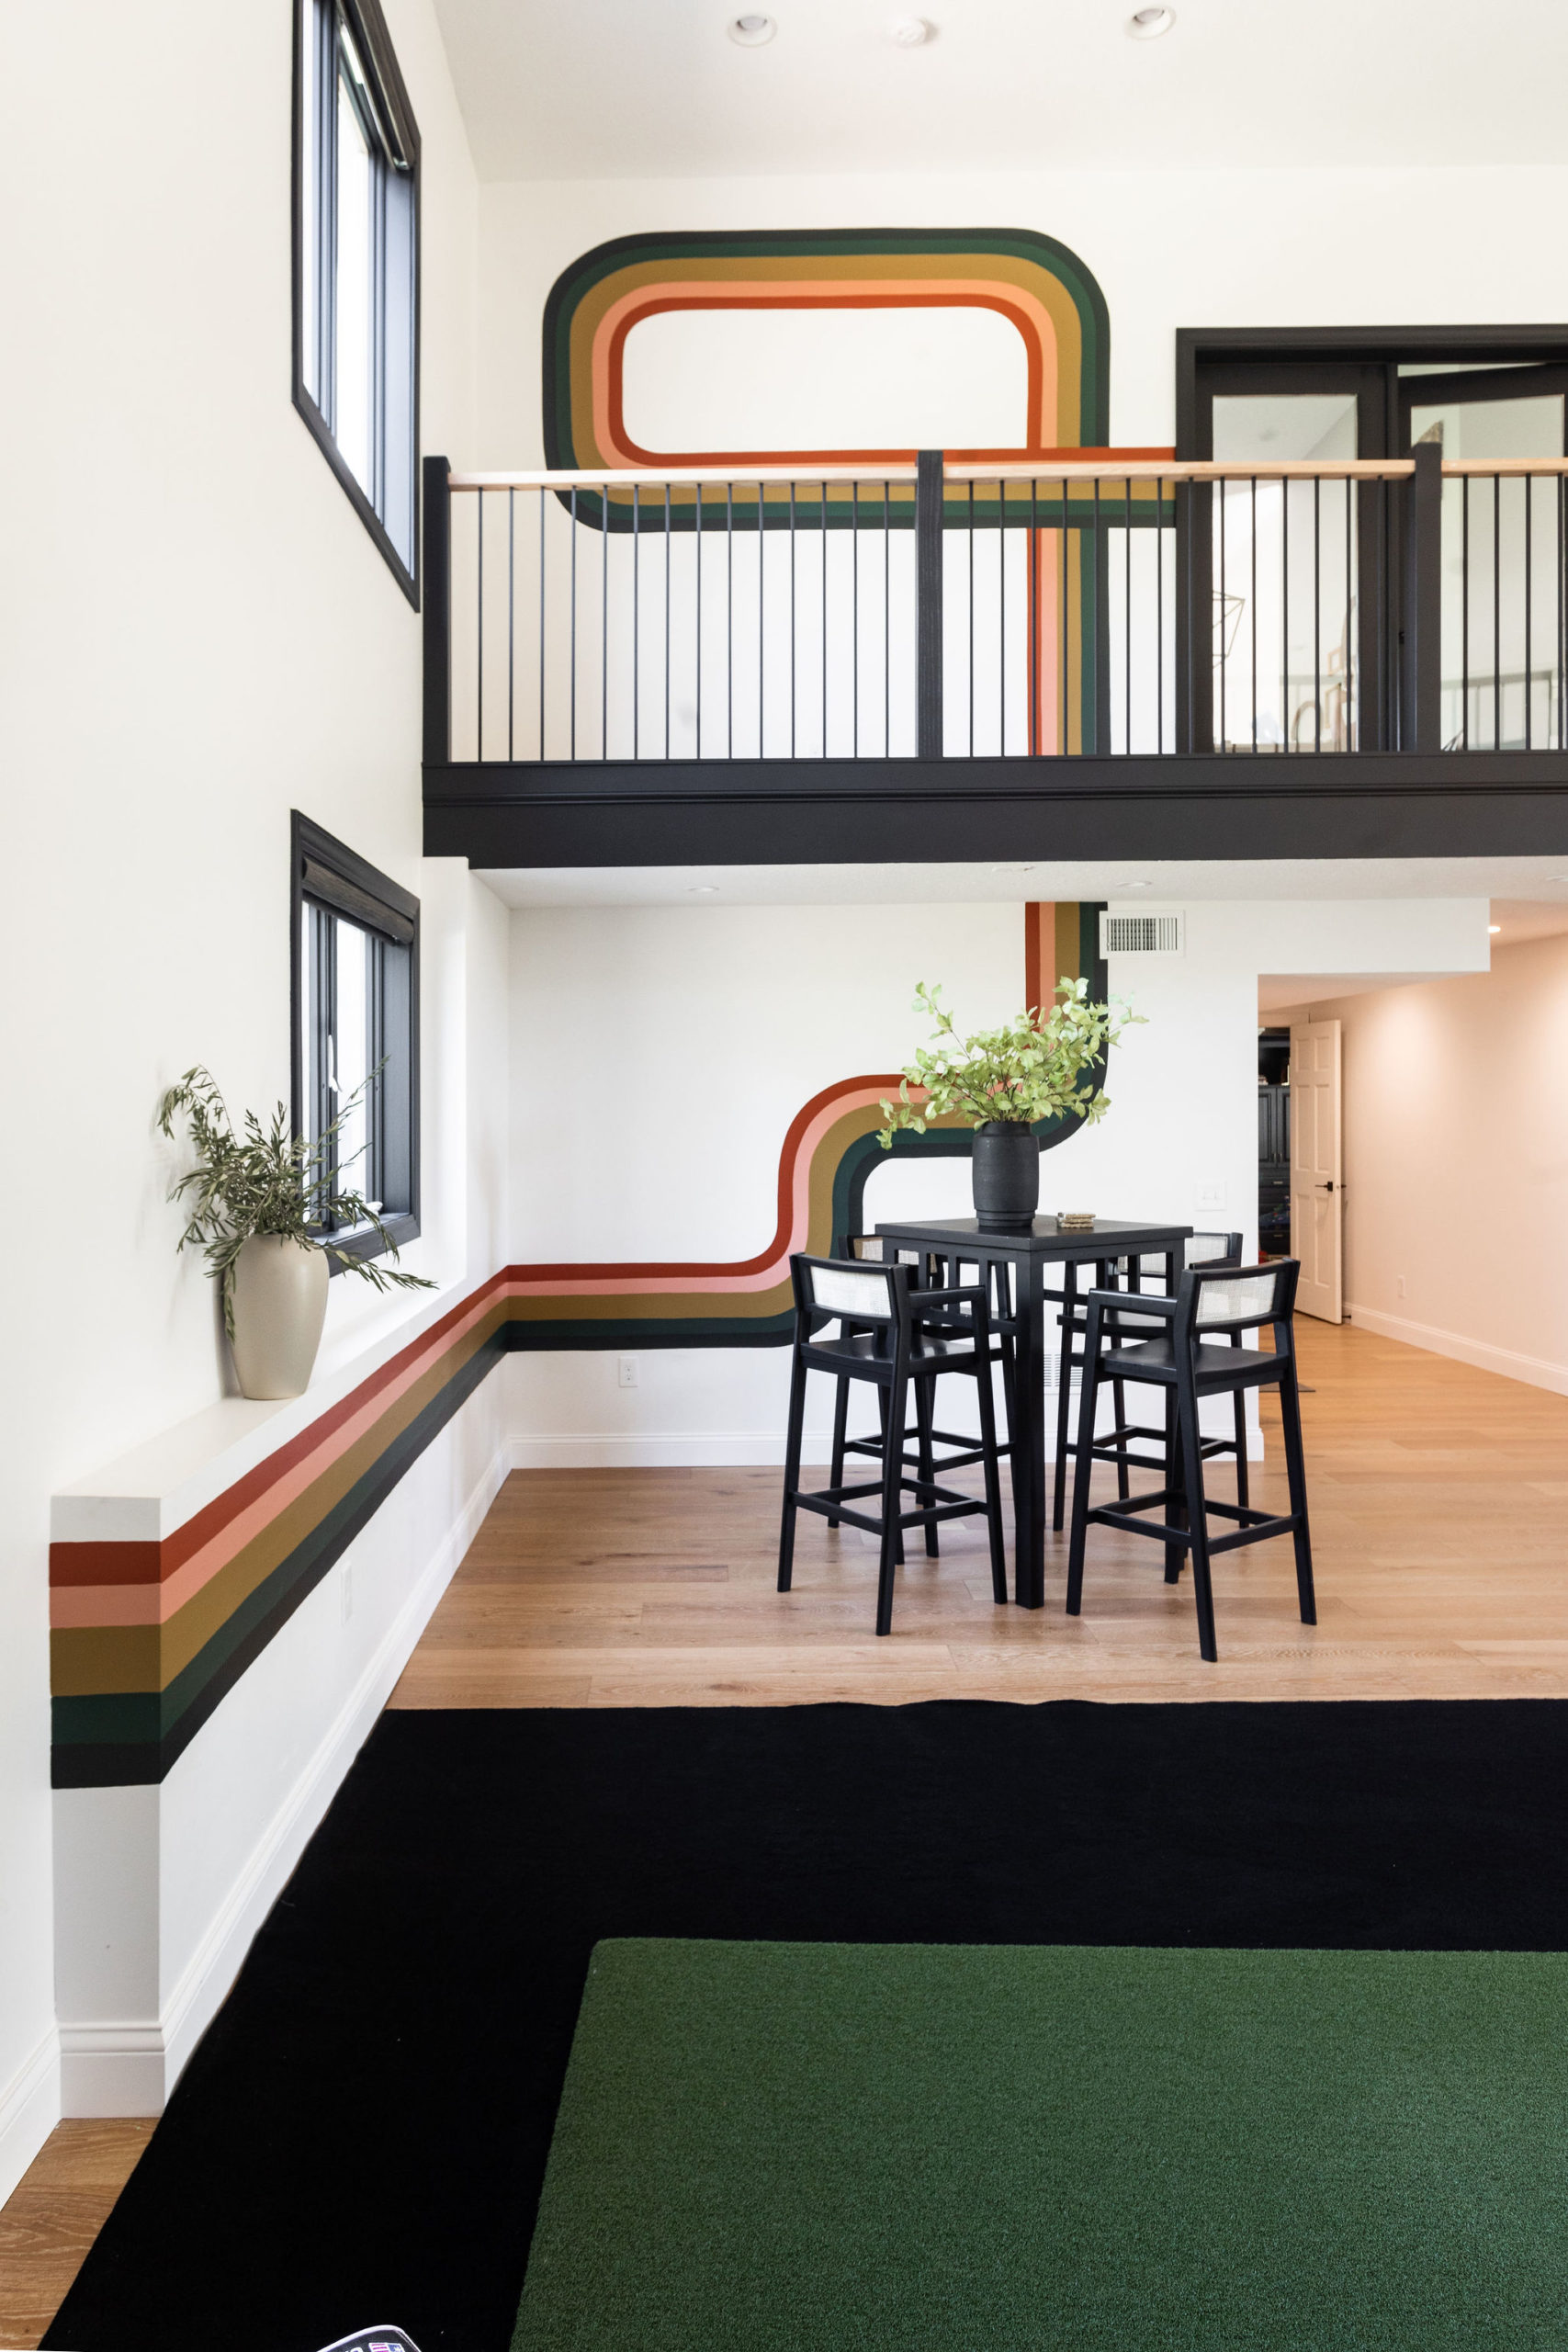
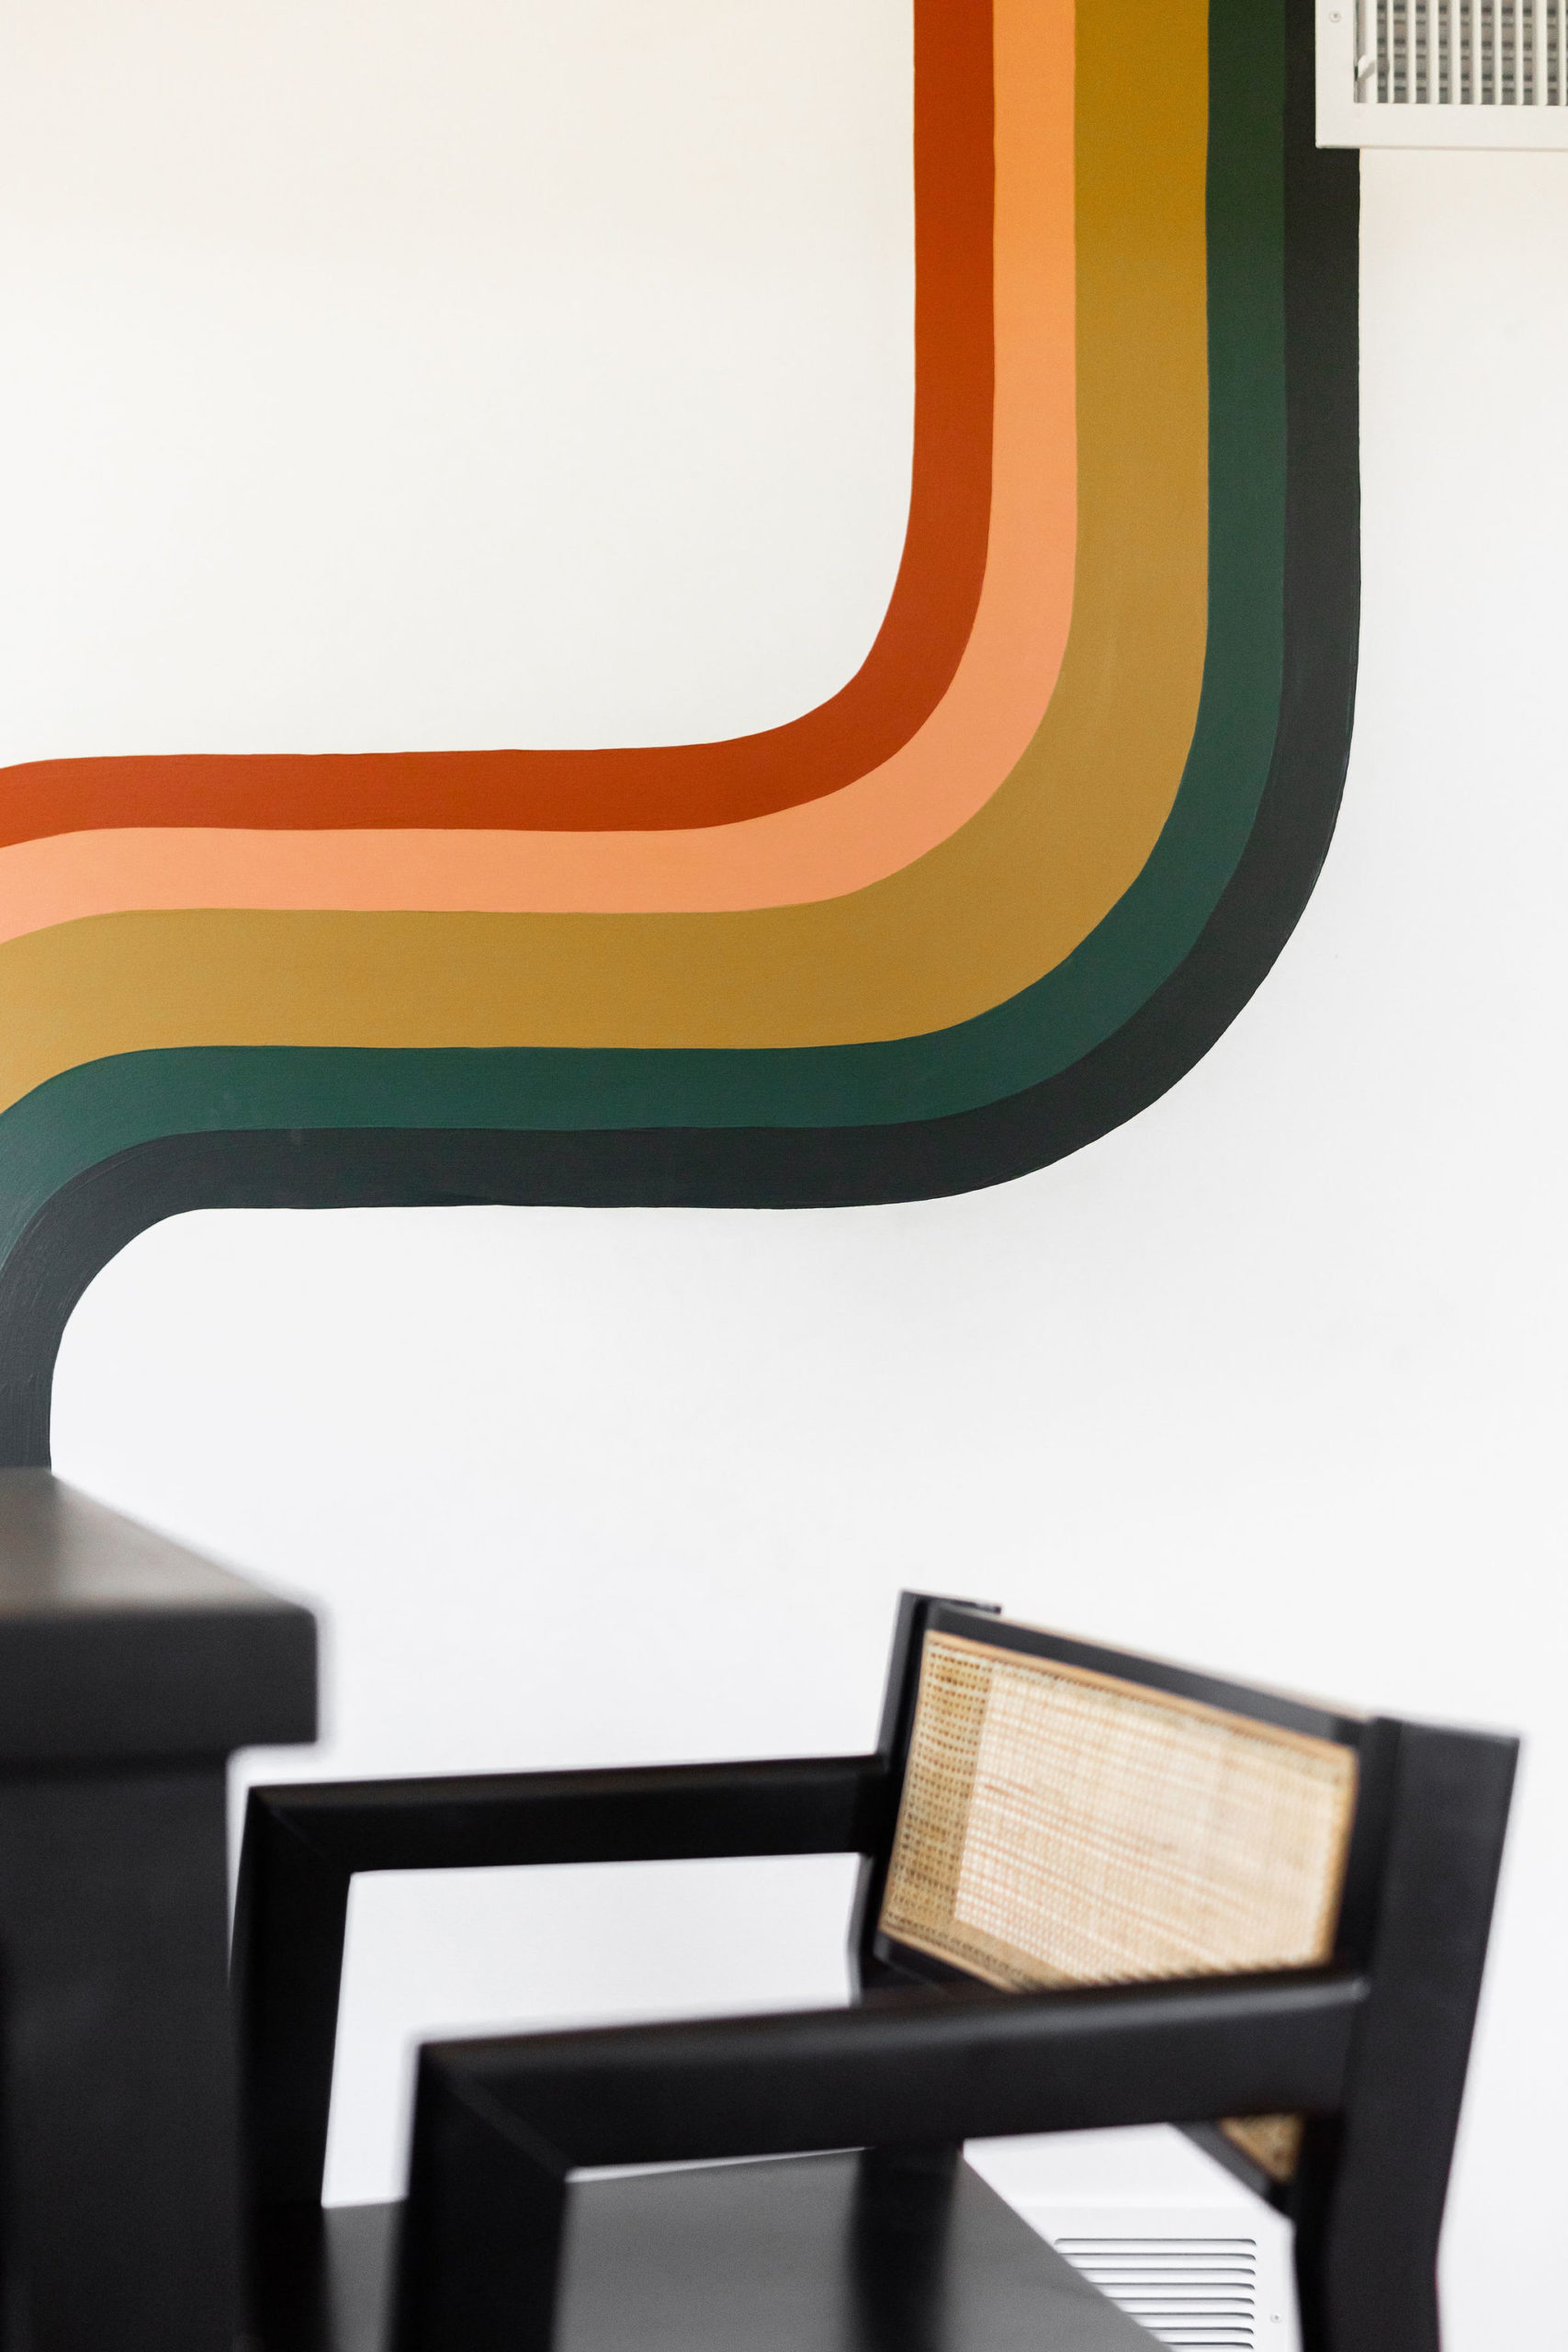
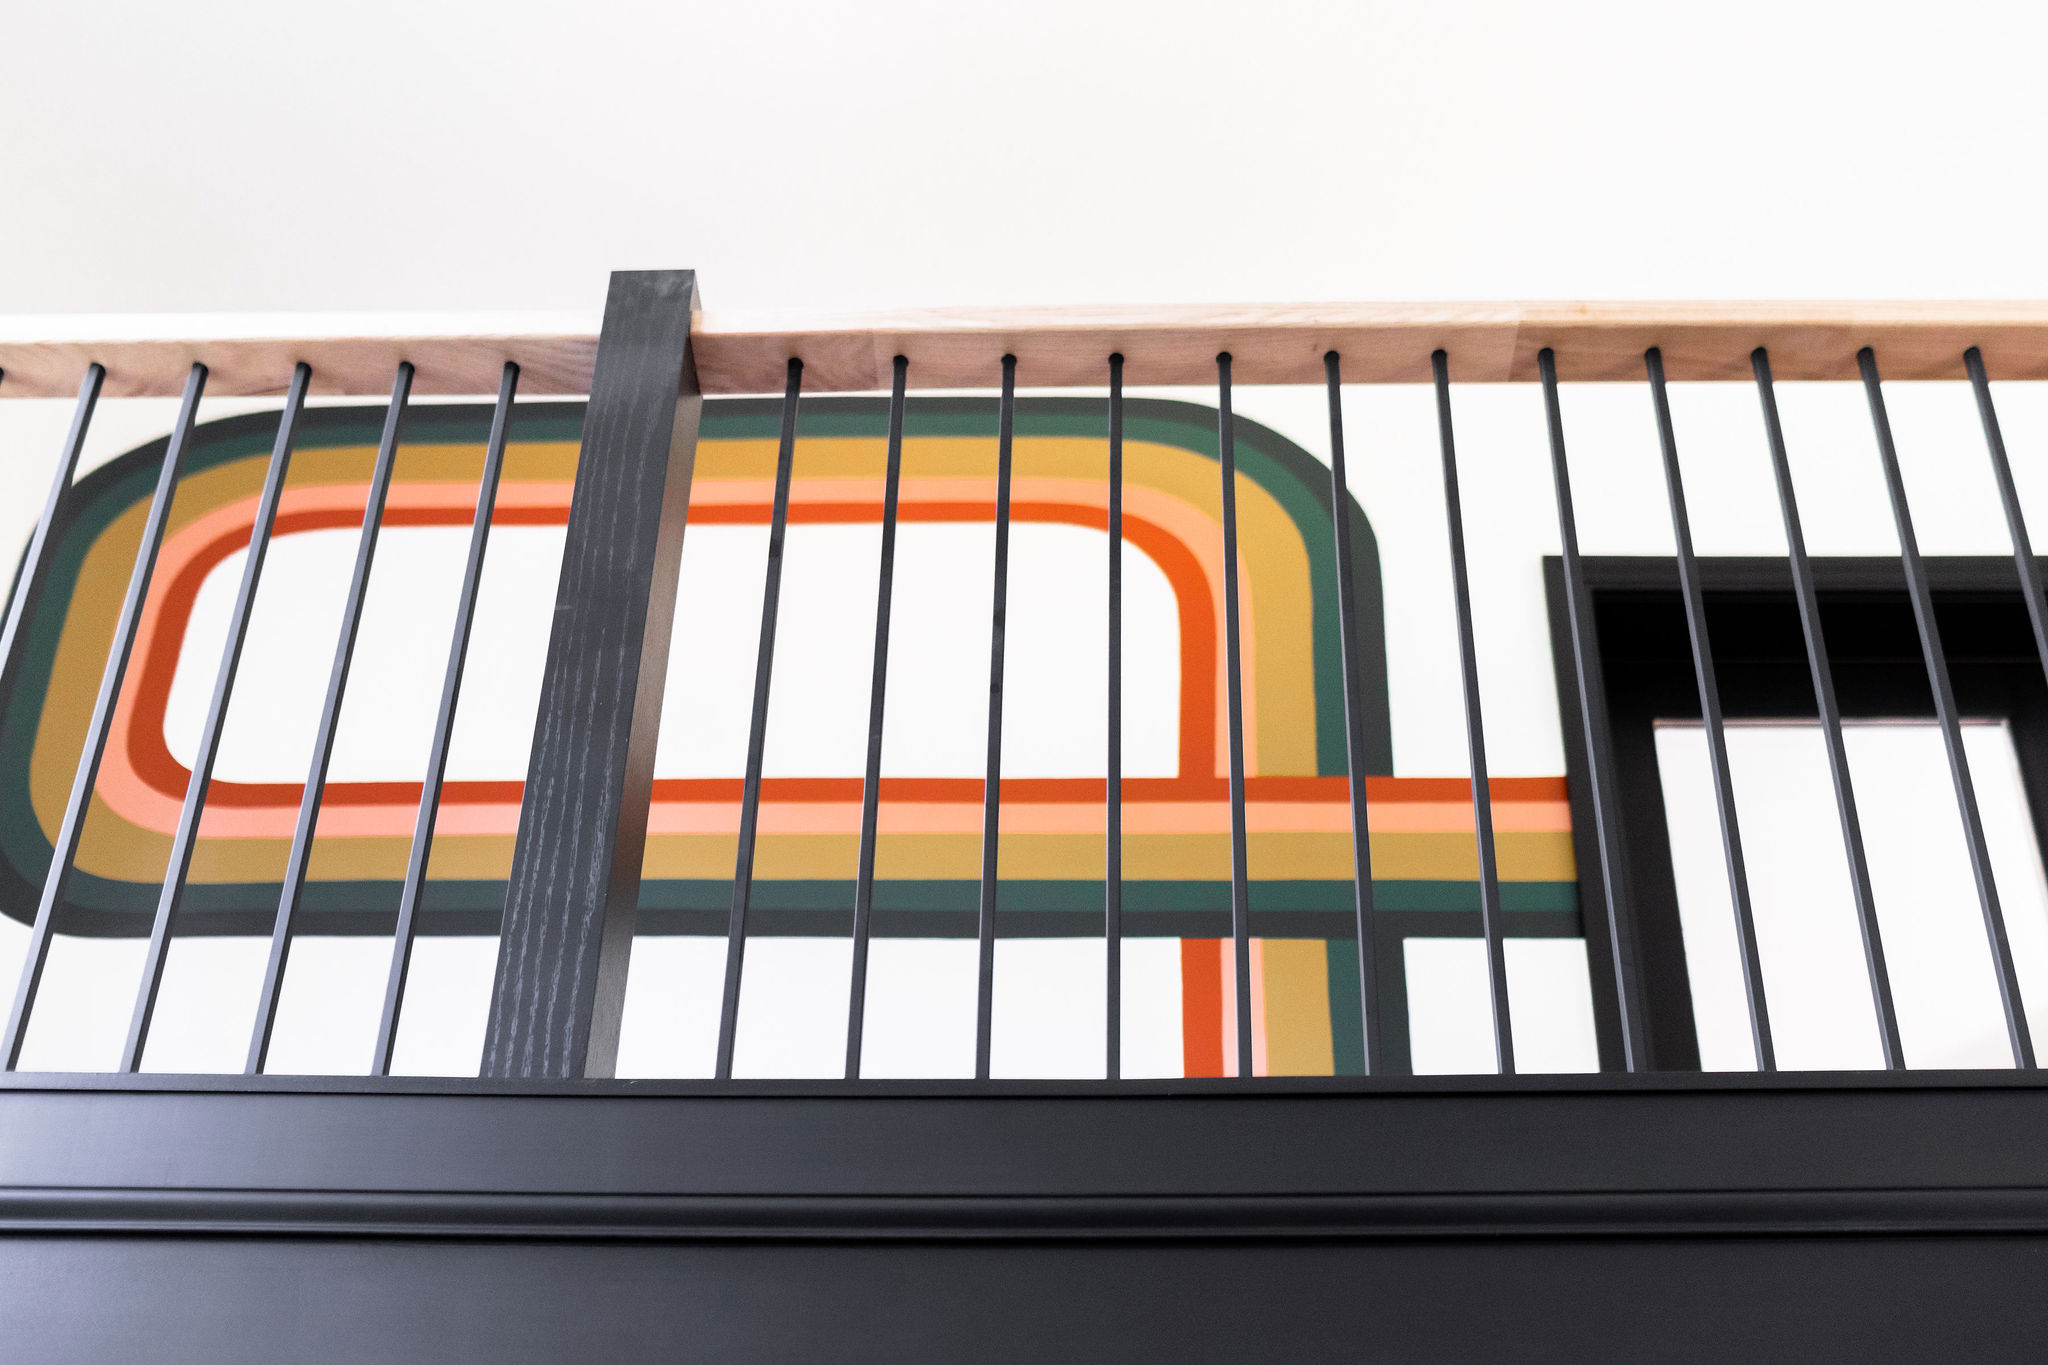
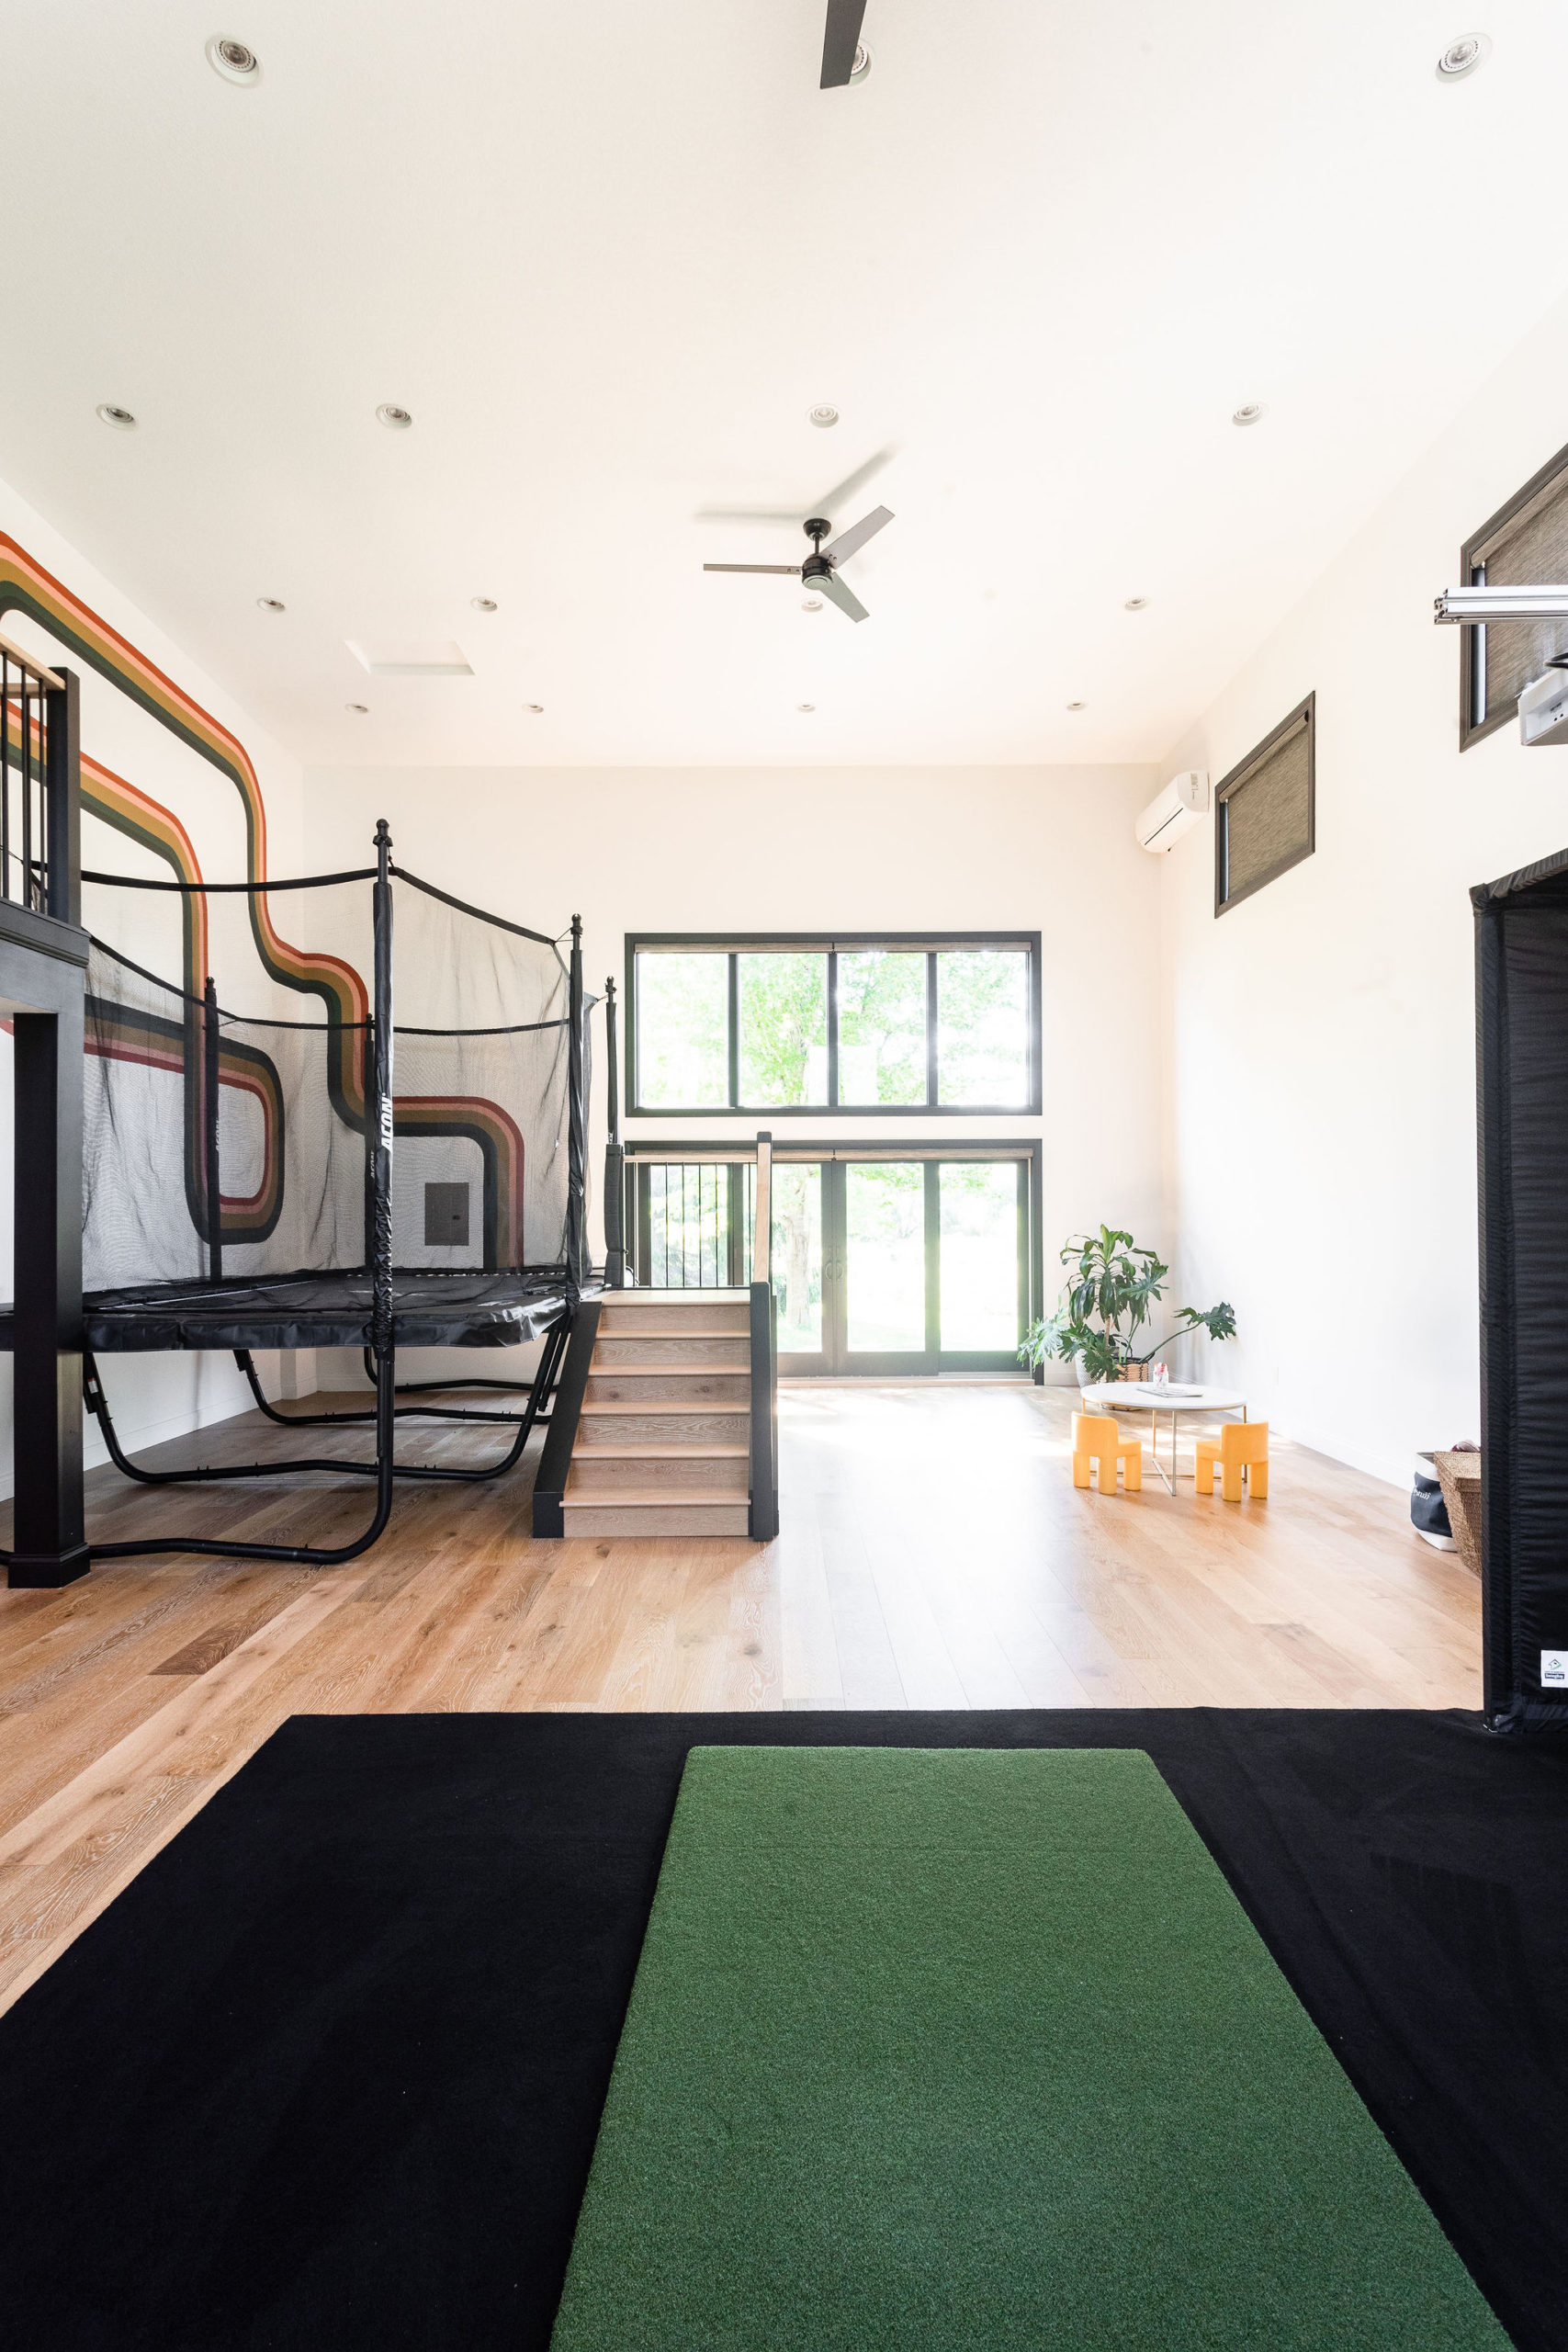
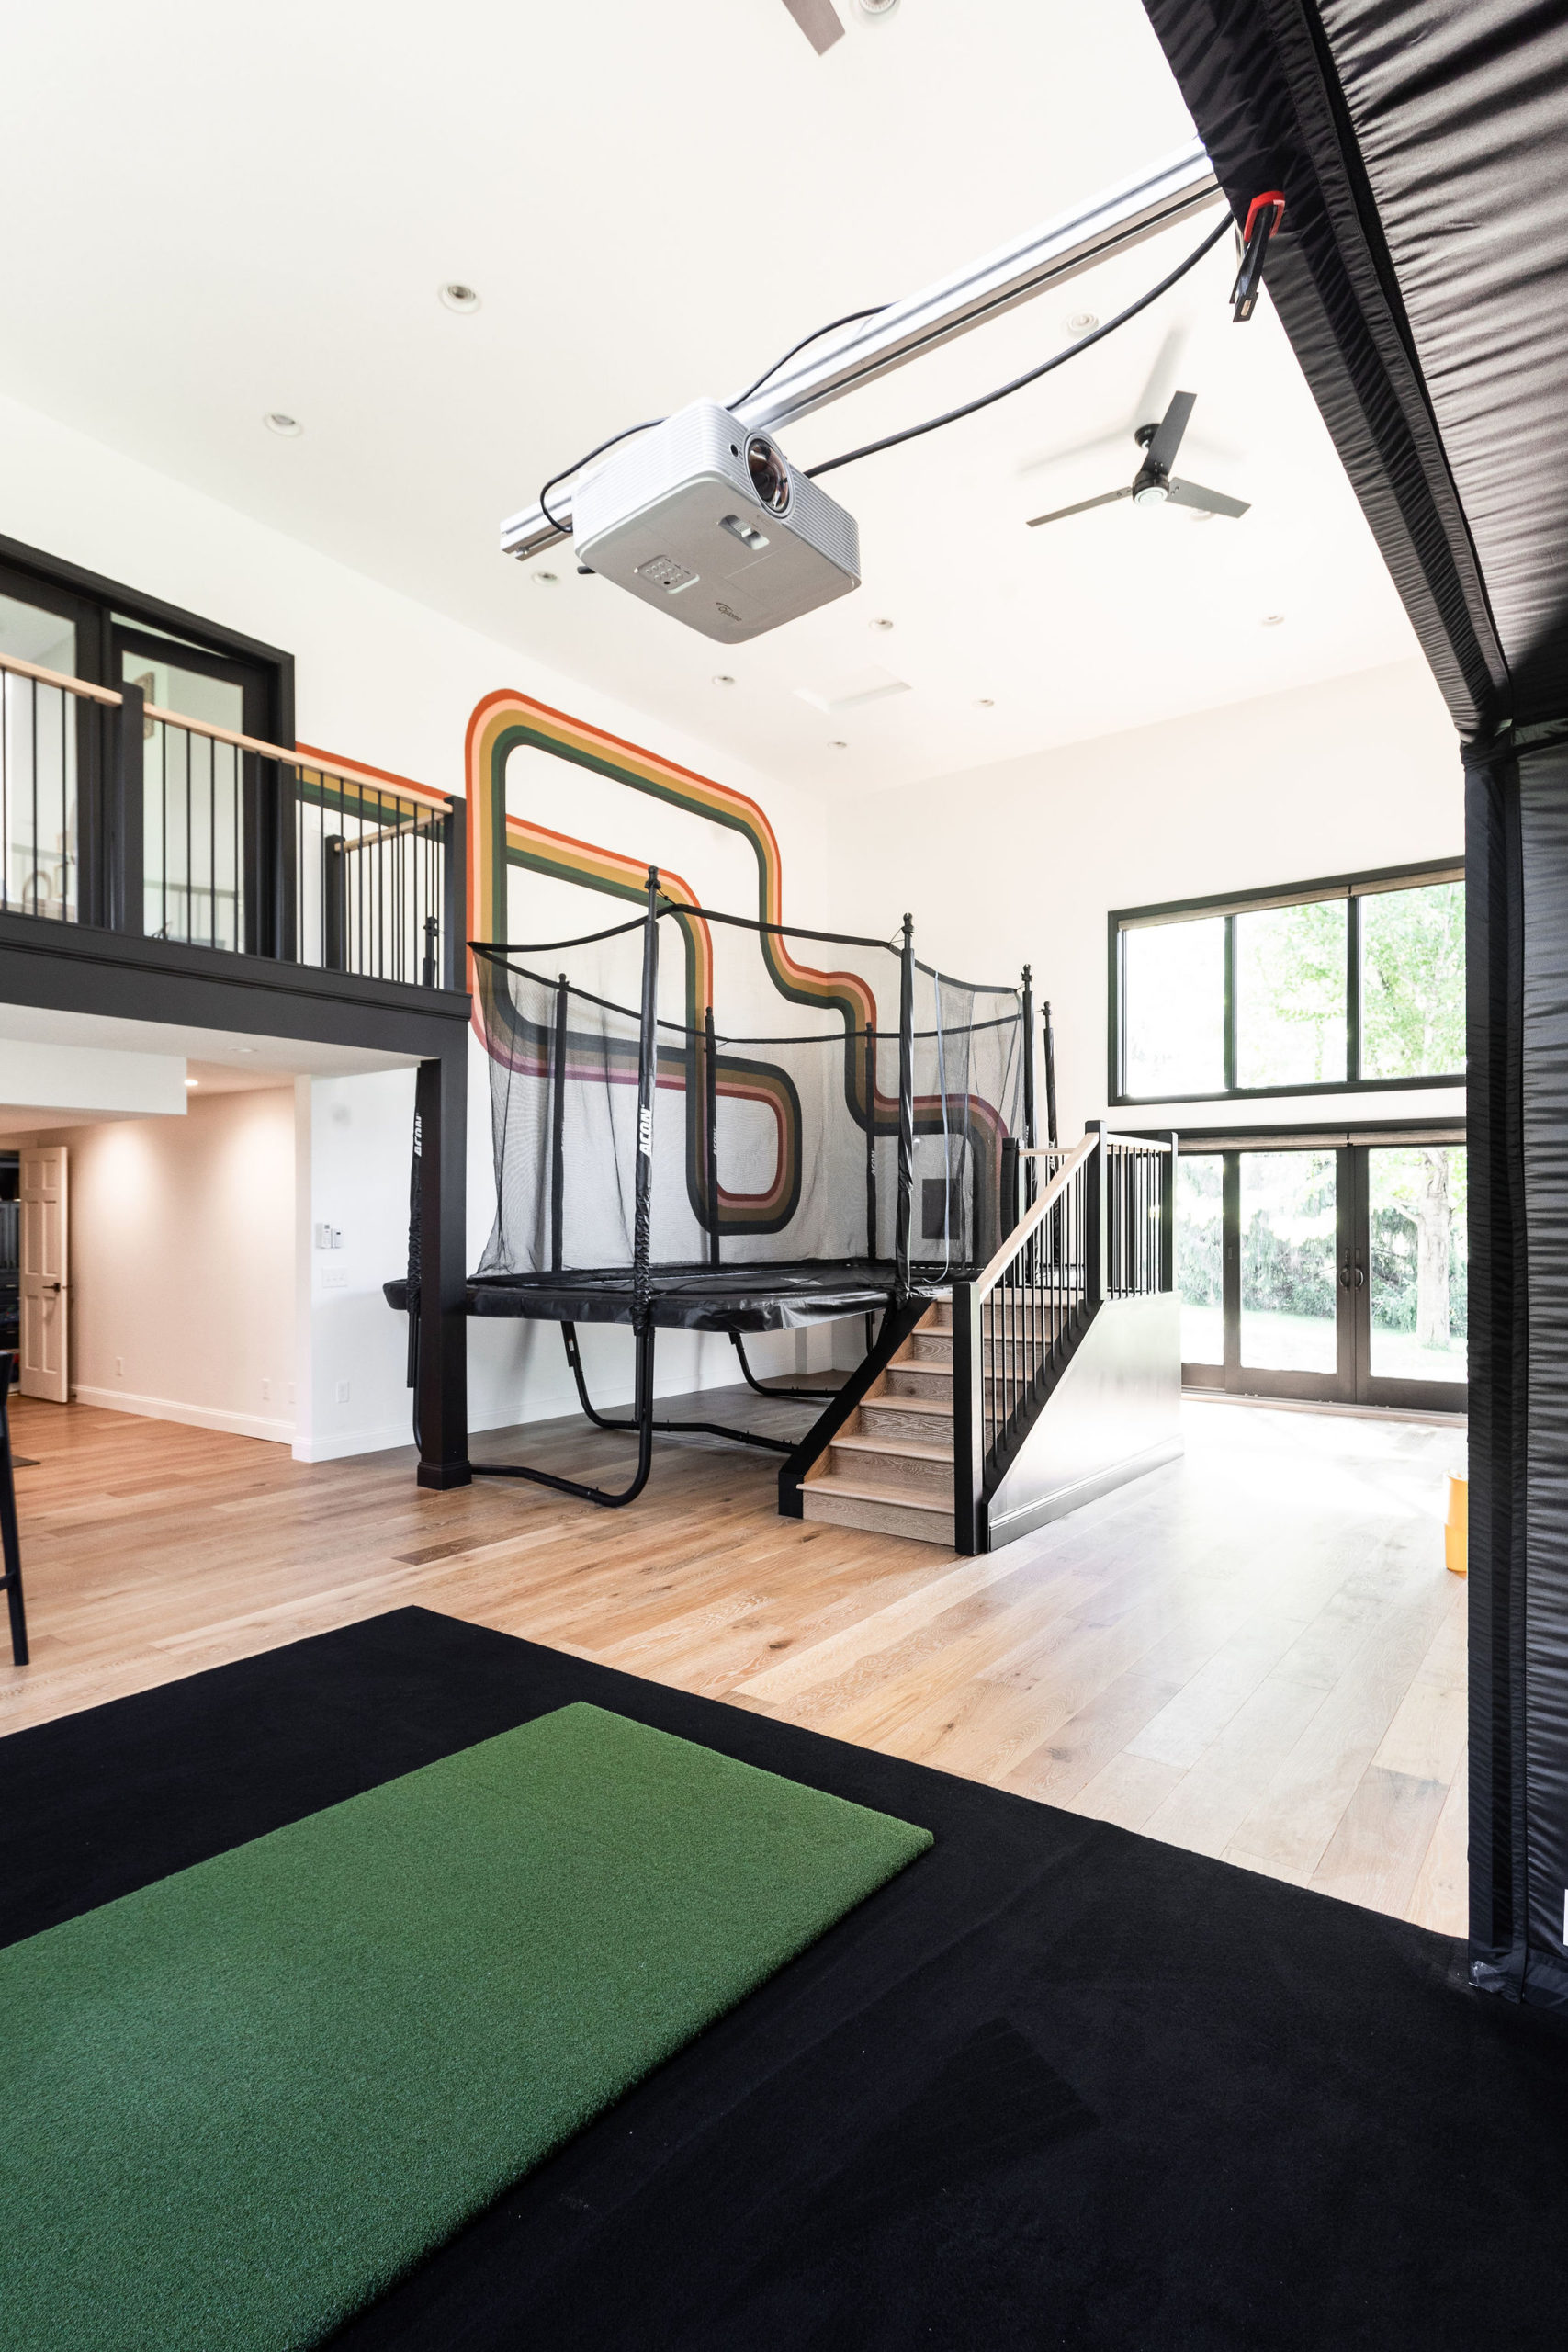
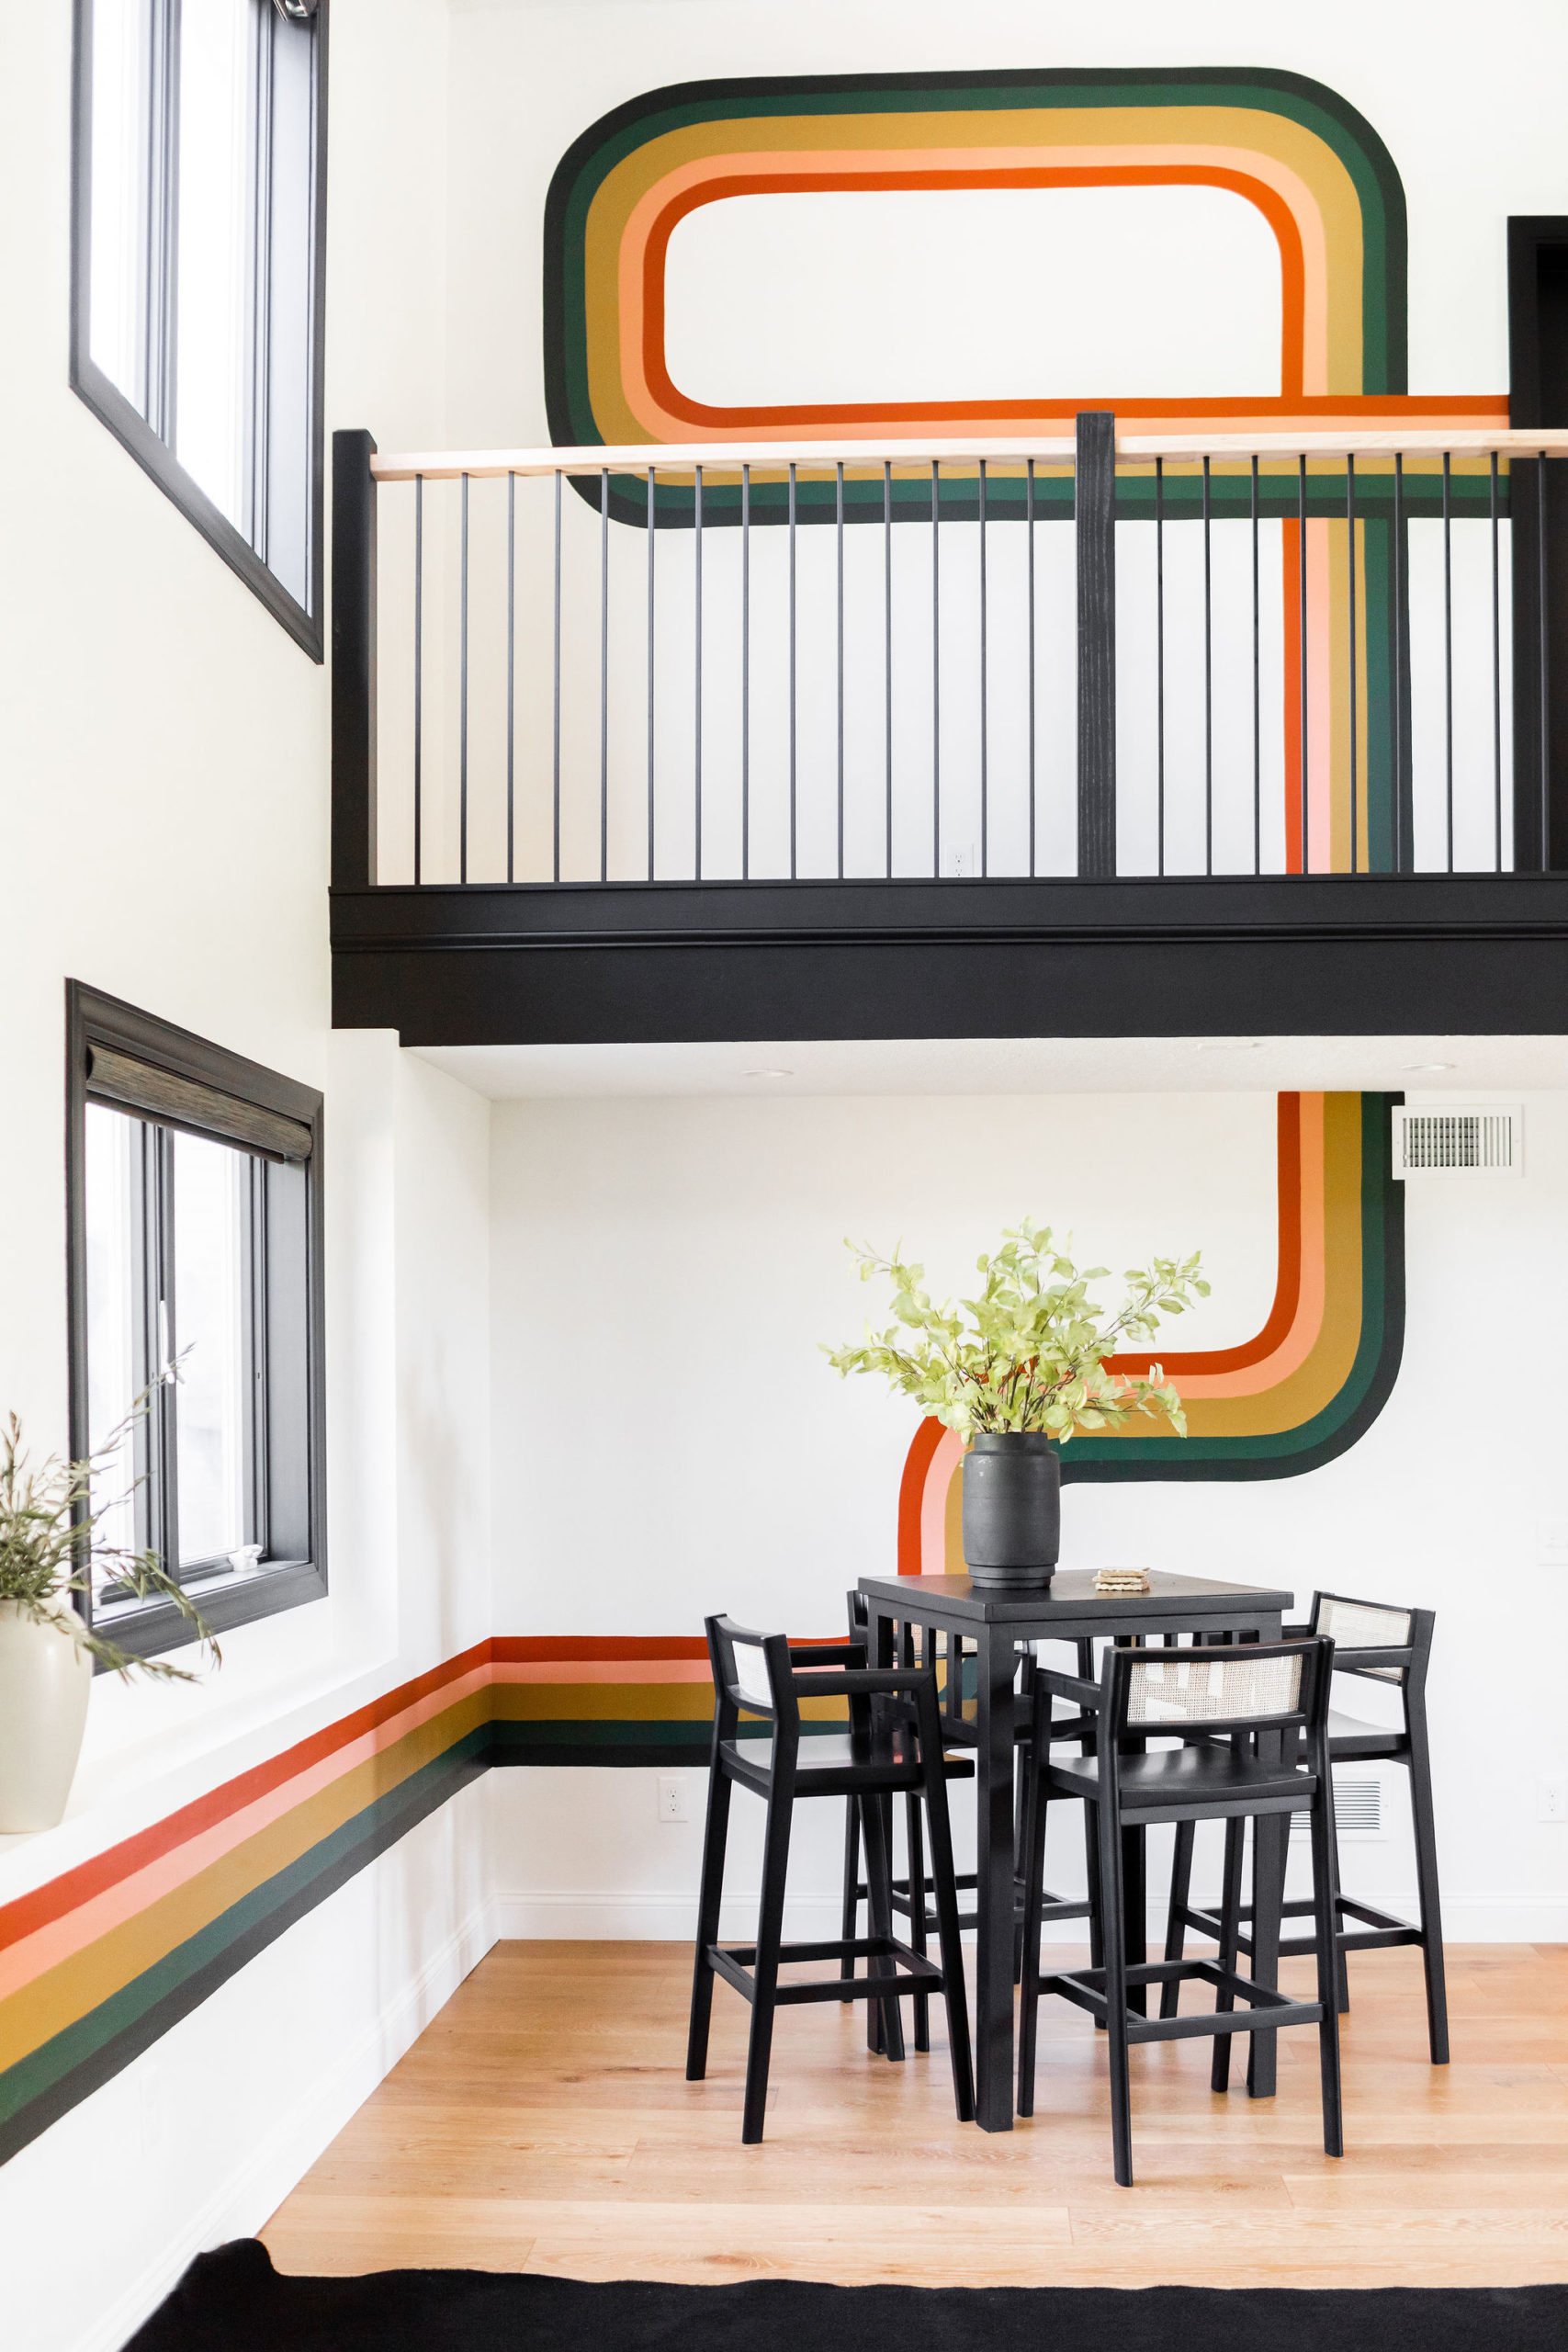
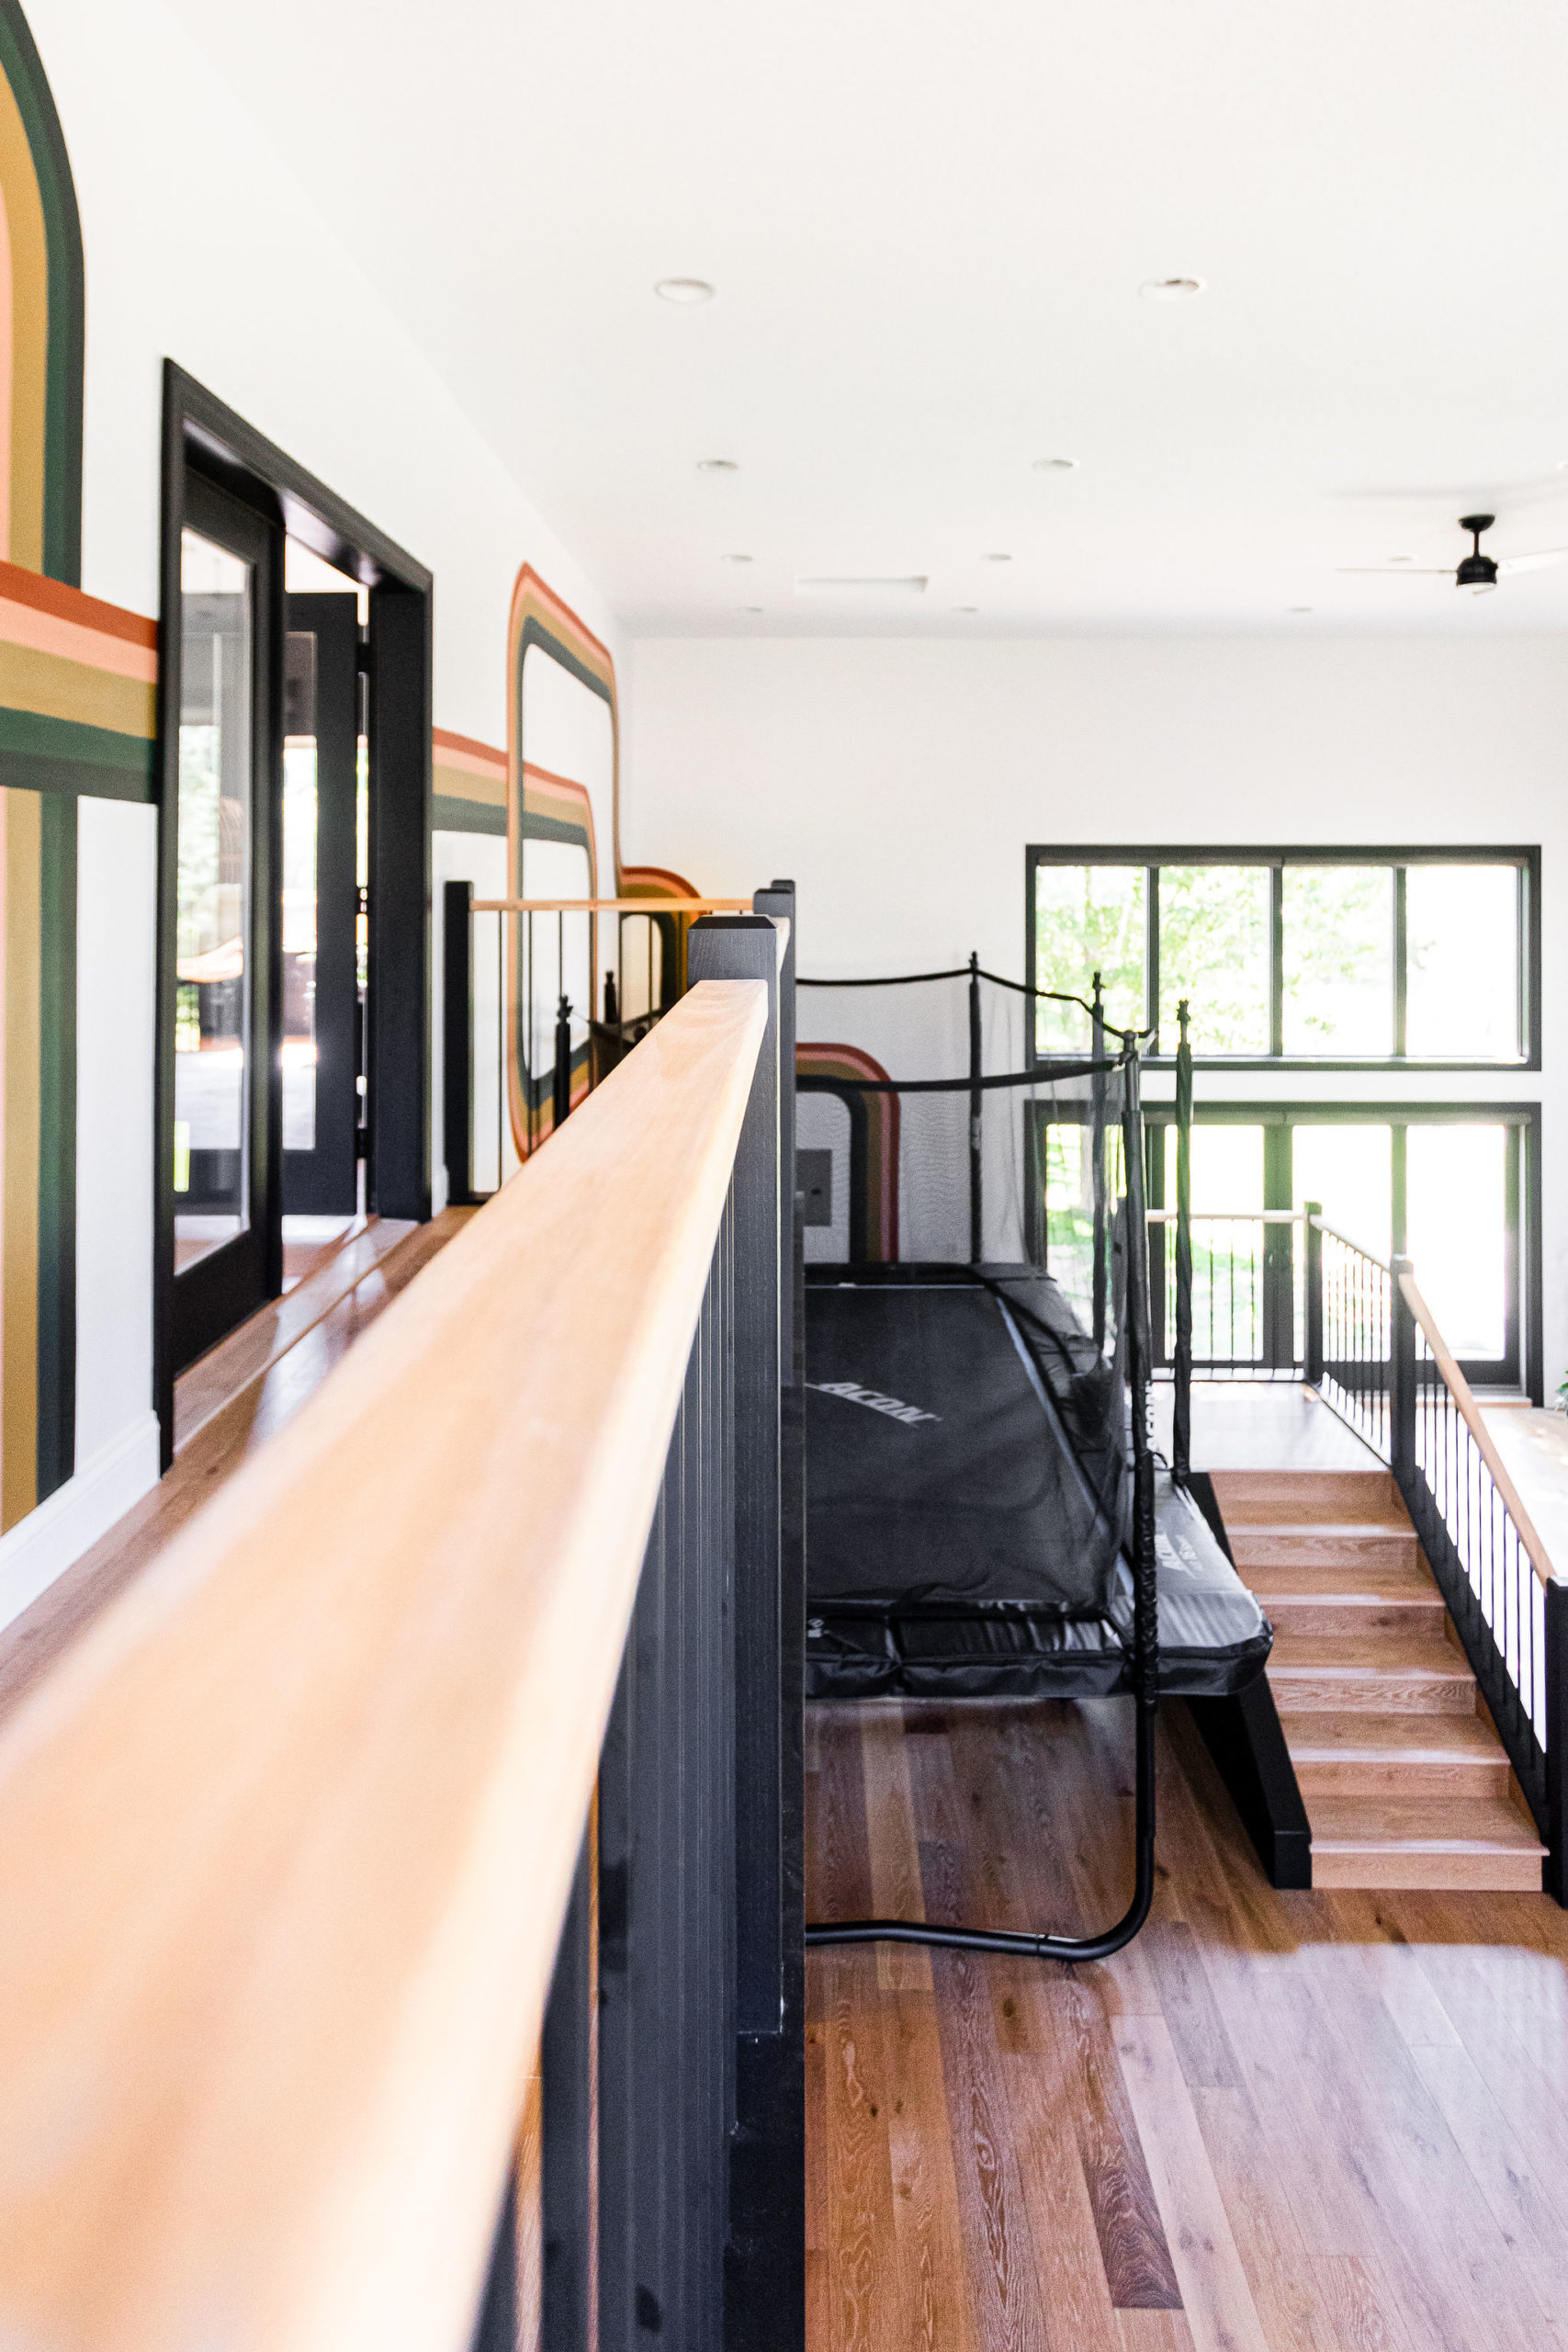
This space makes my heart so happy – especially the mural done by my good friend Kara from Hotmess Homemaker.
I knew I wanted some sort of an oversized painted mural in this space but what it was I wasn’t sure. While undergoing this addition, we were also undergoing a brand refresh.
And once I got our colors back from Sara Schultz Co, I knew we had to incorporate all of our construction2style brand colors into our home. So we knew that was going to be the color palette!
Then, after chatting with Kara and showing her some fun ideas I was vibing off of, she came up with this design. She knows my kids too well and her vision came to her after watching them speed around on their little Mario-like go-carts.
She said – that’s exactly what a want to recreate – a race track within this space using our brand colors. It couldn’t have been more perfect.
Originally we were going to circle all four walls and then we decided to simply make a statement on this one and I kinda already regret it because I love it so much! She just might be coming back soon to tackle the other blank slate of a wall.
And as of recently, we just got Graber motorized custom shades put in, which is now my new favorite design element! We had a handful of goals we wanted to achieve with the custom shades.
Light filtering with privacy for when we wanted to make the golf simulator into a movie night, ensure electronic for those hard to reach windows, safety with cordless for the kids, and it to be aesthetic with the rest of the space.
We didn’t want them to grab your attention either and we knew we couldn’t have just any regular window treatments within here.
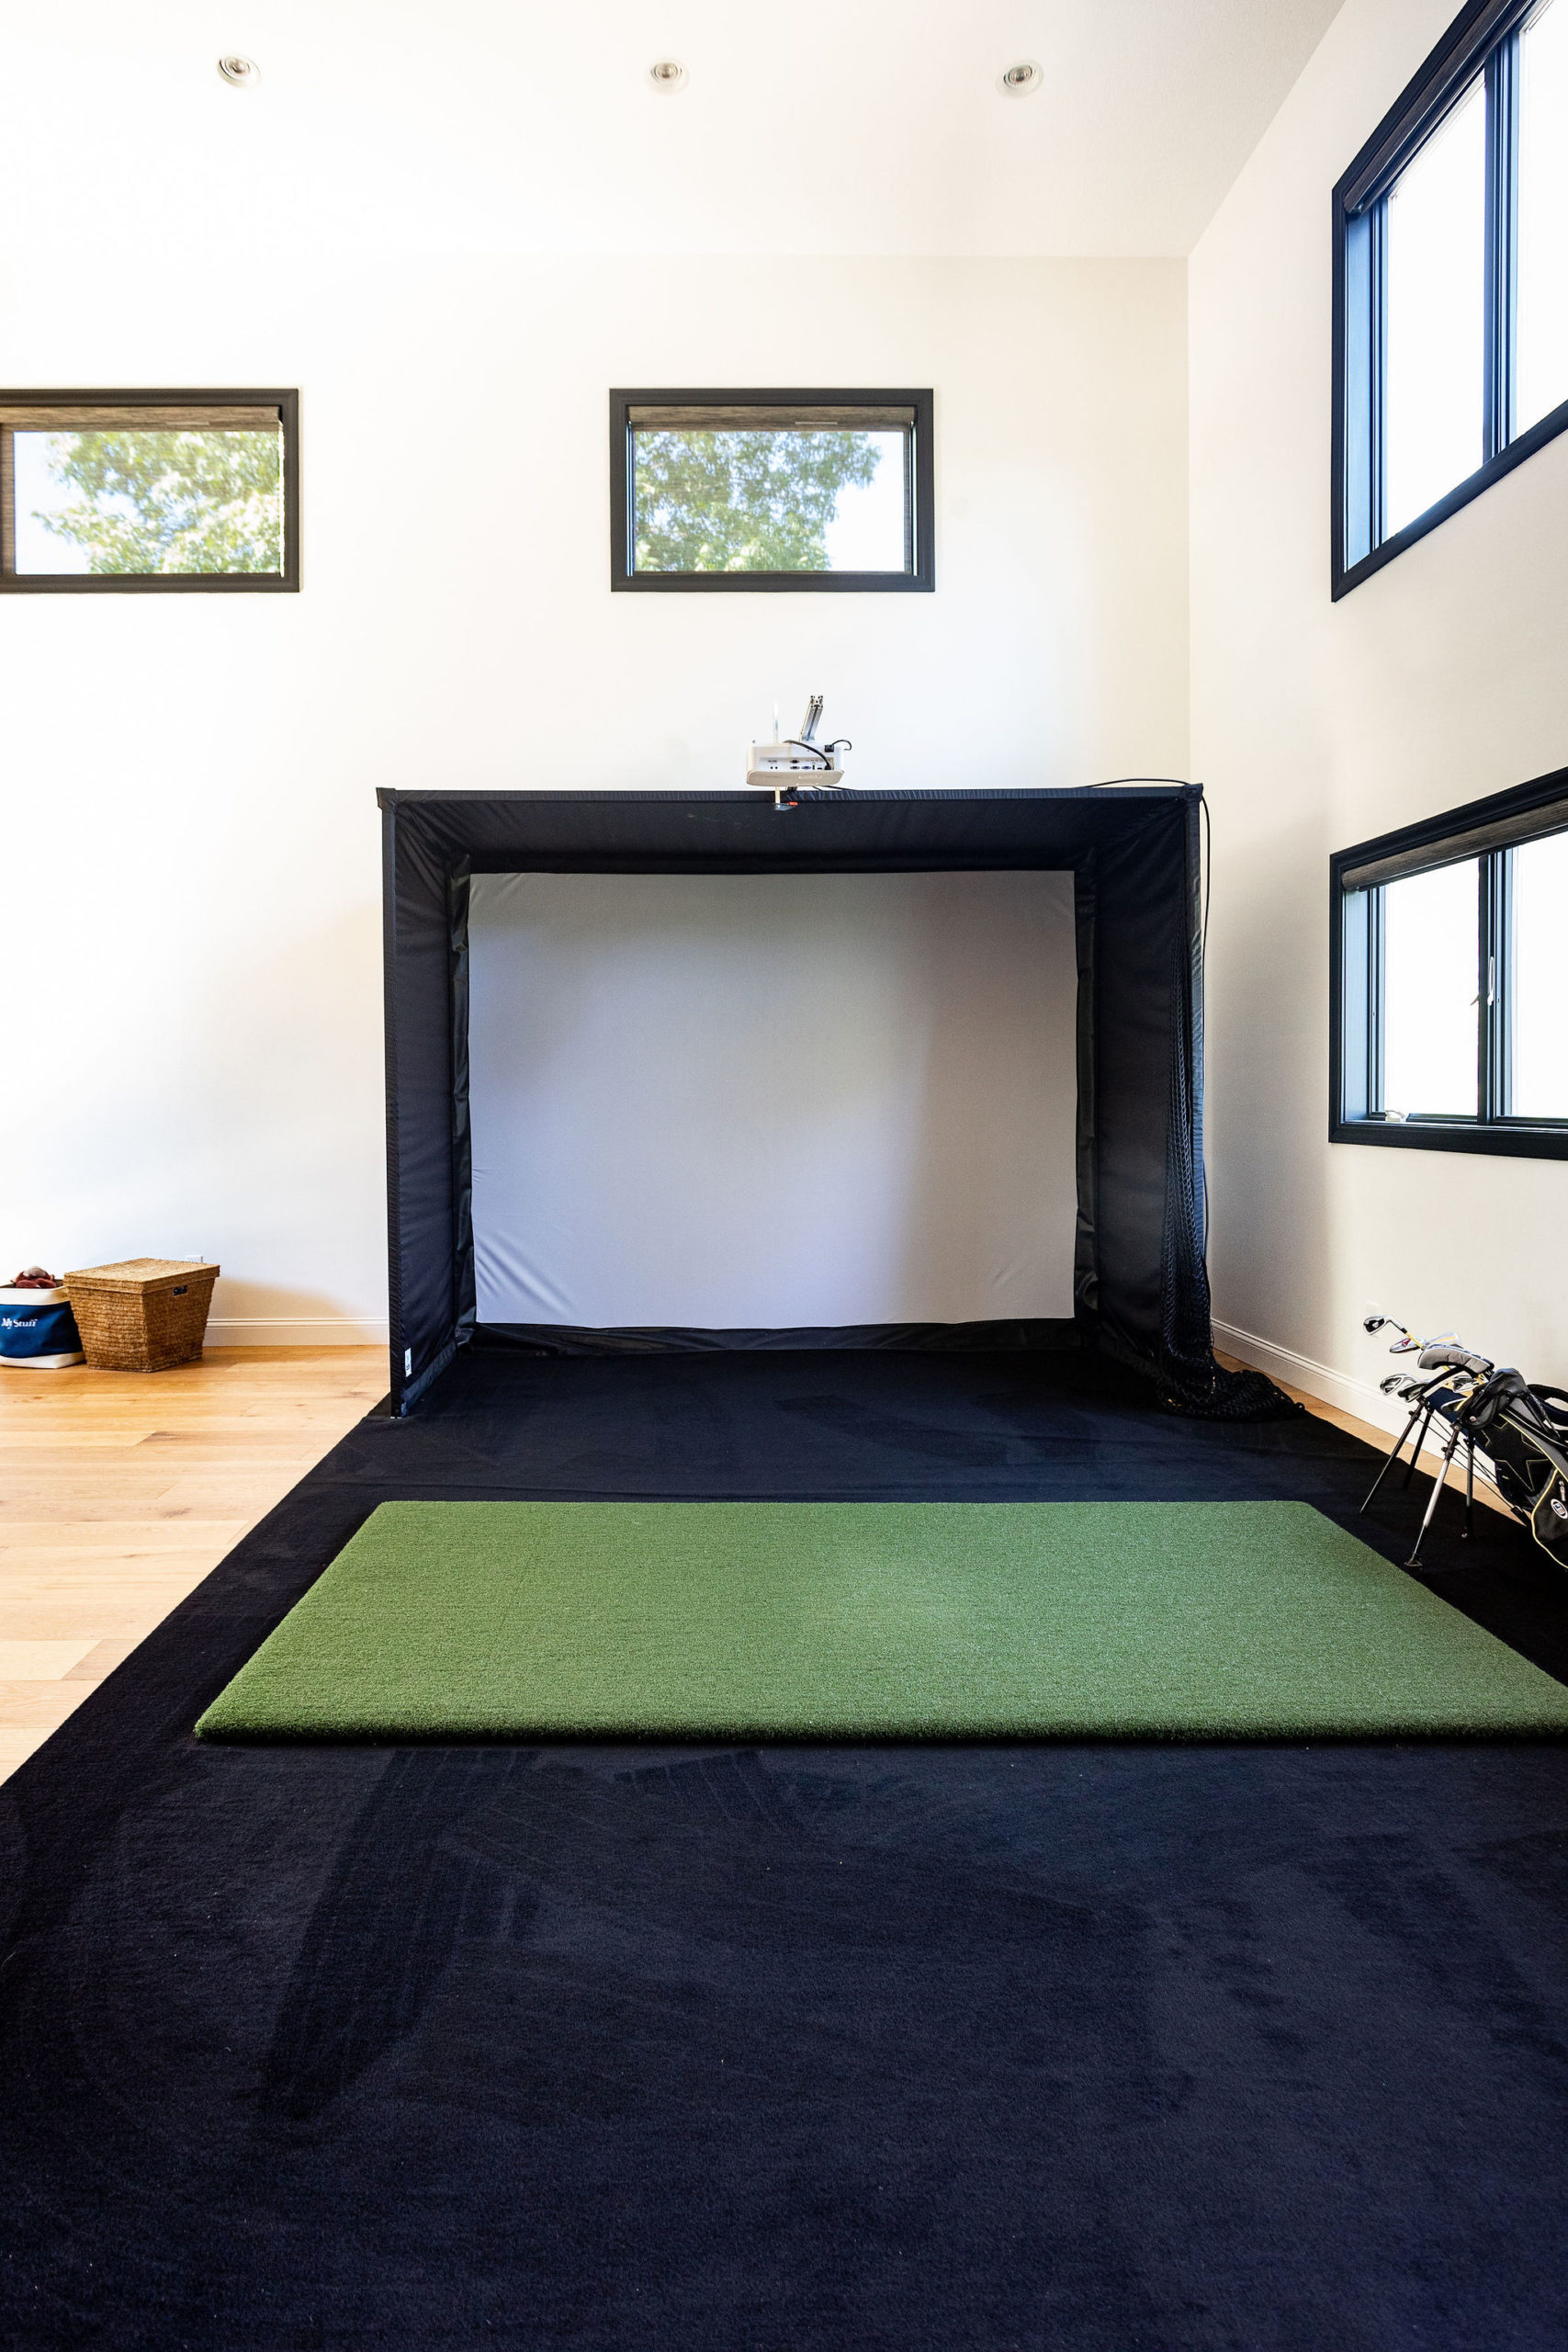
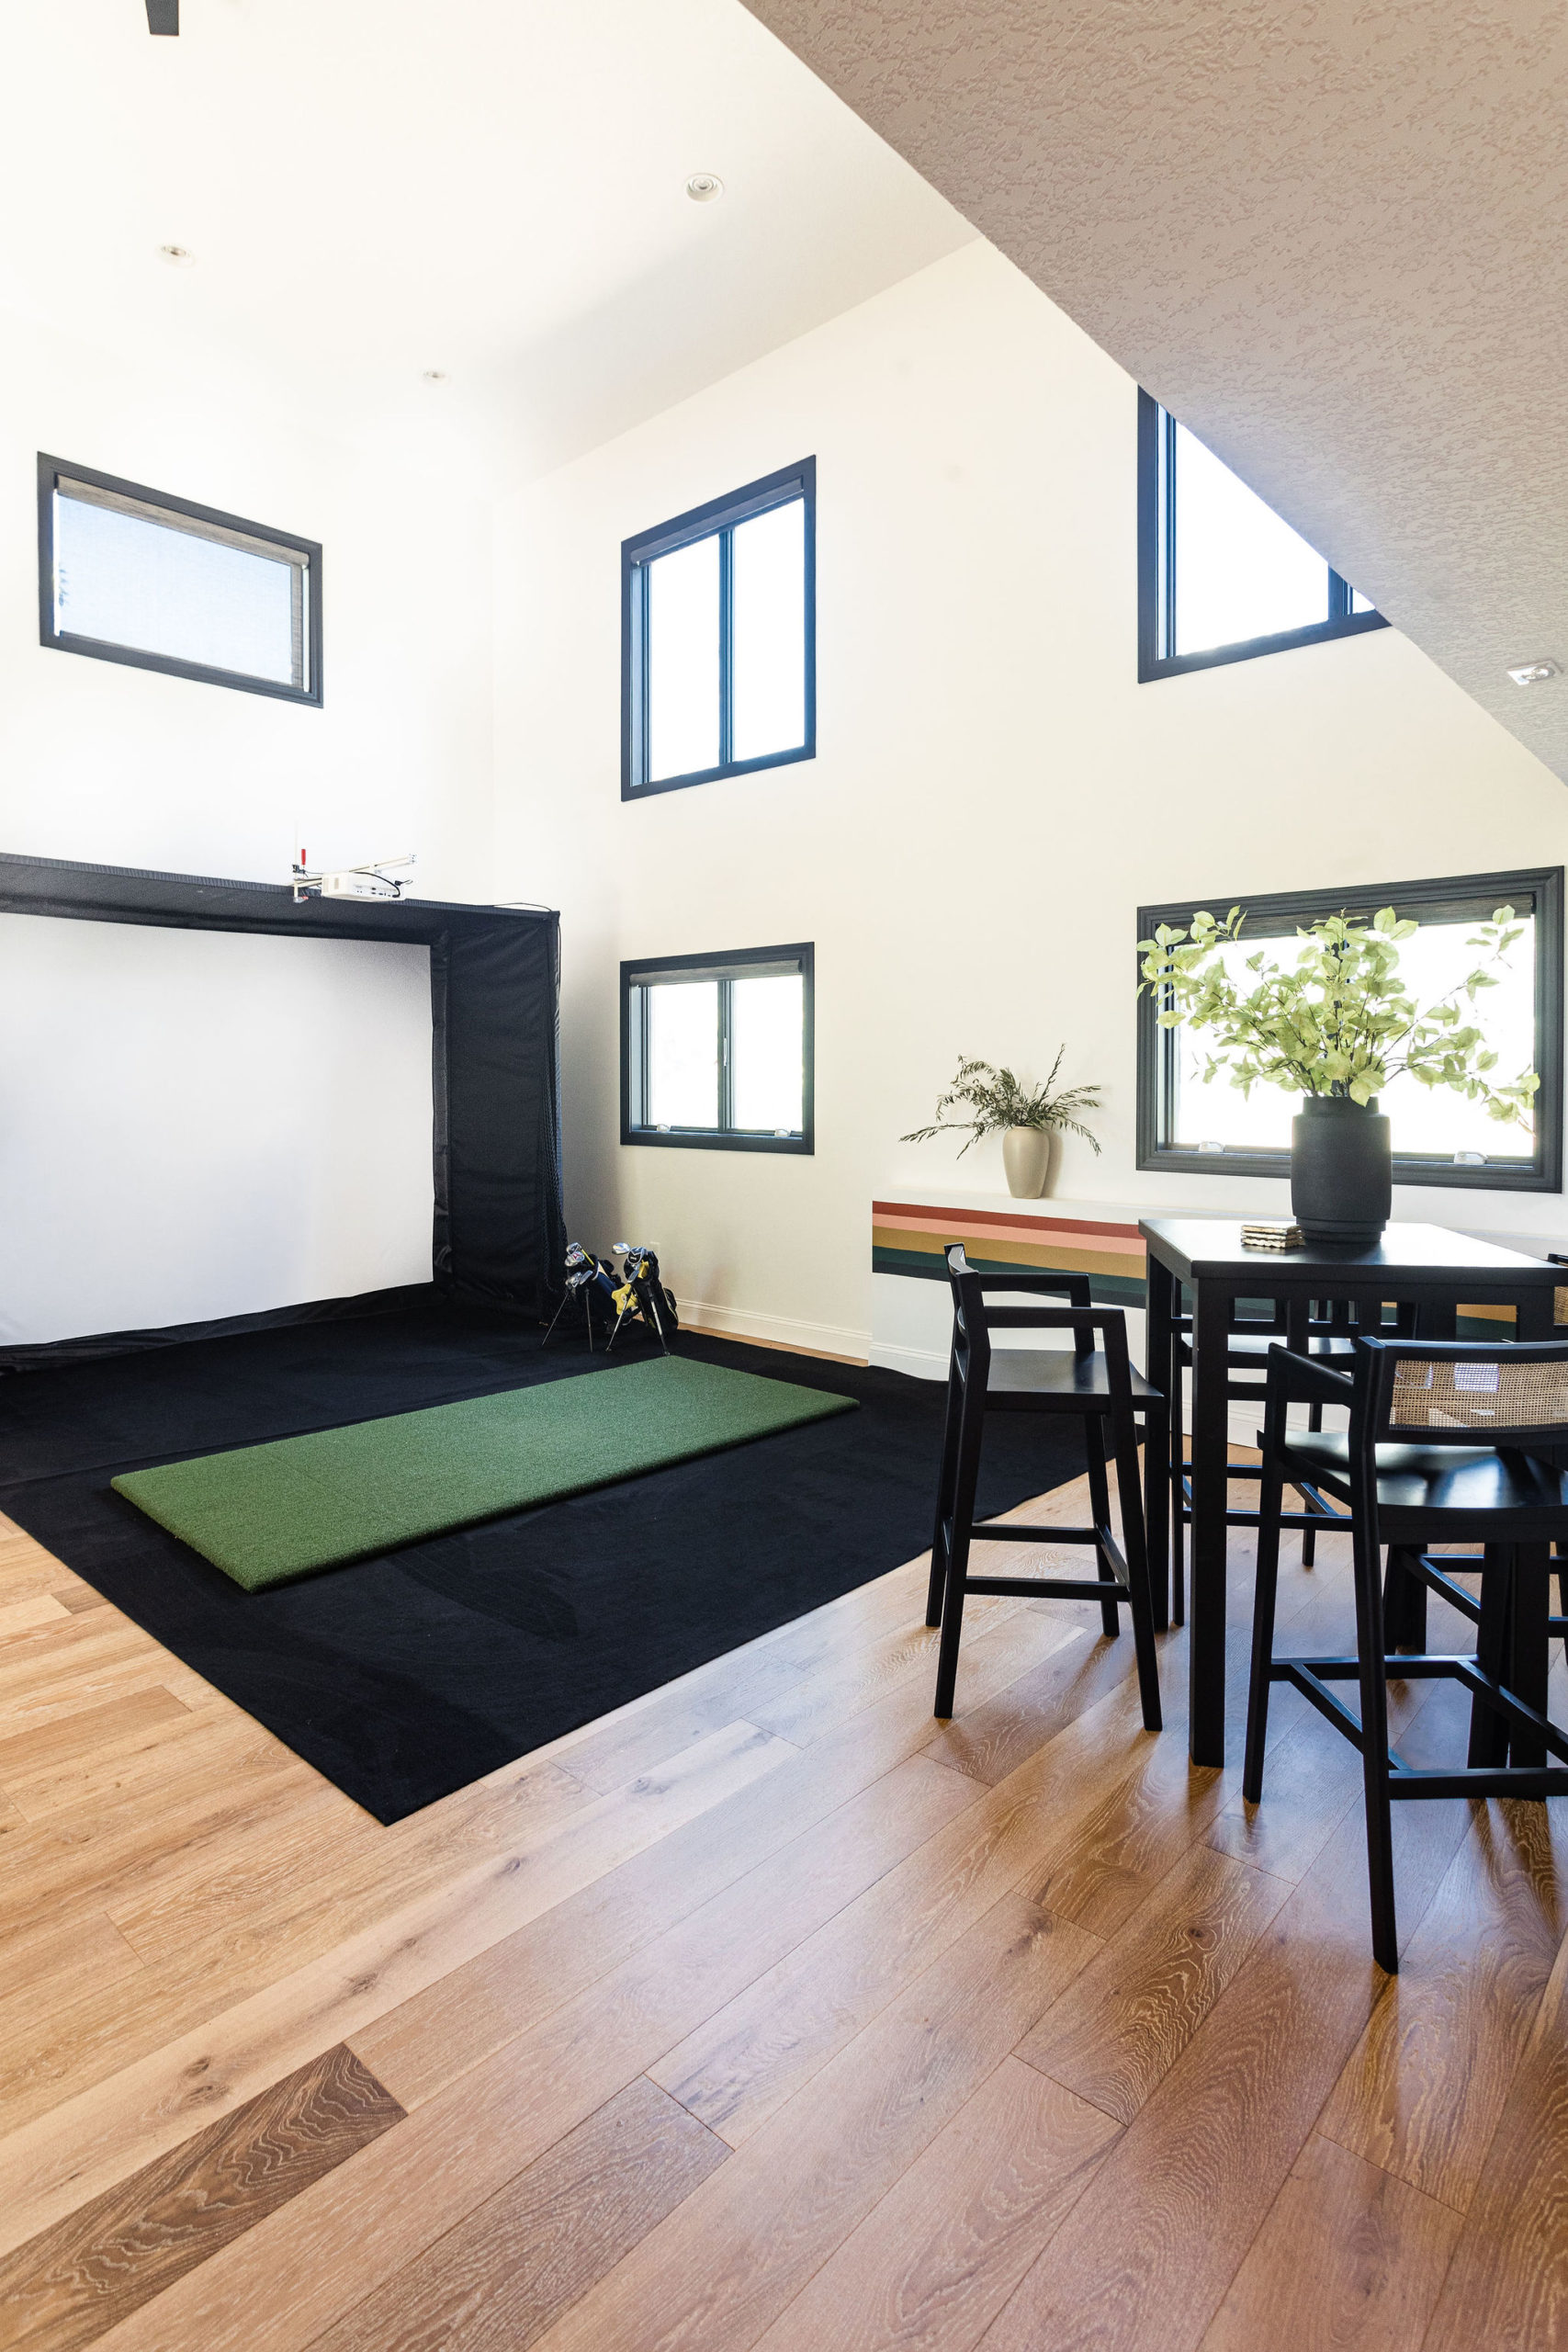
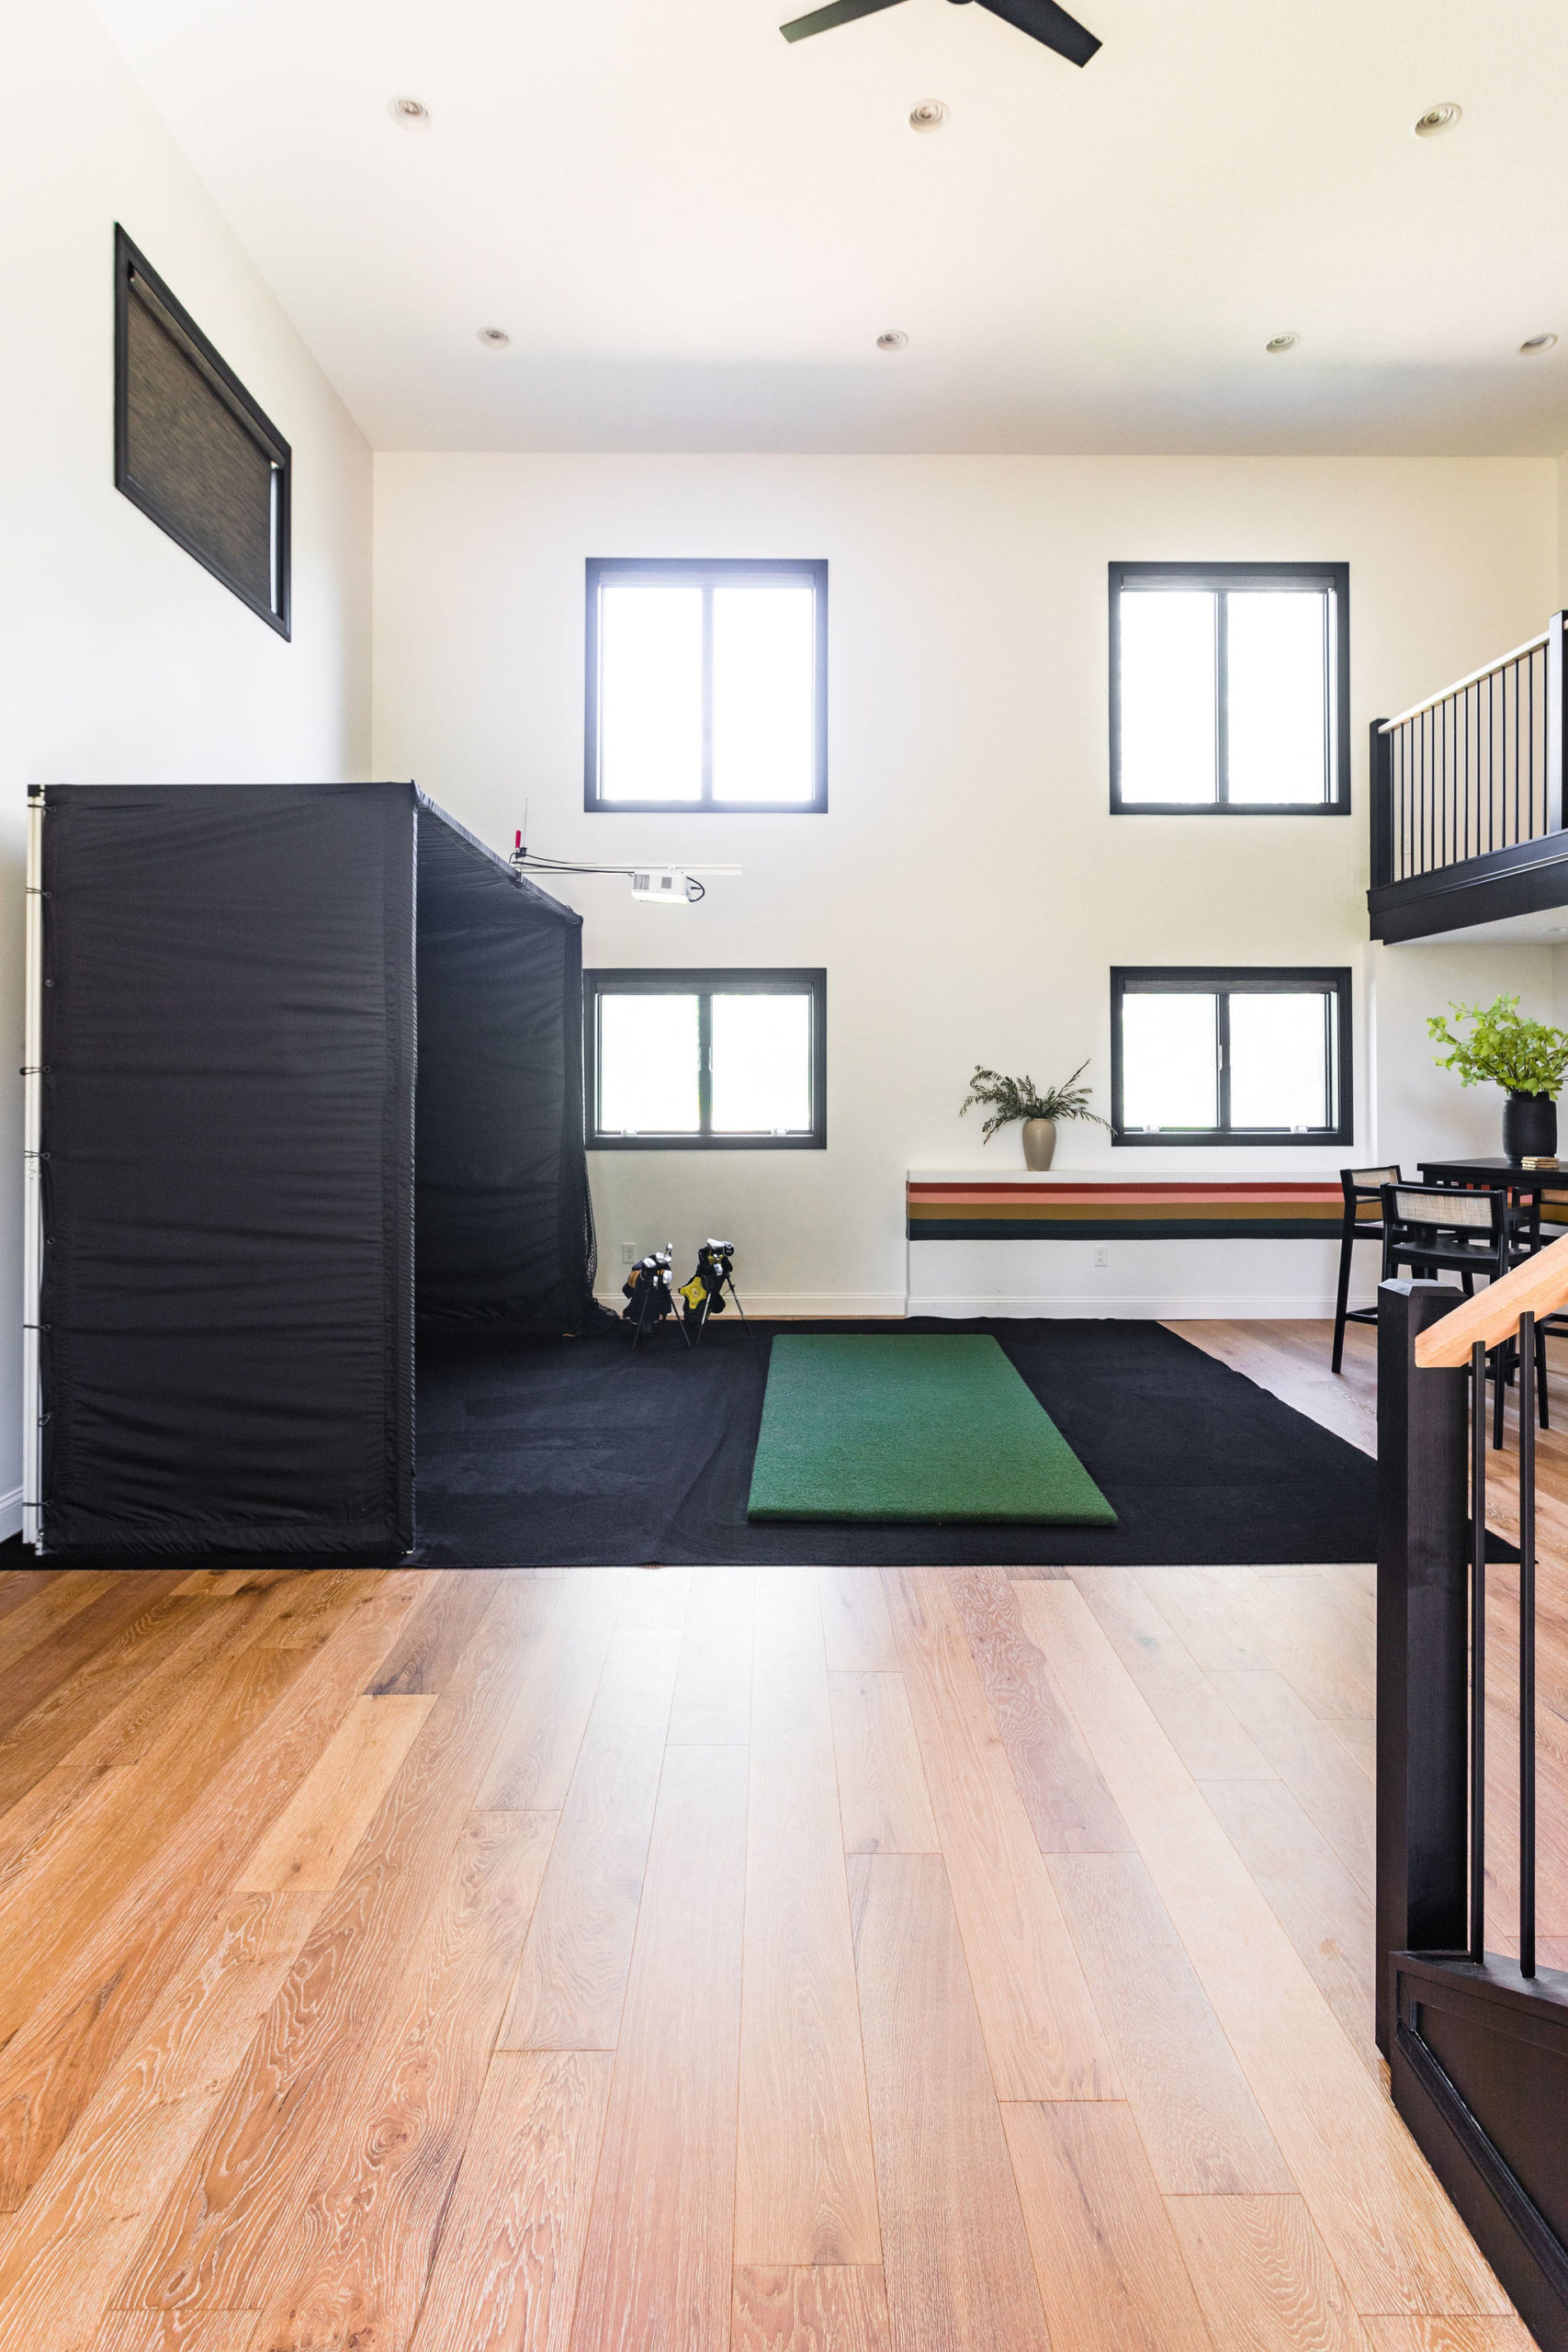
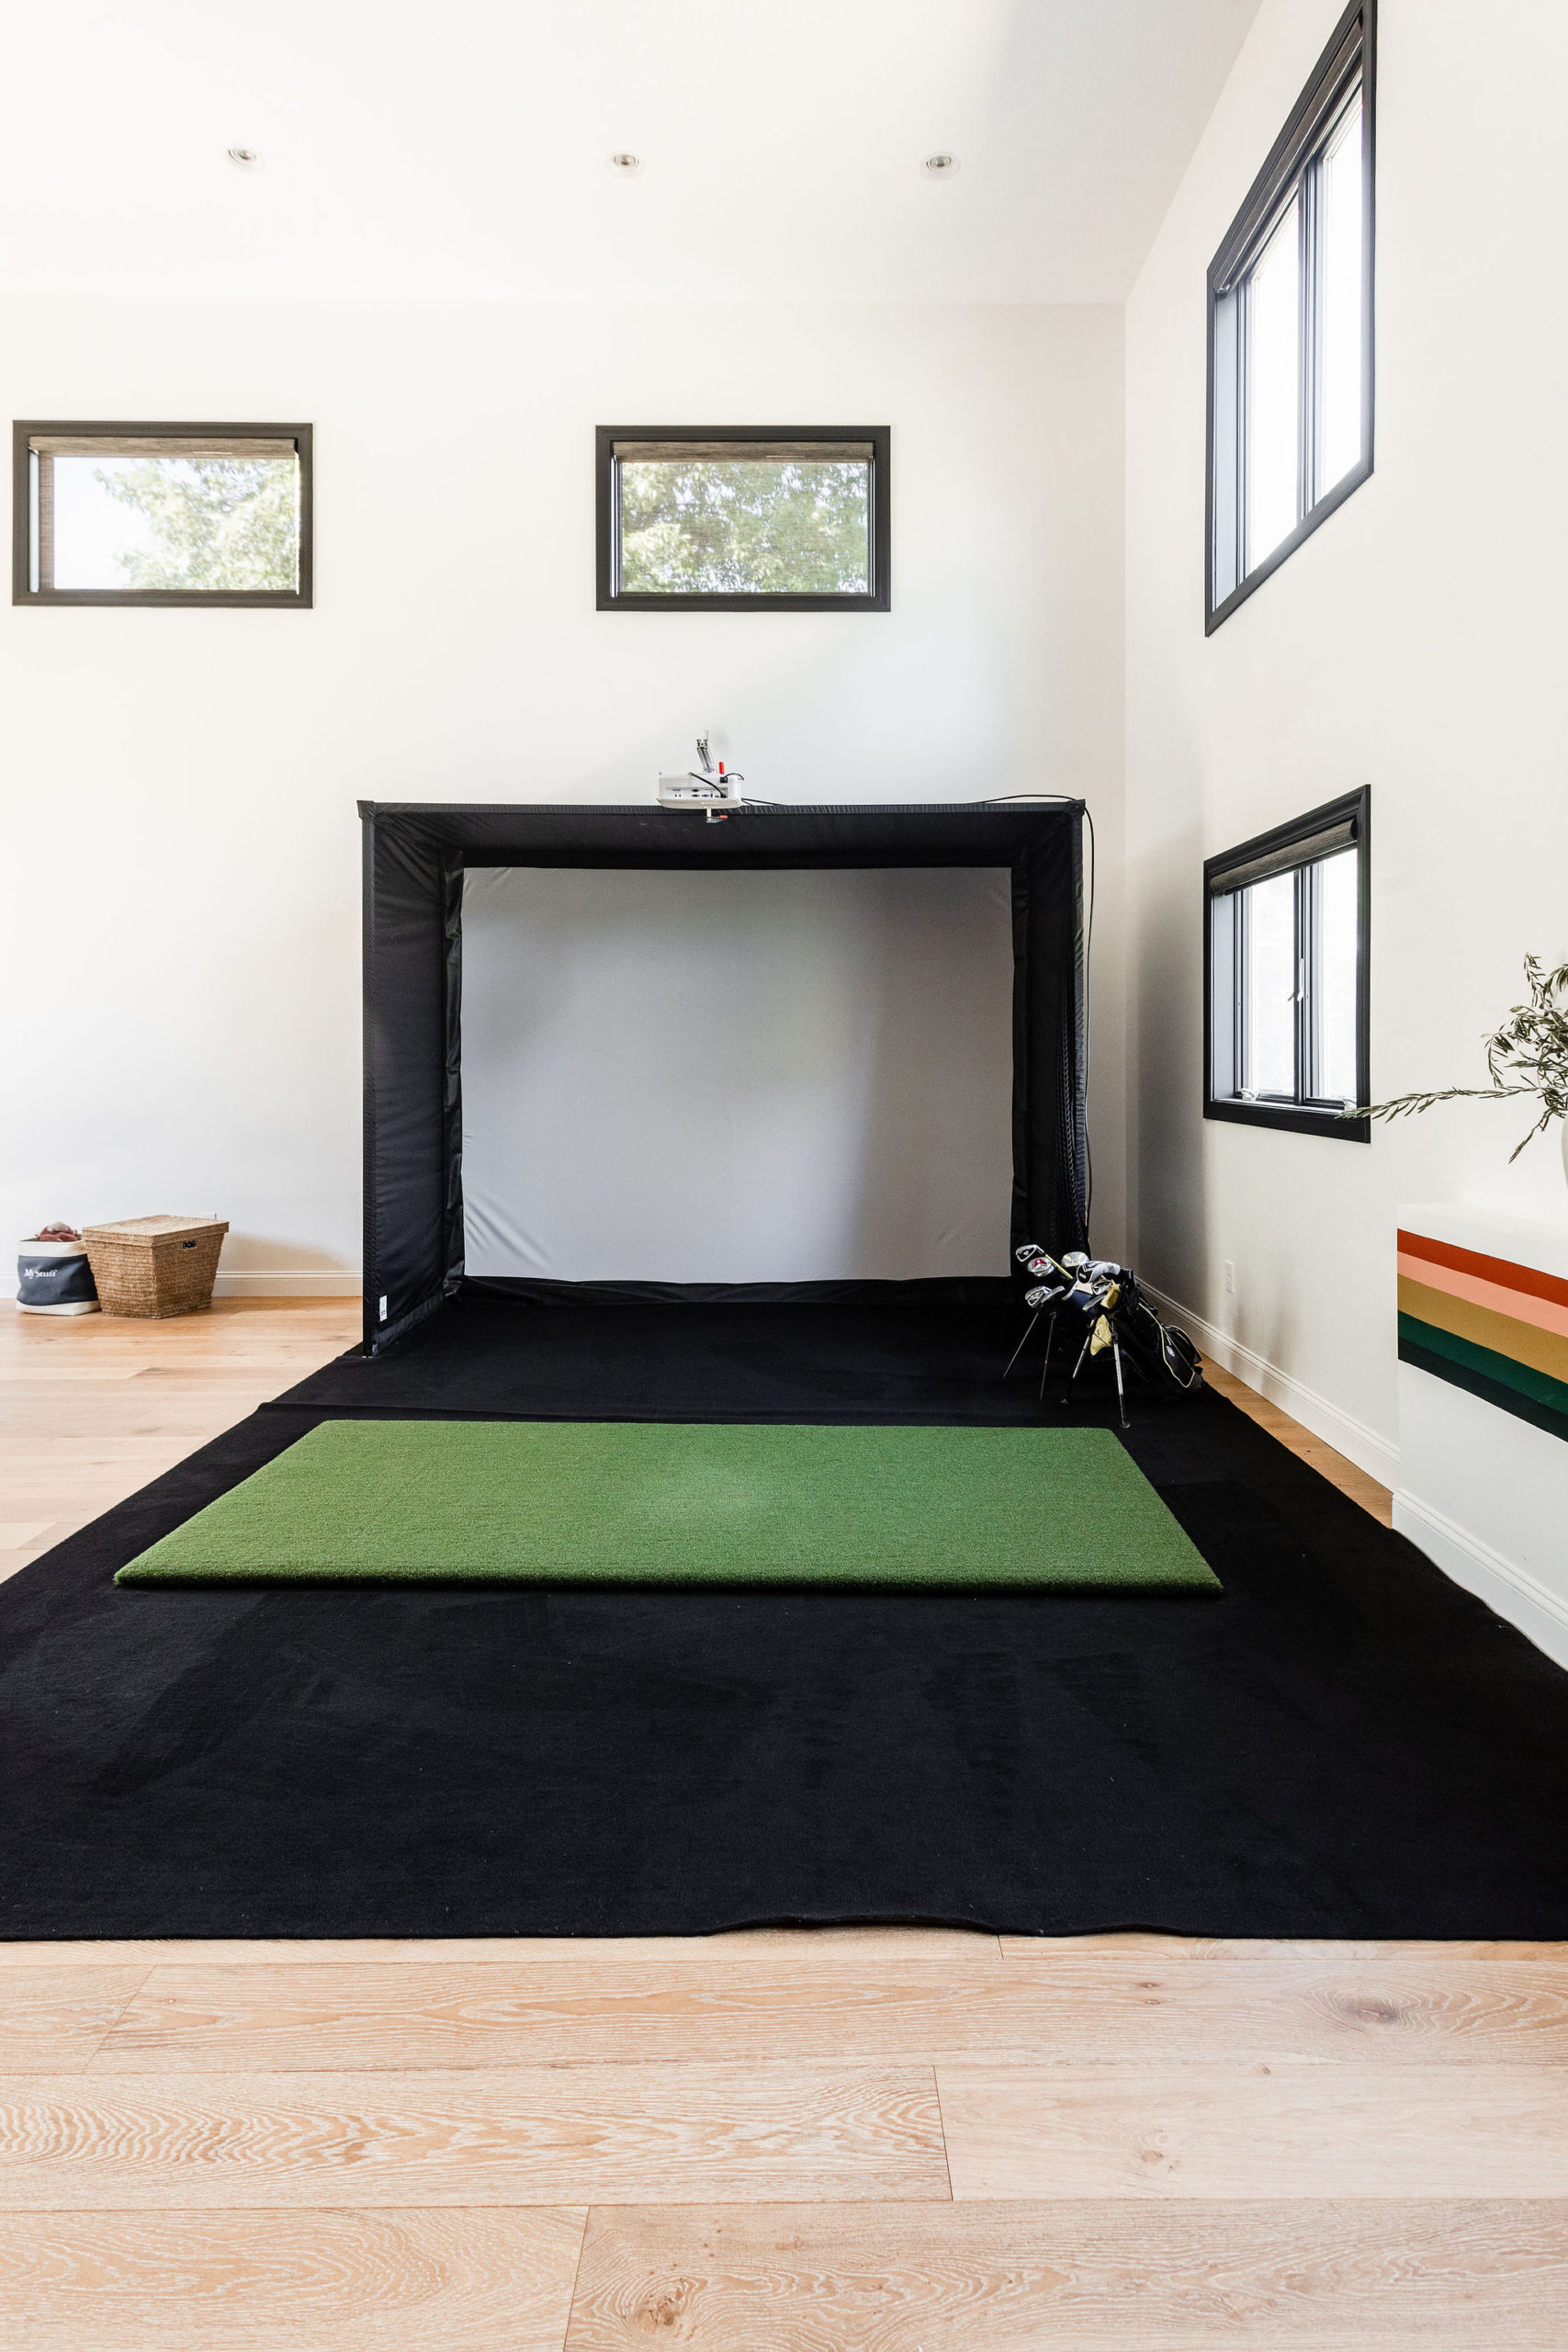
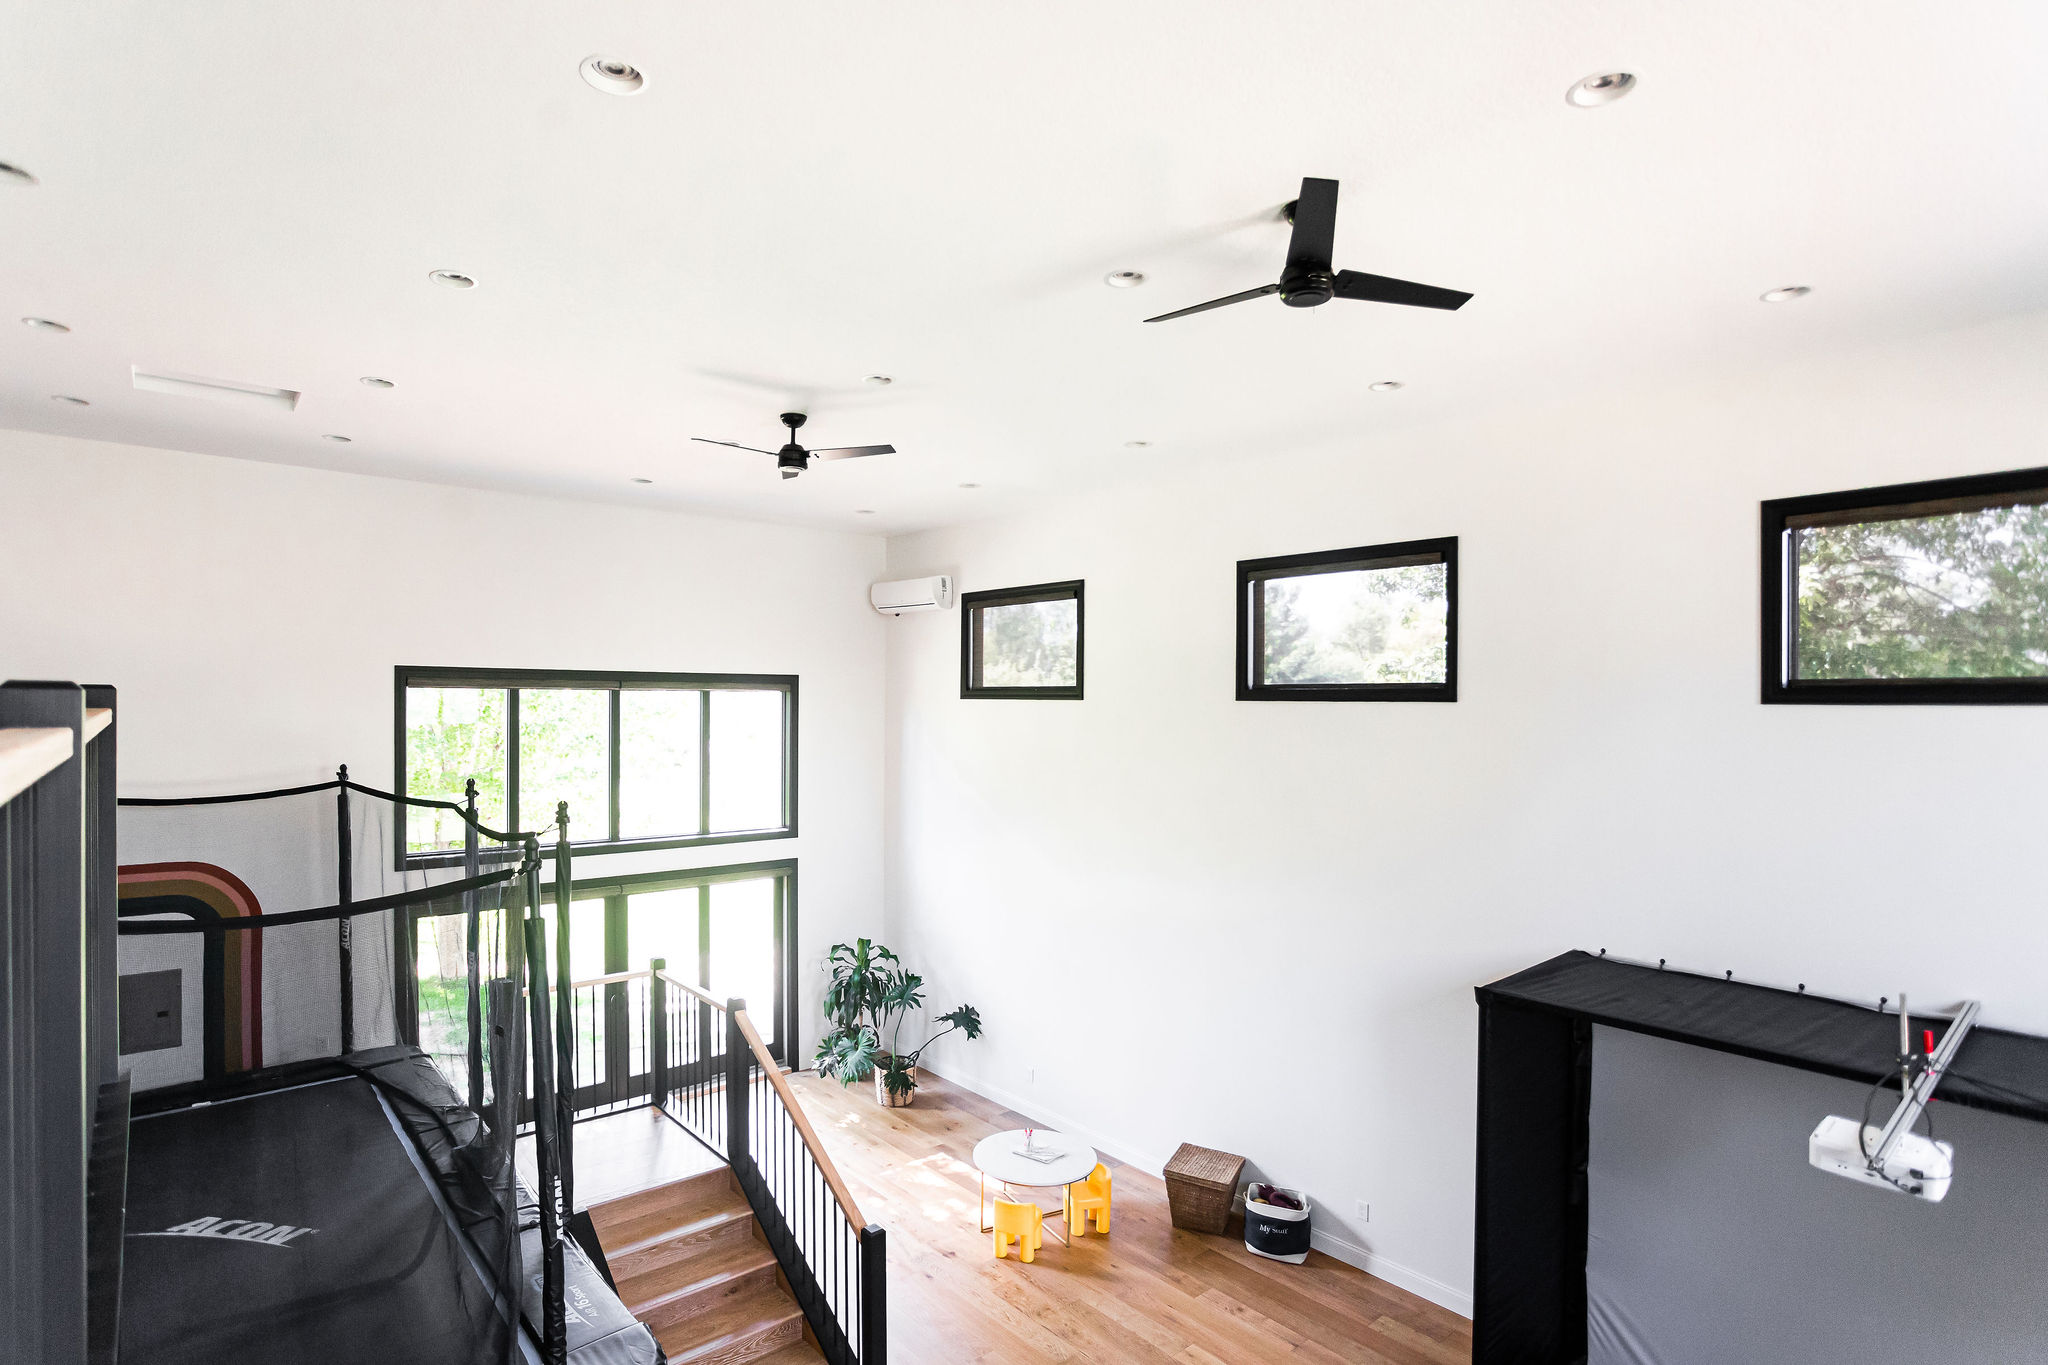
And as you can see, this space isn’t just for our kids. haha! Jamie’s one must-have was a golf simulator. We went with the Golf Simulator SwingBay Screen & Enclosure – which also happens to be on sale right now through Black Friday.
And of course, Jamie always is coming up with new ideas. Typically the projector would sit on the floor but he’s in the middle of building a mount so that it stays up top.
We also bought the black carpet and added padding underneath so that when the golf balls hit the screen they aren’t coming back and landing on the hardwood floor. And again, Jamie isn’t done yet. Ha!
He’s also working on building a wall around the golf simulator to keep the kids out.
One of my personal favorite things about this golf simulator too is it works for family movie nights! Or while the kids are playing, we can have a game on.
We’re now debating exchanging the pub table and chairs for an oversized comfy couch.
Another must-have was a trampoline within this space. And you bet, they have some Black Friday sales already happening right now.
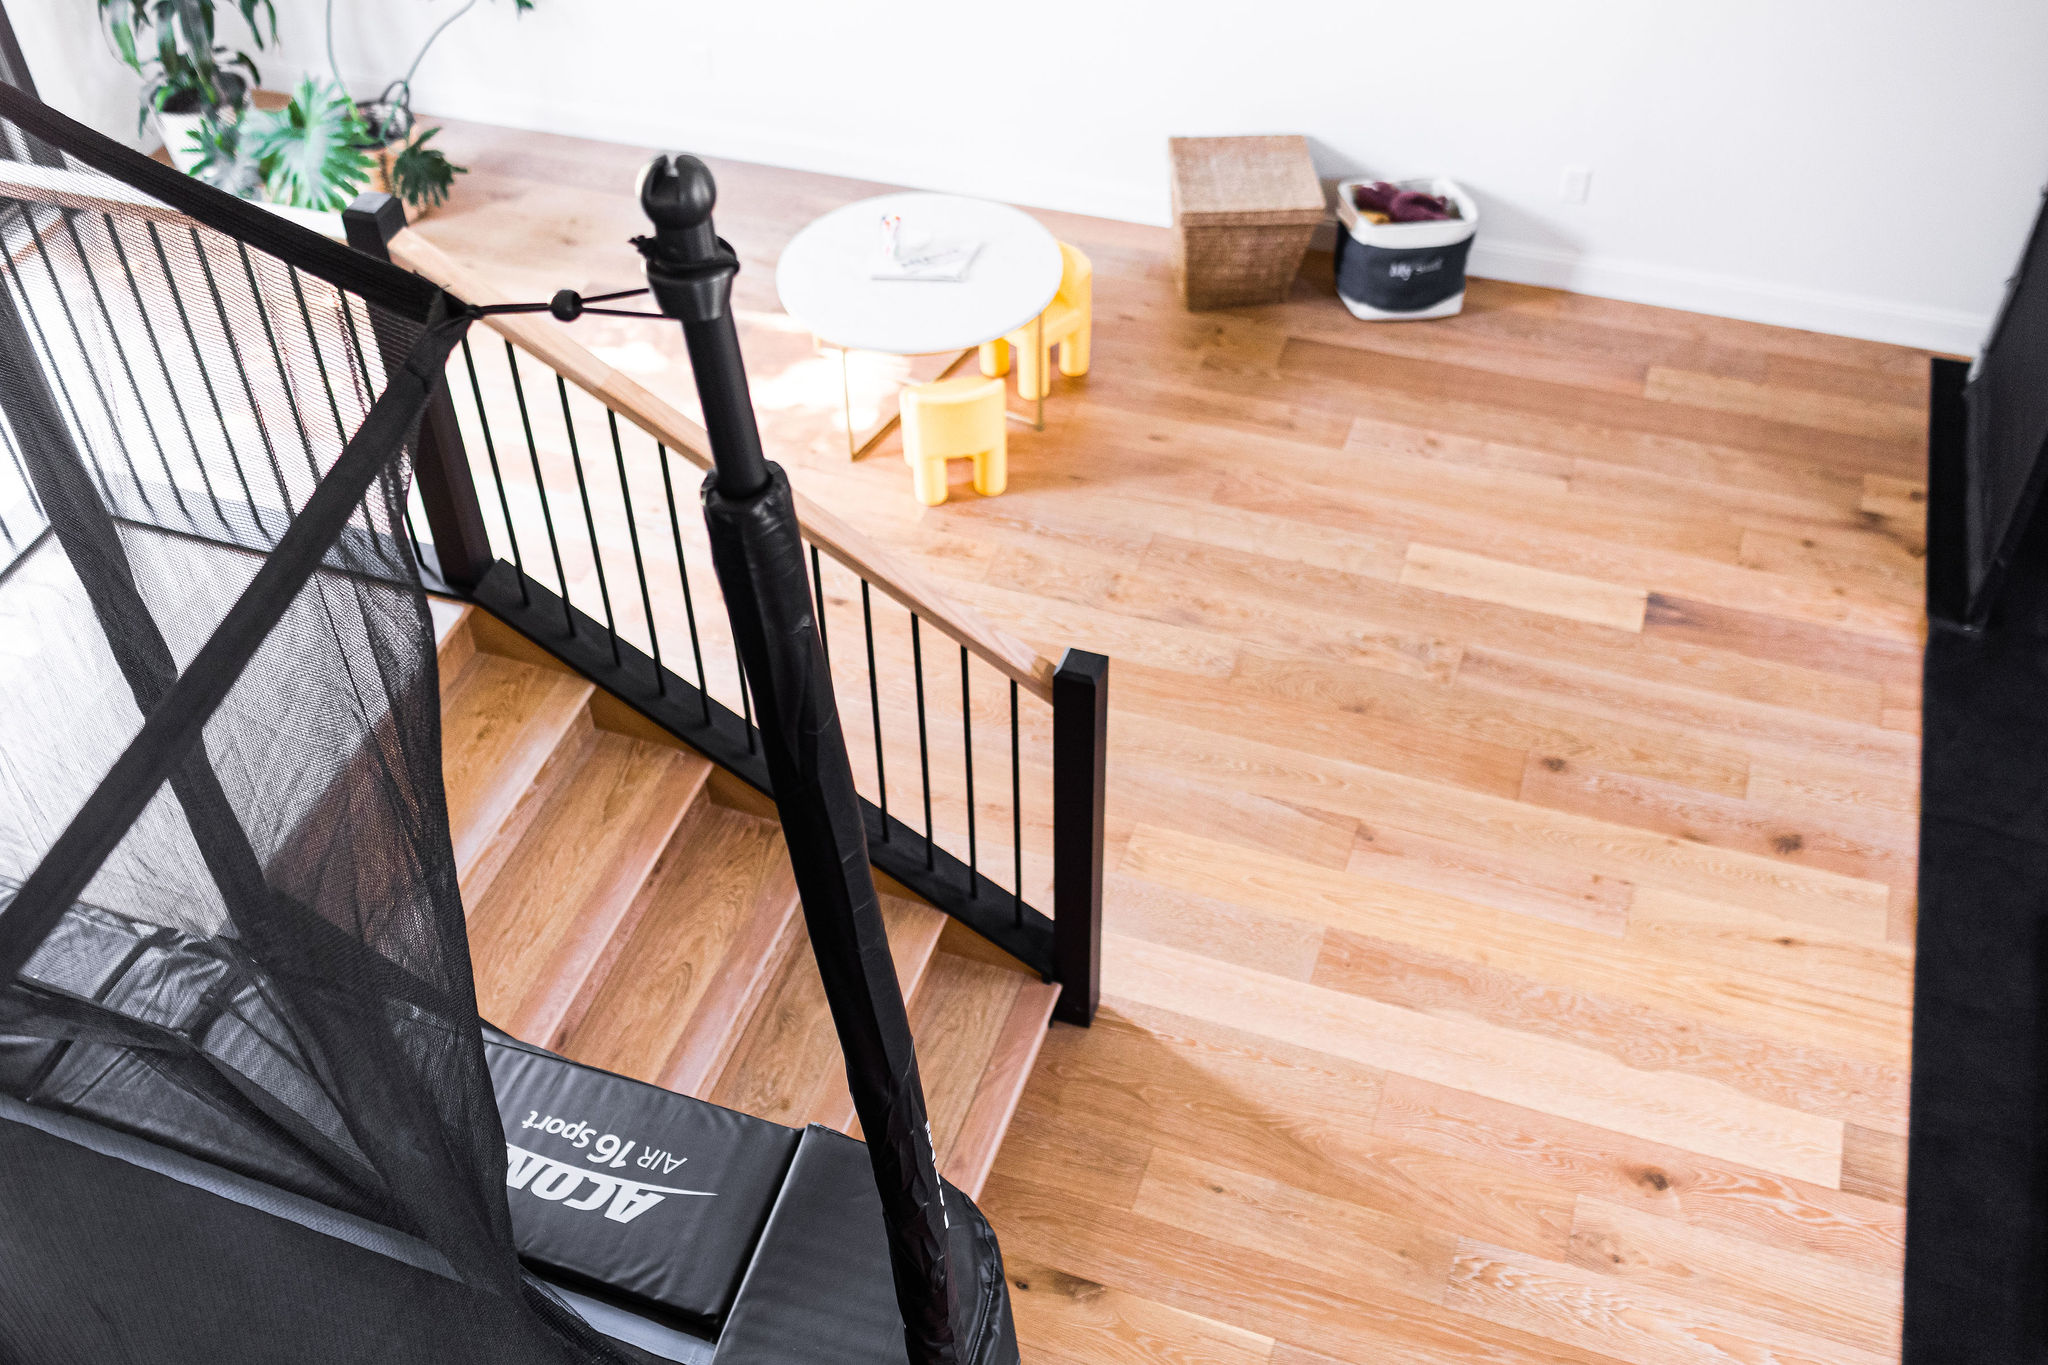
We went with the Acon Air 16 Sport HD trampoline in black.
When it came to the overall design of the trampoline we knew we wanted a rectangular tramp to fit in this space better and again, not take up too much real estate space. And it fits perfectly in this corner of the room and butted right up to the post of the balcony – something we didn’t even plan.
We also knew we wanted a high-quality tramp that would hold a lot of weight and give us a lot of air. Our family bounces on this thing every single night and I already can’t believe all of the tricks our little dudes can do from all of the practice they have been getting.
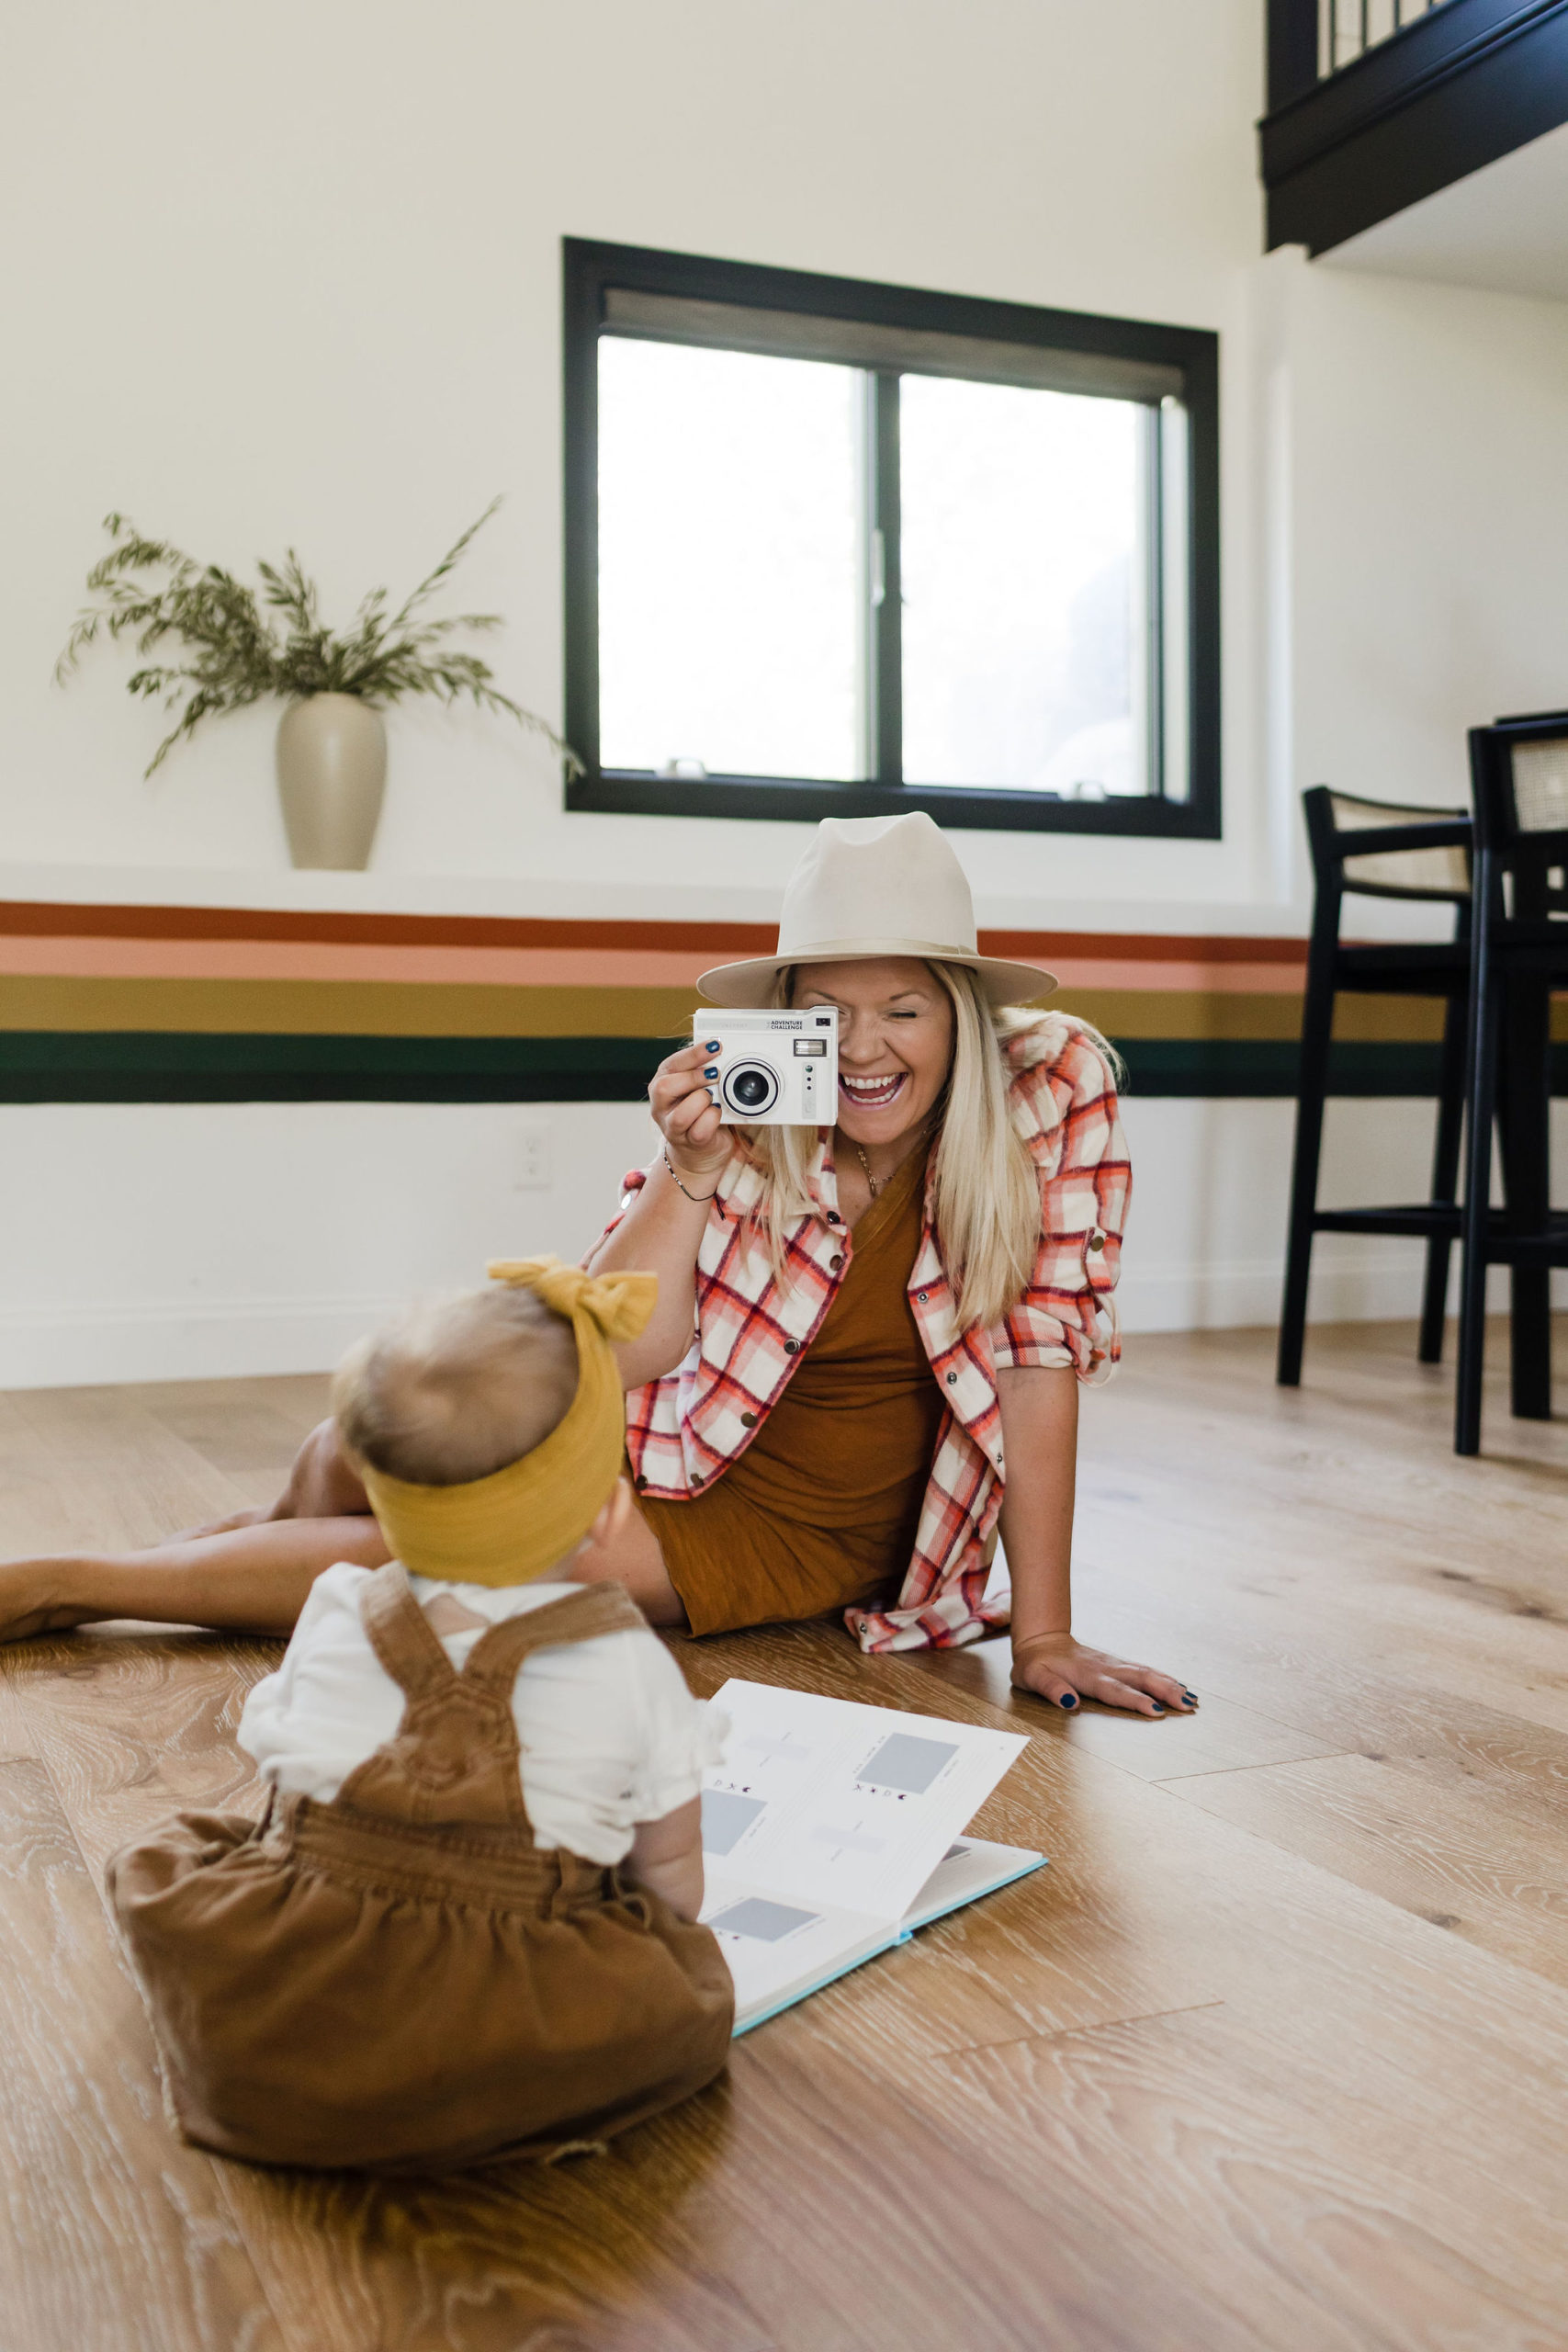
Even Ellie at one year old is learning new tricks!
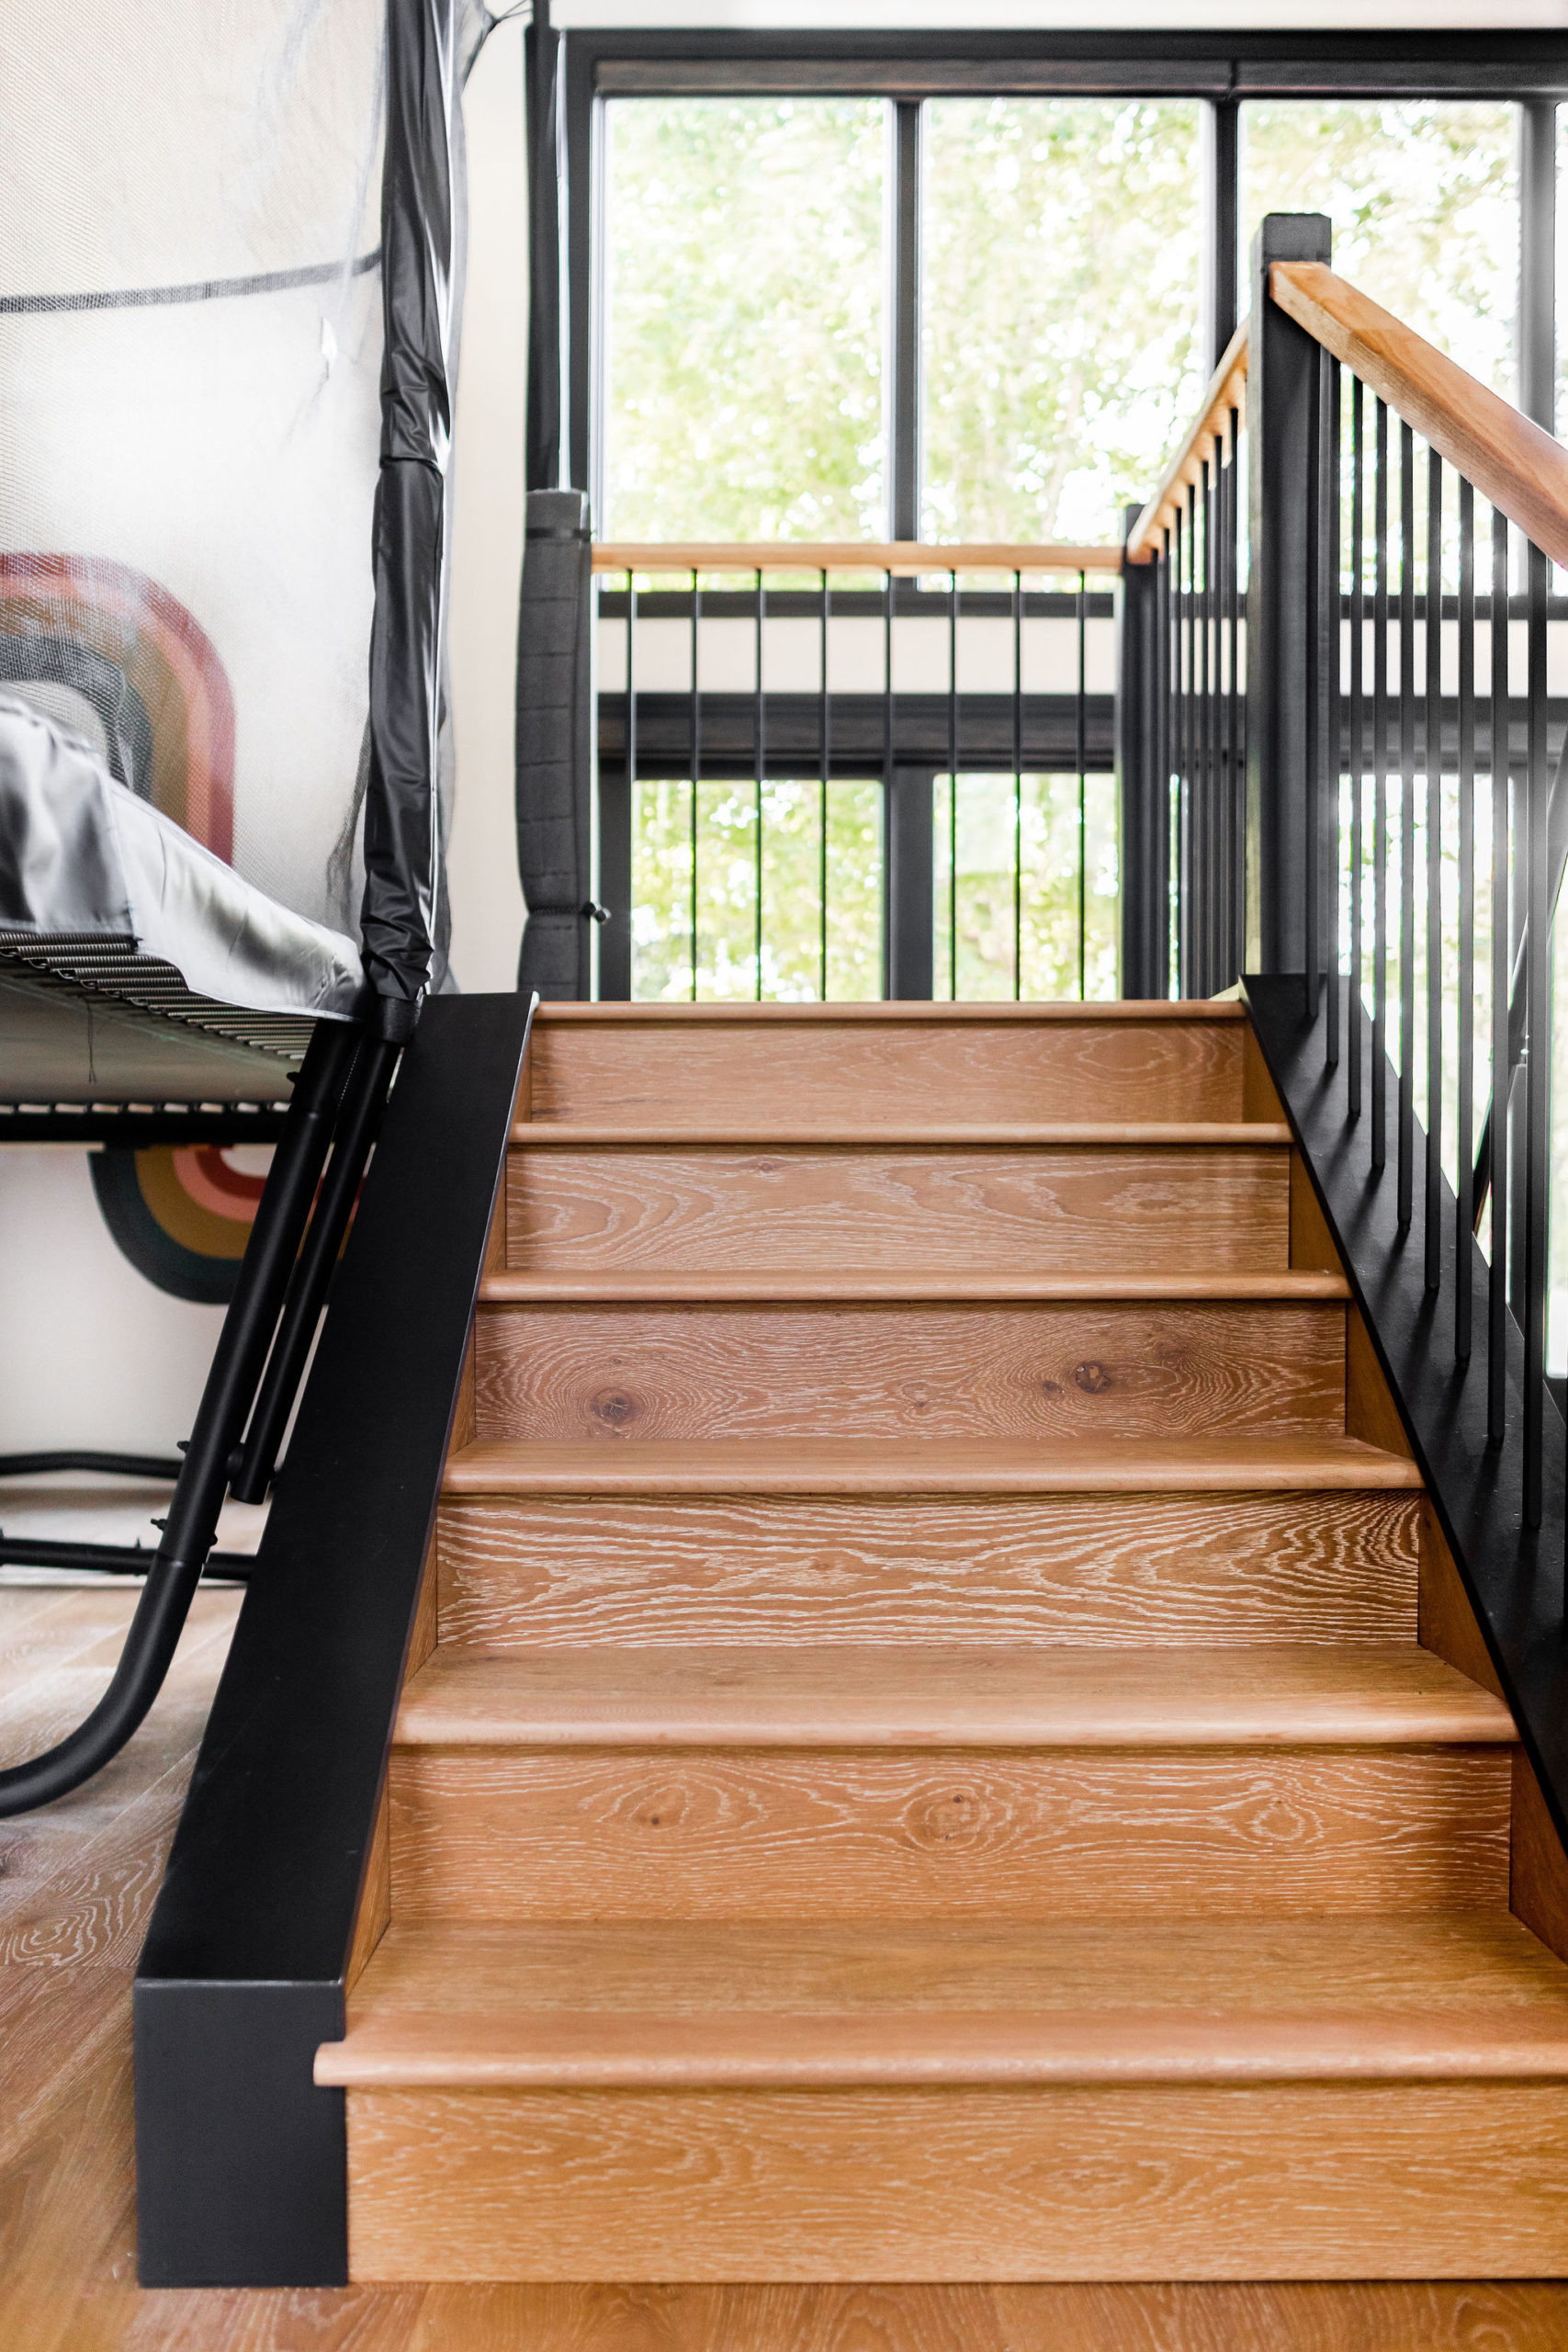
Jamie also decided he wanted to make a staircase by the trampoline. Being this space is to gather a lot of family and friends we were also thinking about safety and we didn’t want our littles falling when climbing up the ladder in and out.
This way they can just run up and in and play and have a nice landing to get out with. Jamie also built it on wheels so we can move it and now he’s adding a door to the back of the stairs so that we can use it as storage for all the toys.
The flooring was another big debate and decision for us to make! We went back and forth on carrying the same engineered hardwood flooring that we have throughout our home into this space or doing some sort of gym padding.
In the end, we decided to carry the same Urban Floors in the Lambrusco design that we have in our home into the sports court.
The reason being, prior to adding this space, our kids played hard in our home, and never did we worry about our flooring. We knew it was a durable product and also aesthetically design appealing.
We also didn’t want this room to feel like a gym. We wanted it to flow and be an extension of our home. And since living with it, we don’t regret it one bit!
We use this room a lot, which means it’s a hot mess most of the time. And these floors are very forgiving.
I think if we would have gone with more of a gym floor we’d have to be cleaning a lot more.
Jamie also used the same flooring to create his trampoline stairs.
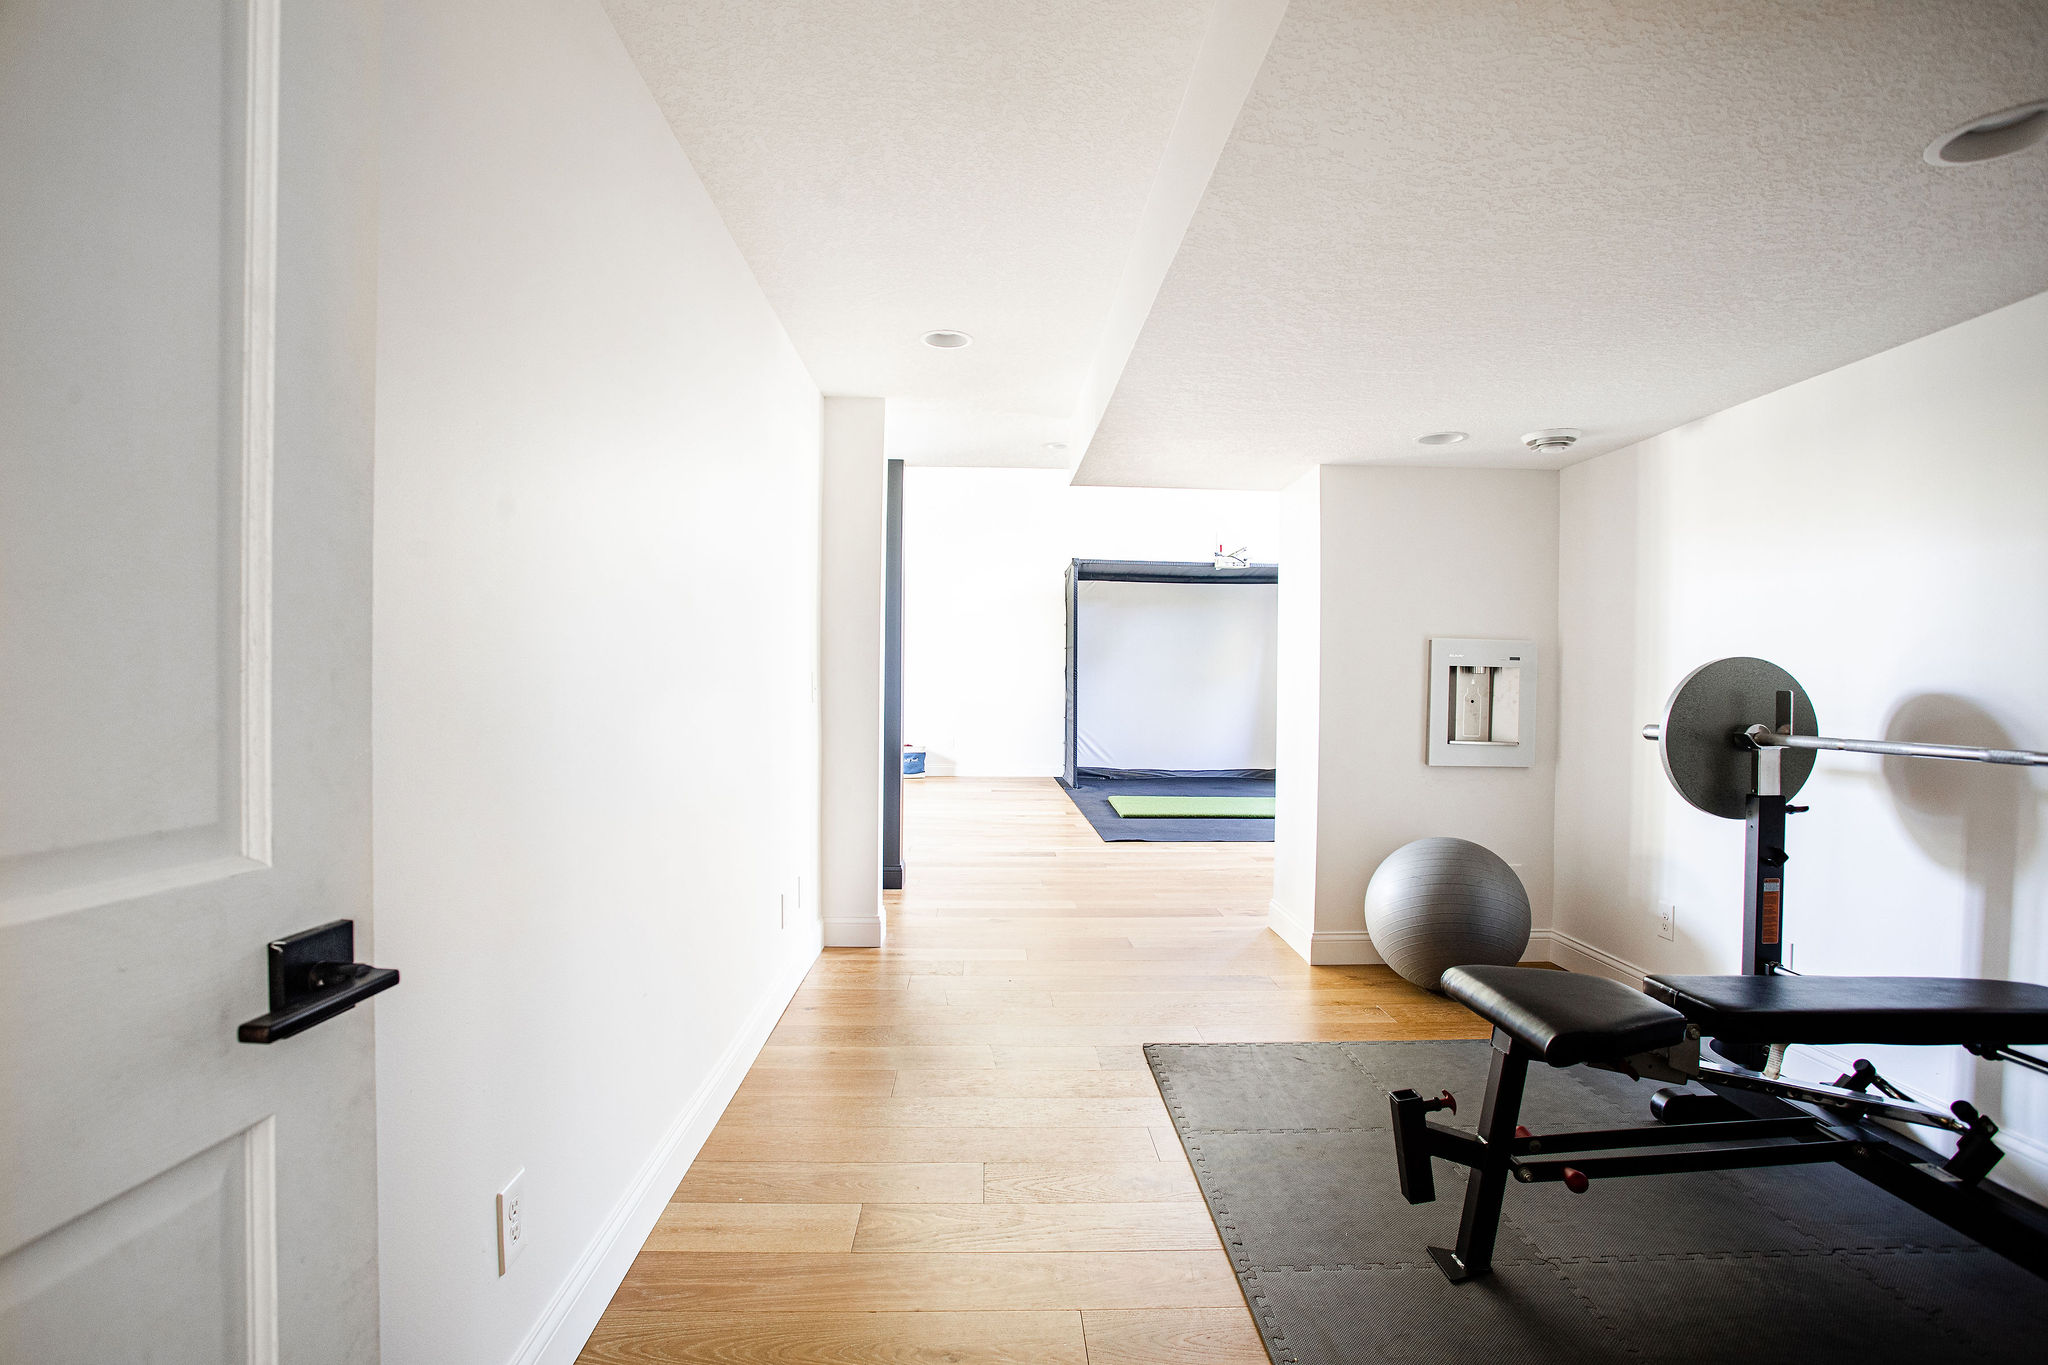
And here’s what once was, the former bedroom. Now when you open that same door in the “before” photo this is what you see.
And we’re not done with this smaller area yet, but it’ll soon be our home gym.
We are working on getting some mirrors and some sort of a bike or row machine in here. We’re still debating with one another on which we get…
We went with the Elkay ezH2O Liv Built-in Filtered Refrigerated Water Dispenser Remote Chiller, in aspen white. And after having it in this space – I’m thinking we need one upstairs in our mudroom.
It’s been so nice to have the boys and their friends able to get their own water, especially when they’re playing hard and ask for water 100 times a day!
Selections
Golf Simulator | Trampoline | Flooring | Mural | Water Bottle Filler | Window Treatments | Wall Paint Color | Window Trim Paint Color | Chairs – Out of Stock – Similar
Pricing
And what usually everyone wants to know – how much does this baby cost?!
We spent a total of $135,890.72
Take this with a grain of salt – because this is what we spent for the exact things we did. And this does not include the toys we put inside.
This was only to build the sports court. And we project managed this ourselves.
If you were to hire it out you could add on anywhere from a 10 – 50% markup, depending on your contractor. And as I tell every client – this price can range depending on the finishing selections and overall design you do.
This is just what we spent on the size and finishings for the following:
- Permits, Inspections
- Dumpsters
- Excavating
- Irrigation
- Site Work
- Foundation + Flat Work
- Waterproofing + Drain Tile
- Framing + Lumber
- Windows + Doors
- Roofing
- Siding
- Insulation
- Electrical + Lighting
- HVAC
- Drywall
- Painting Interior + Exterior
- Concrete
- Flooring
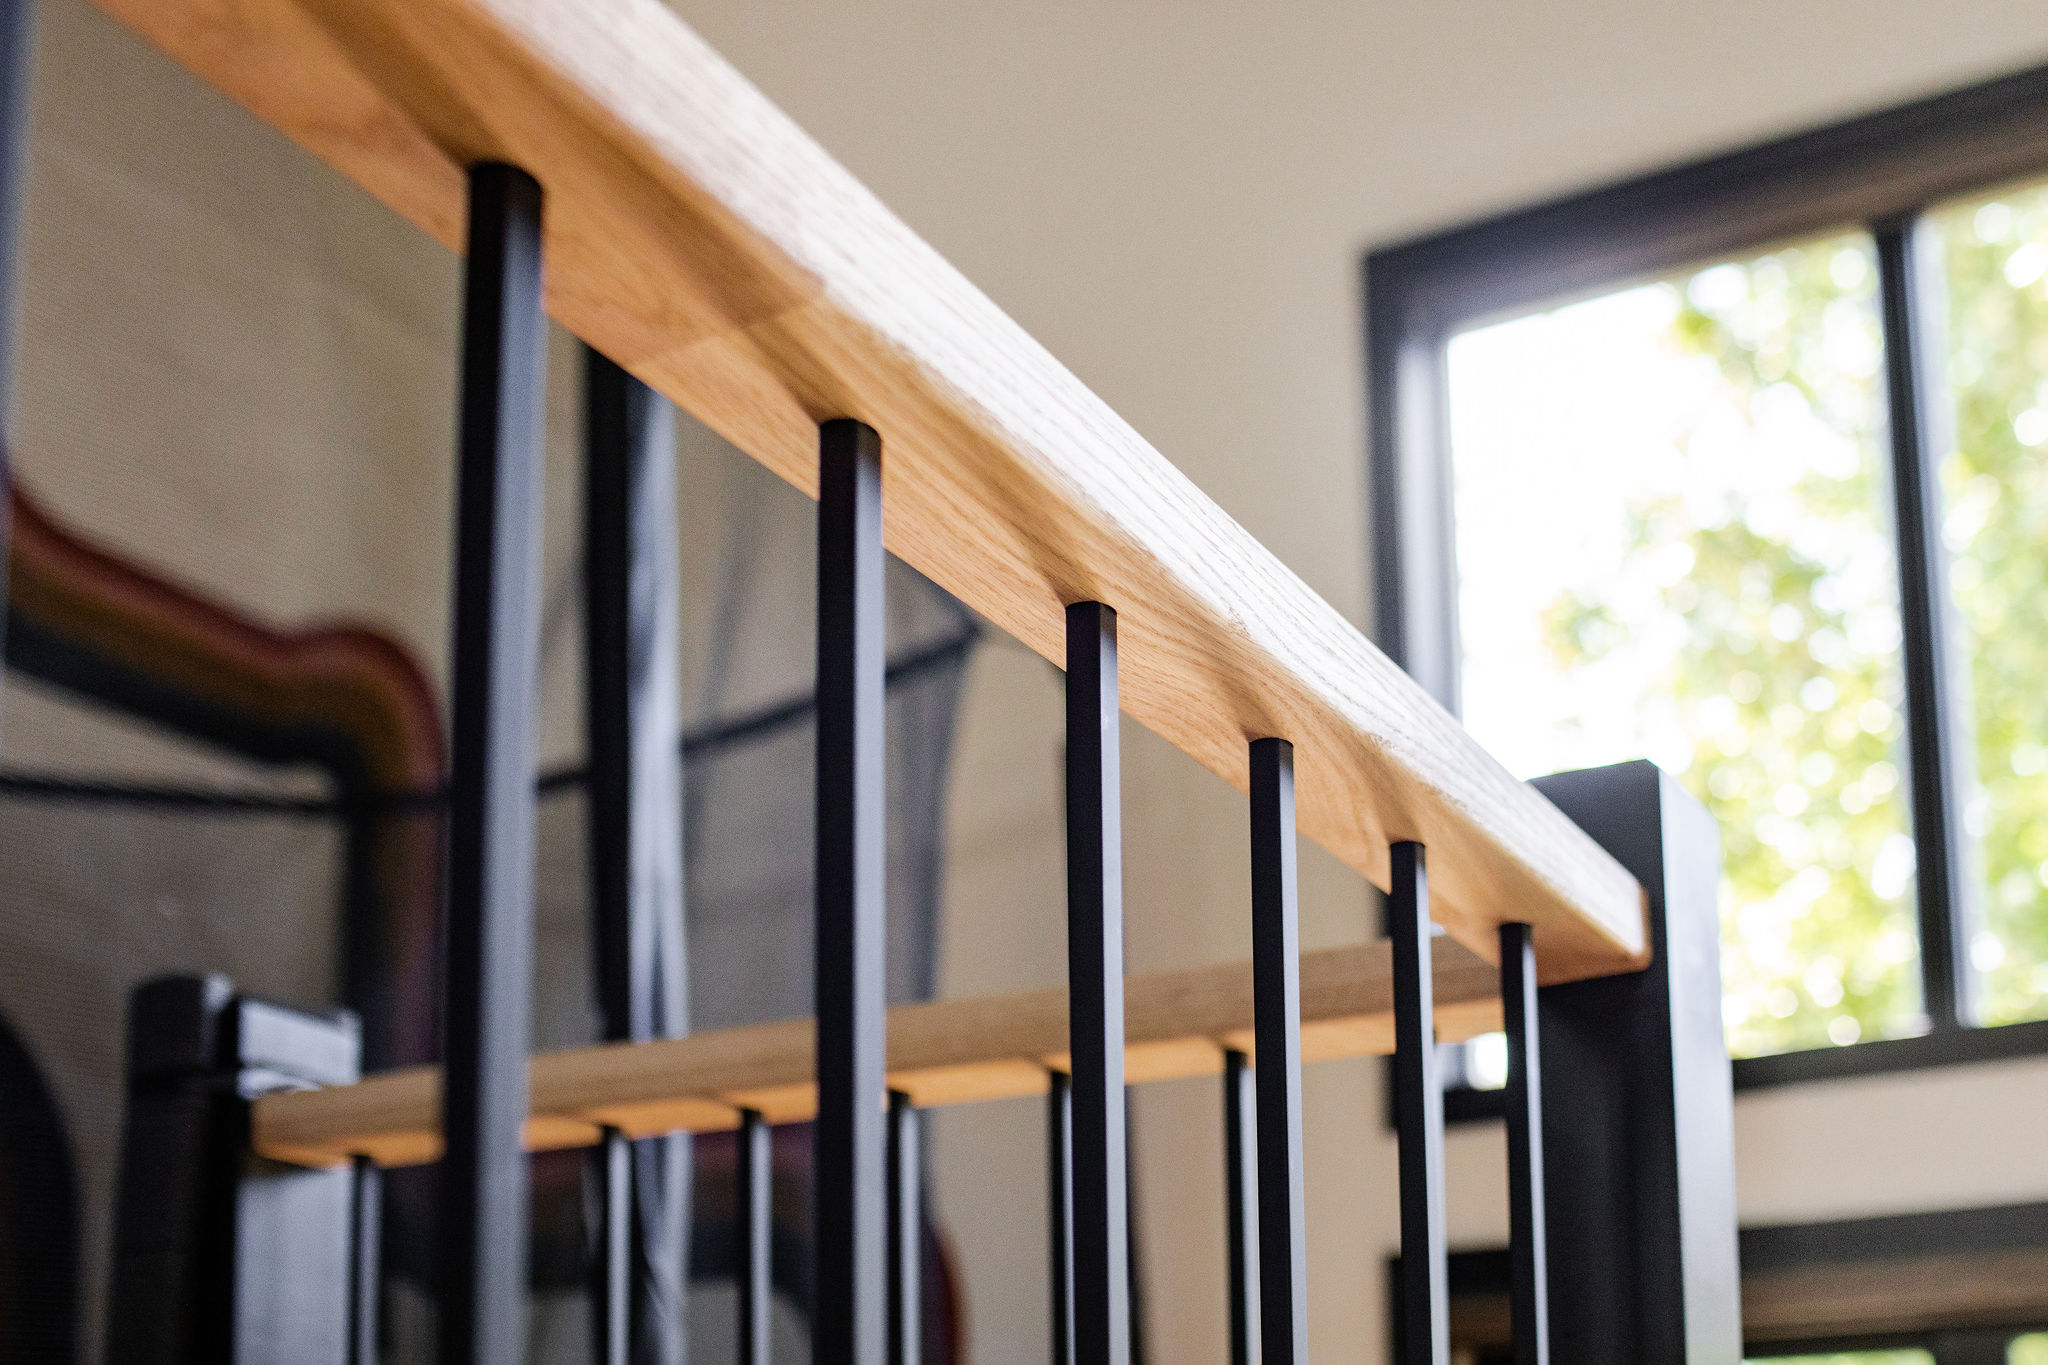
- Railing
- Millwork
- Misc. Home Depots Trips
So thankful for this new addition to our home and if you’re thinking about adding a sports court too, I promise you – it is worth every penny!


7 thoughts on “Our Sport Court Reveal”
Comments are closed.