We’re so excited to be partnering again with HANDy Paint Products to provide you a tutorial on how to paint trim white, and sharing before and after shots of our master bathroom renovation.

This post is sponsored by HANDy Paint Pail, but all opinions are our own.
Prep
The first step to any DIY project is to prep properly. Prepping to paint it requires gathering all of your supplies, getting everything cleaned up, and the wood prepped to sand and paint. This step is the most important step, but can also be the most time consuming.

Buy Materials
- White Caulk
- Caulk Gun
- Putty Knife
- Sand Paper
- White Primer
- White Paint
- Drop Cloth
- HANDy Pro Pail
- 2″ Angled Paint Brush
- Mini- Roller
- Wood Filler

Remove Vent Covers
Make sure to remove any vent covers that cover air ducts along the baseboard.
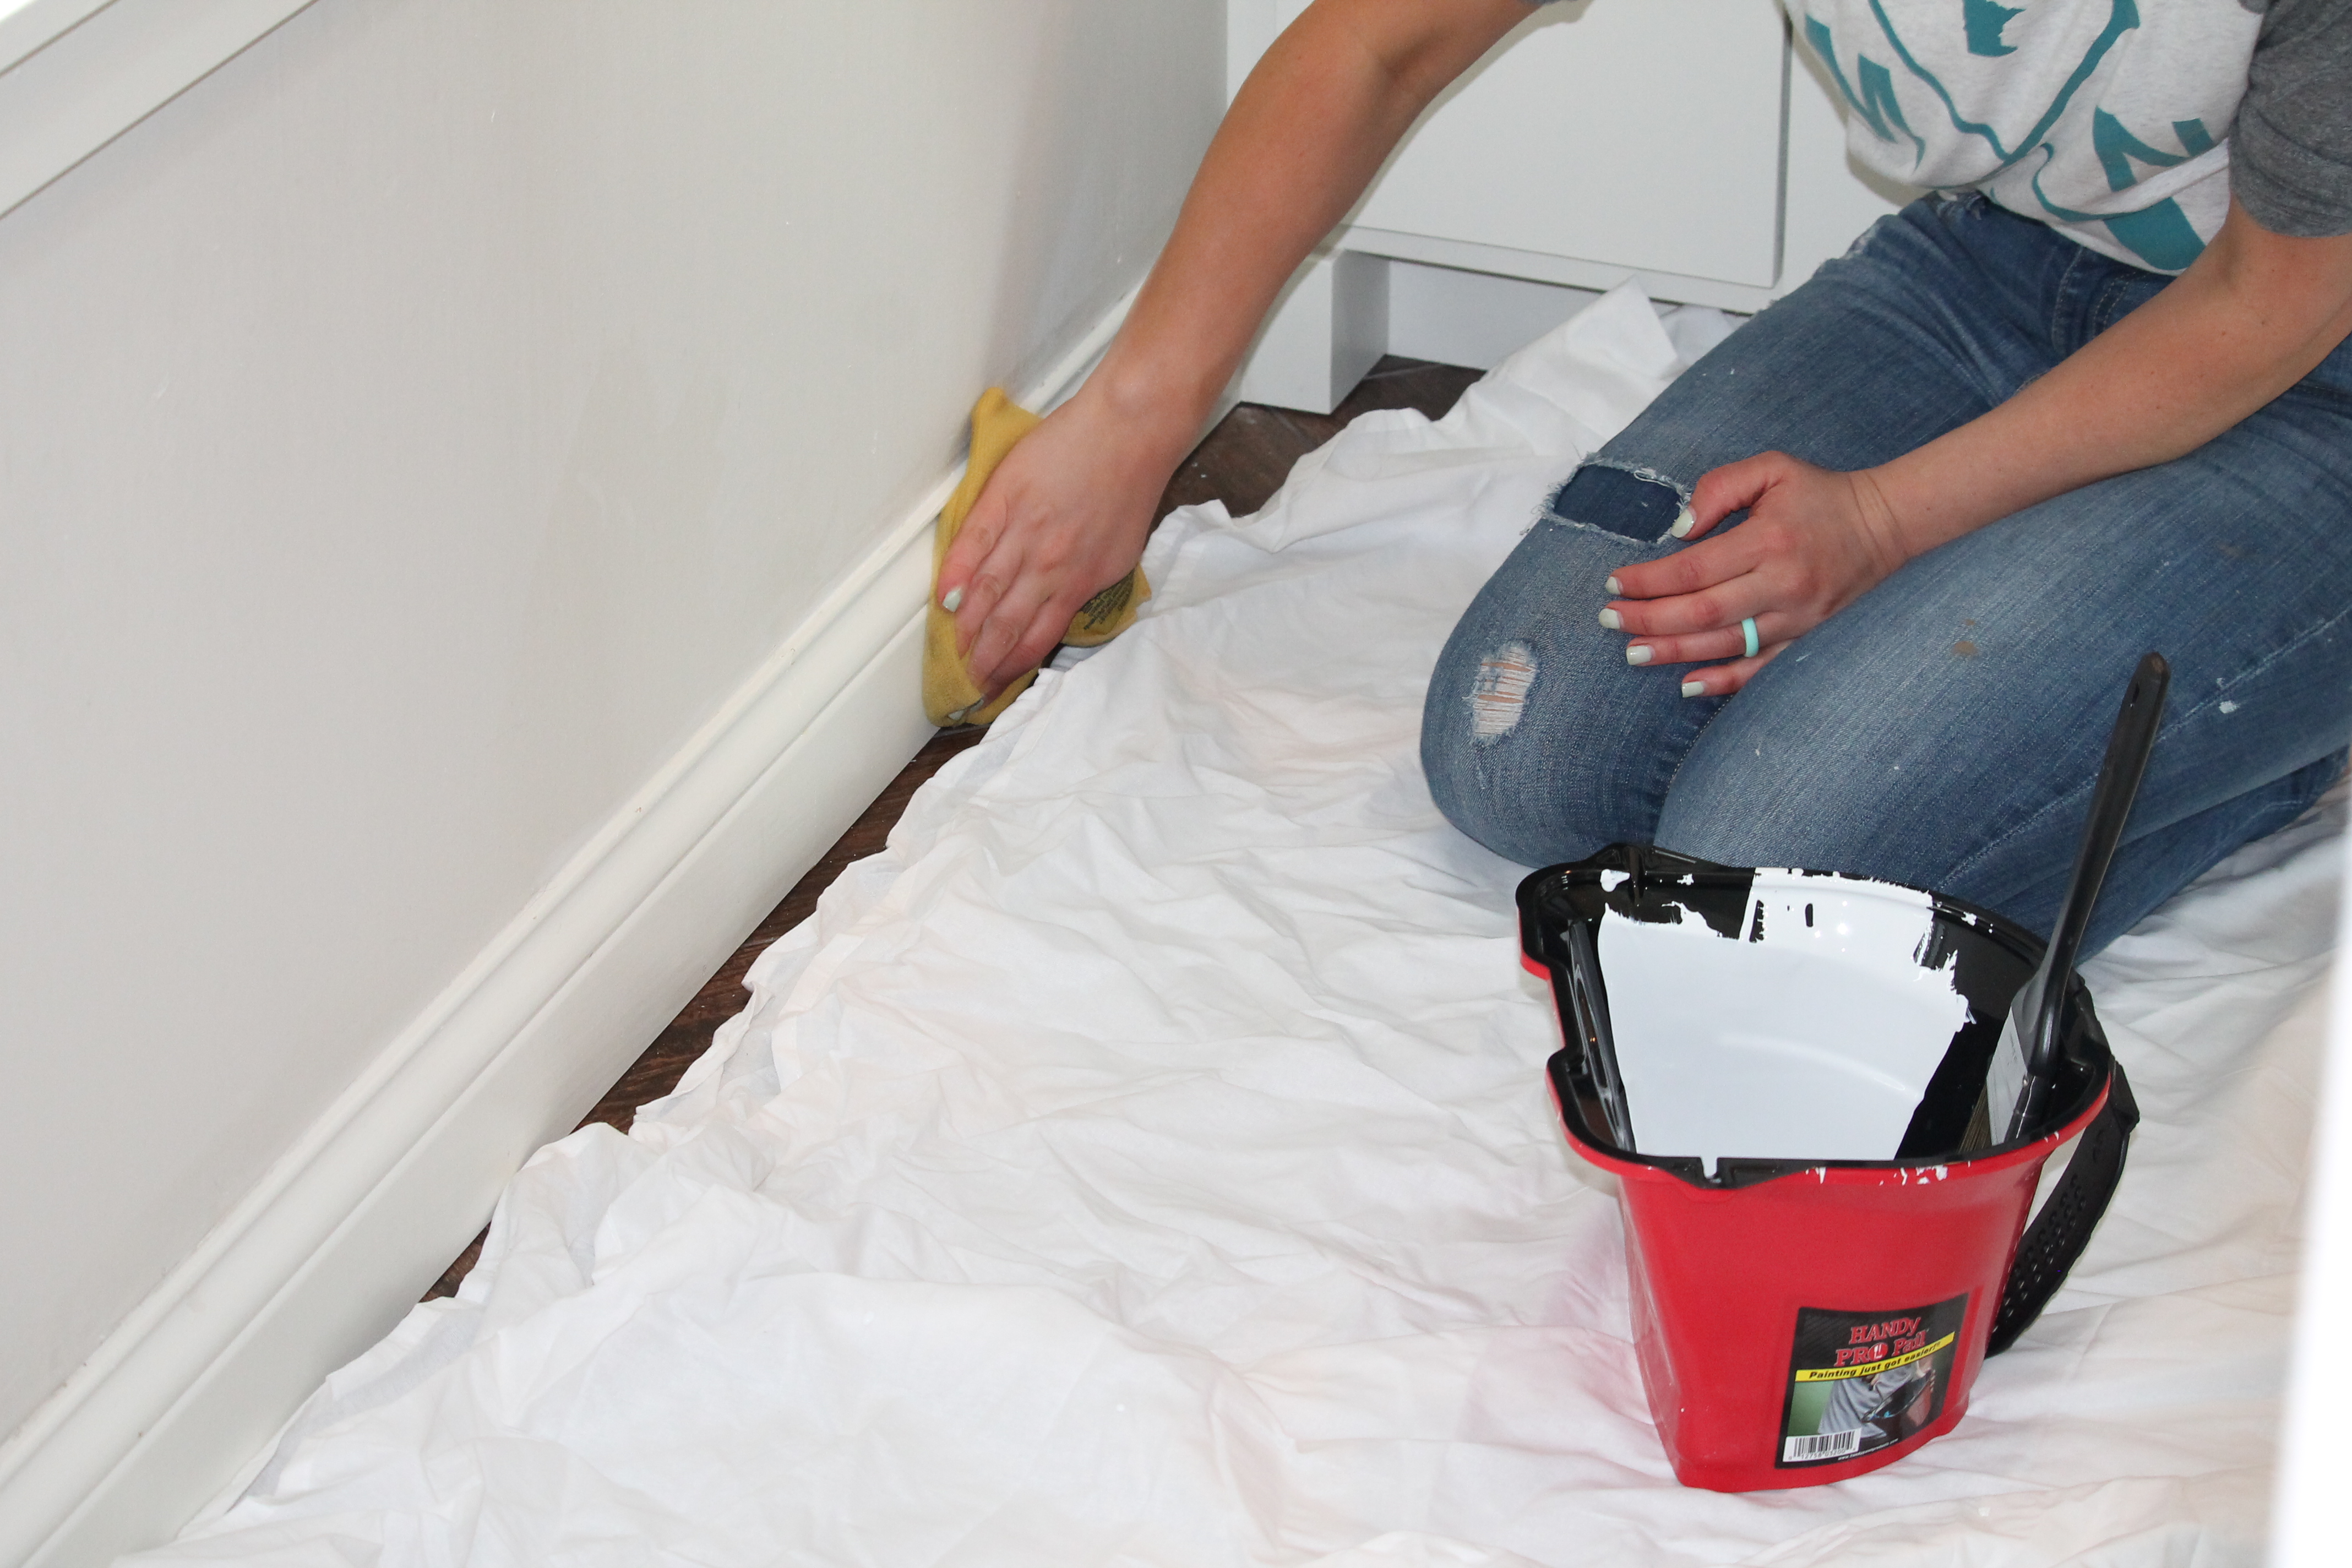
Get a hot bucket of soapy water and wash down your baseboards, floors, and walls (that butt up to the boards). There’s nothing worse than getting your paint brush full of dust and hair.
Caulk
If there is a gap in between your baseboard and wall, caulk in the space before you paint. Caulking also helps ensure that your paint lines are perfectly straight. There are a lot of different caulking products to choose from. However, you do not want to go cheap with your caulk. We always buy the most expensive caulk, and make sure it’s paintable. There are also a number of different colors of caulk. Always buy the caulk that matches the closest to the color of your paint.
Place 2″ Blue Painter’s Tape (if needed)
If your walls are already painted and you’re a little nervous about cutting in, place 2″ blue painter’s tape along the edge of the flooring where it meets the baseboard.
However, placing painter’s tape can be really time consuming. If you’re like me, I usually can’t even get the painter’s tape perfectly straight anyway so it defeats the purpose! haha Cutting in is a lot easier to us, especially with a 2″ angled brush, and if you caulk where the walls meet the trim, any paint easily wipes off.

Typically, when working on a large renovation project, we paint all of the trim white before the carpet is installed. If you do have carpet and you’re painting the trim in place, I would for sure use the painter’s tape on the flooring to keep the carpet out of your way. You can use a putty knife to push the tape underneath the edge of the baseboard.
Cover Floors
Cover your floors with a large drop cloth, to avoid any spills on your flooring. An old sheet works fantastic!
Fill holes
If there are any nicks or holes in your wood work, make sure to fill those holes with wood putty.
Sand
Once your wood work has been prepped it’s time to sand down your trim. Especially make sure to sand down the putty to ensure it is even and perfectly smooth.

Before priming make sure to wipe the dust off the trim with a clean, dry rag.
Prime
Some just like to apply the primer to the spots that were patched or wood putty was applied. We typically like to prime all the trim prior to painting. This will probably be dependent on how much trim you have to paint and time you have. However, if you are painting your baseboard a different color, I would strongly suggest applying primer to your entire baseboards.

A lot of people like to brush on the primer coat, using a thin nap roller. Roller or brush, it both gets the job done! We typically always brush-roll-brush all of our wood work. If you just roll, you will get a lot more air bubbles in which you will have to end up sanding out. So when we tag-team our wood work. I am typically brushing and Jamie is following right behind with the roller, and lightly brushing out the bubbles. If you also have grooves in your woodwork, we like to ensure they are covered thoroughly and use a brush to get the paint into all the cracks.
Once primer is dry, it’s time to paint!
Sand
This step isn’t always necessary. Run your hand along your woodwork after priming, and if there are any bumps, brush strokes, or unsmooth areas, get your sander back out and sand down your baseboards until smooth.
Paint
Using an angled 2″ paint brush, makes it nice and easy to paint the trim. Begin painting in one corner of the room and working your way out. Make sure to use nice and even strokes.

Depending on the color you are painting over will determine if you need just one or two coats of finishing paint. We are usually always painting over dark trim, so we typically need to do two. Make sure to paint your final coat with short, smooth, horizontal strokes.
Clean Up
The last step to painting your trim (my favorite step) is puling the painter’s tape off the wall and the flooring and admiring your finished project! If any paint seeped through the paint make sure to scrape the excess paint off the flooring.

If you caulked from where the walls meet the trim, it is really easy to wipe off any paint that may have seeped through the tape.

Now it’s your turn! We’re giving one lucky winner an abundance of HANDy Paint Products to help you with their next painting project. Enter to win below. Good Luck!


How do I not have any of these yet?!?
So fun!! You def need some HANDy products! 🙂
I have a few paint products on the horizon. Redoing the whole upstairs and fixing and painting a deck. Handy products would come in handy with both.
CONGRATS! Yes, you definitely are in need of some of HANDy Products! 🙂
Haha! Oh that is going to look beautiful!!
I have 800ft of shiplap sitting in my basement waiting to be painted, hello cutting in!
I would use it to finish painting the house we just bought! 🙂
Awesome! That is a definitely a job! 🙂
I have DARK wood base and casing that I am slowly painting white. HANDY products sure would come in handy
So awesome!! You will love their products!
We are renovating our entire basement so I will have lots of painting to do! I love these HANDY paint pails…we have 3 of them and they are the best!