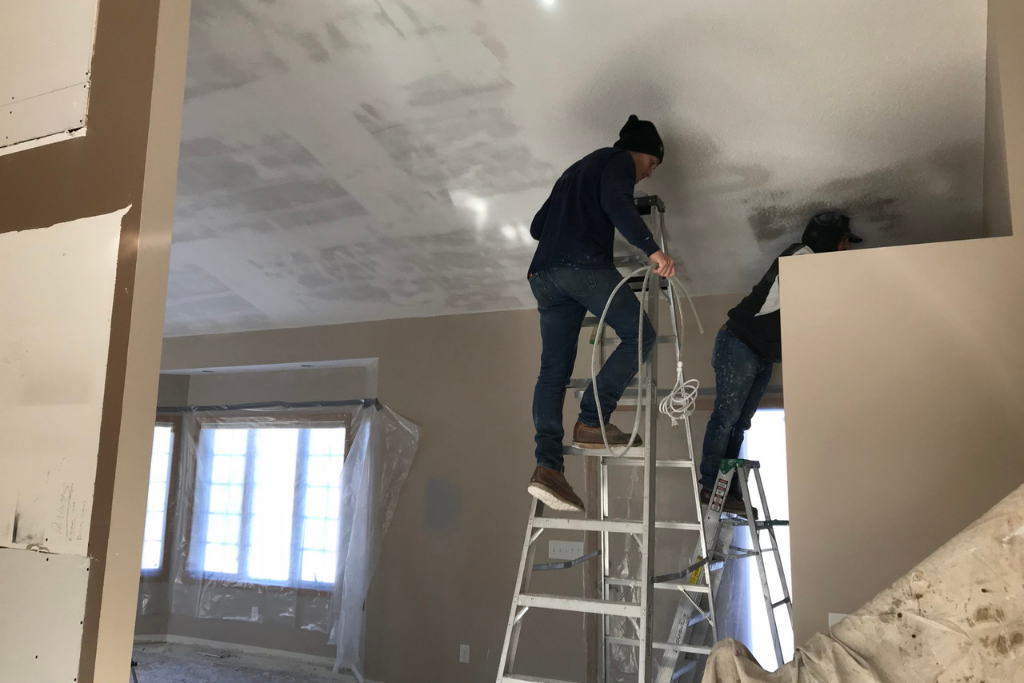
7 Steps to Remove Popcorn Ceilings
Looking for a guide on how to remove popcorn textured ceilings? Look no further!
We debated whether we were going to get rid of our popcorn ceilings or keep them. In every other house we’ve done, and with almost all of our clients, we urge them to take it down.
But it’s also expensive when hiring out and a lot of hard work and messy when you DIY! But being this part of our home was already a complete disaster we decided to give it a go.
Now that the knockdown is up throughout our entire main level, we are so happy we moved forward with it. But now, we can’t stop staring at the popcorn-textured ceilings on the upper level of our home.
Ha! That will have to wait for another time.
How to Remove Popcorn Ceilings
Step 1: Gather Materials
Materials Needed:
- 12″ + Putty Knife
- Garden Sprayer
- Drop Cloths
- Ladder
- Trash Bag
- A hat or hoodie
Step 2: Asbestos Check
First, you want to make sure your ceilings don’t contain asbestos. Spray-on textured popcorn ceilings were popular from the 1950s to the 1980s because it was an easy way for builders to hide imperfections.
Unfortunately, this was during a period when asbestos was a high-demand building material in the United States. Our rule of thumb is if your home was built before 1977, we would suggest getting it tested.
To get it tested, you can buy a test kit and bring it to a lab. If your home does have asbestos, it’s time to call the professionals in and you’ll have to have an abatement company come in.
Step 3: Cover Floors
First, you want to cover your floors so that they don’t get ruined. If you’re under a complete renovation like we were, you might think you don’t want to cover your floors.
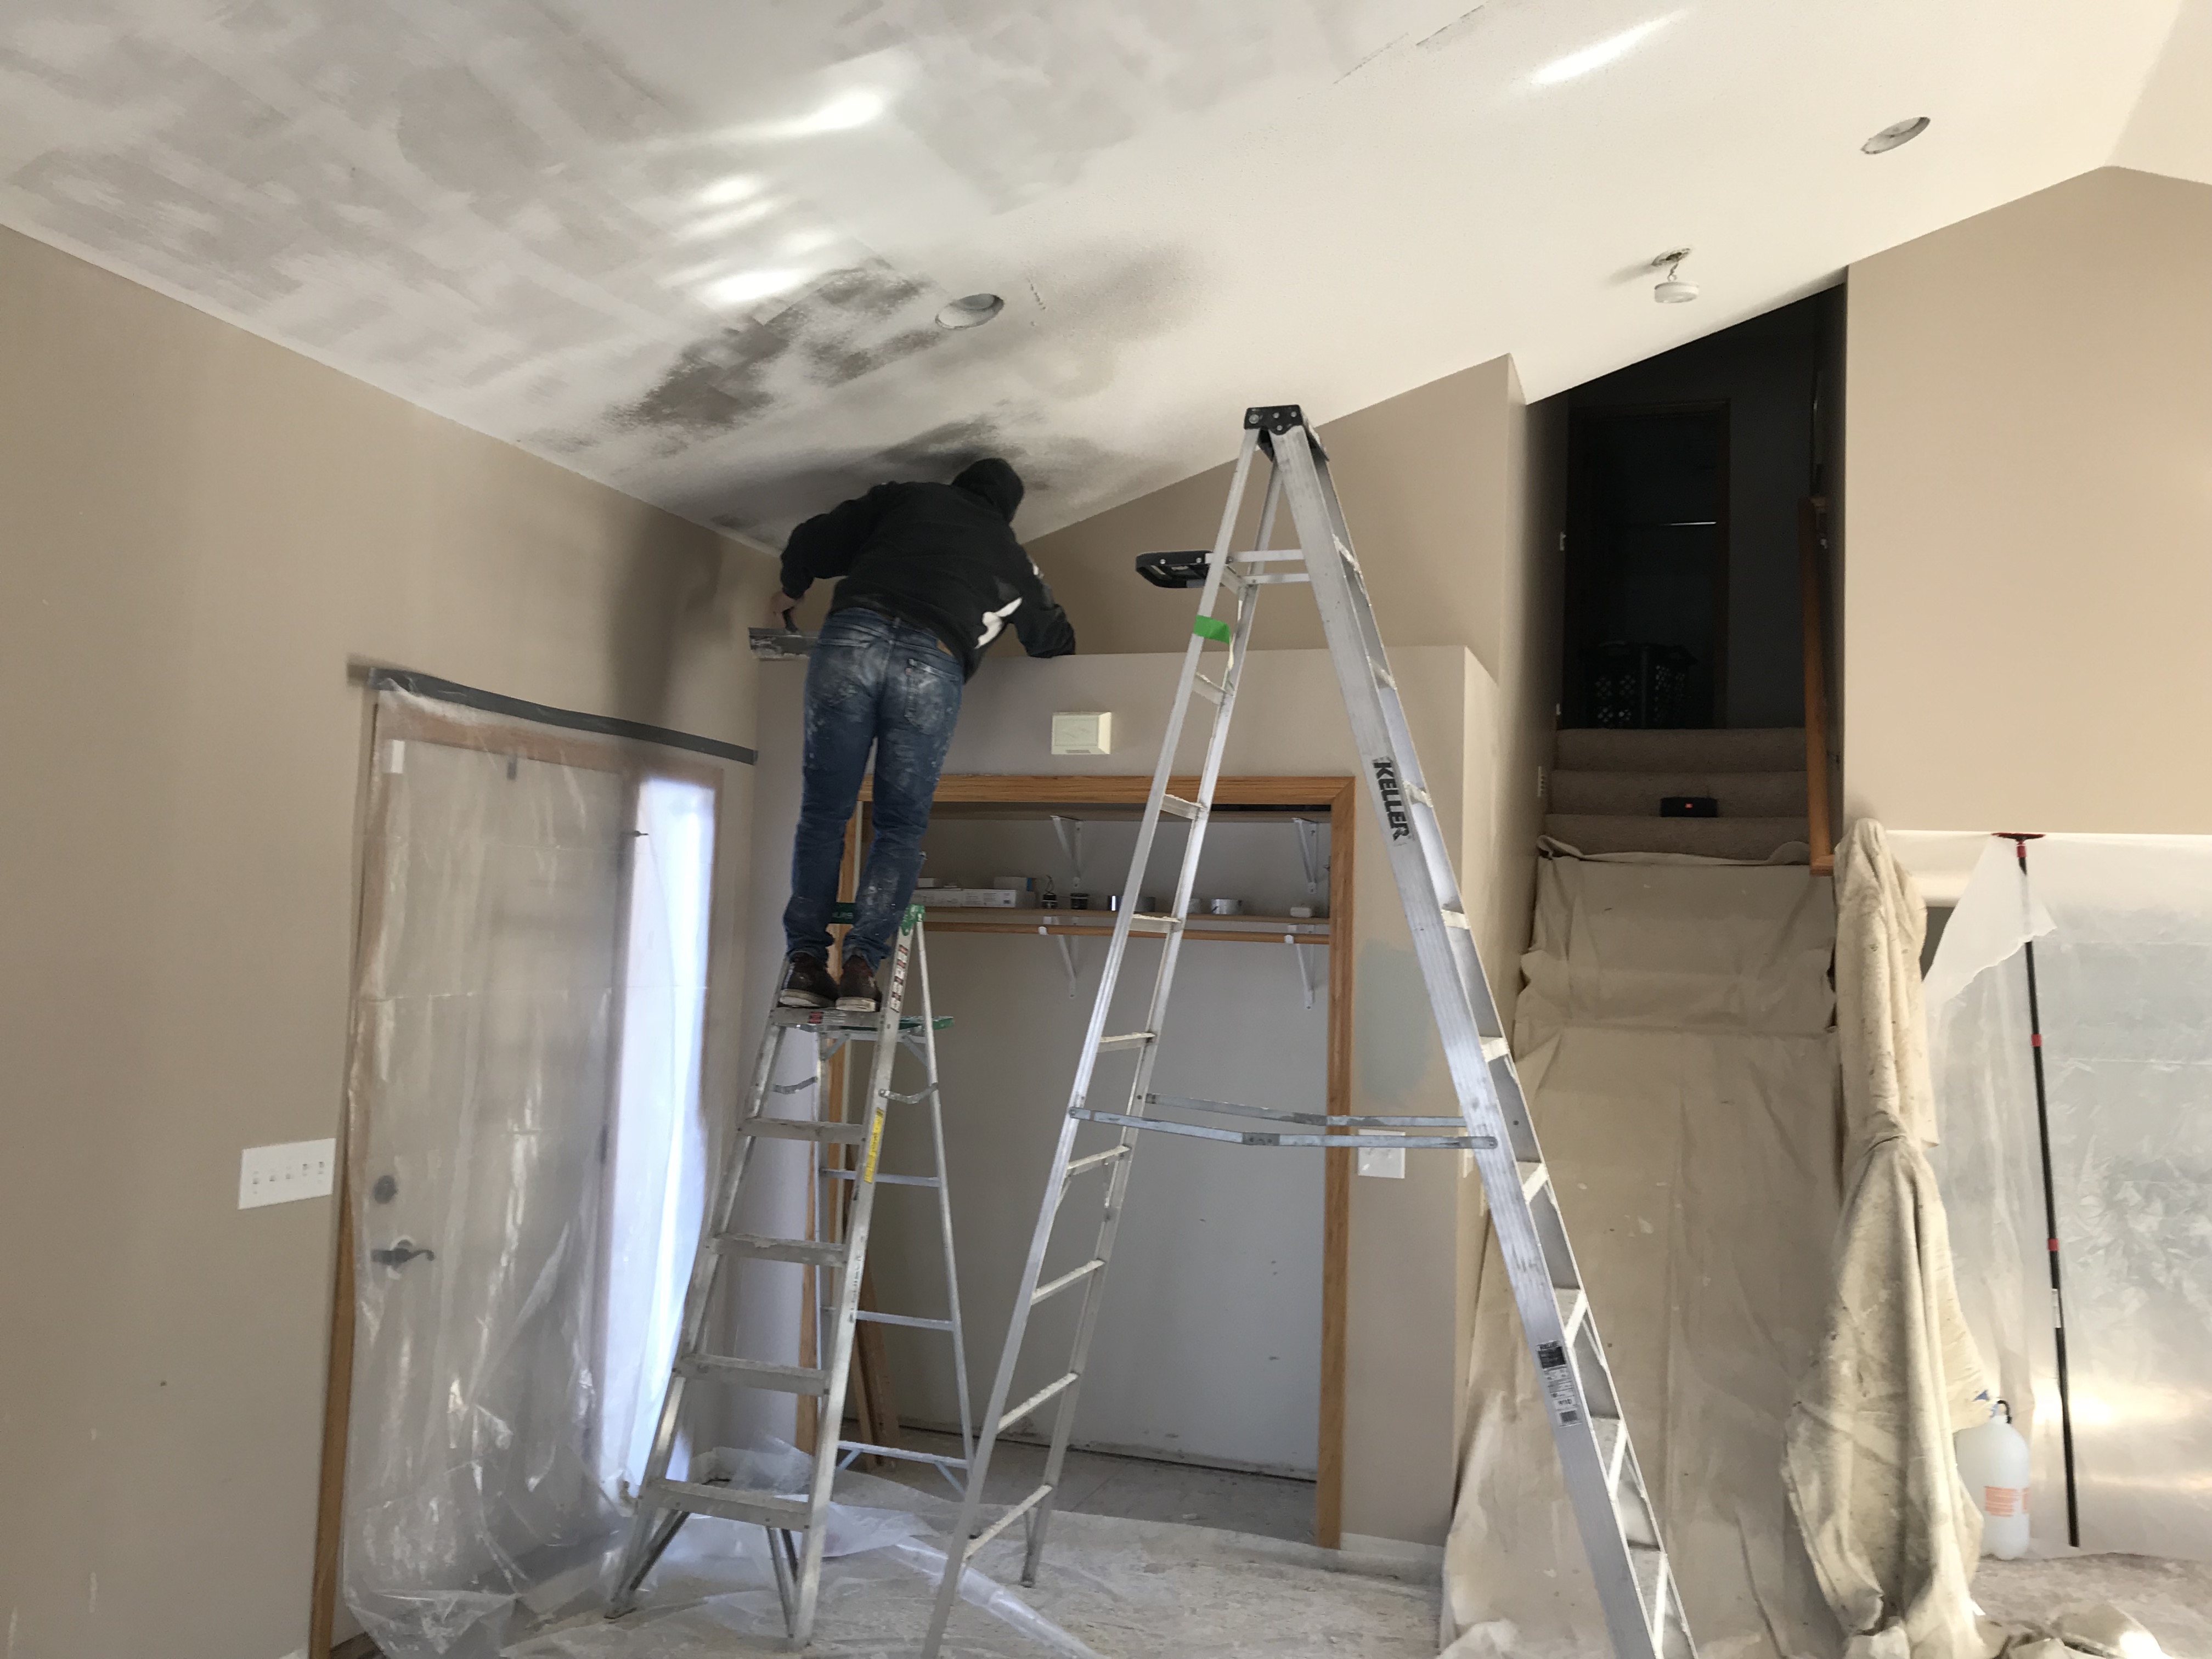
The guys had a big drop cloth that they moved around with them as they scraped. When you’re scraping, the popcorn that comes down is really wet.
If you have a drop cloth, it’ll be a lot easier to clean up than just leaving it all over the floor. If you leave the popcorn on the floor it’ll either dry and harden to the floor, or it’ll be so wet you can’t sweep it up.
If you have a drop cloth you can just wait until it’s full and then go out to the dumpster and whip it off in there.
Step 4: Spray Water
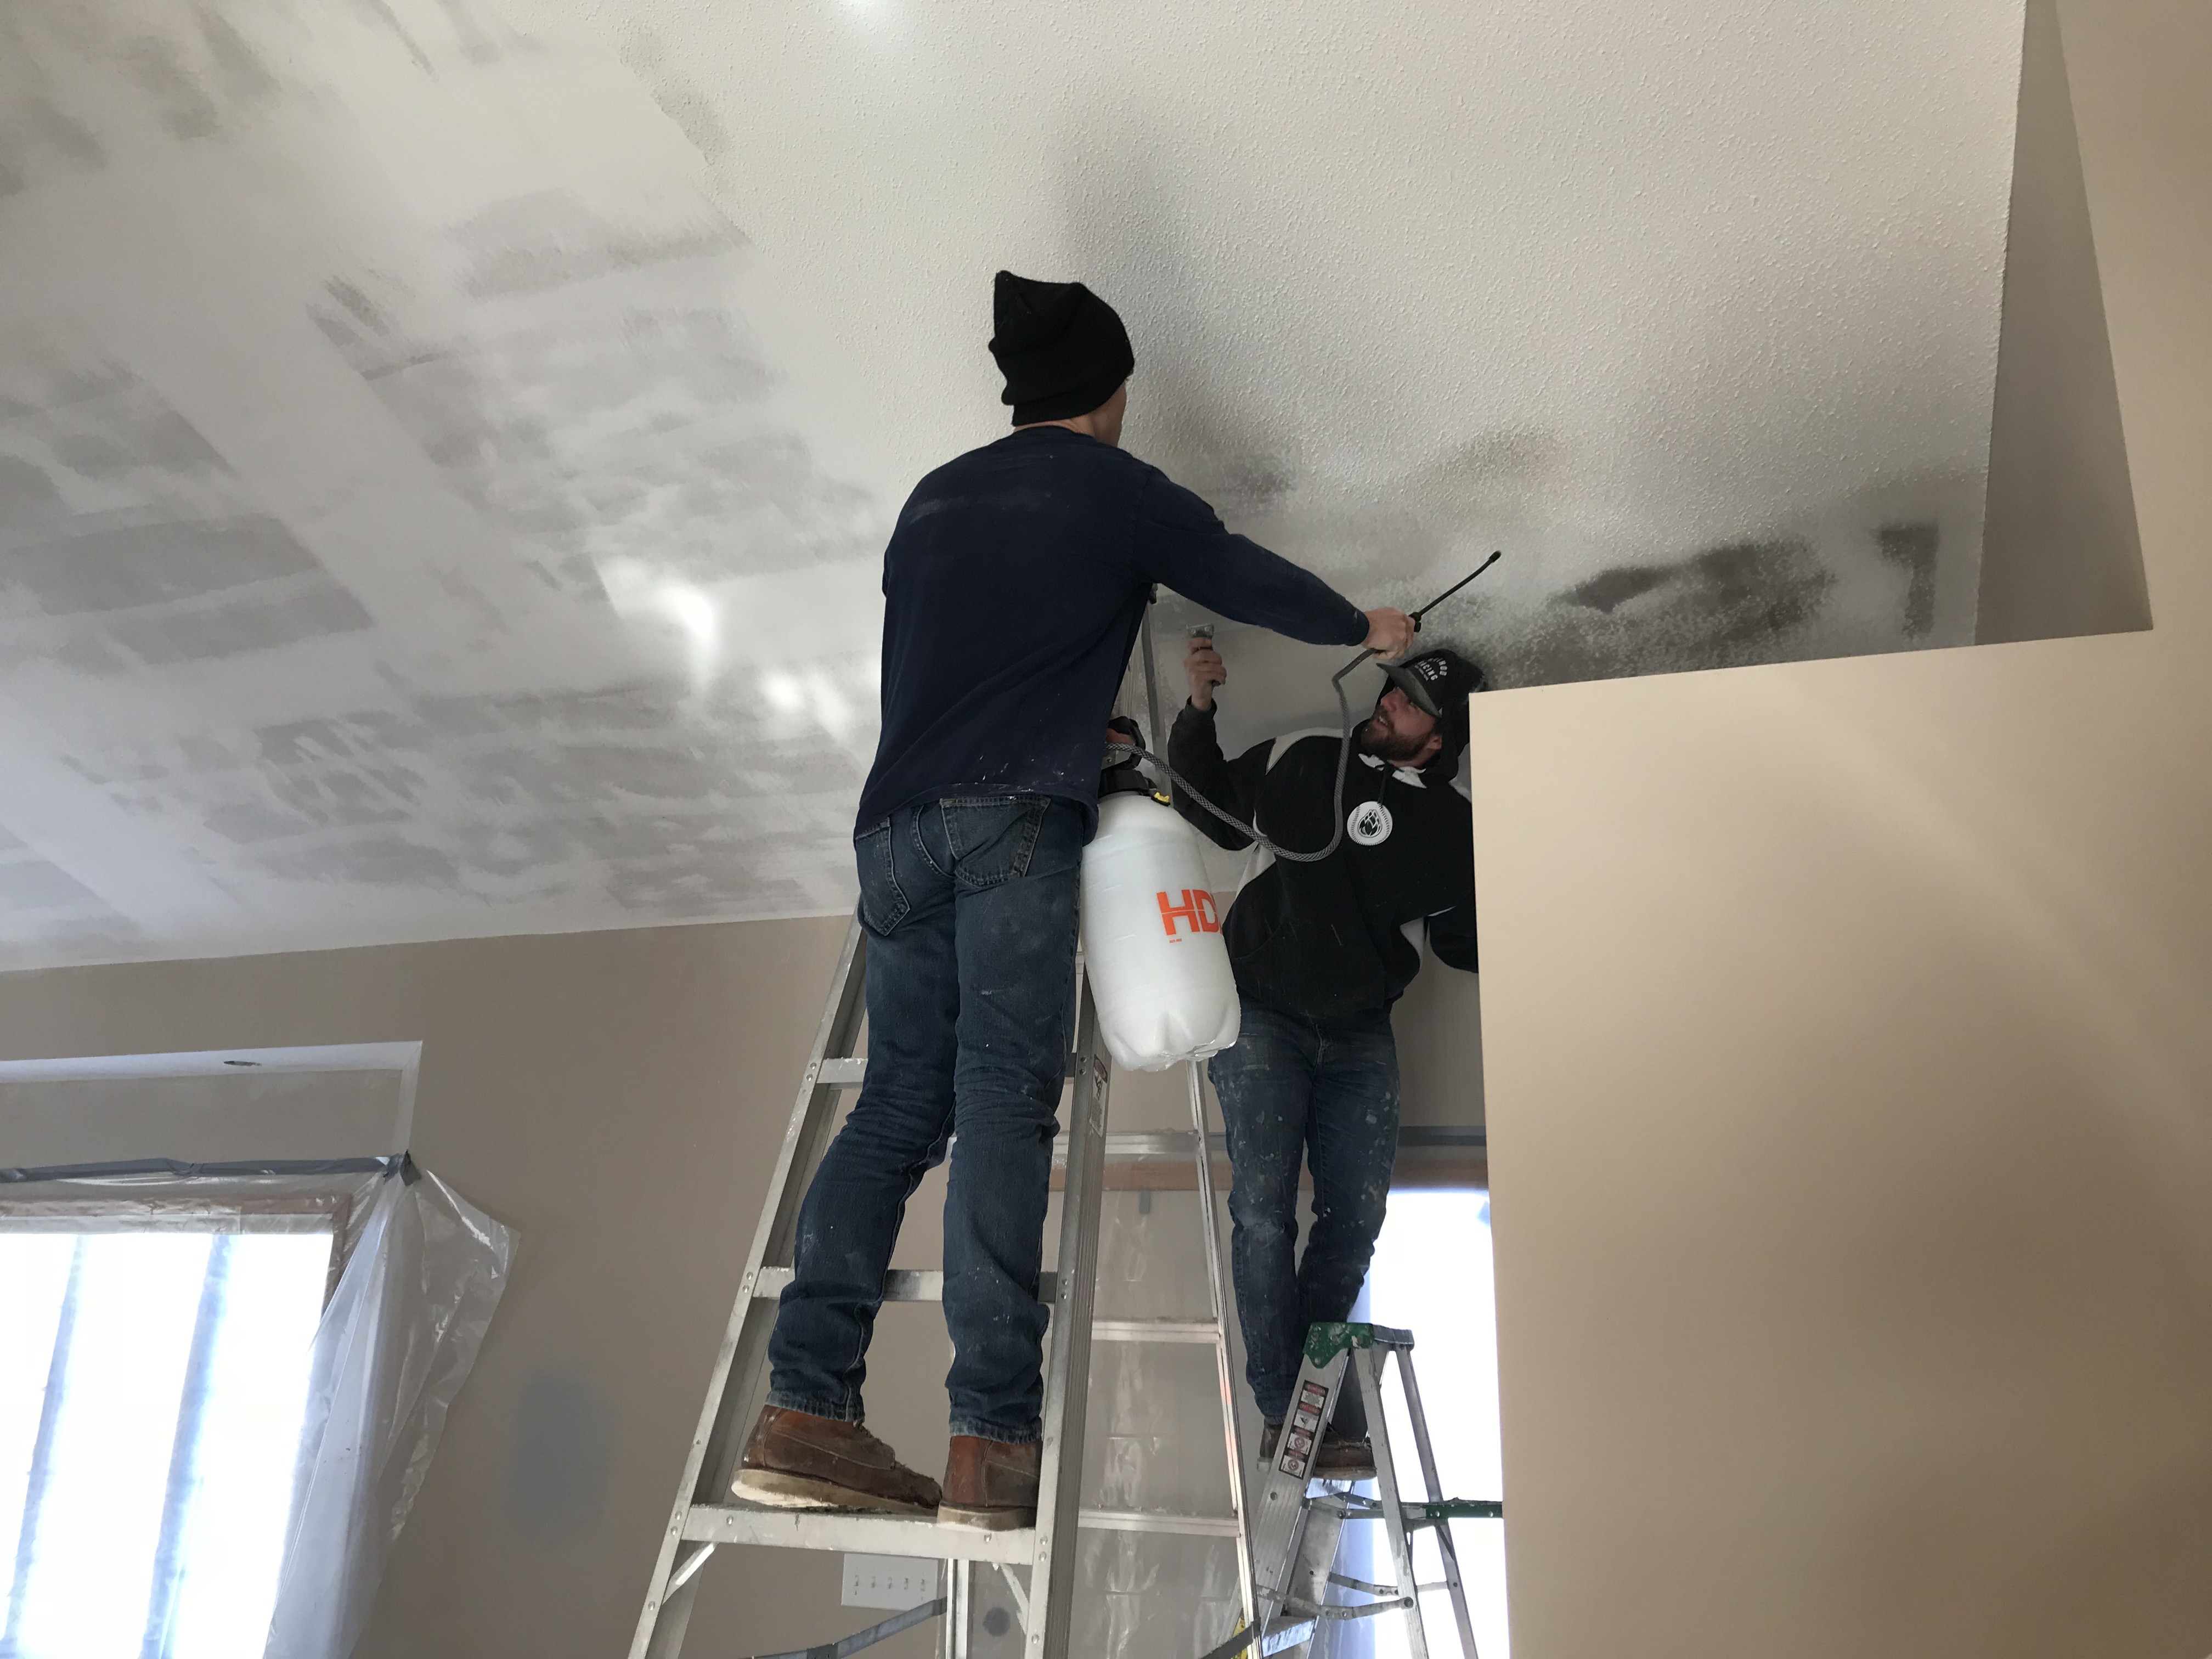
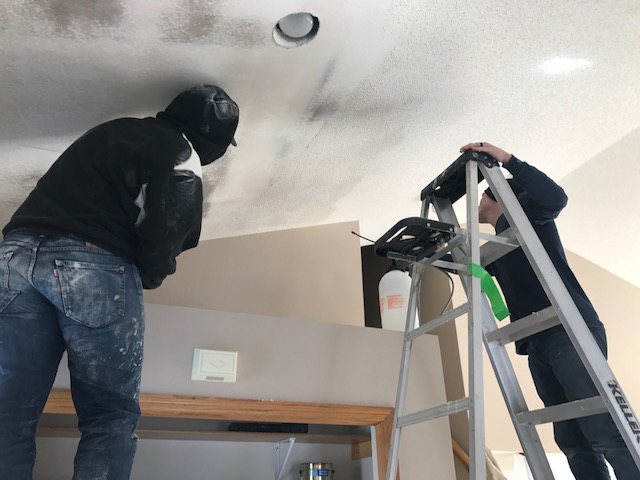
Next, we fill our garden sprayer with warm water and spray the ceiling and let it sit for about 30 seconds before we scrape off. Here, Jamie was spraying and our guy Topher was scraping.
Step 5: Scrape
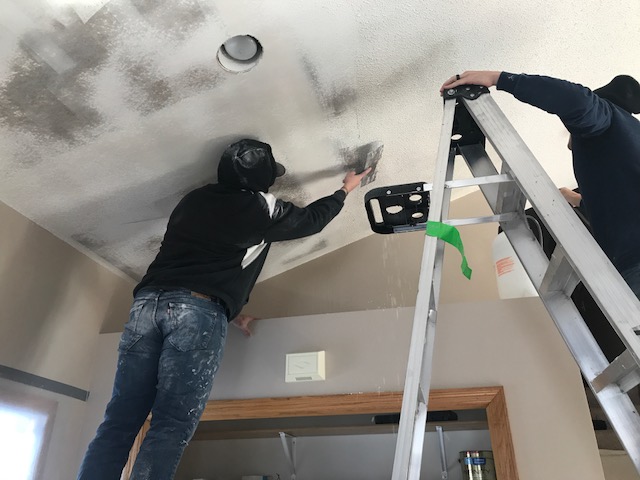
If you have painted ceilings, it might take a couple of coats of water and some extra muscle to scrape it off. It’s not fun, but if they aren’t painted, like ours, it’ll come off pretty slick.
Weirdly, it’s actually really therapeutic. But before you start, make sure to wear safety glasses to make sure none of this stuff gets in your eyes!
Step 6: Dry Time
Once you’re done scraping all of the ceilings, make sure to let them thoroughly dry before you skim-coat or paint them.
Now you know how to remove popcorn ceilings! Let us know what you think of this DIY trick.
Step 7: Prepare for Paint or Texture
If you’re leaving it flat, then simply sand and paint. If you’re doing texture then you will need a bucket of mud, a drill and paddle, a hopper, and a knockdown knife.
Mix the mud until it’s a similar consistency to pancake batter, load it into the hopper, and spray away. I find it easier to spray texture overhead while staying roughly a foot from the ceiling.
Let the mud dry for 10-15 minutes, not fully, and then use a knockdown knife to finish it off.
Additional Tips and Tricks
Clean-Up
If you want to take it a step further with the cleanup and are doing the scraping where you have nice floors, you can scrape and hold up a bucket while you scrape and it’ll fall right in. That can be hard if you’re balancing on a ladder but you can also set up some boards across ladders to walk on, or Jamie has even used stilts.
Avoiding Damage
Though a relatively simple DIY project to do, there is still a risk of scratching your ceiling behind the popcorn, so it’s important to keep a few things in mind to avoid causing damage that you will have to repair!
Soak the Ceiling
To help the material come off easier, spray the ceiling with warm water or warm soapy water until it’s soaked. Painted popcorn ceilings can sometimes be stubborn, so make sure to spray two or more times for absorption.
Use the Right Tools
Using the proper tool can be the difference between a scratched ceiling and a seamless removal. We recommend a 12-inch putty knife over a 6-inch, not only for time but it will have a bigger surface of scraping power.
There are actually specific tools for popcorn ceiling removal, but you’ll be just fine with a classic putty knife.
Take Your Time
When removing popcorn ceilings, you will learn it can be a tedious process, but it’s essential to slow down and don’t rush. Slow, long strokes in the same direction can get a lot of material off at once, but also keep the knife from catching the drywall and leaving a scratch or gouge.
Don’t Force It
If the popcorn is being stubborn and you are finding yourself getting snagged up, don’t stress or force it! Make sure you soak the ceiling further or move on to another area and come back later.
Being patient will save you time on repairs and ensure you have a nice smooth ceiling at the end of the day.
If Damage Occurs
Just breathe, it’s ok, it happens to the best of us. Replace any damaged drywall, or smooth out any gouges or scratches with some drywall compound.
You will need to let it dry overnight so it can delay your process a bit. Once it’s dry, simply sand over any uneven areas, and it’s ready for primer and paint!





We appreciate you taking the time to write out such a comprehensive tutorial. Your detailed instructions provide a workable solution to a problem that many homes face: aging textured ceilings. Your dedication to giving thorough instructions is evident in the fact that you included useful hints like preparing the area and taking necessary safety precautions. Your knowledge and skill are clearly evident, making this post an excellent reference for anybody thinking about removing popcorn from their ceiling. Good job!
Thank you! That makes us happy. That’s what we’re here for.
Thanks for sharing. I just took ideas for my own home.
This was such a helpful article! We recently started doing popcorn ceiling removal, and to be honest, I wasn’t prepared for how much of a mess it makes. But after reading this we started to soak the ceiling a little bit first and that works like a charm, thank you!
https://www.barriedrywallers.com
Popcorn can certainly be a nightmare, glad we could help.
Wow. I am definitely going share this post about popcorn remova with a few of my friends. Very cool information. https://www.lancasterdrywallcontractors.com/
I would have never considered removing asbestos as therapeutic. I need to get a contractor to check my basement. I think I have popcorn ceiling, but I don’t know how to tell.
I did this myself. Works perfect
It looks beautiful! Great work!! Now you will always have a success story to tell about the ceilings.I found a lot of good info. on this site! Thanks!
Popcorn Ceiling Removal
Awesome! That makes us so happy! Always happy to help.
Thanks for sharing this article because these tips are really important to follow during removal of popcorn ceiling