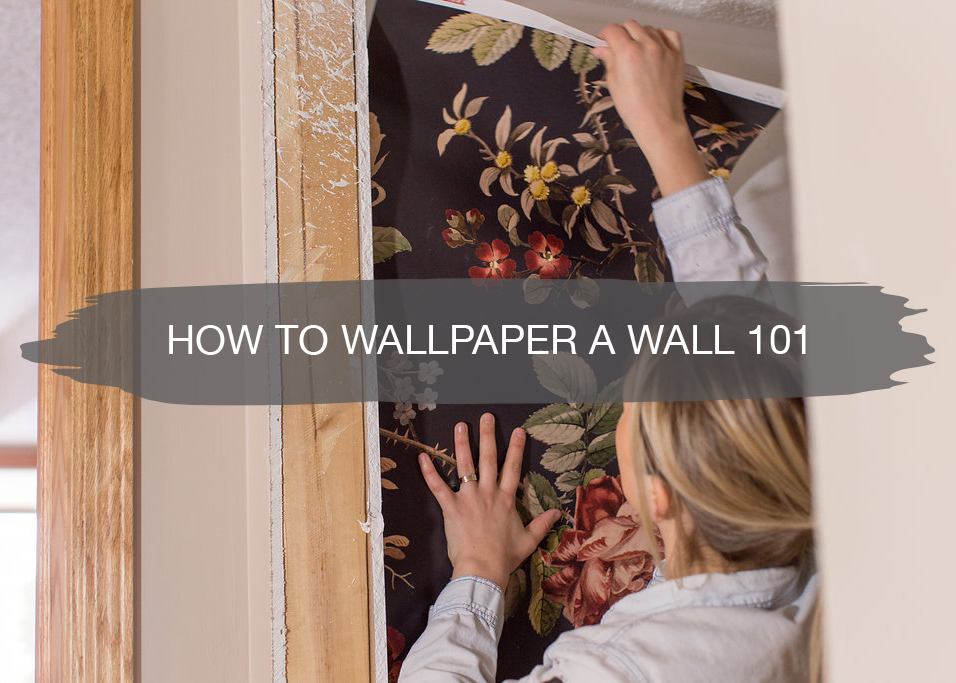
Last fall we wrote a post about 7 best spaces for wallpaper, and since then we’ve been busy putting wallpaper up all over our home. First was Beckam’s nursery, and now while we were undergoing the kitchen remodel we decided to add in a little half bath downstairs in our basement.
Prior to this home I had never wallpapered in my life, but luckily my mother-in-law is an expert. I’m pretty sure not a room in their home doesn’t have wallpaper. So thanks to Jamie’s fabulous mom she’s been over and teaching me every step of the way. So today I wanted to share with you guys what she’s has been teaching me to show you guys how easy you can DIY too. Because who doesn’t want to add some fun prints to their home?!
After we get this half bath done, next up were going to be transitioning Greyson’s room into a big boy room and you bet we’re adding wallpaper to that space too.
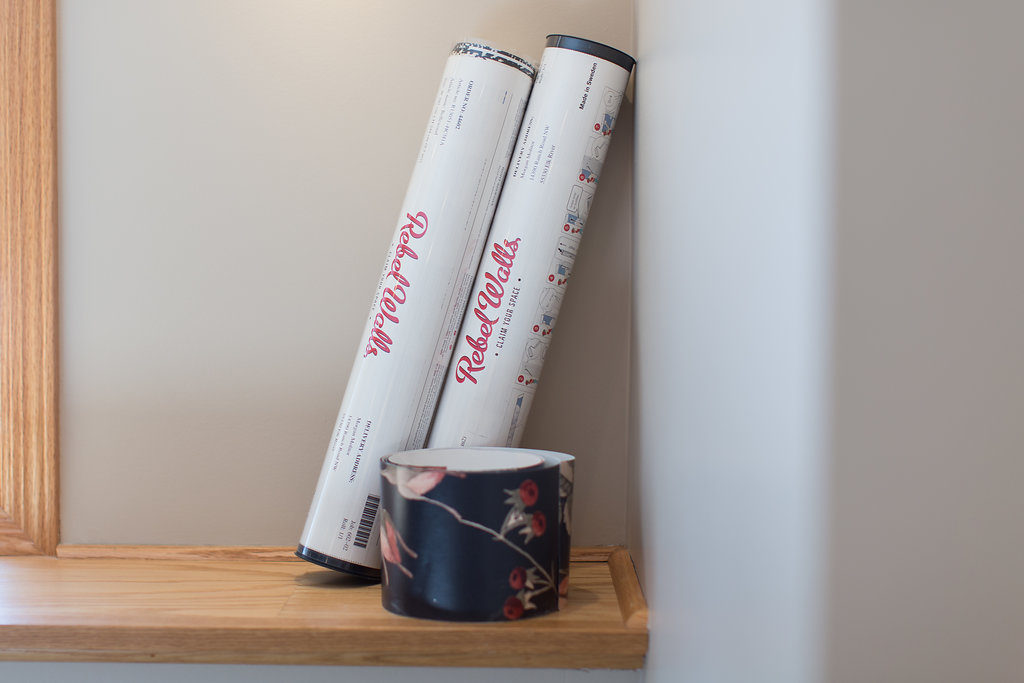
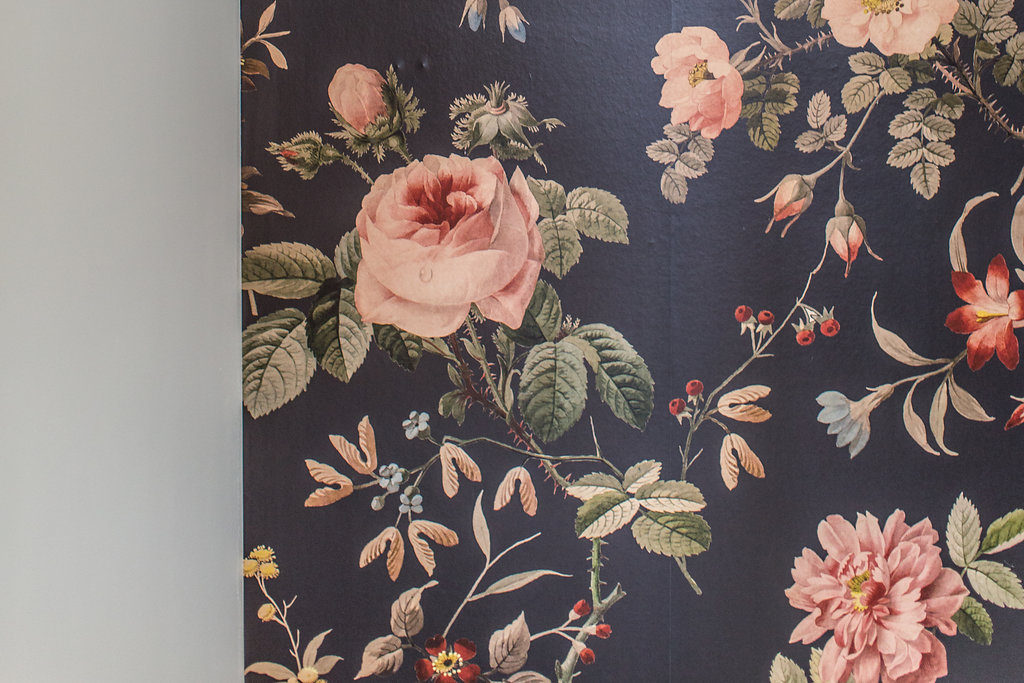
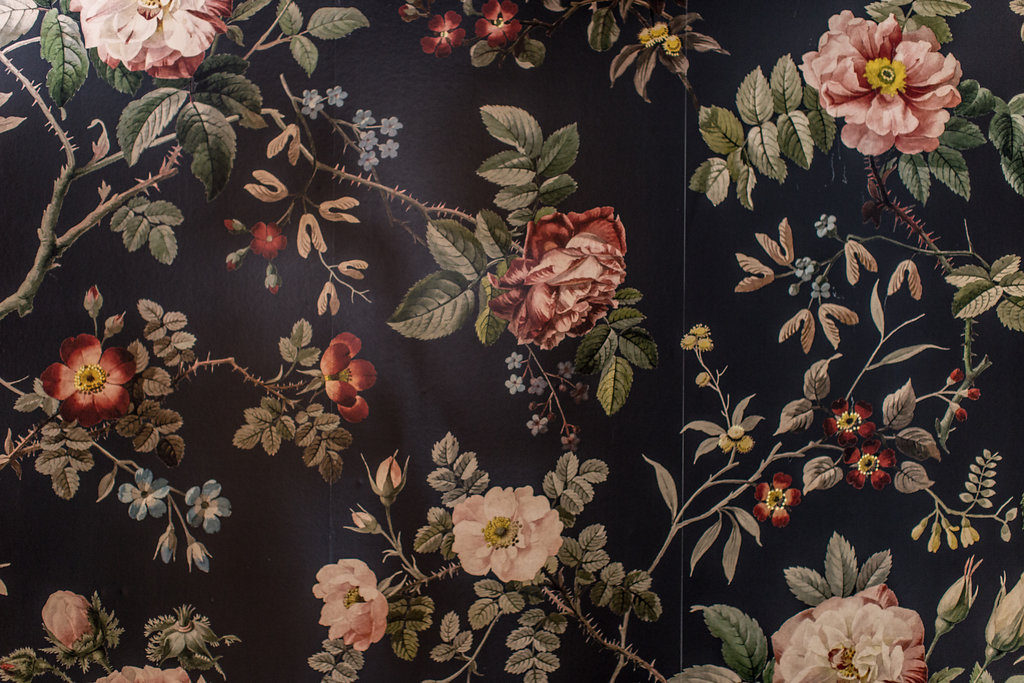
This bathroom is smaller space and a room we won’t be using that often, so being we can’t possible get sick of it, we wanted to do something more fun and bold. Right away I knew wallpaper was for sure going in! I’ve been crushing on the black and floral prints lately so when I came across this print from Rebel Walls, I ordered it immediately.
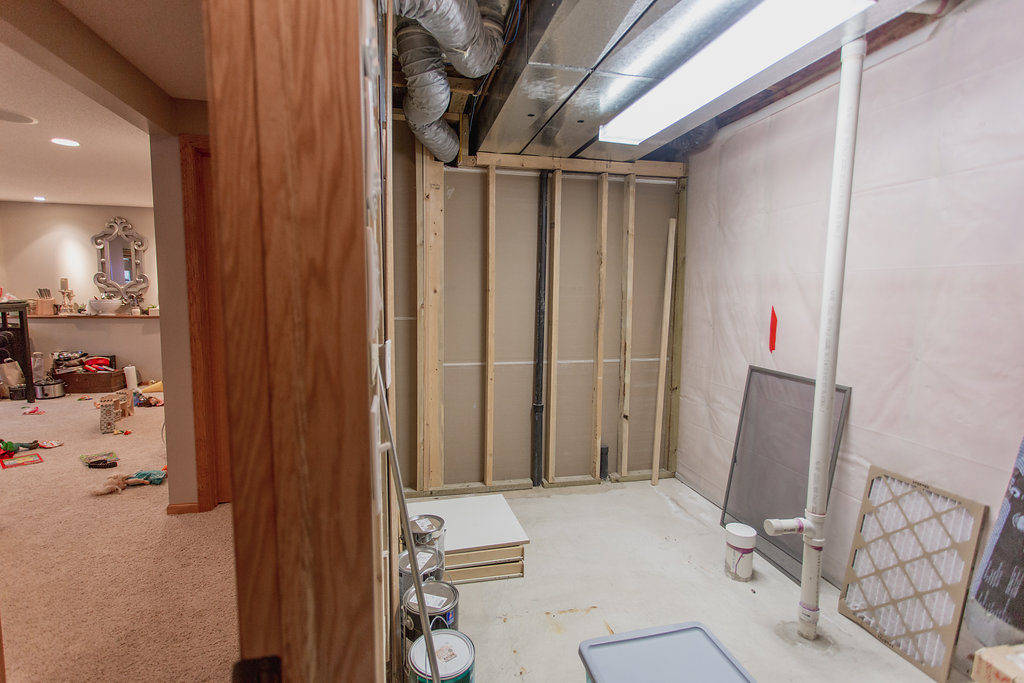
Here’s what it looked like before. It was our utility room, so we just put a wall up and divided the room in half.
Wallpaper is such a fun way to add character to a space, and it makes for great conversation! There are so many fun designs out right now; the toughest part is choosing one, but once you have your print the rest is a breeze. A lot of people are intimidated by wallpaper, so we wanted to show you how to wallpaper if you want to bring some into your space but are little nervous about it.
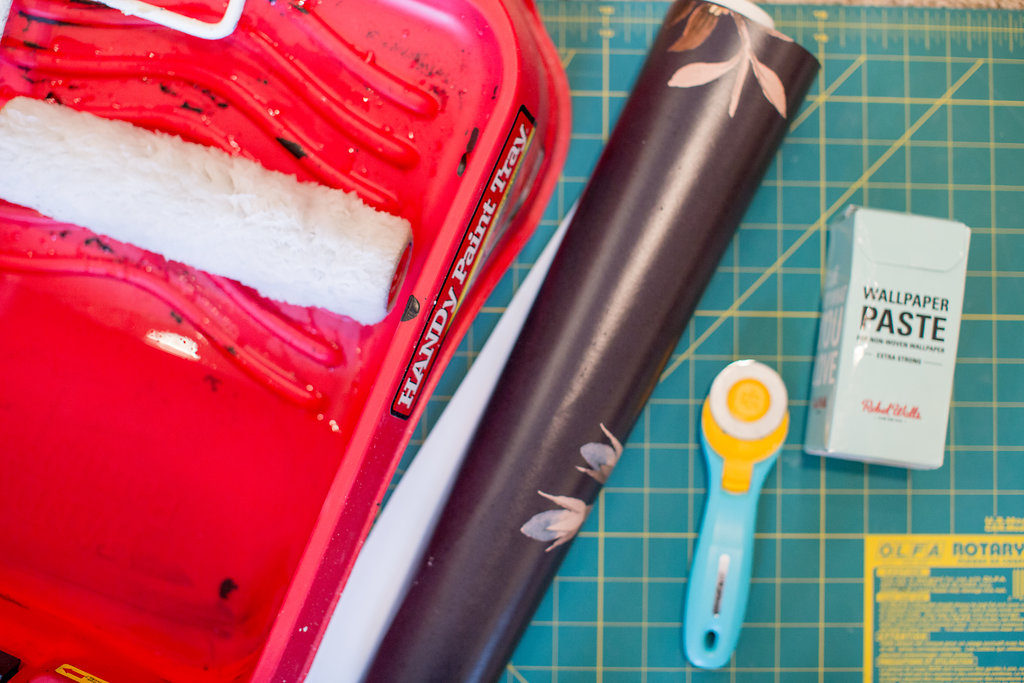
Step 1: Get your Tools & Materials
- Wallpaper- We used Thorn Rose by Rebel Walls
- Wallpaper Paste
- Cutting Shears
- Cutting Board
- Level
- Straight Edge
- Bucket
- Sponge
- Paint Tray
- Paint Roller & Brush
- Cutting Edge
- Tape Measure
- Pencil
- Smoothing Tool
Step 2: Prep Room
Make sure your walls are flat, any nail holes are filled, and everything is clean. Fill in uneven areas with mud using a large putty knife, let dry for 24 hours, and then sand it down. Make sure to clean your walls with soapy water and let dry. If it’s new construction, like us, prime your walls before applying the glue as the wallpaper won’t stick to drywall. Allow primer to dry for at least six hours.
During this point, I also mix up my glue. The glue has to sit for 15-30 minutes so while I’m measuring and cutting the glue is sitting. Follow the instructions listed with your paste supplier. For Rebel it is as simple as mixing the wallpaper paste in a big bucket and adding cold water, stirring occasionally.
Step 3: Measure & Cut
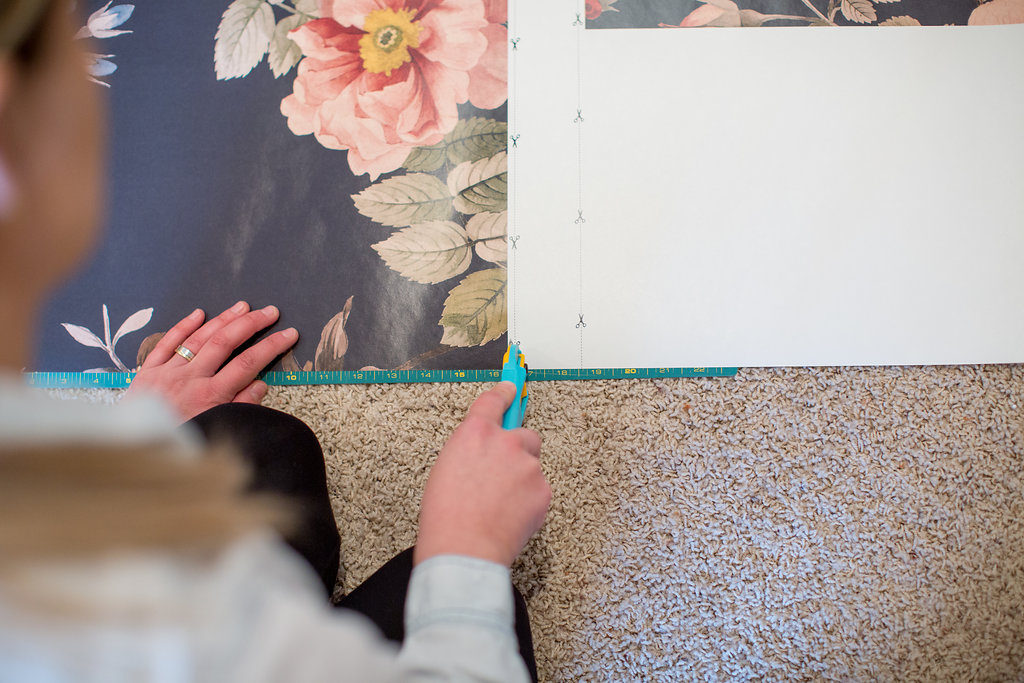
Figure out your starting point and then using your pencil, straight edge, and level draw out your guideline on the wall. Most walls are not plumb, even if it is new construction. So always make sure to use your level. We like to start in the far left-hand corner of the room and make our way right. Depending on the brand of wallpaper you use, you may have to measure the wall and then cut wallpaper. What I love about using Rebel Walls is that they already do all that for you. When you order your wallpaper, you tell them the dimensions of your space and then they have these handy-dandy cutting lines already laid out for you, as you can see here below. So you know exactly where to cut.
If you are not using a brand like Rebel Walls that pre-measures for you, measure the vertical length of your wall, then add 6 inches and cut. When hanging your wallpaper, you always want to have a few inches on each end, top and bottom, to give you a little grace. You’ll cut this extra off once you’re done.
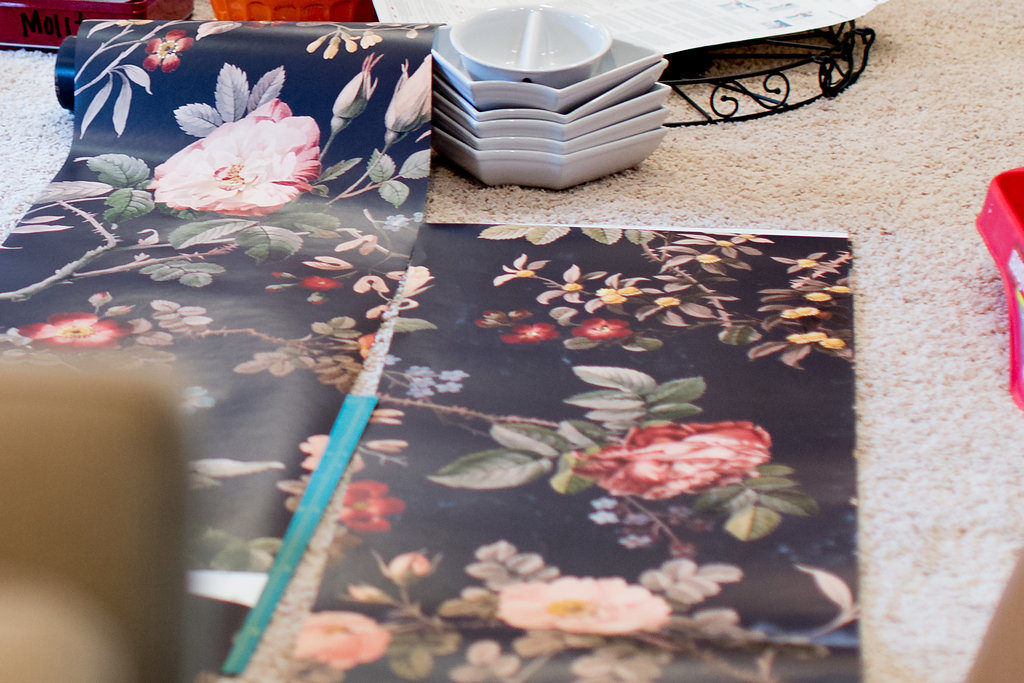
Once I’ve cut a few strips, I lay it out on the floor. I even like to do this a day or two before hanging the wallpaper so that the curl of the wallpaper lays out flat. But this is not necessary.
Then you’ll start adding glue and hanging. I do this just to triple check all of my designs match and repeat with one another correctly.
Step 4: Add Glue
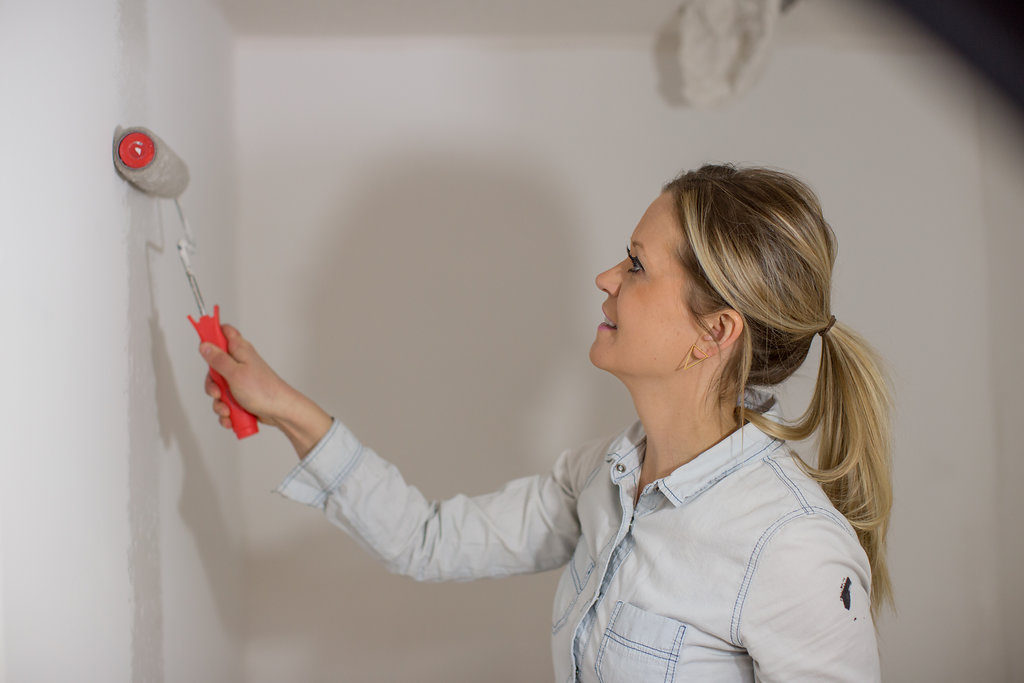
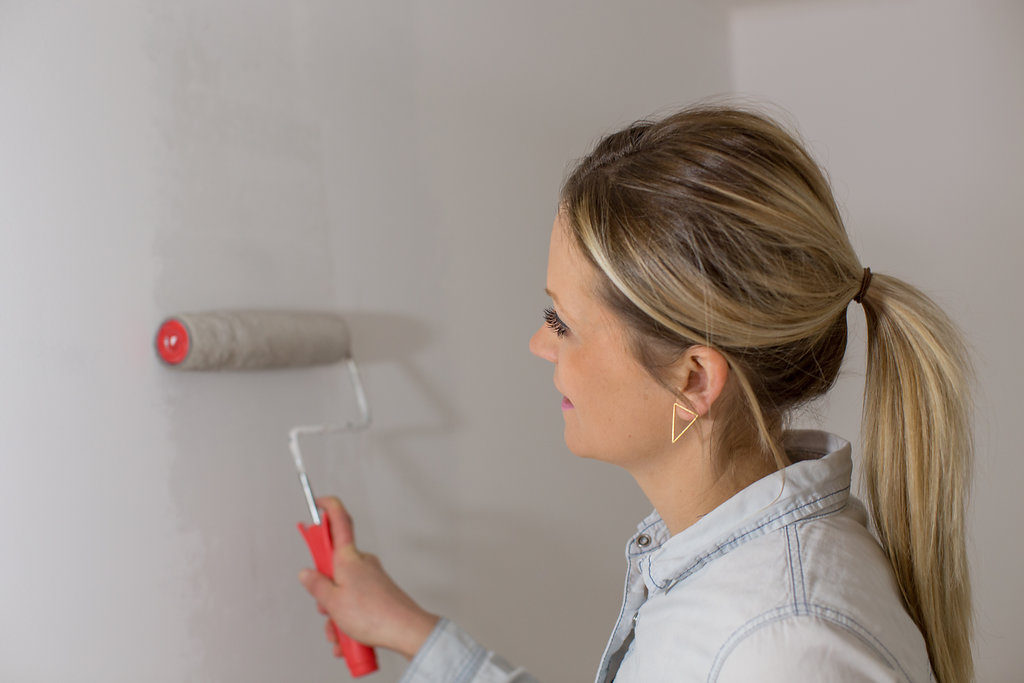
Depending on the brand you’re using will also depend on where you spread out the glue. With Rebel, we roll the adhesive right onto the wall. Other suppliers, they recommend that you put the glue right on the paper.
Once the glue is up or on the wallpaper, carry the wallpaper over to the wall and stick it up!
Step 5: Hang Wallpaper
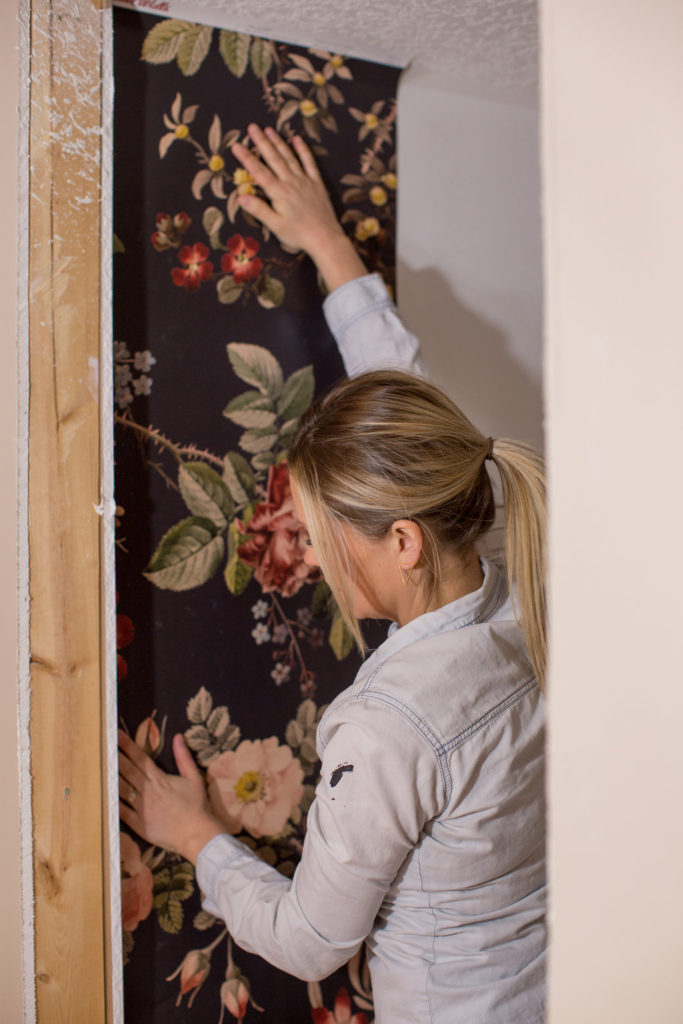
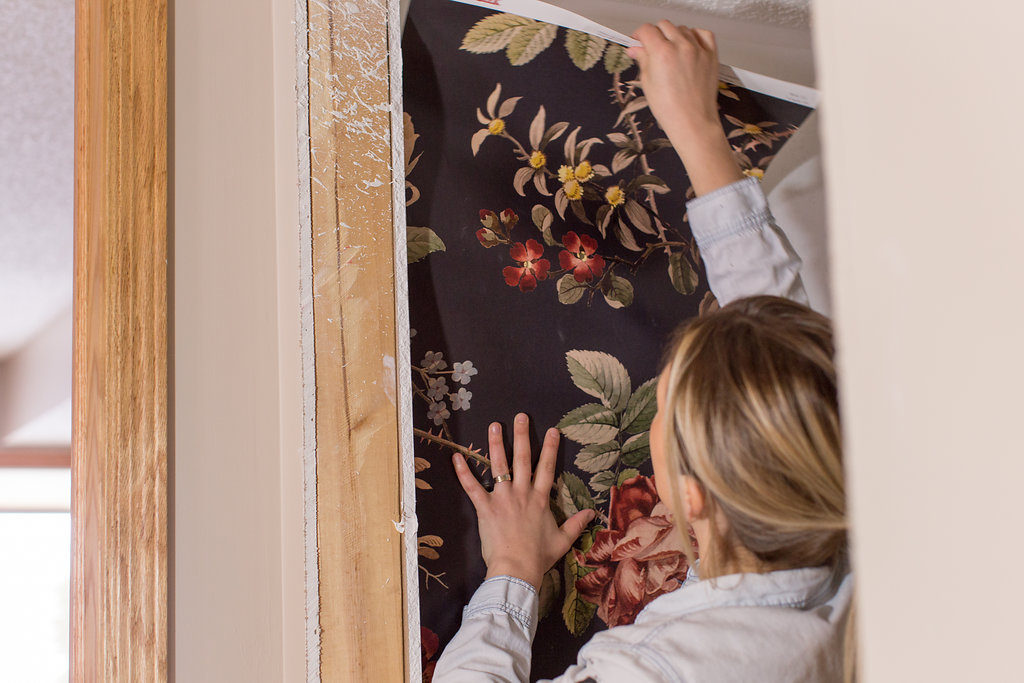
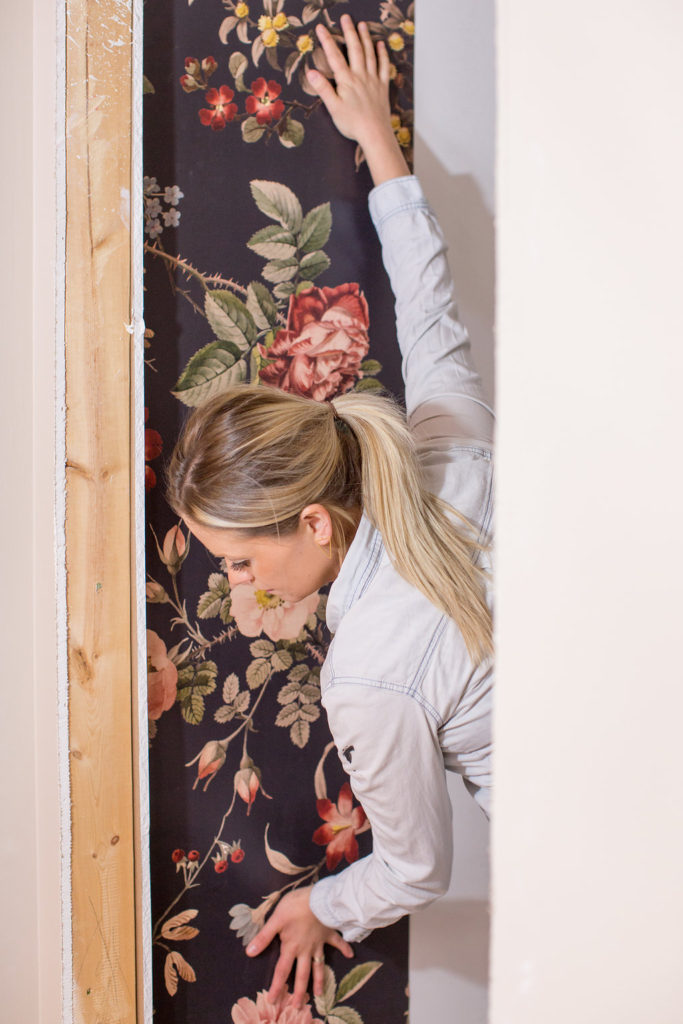
Make sure to leave a couple of inches at the top and bottom. Once the wallpaper is up, rub your hands over the wallpaper to smooth it out. You can also grab your smoothing tool. Repeat this hanging process until all your walls are covered.
Step 6: Align Seams
As you repeat the process of hanging the wallpaper up make sure you are aligning the seams so that all your patterns match up. Don’t be afraid to pull the wallpaper away and, realign, and put it back up.
Step 7: Flatten Wallpaper
Once the wallpaper is up and you’ve used your smoothing tool to get rid of any air bubbles, we like to take a bucket of water and a sponge to smooth out any bumps and bring those seams together.
Step 8: Cut ends
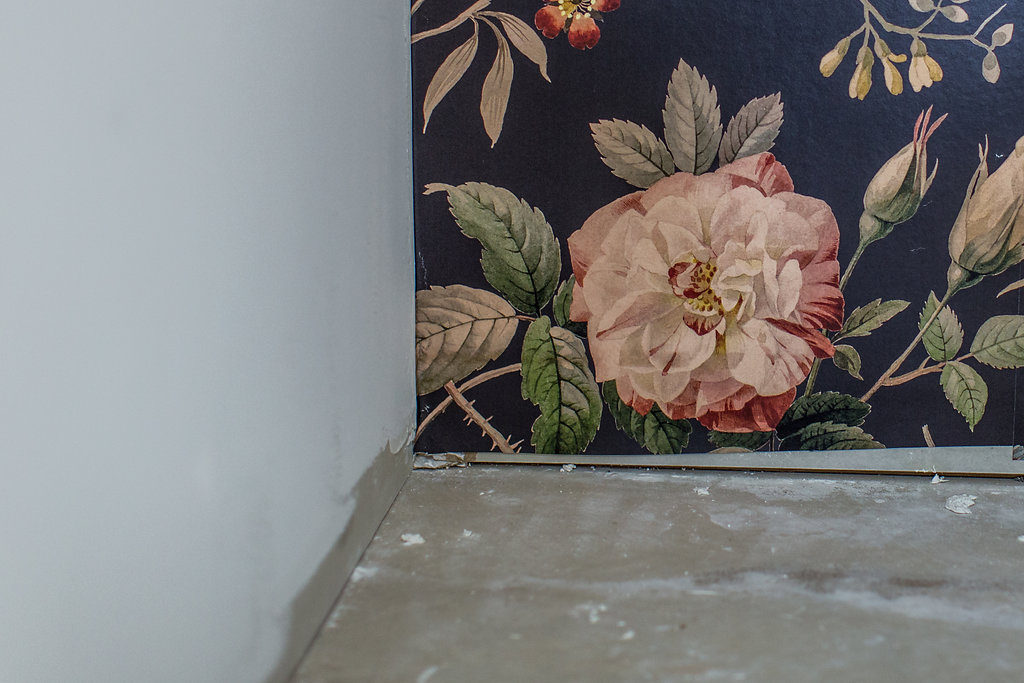
Once all the wallpaper is up, trim away any excess wallpaper from the top and bottom using a utility knife and a putty knife as your guide. As you can see we’re not too worried about cutting straight lines at the bottom because it’ll be covered up with trim.
YA! You did it! Or, you totally got this.
We’re going to accent this space with black hexagon tiles for the floor and a lot of gold lighting and mirrors. Can’t wait to show you the full reveal in the next few weeks.
And if you’re looking for some fun bold prints for your space here’s a list of some of our favorite suppliers.
- Rebell Walls
- Arthouse
- Etsy
- Wayfair
- Hirshfields Design Resource
- Hygge West
- Graham & Brown
- Cavern Home
- Lulu & Georgia



One thought on “How to Wallpaper a Wall 101”
Comments are closed.