Welcome to our tutorial on engineered hardwood flooring installation! Engineered hardwood flooring offers the perfect blend of durability, versatility, and aesthetic appeal, making it a popular choice for homeowners and contractors alike. Whether you’re embarking on a DIY project or seeking professional guidance, this comprehensive tutorial will provide you with the essential knowledge and step-by-step instructions needed to achieve a flawless installation. From preparing the subfloor to laying the planks and finishing touches, we’ll guide you through each stage of the process to ensure a successful outcome. Let’s dive in and transform your space with the timeless elegance of engineered hardwood flooring.
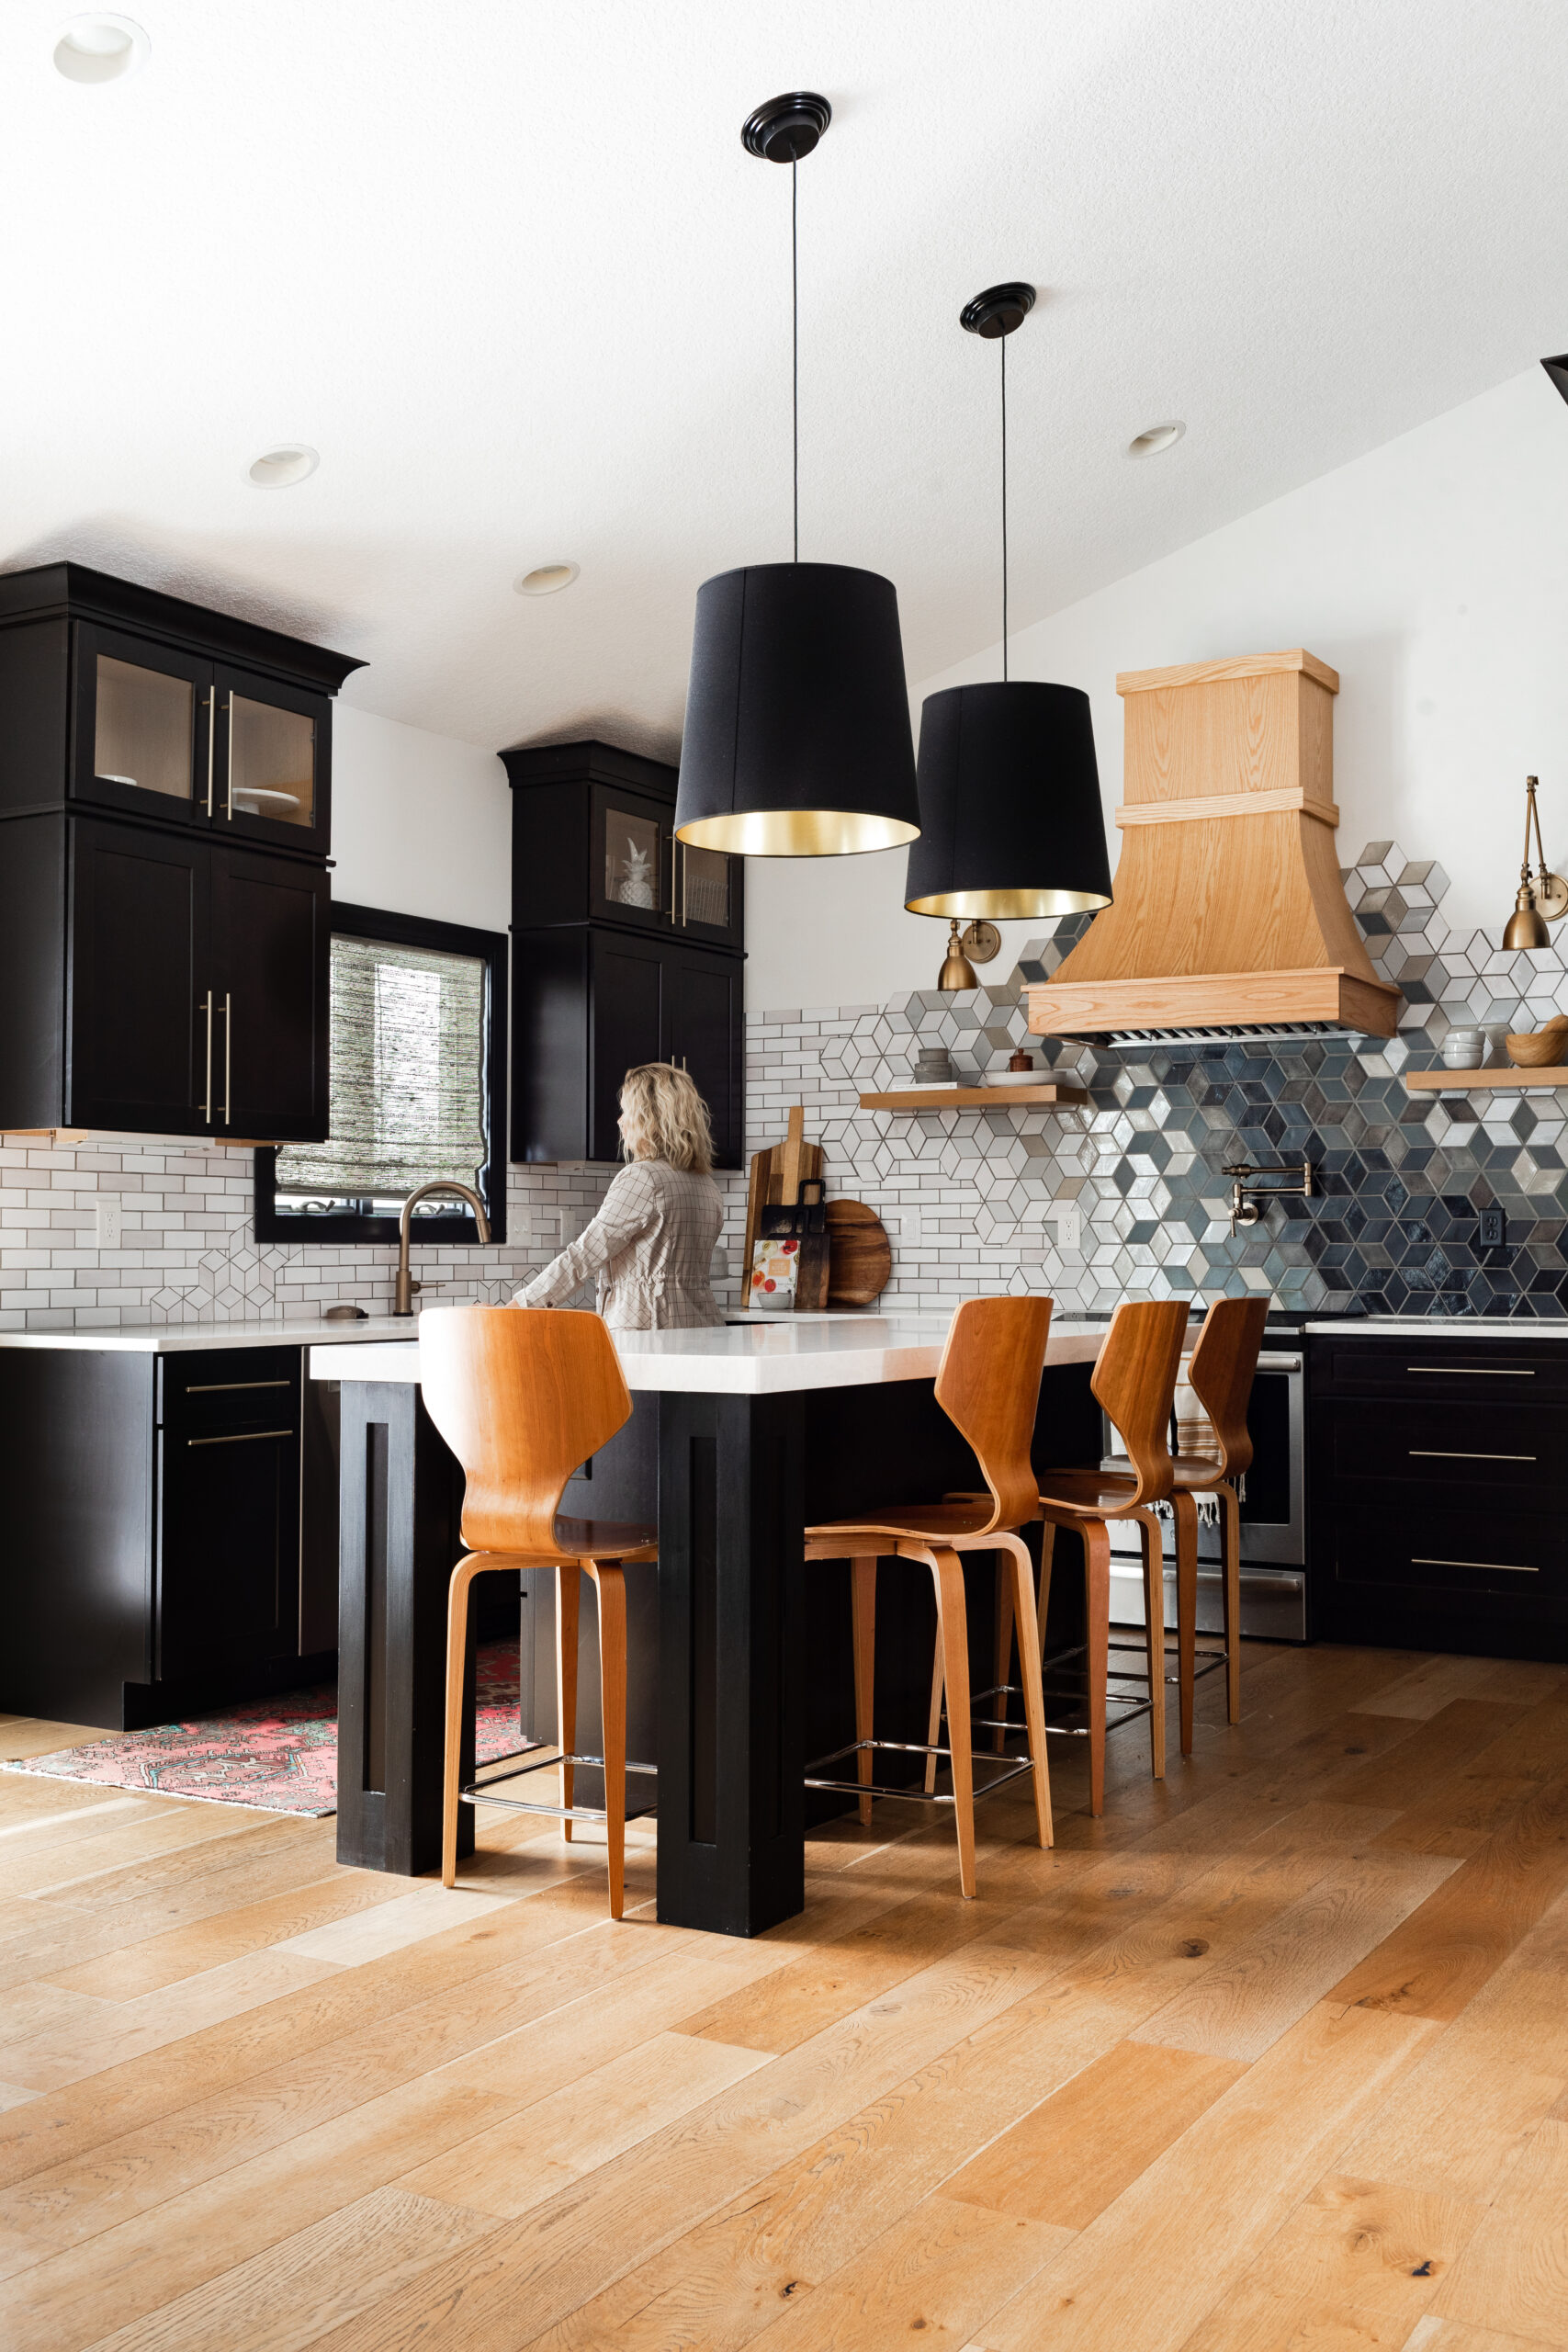
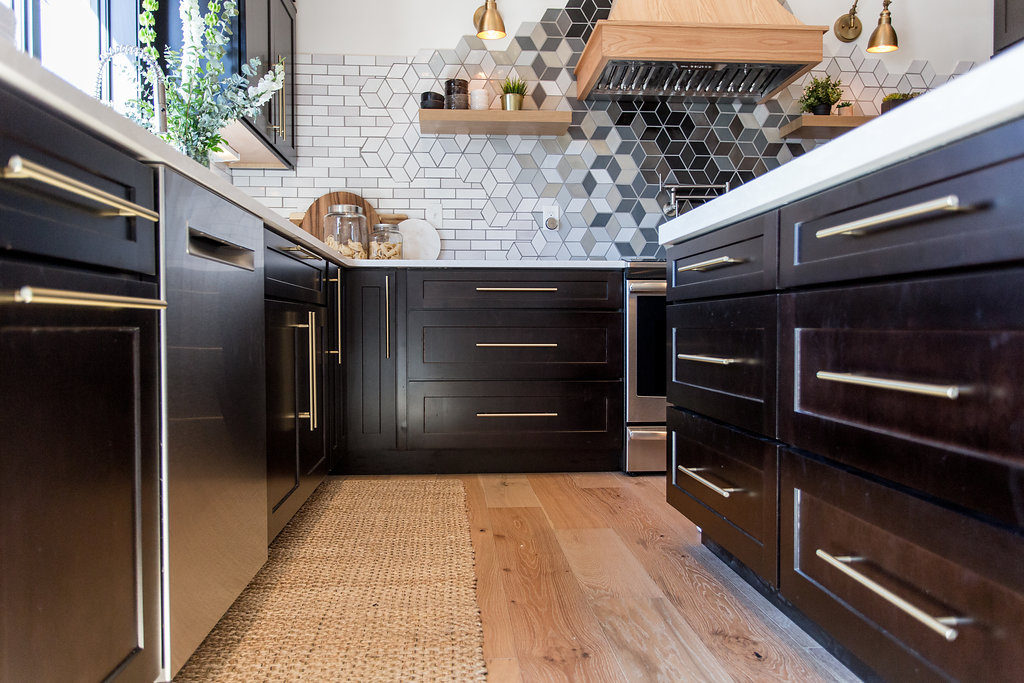
Our decision to install light oak wood floors during our kitchen remodel has proven to be an absolute lifesaver! With kids and blonde hair in the mix, it’s crucial to have flooring that can withstand the daily wear and tear. That’s why we opted for the Lambrusco design from Urban Floor, and after nearly four months of living on our newly refinished floors, we couldn’t be happier with our choice.
Despite the inevitable crumbs that come with family life, we find ourselves sweeping regularly, but we wouldn’t have it any other way. These light oak floors have seamlessly integrated into our home, providing both durability and beauty that we simply can’t imagine living without.
How to Lay Engineered Hardwood Flooring Video Tutorial
Engineered hardwood flooring offers a myriad of benefits, particularly for households with young children. Its durable construction, composed of multiple layers of wood bonded together, provides excellent resistance to scratches, dents, and moisture, making it an ideal choice for high-traffic areas. Additionally, engineered hardwood is less prone to warping and expansion than traditional hardwood, making it suitable for installation in areas with fluctuating humidity levels such as kitchens and bathrooms.
Light-colored floors, in particular, offer several advantages for families with young children. Not only do they create a bright and airy atmosphere, but they also help conceal dust, crumbs, and minor spills, minimizing the appearance of messes between cleanings. Furthermore, light floors can make spaces appear larger and more inviting, contributing to a sense of openness and tranquility in the home. Overall, engineered hardwood flooring, especially in light hues, provides both practicality and aesthetics, making it an excellent choice for families seeking durable and stylish flooring solutions.

With these floors, I’ve yet to notice one scratch, and I’m wearing my shoes all the time in the house, and the boys drag their bikes across the floor ALL.THE.TIME.
Our kids his bike throughout the place 24/7 and Beckam is hammering toys or pulling all the dishes out of the cabinets nonstop. And again, not one scratch. I kiss these damn floors every day!
In addition to the excellent quality of the flooring, Jamie and Topher handled the installation process themselves and found it to be surprisingly straightforward. Today, we’re excited to share with you their insights and step-by-step guide on how to install engineered hardwood floors. Stay tuned as we hand over the reins to them to walk you through the process.
Written Step by Step Guide
Step 1. Gather Tools & Materials
- Pencil
- Pry Bar
- Wood Glue
- Miter Saw
- Tape Measure
- Table Saw
- Drill
- Hammer
- Air compressor and hose
- Nail Gun or Staple Gun
- Knife
- Wood Putty
- Vapor Barrier
- Engineered Hardwood Flooring, Lambrusco Urban Floor
In order to lay hardwood floors, first, you must gather all of your tools and materials. Make sure to buy 10-15% more material than you need.
Mistakes and broken boards happen, and the last thing you want to do is run into being shortboards and then waiting for material to delay your project. To get the accurate measurement measure the length and width of the room and multiply and that will give you your square footage. (LxW=SQ FT)
Step 2. Prep Space
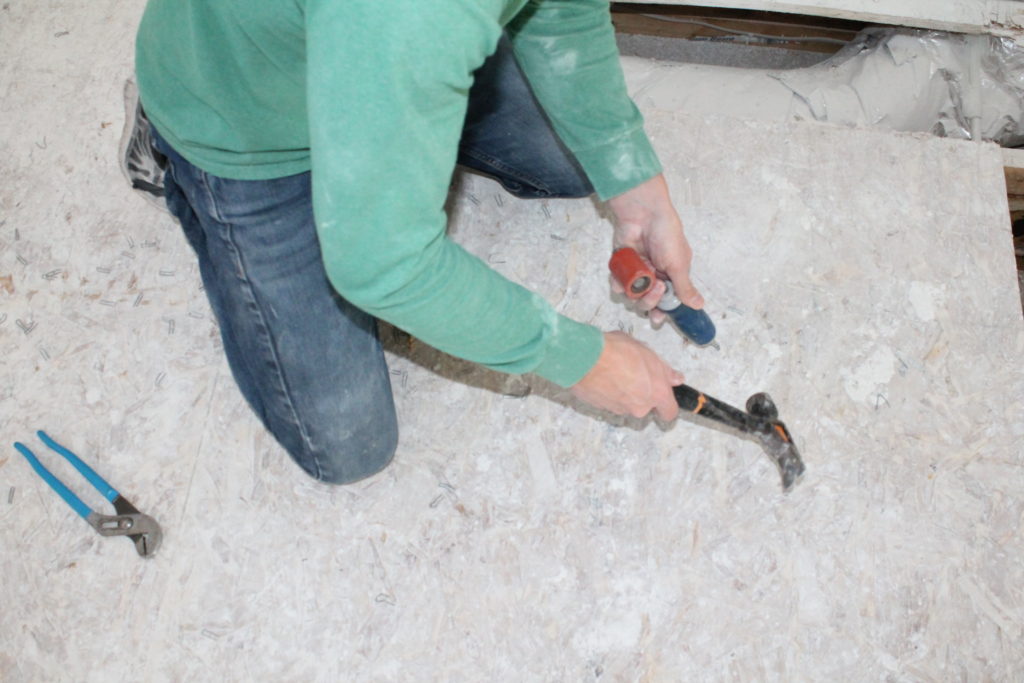
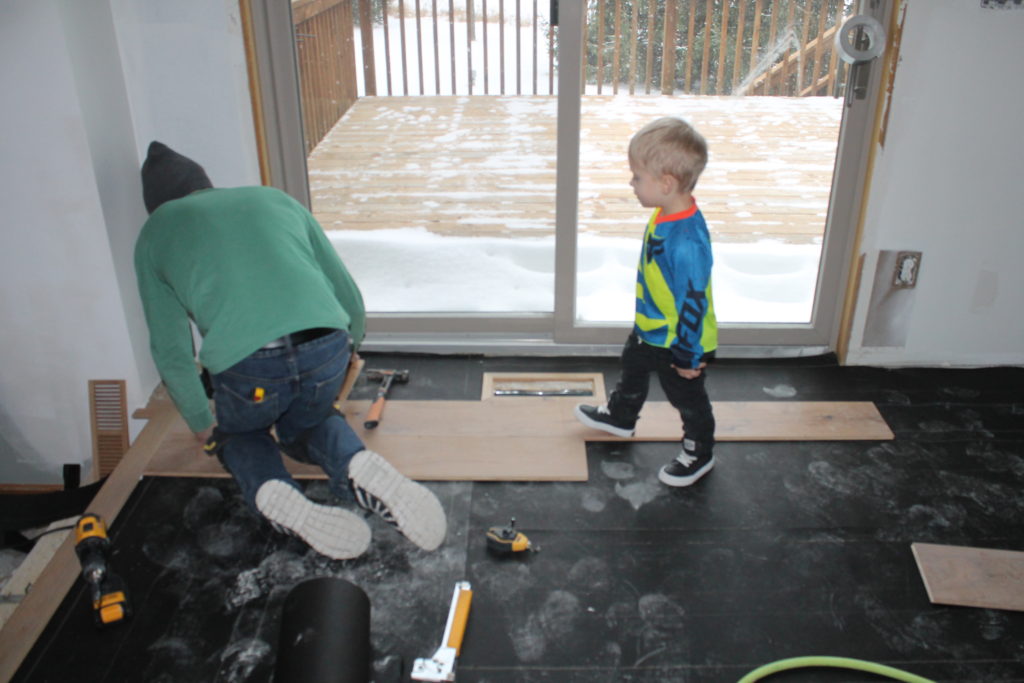
Our kitchen had a vinyl floor and then a wood underlayment stapled to the subfloor. This was the worst part for us because of the million narrow crown staples all over our subfloor that we pulled out to get it back to as close to new as possible.
Your subfloor could be in better shape than ours making this part a breeze for you. Or if you’re working in a new home just sweep the floor and you should be ready to go.
Note: Minimum requirements are 3/4″ subfloor.
Step 3. Sort Boards
Take your boards out from a few different boxes and sort them into sizes and mix and match. I never like to grab the same boards out of the same box and install them next to one another.
Typically we like to have at least 12″ of difference from one seam to another. So if you start a new row and the first board is 8″, the next row over the first board should be at least 20″ so you get that 12″ difference.
This helps avoid getting a uniform look and more of a random pattern.
Step 4. Dry Layout
You also will want to determine how you want to run your boards. We typically say to have them run straight in from your walkway, or the longest run of the room.
We chose to run them straight from the step up from our living room into our kitchen.
Step 5. Install Vapor Barrier
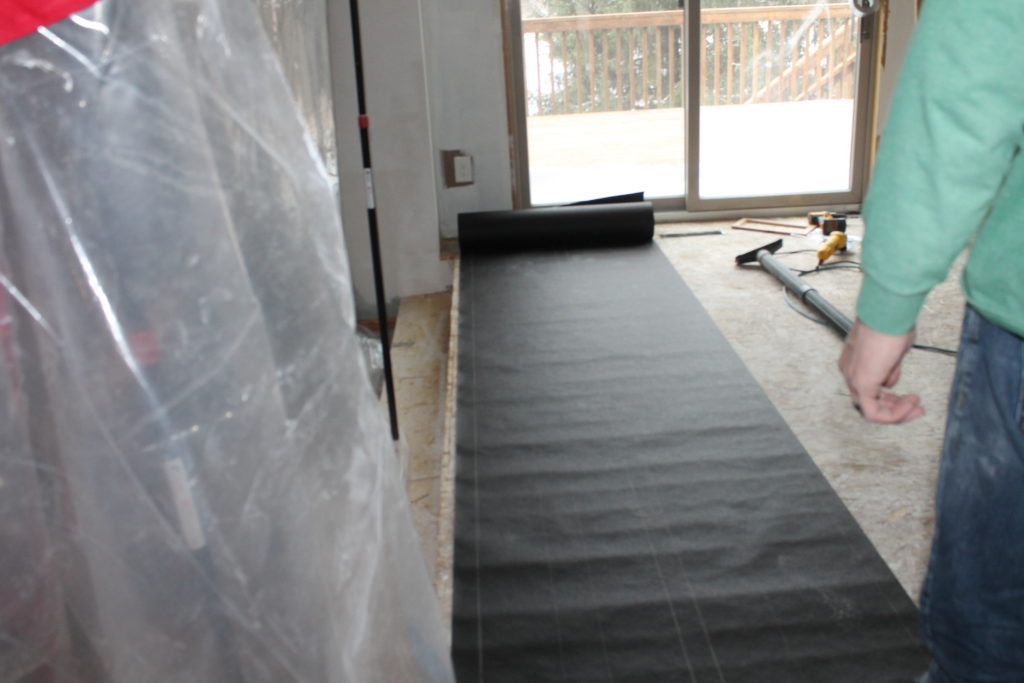
Next, you’ll roll the vapor barrier out and get it stapled onto the floor. Make sure you cover all of the flooring.
Vapor Barriers help keep moisture under control, which is essential when you lay hardwood floors. An added bonus with using vapor barriers is that you get a clean and somewhat flat surface to lay your flooring on compared to laying it on the bare sub-flooring.
Step 6. Measure & Cut
When you lay hardwood floors, start the installation on the longest even wall. Snap a chalk line about 3/8″ from the drywall, which allows for expansion in the summer and contraction in the winter.
This is a really important step. Otherwise, if you tighten it all up, it will buckle, and it will ruin all of your floors.
Begin by selecting a long board on that first row, aligning the edge of the board with the chalk line. Place the entire first row, remembering to keep the floorboards random sizes.
For example, you don’t want to put two long boards right next to each other. The flooring you purchase will come in a few different length sizes.
Make sure to space them out before you get to work.
Step 7. Lay & Nail
Once you have the first row down, using your staple or nail gun, nail them down. We use a flooring staple gun, in which you place the staple gun firmly over the lip on the edge of the board and use a mallet strike into place.
You don’t have to use a flooring nailer and is not something you need to go buy if you are only doing the job once. The bonus with using a flooring nailer is that it hides the staples and it’s a lot less stress on your back.
Step 8. Install Transitions
Tying the wood floor into other floors such as tile or carpet or into steps is made very easy for you. Typically the transition pieces will come with the wood floor that you’re ordered.
You will cut your piece to size and fit it flush with your last row of floorboards. In some cases, you may have to glue or nail the transition with a brad nailer rather than a flooring nailer because the space won’t allow for such a big tool.
If you guys or ladies have any questions, leave a comment and we’ll be sure to help you out!Hope you enjoyed our 7 Step Guide How to Lay Hardwood Floors! Also thank you Urban Floor for having such amazing products.
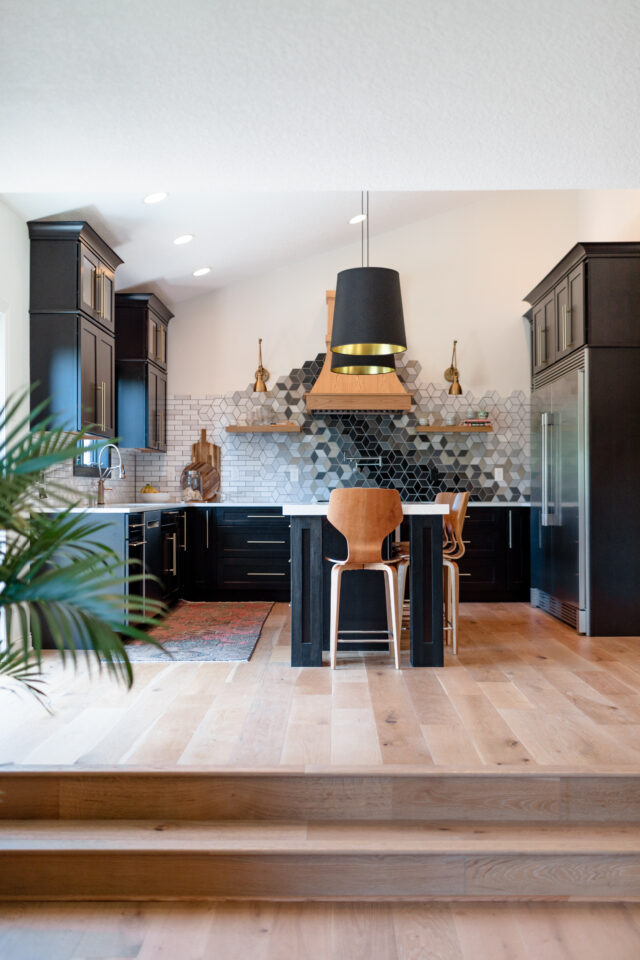
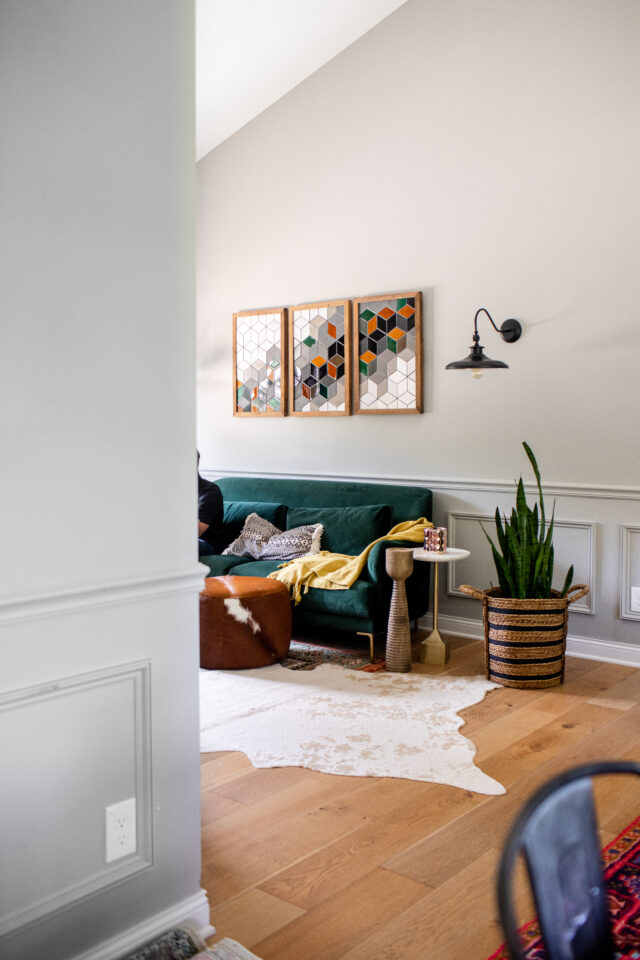
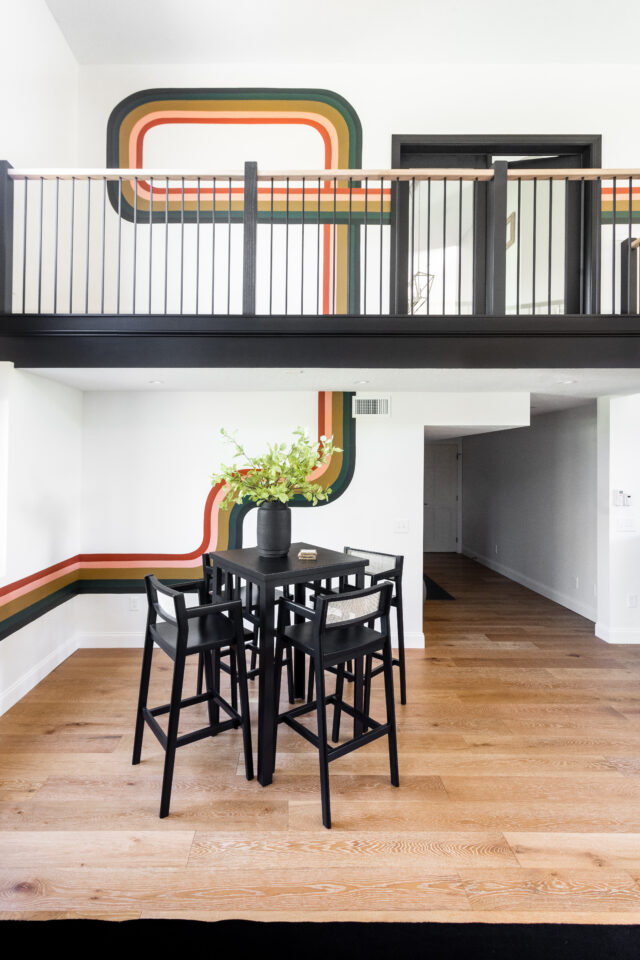
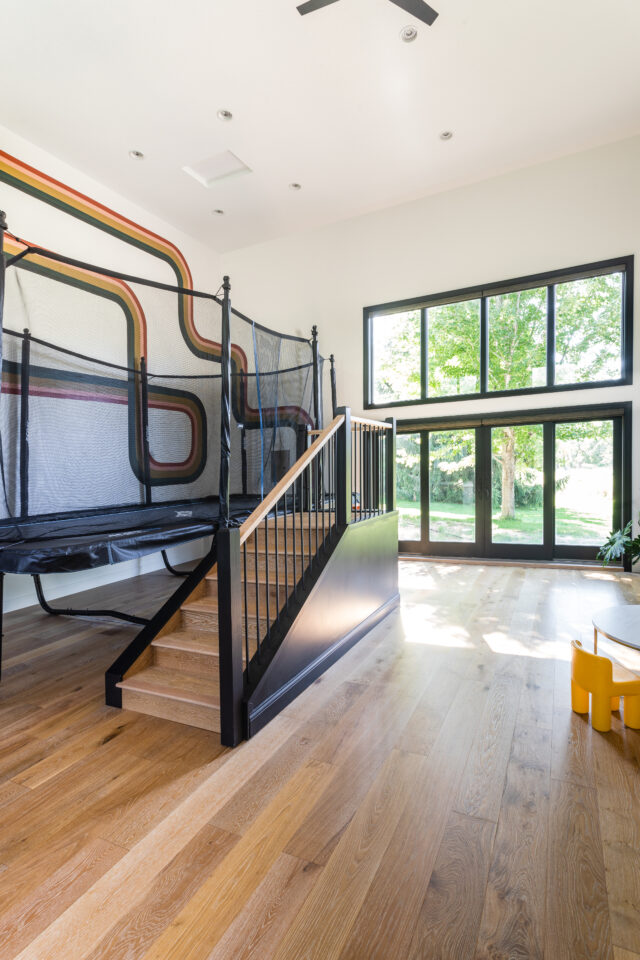
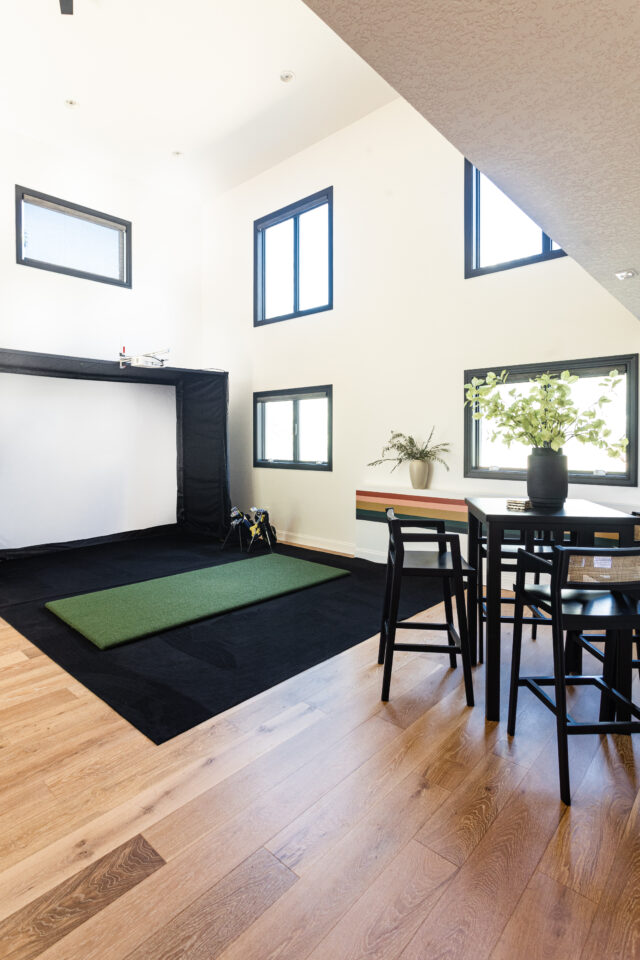
Engineered Hardwood Flooring Visual Design Inspiration



It’s paid off, for all the struggles you had in the past! Thanks for sharing these great tips. I have ideas now for what wood should I get for my floor.
Couldn’t agree more! Thanks for sharing. We did bamboo once and never again! Glad we now found a brand we love and trust.
Do your research before you decide to purchase your bamboo or hardwood flooring. Look for established brands to make sure your flooring is genuine, meets quality standards and follows all of the environmental guidelines. Most of the bamboo floors are produced in countries that don’t have many regulations for manufacturers to follow.
Thanks for sharing such a great information, it is really helpful. Keep up the work.