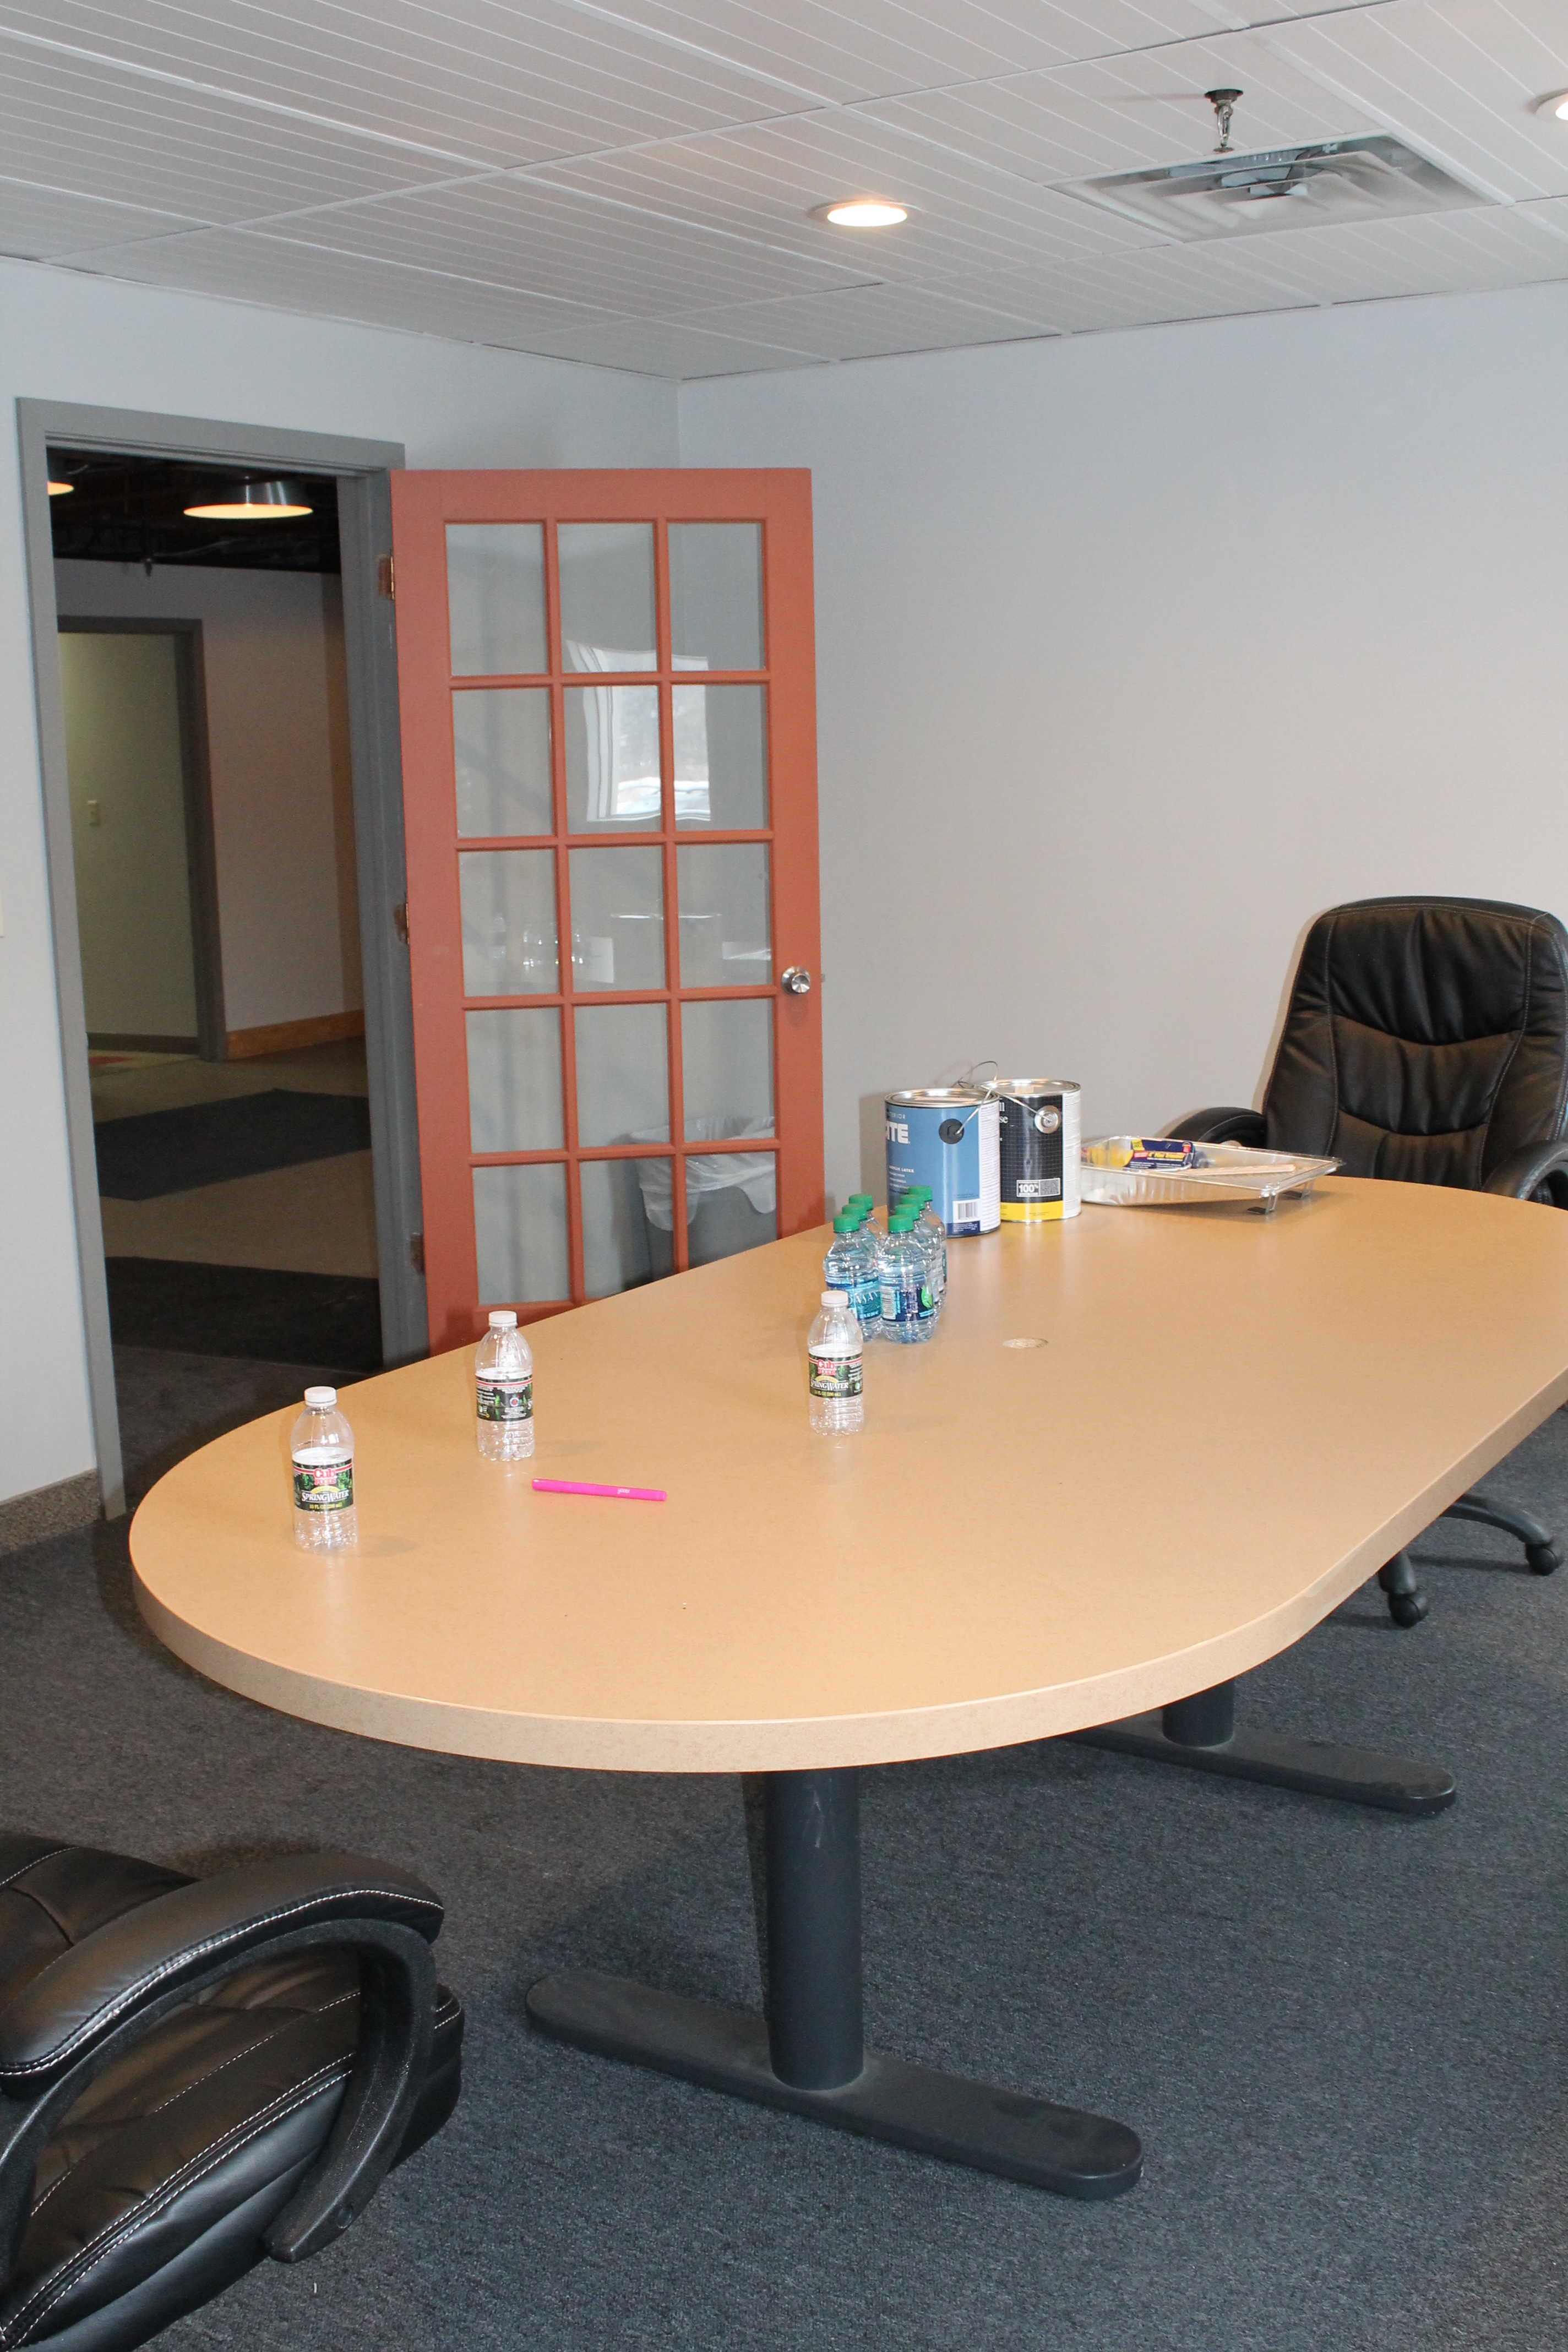
We have been working hard at helping remodel Snap Agency. This past week we tackled the main conference room.
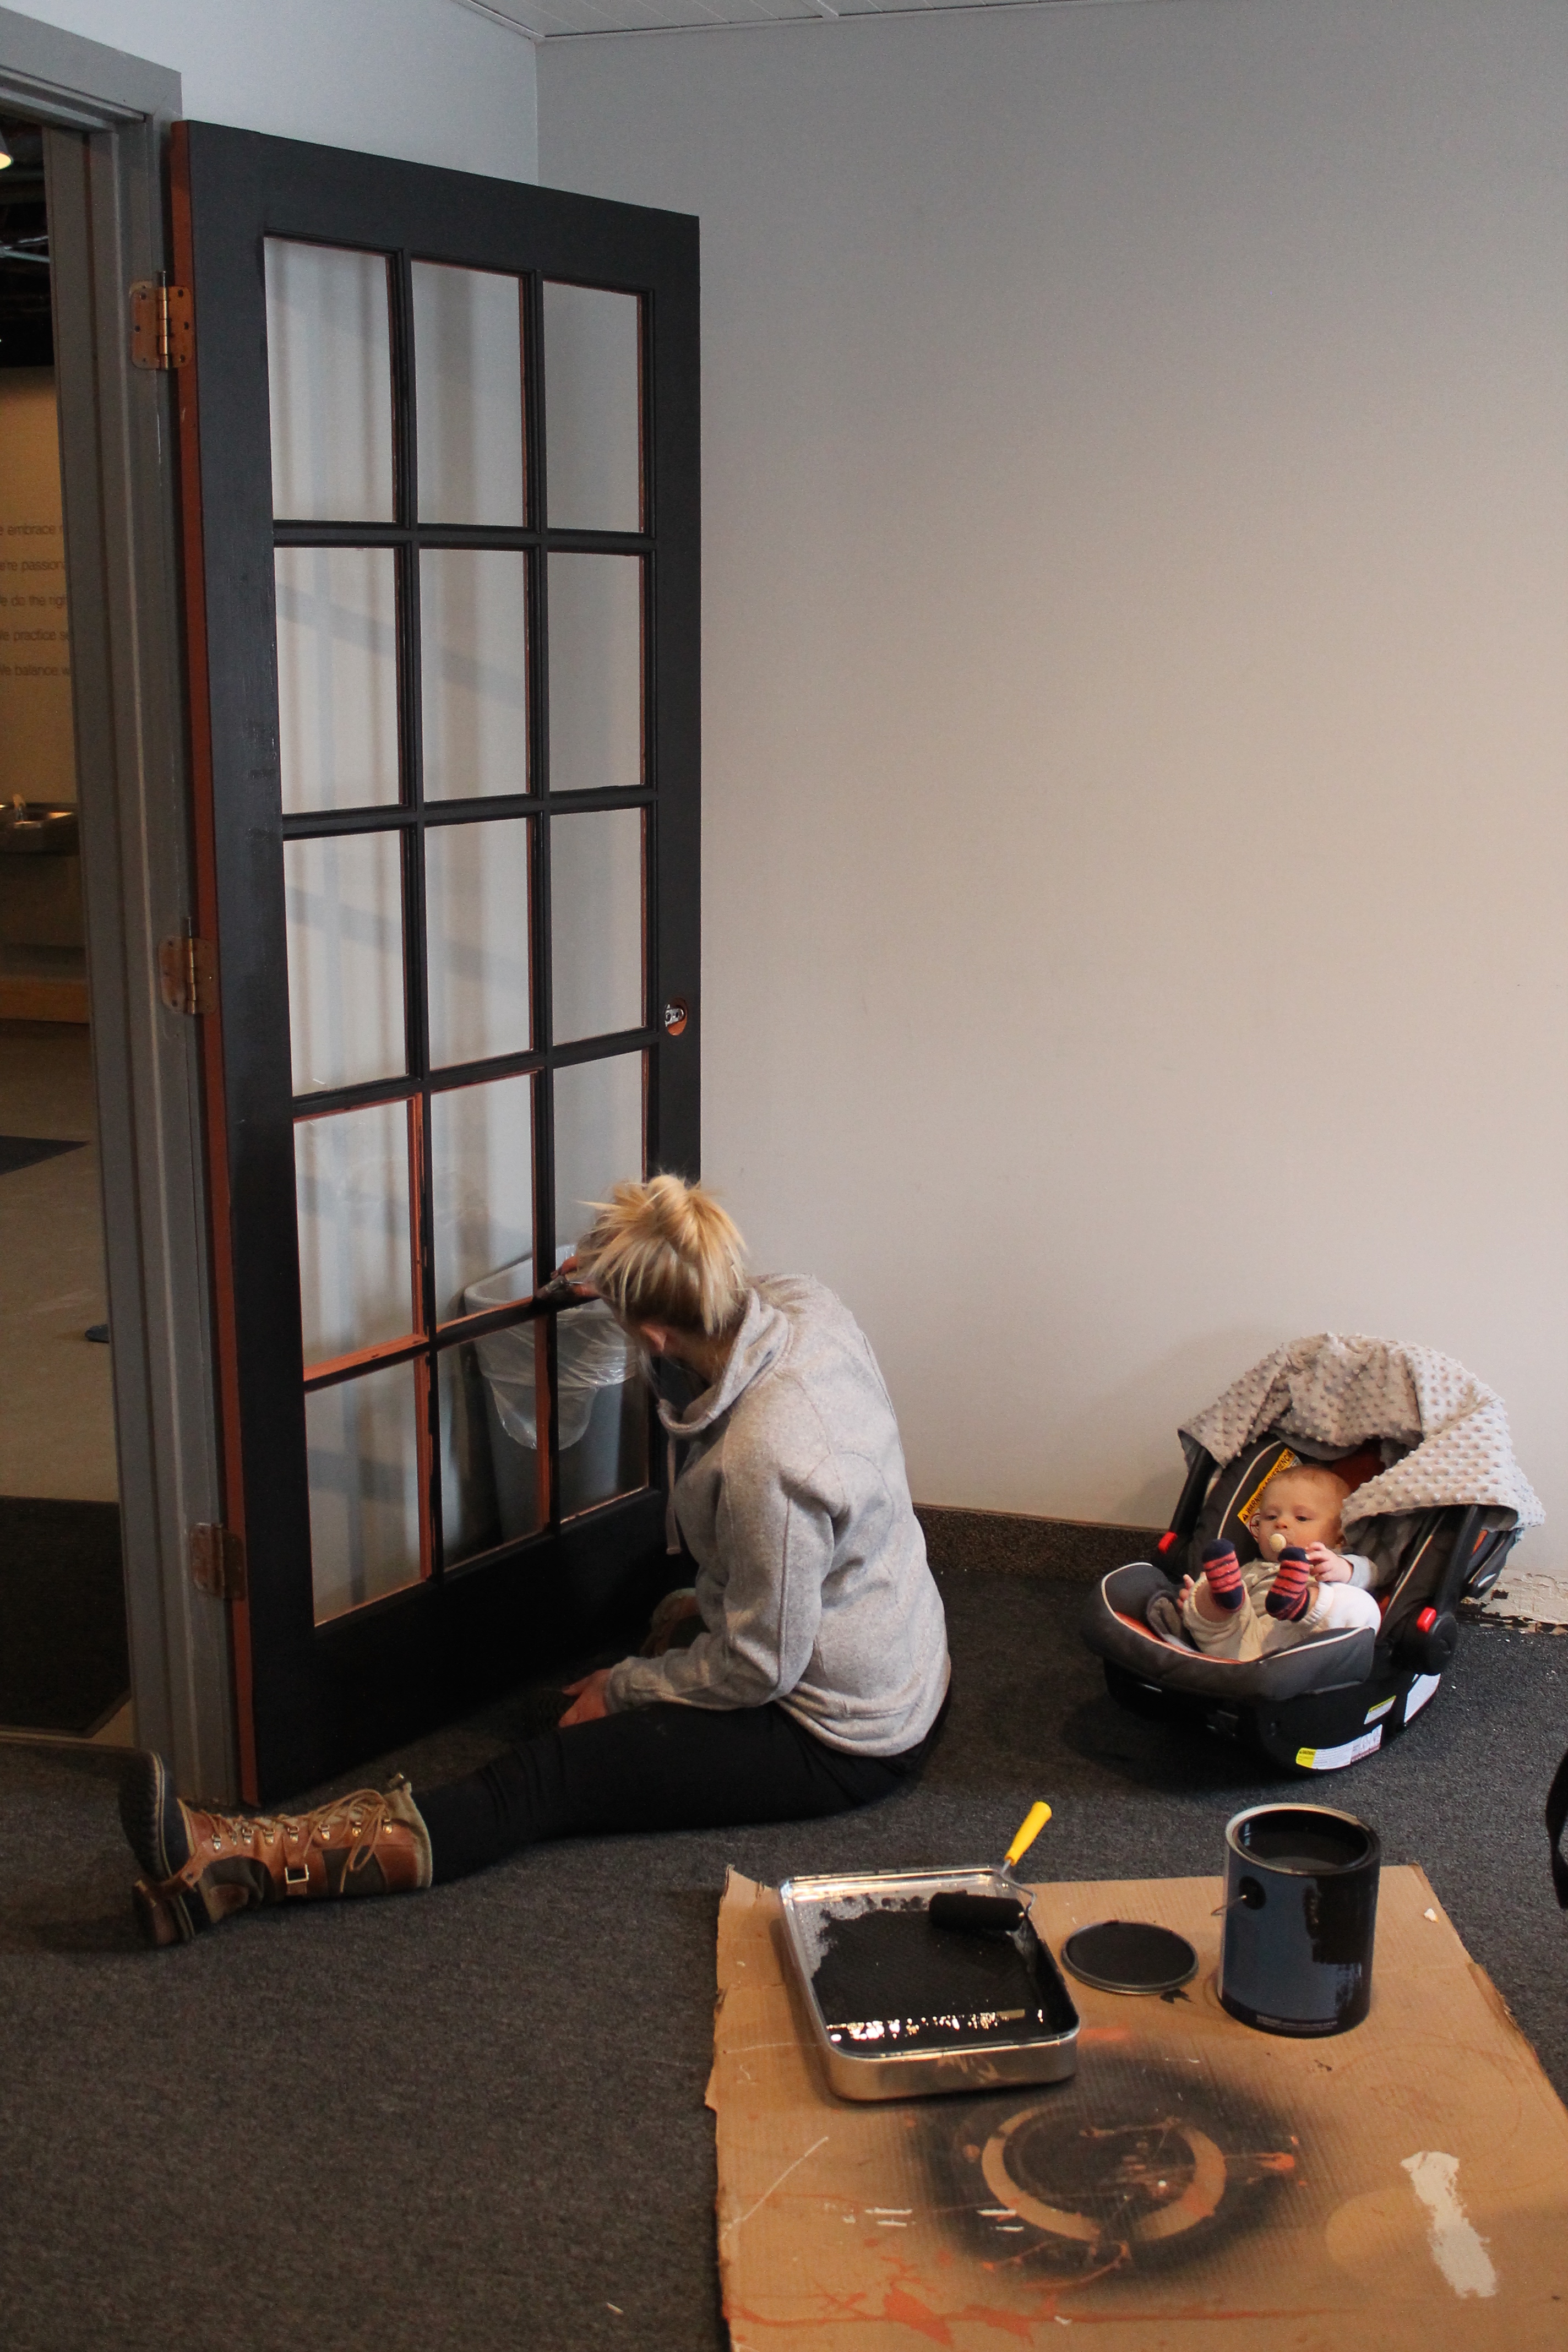
I started off by painting the orange door black, Onyx by Benjamin Moore. And Jamie made a conference table similar to the desk he made for one of the offices.
Greyson of course had to come help to keep a close eye out for any drips.
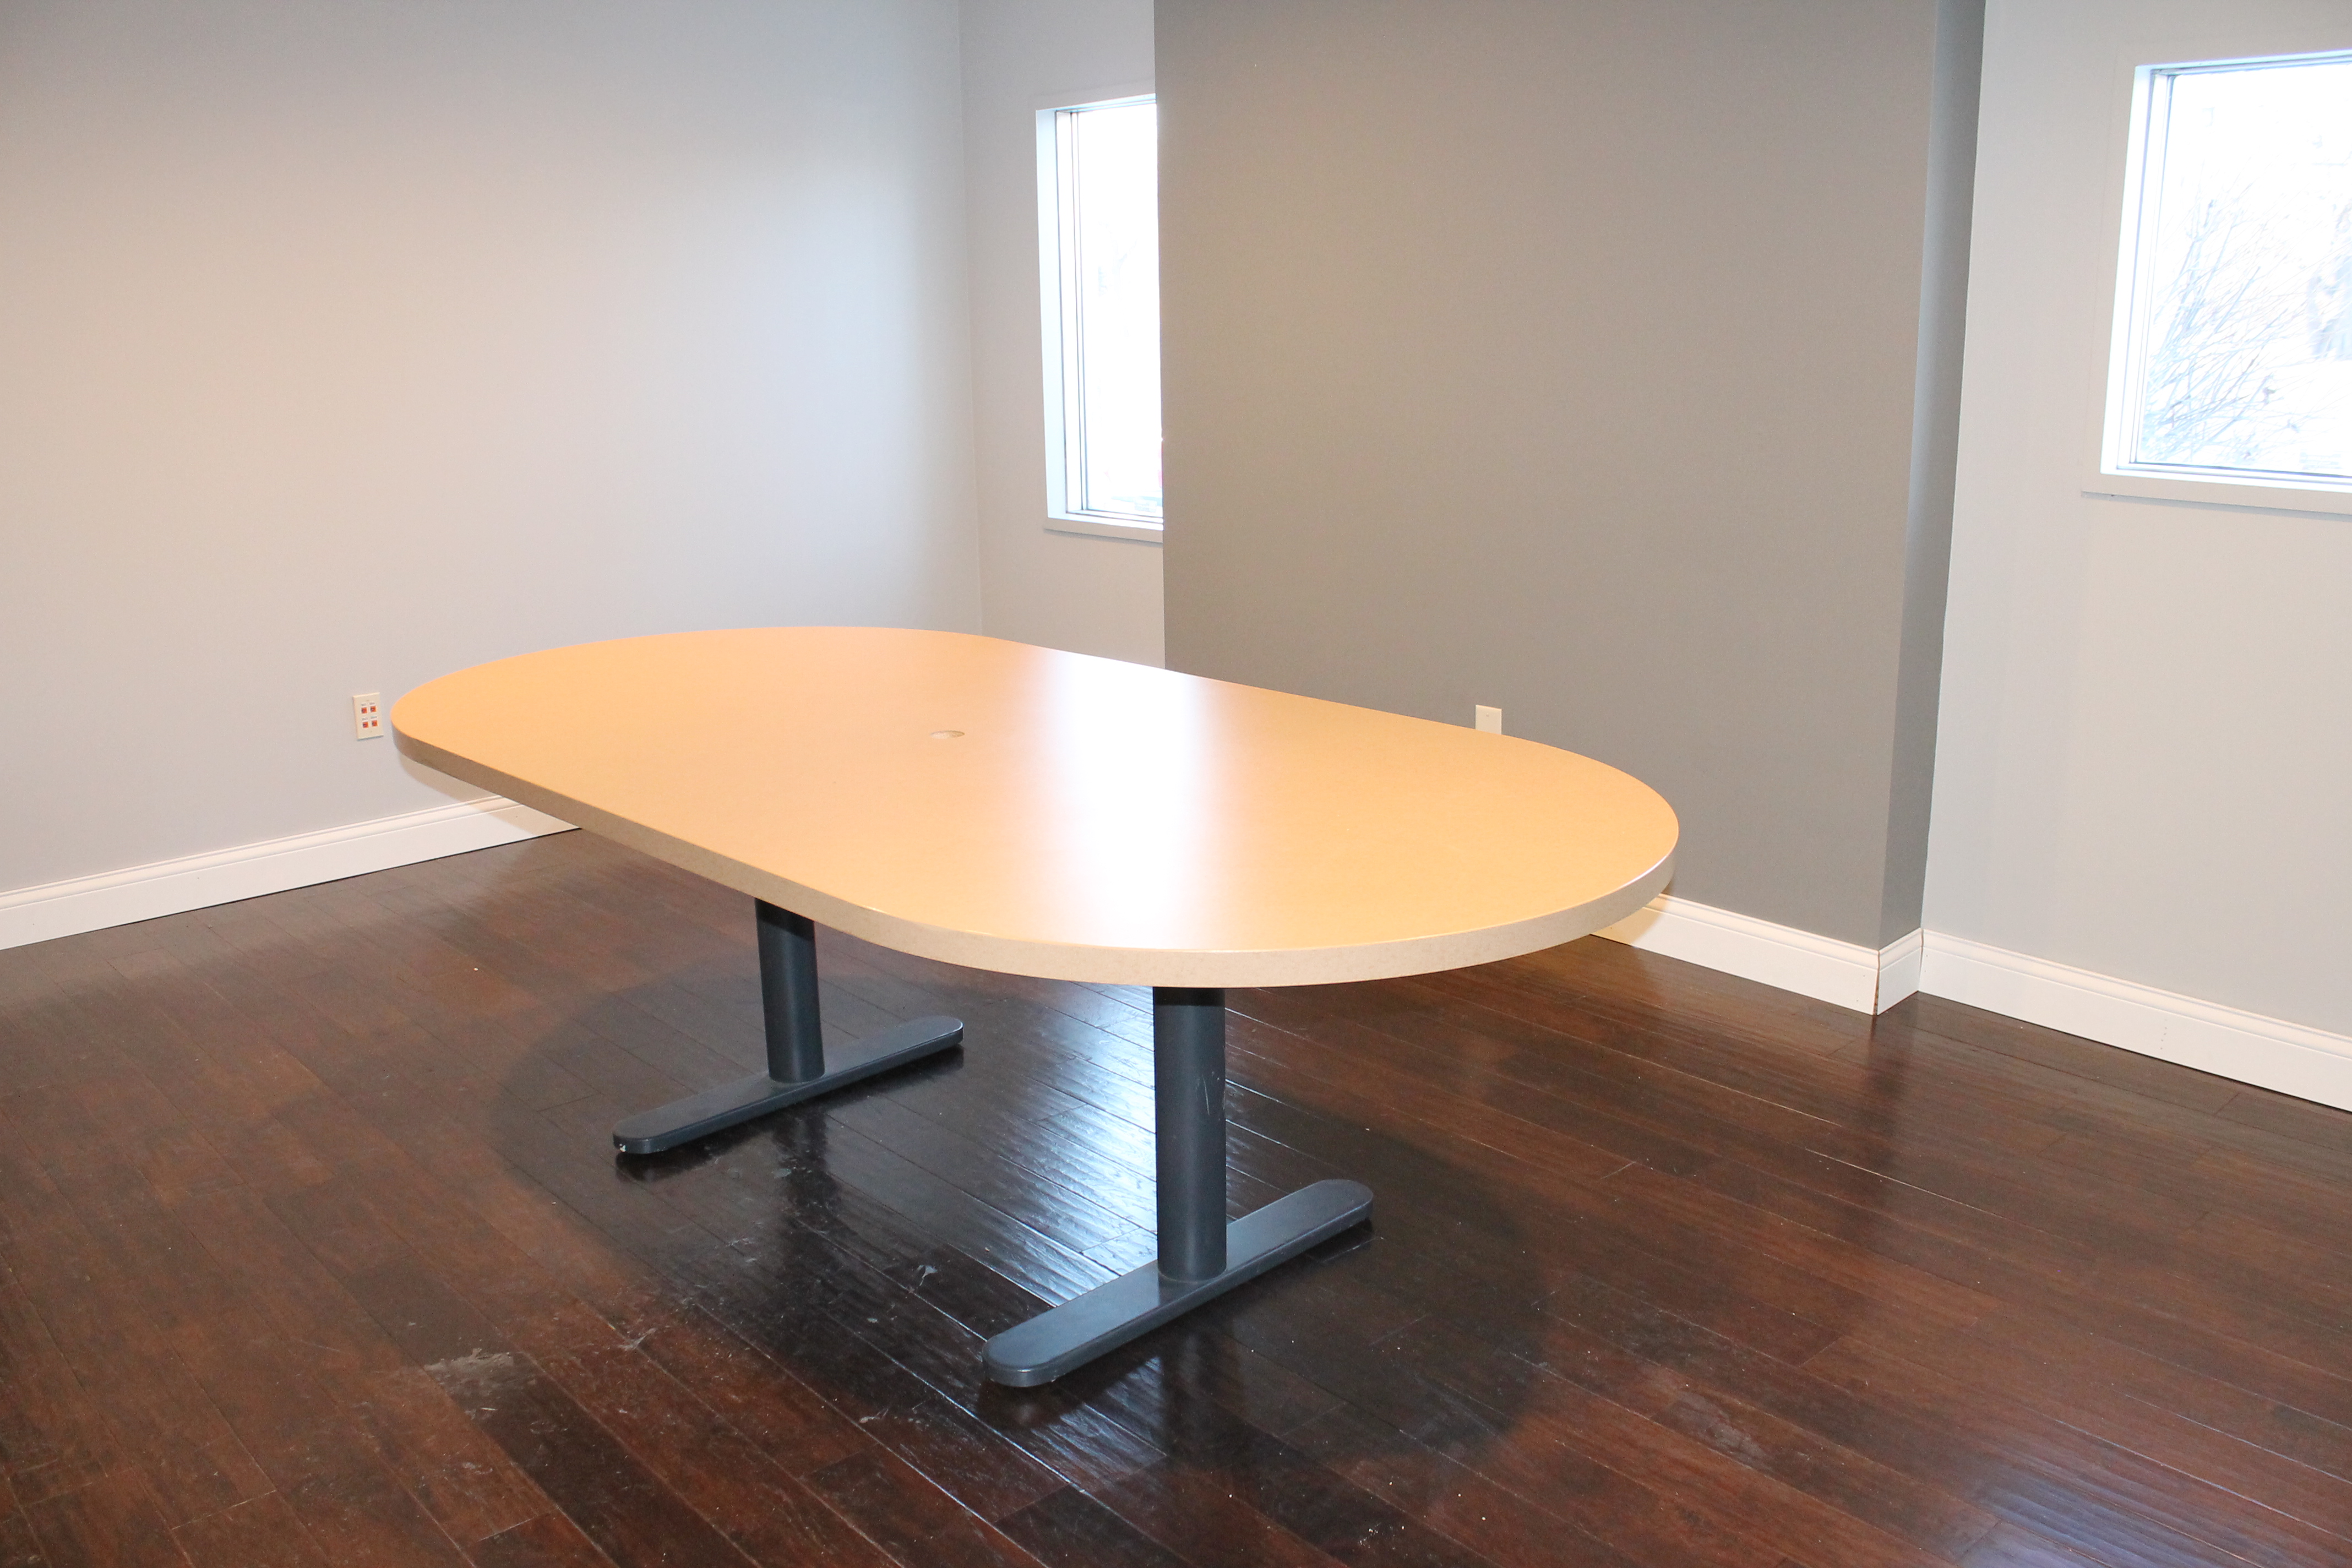
The boys at Snap replaced the carpet with hardwood floors and put up white trim, which I thought instantly made the room look so much classier. But of course it made the table even more of an eye sore.
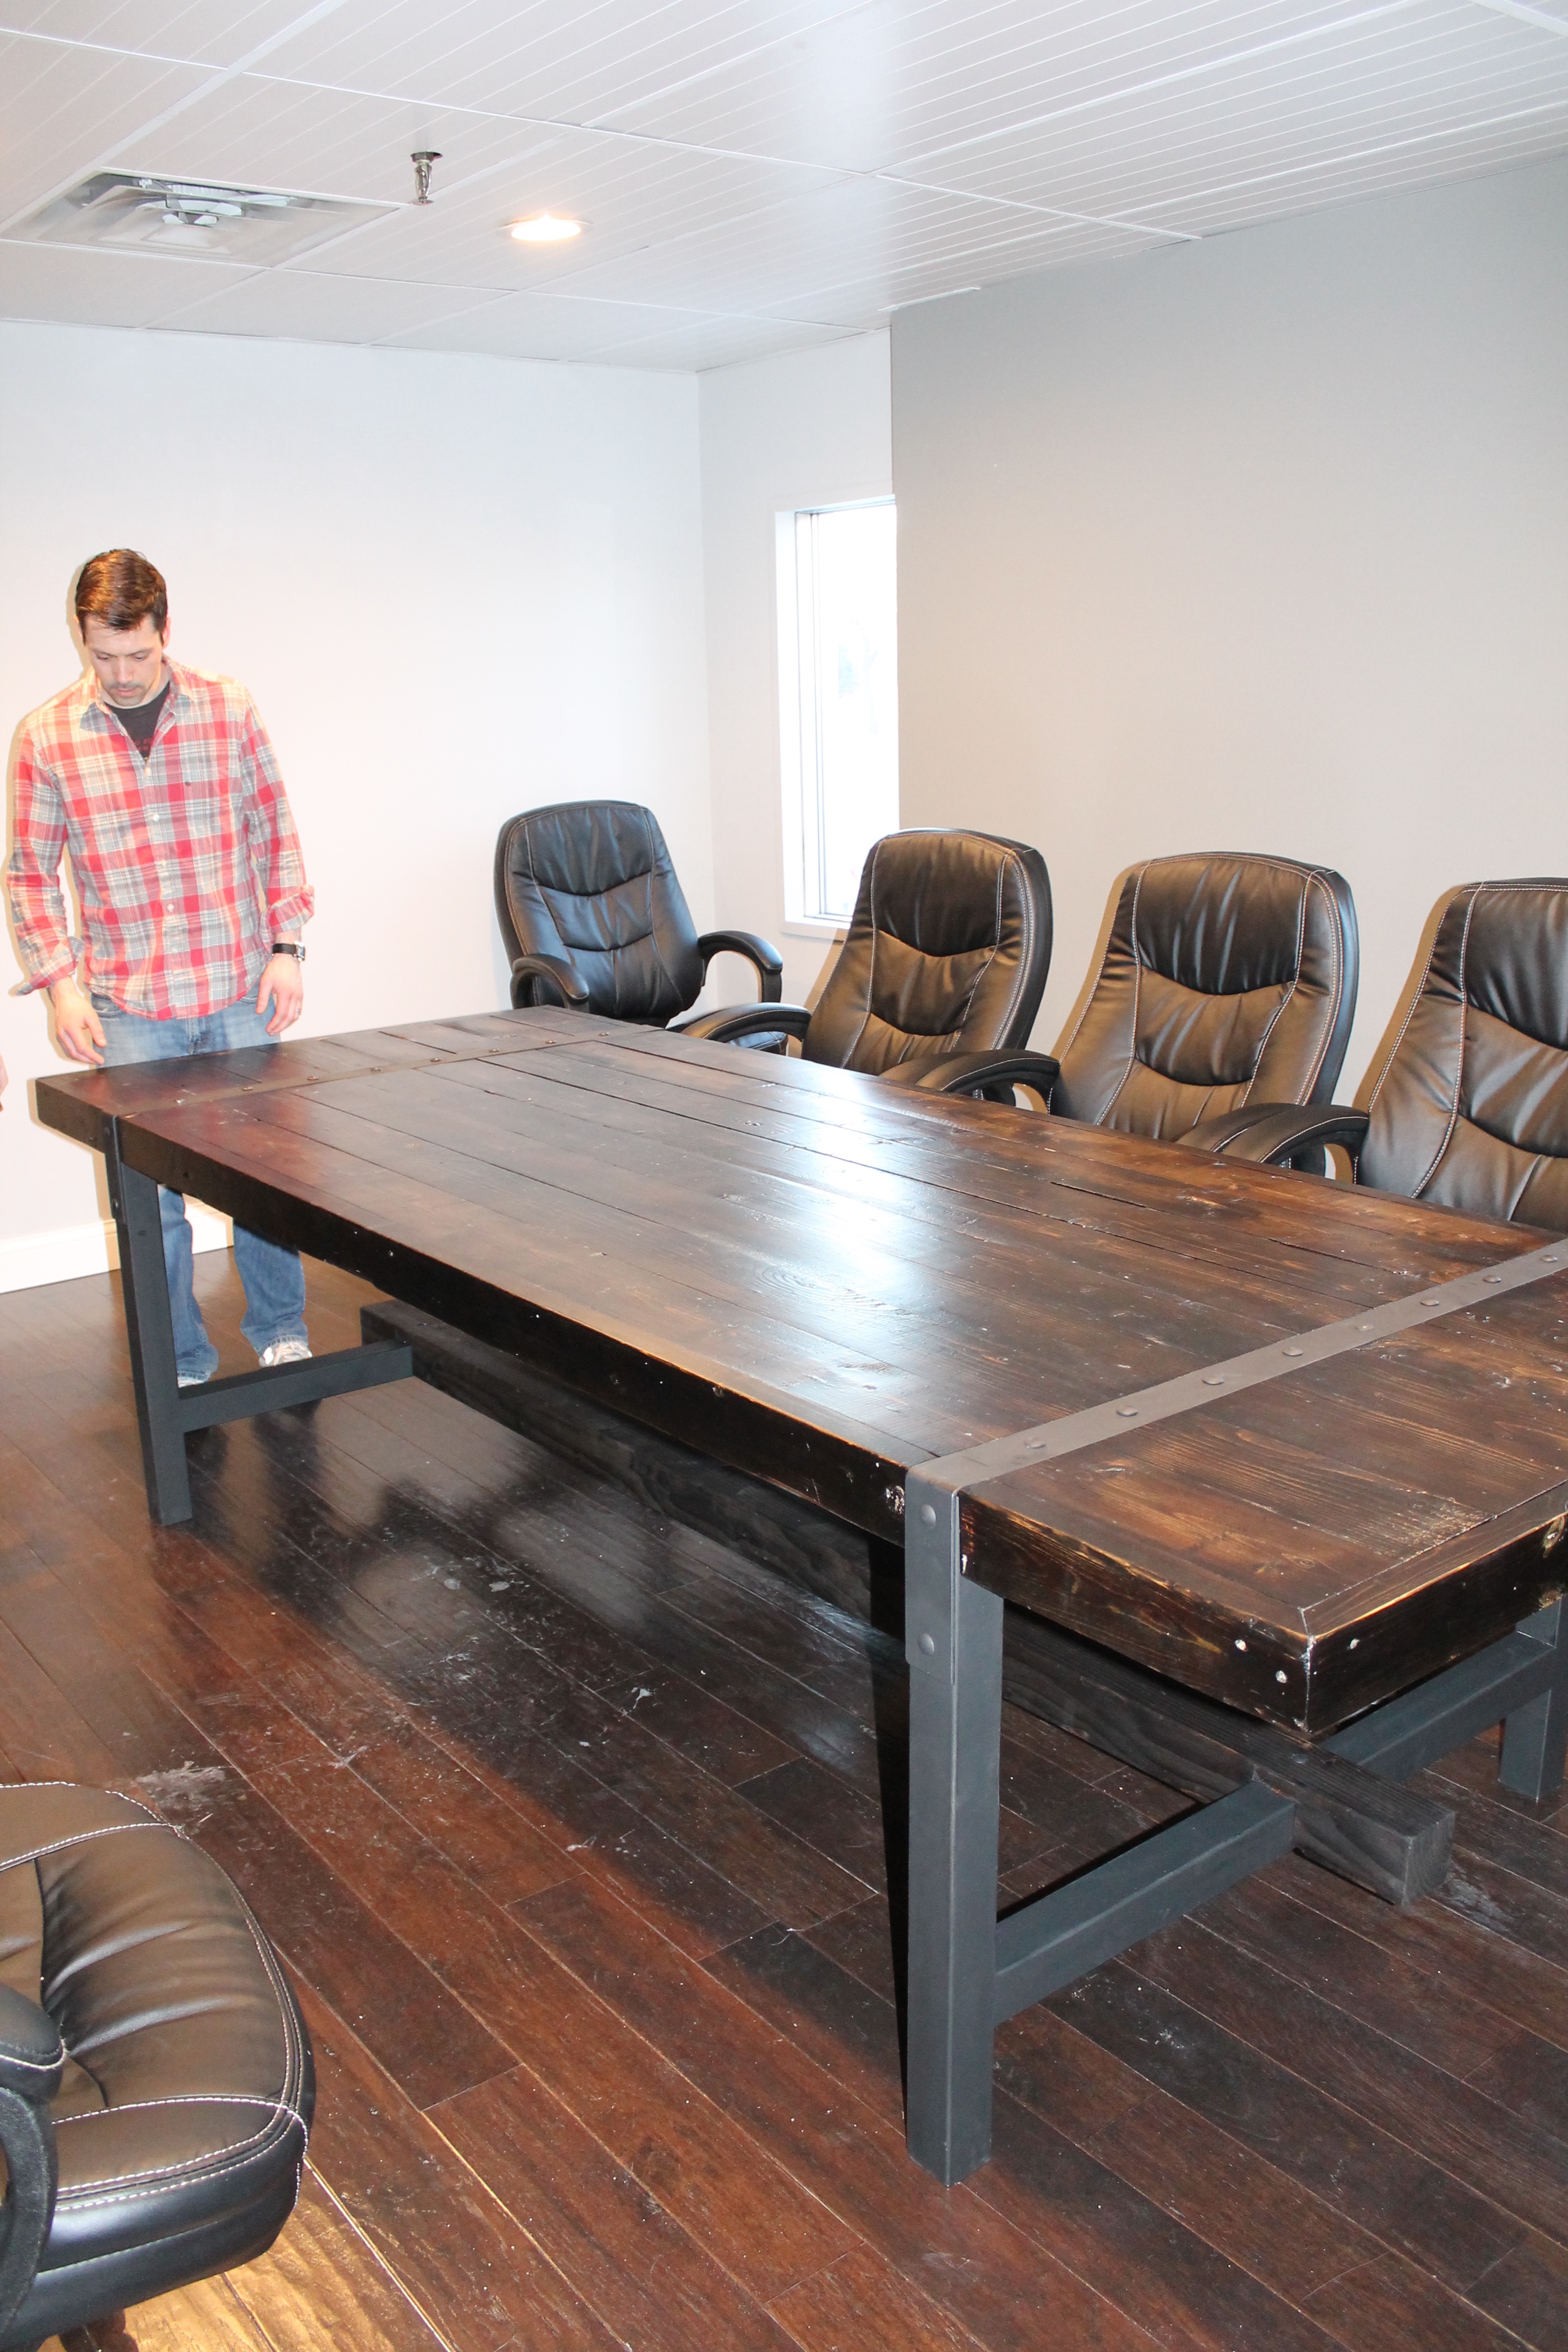
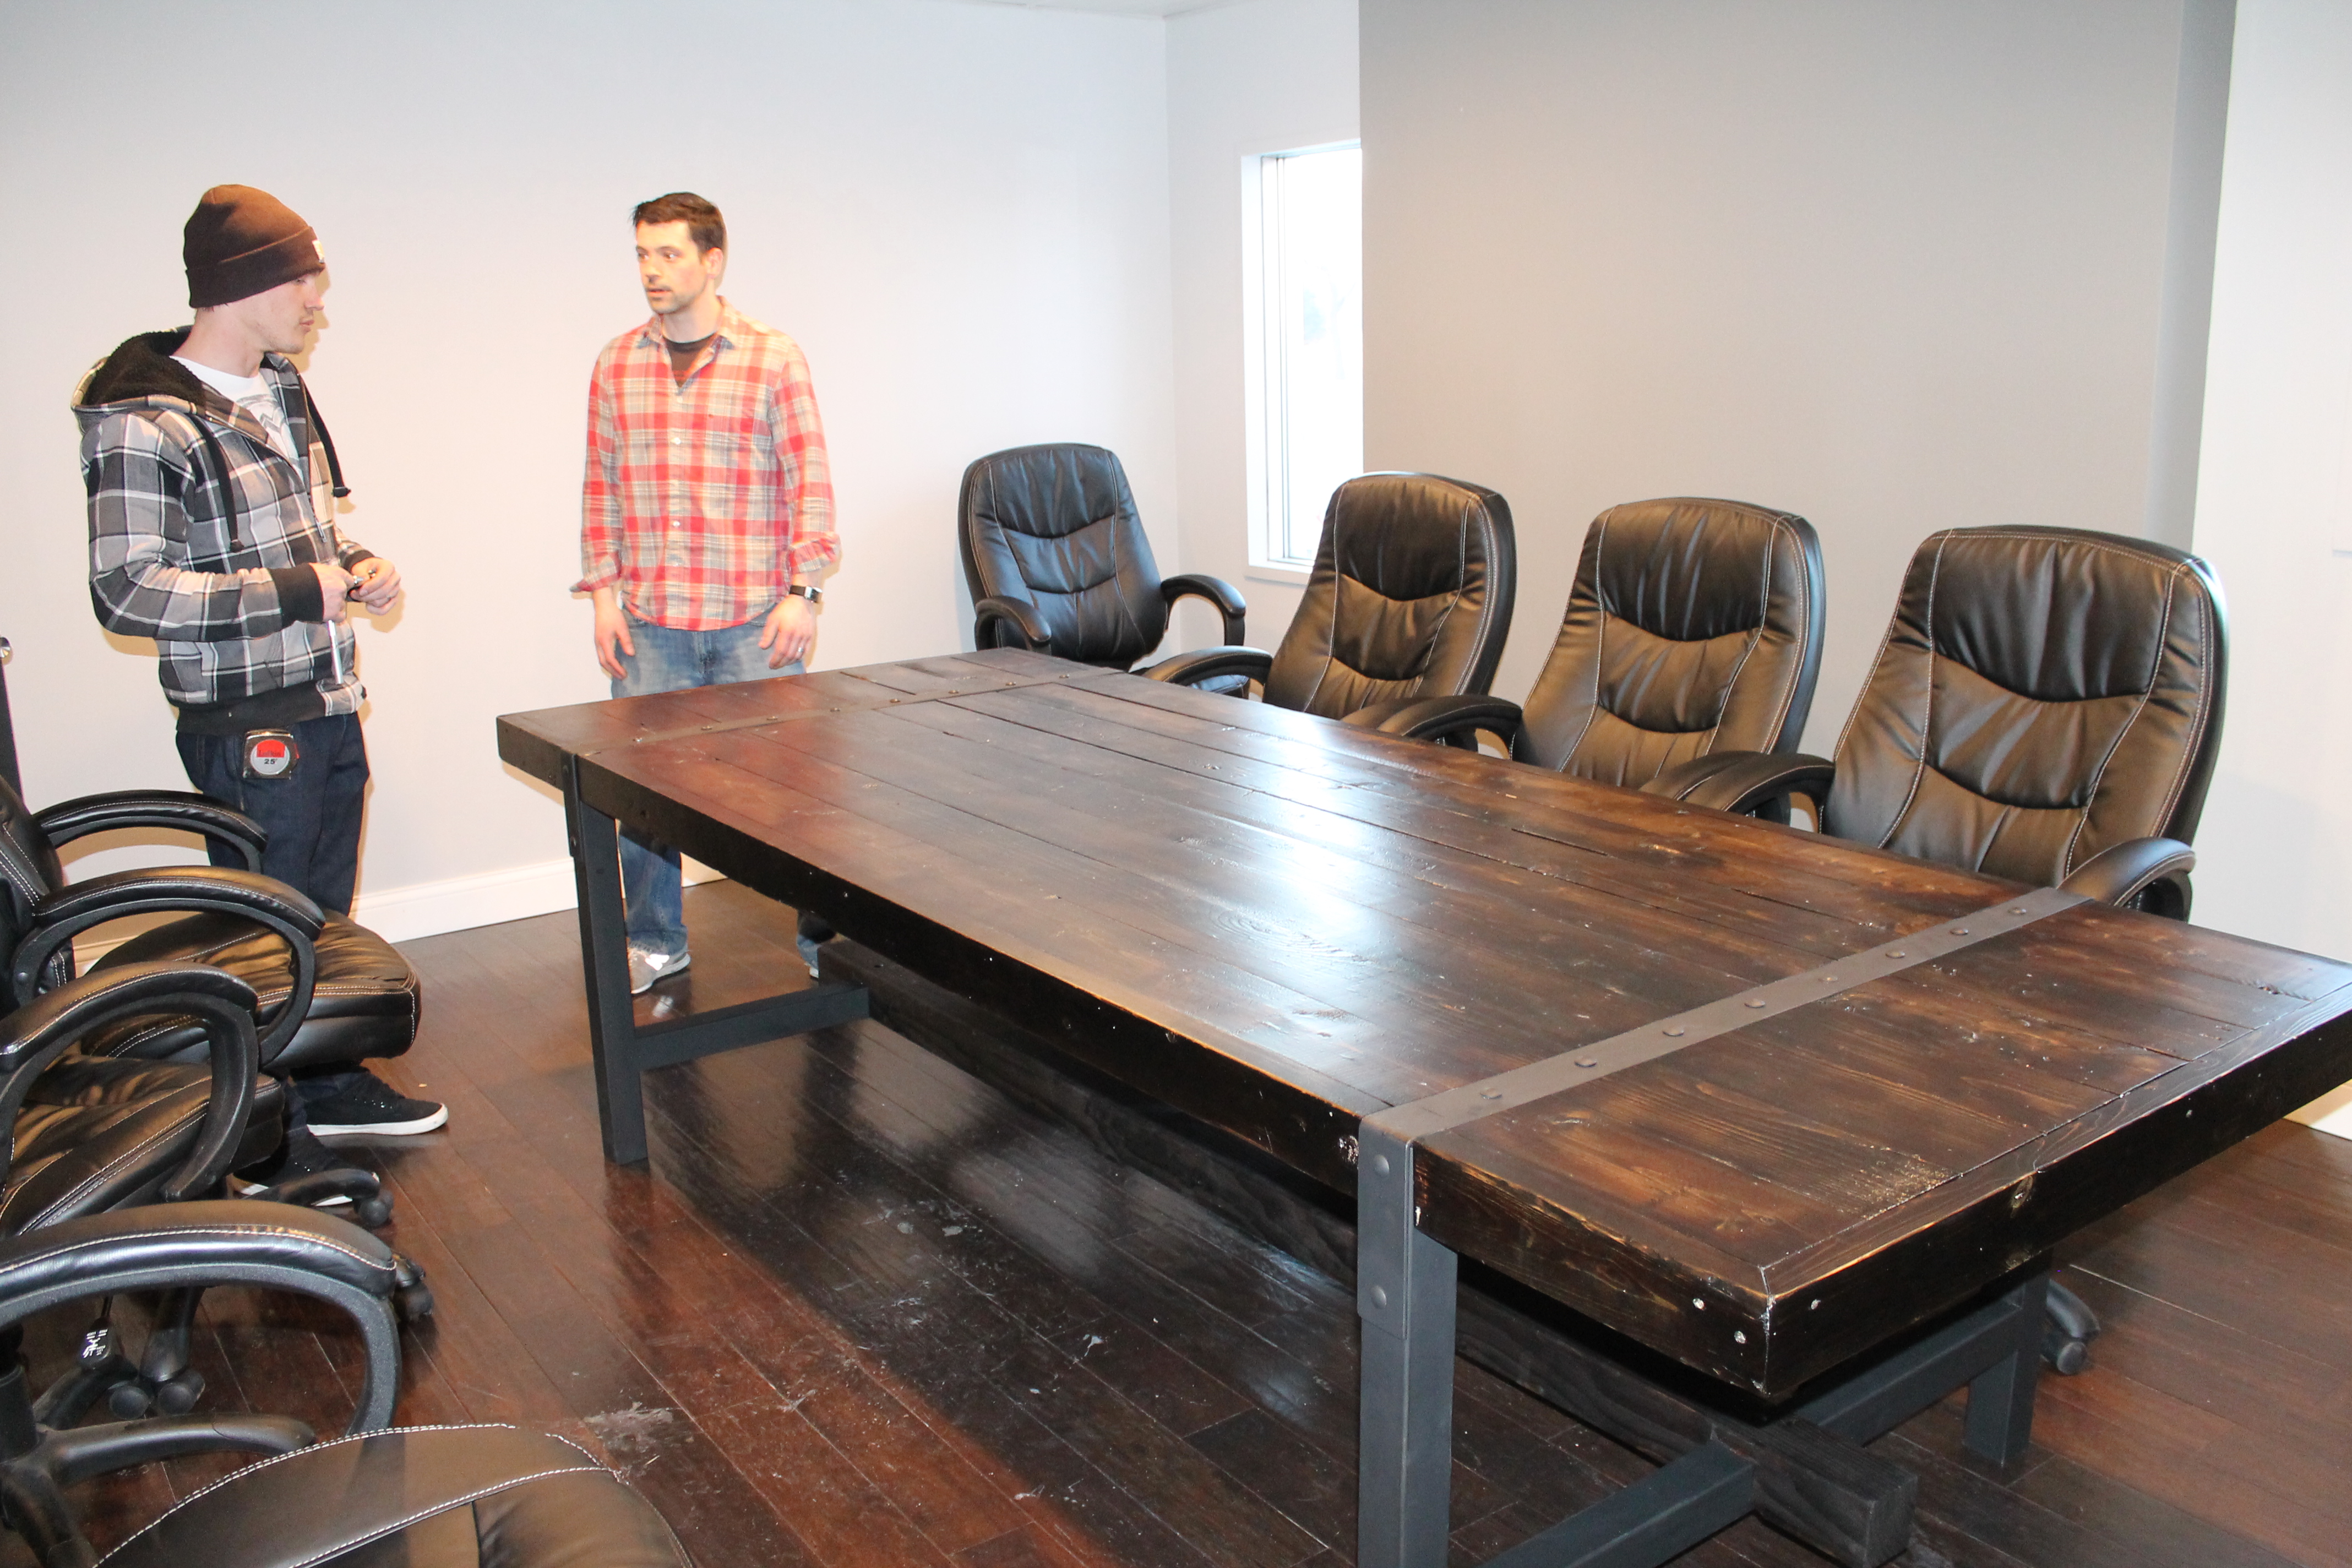
I wanted Jamie to create an industrial, rustic table for the conference room to go along with the dark wood floors. We wanted the table a lot larger than the former conference room table as well.
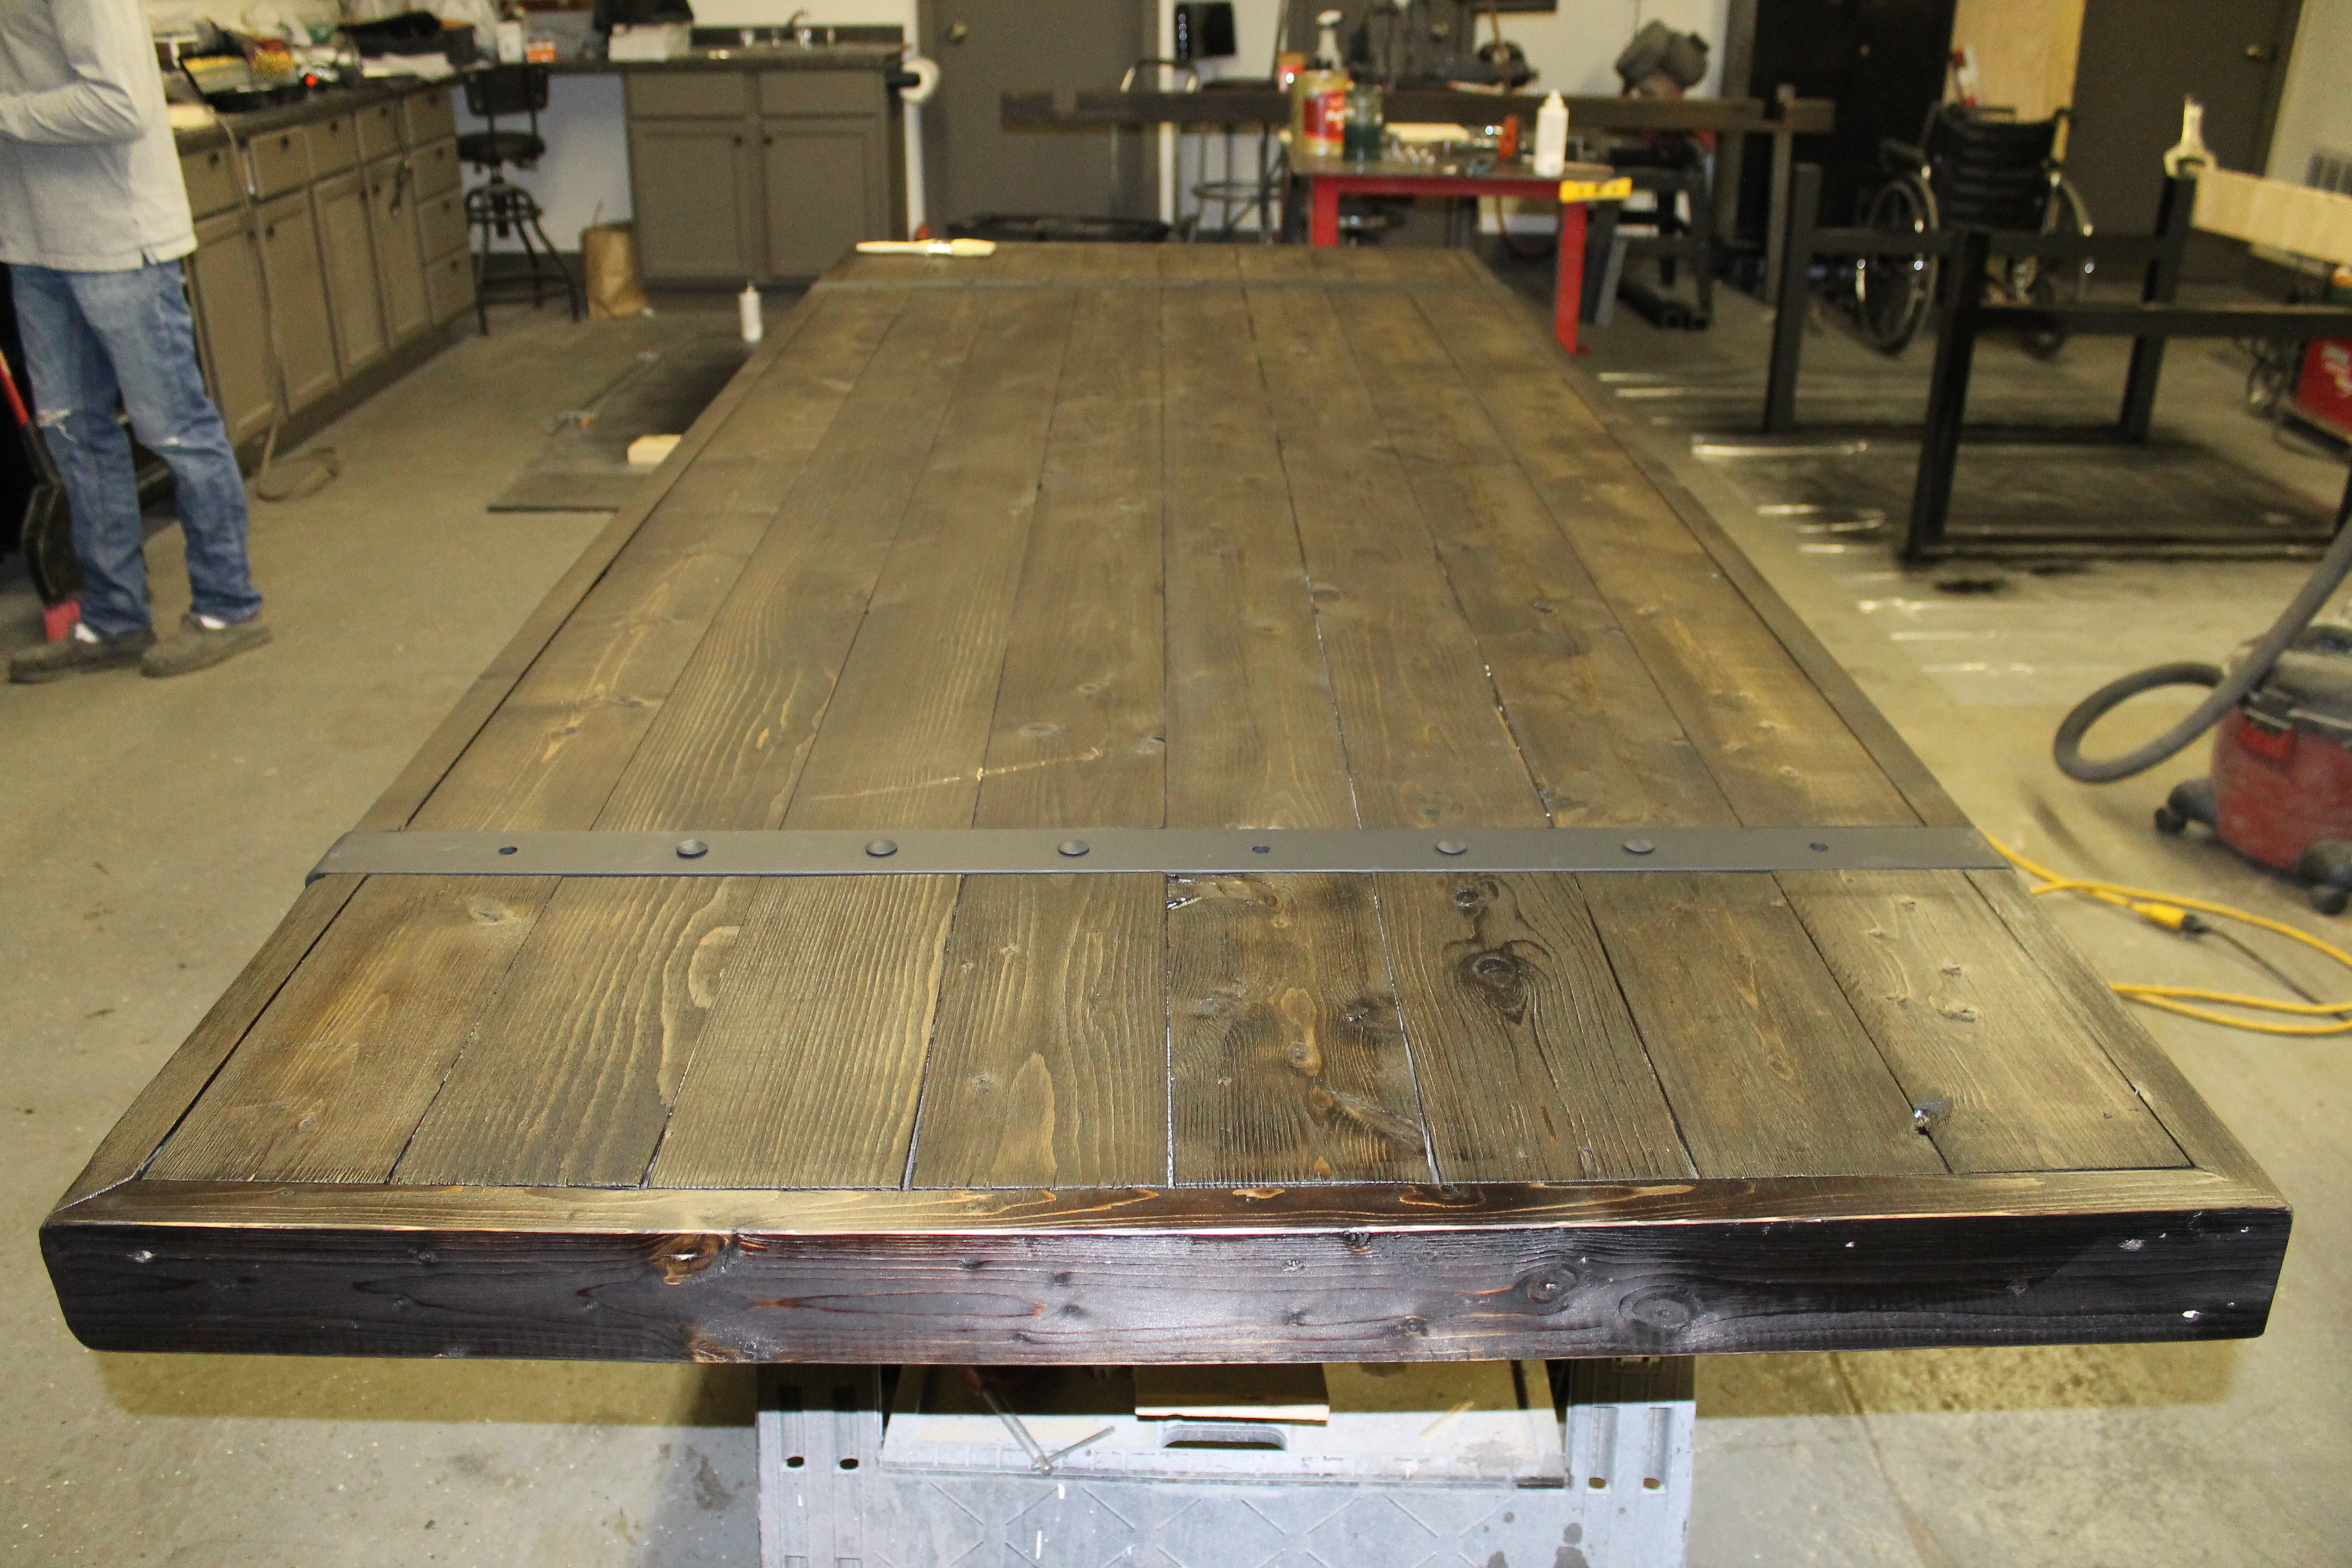
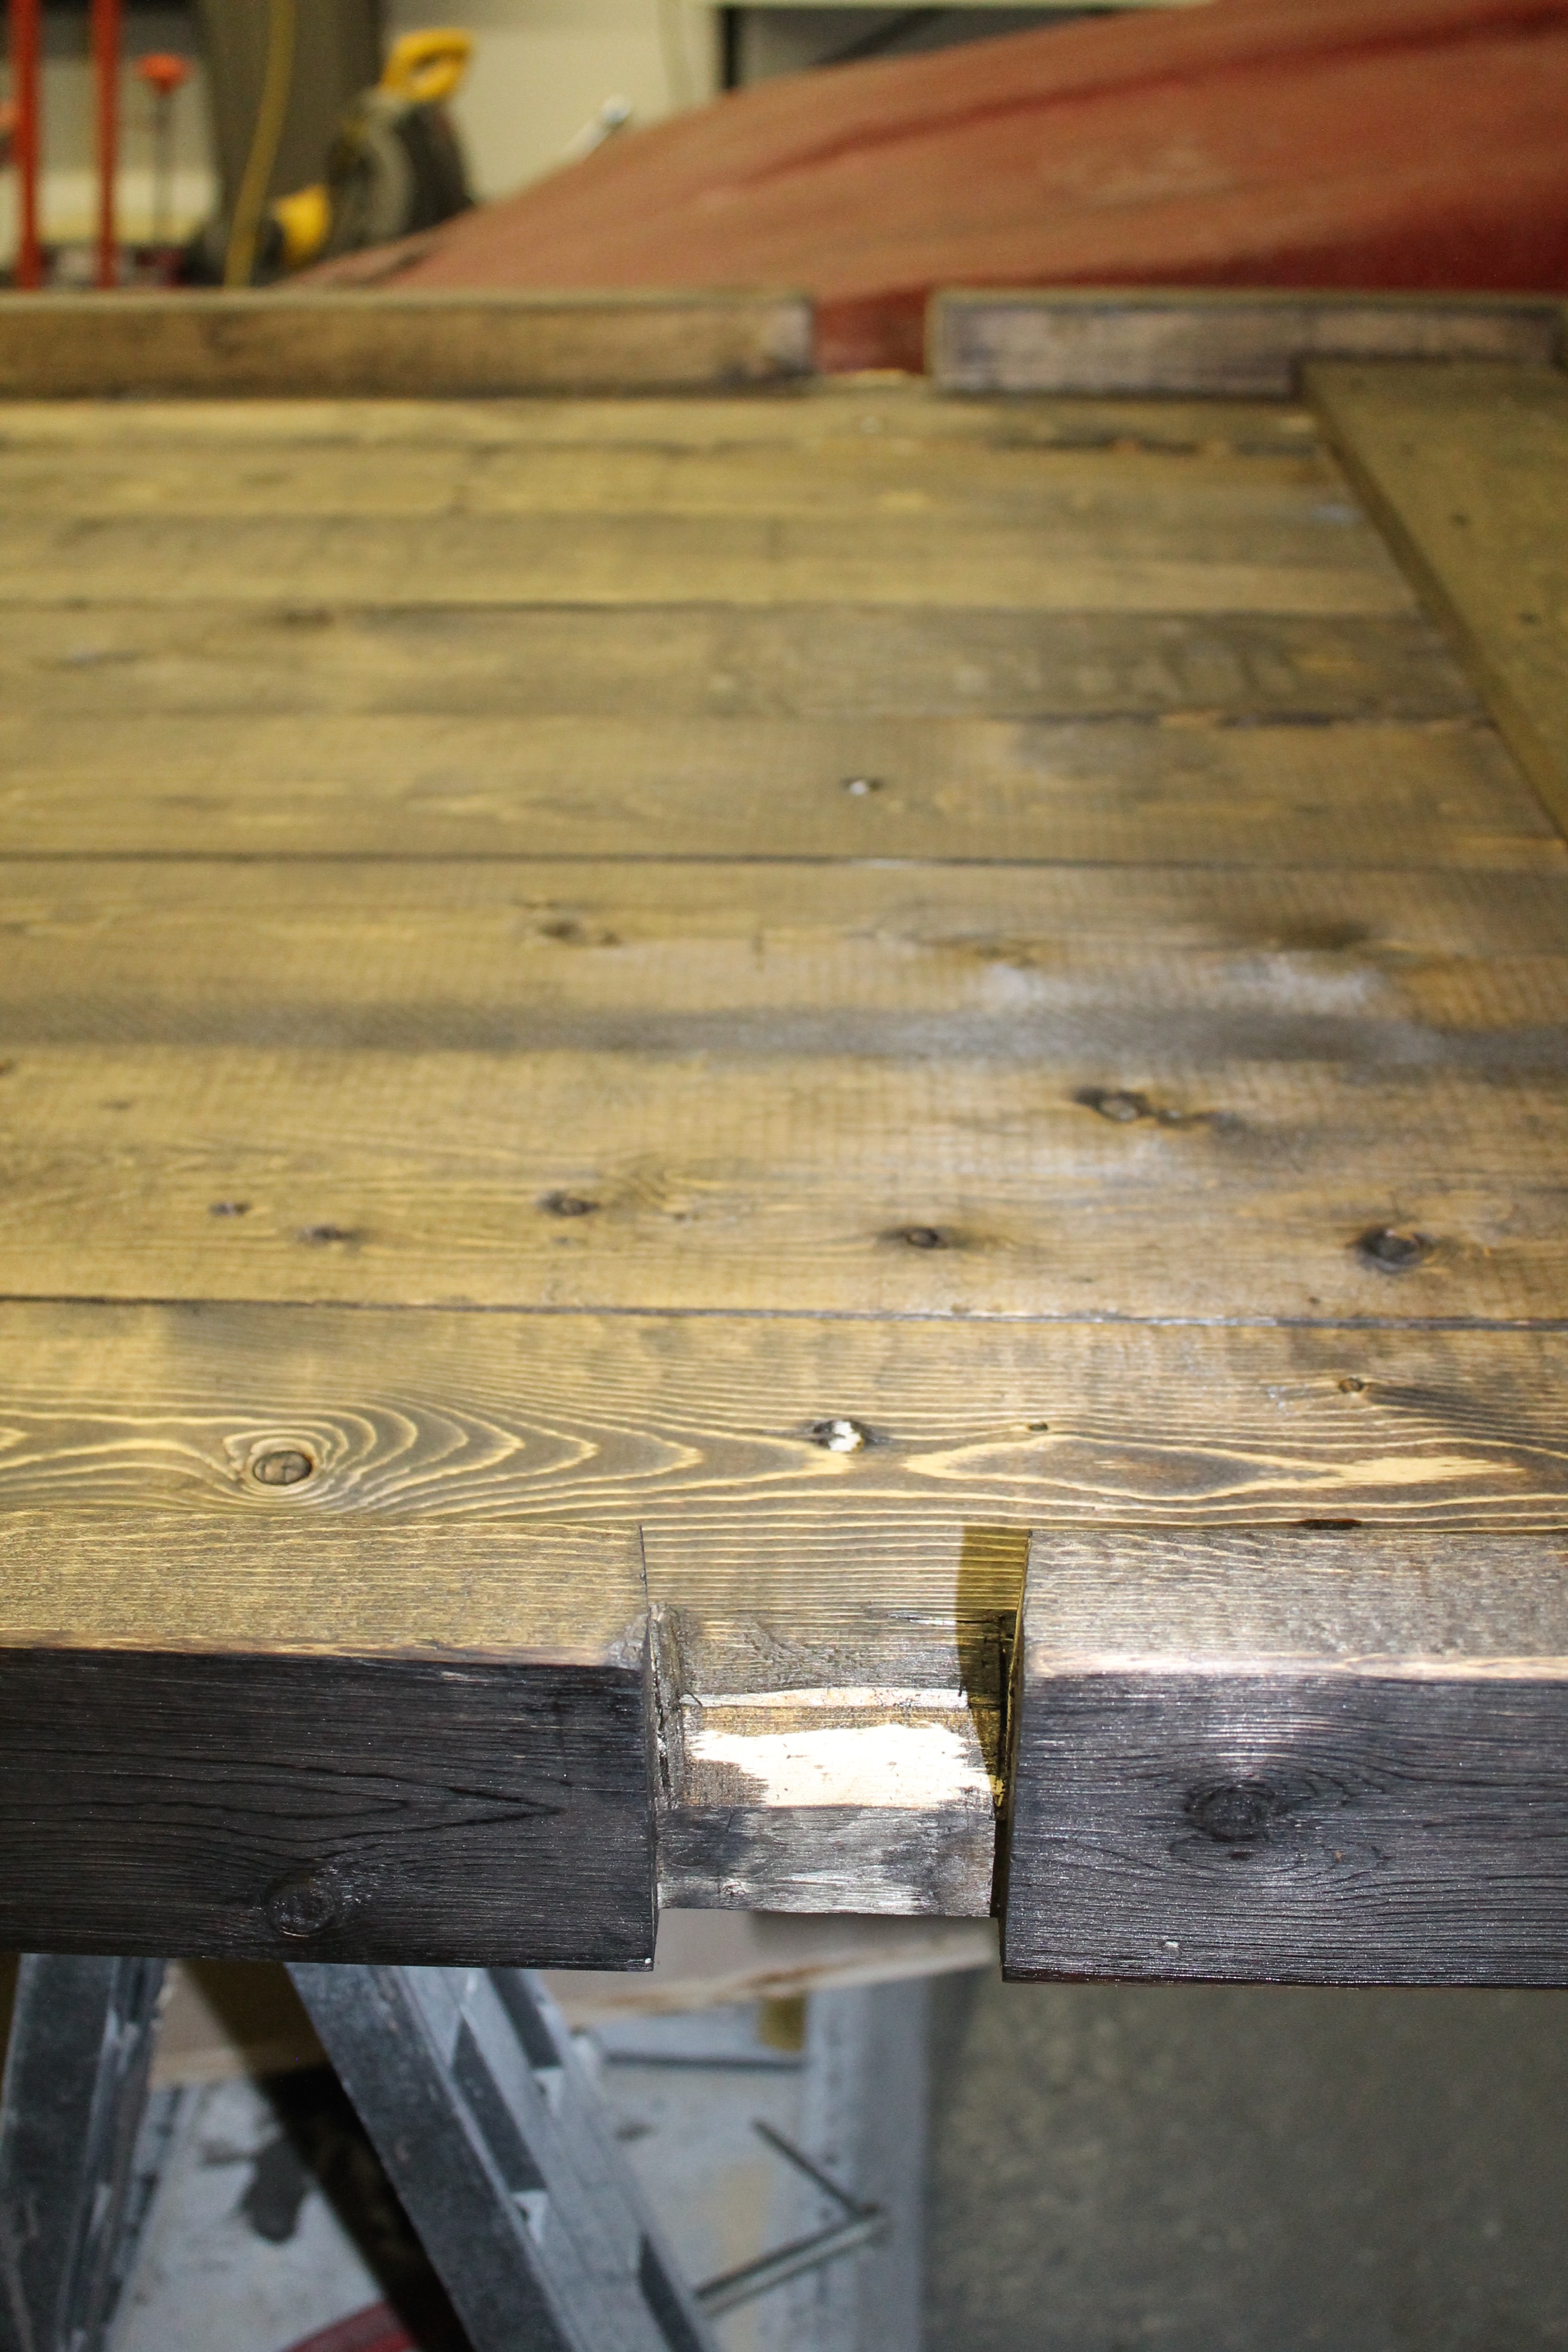
Jamie started by gluing 2×6 pieces of wood together for the table top. Once he got the pieces glued together and the edges cut to the correct measurement he framed in the outer edges. We made the new table 10′ x 4.’
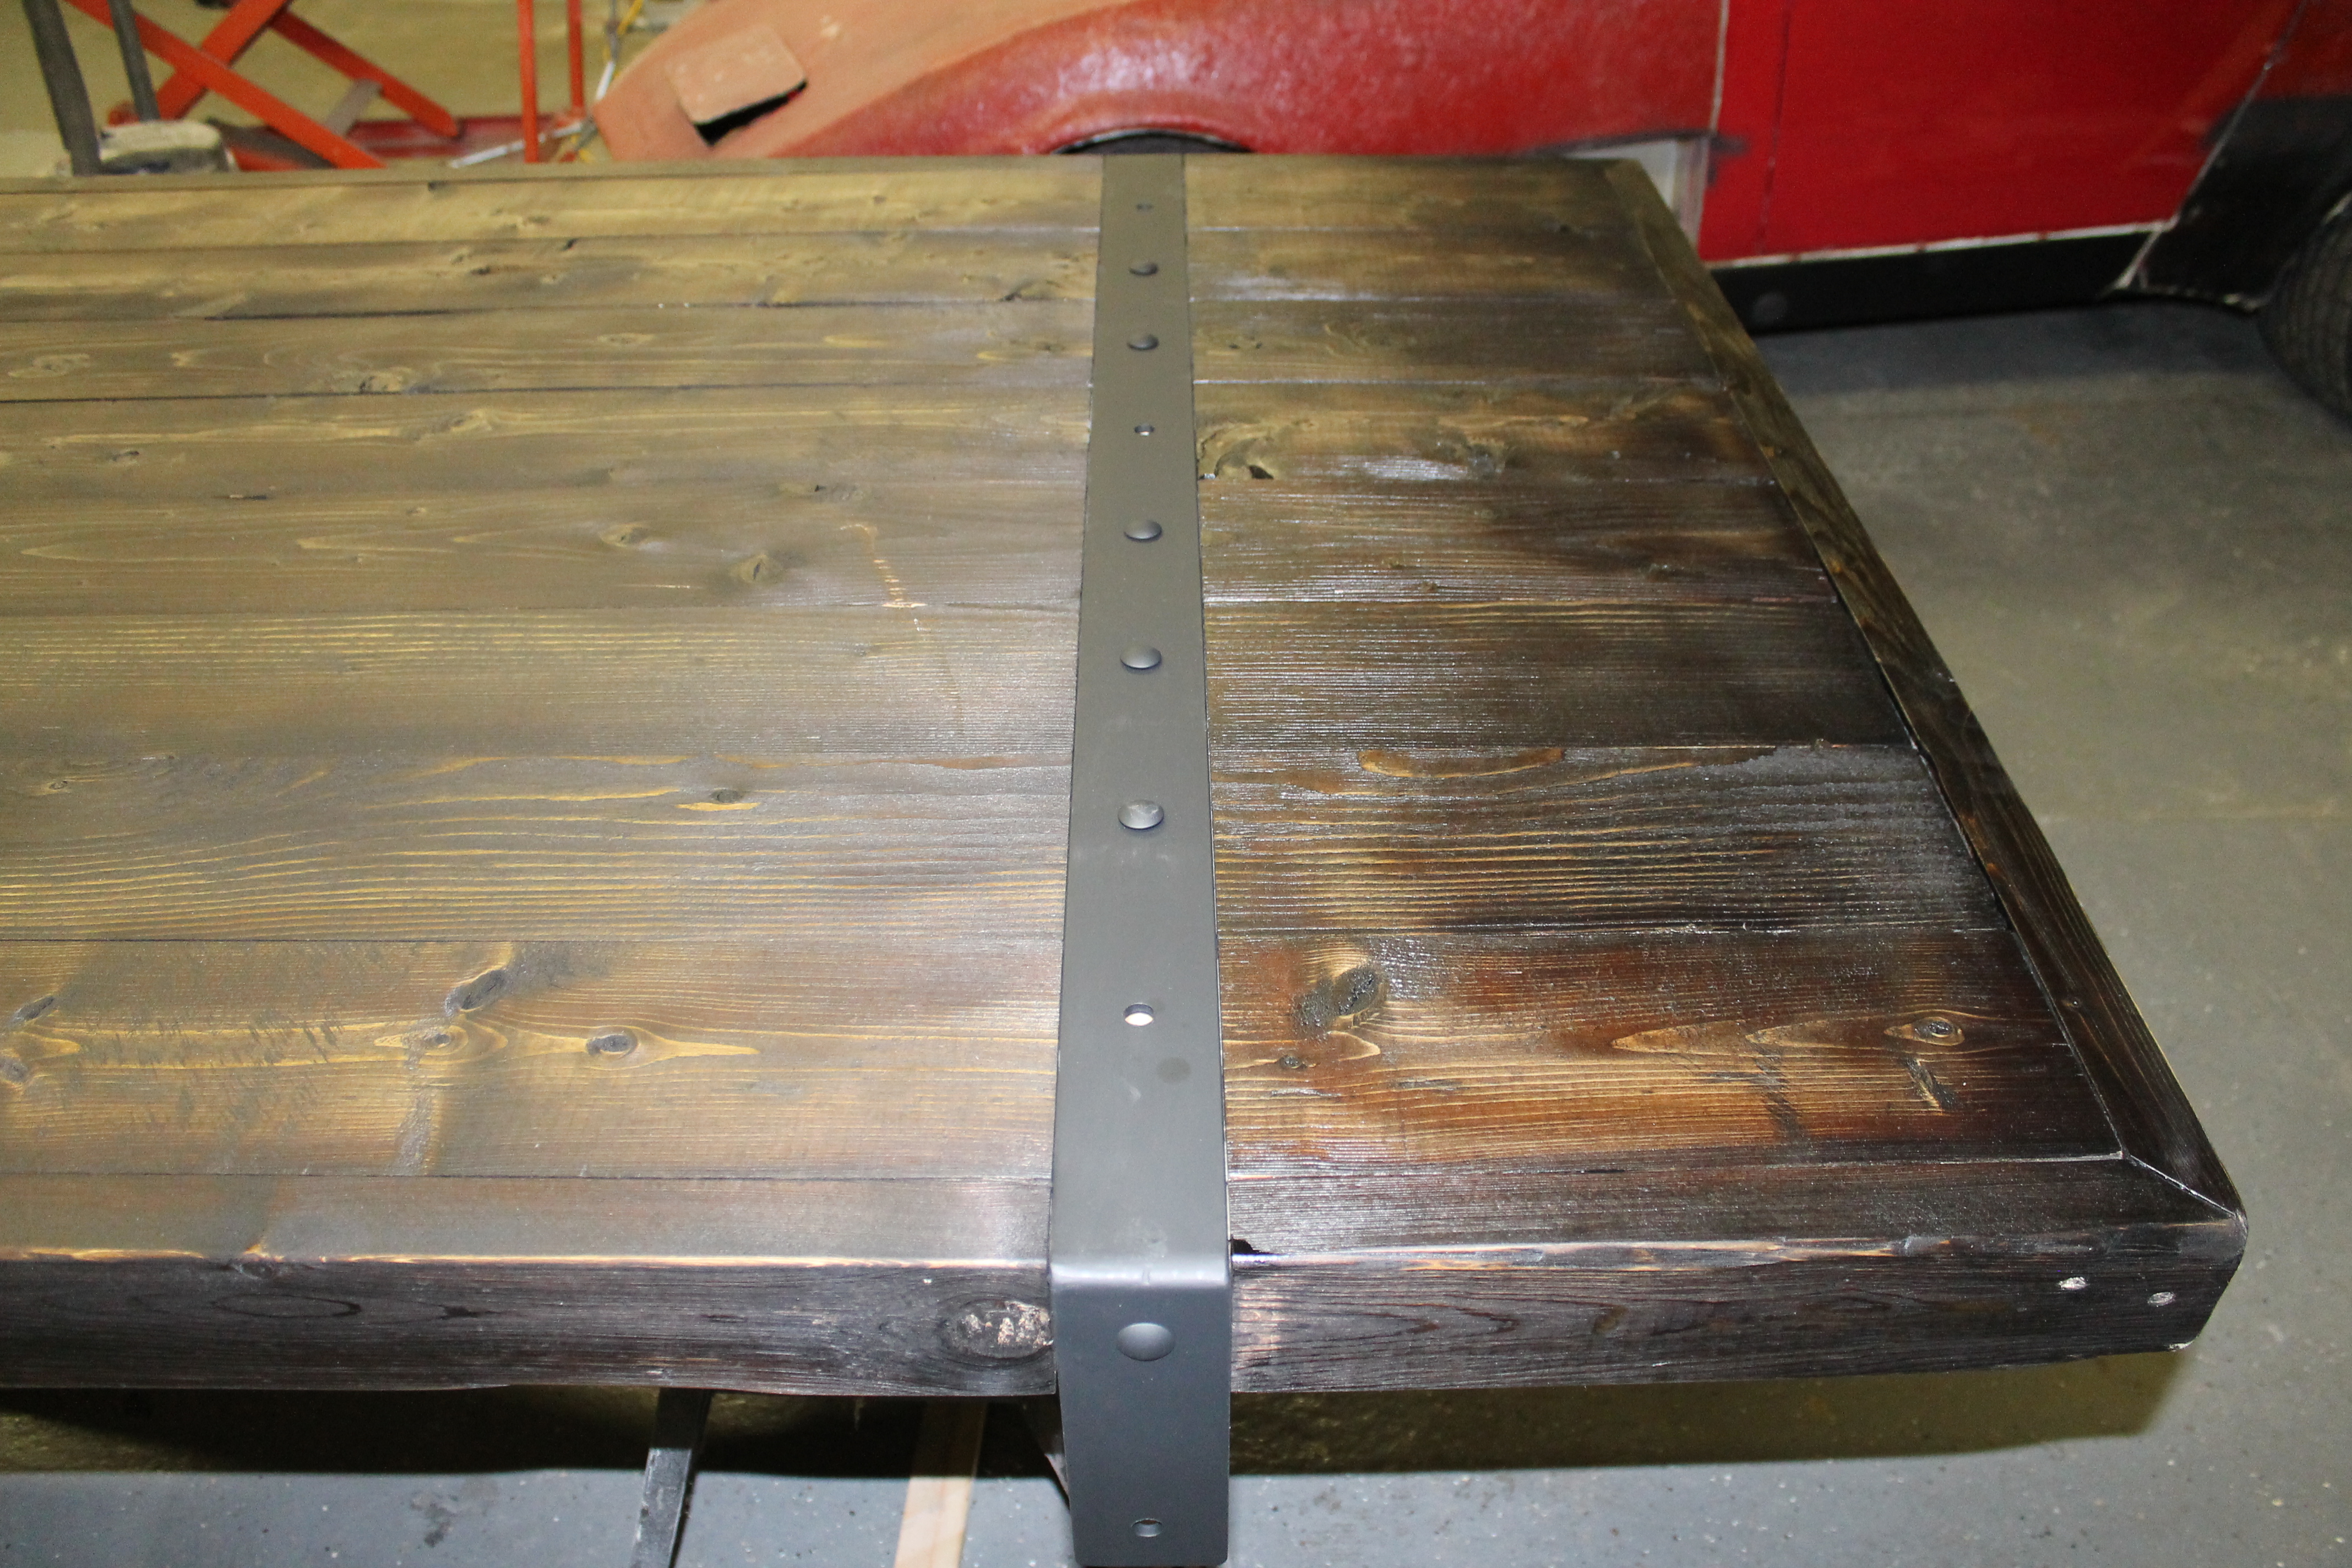
To get the wood to look weathered Jamie torched the table. Once the table was torched he took a wire brush and brushed the table. This removes the softer grains in the wood giving it that old weathered look.
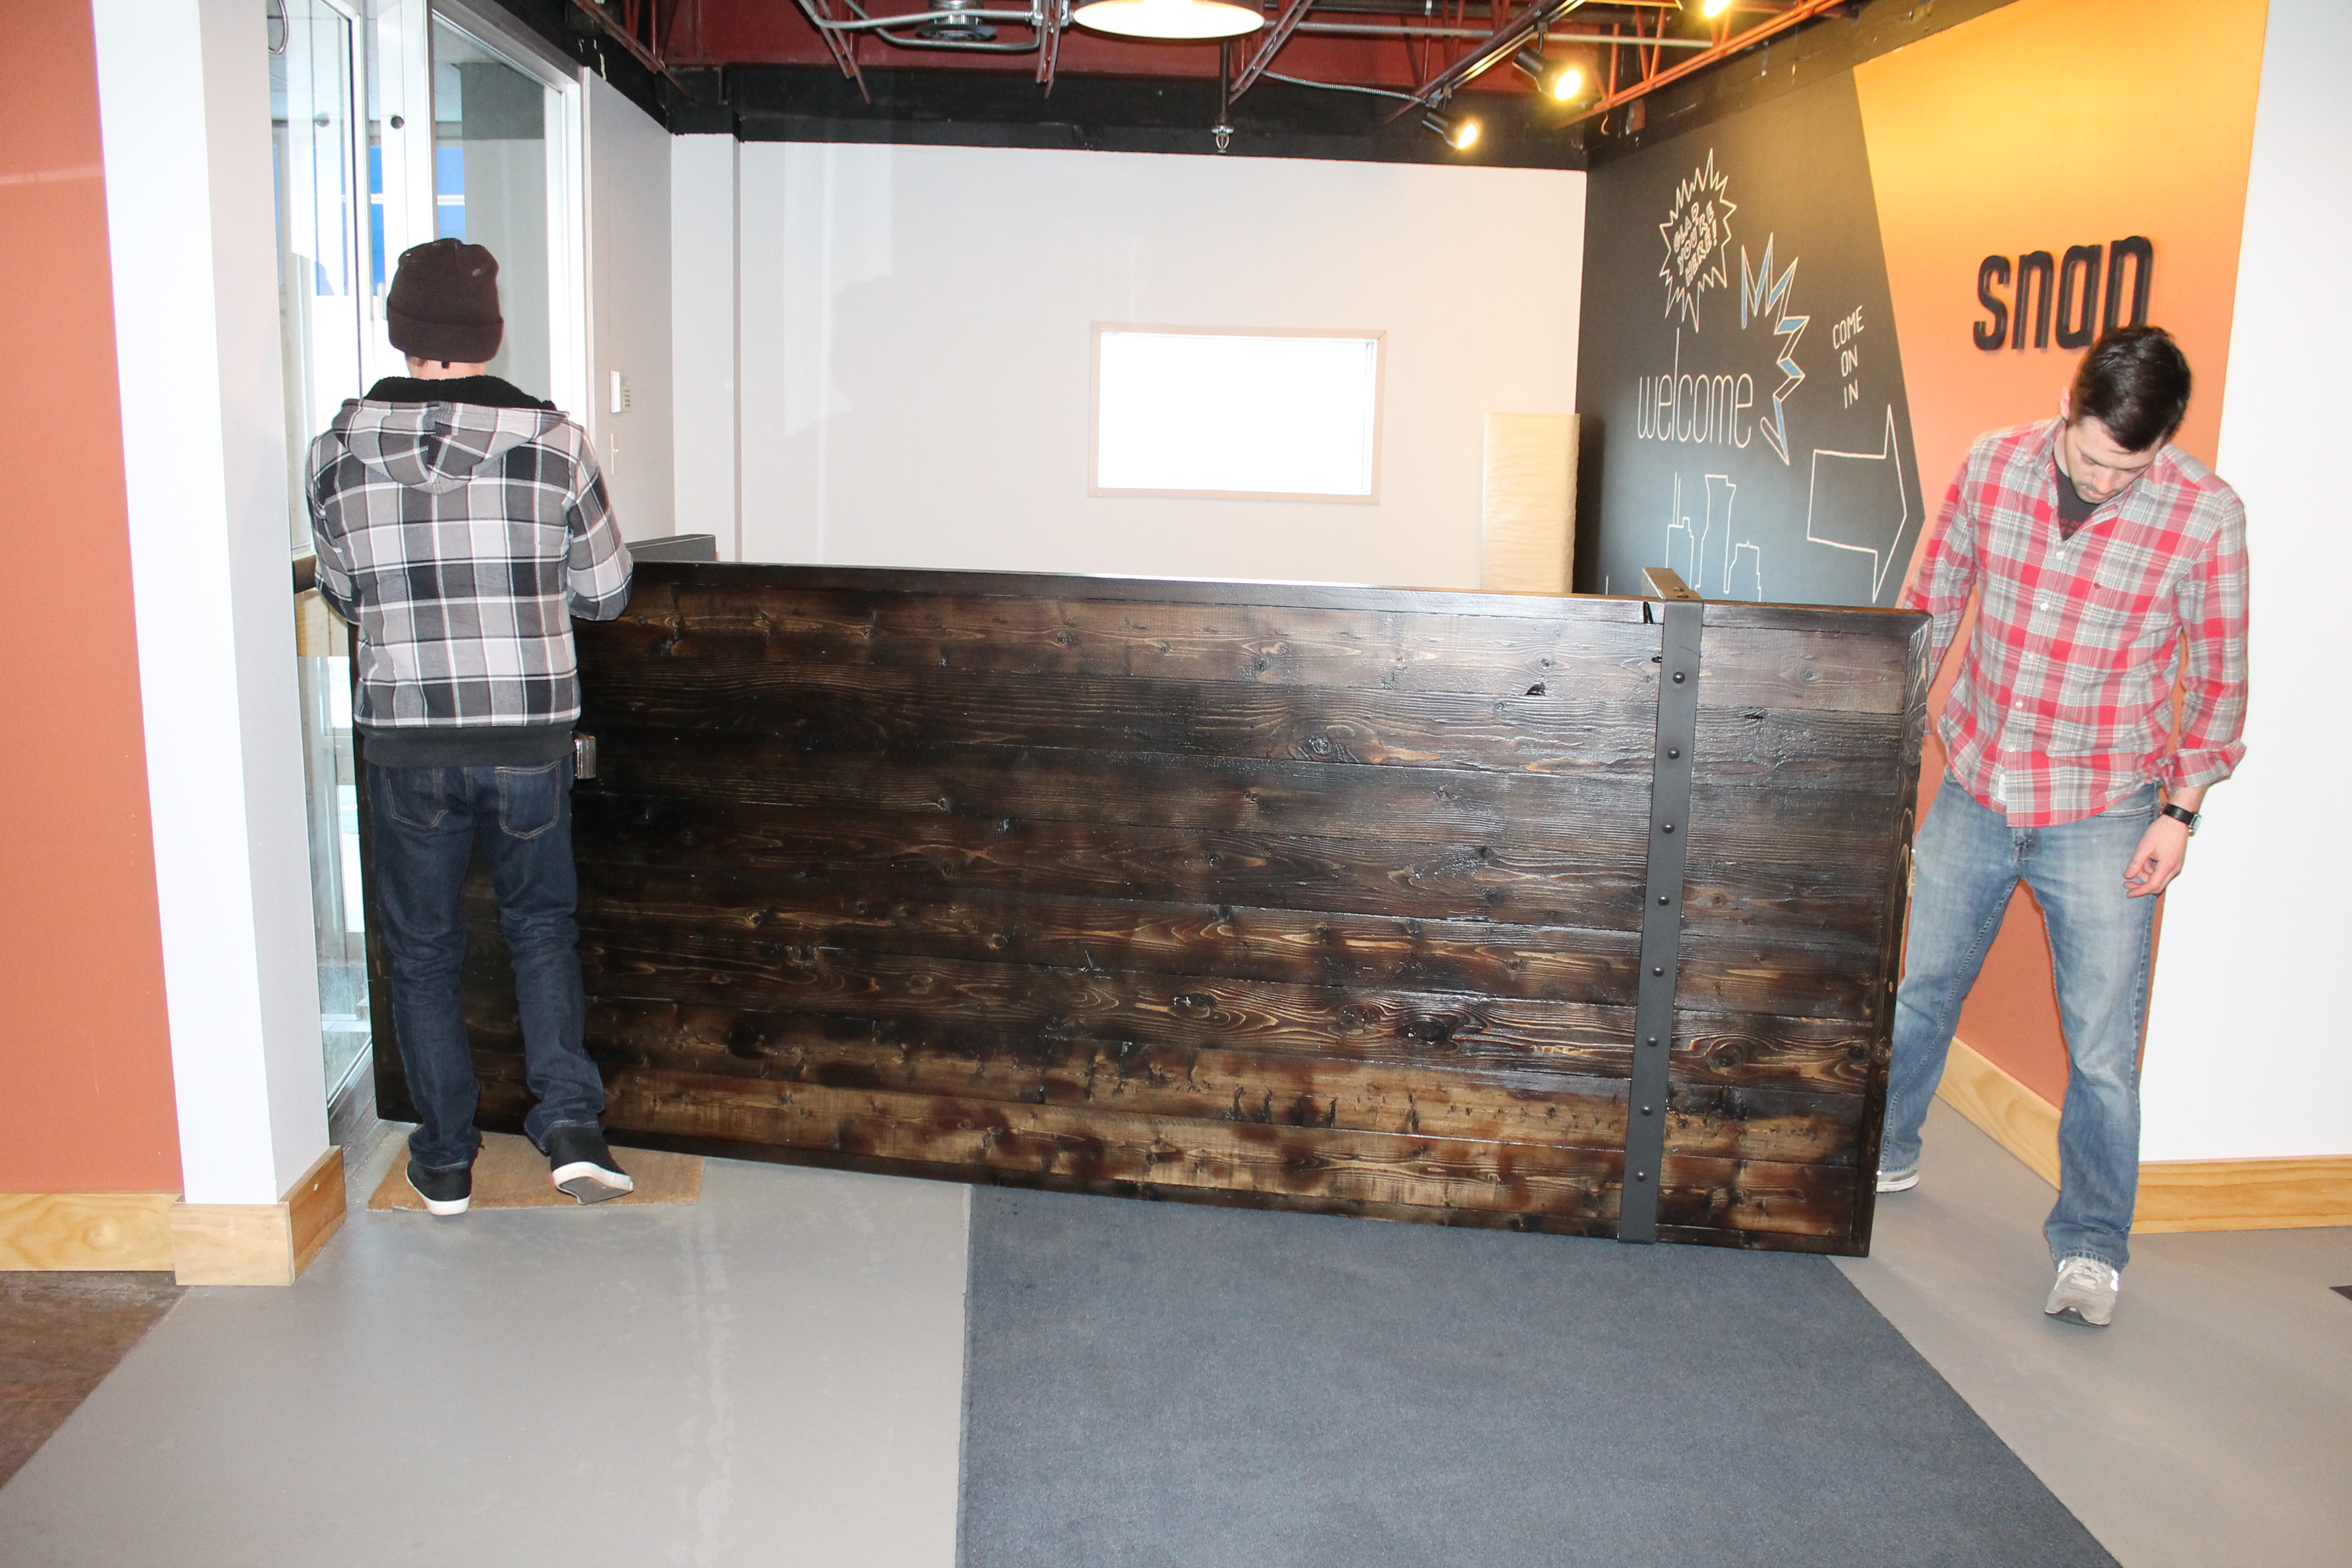
We wanted to add some bling to the table so we decided to add a wire bracket to belt the table to give it more of an industrial look.
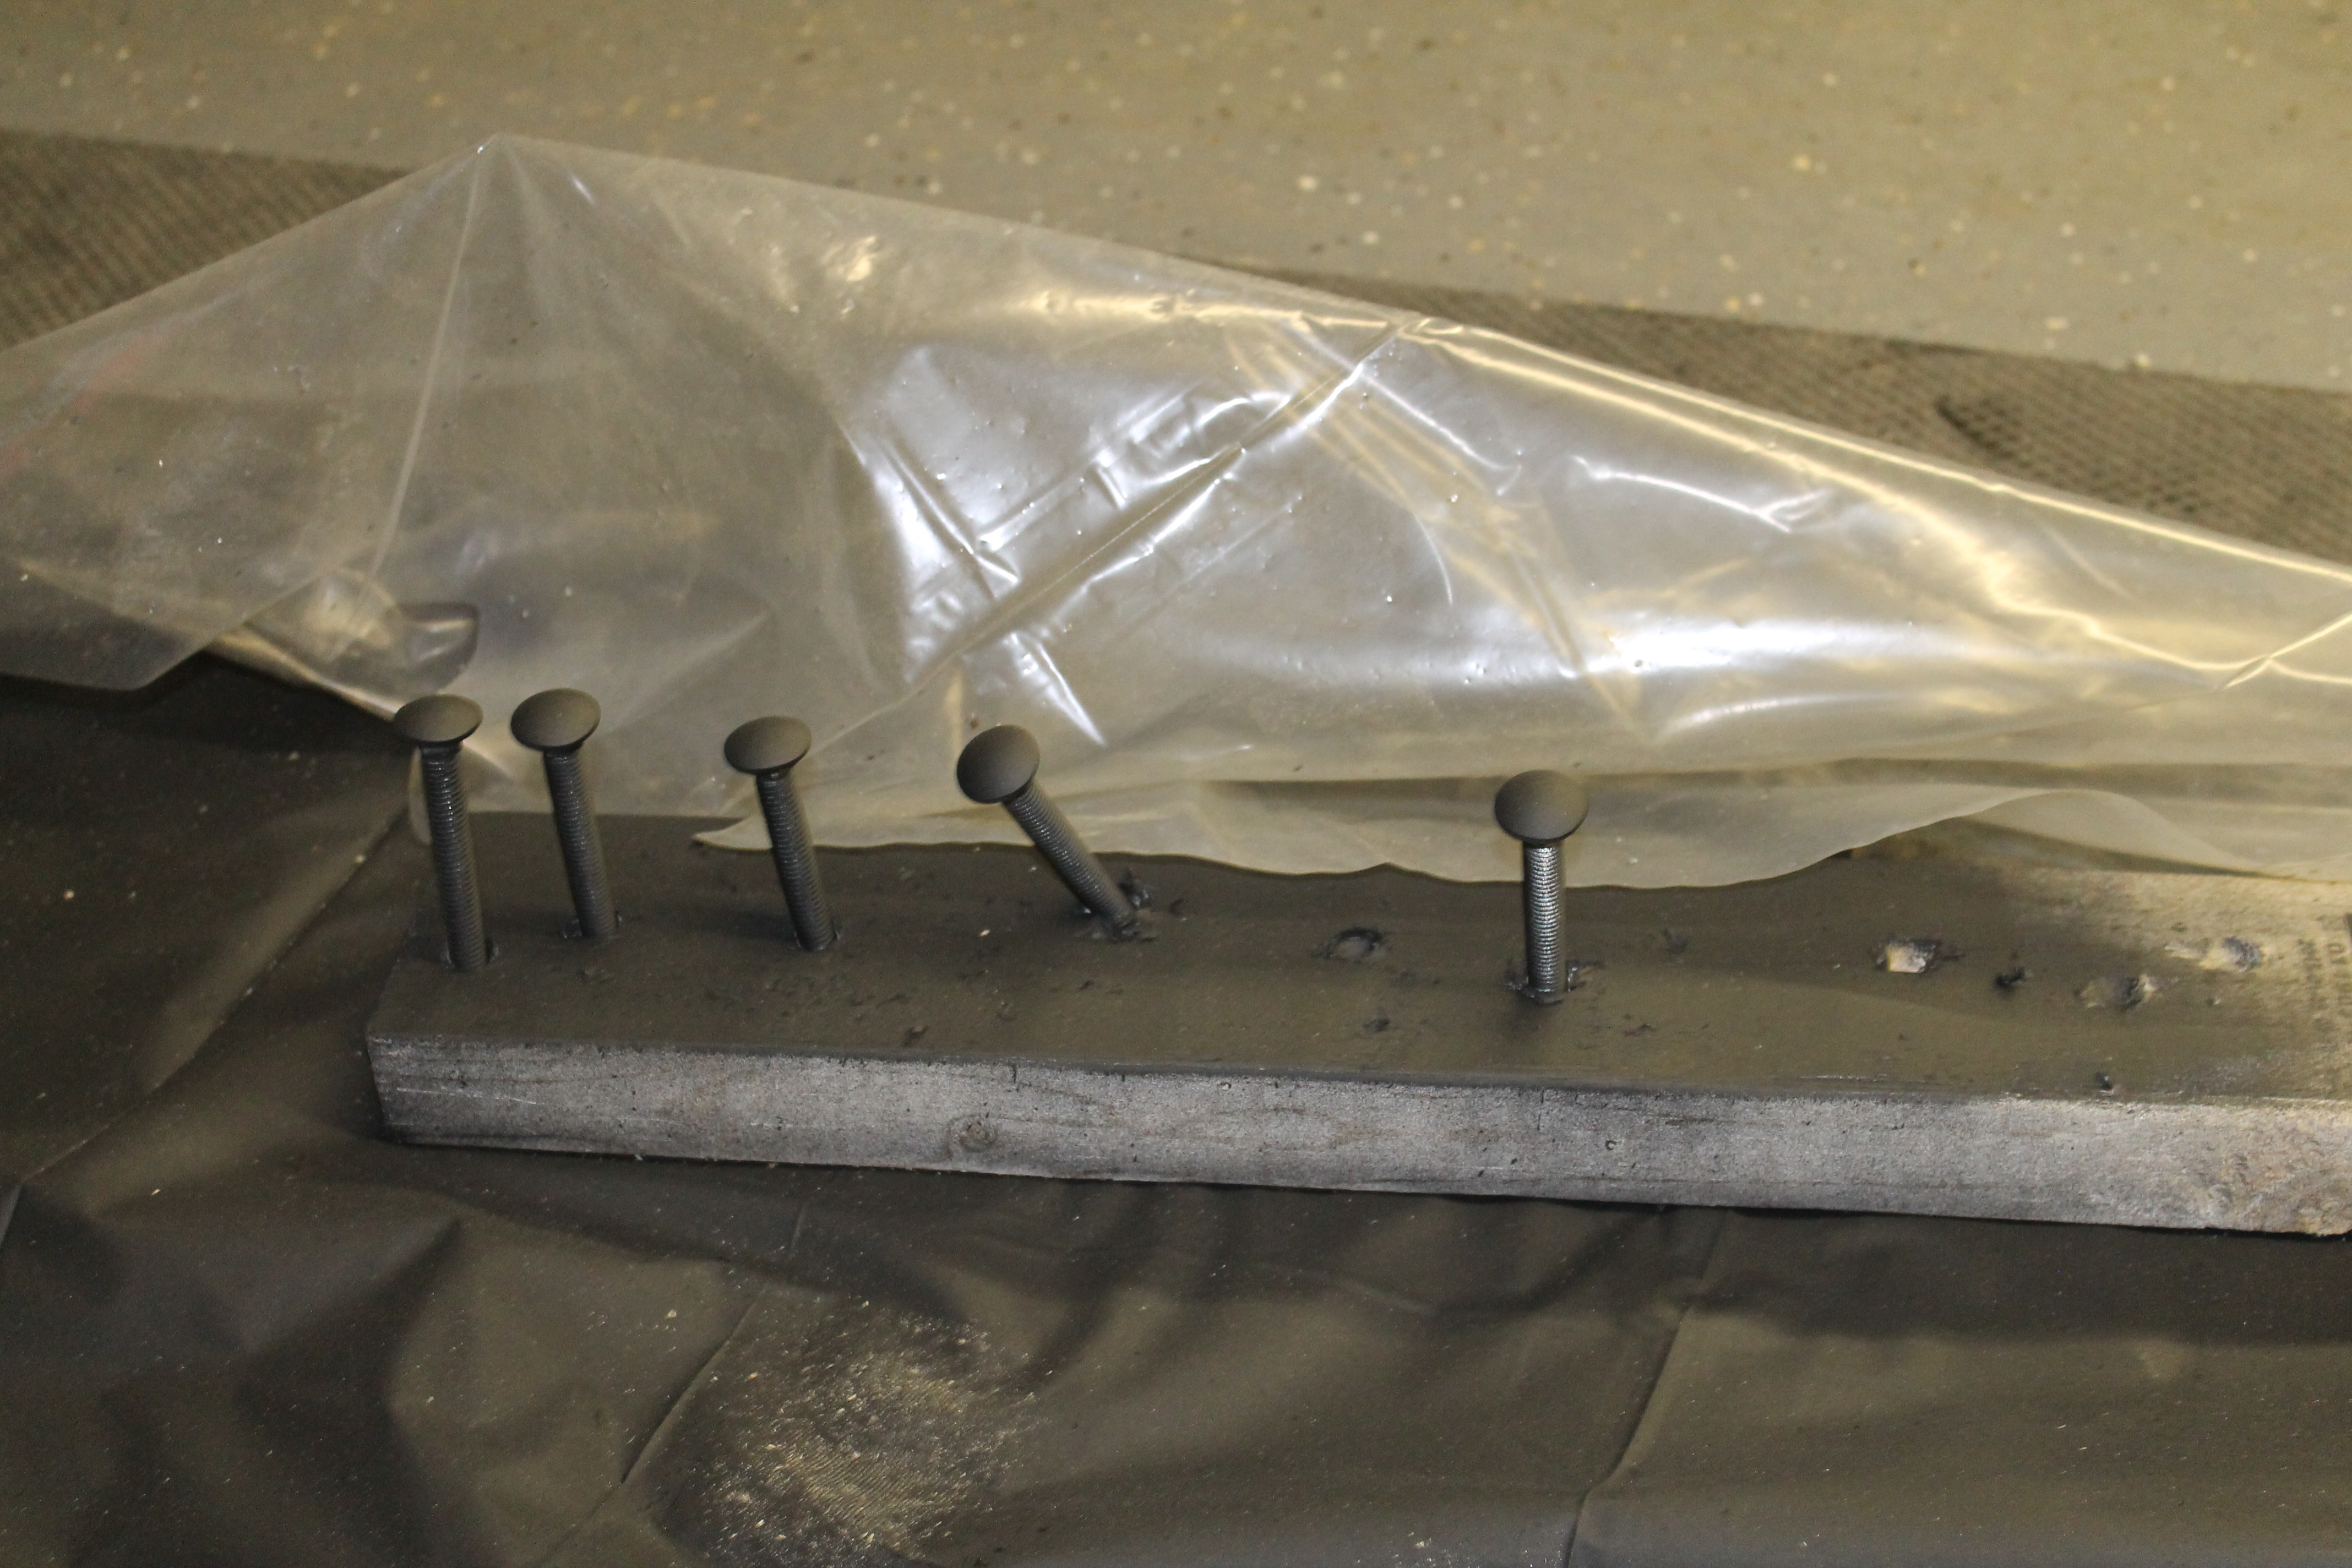
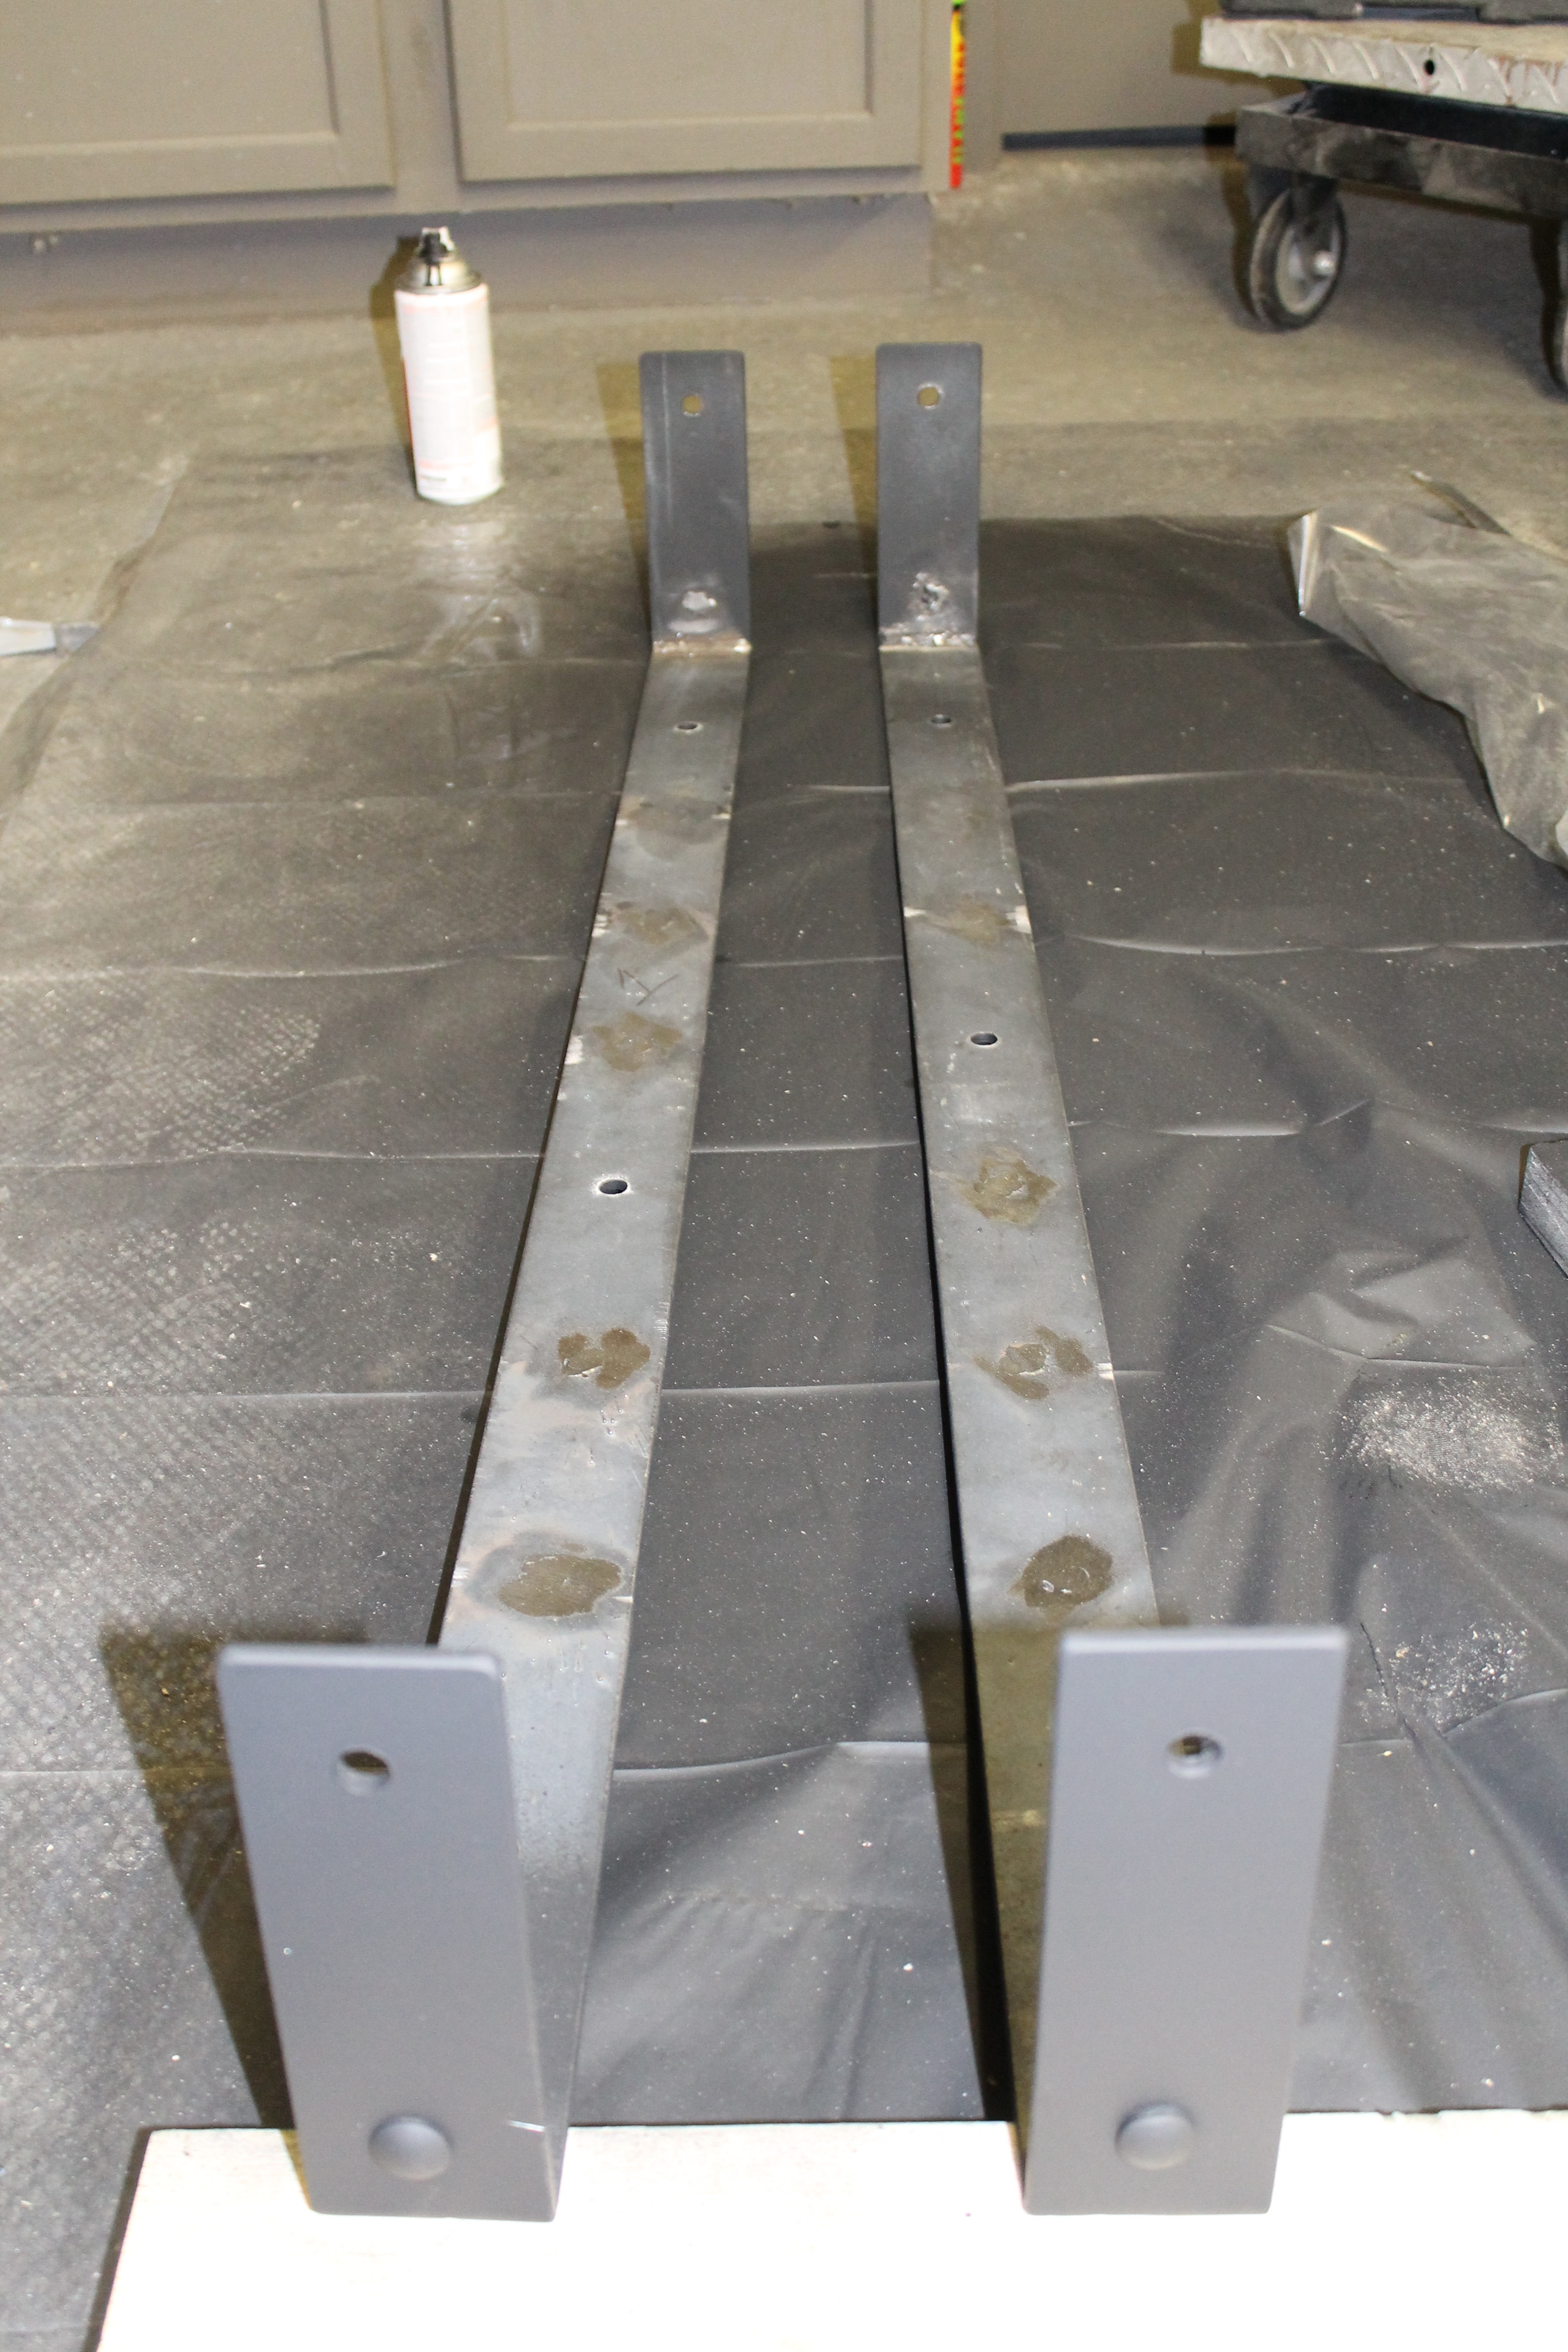
Jamie created this by buying a metal strap and welding the 90 degree angles at the edge of the table. He drilled holes into the top of the metal strap and put bolts into the holes.
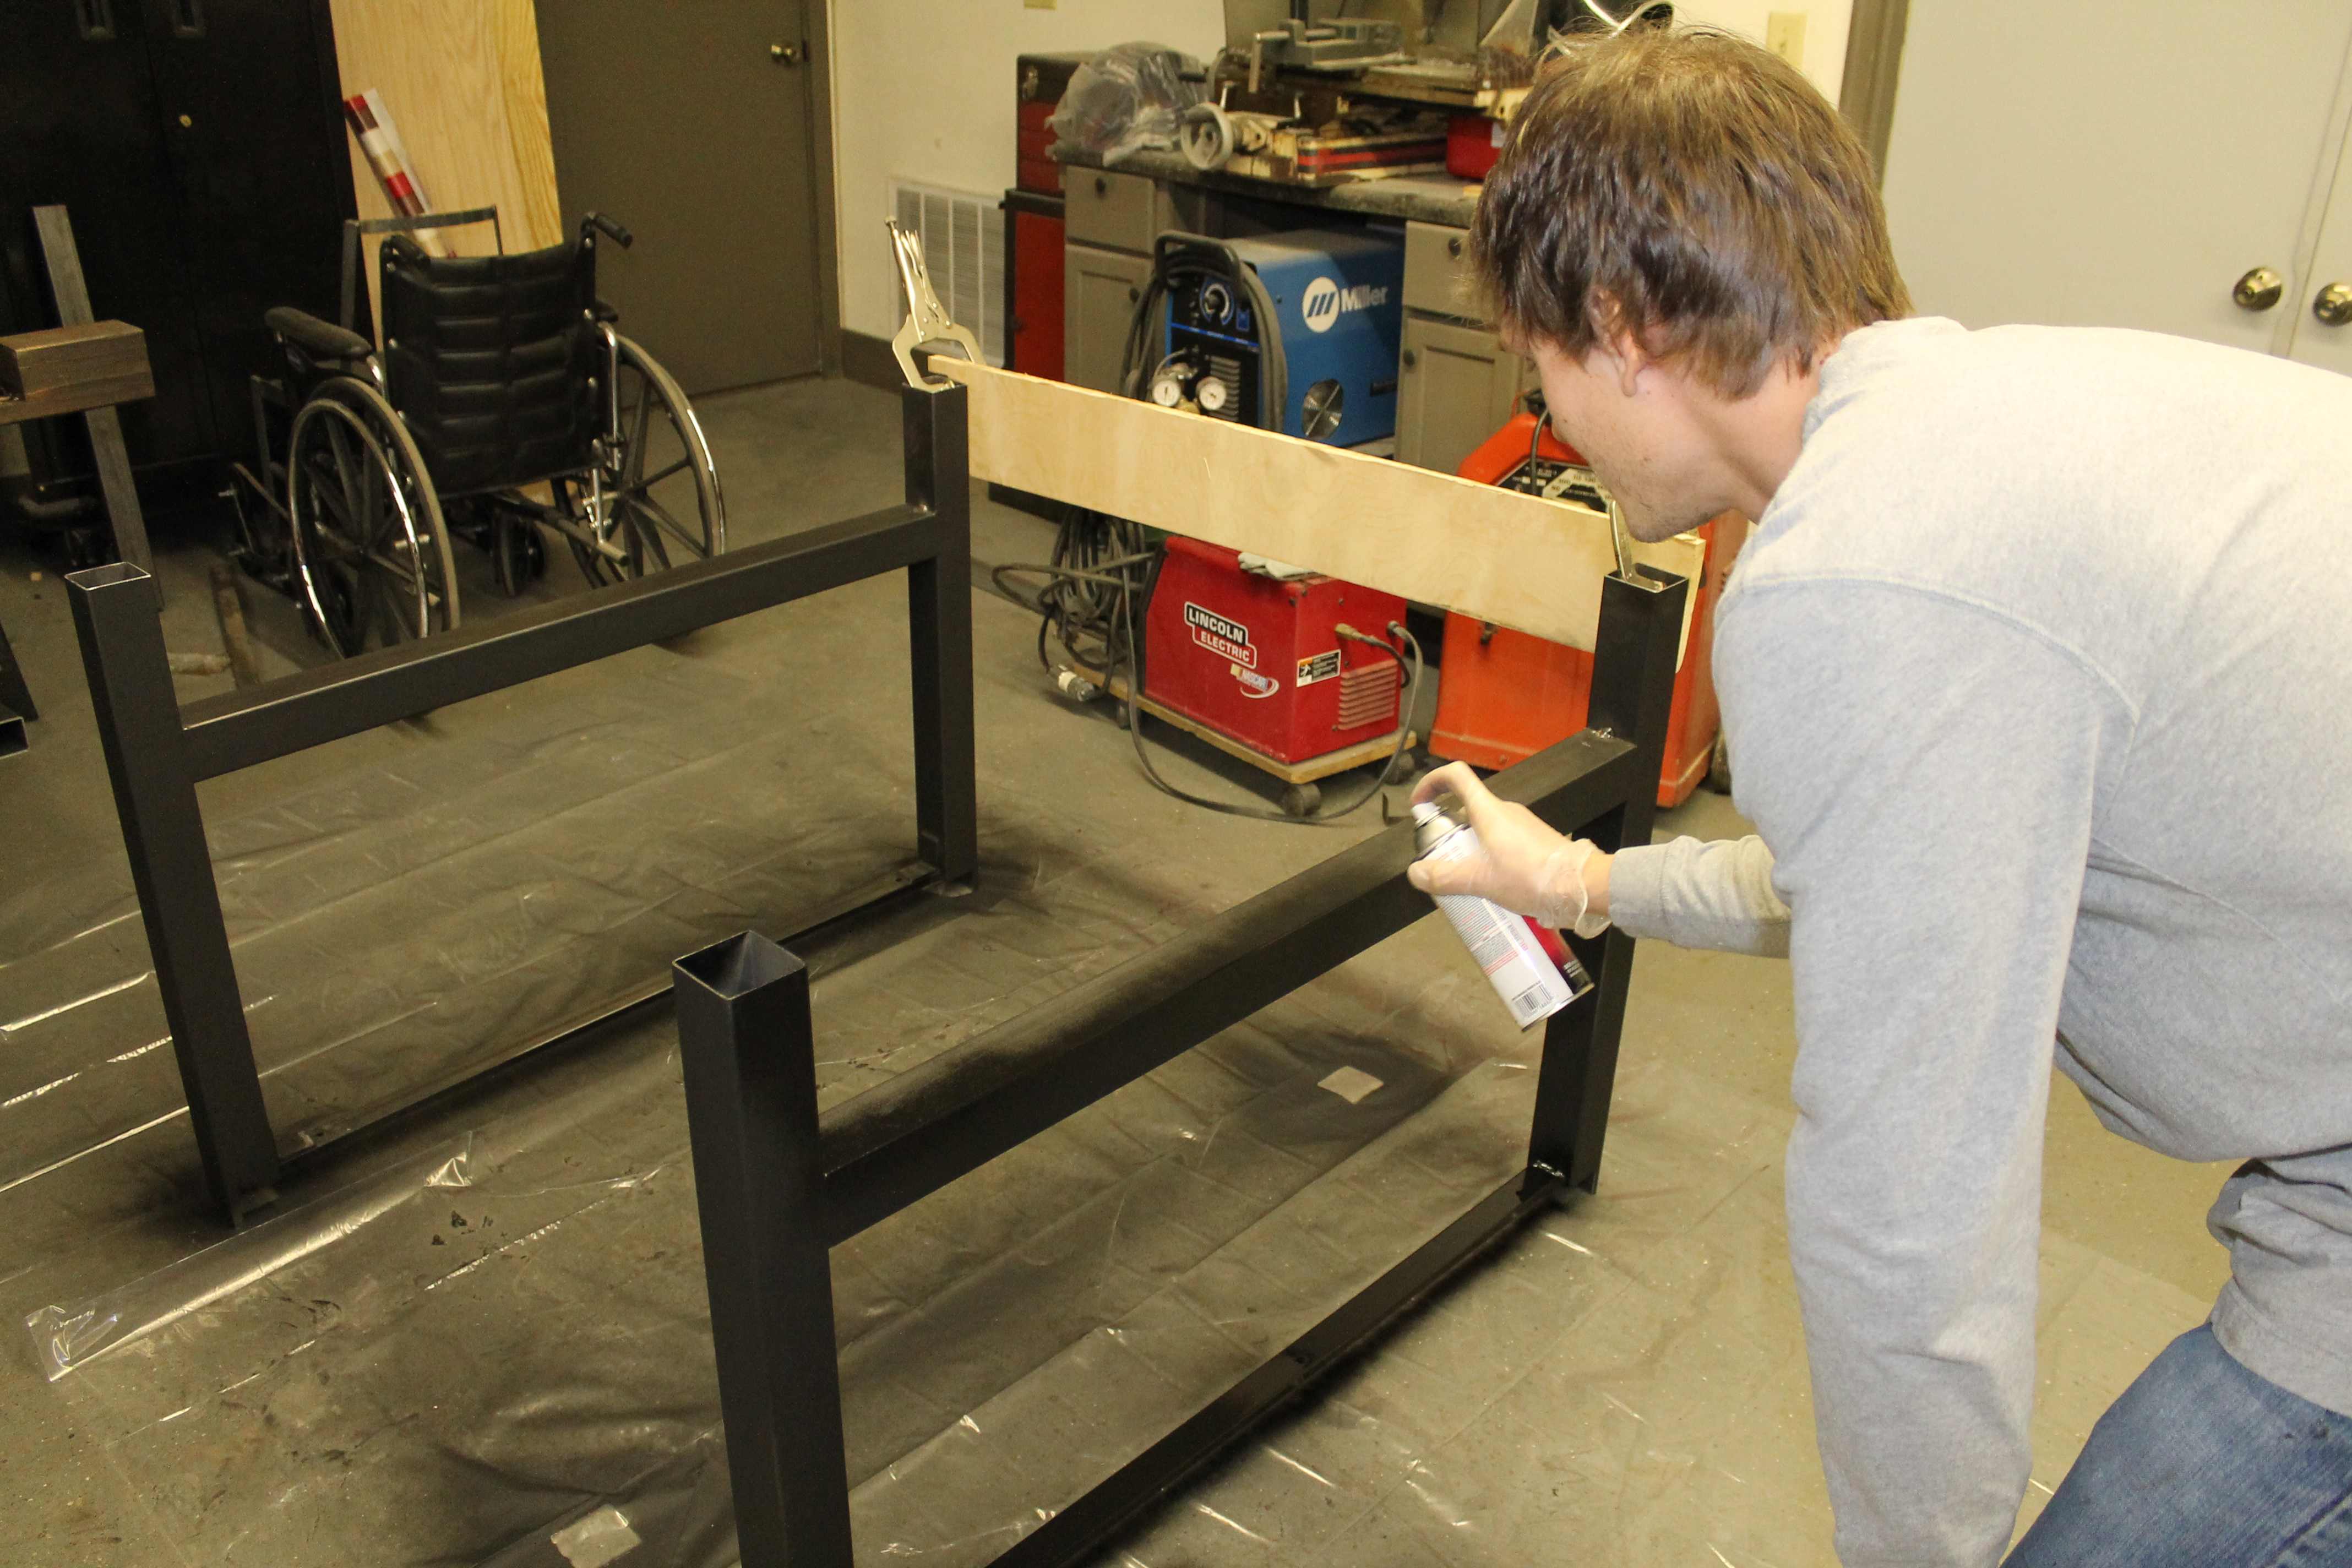
We painted the metal with black spray paint.
We wanted to match the legs to the metal brackets. We bought metal tubing and welding the crossbars.
We connected the metal straps to the table legs. Jamie rouded the table top and side of the table so that the metal would be flush with the wood.
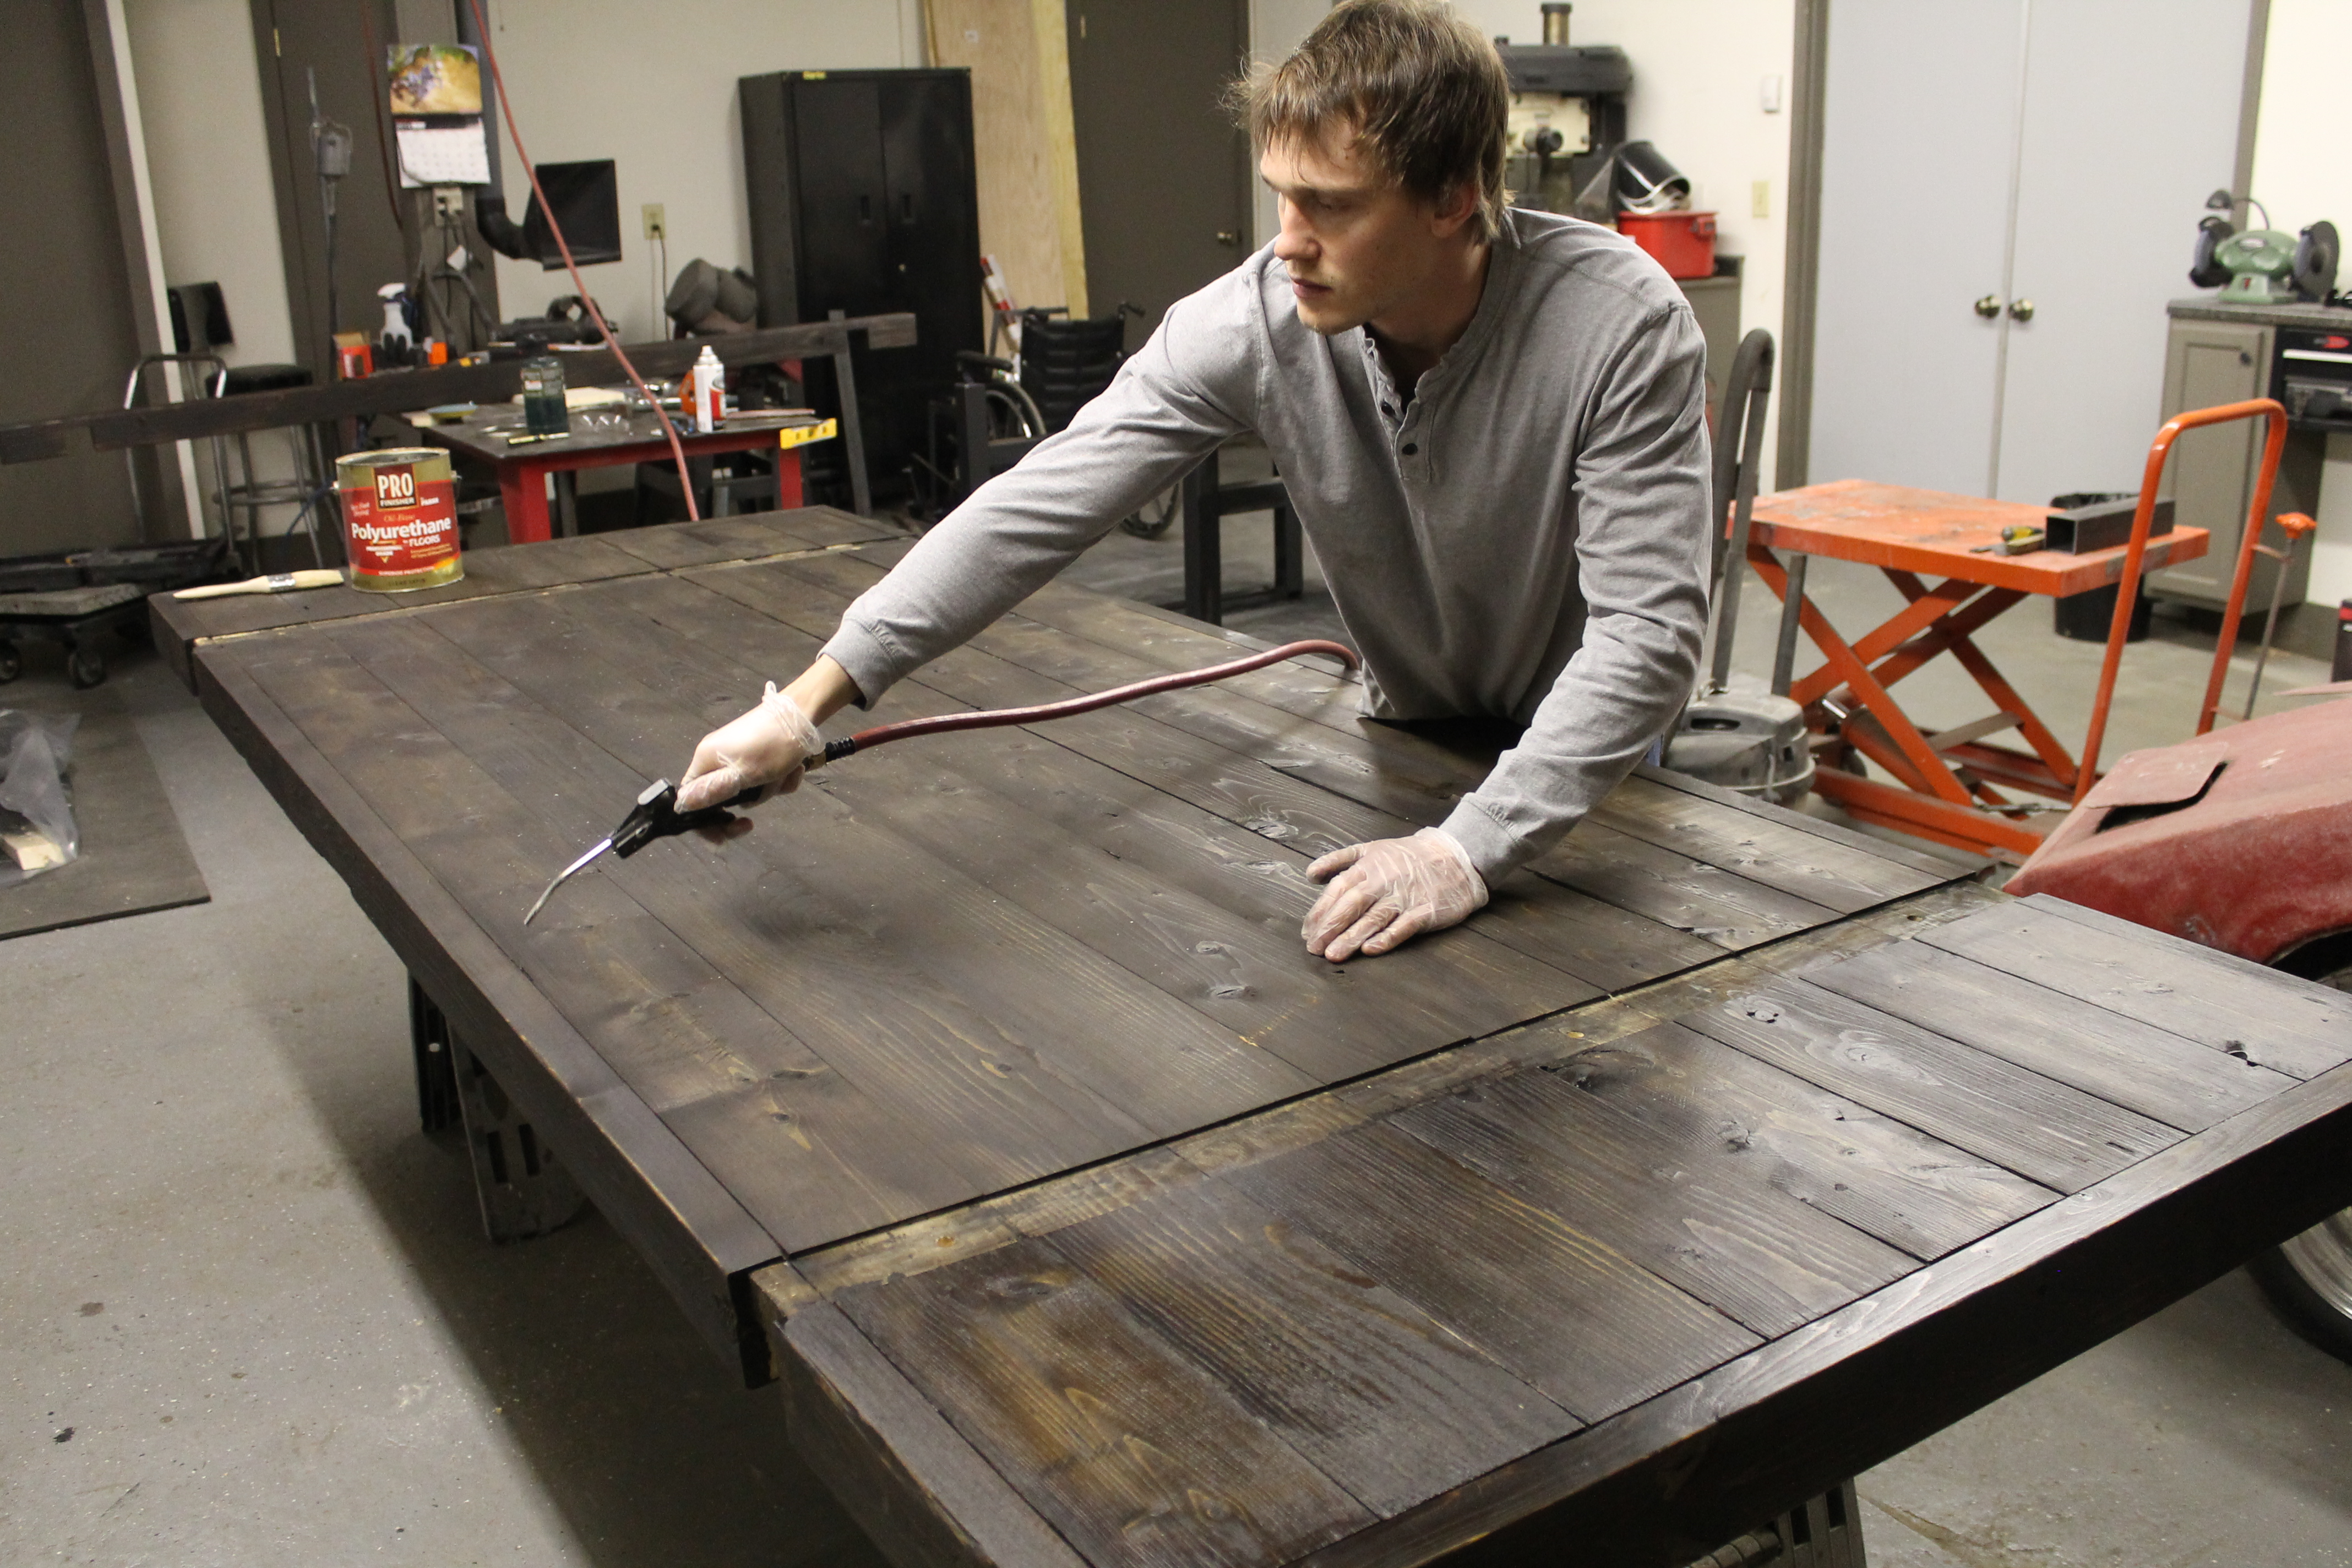
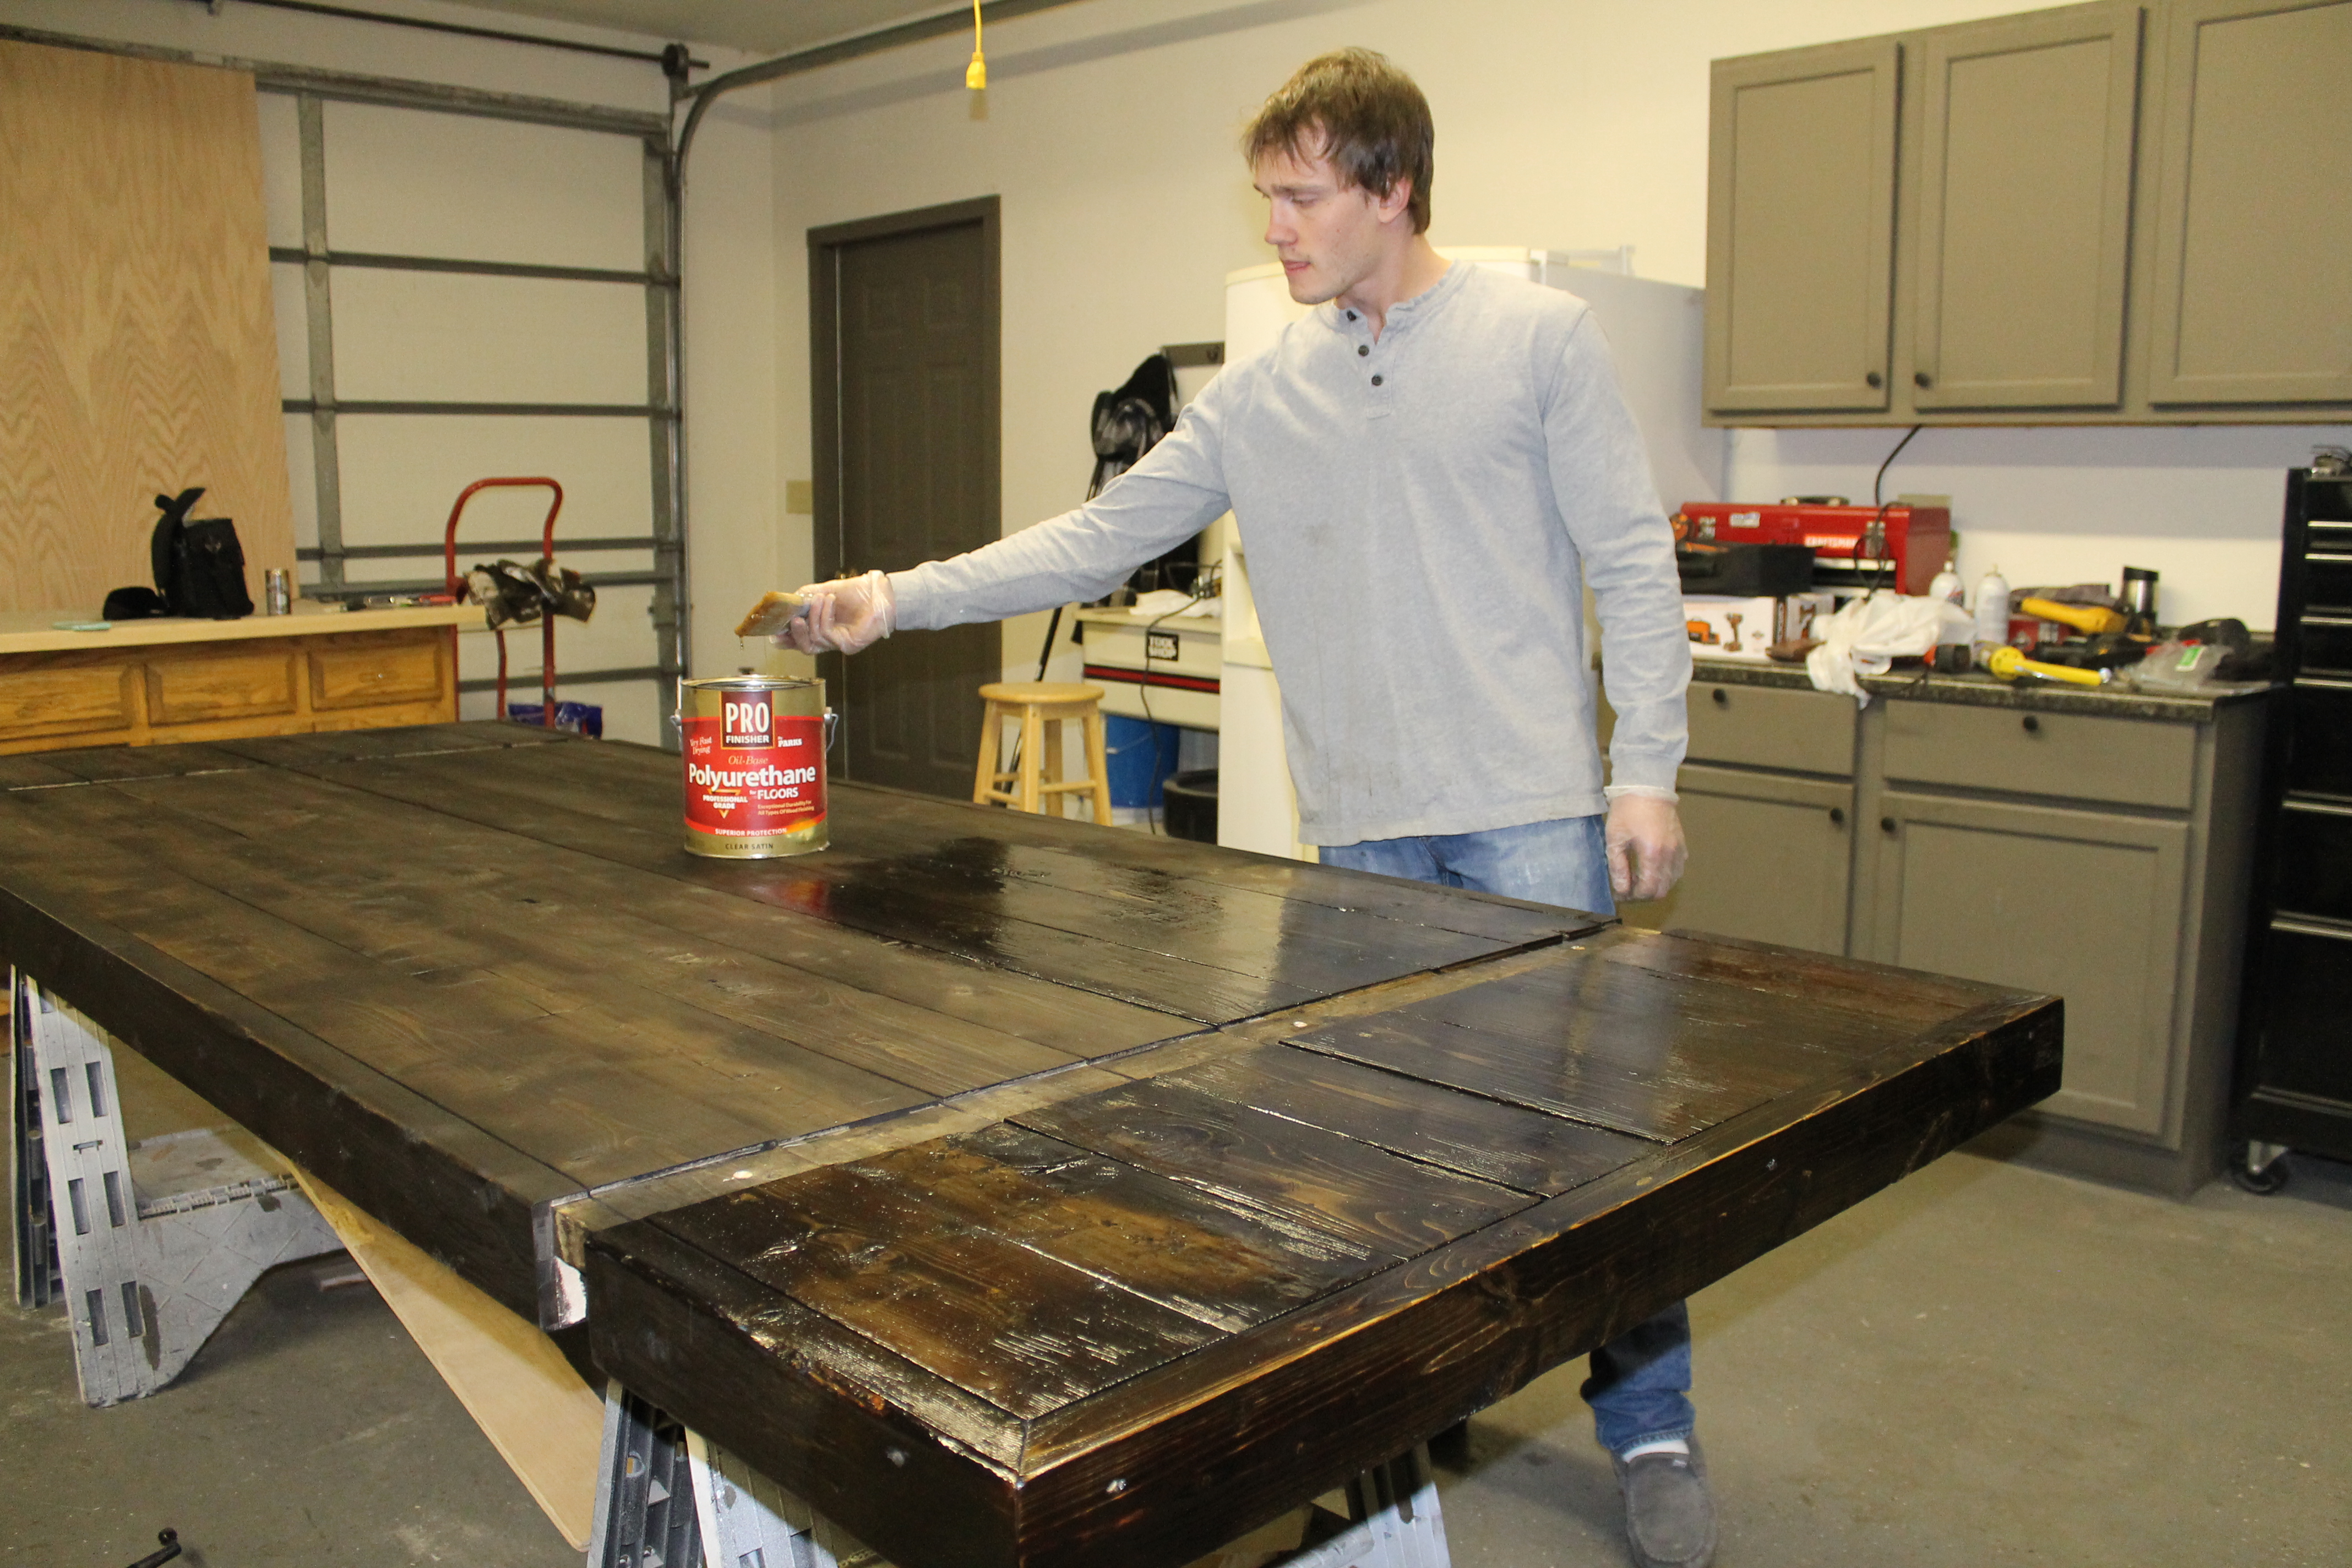
We always use an air compressor to clean the table prior to staining and sealing. We used dark walnut for the stain and sealed the table with polyurethane.
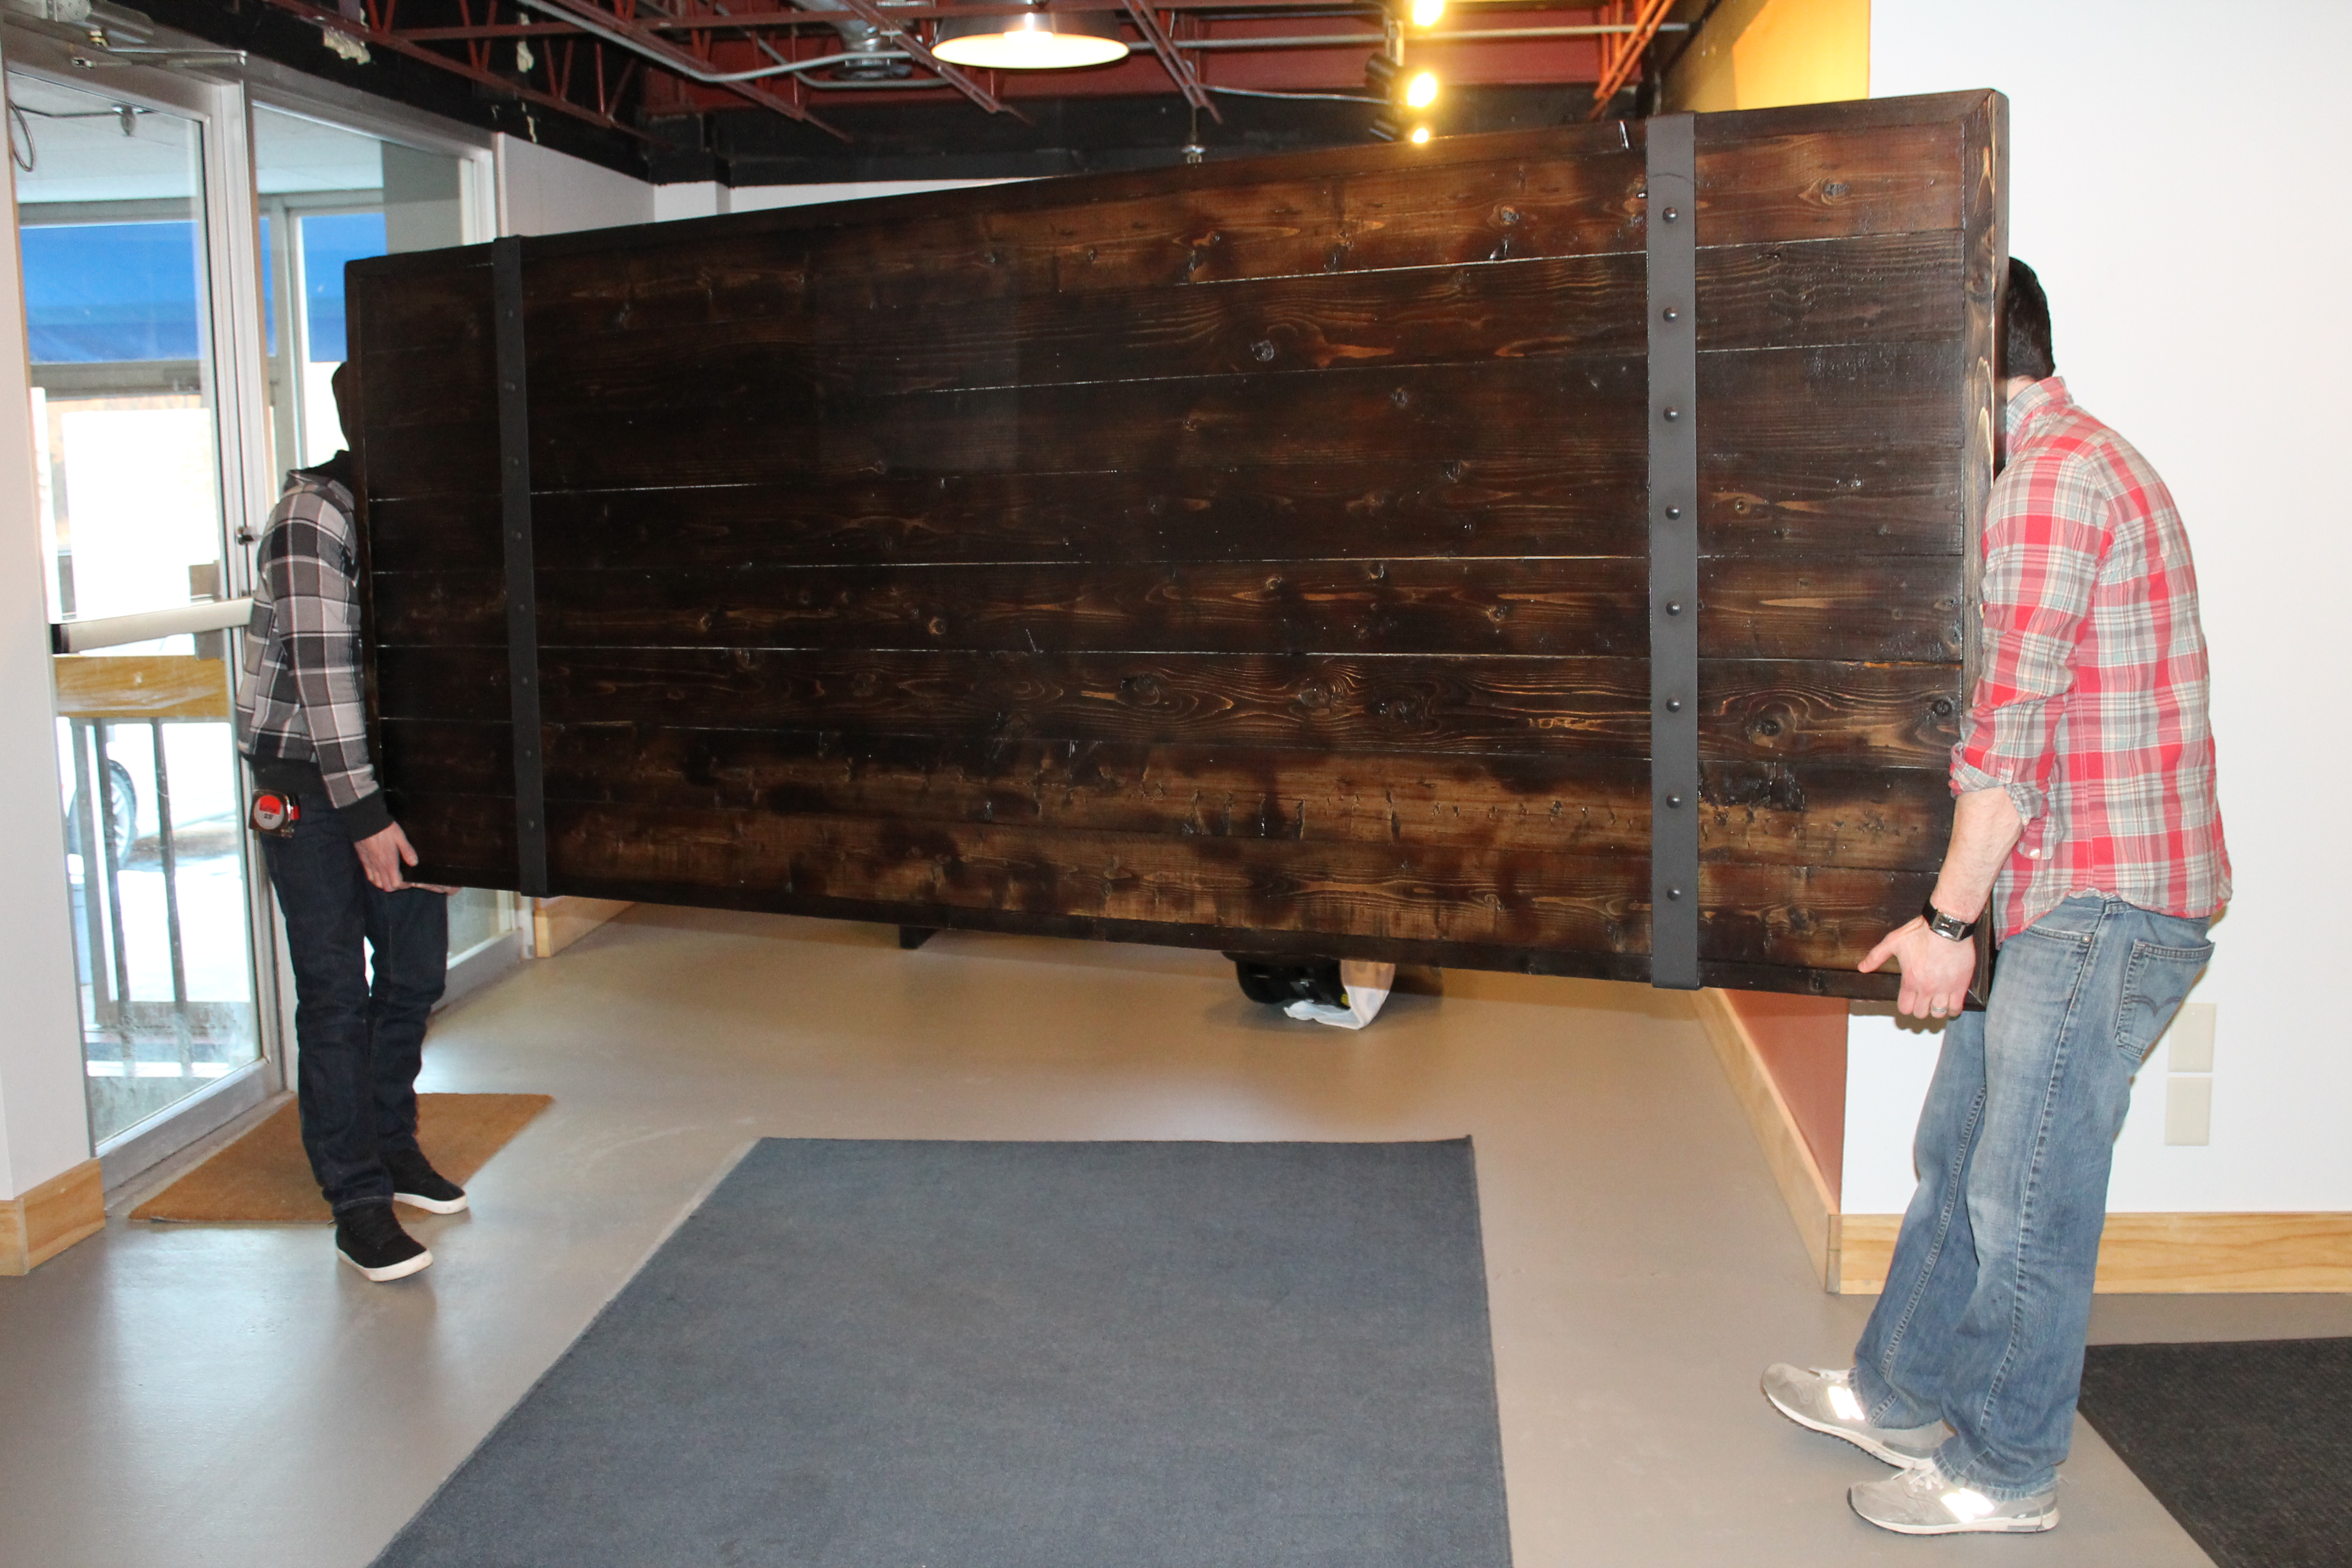
This table was not an easy thing to lift and haul in!
We are so happy with how it turned out! It has helped give the room a whole new look. Now to get new chairs that go better with the style of the table…
Can’t wait to show you the finished room soon!!
Comments are closed.