We are all about ways to optimize our home and create space-saving storage solutions this year! I heard that living a more organized life makes you more productive, so today we wanted to share 18 space-saving solutions that we’ve done or are trying out now.
1. Remove the Clutter
Before looking for more storage in your space, remove the current clutter you already have. If there are items in your closets and storage areas that you got as a gift and have never used, nor plan to, it’s time for them to go. Get rid of trash or items not worth keeping and donate or sell the rest. Only keep items that you use on a regular basis or that are important to you.
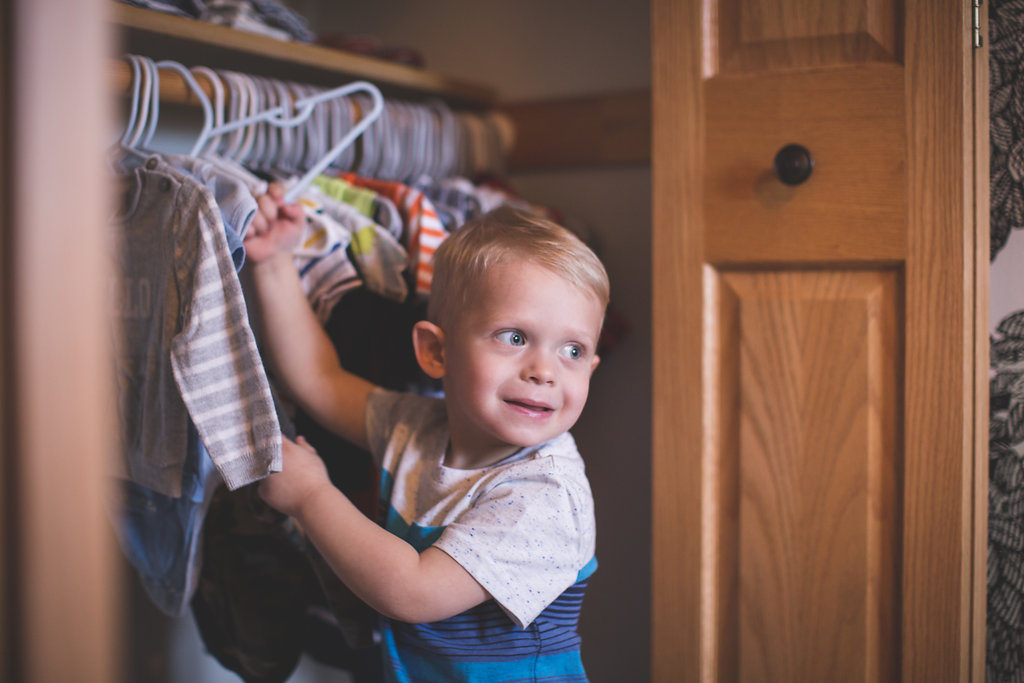
I’ve been doing this throughout this past cold month of January when I don’t want to leave the house. Room by room, slowly but surely I’ve been going through closets, and if I know our family hasn’t used or warn it within the past year, I’ve been putting it into our guest bedroom. I figure if I don’t look at it until spring, which is still four months out, it’s time to get rid of it and have one big rummage sale! This is also the perfect time to go through all of your children’s clothes and get rid of the clothes that no longer fit them and are just taking up space.
2. Categorize & Label Your Stuff
Everything, even your stuff, needs a home. When your stuff is out of control and all over your home and storage areas, it’s easy to feel like you don’t have enough space to store it all. By organizing your stuff into like piles and having a home for everything, you’ll cut back on the clutter and know where to find items.
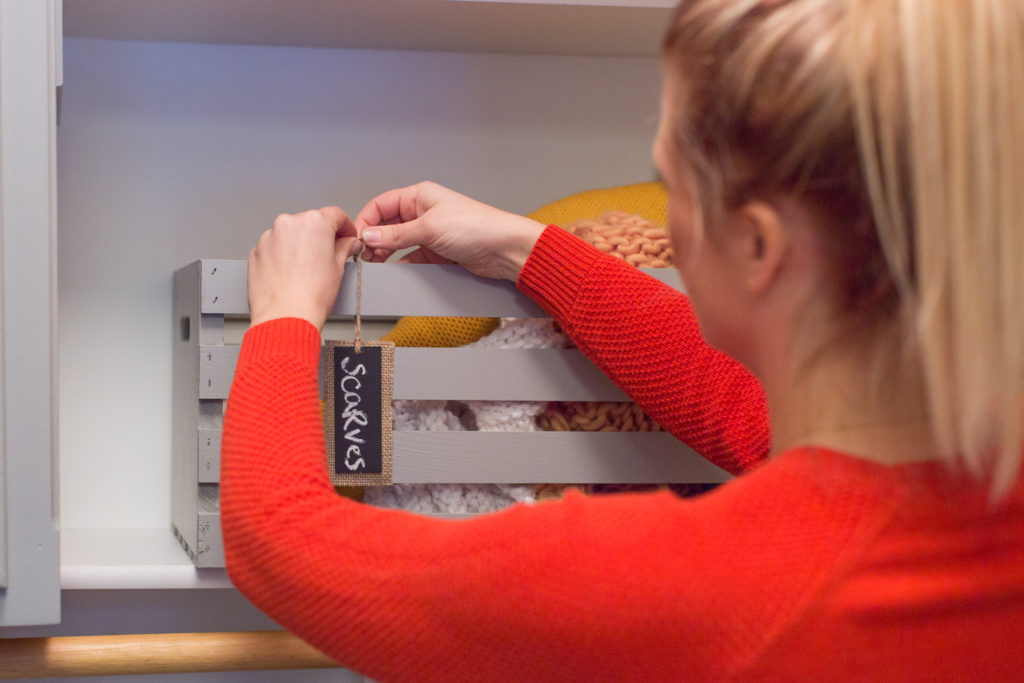
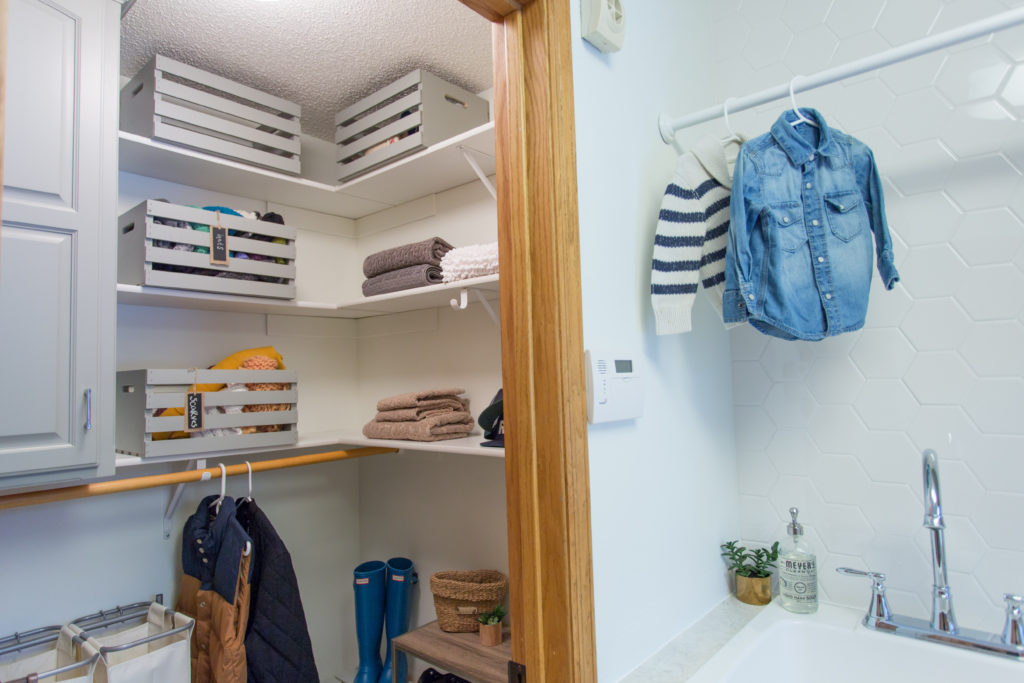
For our mudroom, we organized all of our items by hats, gloves, scarves, and more to stay organized. This was a perfect time to go through all of our worn out or not worn items and to declutter too. The labels are so helpful because when anyone comes in from outside, they know exactly where to place their items instead of throwing them on the floor or into a pile which then quickly starts to feel like we have no space.
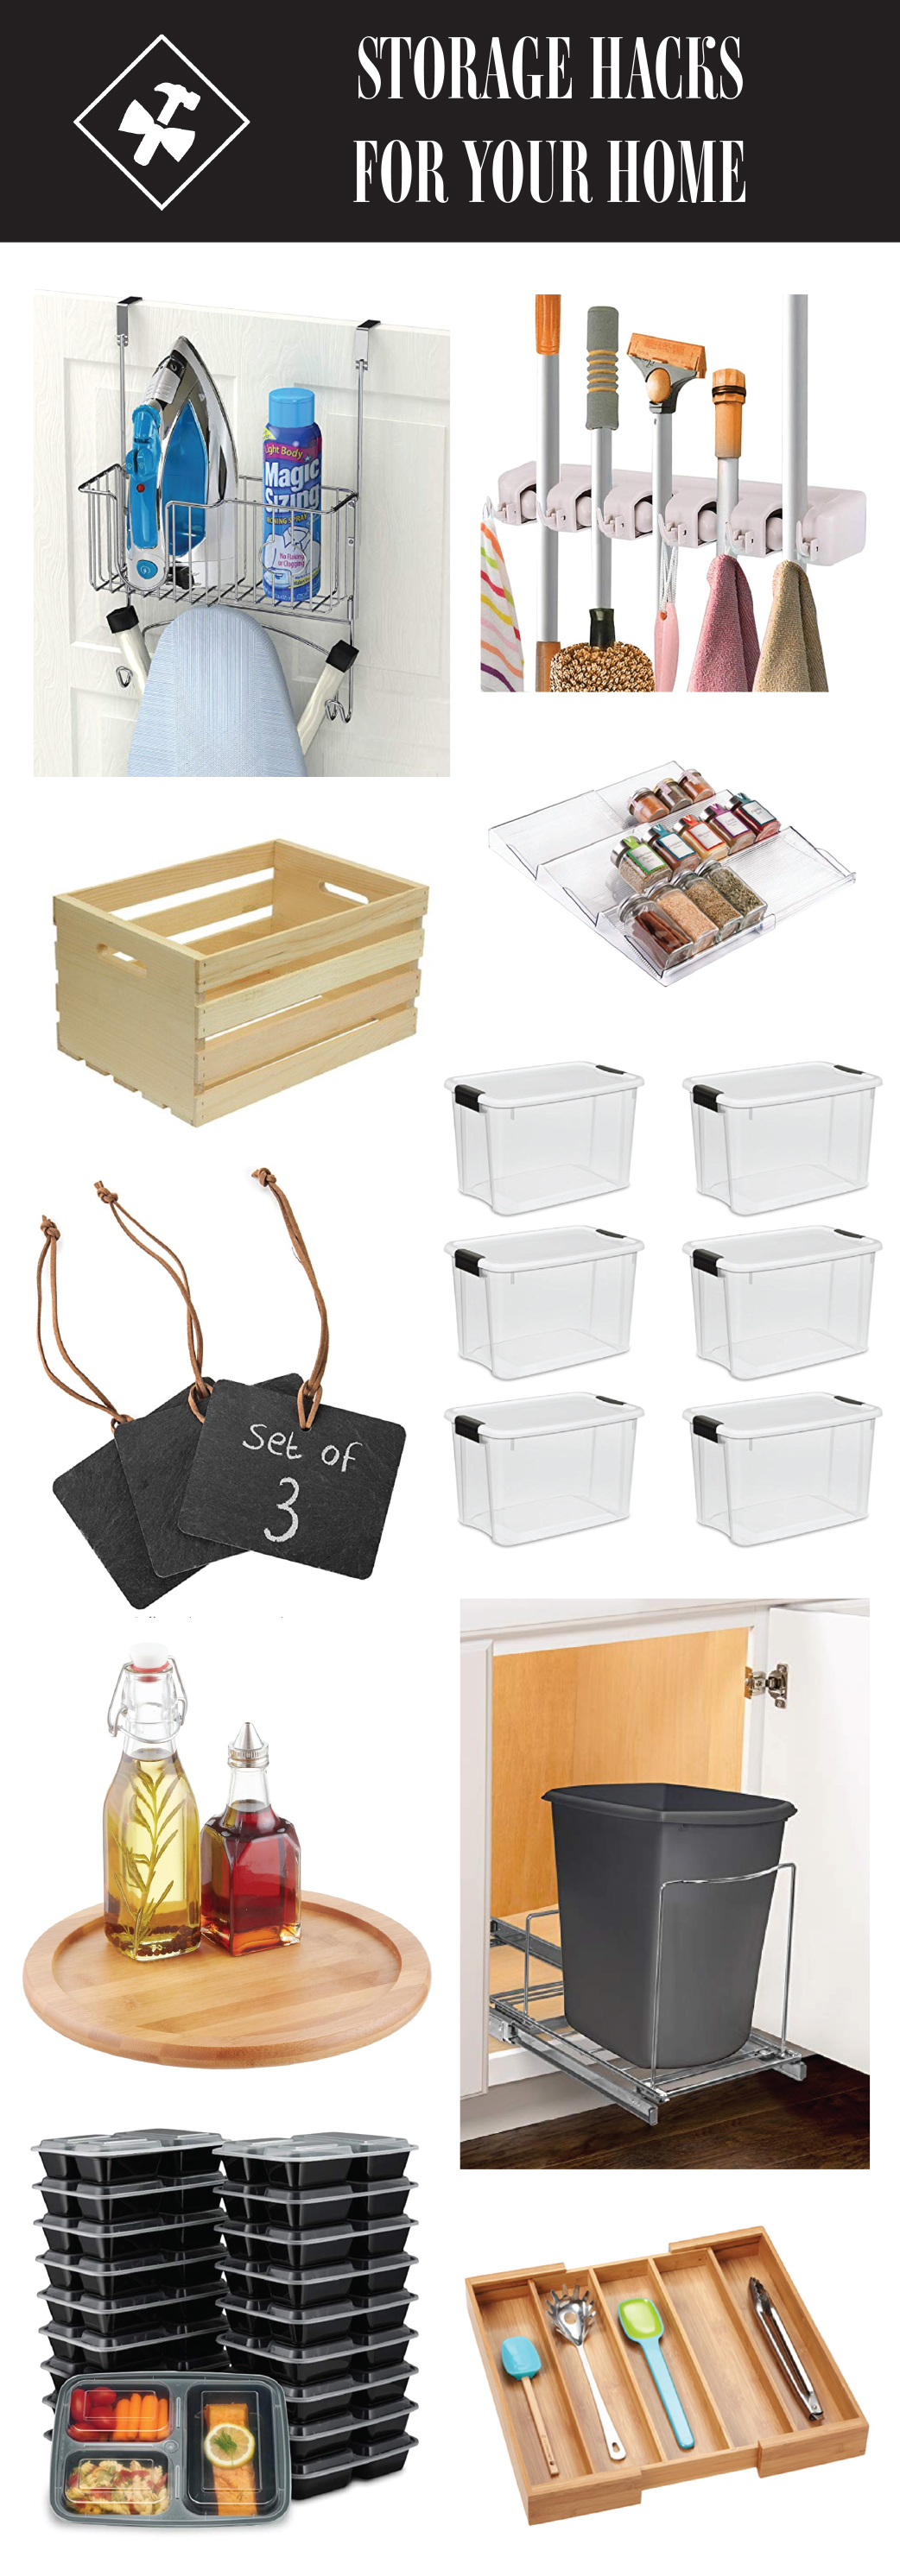
I couldn’t find our exact chalkboard tags but here are similar ones that are really cute.
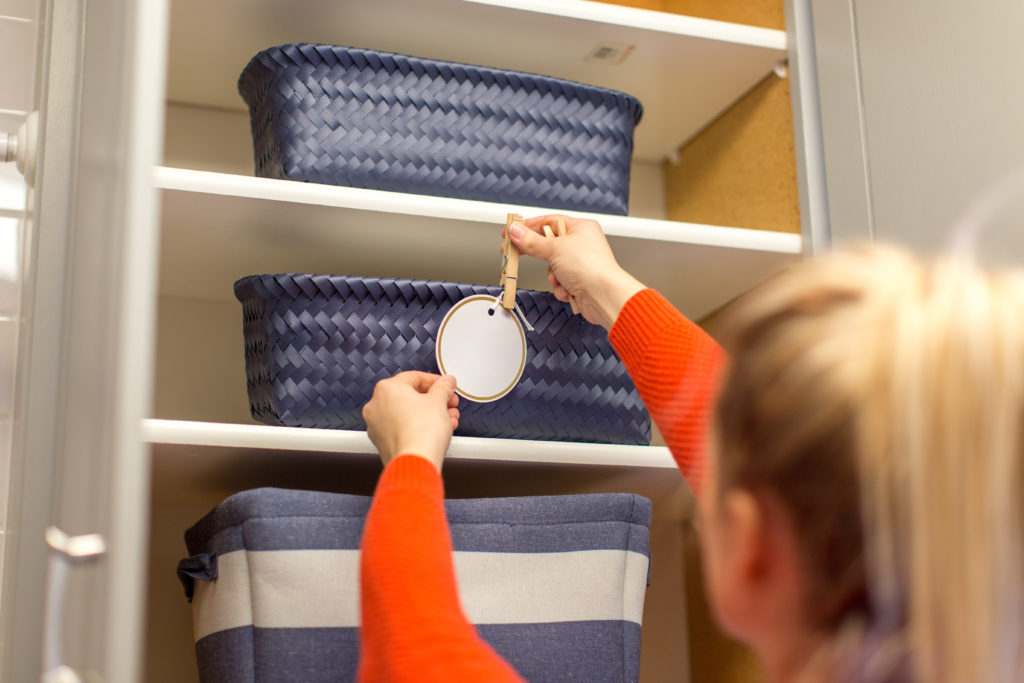
Even in the cabinets we try to use as many mini baskets as we can to categorize and then label our goodies. We got these top baskets and labels in the $1 store section of Target. We also score a lot of organizing bins and labels at the actual dollar store too.
The labels also make for a fun DIY activity. All you need is some paper and clothespins.
3. Storage Bins for Change of Seasons
We bought our crates and then spray painted them gray. Here’s a link to the cheapest crates I could find online, and here’s another one in a mini version. Currently, our mudroom is filled with hats, gloves, and mittens, but once summer rolls around these all go into storage and out comes the sun hats, beach towels, and flip flop bins.
4. Buy Clear Bins and Storage Solutions
Rather than cramming stuff into your closets, buy clear bins, shoe racks, and file cabinets to keep your items organized.
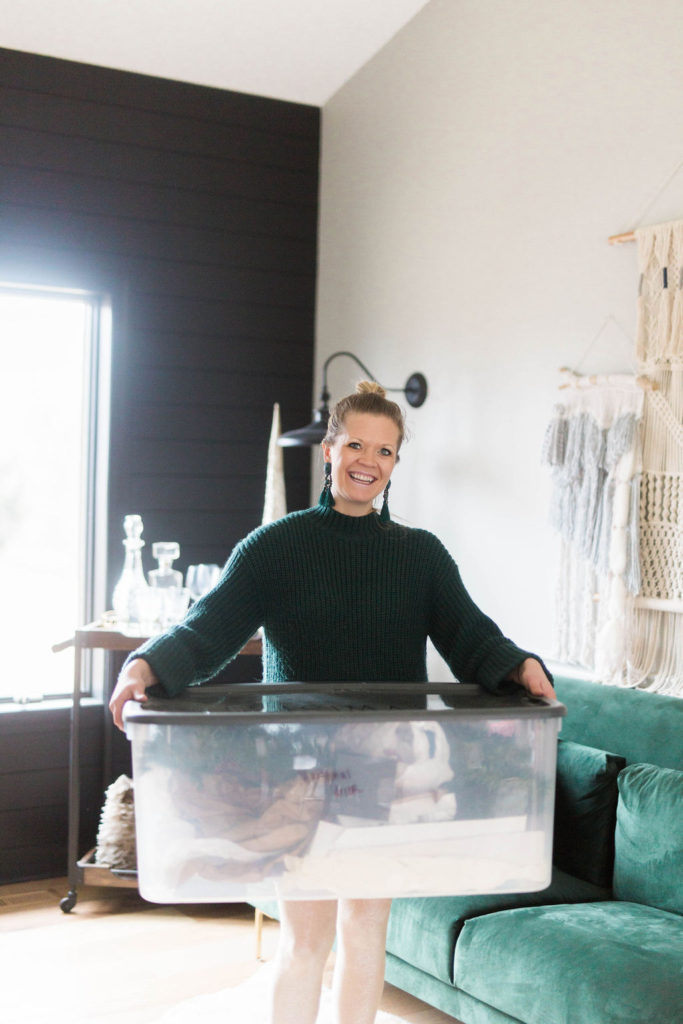
Buying clear storage bins is the way to go, so you can see what’s in your bins when you forget. We always label the outside and top of bins with the category of goodies, such as “Christmas Decor” or “Boys 1-6 months clothes.” Then when it’s out of season or when we’re not using it we store it in our garage, stacked.
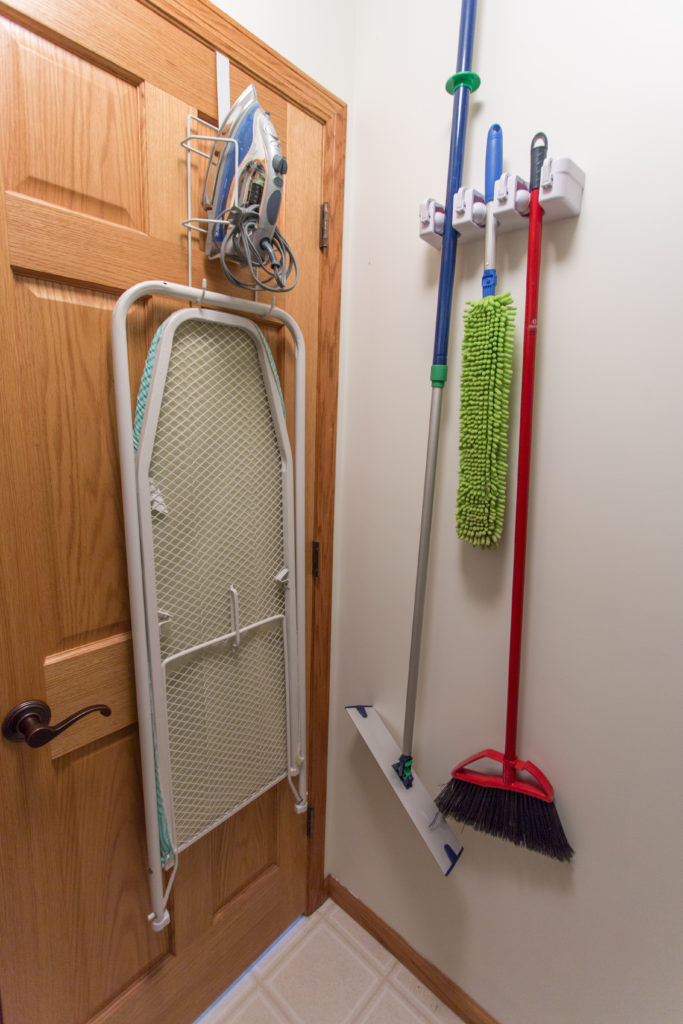
Turning your closet from an overstuffed mess into a practical and organized space will instantly feel like you have more storage. Putting your ironing board on the back of the door instead of into a closet with an organizing system will save a ton of room. Same for buying a broom holder to keep them off the floor that will eventually be in a pile all over the floor once your kids see them.
5. Meal Prep Bins
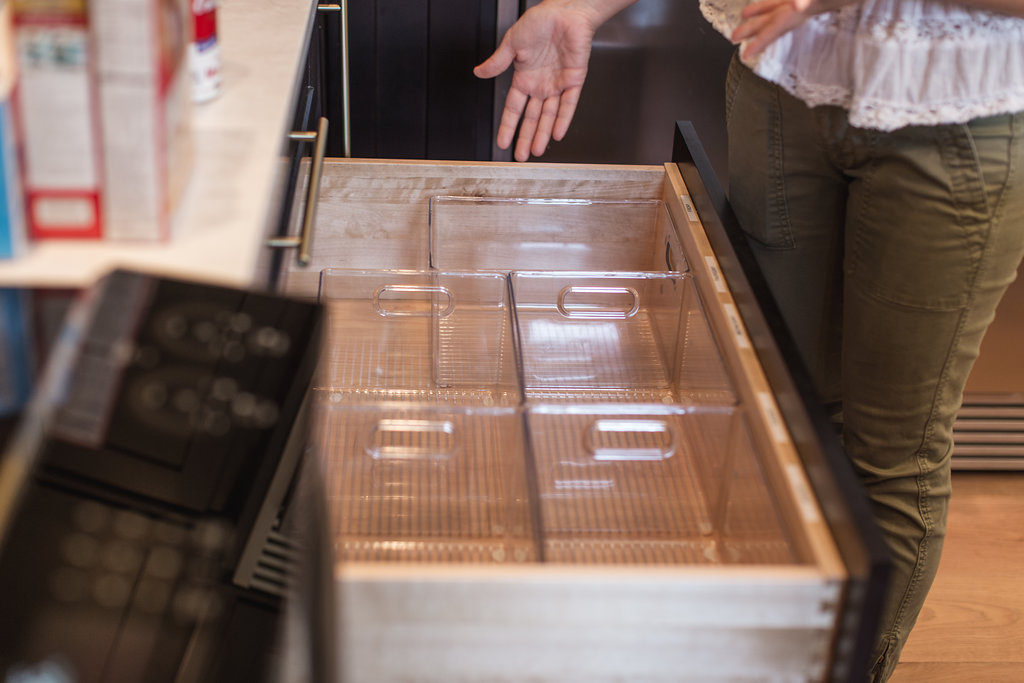
These have been a game changer for us. We’ve paid closer attention to what we buy when it comes to groceries and have been able to cut our grocery bill in half because of these meal prep bins. We have them labeled Monday – Friday on the lip by the front panel, and that’s the only groceries we buy. Unless something is on sale that we can freeze, then we buy in bulk. This drawer in our kitchen is, for the most part, the only drawer in our house that has food in it.
We got our bins from The Container Store, but you can find similar ones for less here on Amazon.
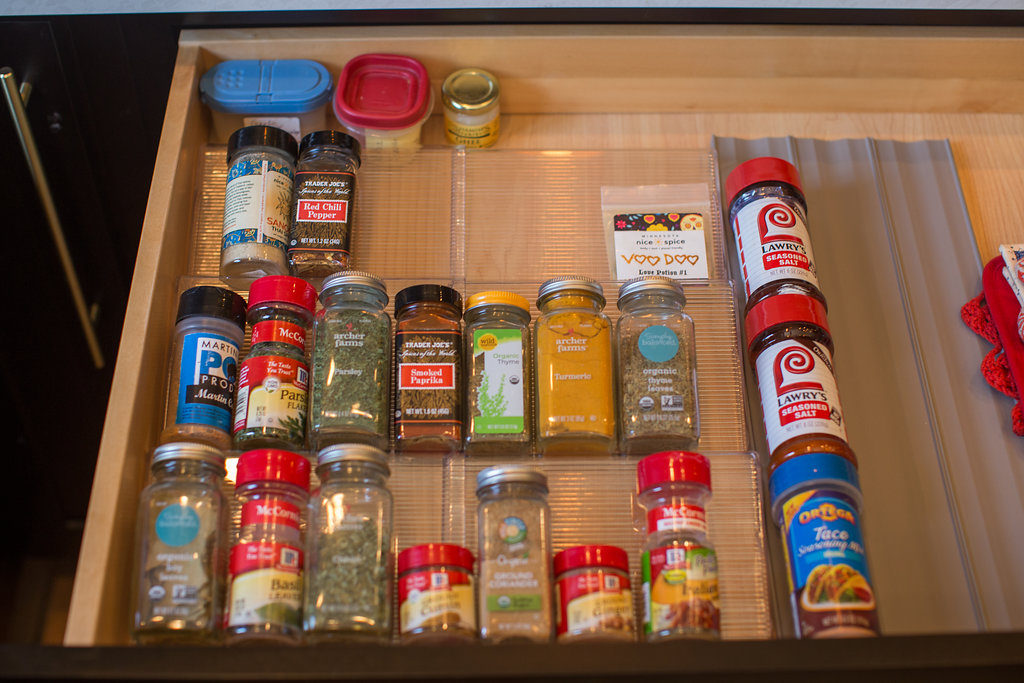
6. Drawer Spice Rack
After we remodeled our kitchen, we had Neat Method come over and help us organize our kitchen to find all of the space saving solutions that we could. All of these organizing hacks have helped us save money in the long run.
Who would have known that investing in storage solutions would help you save money?!
One of the cool things I loved and didn’t realize was how many expired spices we had. I didn’t even know spices could expire!! Putting your spices in a shallow drawer, so you can actually lay them down and see what seasoning you have and use them! I think I was probably buying spices I already had because I couldn’t find them in the hundreds I had stuffed in our lazy susan. As you can see, I had double the Lawry’s salt that will take me years to use.
You can find the slanted tiers we used off Amazon here.
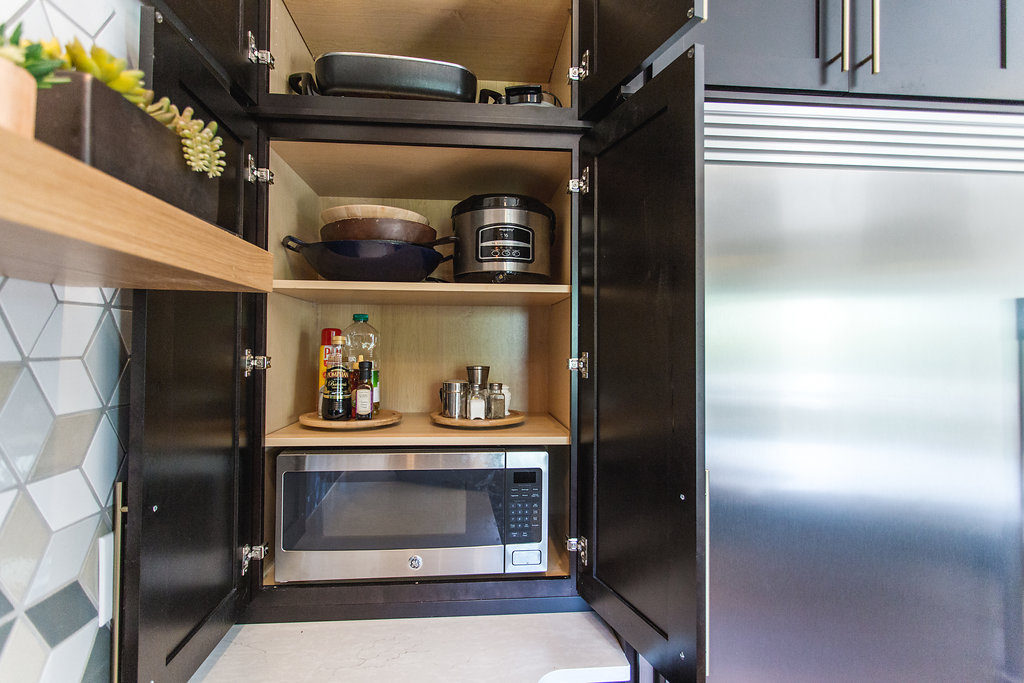
7. Lazy Susan in Cabinetry
You should have seen the before of this pantry; you couldn’t even tell what we stored in here. Once all of our goodies had a home, it only made sense to put the salt, pepper, and oils above the microwave and to the right of the cooktop. Investing in spin wheels will not only help you keep your goodies organized, but you’ll be able to see and get to them right away. We got our bamboo lazy susans for under $10.
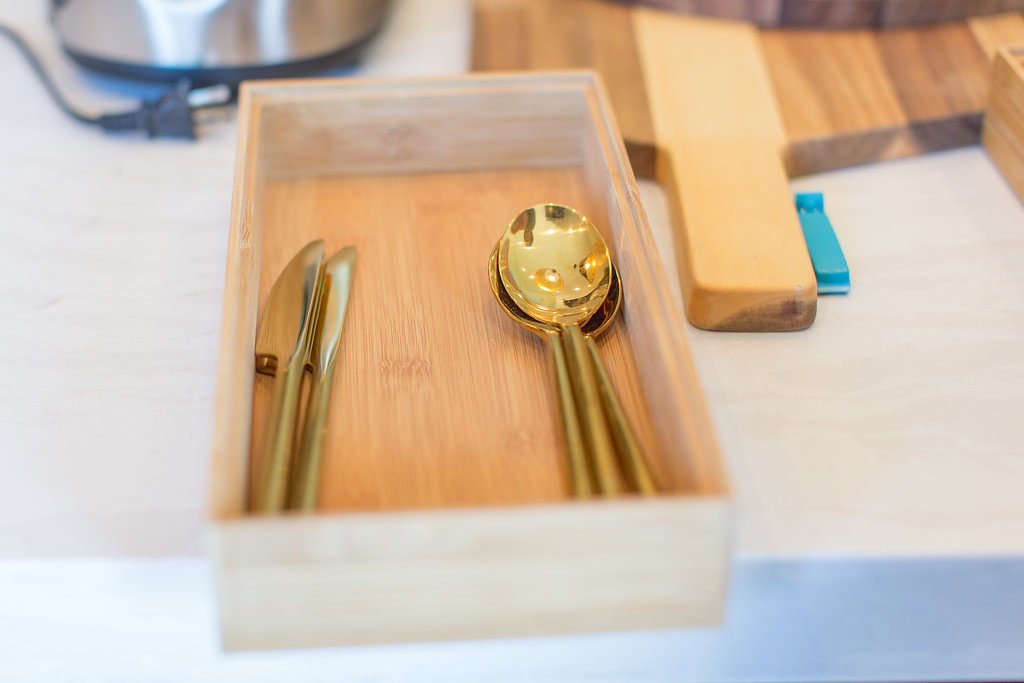
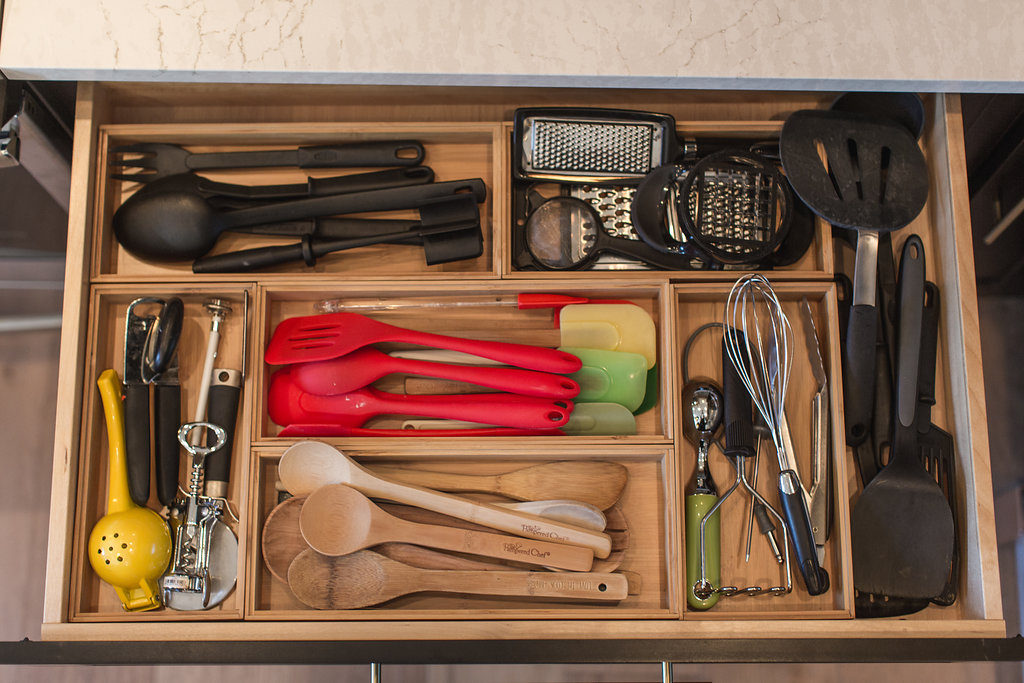
8. Use Tray Dividers
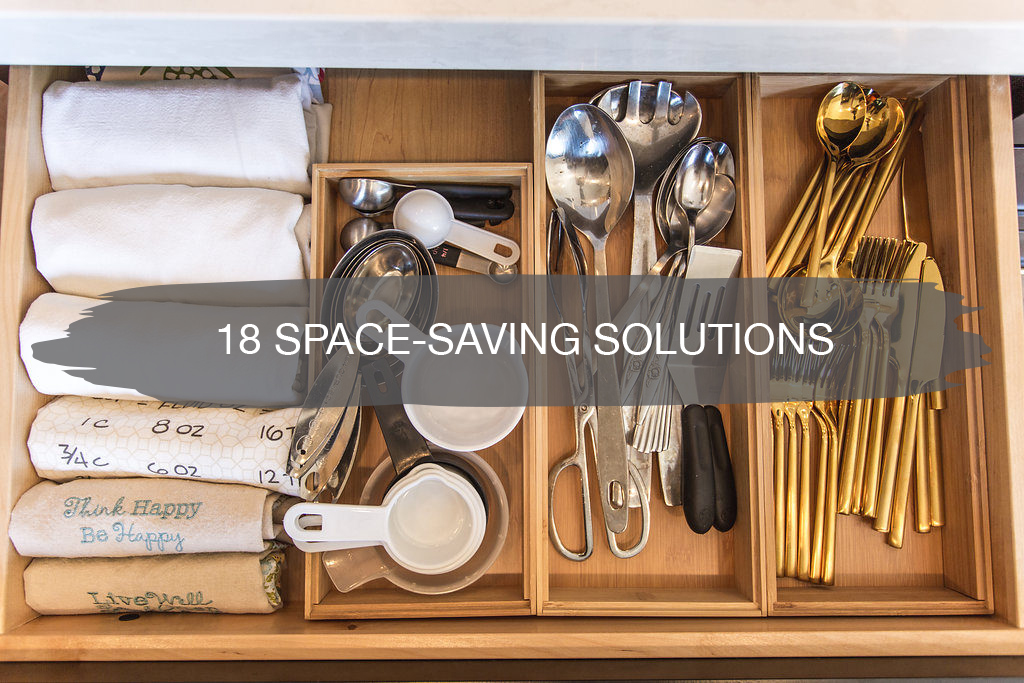
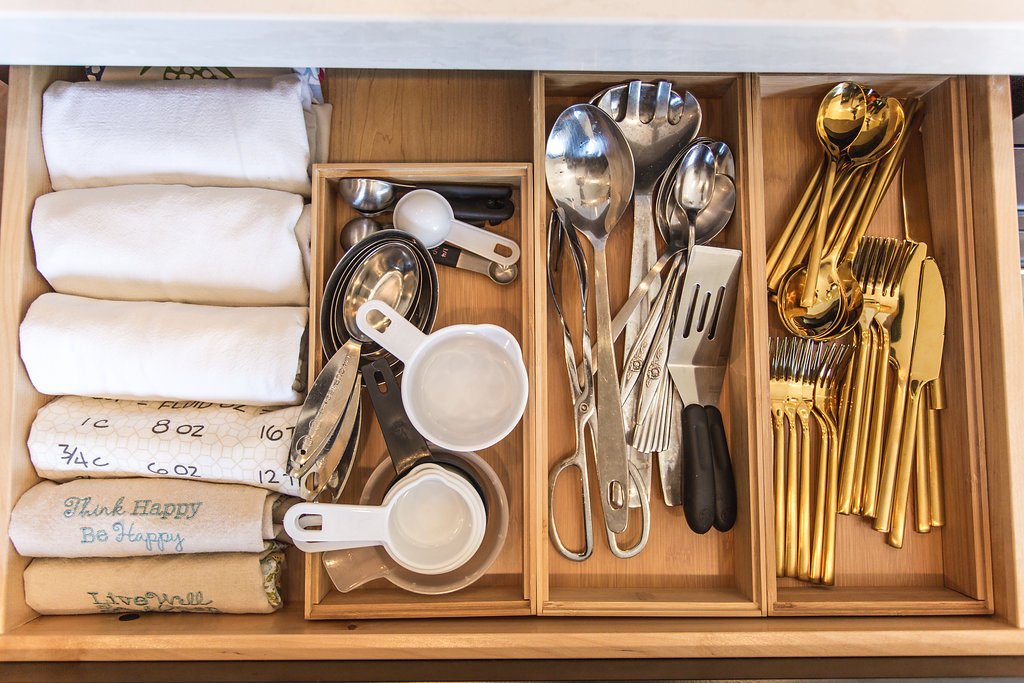
Use tray dividers in as many of your drawers as you can. What I love about these bamboo trays is that you can mix and match them however you like and create your perfectly organized drawer space catered to you.
We were able to use different trays in all sizes and organize by spatulas, grilling tools, wooden spoons, and gadgets.
The Container Store has a lot of different options, but if you’re new to this organizing stuff, I’d start by investing in the Bamboo Kitchen Drawer Starter Kit.
9. Pull out Slides in all Cabinetry
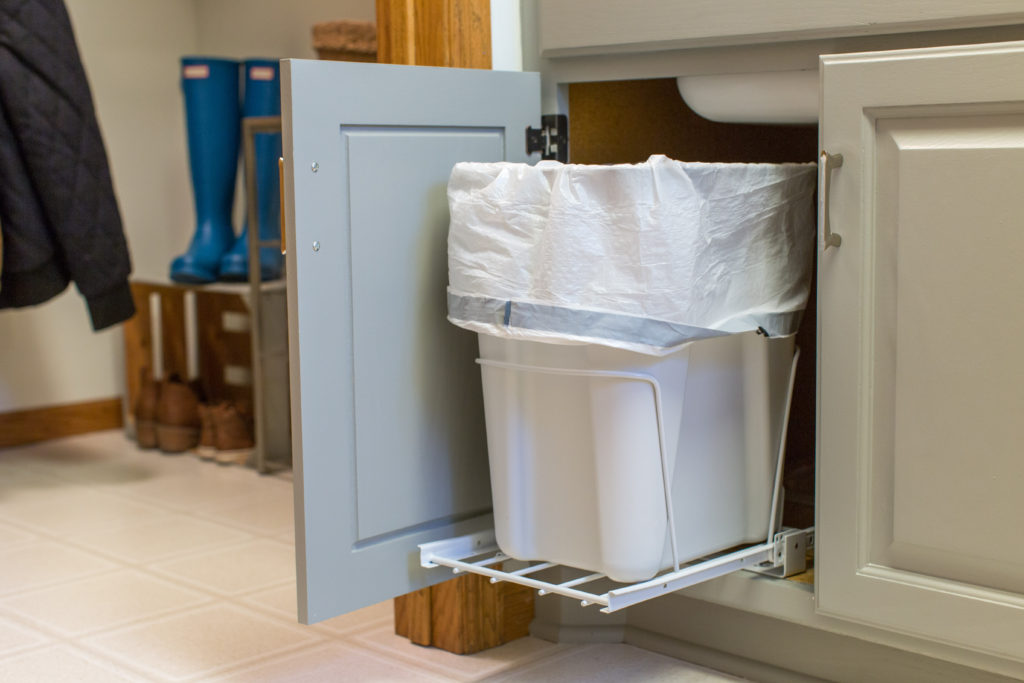
Having pullouts in your cabinetry is also a way to save on space. We had our trash and recycling built right into our kitchen cabinet when we remodeled instead of wasting space underneath our sink. We loved the pullouts so much that we invested in buying pullout under cabinet sliding organizers for all the other areas in our home that we had a trash can in our cabinetry.
10. Magnetic Sink Caddies
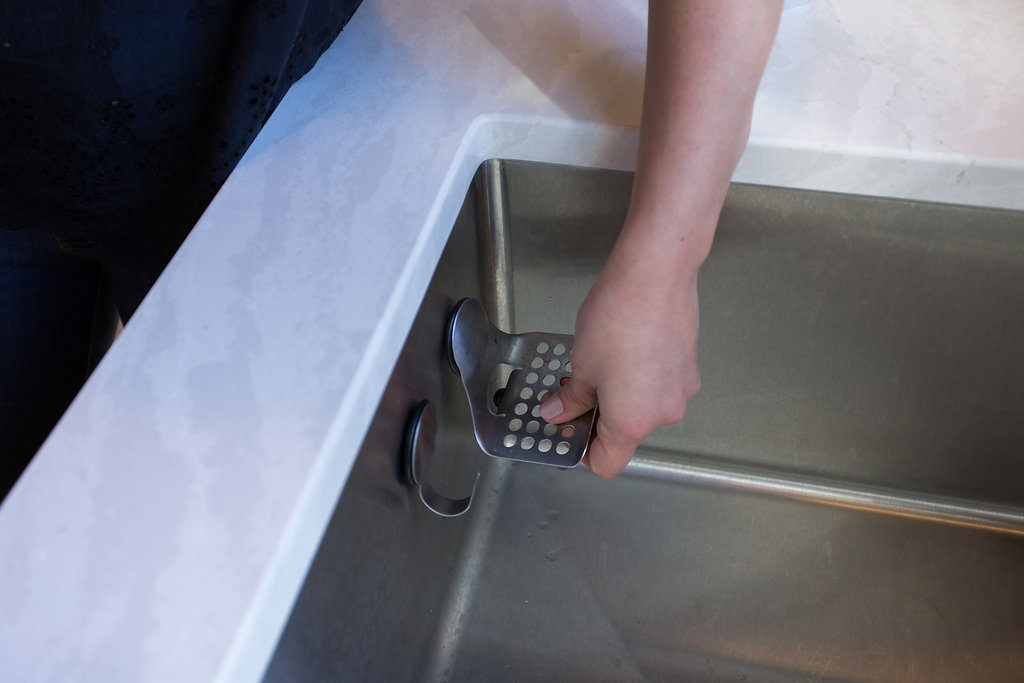
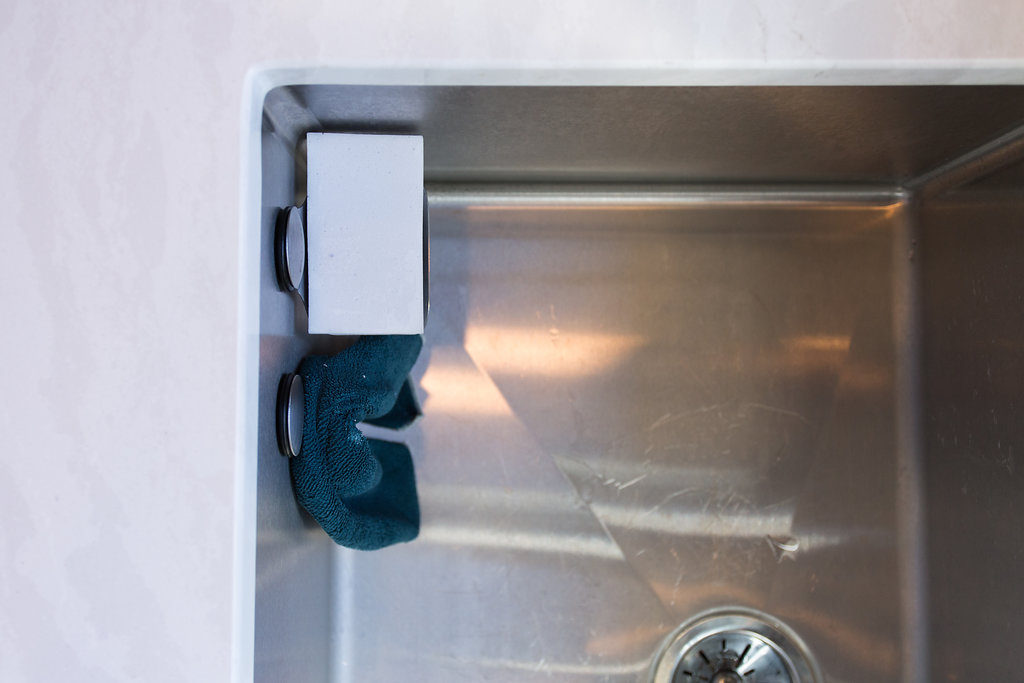
Even the inside of your sink needs some smart organizing! Put some magnetic sink caddies on the inside of your sink so that your guests can’t see your clutter and your rags don’t sit on the bottom of your sink and in water and get stinky!
Don’t worry, your sink doesn’t have to be magnetic, since most sink caddies give you a magnetic strip to put on the other side.
We got the Elkay set which is no longer available, but there are some others online and linked to similar here.
11. Craft Materials on Pegboard
Organizing our kids’ room has been the next best thing! Now that they both have organized rooms, they actually like to play in them, instead of dragging out all of their toys and artwork into our space.
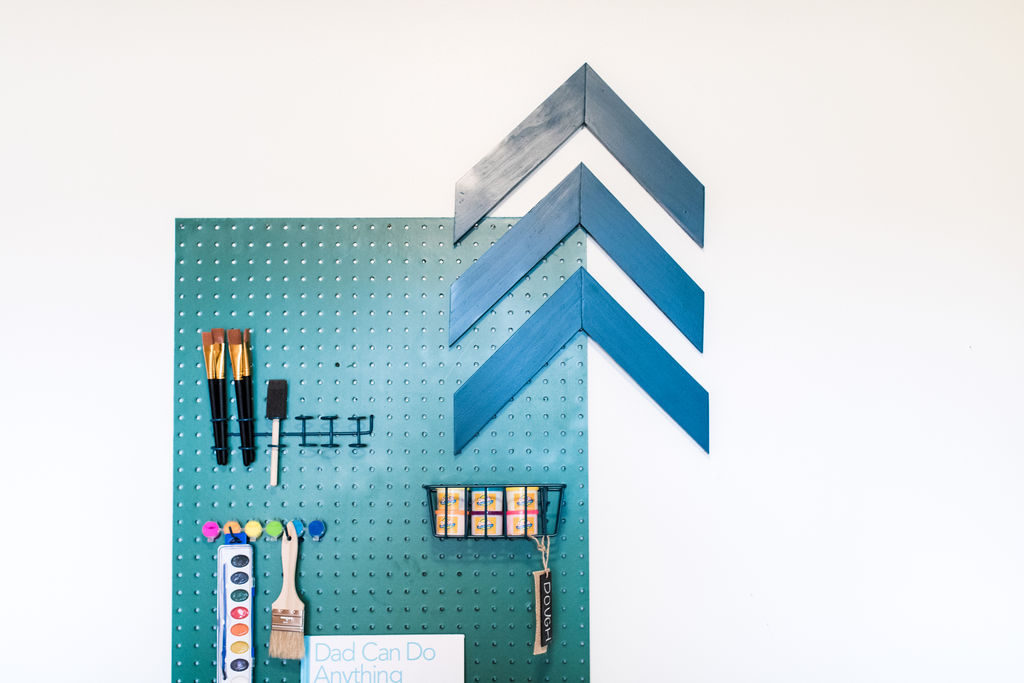
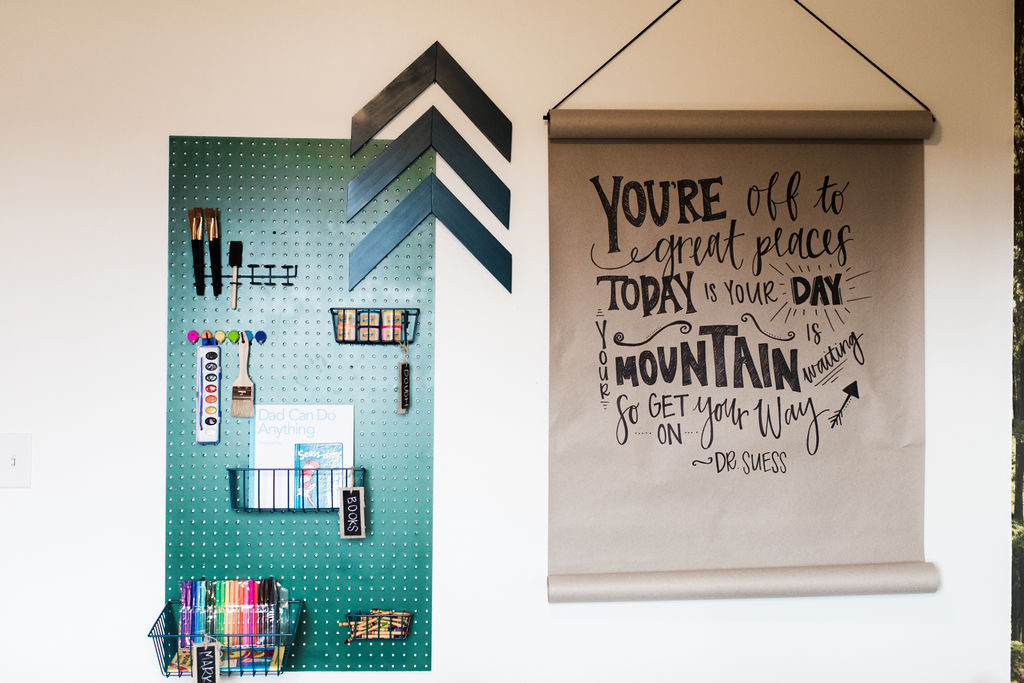
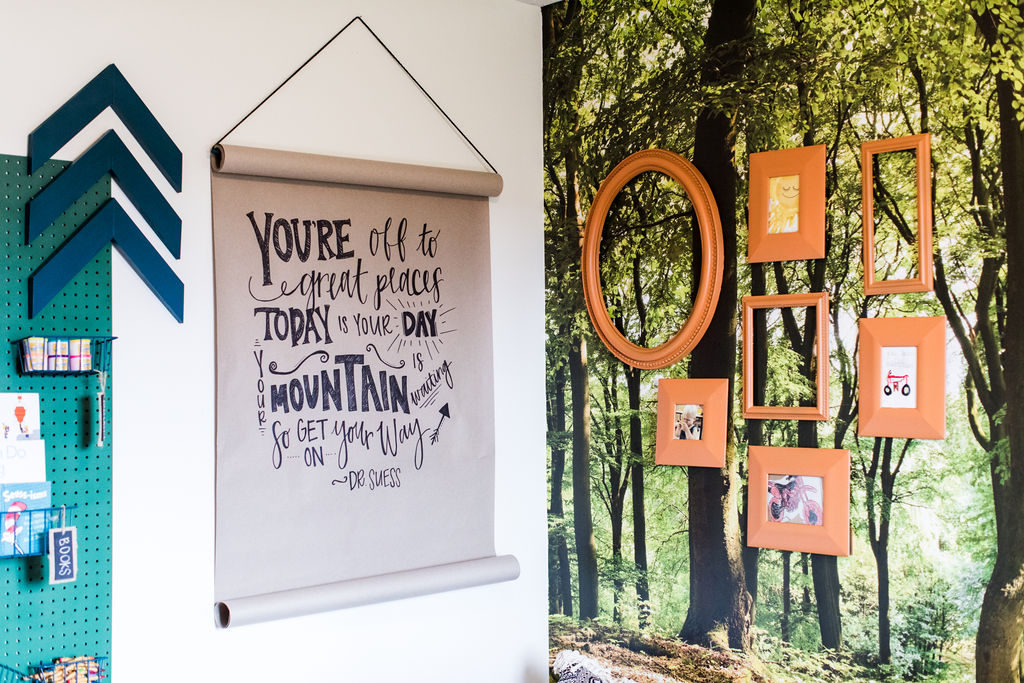
Create a craft area with a peg board with their favorite colors. If you have your kids help you create it, they’ll be more likely to take good care of it. We created this pegboard craft station with all materials for under $30. We bought the peg board and storage containers from a local home improvement store and then spray painted them. Then we got all the art supplies for the station at The Dollar store.
Those arrows we made a DIY tutorial for you here.
12. Frame your Kids Artwork
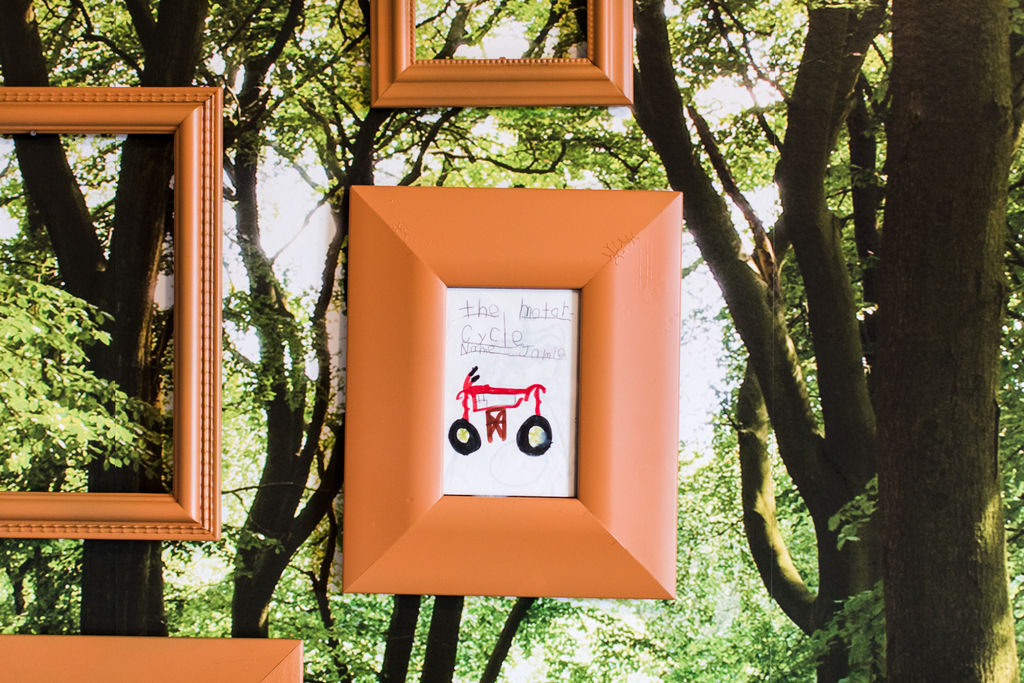
If you have kids, before you know it you have piles and piles of artwork scattered throughout your home, hung on walls, laid in piles not sure what to do with, or overflowing in storage bins. Here’s my rule of thumb with our children’s artwork. If it’s something they’re into, like dirt bikes and it conveys a message, I’ll save it. Or if it’s their handprint or footprint, I’ll save just one per year. Otherwise, I toss it.
Because do you really look through your childhood artwork that just had scribbles on it? ha!
I only save two or three throughout the year to put in their storage bins and some of my favorites I’ll frame for their bedroom.
13. Storage under Bed
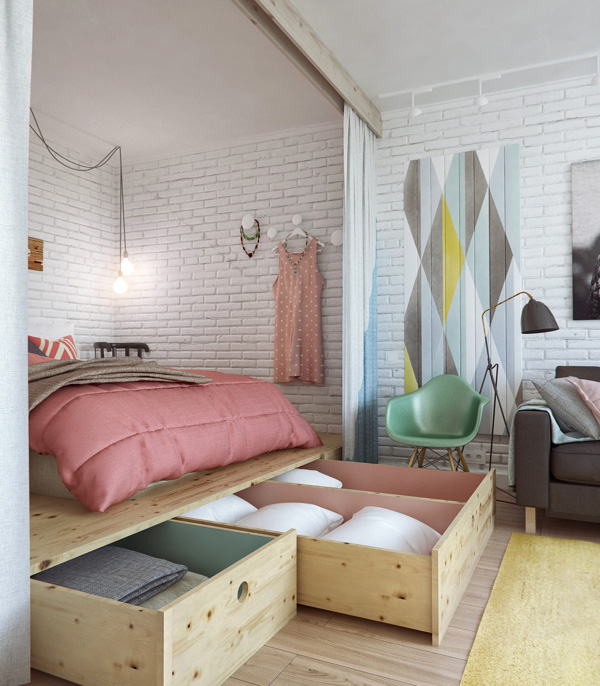
If you live in a smaller space, such as a studio apartment, maximizing space is what it’s all about. I love here how they built their bed up and created storage units underneath the bed.
Putting storage bins under your bed is another way to create more storage if you don’t have the power tools to build them.
14. Floating Shelves
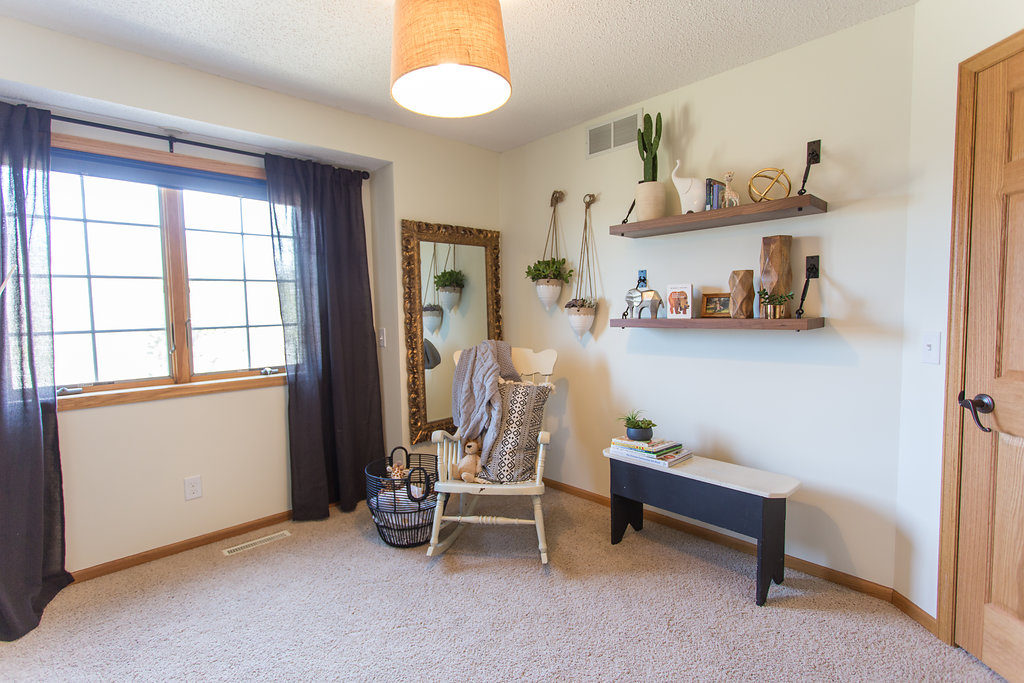
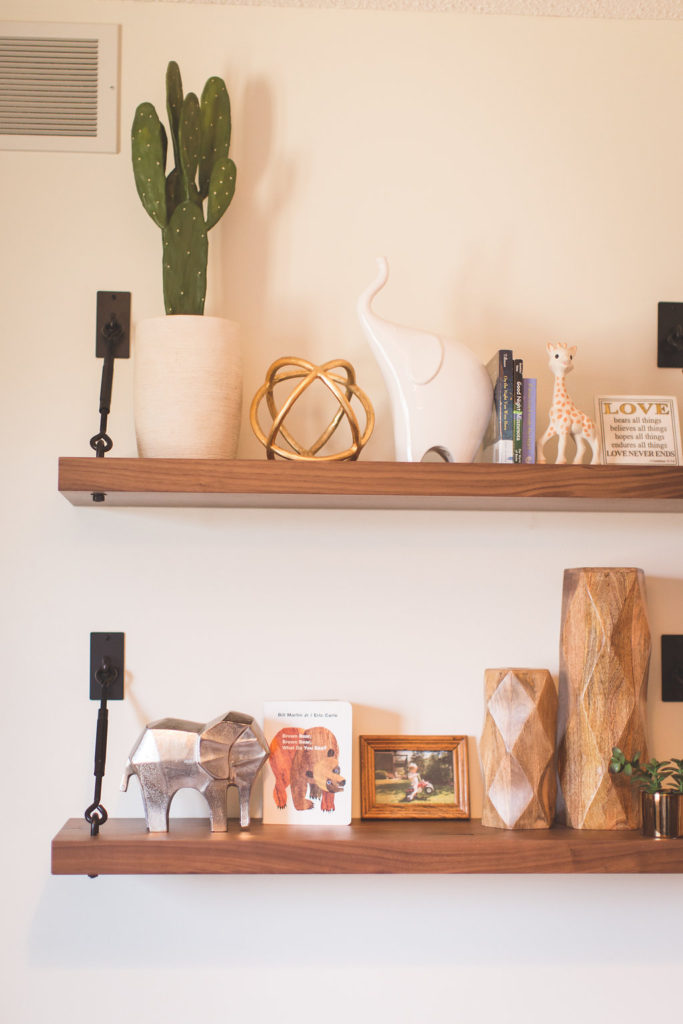
Floating shelves is another great way to not only add additional storage for books and baskets, but also makes for some stylish decor. We incorporate stylish floating shelves as much as we can in our home.
15. Use Crown Molding as a Shoe Rack
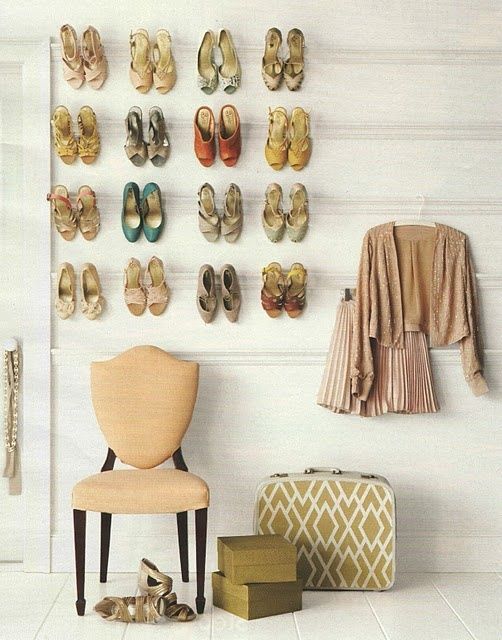
When I saw these from Martha Stewart, I screamed…genius!! Shoes are one of the hardest things to store, in season or not. And all the storage ideas I’ve ever seen, aren’t the most stylish. Using crown molding to build a shoe rack on your wall creates such a clean and classic look, and it’s not that expensive. It’s probably cheaper than buying a storage container and looks 100x nicer.
16. Optimize all the Space in your Home
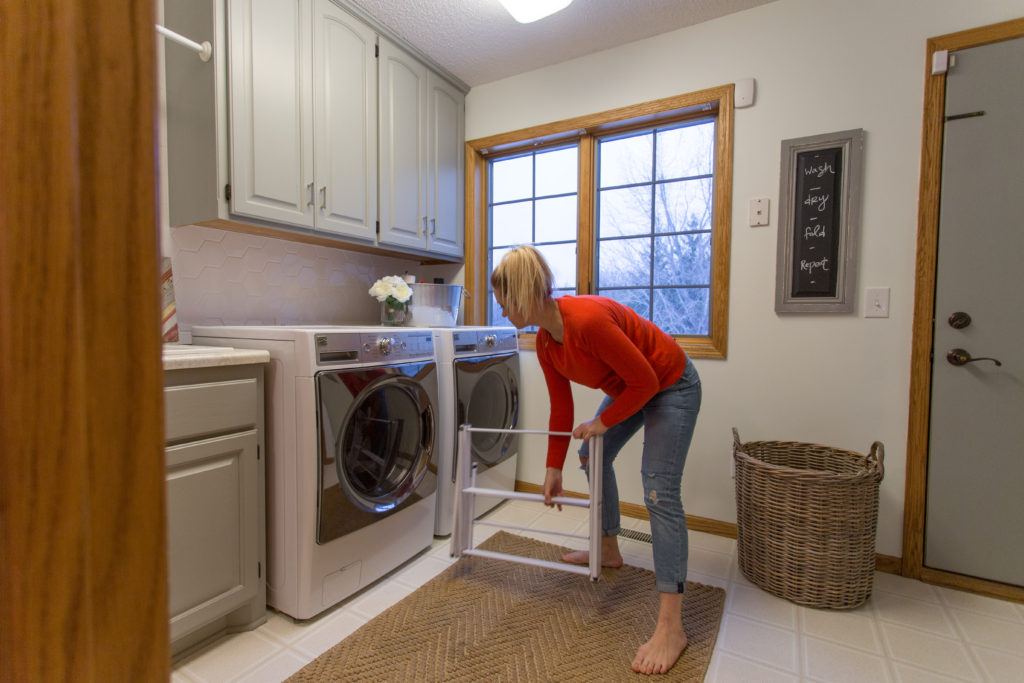
That tiny space in between your washer and dryer is where we store our drying rack. Use and optimize as many small spaces as you can. Typically that drying rack would take up a lot of space in a closet or our small mudroom, but pushing it in between our washer and dryer not only saves space but it’s a practical place to store it.
17. Rolling your Kitchen Towels
When we had Neat Method over helping us organize our newly remodeled kitchen, one of the best tips we took away was rolling our towels and washcloths instead of folding them. This saved sooo much space in our drawers. Before rolling our towels took up an entire drawer.
18. Have Kid Drawers
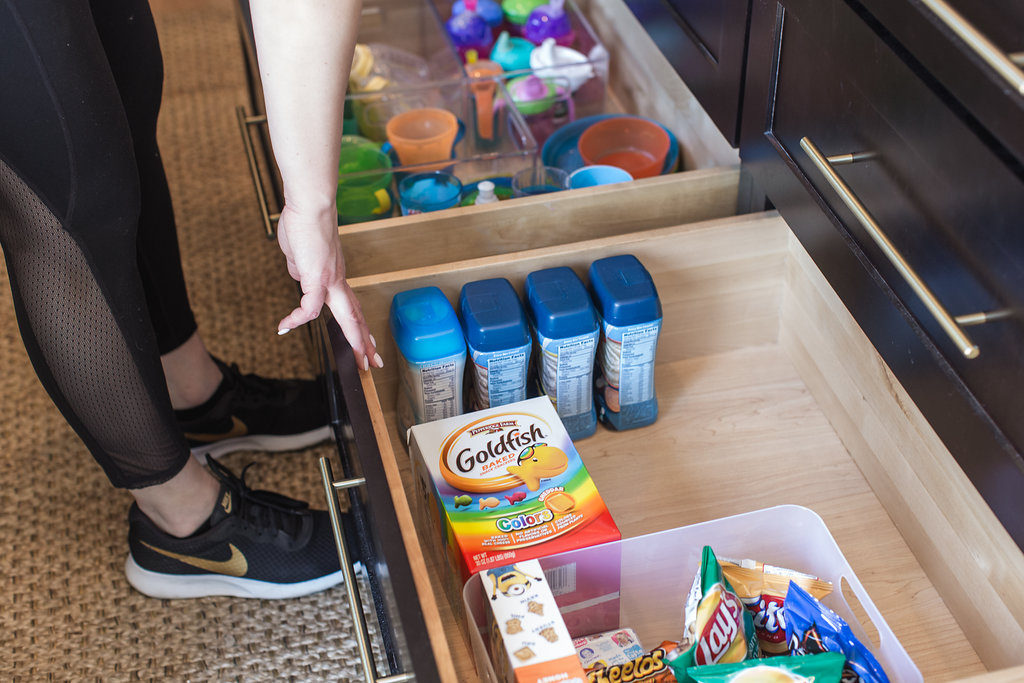
Another goodie we took away from Neat was having a labeled personal drawer for each kid. Instead of having their food and dishes scattered throughout ours, which only made for a mess when searching for theirs, was to create their own. Each child has their drawer with their snacks and dishes. This also helps reduce the fighting once dinner time comes and who’s plate or bowl is whose.
We’ve linked here for your convenience to all the products we love and talk about in this post. We couldn’t find the same for all, but found very similar examples. Happy shopping and getting your home organized!
broom/mop wall holder
over the door ironing board hanger
meal prep bins
slanted tiers for drawer spice rack
crates
chalkboard labels
clear storage bins
bamboo lazy susan
bamboo kitchen drawer starter kit
pull out under cabinet trash glider
magnetic sink caddie
Disclosure: construction2style has used affiliate links throughout this post. Although we are compensated for these links when purchases are made, we stand behind and use all brands and products we endorse on our site.

7 thoughts on “How to Create Extra Storage in Your Home”
Comments are closed.