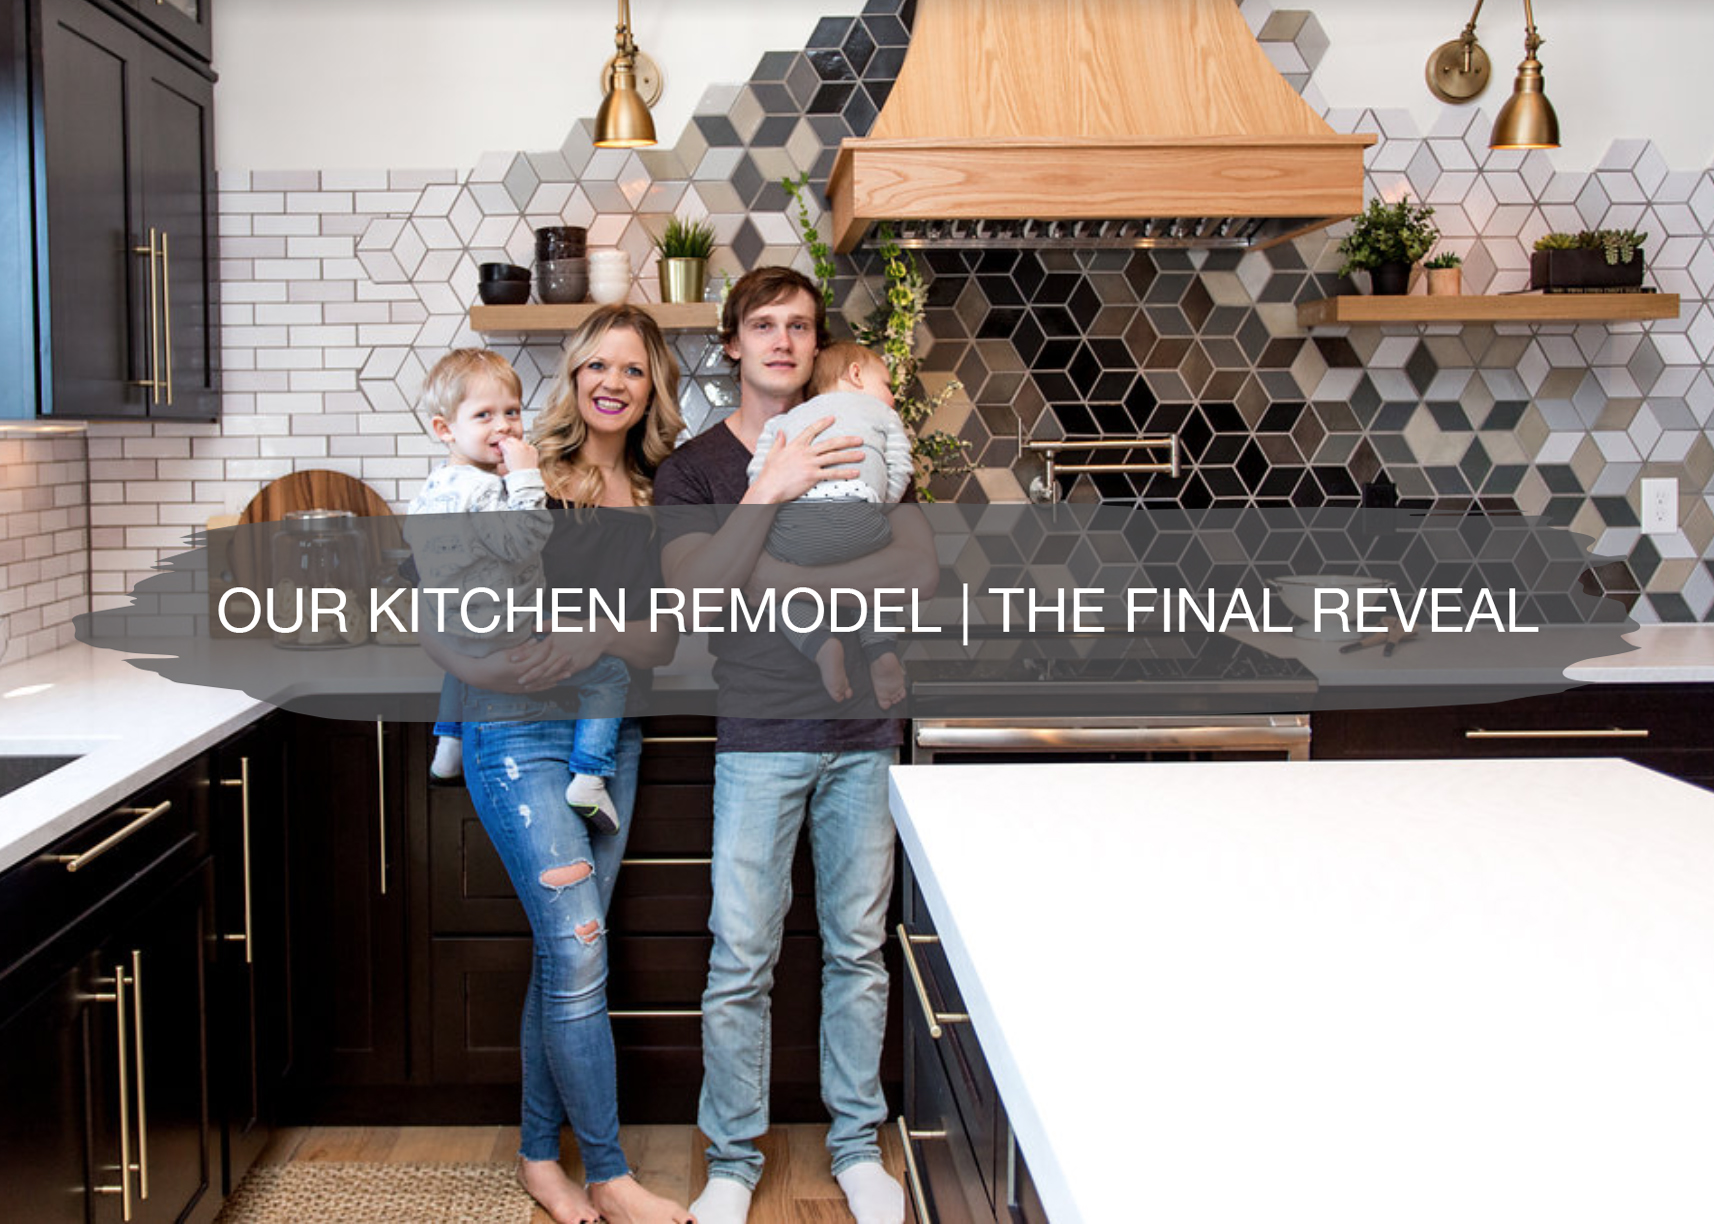
Our Kitchen Remodel!
We’re finally here spilling all the details on our kitchen remodel!
This post includes links back to all of the tutorials we did for you guys throughout the process, links to all finishing selections that we used, and a FULL BUDGET BREAKDOWN at the end of this post.
We renovated our entire kitchen and documented it all for you with tutorials along the way throughout last fall/winter. Yep, that’s how long a kitchen remodel takes, then add on 3+ months when you do it yourself.
Let’s rewind back to the beginning…
Our inspiration behind this project came from black and white kitchens with open shelving, gold hardware, commercial appliances, a large statement backsplash, and quartz countertops. We love challenging our clients to be bold and go big.
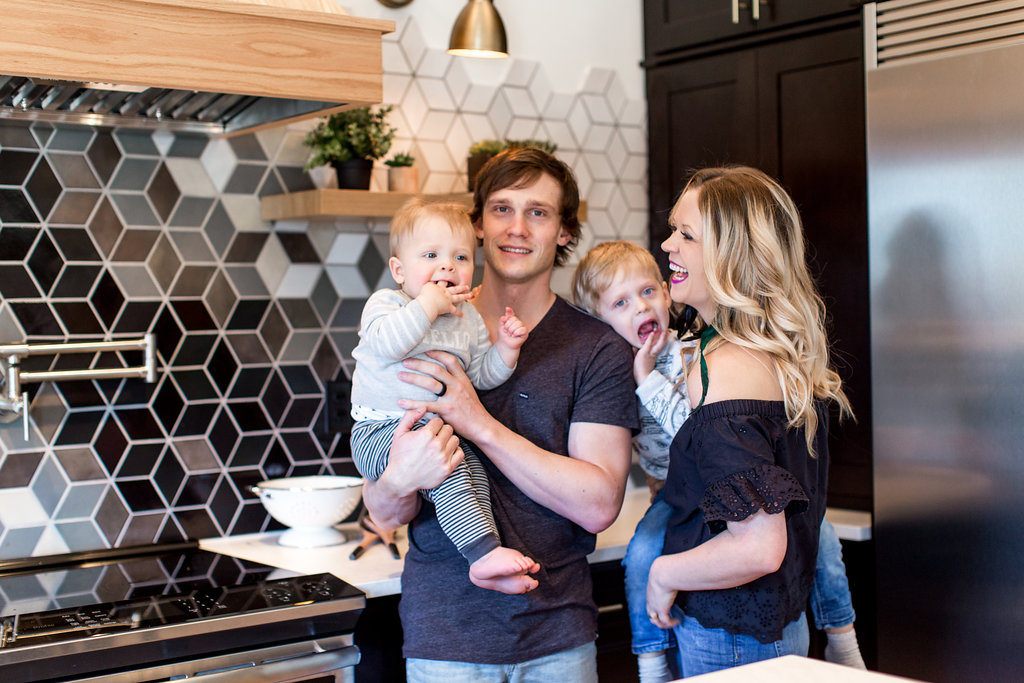
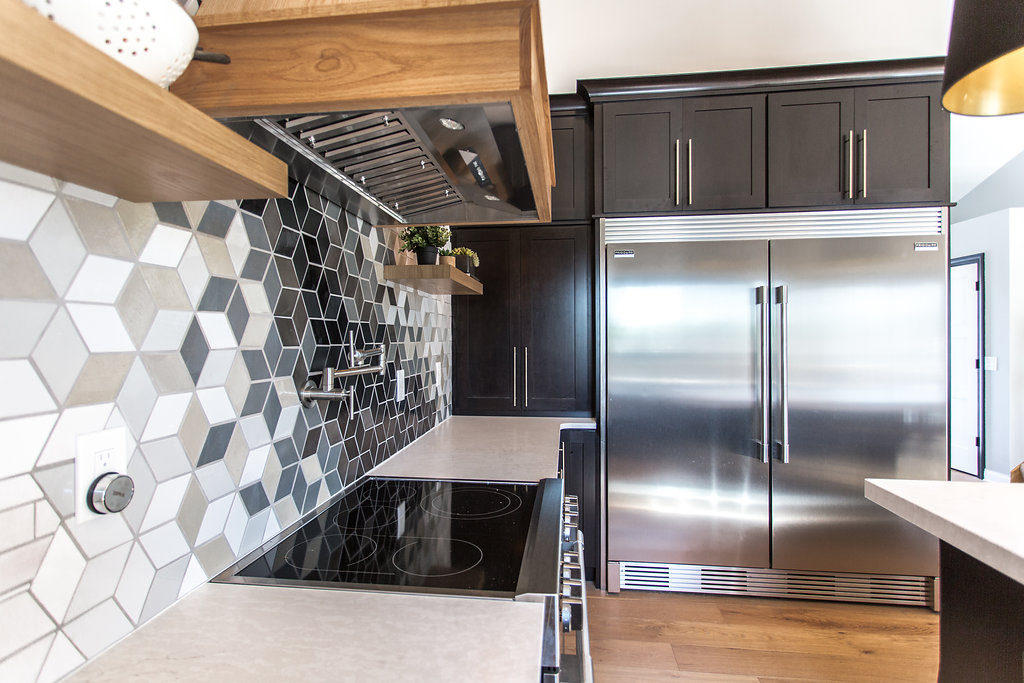
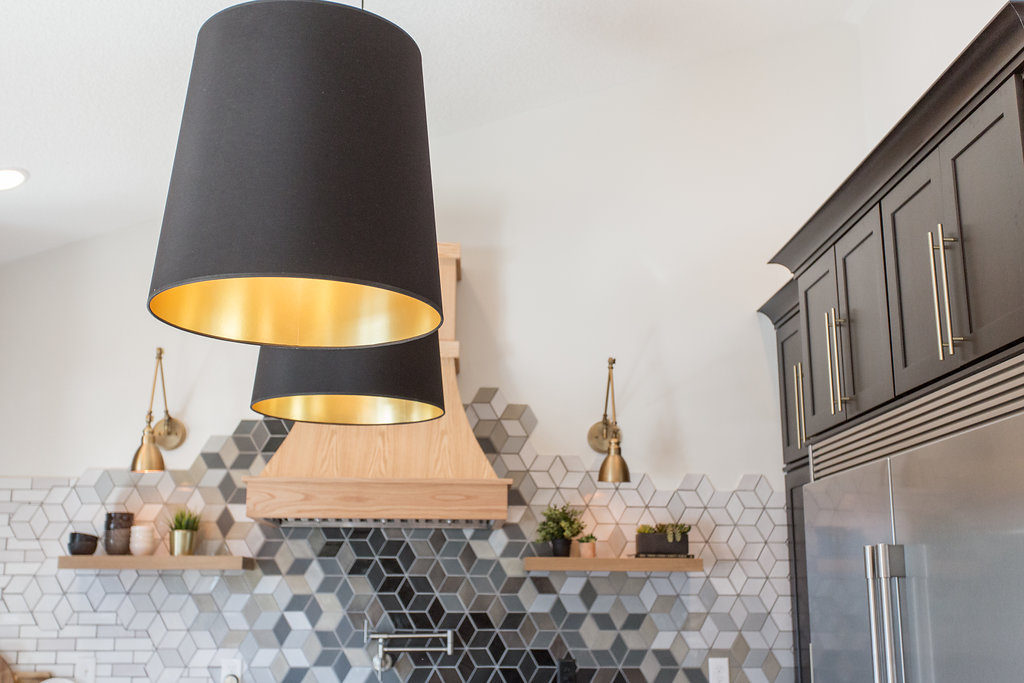
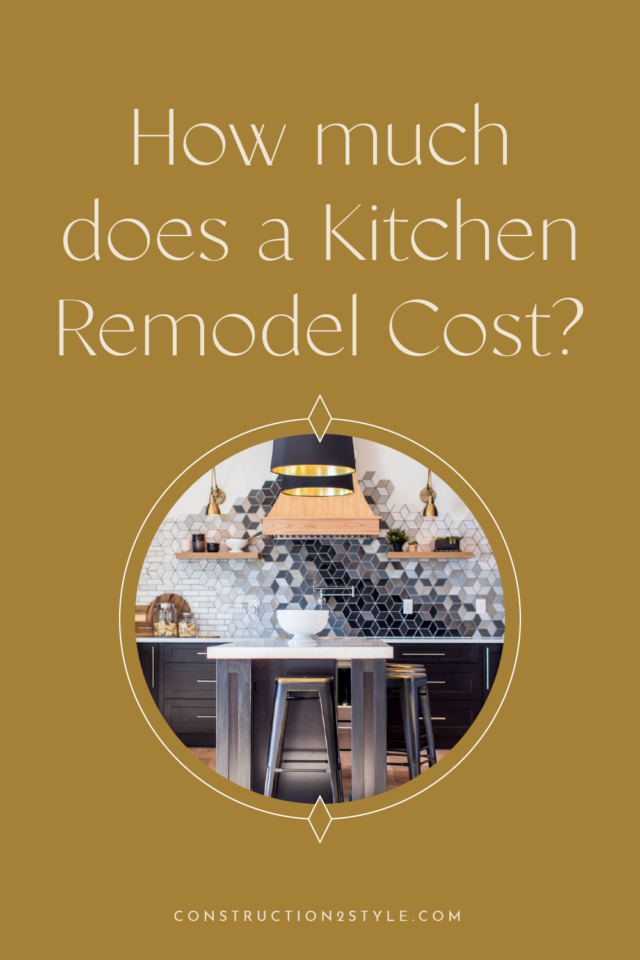
When we say big, we mean just that, so much so that we put a 5′ wide double door fridge into the kitchen, along with the commercial look of the fridge we used a handmade custom wood range hood that was backed by tile backsplash made up of over 8 different colors.
We made it our mission to find quality and creative products and as many brands as we could be based right here in Minnesota, so you bet we brought in the best.
Here’s a little video walking you through what we were about to do before the demo.
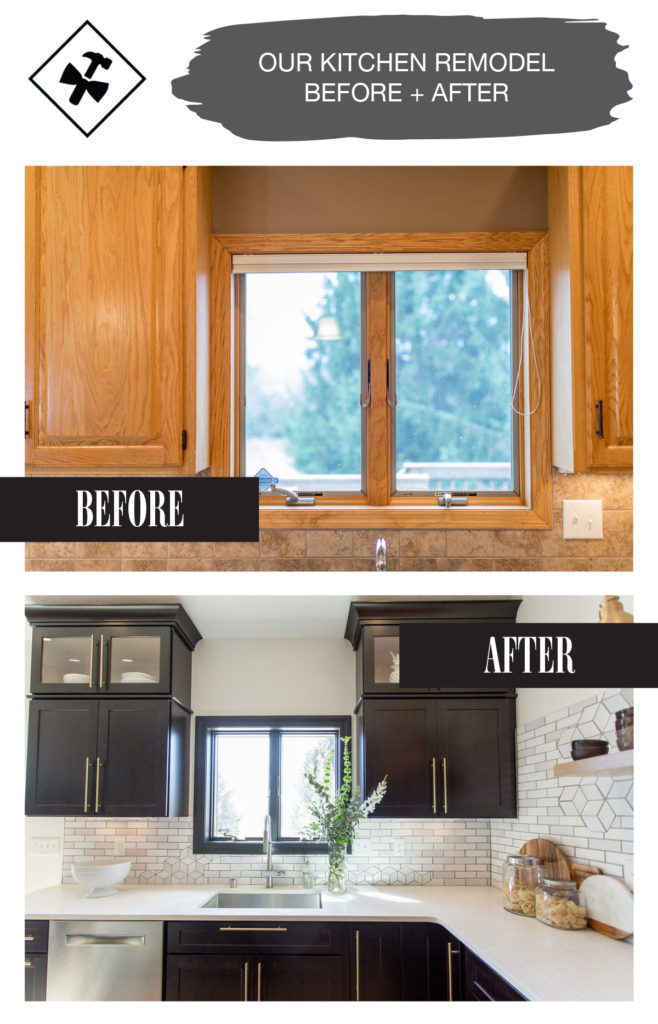
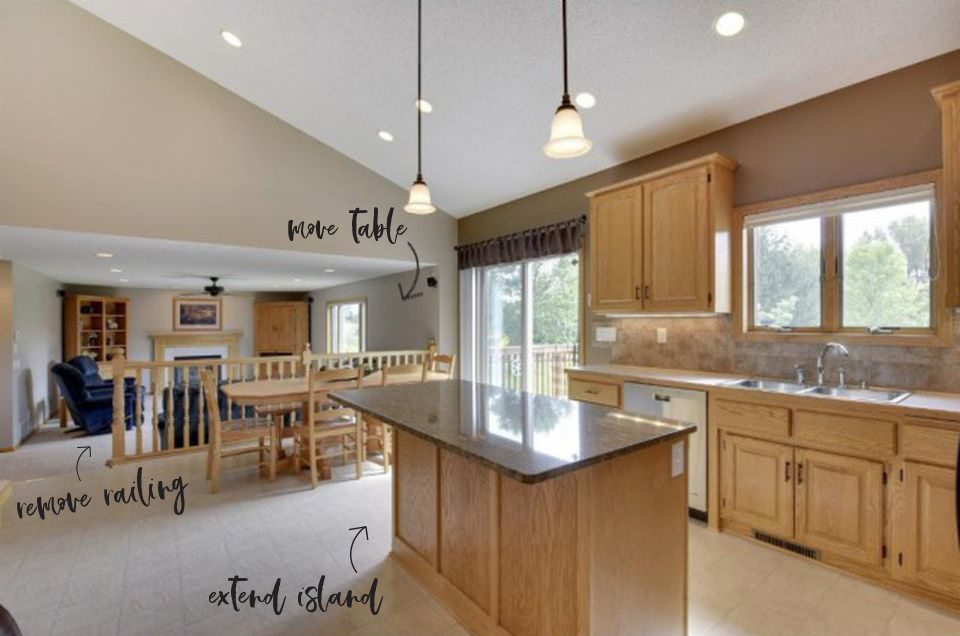
Before
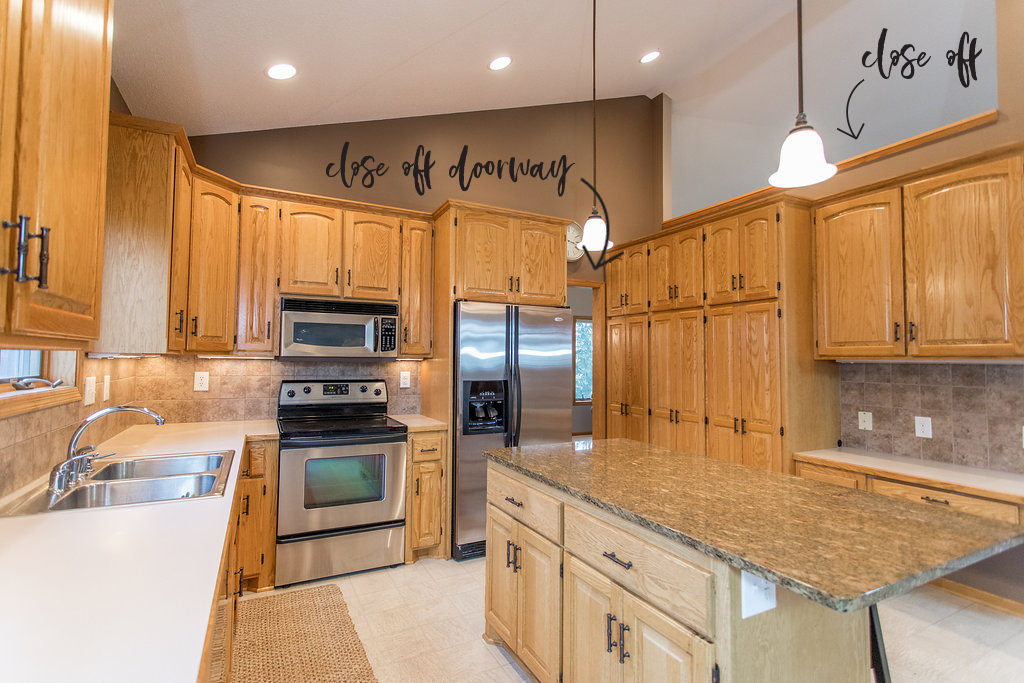
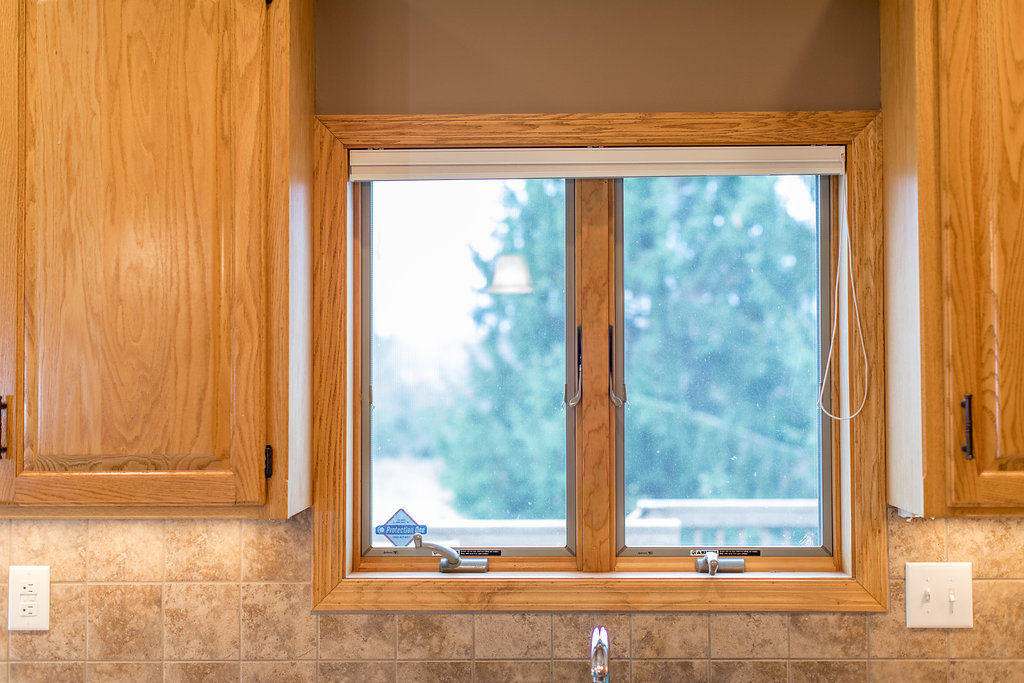
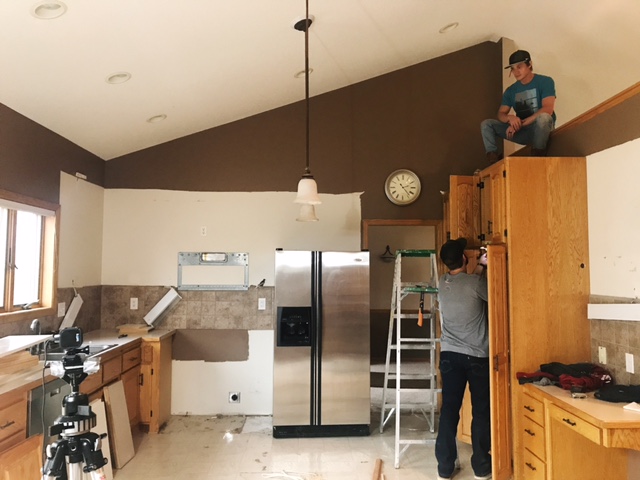
Here’s what it looked like before we started demolition…
After
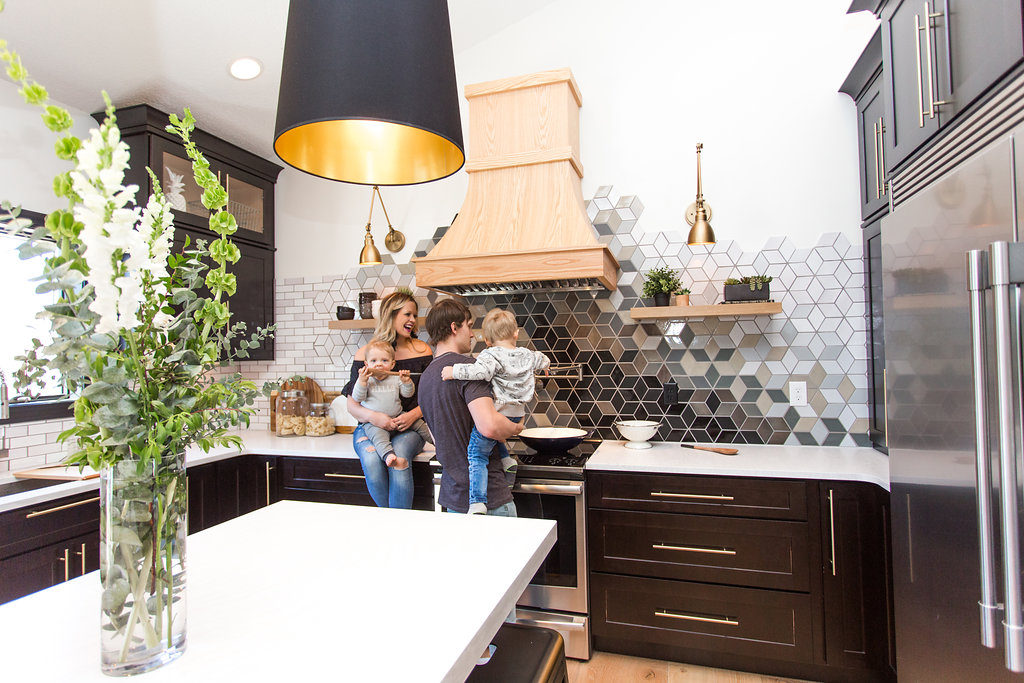
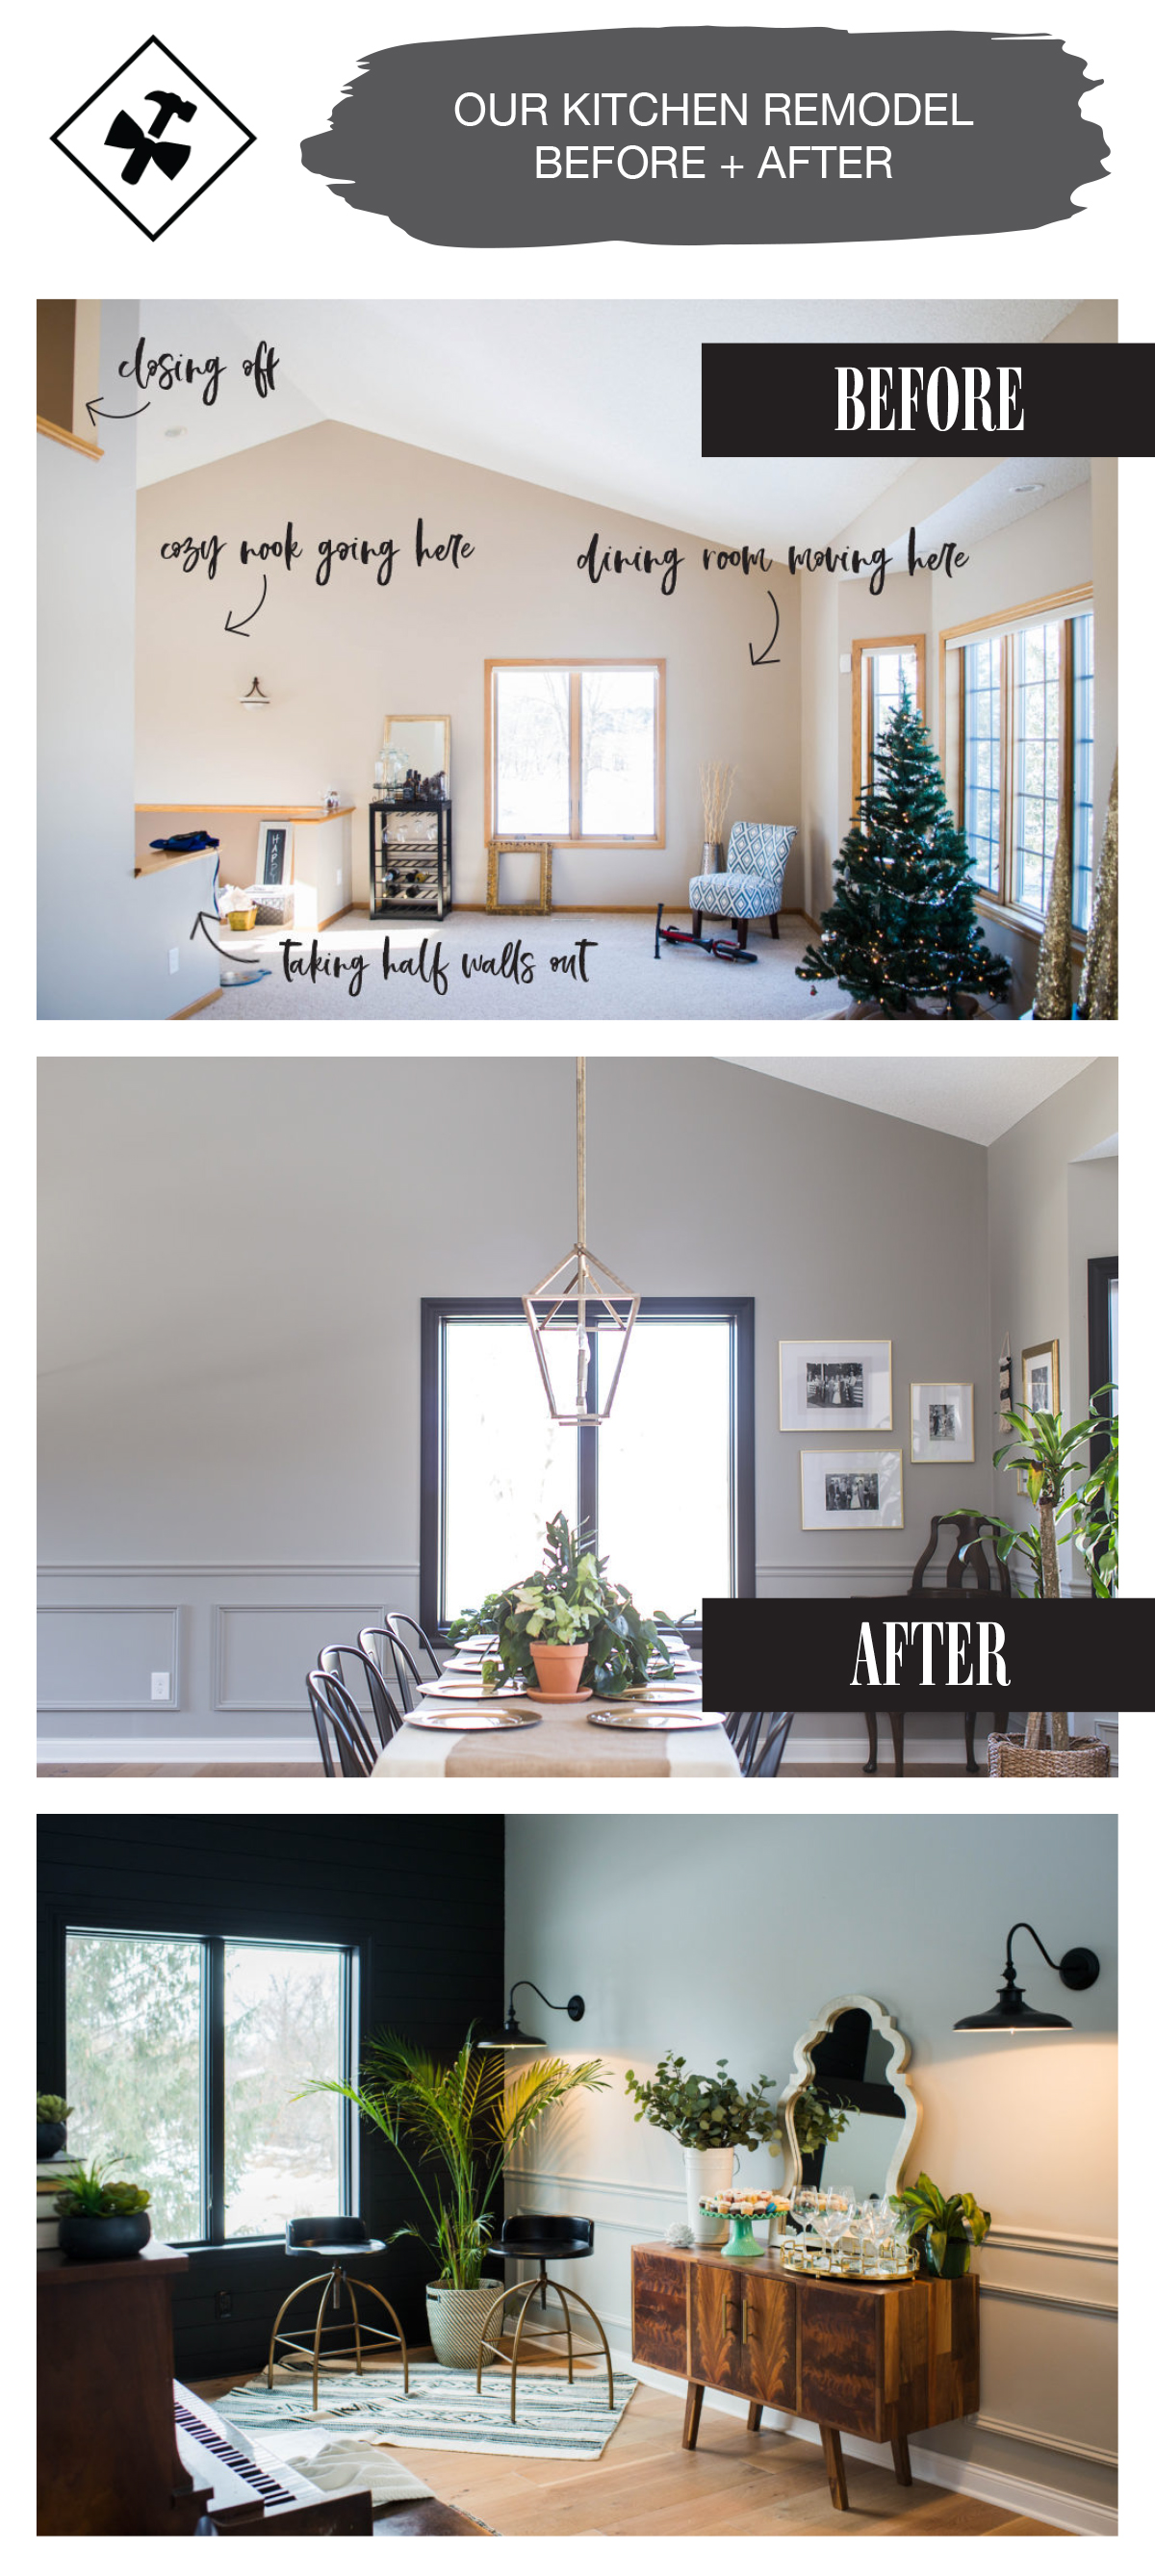
We wanted to do something different than the typical open concept, so instead of taking walls down, we put walls up. We closed off the old doorway to the dining room and also closed off a half wall that opened to the ceiling.
The reason behind this was to create an intimate space in the kitchen for cooking and eating, as well as opening up the area outside our kitchen to be more inviting.
Another view…
and after…
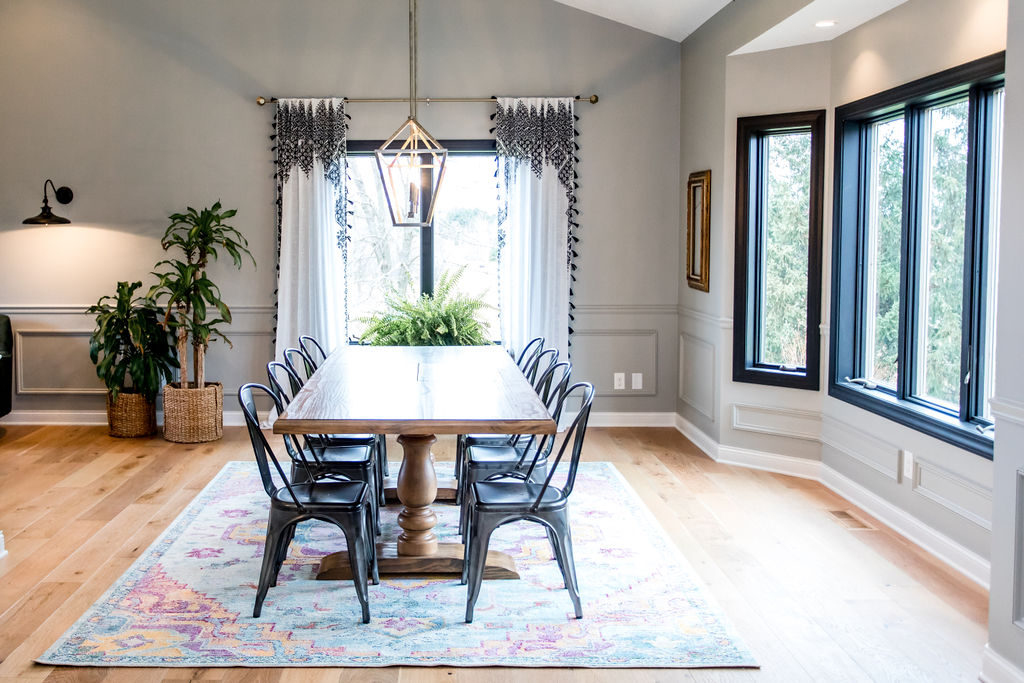
We also converted our living room into our dining room and our dining room into this little reading nook at the same time as the kitchen being they all kind of flowed together.
Before…
Like that card table that I just covered up with burlap? hehe
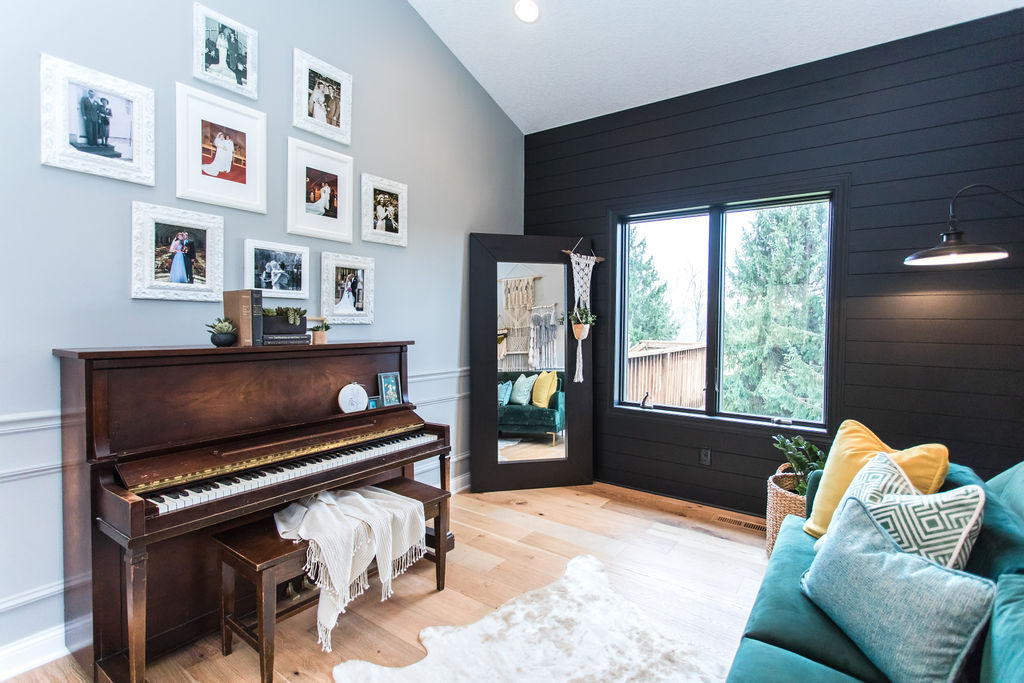
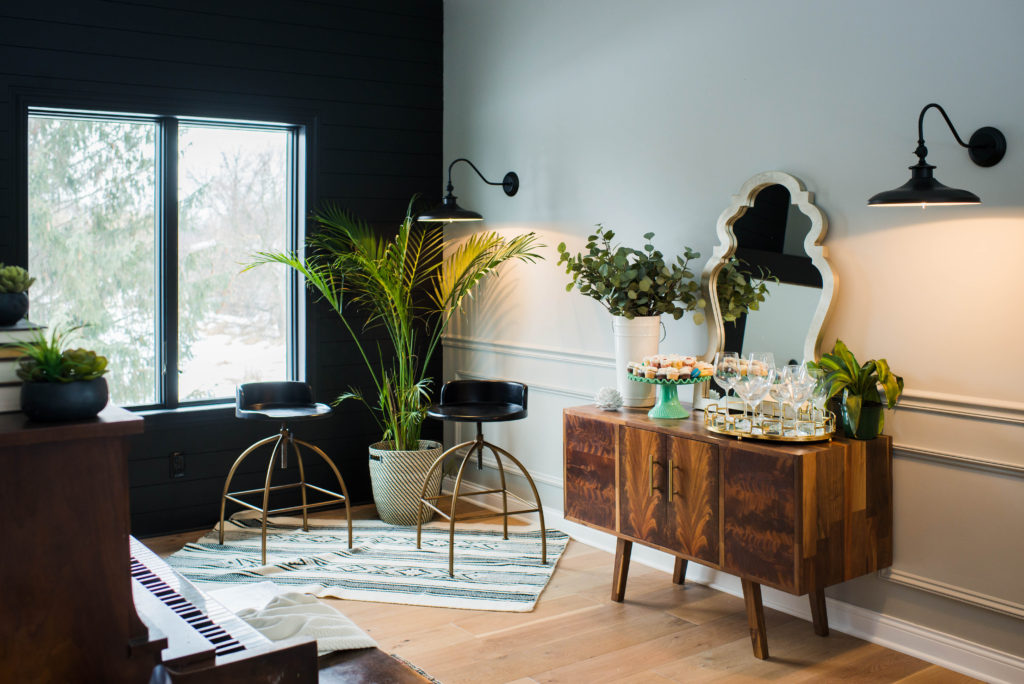
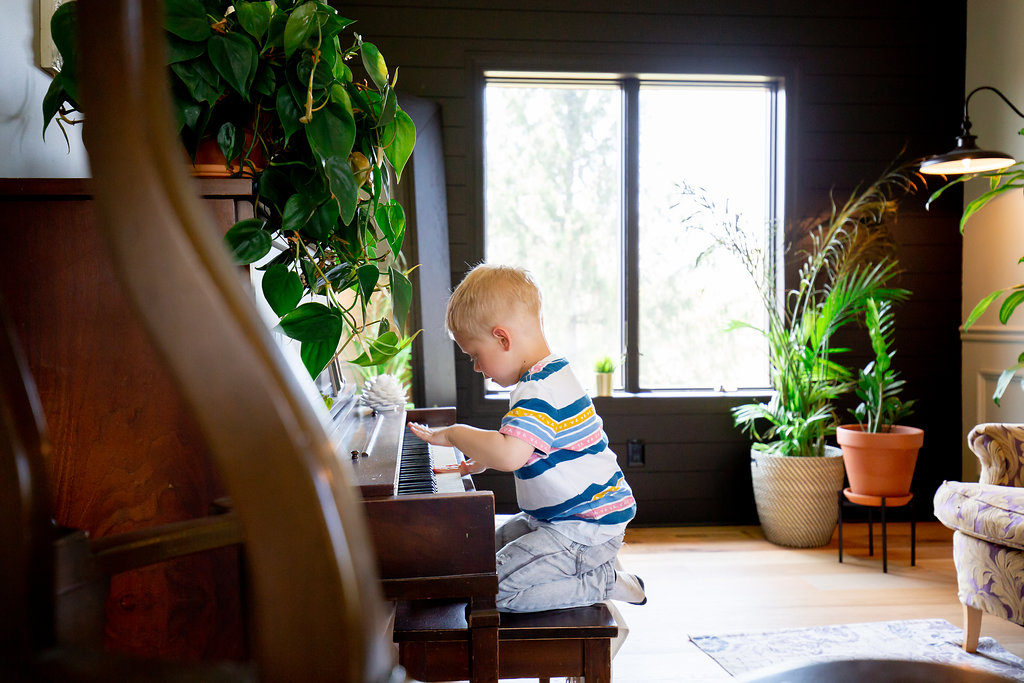
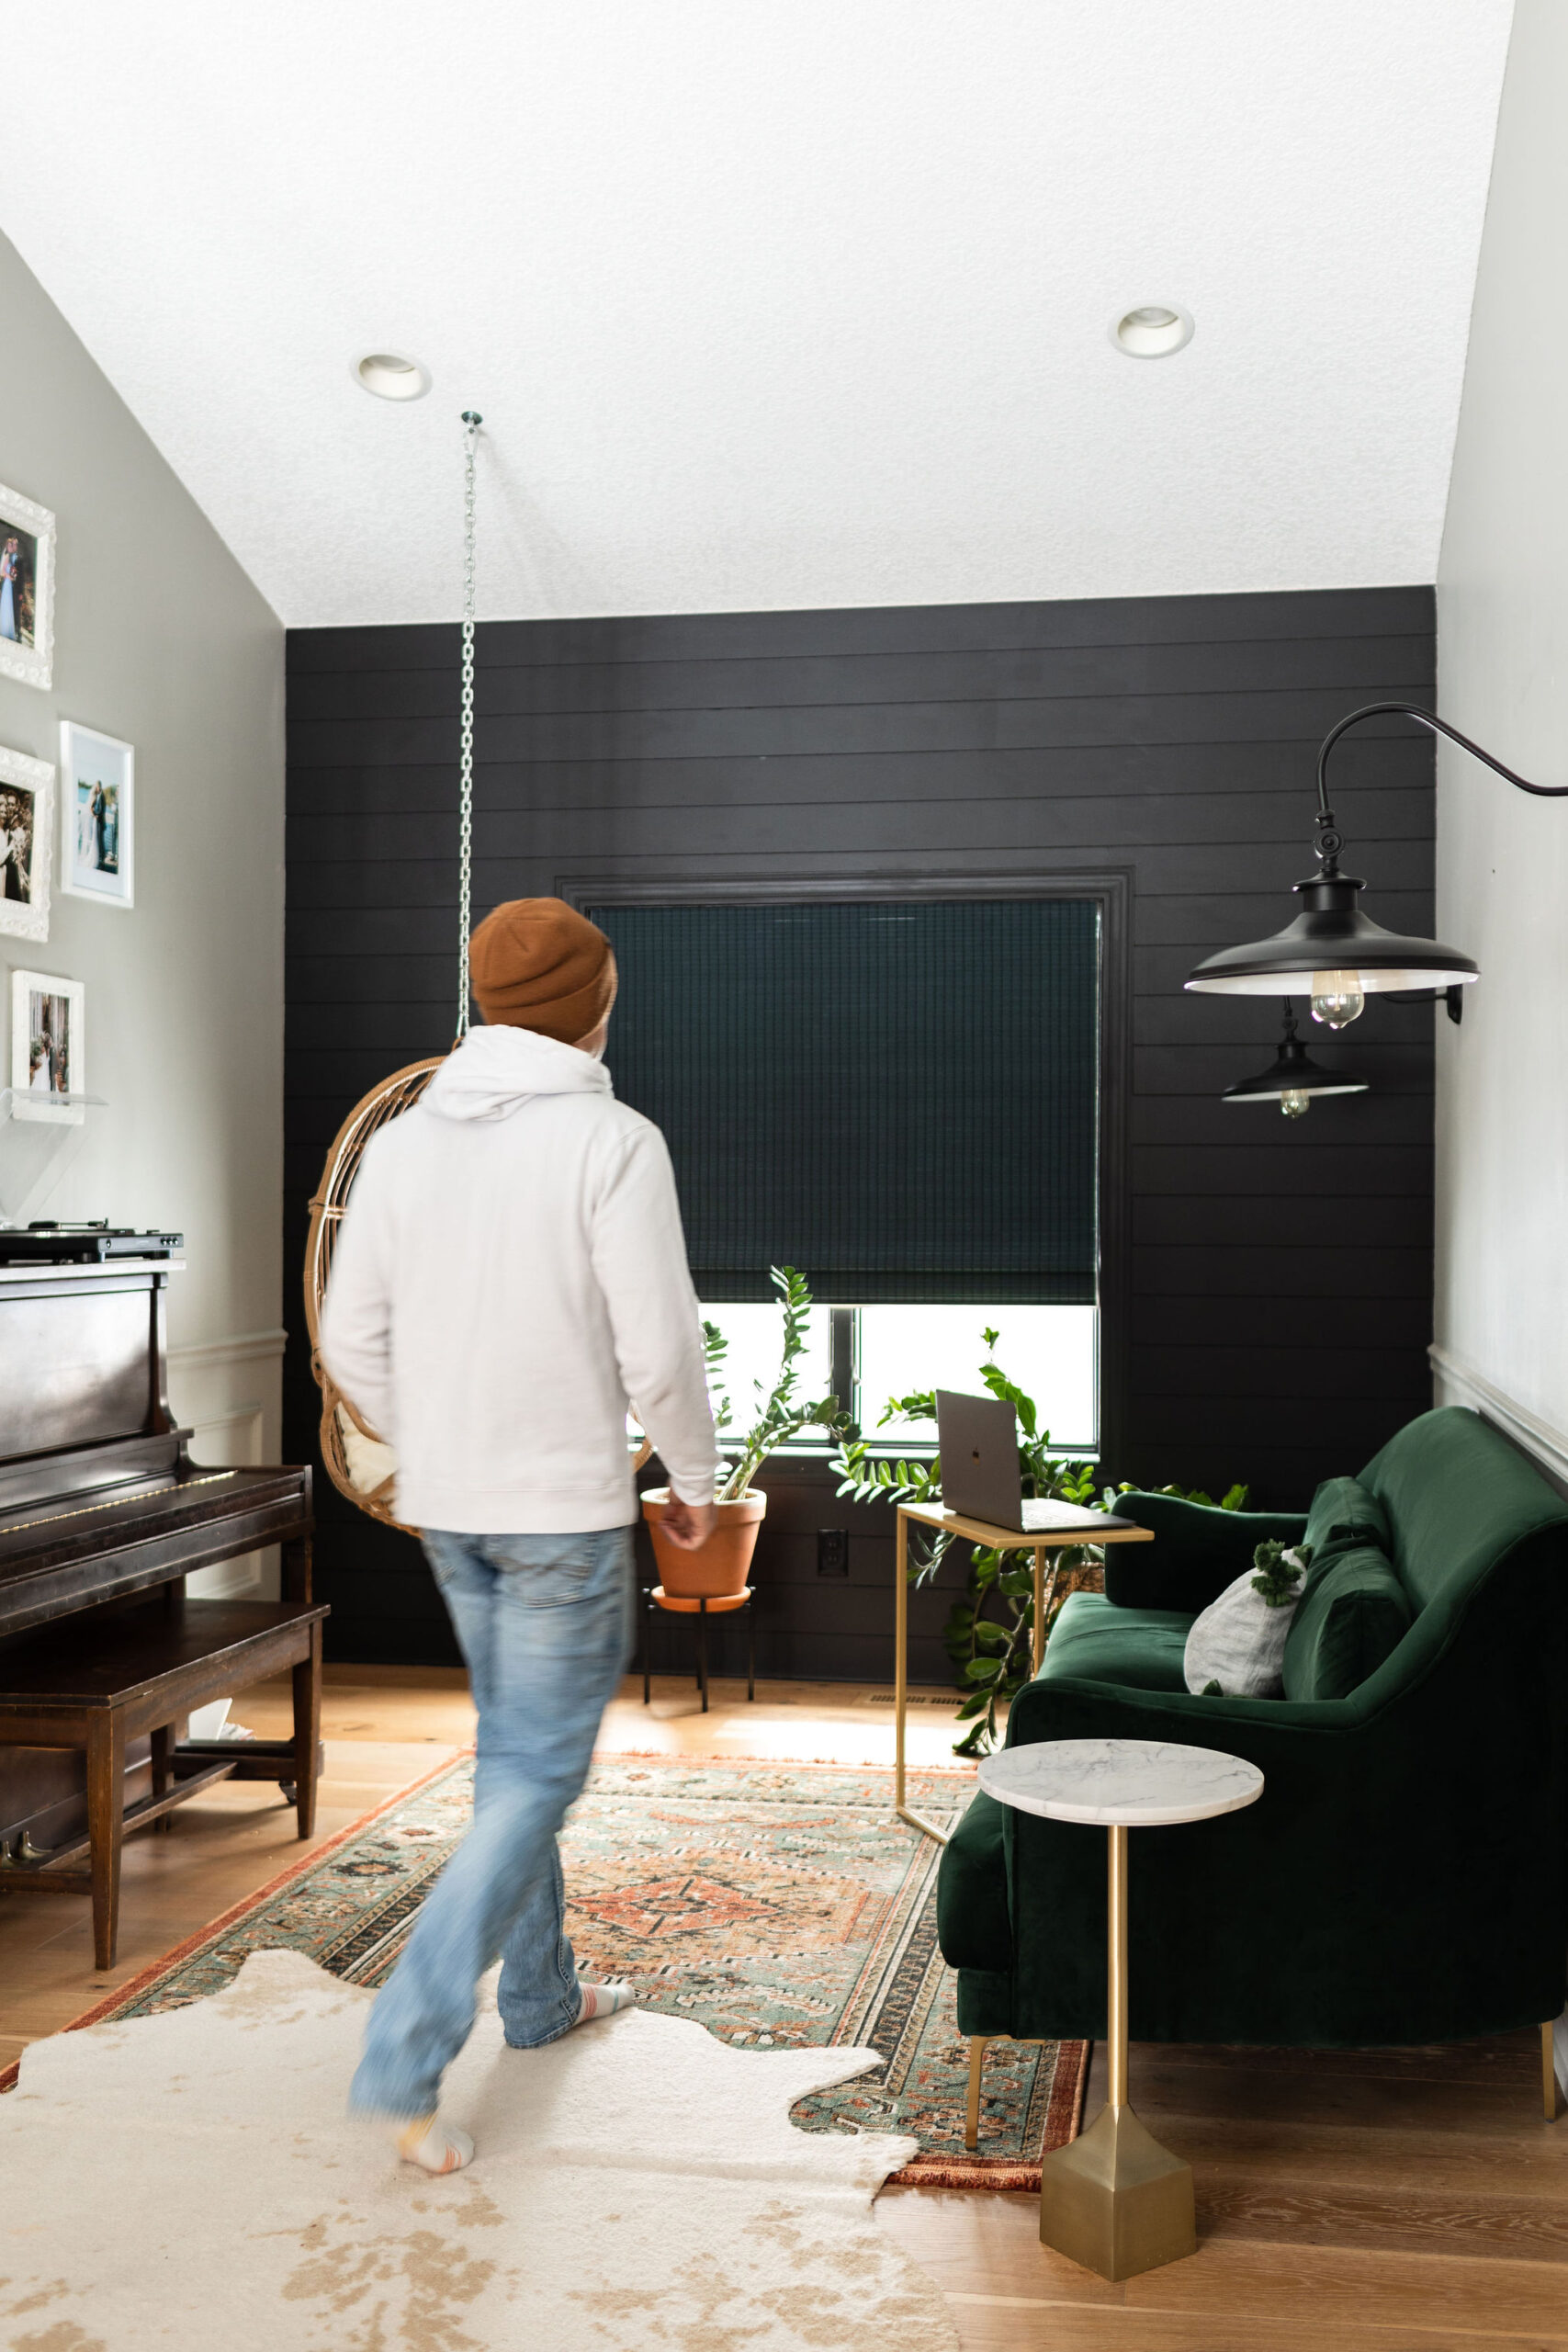
Here’s our little reading nook/piano room off of the dining room. This was the former formal dining room that walked into the kitchen.
To be totally honest, I’m not sure what to call this room, but since this picture was taken, we put a couch in here and now it’s where I spend a time of time getting cozy, listen to the boys play on the piano and write blog posts.
I guess we’ll just call it our music/reading room for now.
Now let’s get to details!
The prior homeowners took really good care of our home. They built the house and were the only family to live in it before us. It was so clean I could hardly believe that they were in midst of raising 6 kids in this place!
We learned all this because they built a new home in our backyard.
As nice as this home was, we are turning this into our forever home and wanted to personalize it a bit and make it our own. Our biggest project we knew we wanted to tackle was the kitchen.
We bought our home in November 2016. Fast forward one year later and in November of 2017, we decided to pull the trigger.
The first thing we did was a list of dreams and must have’s for our kitchen that consisted of:
- large entertaining island
- single basin sink
- statement backsplash
- hardwood floor
- quartz countertops
- large pendant lights
- showcase Jamie’s custom carpentry skills…possibly in the hood
- large commercial appliances
- all things gold
- black cabinets
- black and white
Once we made our list and were on the same page, we started by sourcing our cabinetry since that was the most important finishing that was going to go into our kitchen for Jamie, being the carpenter he is.
Selection Breakdown
Cabinetry
Jamie has always wanted dark cabinets. He’s done a handful of investment properties prior to this home and put all white cabinetry in and each time he said he wished he could have gone dark.
When it came to his forever home, he was doing it and going dark and there is no stopping this man when his mind is made up.
It was fine with me, because I know Jamie has good taste. I’m also into the black cabinetry right now, however, Jamie also wanted to make sure that the wood grain would show through, so he didn’t want to go with a black paint.
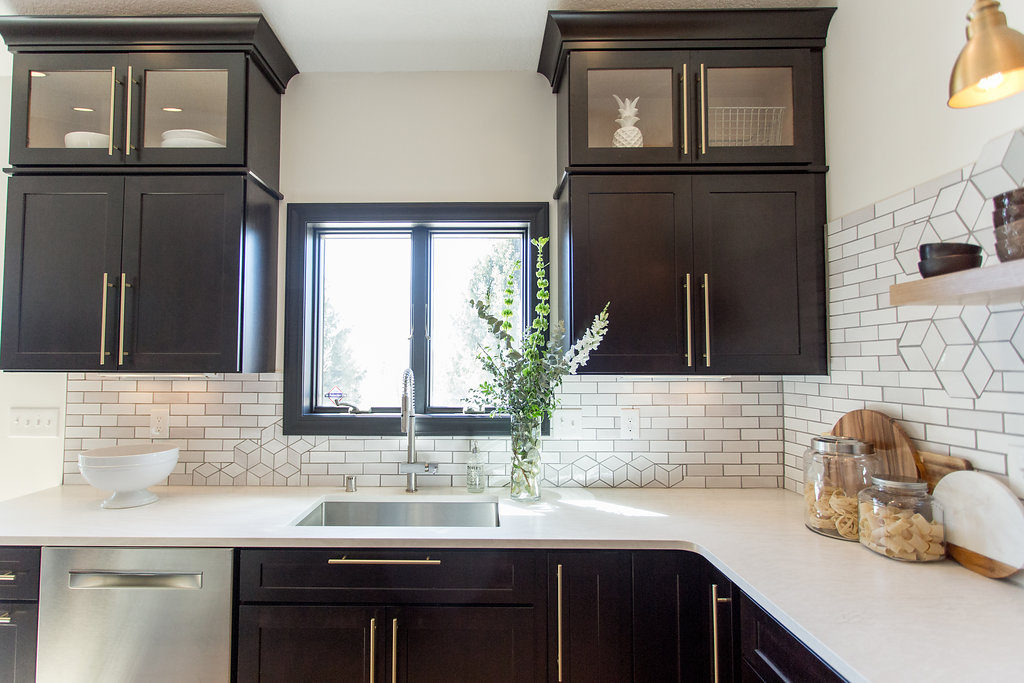
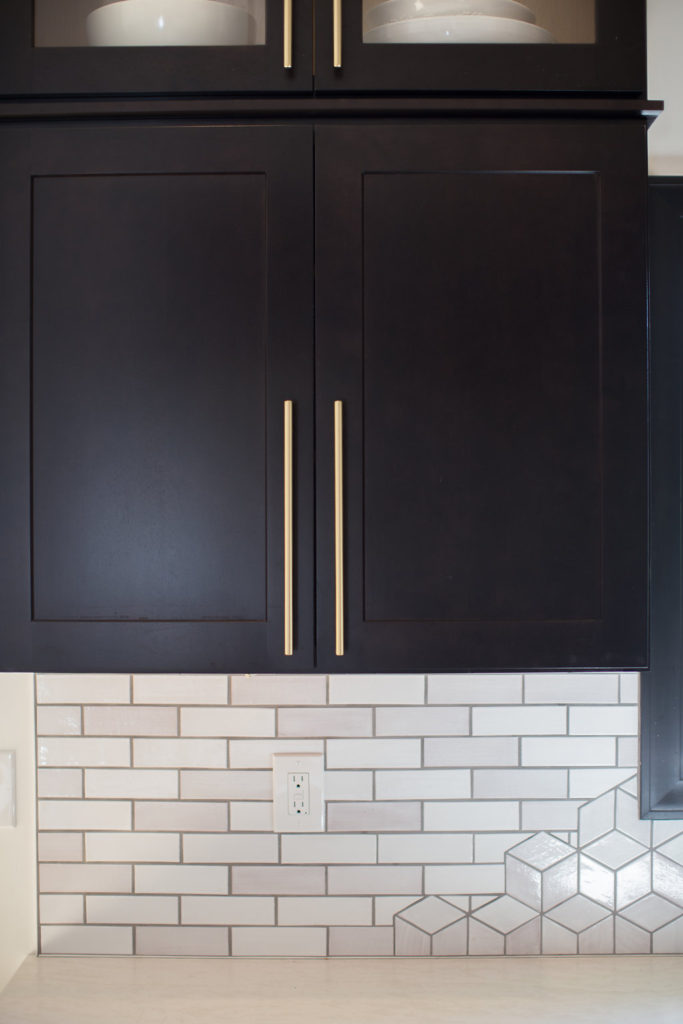
We partnered with cliqstudios on our cabinets, so the option that we had and chose to go with was Birch Sable finish in the Dayton style cabinet. It’s actually a super dark brown color, even though it does look black in person and in pictures. In person you can see the wood grain show through, so it was a win-win for both of us.
Jamie could tell the cabinets that were in our home prior were custom and in good shape, so we knew we wanted to reuse them to build a basement bar and in our shop.
Typically we go about demos with a lot of manpower and a few tools but, in this case, we did exactly the opposite, which presented us with a challenge. The boys took them off gently and our plan is to repurpose all of them and put them into the shop and basement.
This meant the demo took a little longer and is definitely taking up a lot of space in our garage right now until we get them down into the basement and build the bar. Since the cabinets were in such good condition and came off the wall with such ease, we are excited to be able to reuse them.
Here’s a quick video of the boys during demo day!
The old space also had a small set of stairs with a railing running the remaining length of the room. We decided to remove the railing and have one giant step that ran the length of the room.
This allowed us to expand the island, since we were moving the table to the former living room.
Flooring
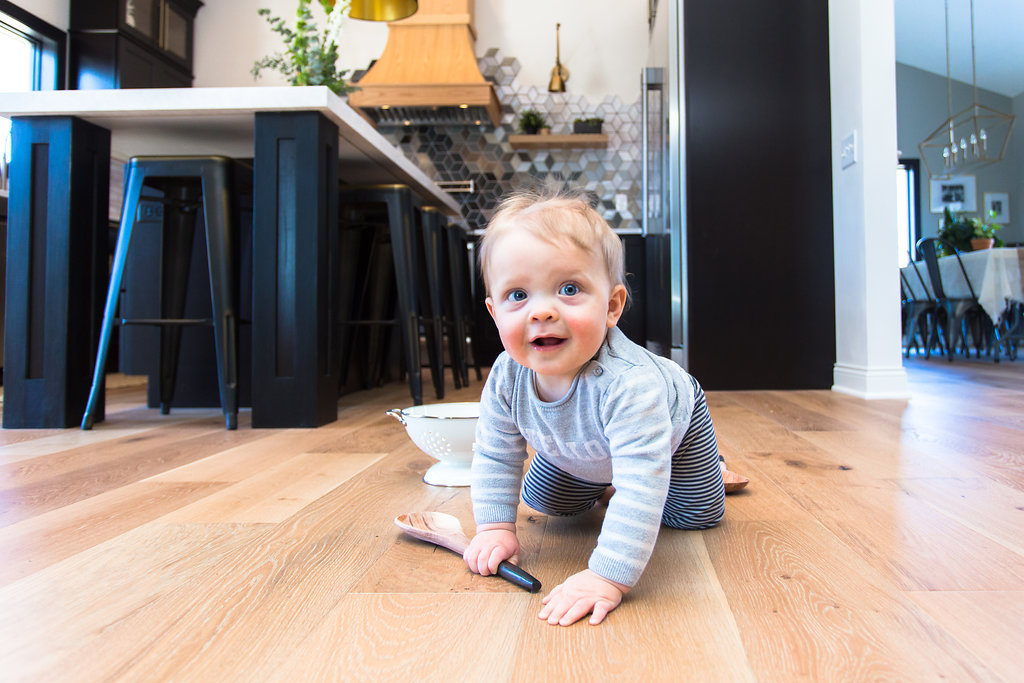
After demo day and all the inspections passed and we got the place put back together again, the first finishing selections we laid were the floors.
We made a tutorial behind how we laid these hardwood floors with Urban Floor here: How to Lay Hardwood Flooring
There was also a lot of time and work put into this project before we could start laying floors like the framing, drywall, mudding, taping, plumbing, and electrical, so it took a while before we could start putting the space back together again.
If you’re interested in that process, we chat more in-depth about that in this post here, Permits & Inspection Process and lay the right steps out for you if you’re going to DIY.
During demo, another thing we did was remove the popcorn texture from the ceilings and replace with knockdown. We made a tutorial for how we scraped the ceilings here: How to Remove Popcorn Texture from Ceilings.
Similar to the tile, the flooring was a breeze. Now we don’t say this to brag, but we just noticed how everything seemed to click and went right where we wanted it to.
Often times flooring can be very tricky and getting floorboards to line up correctly and sit flat is a challenge. From start to finish we managed to stay fairly straight across the room with easy transitions and minimal ripping on the table saw.
Given the wood was such a light tone we weren’t sure how it would tie in with all the other colors going on in the area, but this floor is durable, natural and really adds a clean look to our kitchen.
Countertop
I’ve always wanted light and bright counters, so I knew we were going to go with a white countertop. Since Jamie chose such a dark cabinet color, I knew it would work perfectly.
We also knew we wanted to put quartz countertops into the space and since we have a strong partnership with Cambria, we knew we were going to put them into our own home. We went with Delgatie in a matte finish.
We also urge clients to go with quartz over marble or granite for a number of reasons. Not only is it beautiful, it’s also maintenance-free and clean. Did you know that if you don’t seal your granite countertops regularly mold (that you can’t see) seeps into the stone? Gross.
With quartz, you never have to worry about sealing it, ever. You also don’t have to worry about bacteria of any sort getting into it. Cambria has a lifetime guarantee, so if anything happens, it’ll get replaced.
Not only that, but they are also super professional to work with. We work with Select Surfaces for our countertop installs, who are personable and fun to work with, but also very respectful of your time.
They don’t give 8 hour windows like every granite supplier out there and they make sure that everything is perfectly placed. They don’t leave with the job unfinished or with cracks in your countertop.
Countertops in kitchens can be very hard to pick out because there are so many beautiful options and the variance from one selection to another is often very little. Similar to the rest of our kitchen, we wanted something that was bold, beautiful, and inviting.
We love the size of the island countertop since it is perfect for bellying up for a meal with the family.
Here’s a recap video of when our countertops went in:
Backsplash
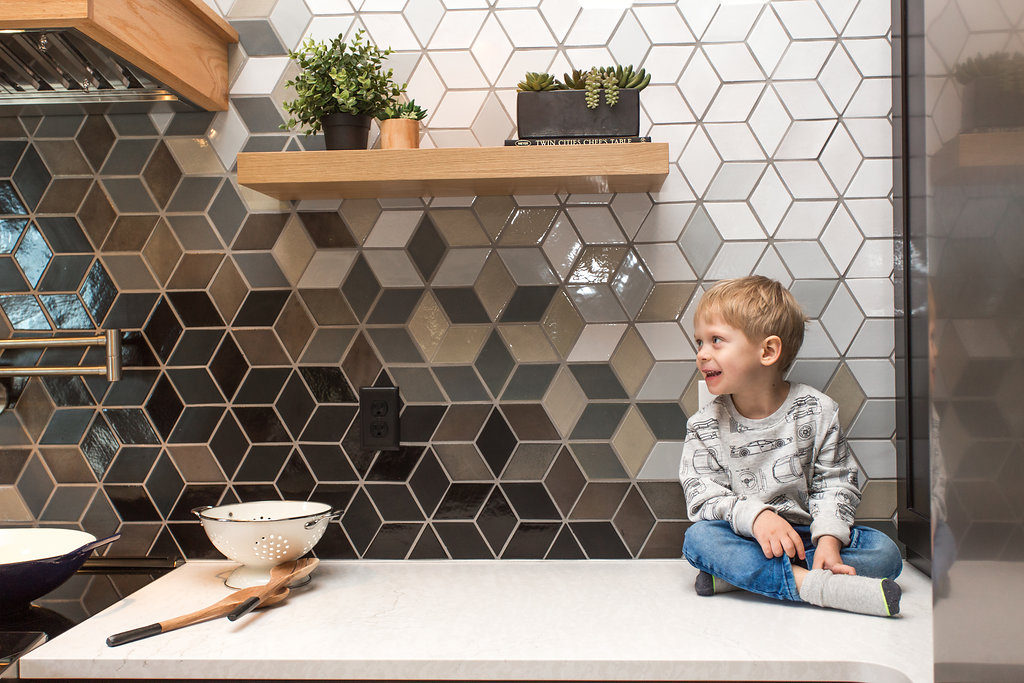
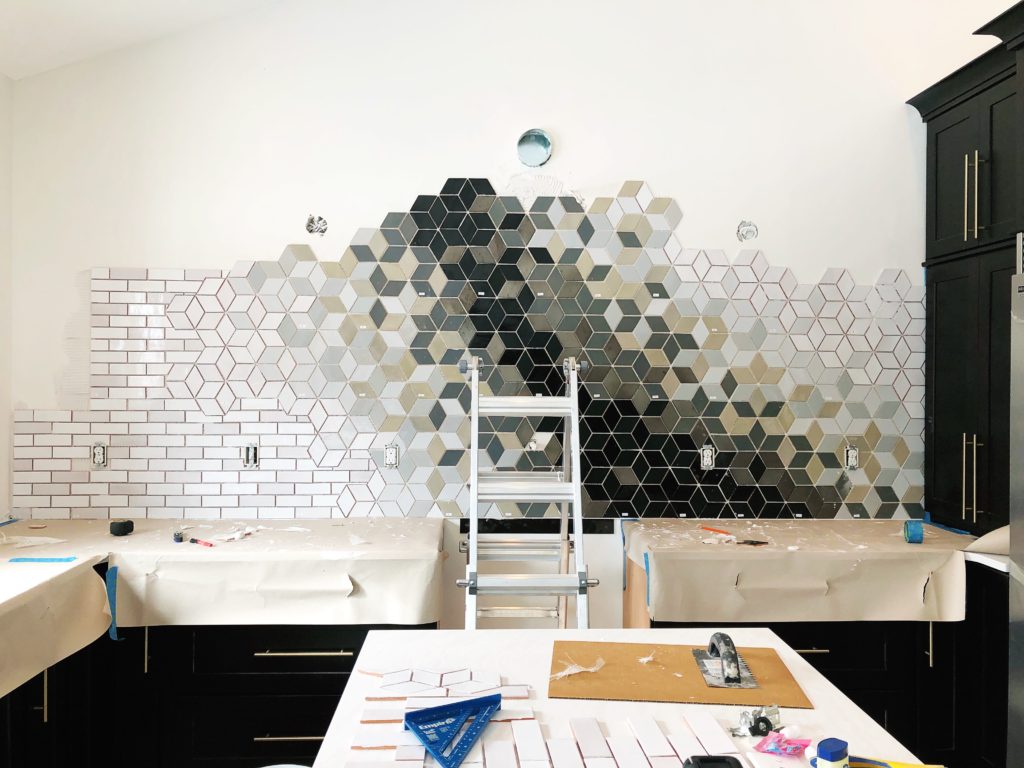
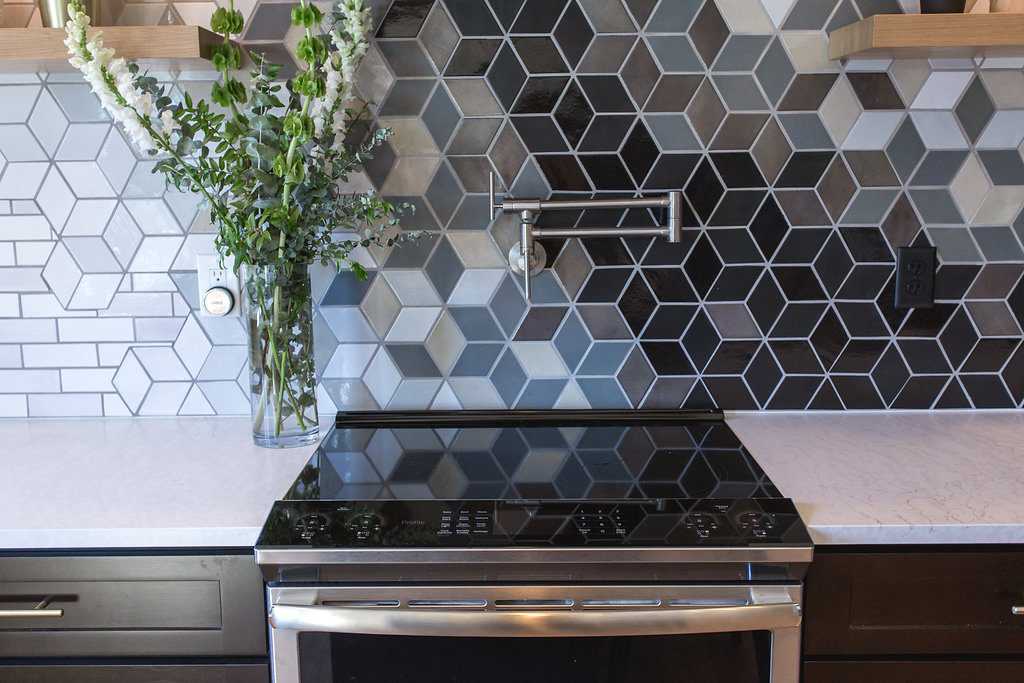
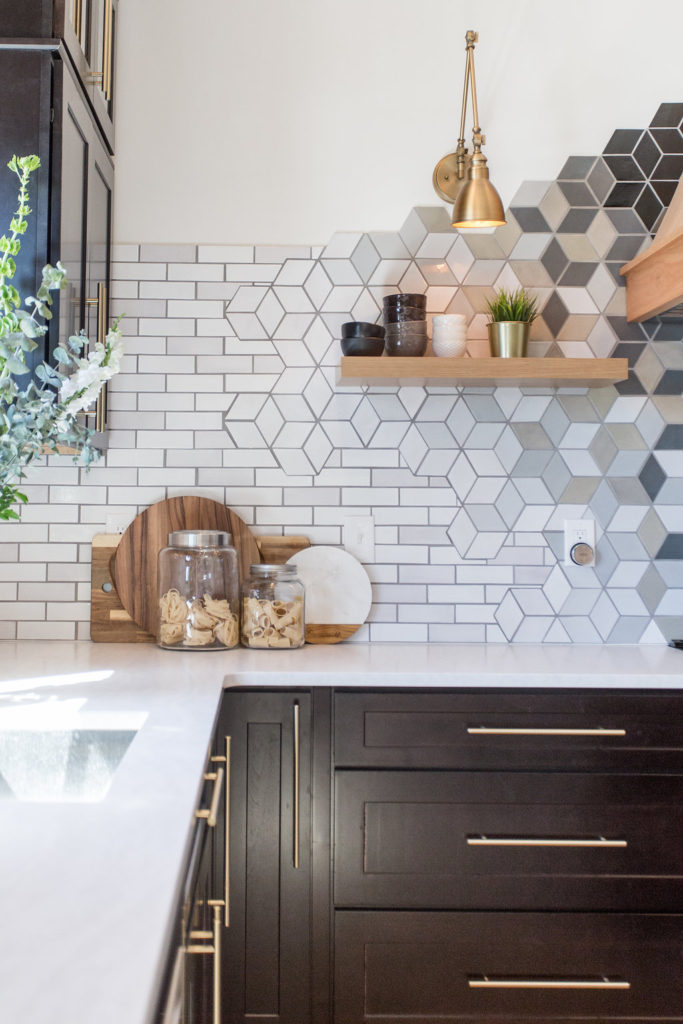
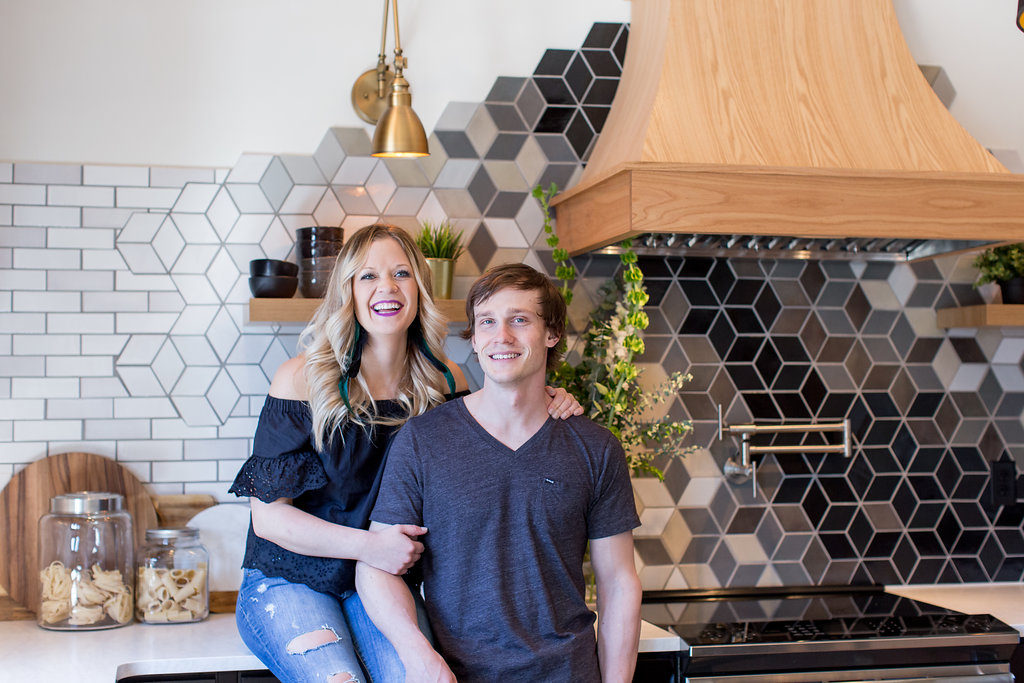
Another finishing we also knew we wanted to use was Mercury Mosaics for the backsplash. We’ve worked with them for a number of our own projects and not only are they a joy to work with, but their tiles are one of a kind.
We couldn’t image working with anyone else or having any other selection in our own home.
When working with their team, we wanted to create something really different that was one of a kind and something that you don’t typically see. We love subway tile, but we didn’t want just any old boring non-American made subway tile.
Jamie actually had the strongest opinion in which backsplash we used. We knew we were taking a risk in doing something this bold, but we could not have been more pleased with how easy Mercury made the layout and how slick the installation was.
We tried to create something so unique and so different and that’s exactly what we did using different colors, shapes, and sizes.
We wrote a full post about the backsplash, and how it was designed and linked back to one of our how to tile a backsplash tutorials for you here –> Our Kitchen Remodel, Custom Backsplash
Appliances
Another thing we knew we wanted was a 5′ fridge and freezer. We put this exact same appliance into one of our first kitchen remodels and we always said once we had our forever home, we were going to do the same. Five years later and that decision never changed.
Although we don’t run a restaurant in our house, sometimes we feel like we do with the circus in our home everyday. I practically grew up in a restaurant, since it was my family’s business in my hometown.
That being said, when picking out a fridge, the bigger, the better. We wanted something that would never run out of space, so with our 5 ft wide double-door fridge, we don’t think that will ever be a problem.
Along with the fridge, we got a new microwave, range, dishwasher, and sink. Jamie created the custom range hood, which ties in nicely with the floors and is absolutely stunning.
We worked with Warner Stellian out of Edina to purchase our appliances. Warners Stellian are our people and we use them for all of our client’s appliances. We give them a budget and they always can tell us exactly what appliances to use to get the best bang for our client’s lifestyle and needs.
Another appliance that we had to have and recently learned about was the induction convection range. We get a lot of comments on our electric cooktop when in fact, it’s way better than electric or gas.
Convection ranges cook food faster in the oven because hot air is blowing onto food directly, rather than surrounding it. It also allows the food to cook more evenly because the fan circulates the air to even out the temperature. Another perk is that it saves energy because the food is cooking faster at a lower temperature most of the time, so the energy costs are lowered.
We bought $8,149.94 worth of appliances for our kitchen remodel. With any client or homeowner we talk to, we always suggest putting $10K into the overall appliance allowance.
That always leaves the clients with sticker shock, but in the end, it always ends up right around there. We wrote a full blog post solely around our appliances and why and what we bought and you can click back to read about that here:
Our Kitchen Remodel, Appliances
Fixtures
Our kitchen sink, faucet and pot-filler were all in collaboration with Elkay. We’ve been working with Elkay not only in our own homes, but for clients as well.
Not only is their products top of-the line, but they are so incredible to work with. They even make custom-designed sinks specifically for our client’s needs. Not sure how many other sink manufacturers do that.
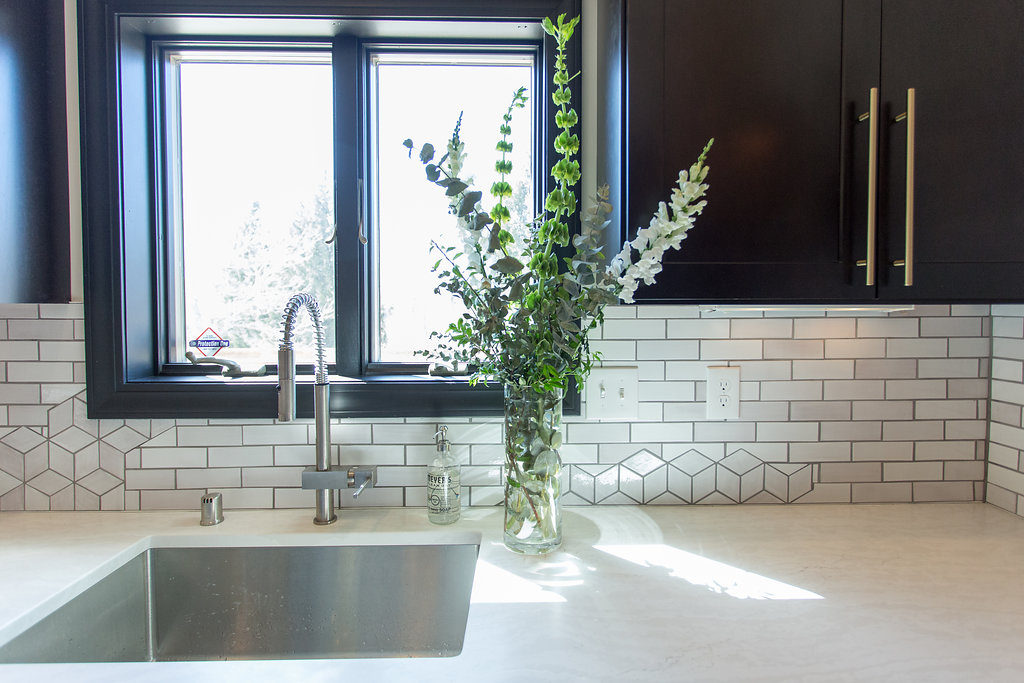
This is the sink we put into our own home, which we’ve also used in a lot of our clients’ homes and they all love it. This selection is the Elkay Crosstown 16 Gauge Stainless Steel 23-1/2″ x 18-1/4″ x 10″, Single Bowl Undermount Sink.
I scream every time I get to use my Elkay pot filler. We never even thought about incorporating a pot filler until Elkay flew us out to Chicago and we toured their plant and saw all of their selections firsthand.
Now, we’re recommending it to all of our clients.
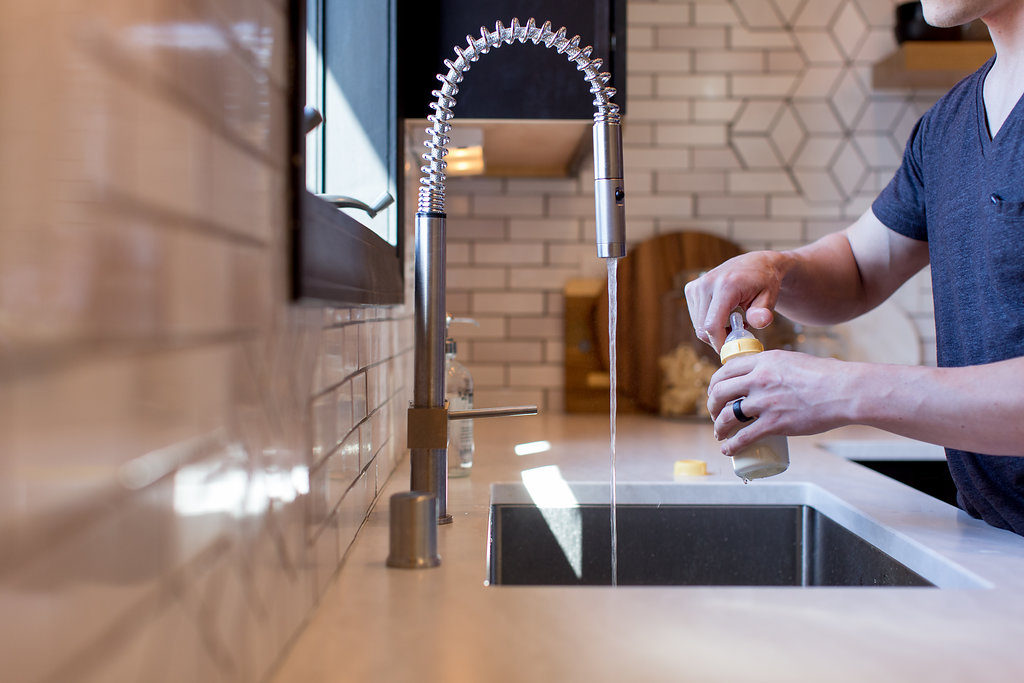
The other thing we wanted to incorporate in our kitchen is a commercial look with the appliances, so the semi-professional Elkay faucet was a must for the overall look of what we were going for with our appliances. This style faucet definitely gives the commercial-style look.
For our faucet, we chose the Elkay Avado single hold with semi-professional spout and lever handle in the brushed nickel finish.
We made a full post about our sink, faucet, and pot filler in another post HERE that you can click back to and read if you’re interested in what we chose, why, and how we use them in our everyday life.
Hardware
There are soooo many fun hardware colors and styles out there now it is so hard to choose just one.
For our kitchen, the only thing I was certain about was that I wanted gold hardware. Jamie got to choose the cabinet color, so I told him I got to choose the hardware color and the winner was gold.
He was cool with that, but the only request he had was that he wanted them to be clean, sleek and very large, which narrowed our options down quickly.
We also wanted something affordable and not ridiculously priced.
We’ve used this same style in clients’ homes, but in a brushed nickel finish and a tad smaller, so we were pumped to do something a little bold and large and in a gold finish. You can read more about the post we put together on our hardware HERE and also see the other nine options we were contemplating and still love and recommend.
Lighting
With our lighting, we wanted to bring in the black and gold accents that we had used with the backsplash and cabinet hardware.
We chose the Birch Land Hancock Swing Arm Lamp for over the floating shelves as a way to highlight them and add a little accent lighting in the space. Our Black and Gold Oversized Drum Pendants complement the large island and work well with the high ceilings.
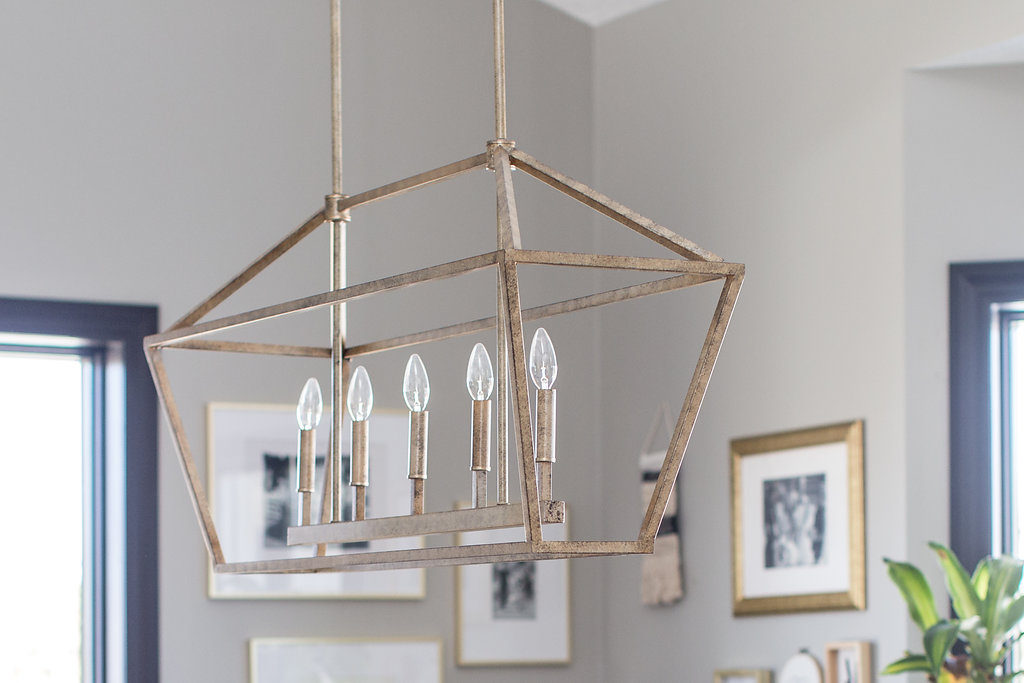
Over the table, we chose to go with the 251 1st Kenwood Vintage Chandelier and love how it looks timeless and beautiful. We’ve even recommended it to some clients as well!
To read all about our process of finding the perfect black and gold lighting and for a guide to all of our top picks for pendants, chandeliers, sconces, and flush mounts, head over HERE.
Paint Colors
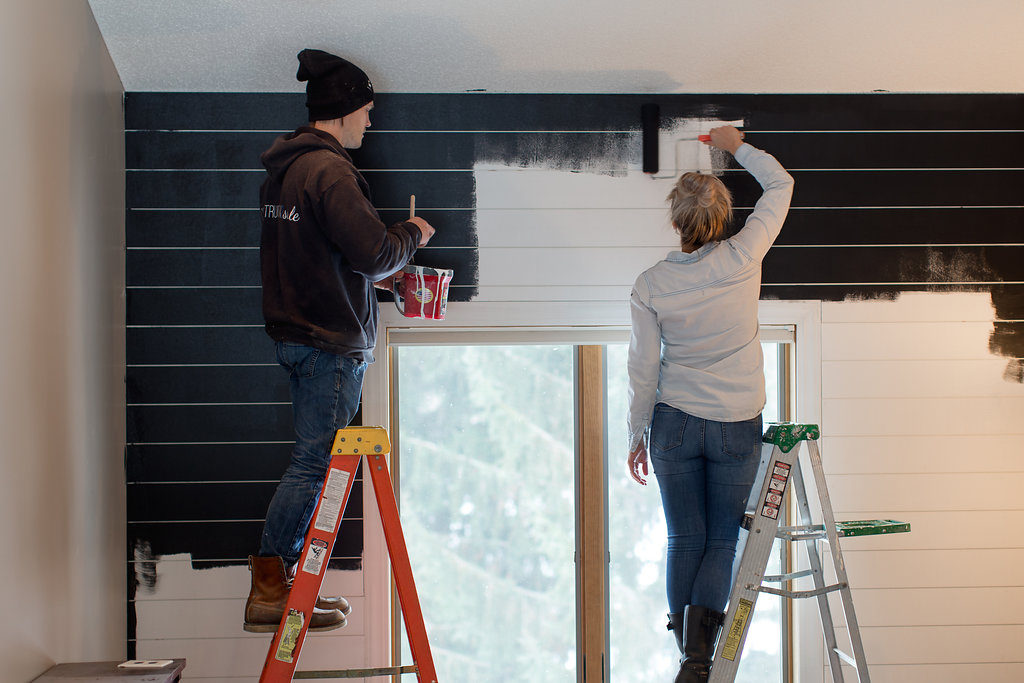
If you remember this past fall, we refreshed the walls in our living room space with HGTV HOME™ by Sherwin-Williams Rare Gray (HGSW3275). Our living room opens up into our kitchen, which opens up into another living room and then our dining room. Since all the rooms run together, we wanted colors that complimented one another. We also didn’t want anything too crazy since we were going bold in all the other selections, so we wanted to keep the paint as neutral as possible.
Our Paint Colors
Phfew, and there it is… a full run-through of our kitchen remodel. We keep thinking we’re forgetting all the things, so if you have any questions, please leave us a comment and we’ll be sure to answer.
Now for the super fun part — the full budget breakdown of our kitchen remodel.
We saved a lot of money by doing it ourselves vs. hiring it out. If we would have had to hire out our kitchen remodel, we would have been looking at spending a lot more than the breakdown below for how much labor time we put into this project.
This project took us 4 full months to complete.
When a client hires us out as general contractors and designers our estimates usually come in anywhere from $50-80K, just depending on finishing selections. This is our budget breakdown mostly DIY’ing it.
Budget Breakdown:
Permits & Dumpsters: $1,291.00
Electrical: $3,425.76
Plumbing: $2,472.90
Knockdown Textured Ceilings: $3,211.87
Drywall, Mudding, Taping: $2,511.12
Flooring: $4,122.48
Appliances: $7,048.96
Cabinetry: $17,612.53
Countertops: $7,800.12
Fixtures: $1,350.84
Backsplash: $5,500
Range Hood: $2,019
Floating Shelves: $388
Lighting: $812.43
Millwork: $672.11
Paint: $300.29
Random Misc. Home Depot Trips: $3,411.12
Grand Total $63,950.63
Disclosure: Thanks to our loyal brand partners and sponsors, materials were sponsored for within our own home to be able to document tutorials and breakdowns like these for our readers. Although we were compensated for products, all opinions and content are our own, and we stand behind and use all brands and products we endorse on our site.

Thank you so much!
Your kitchen remodel is absolutely stunning! The black and white theme with gold accents gives it a timeless and elegant look. The attention to detail is commendable.
“Our Kitchen Remodel | The Final Reveal” blog is a delightful journey from start to finish. The attention to detail and creativity in this kitchen transformation is truly impressive. It’s an inspiring source of ideas for anyone looking to renovate their kitchen. Bravo to the designers for this stunning reveal!
This article showcases the exciting final reveal of a kitchen remodel. It offers a clear view of the transformation, making it easy to grasp the improvements. The visuals and descriptions effectively communicate the upgrades made, giving readers a good sense of the project’s outcome. Great inspiration for anyone considering a kitchen renovation.
This kitchen remodel journey has been a true delight to follow! Your dedication to documenting the process through tutorials is commendable and has provided an invaluable resource for those looking to embark on a similar journey. The black and white aesthetic with the gold hardware exudes a sense of sophistication, while the statement backsplash adds a playful touch. I’m impressed by your decision to create a more intimate kitchen space by adding walls, and it’s evident how it has enhanced the overall flow of your home. The choice of a double door fridge and the custom wood range hood truly amplifies the uniqueness of your design.
I can’t get over how great that backsplash looks! What a wonderful job! Gives me some good ideas.
Thanks for sharing this valuable article for us. I really like the way you think. Looking forward to your next article about cabinet door. Keep it up.
Really like your ideas and your way of thinking!
updating from a dark, small space to an open, light, white and grey kitchen. https://www.kitchenrenovationsaucklandexperts.co.nz/
Having a good result in remodeling a kitchen is very satisfied, it is a great experience for everyone.
I have a problem on my kitchen, that’s why I was looking a kitchen remodeling services and I saw this http://orlandokitchenremodelingpros.com.
Hi Morgan. Your kitchen is really nice! The paint, appliance, lighting, flooring, and many more all good. Are you looking for kitchen remodel in WNY? We are the leading experts for kitchen remodeling, and we are going to ensure that we provide you with an outcome that is going to meet all of your needs. If you’re interested contact us at 716-300-5540 or visit our website to gather more information. Thank you!
Modern metallics such as brushed or stainless steel, brass and hammered copper are just some exciting trends to include in your bath remodel.
Very thankful for this wonderful article, it seem like it will really help with what I need to get done. Thank you very much for the post!
I have enjoyed reading the information about Kitchen Design. Really, entire discussion is more helpful and all the tips are more effective too. I am very glad to go through this kind of helpful article. Thanks for sharing a nice article.
I have enjoyed reading this wonderful article about awnings. Really, entire discussion is more helpful and all the tips are more effective too. I am very glad to go through this kind of helpful article. Thanks for sharing a nice article.
Really, it is more helpful for Kitchen Design work. I am very glad to go through your wonderful article. Thanks for sharing a nice article.
Your blog is amazing it gives so much ideas and information.
Thanks – so glad you found it useful! Best of luck with your kitchen – I’m sure it will be beautiful!
Thank you so much!! 2 years later, and we still love them.
Your new cabinets looks so good! I love the black and white theme of your kitchen! Spending 17,612$ on these cabinets is totally worth it.
Thank you!! It was such a fun kitchen to design out! We wanted to do something really fun and different for the backsplash. Jamie was all about taking the diamonds and making some hex but we didn’t want it too wild so we tied in the subway tile… and this is what we came up with! 🙂
Wow, what a detailed tutorial with prices, before and after photos, videos! It is an amazing job! I really like how your new kitchen looks like. And I’ve never seen such backsplashes before (the combination of cubes and bricks looks extraordinary and cool!).
Hi
I am searching for information about kitchen redesign, I found you blog post.
Great Stuff!
Your post on one room challenge really helped me out.
Also, We have recently published a blog on similar topic where we explain Transitional Kitchen Cabinets
.
You can find: https://ygkboston.com/transitional-kitchen-cabinets/
We will be happy to love your feedback on the Topic.
Keep this good work again
Cheers
Martin Keitt
Thank you! Yes, it’s been awesome!
Thank you for sharing this post. Your kitchen looks awesome and this post is very helpful for us during kitchen renovation and this blog gives many ideas about kitchen renovation. After renovating your kitchen you get more space to work and during the renovation proceeded you can change the whole structure and accessory of kitchen according to your needs.
Thank you!
You should check out https://marble.com/articles/best-quartz-countertop-brands it really helped me.